

How To: Making a new Plexiglass hatch
 06-22-2010, 08:44 AM
#1
Registered
Thread Starter
iTrader: (4)
I finally got around to making my new hatch. Total cost $58.
Acrylic cut to my dimensions 20"x26"x3/8"(5 free cuts) and shipped to my door off of ebay $49 and a roll of limo tint from the auto store $9.
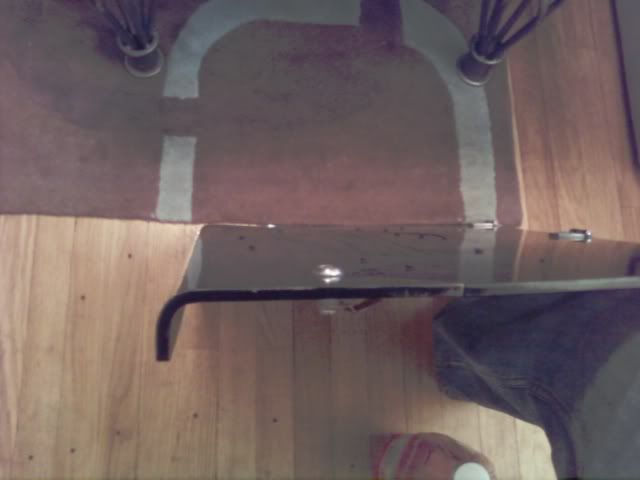
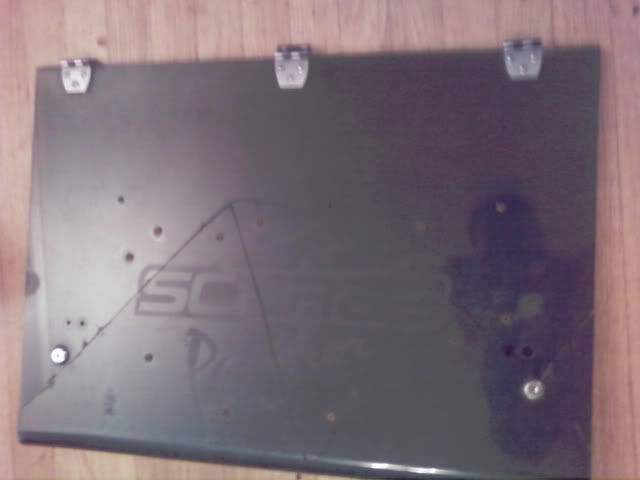
Old broken hatch
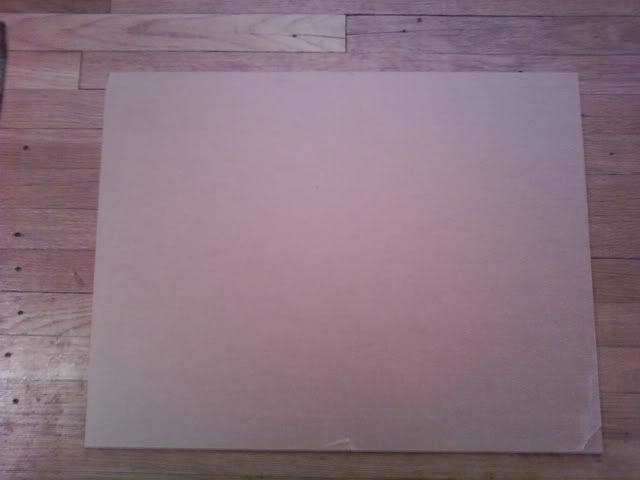
New Acrylic arrived
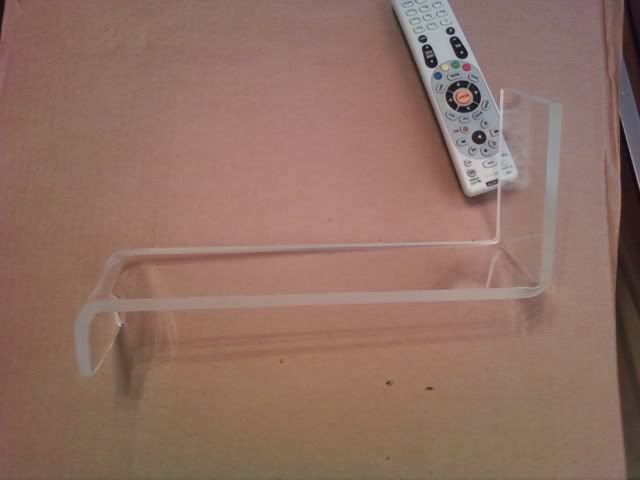
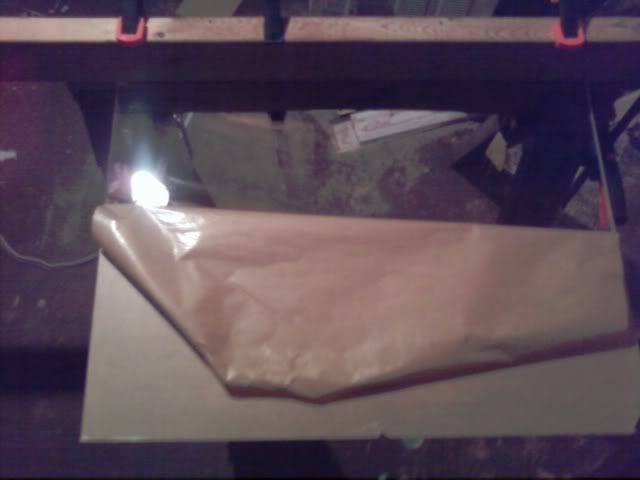
Practice bends with the extra cut pieces they shipped to me. I needed to see how close I could get with the torch and how much heat I had to use. Notice the corner on the RH side did not get enough heat and is sharp.
Acrylic cut to my dimensions 20"x26"x3/8"(5 free cuts) and shipped to my door off of ebay $49 and a roll of limo tint from the auto store $9.
Old broken hatch
New Acrylic arrived
Practice bends with the extra cut pieces they shipped to me. I needed to see how close I could get with the torch and how much heat I had to use. Notice the corner on the RH side did not get enough heat and is sharp.


 06-23-2010, 12:27 PM
#7
Registered
Join Date: Feb 2004
Location: Western Ma.
Posts: 578
Likes: 0
Received 0 Likes
on
0 Posts
Don't mean to hijack, but this is a great thread for those who wish to replace something like this that cannot be bought.
You did nice work! Had to do the same a couple years ago when mine broke from a yahoo who stepped on it. Only differences I see are these.
I was able to purchase the acrylic already tinted. Comes in various shades and thicknesses.
As for bending, don't remember where I learned this trick. Probably a trade secret I am letting out here. I used a heat gun attached at one end of a copper pipe. Cap the other end of the pipe. (Ideally you would flow heat from both directions, but this works, unless you want to take the time to build a manifold that flows from each direction.) I drilled several holes making a straight line from one end of pipe to the other.(You can form whatever radius you are looking for depending on size of pipe you use.) Turn on heat, and place the area you wish to bend across the top of holes, but not touching, maybe 1/2 inch at most just above pipe. (Use shims at each end of the pipe to hold up plastic.)This will allow hot air flow to the plastic to soften it up. The holes will apply heat evenly across the area you wish to bend. The other end of the sheet is clamped securely to a table. After a few minutes, maybe five or so, remove the shims and let the acrylic drop down onto pipe. Now start forming your bend against the pipe. Use gloves. If it doesn't bend, heat it some more, and try again. The trick is to set up the pipe so that it forms the edge of the table top. In other words, the top of the pipe you will be working against is level with the table top. Using pipe will form a more natural curve, and it does not thin out the material at the bend. Gotta make sure that pipe is secure as well, so it does not slip when you are working against it. I braced mine across the bottom with a 2x4..
Another thing I remember is if you are drilling the finish piece for new hinge holes like I had to, drill very slowly or you will heat up and melt the plastic around the hole when drilling.
I was so bummed when mine broke. I have an older boat, and no way was going to be able to replace with another without making one. Now it's good as new. You are right about practicing with some scrap first. Hope this thread can help someone else.
06-23-2010, 09:36 PM
#8
Registered
Thread Starter
iTrader: (4)
Don't mean to hijack, but this is a great thread for those who wish to replace something like this that cannot be bought.
You did nice work! Had to do the same a couple years ago when mine broke from a yahoo who stepped on it. Only differences I see are these.
I was able to purchase the acrylic already tinted. Comes in various shades and thicknesses.
You did nice work! Had to do the same a couple years ago when mine broke from a yahoo who stepped on it. Only differences I see are these.
I was able to purchase the acrylic already tinted. Comes in various shades and thicknesses.

You are correct, I wanted the tinted glass to begin with, but the ebay supplier did not have tinted available. When I was in 6th grade shop class we made picture frames out of Acrylic. We used the method you speak of, but it was an electric wire heating element. In my trials I did use a pipe to bend it over, but if I was to hot it marred the surface. I also found if you did not have enough heat on the top surface you would have stress cracks along the top surface. And if you cool it with water real fast it becomes VERY brittle and shatters like glass.
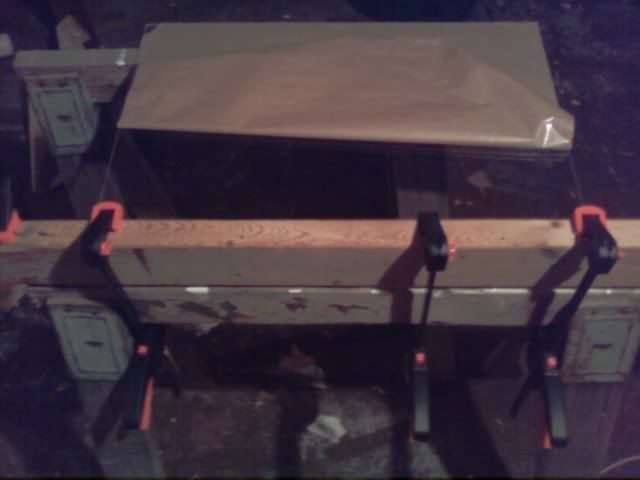
I could not let it hang down and let gravity work because it was wider than my sawhorse leggs so I had to bend it up.
*NOTE! If you try this with LEXAN/Polycarbonate you will get bubbles! And Polycarb is NOT UV stable. I used Plexiglass/Acrylic which is UV stable.
A local shop quoted me $140 to make this.
http://www.harborfreight.com/1500-wa...112-96289.html


