

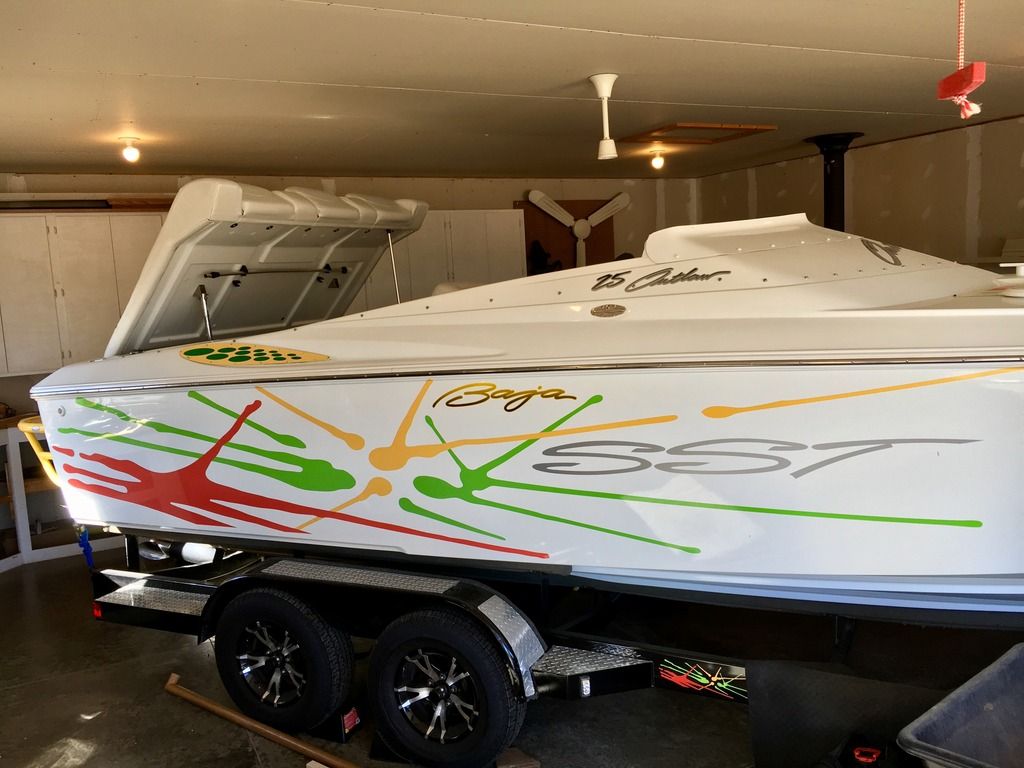
Phil'R Up 2001 Baja 25 Outlaw
 02-09-2017, 01:56 PM
#101
 02-16-2017, 09:24 AM
#102
Registered
Thread Starter
That is the drain plug I ordered.. I'm planning on installing it Saturday so look for pics of the install early next week.
Some more pics of the vents:
Side:
Back:
Some more pics of the vents:
Side:

Back:


Last edited by iaoutlaw; 02-16-2017 at 09:26 AM.

 02-18-2017, 06:10 PM
#104
Registered
02-20-2017, 08:40 AM
#105
Registered
Thread Starter
Look for pics on Thursday.. The 3M 5200 sealant I ordered didn't come in so I didn't work on the drain plug this weekend.. Here are a few pics of what I did do tho:
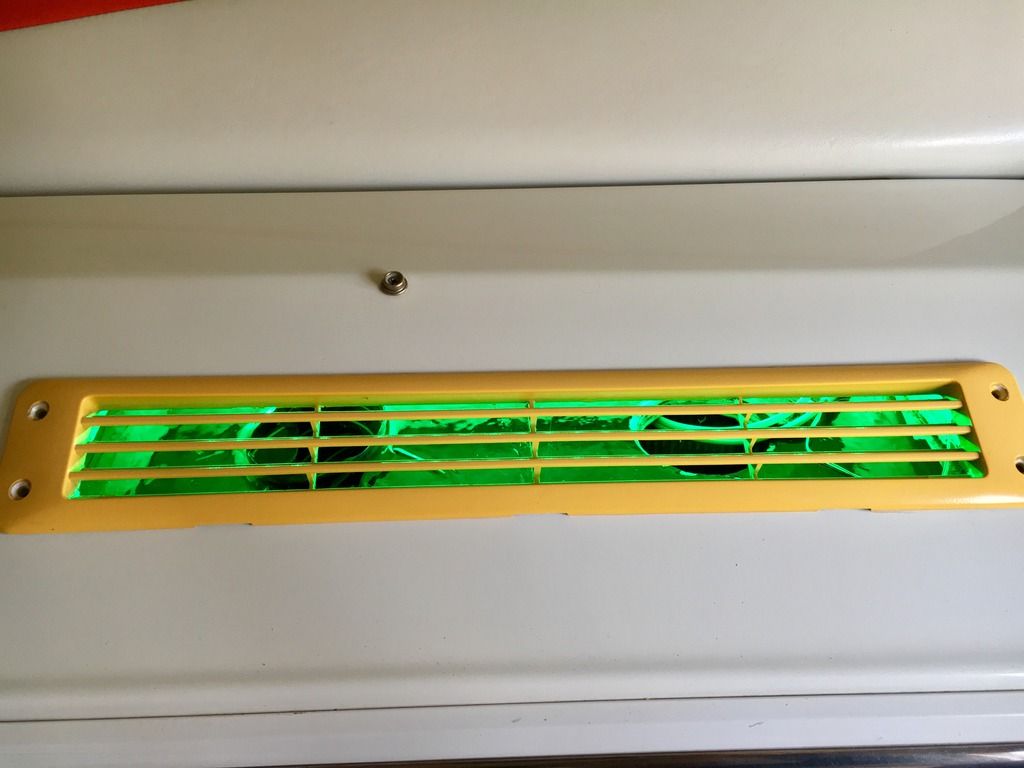
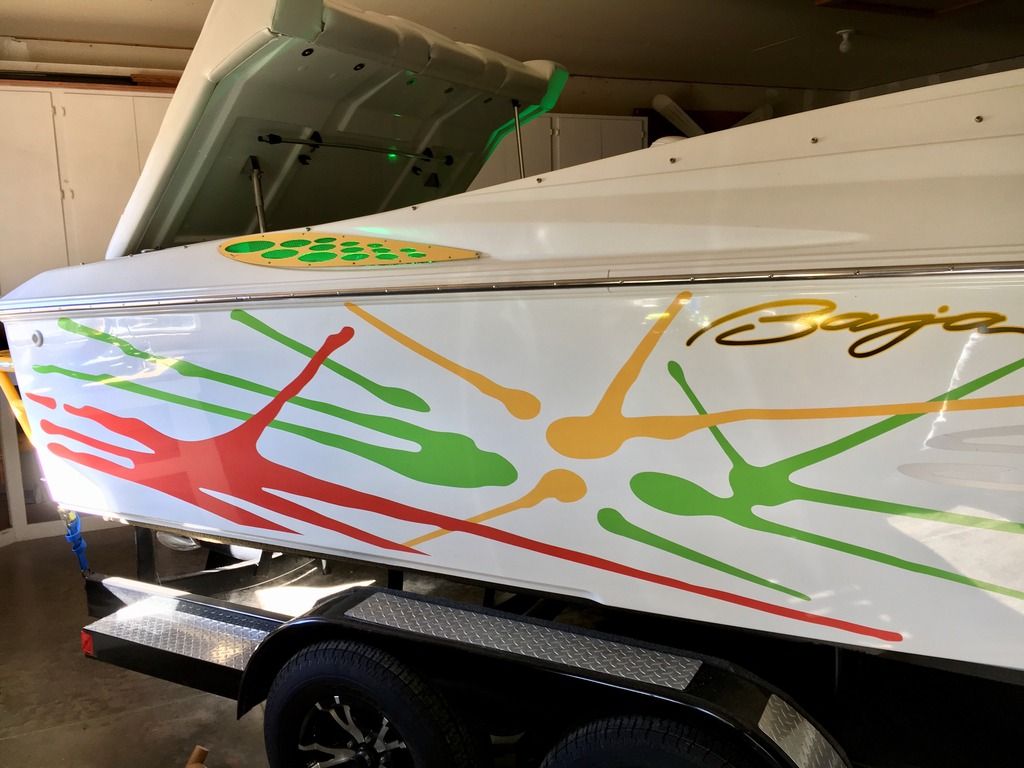
Newly painted vent screens(I'll have the vents repainted or powder coated to make them pop a little more)
New vents with the LED's on. The fluorescent paint really glows even in the daytime.
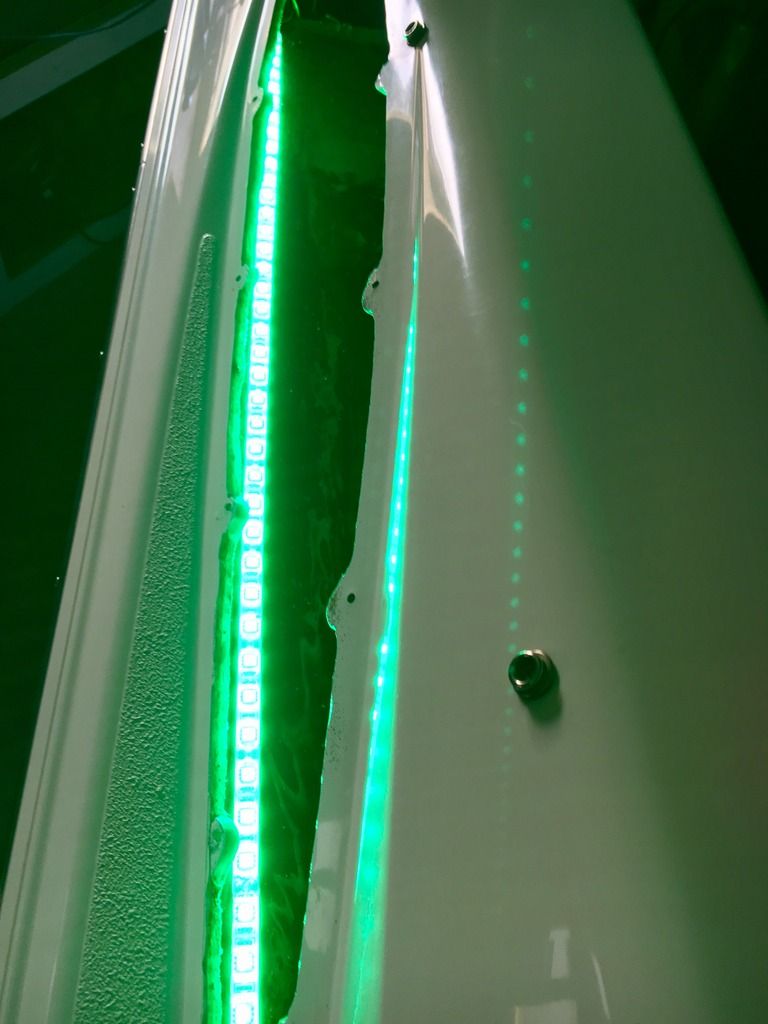
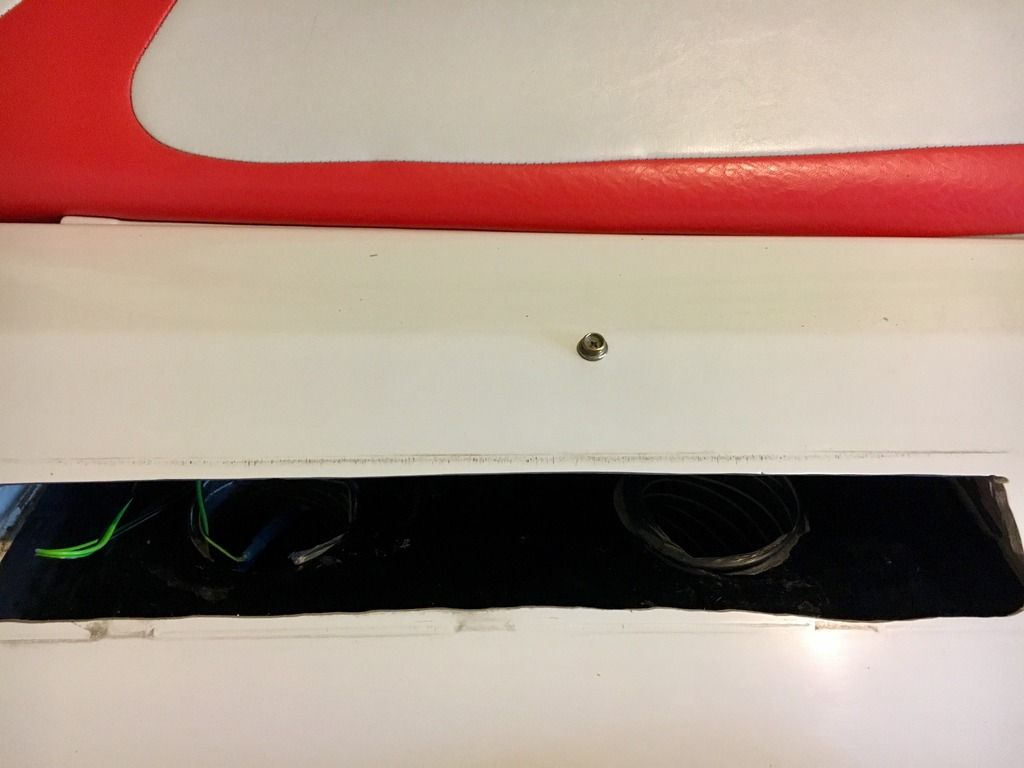
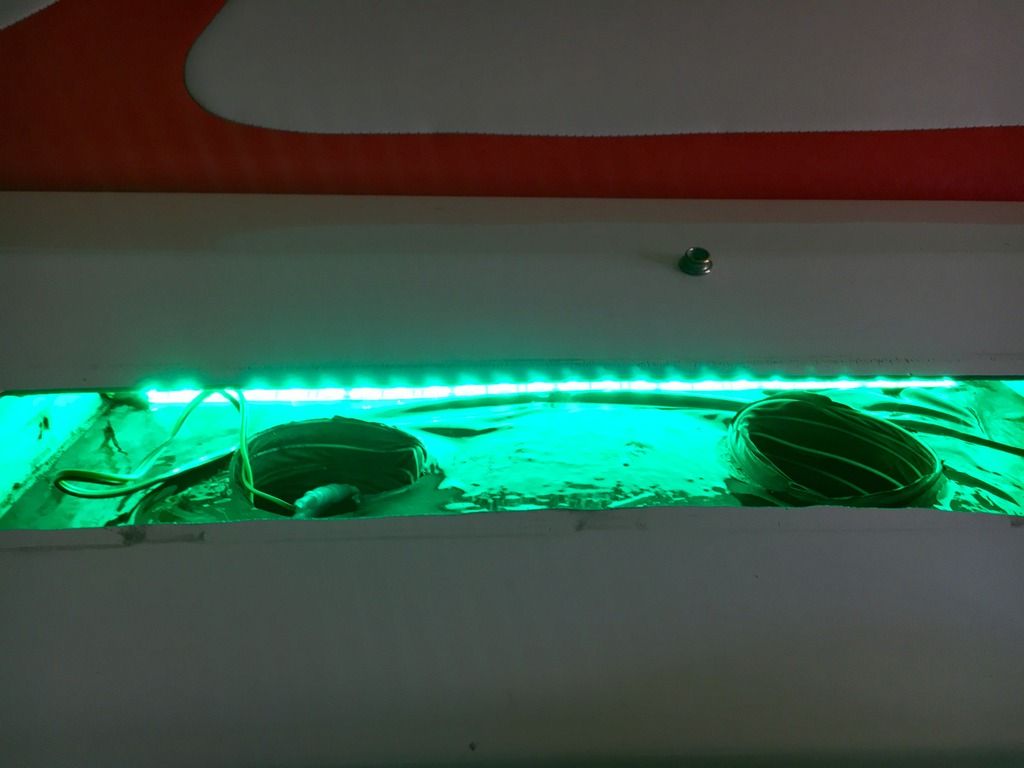
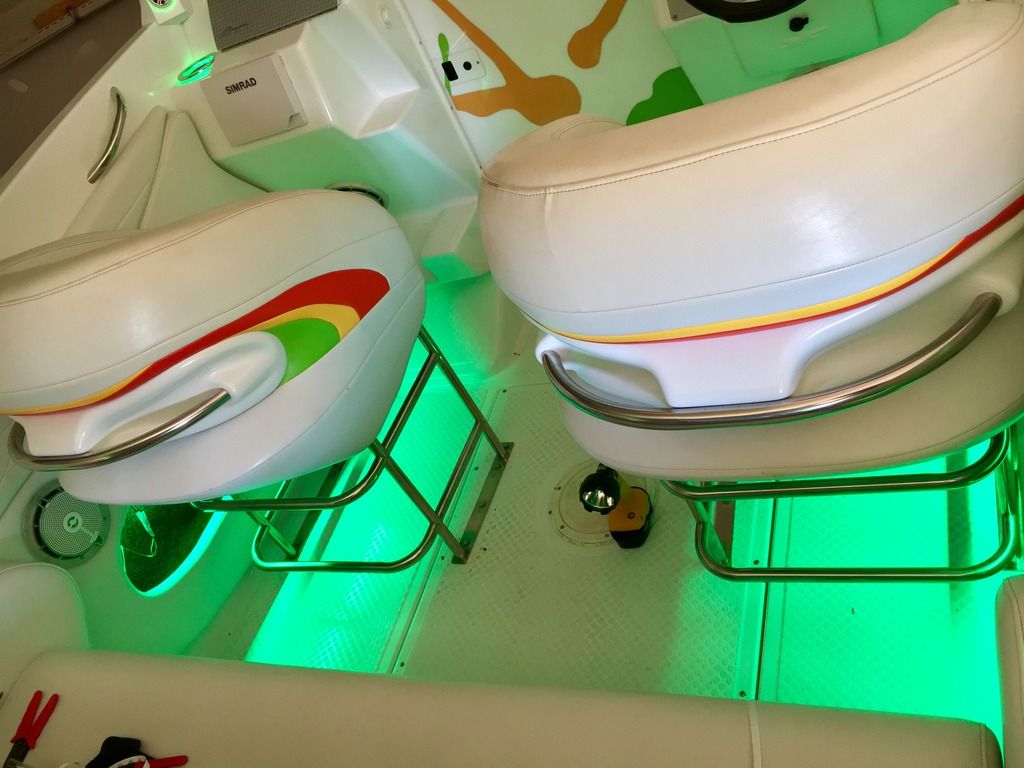
New LED's in the gunwales:
Newly painted vent screens(I'll have the vents repainted or powder coated to make them pop a little more)

New vents with the LED's on. The fluorescent paint really glows even in the daytime.

New LED's in the gunwales:


 02-23-2017, 10:03 AM
#107
Registered
Thread Starter
Here is the drain plug install pics:
Pic of the old one from last year when I removed the rust from the trailer.
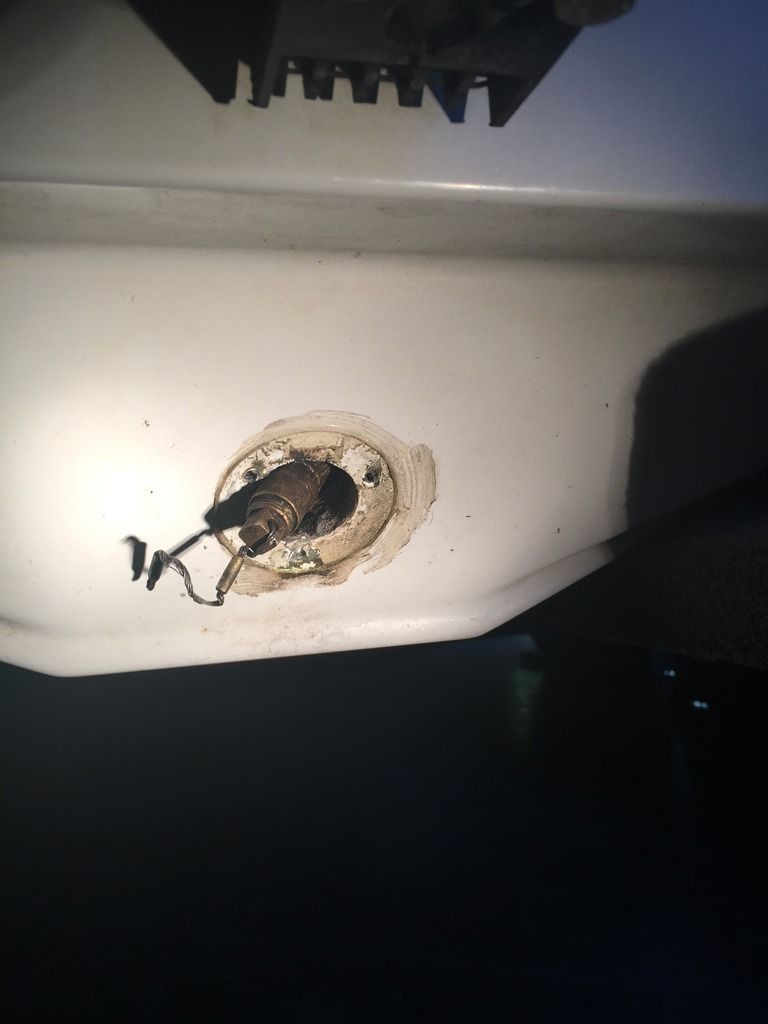
Old Drain Plug removed:
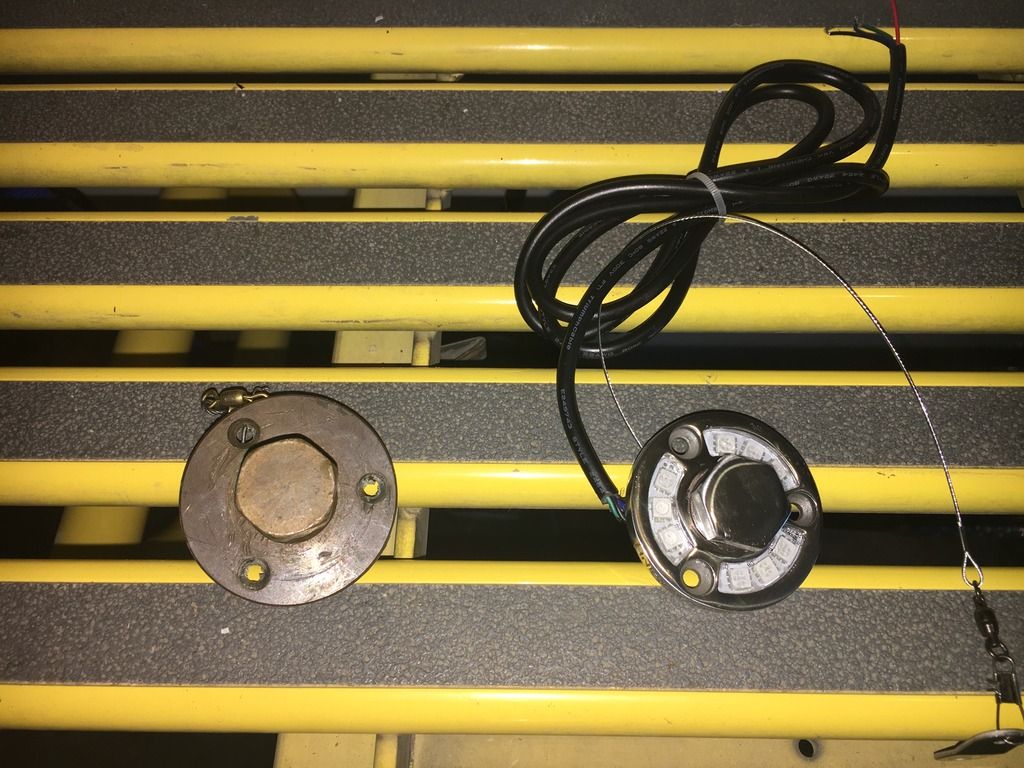
Old and New:
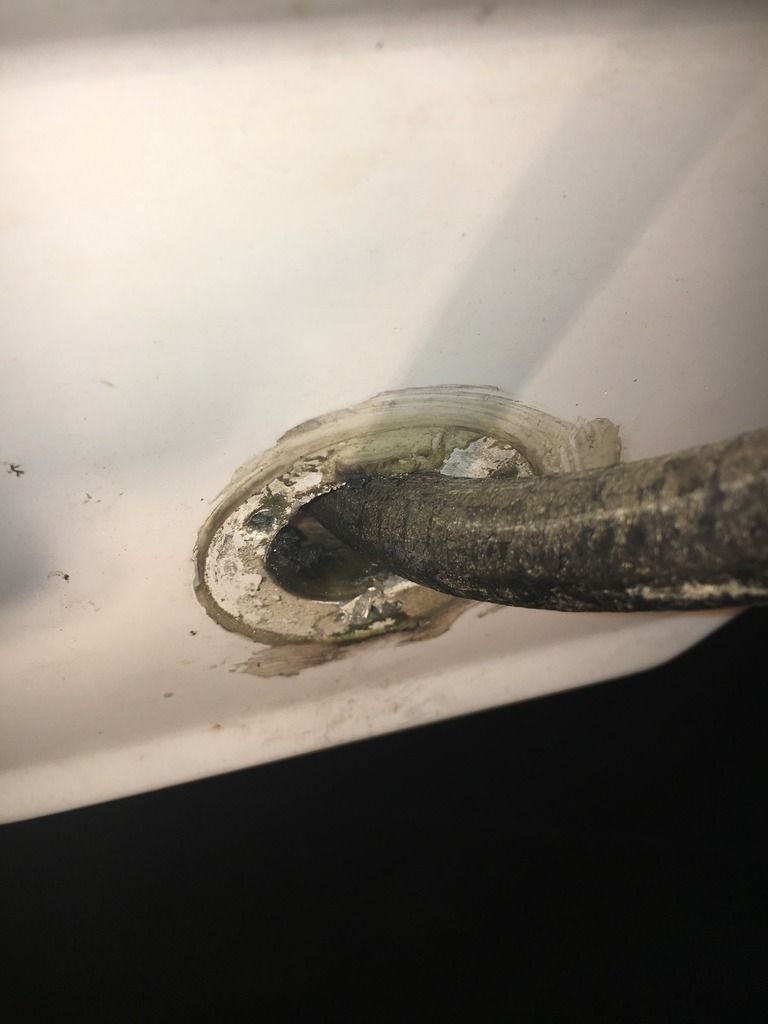
Transom Cleaned up and sanded so the sealant adheres well:
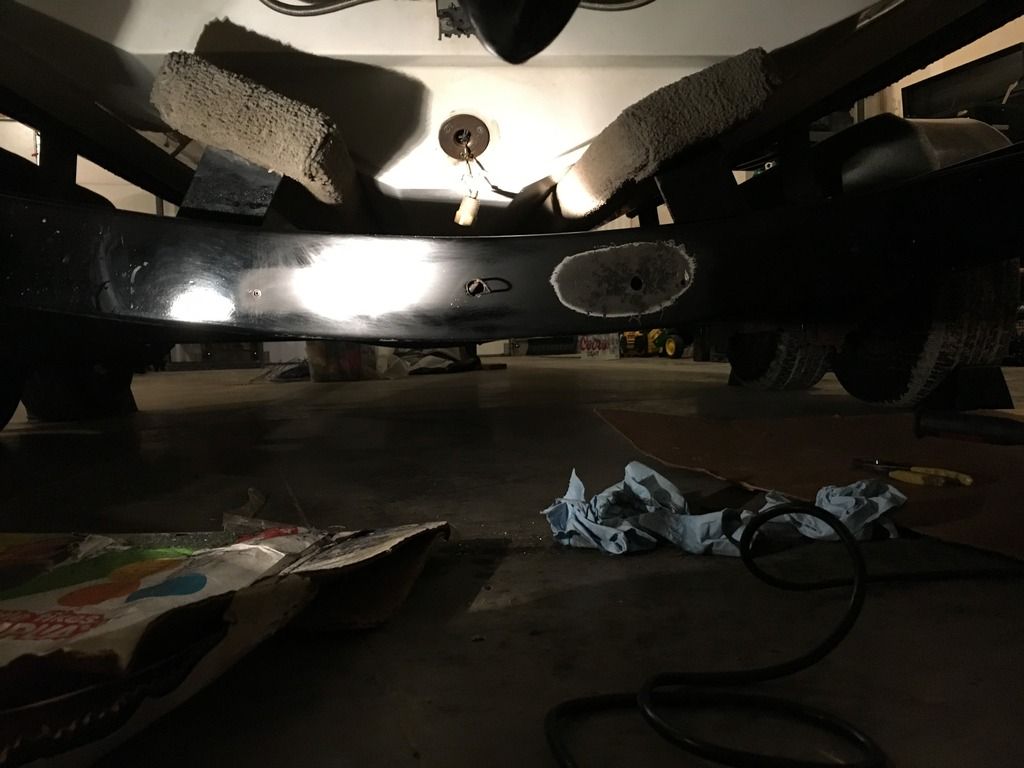
One of the screws broke off on the old drain plug(Bottom) so I rotated the new one so the wires run thru one of the old holes (Top Right which I drilled out to 1/4 inch) and the new screw holes are marked on the transom.. I also put sealant on the inside of the boat to fill in the backside of the old holes.
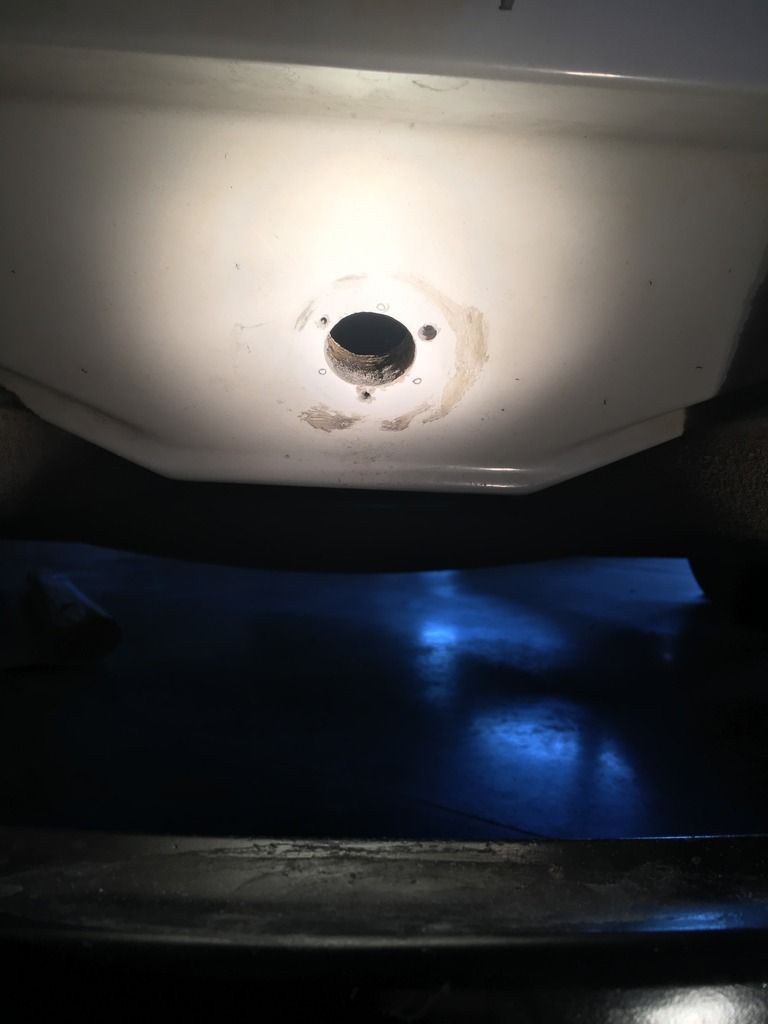
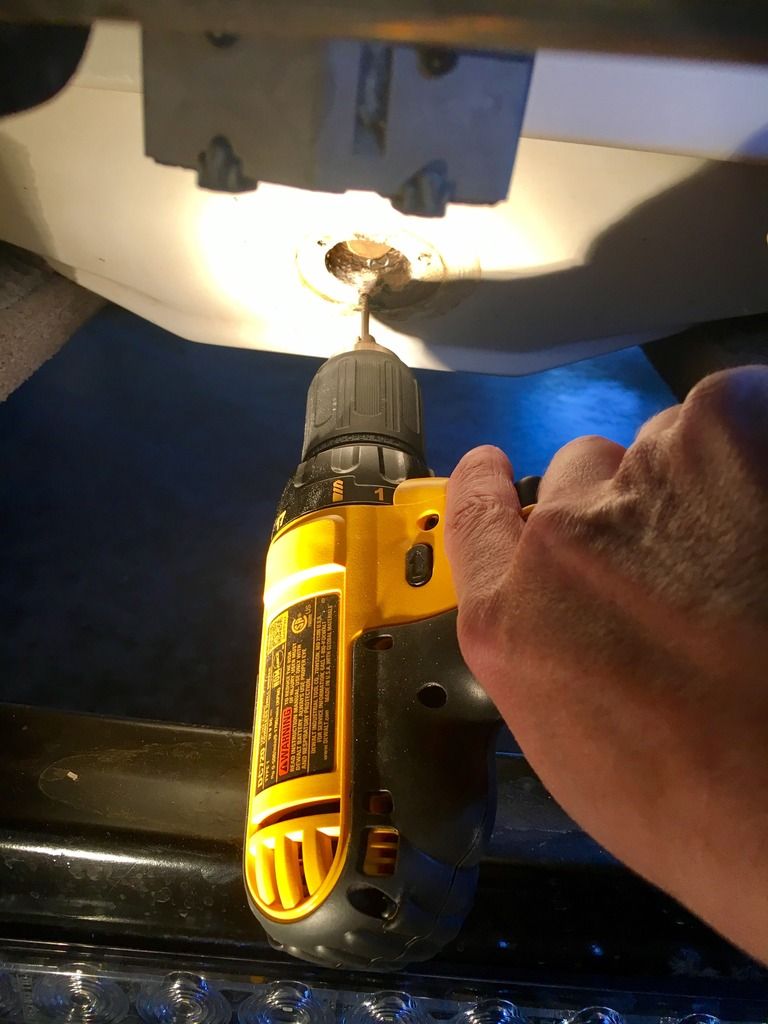
Attempting to drill out the new screw holes. If you can have the boat all the way back on the trailer.. Mine isn't and it made it a pain to drill the holes had to use a dremel with a 90 degree adapter to do the bottom ones as you can see in the pic I can't line up the drill perpendicular to the transom. Also I used an 1/8" bit not noted in the instructions.
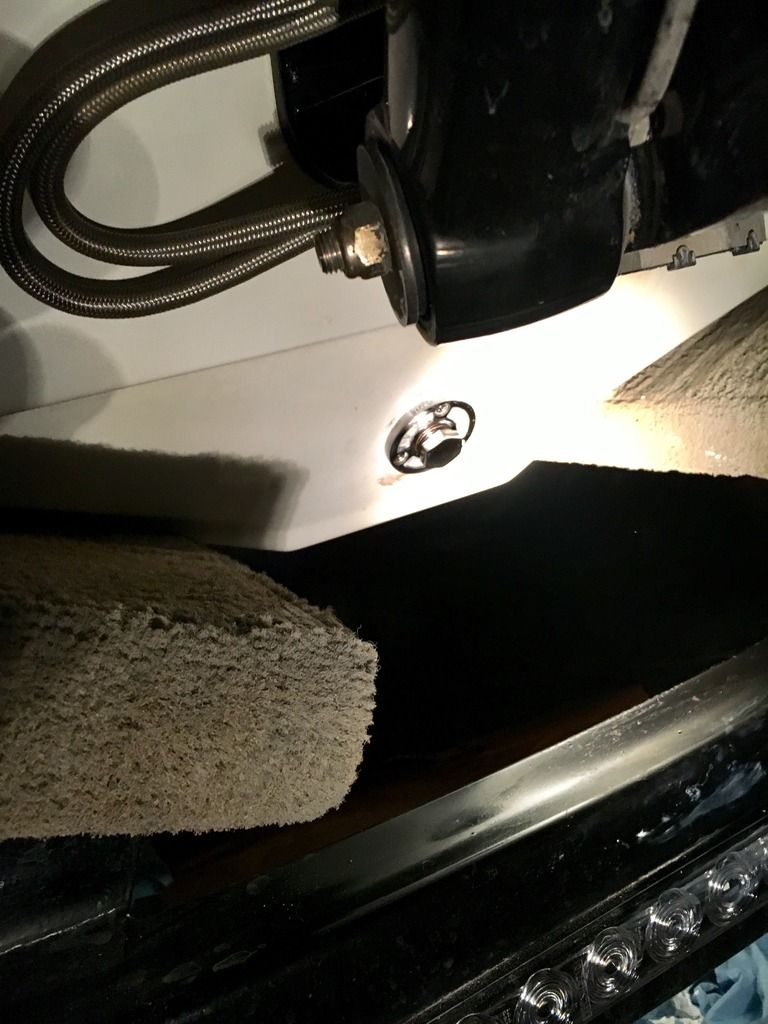
Test fitting the light:

Installed looks alot better than the old one.. Now i just have to tie into my underwater lights.. Project for next week.
Pic of the old one from last year when I removed the rust from the trailer.

Old Drain Plug removed:


Old and New:

Transom Cleaned up and sanded so the sealant adheres well:
One of the screws broke off on the old drain plug(Bottom) so I rotated the new one so the wires run thru one of the old holes (Top Right which I drilled out to 1/4 inch) and the new screw holes are marked on the transom.. I also put sealant on the inside of the boat to fill in the backside of the old holes.

Attempting to drill out the new screw holes. If you can have the boat all the way back on the trailer.. Mine isn't and it made it a pain to drill the holes had to use a dremel with a 90 degree adapter to do the bottom ones as you can see in the pic I can't line up the drill perpendicular to the transom. Also I used an 1/8" bit not noted in the instructions.

Test fitting the light:

Installed looks alot better than the old one.. Now i just have to tie into my underwater lights.. Project for next week.

Last edited by iaoutlaw; 02-23-2017 at 10:09 AM.
03-01-2017, 09:39 AM
#108
Registered
Thread Starter
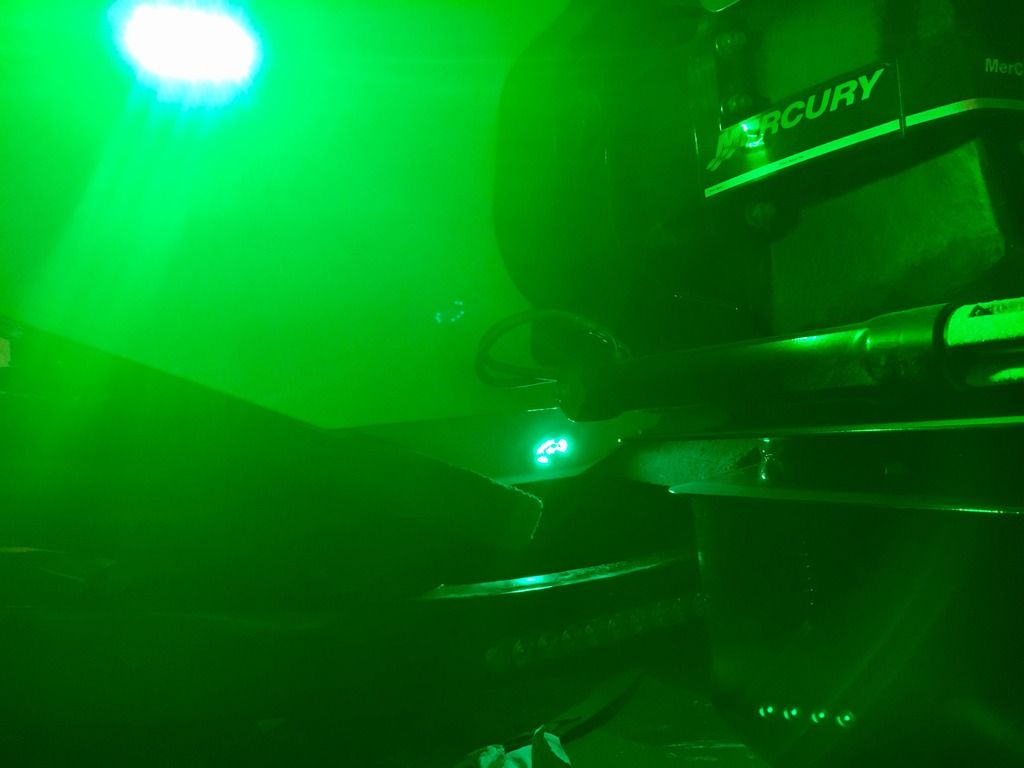
Drain plug wired to the underwaters.. not as bright as the underwater lights but I think it'll be enough to light up the dark spot around the drive and get the light a little deeper in the water.
Officially have taken apart every inch of of this boat now.. front cleats are hanging up so had to take apart the front to get to the nuts. Good pic of the bow.
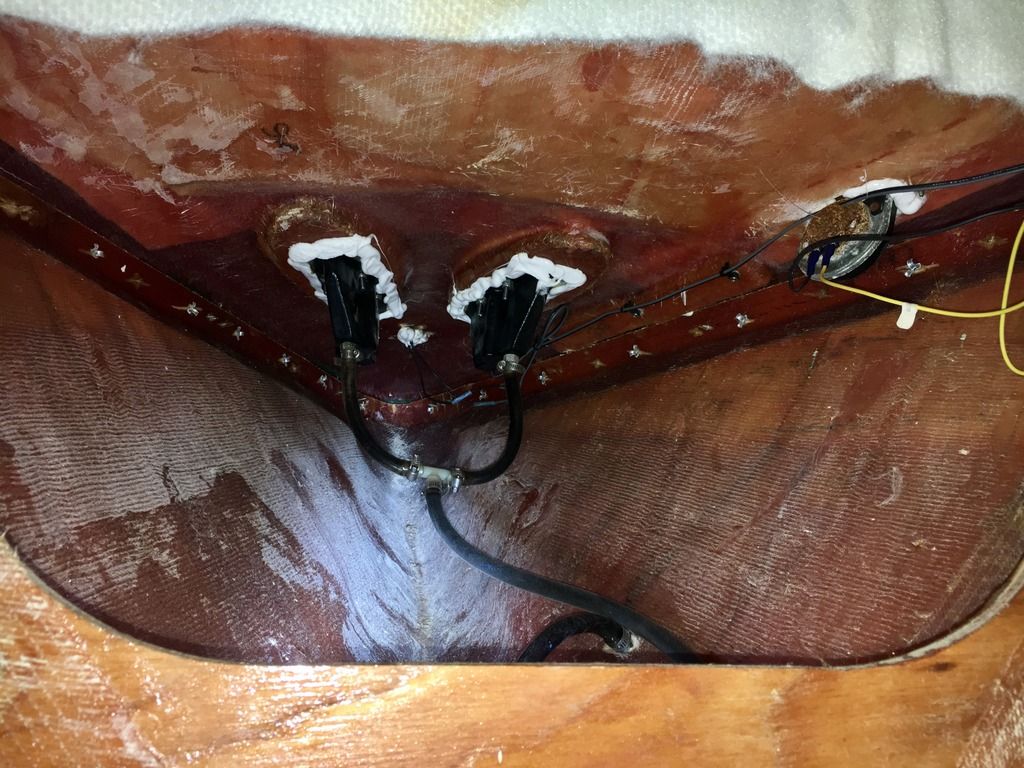
While the front is apart I'm going to replace the bow eye cleat and put a larger backing plate on.
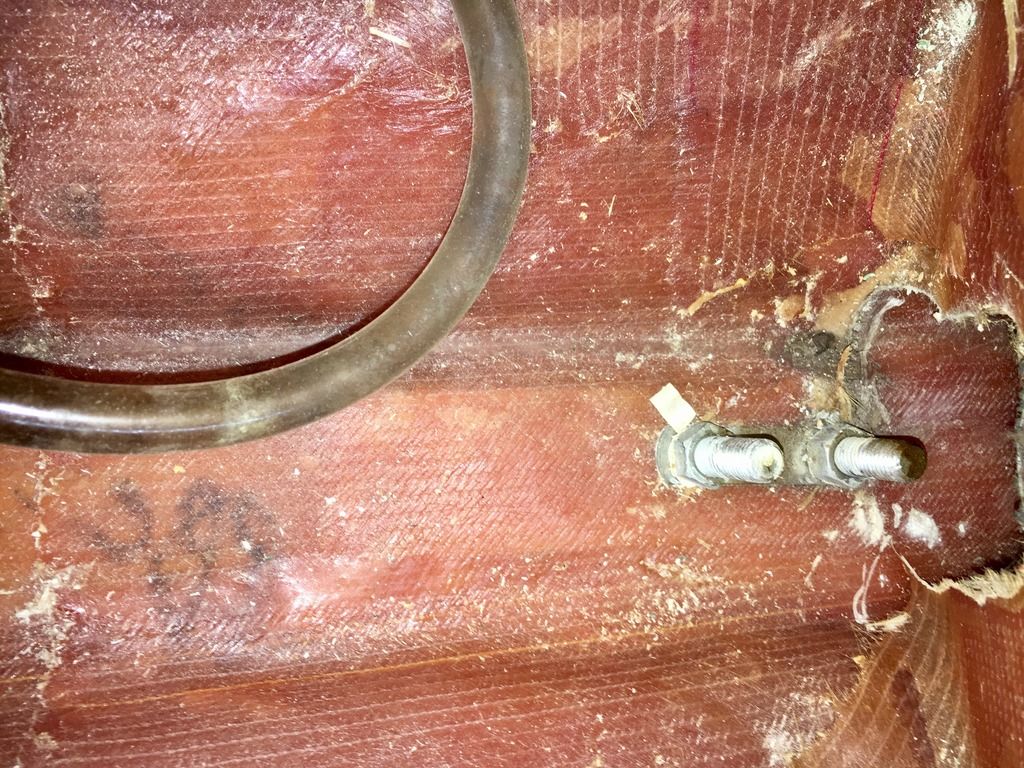
Also going to replace the bow light.
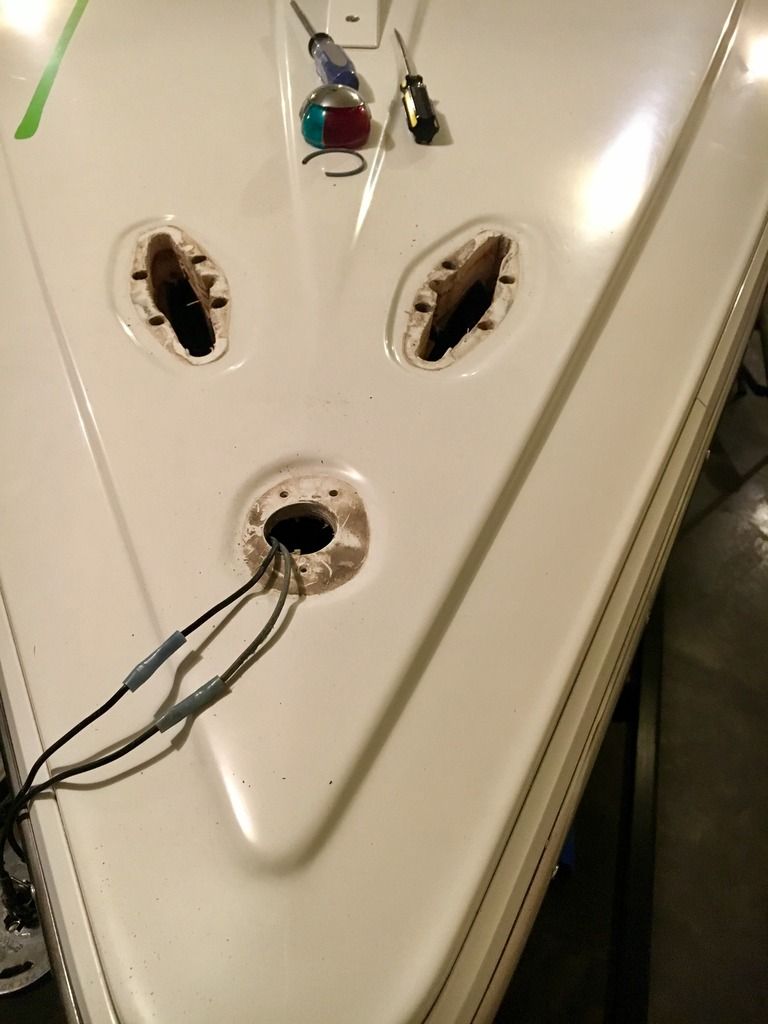
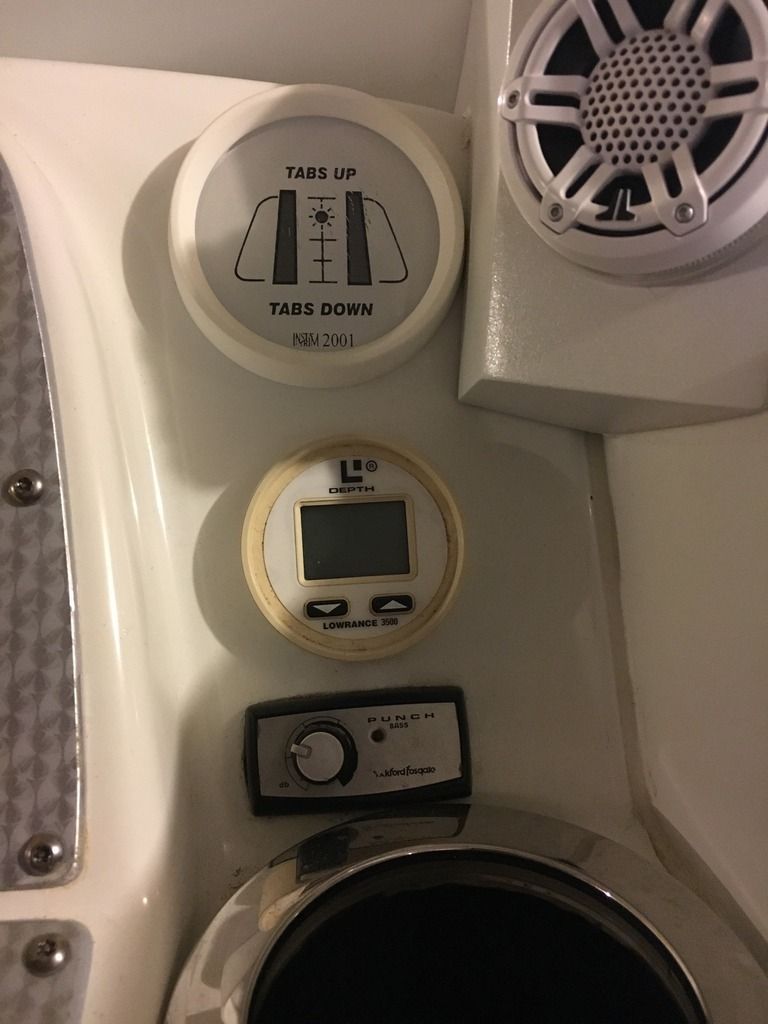
Tab indicator and depth gauge are also on the chopping block.

Officially have taken apart every inch of of this boat now.. front cleats are hanging up so had to take apart the front to get to the nuts. Good pic of the bow.

While the front is apart I'm going to replace the bow eye cleat and put a larger backing plate on.

Also going to replace the bow light.

Tab indicator and depth gauge are also on the chopping block.
 03-01-2017, 05:01 PM
#109
Registered
I agree that depth finder has gotta go. What are your plans for the insta trim gauge?
03-01-2017, 08:49 PM
#110
Registered
Join Date: Aug 2013
Location: Madison, Ms
Posts: 783
Likes: 0
Received 0 Likes
on
0 Posts


