

well it has begun (transom replacement)
 07-01-2010, 11:02 PM
#1
Registered
Thread Starter
Join Date: May 2010
Location: Hernando, Fl
Posts: 129
Likes: 0
Received 0 Likes
on
0 Posts
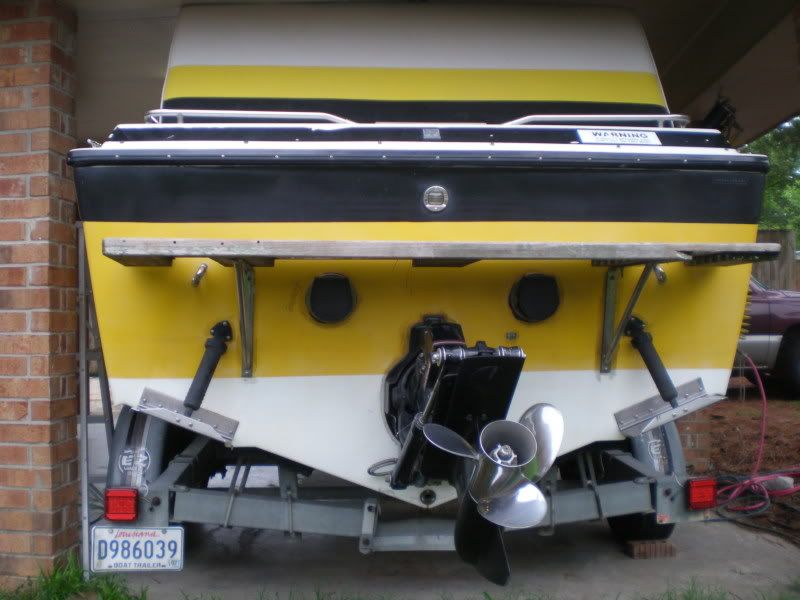
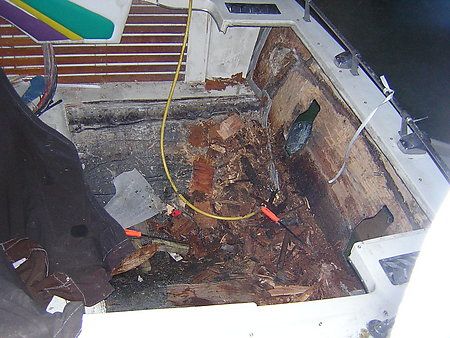
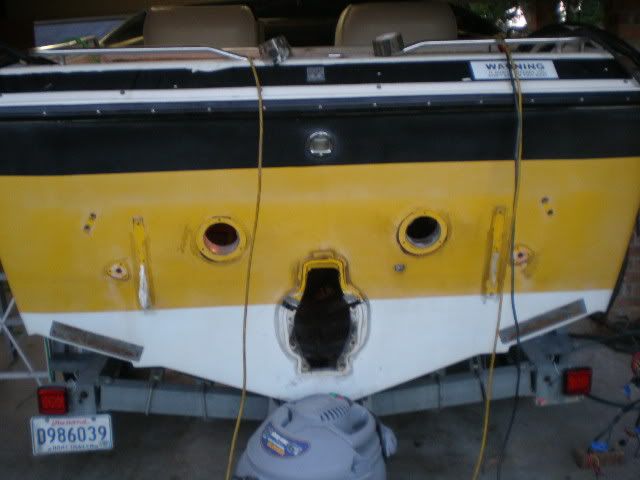
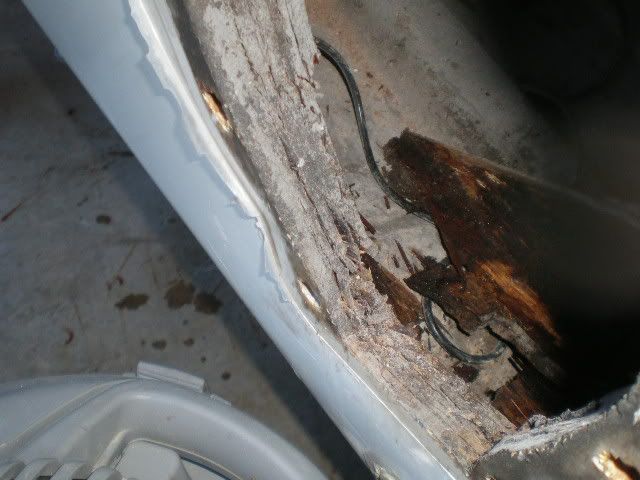
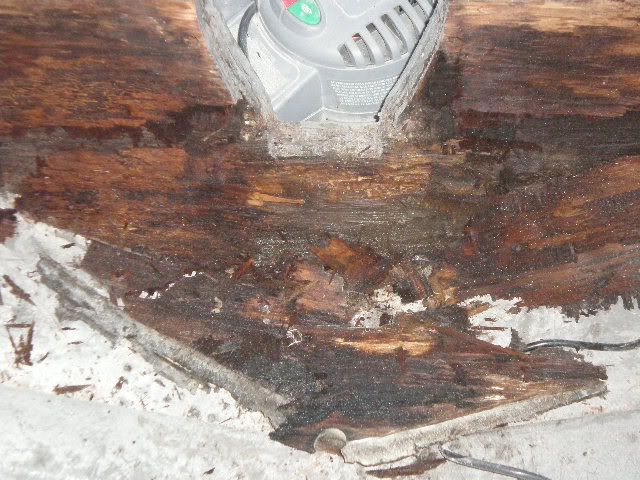
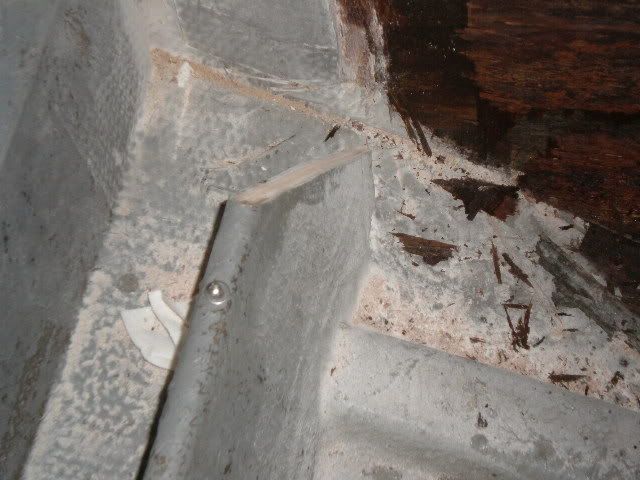
In light of my 4 day weekend ahead, i saw it fit to begin the transom replacement in the formula. today i got the motor about half way ready to come out and cleaned up a little bit and removed other misc. hardware. since i pulled the exhaust, i pulled the thru hull tip out to take a peak at what lies within. all i can say is that i am glad im replacing it!!
I will be trying to take a bunch of pics of the process as i go and updating this thread. i have a few pics now but I am going to wait until i have more before i start uploading. I would love to have the engine compartment ready for the new transom by tuesday, but that is optimism at its finest!!
I will be replacing it (starting from the outer hull working in) 1 1/2oz mat, 3/4 ply, 1 1/2oz mat, 3/4 ply, 1708 biax, 1708 biax and I will be using vinylester resin. all fiberglass supplies are on their way, i just need to go pick up some grinding discs, some plywood, and a GOOD respirator.
 07-01-2010, 11:03 PM
#2
Registered
Thread Starter
Join Date: May 2010
Location: Hernando, Fl
Posts: 129
Likes: 0
Received 0 Likes
on
0 Posts
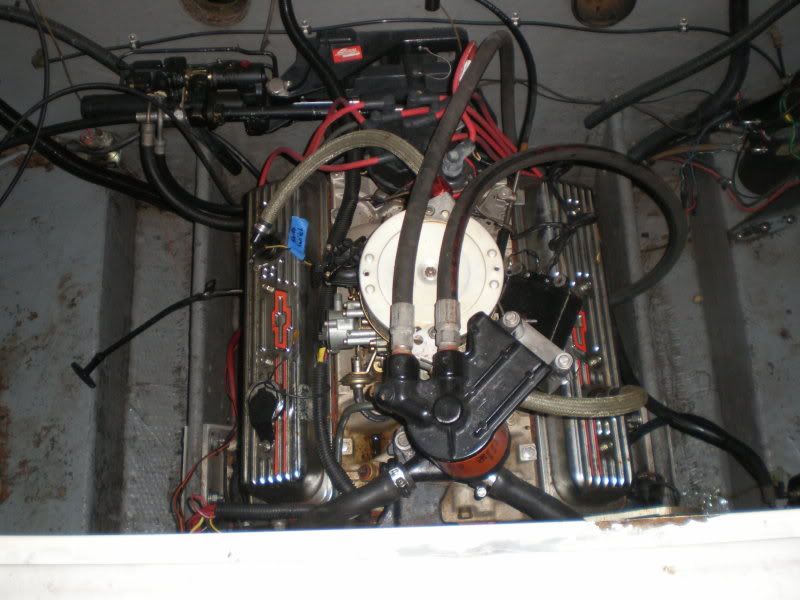
7/1/2010- between yesterday and today i prepped the motor for removal as well as pulling batteries, boxes and other misc. items. tomorrow the engine will be coming out after work. here are a couple of before pics and progress pics
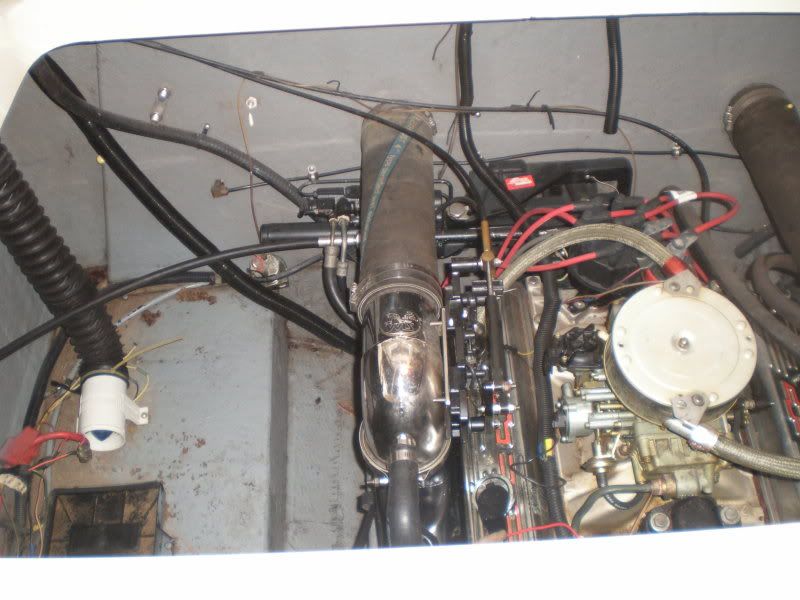
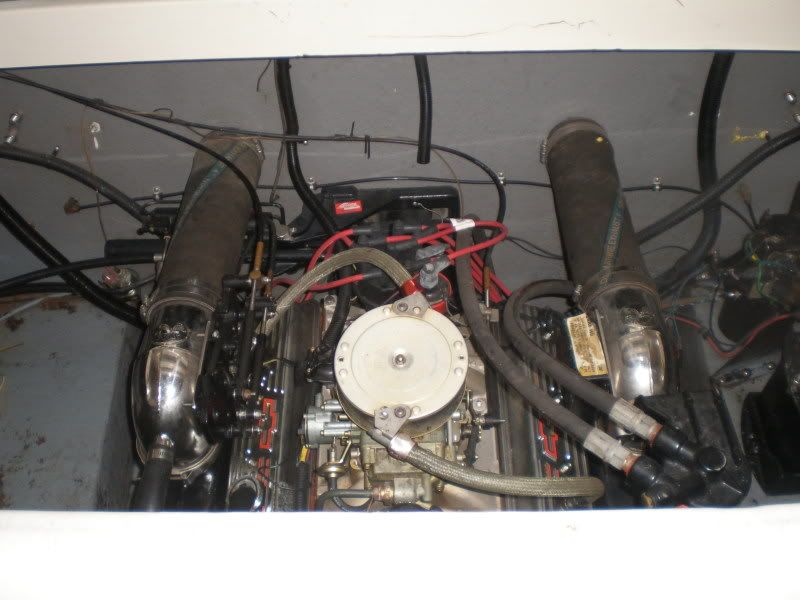
after:

after:
 07-02-2010, 10:09 PM
#9
Registered
Thread Starter
Join Date: May 2010
Location: Hernando, Fl
Posts: 129
Likes: 0
Received 0 Likes
on
0 Posts
well from what i can tell the whole port side is still solid... unfortunatly. starboard should come out like the pics though!!
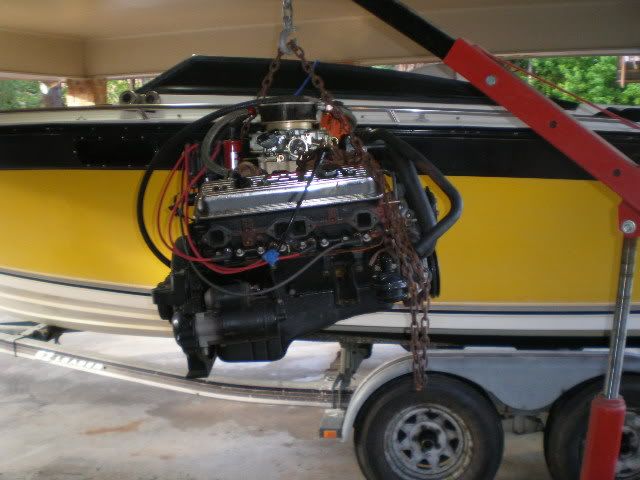
i was thinking i needed a little longer chain too!! glad someone else out there thinks 20ft isnt enough!!
todays progress: pulled the engine at a buddies shop (with a forklift)
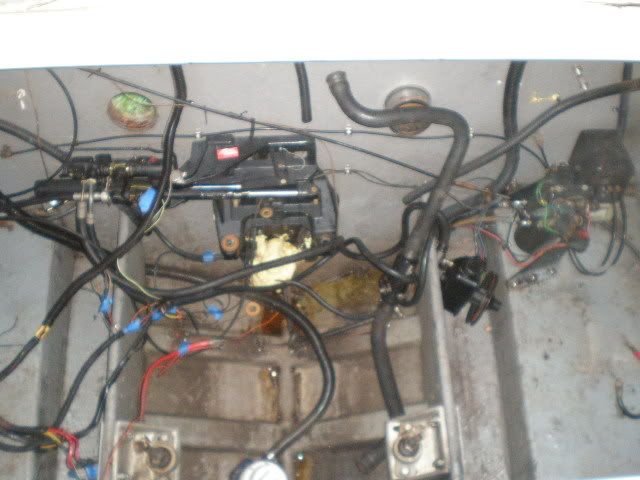
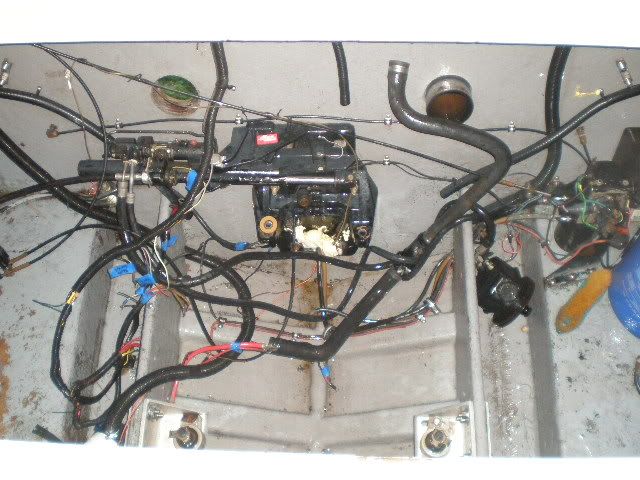
degreased the engine bay 3 times and scrubbed it on the last time in an attempt to create a clean place for me to dirty up!!
also, i am only putting a few of the plathora of pics i am taking on here, if you really want to follow in depth, go here http://smg.photobucket.com/albums/v607/hawk232/formula/
i was thinking i needed a little longer chain too!! glad someone else out there thinks 20ft isnt enough!!
todays progress: pulled the engine at a buddies shop (with a forklift)
degreased the engine bay 3 times and scrubbed it on the last time in an attempt to create a clean place for me to dirty up!!
also, i am only putting a few of the plathora of pics i am taking on here, if you really want to follow in depth, go here http://smg.photobucket.com/albums/v607/hawk232/formula/
07-03-2010, 08:26 PM
#10
Registered
Thread Starter
Join Date: May 2010
Location: Hernando, Fl
Posts: 129
Likes: 0
Received 0 Likes
on
0 Posts
well today i finished removing everything that was mounted to the transom (which was my goal for today)
got a good sneak peek on what i was dealing with
and finally decided that i couldnt wait till tomorrow like originally planned... went and bought a respirator and various other supplies and got started...
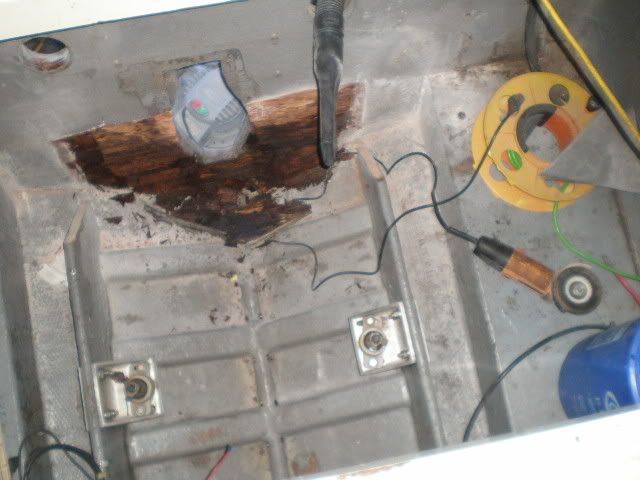
here is a close up showing the stringers cut in order to allow room to get the new transom in
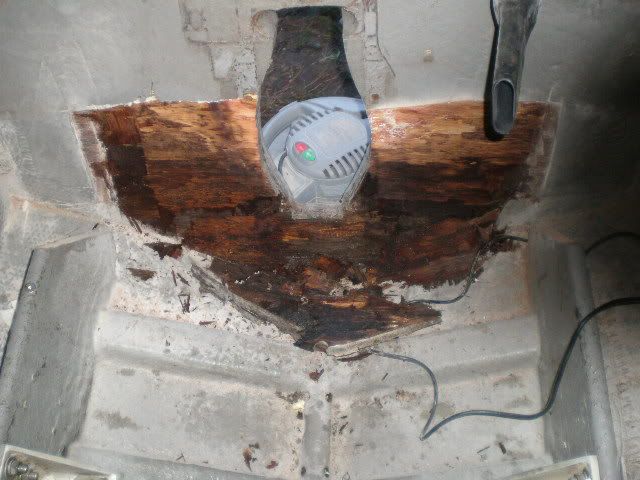
so far everything has gone faster than expected, i know thats going to stop soon though because the top half still has solid wood.
while grinding i have a shop vac sitting behind the boat. i realized that if i put in where the gimbal plate goes, i can turn it on and off from inside the boat. i routed the hose through one of the exhaust holes and just leave it running while im grinding. its amazing how effective it is!!
got a good sneak peek on what i was dealing with
and finally decided that i couldnt wait till tomorrow like originally planned... went and bought a respirator and various other supplies and got started...
here is a close up showing the stringers cut in order to allow room to get the new transom in
so far everything has gone faster than expected, i know thats going to stop soon though because the top half still has solid wood.
while grinding i have a shop vac sitting behind the boat. i realized that if i put in where the gimbal plate goes, i can turn it on and off from inside the boat. i routed the hose through one of the exhaust holes and just leave it running while im grinding. its amazing how effective it is!!

