

Gauge upgrade help
 07-09-2015, 04:47 PM
#1
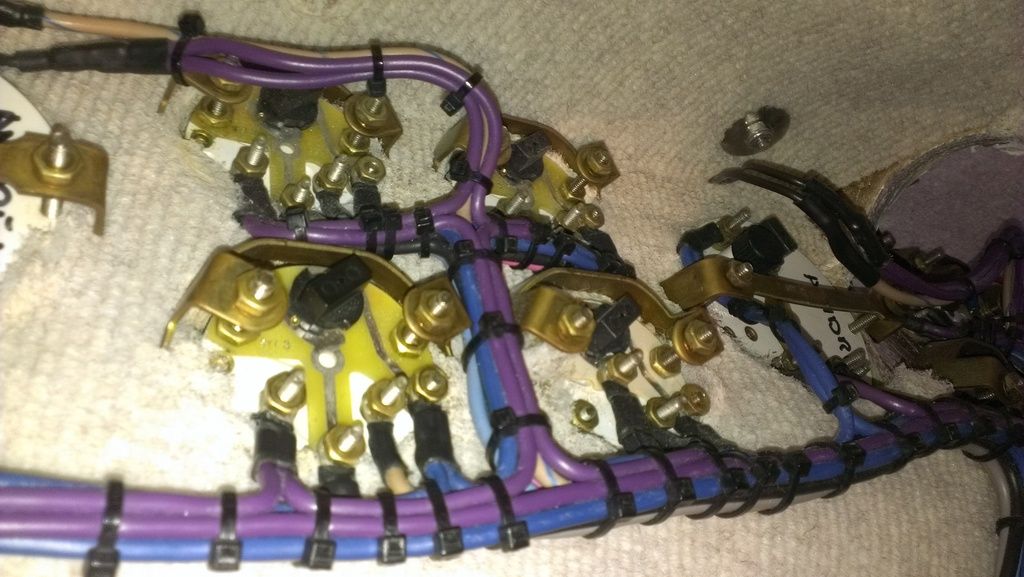
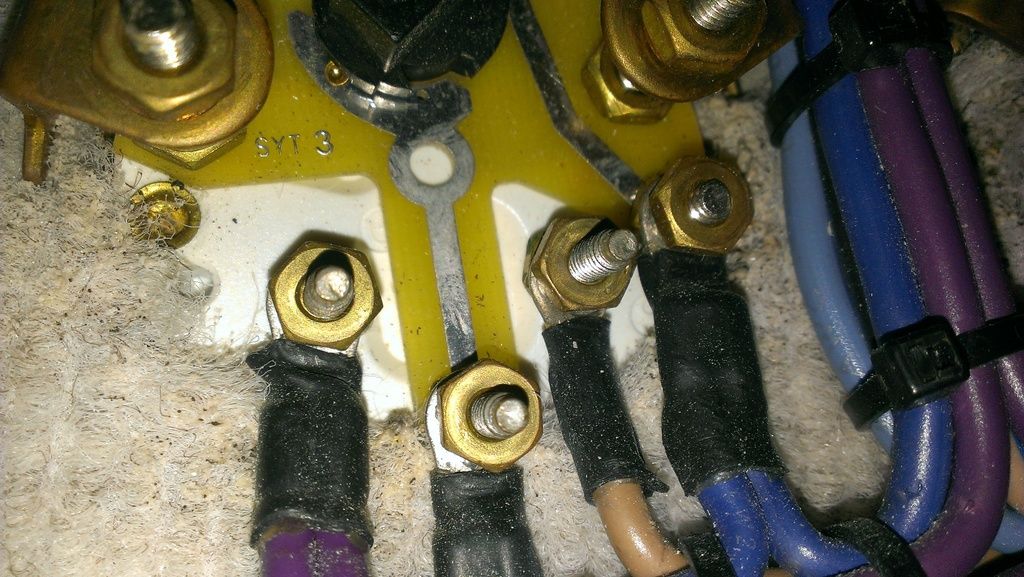
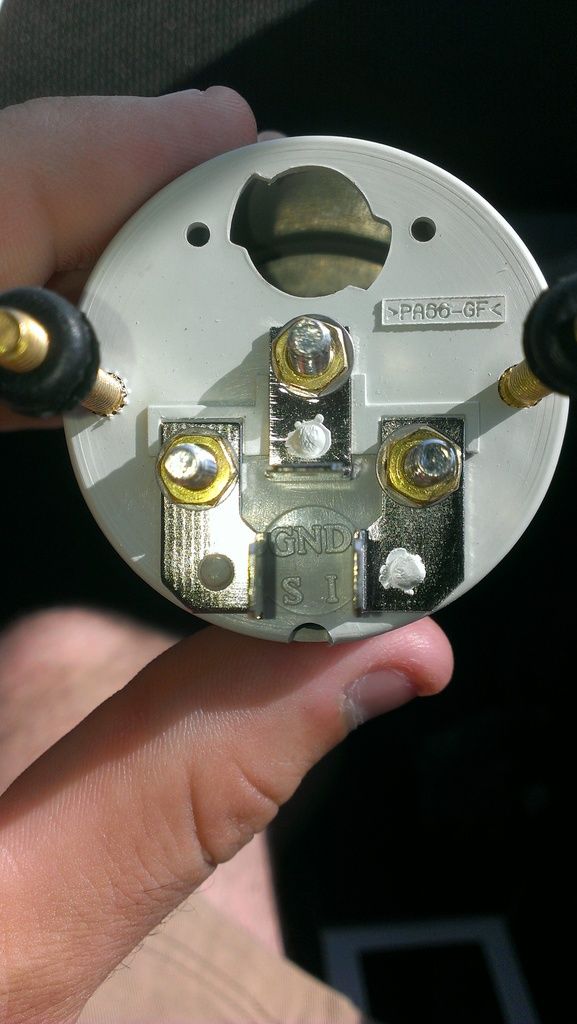
Hey guys- so I'm trying to upgrade my gauges and as usual, everything is an absolute pain in the ass and nothing can be simple. What I have going on is that my original gauges which are in pic one and two have four posts, the one on the far left (purple wire) is for the warning lights in the center. My new gauges are auto meter and do not have the warning lights. They also have the Illumination and sender posts on the opposite sides of the gauge and the ground on top of those instead of the bottom (not usually any problem at all except when each f&#&$@?#+ wire is cut and zip tied to exact length and I don't have enough wire to reach the new post location). But anyway I can get around that. My question is which posts are which on the old gauges? Gaffrig should be slapped for having such sh!tty labeling. The S and I labels are off in no man's land not by any particular post. The middle one is Ground obviously but any help would be appreciated. The third pic is the new gauge.


Last edited by AJ POWERPLAY; 07-09-2015 at 04:51 PM.
 07-10-2015, 01:06 AM
#4
Charter Member # 55
One wire will run from the socket to the ground terminal stud and one will have to connect to dark blue wires.
07-10-2015, 01:28 AM
#5
Registered
The original Gaffrig gauge uses a separate bulb in a twist type socket powered via circuit (sorry, don't know the correct terminology), hence the 4th wire (blue on bottom right). Looks like the Autometer will require a hard wired light socket pigtail that plugs or twists into back of the gauge.
http://www.autometer.com/catalogsearch/result/?q=3211
Not an Autometer gauge guy, so correct me if I am wrong. It looks like you need a pigtail for your gauge light. One pigtail wire to dk. blue and the other to ground and plug it in. As stated in above post. Purple to Ignition (I), Black to ground and other wire to the tach (S).


