

Mirage 217 -Bringing it back
 07-16-2023, 11:59 PM
#21
Finished updating most of the gauges. Next year I'll be looking to redo the dash and controls panels. That will include a Map-reader.
I also went to work updating the sound system. A boat this old has had a few iterations of stereos. Today it's bluetooth and streaming, so it was absolutely a must to update.The head units are pretty simple now, and I'm a Fosgate user from a long time ago, so that head unit seemed like a good fit.
My three amps have been stored in a dry place for all this time. Hooking up the head unit, I was able to test the small amp already. This confirmed all the speakers are also working I'm hoping tomorrow to get a couple more patch cables to test the main and subwoofer amp.
Should make the girls happy to have some summer sounds that they can stream from their phones.
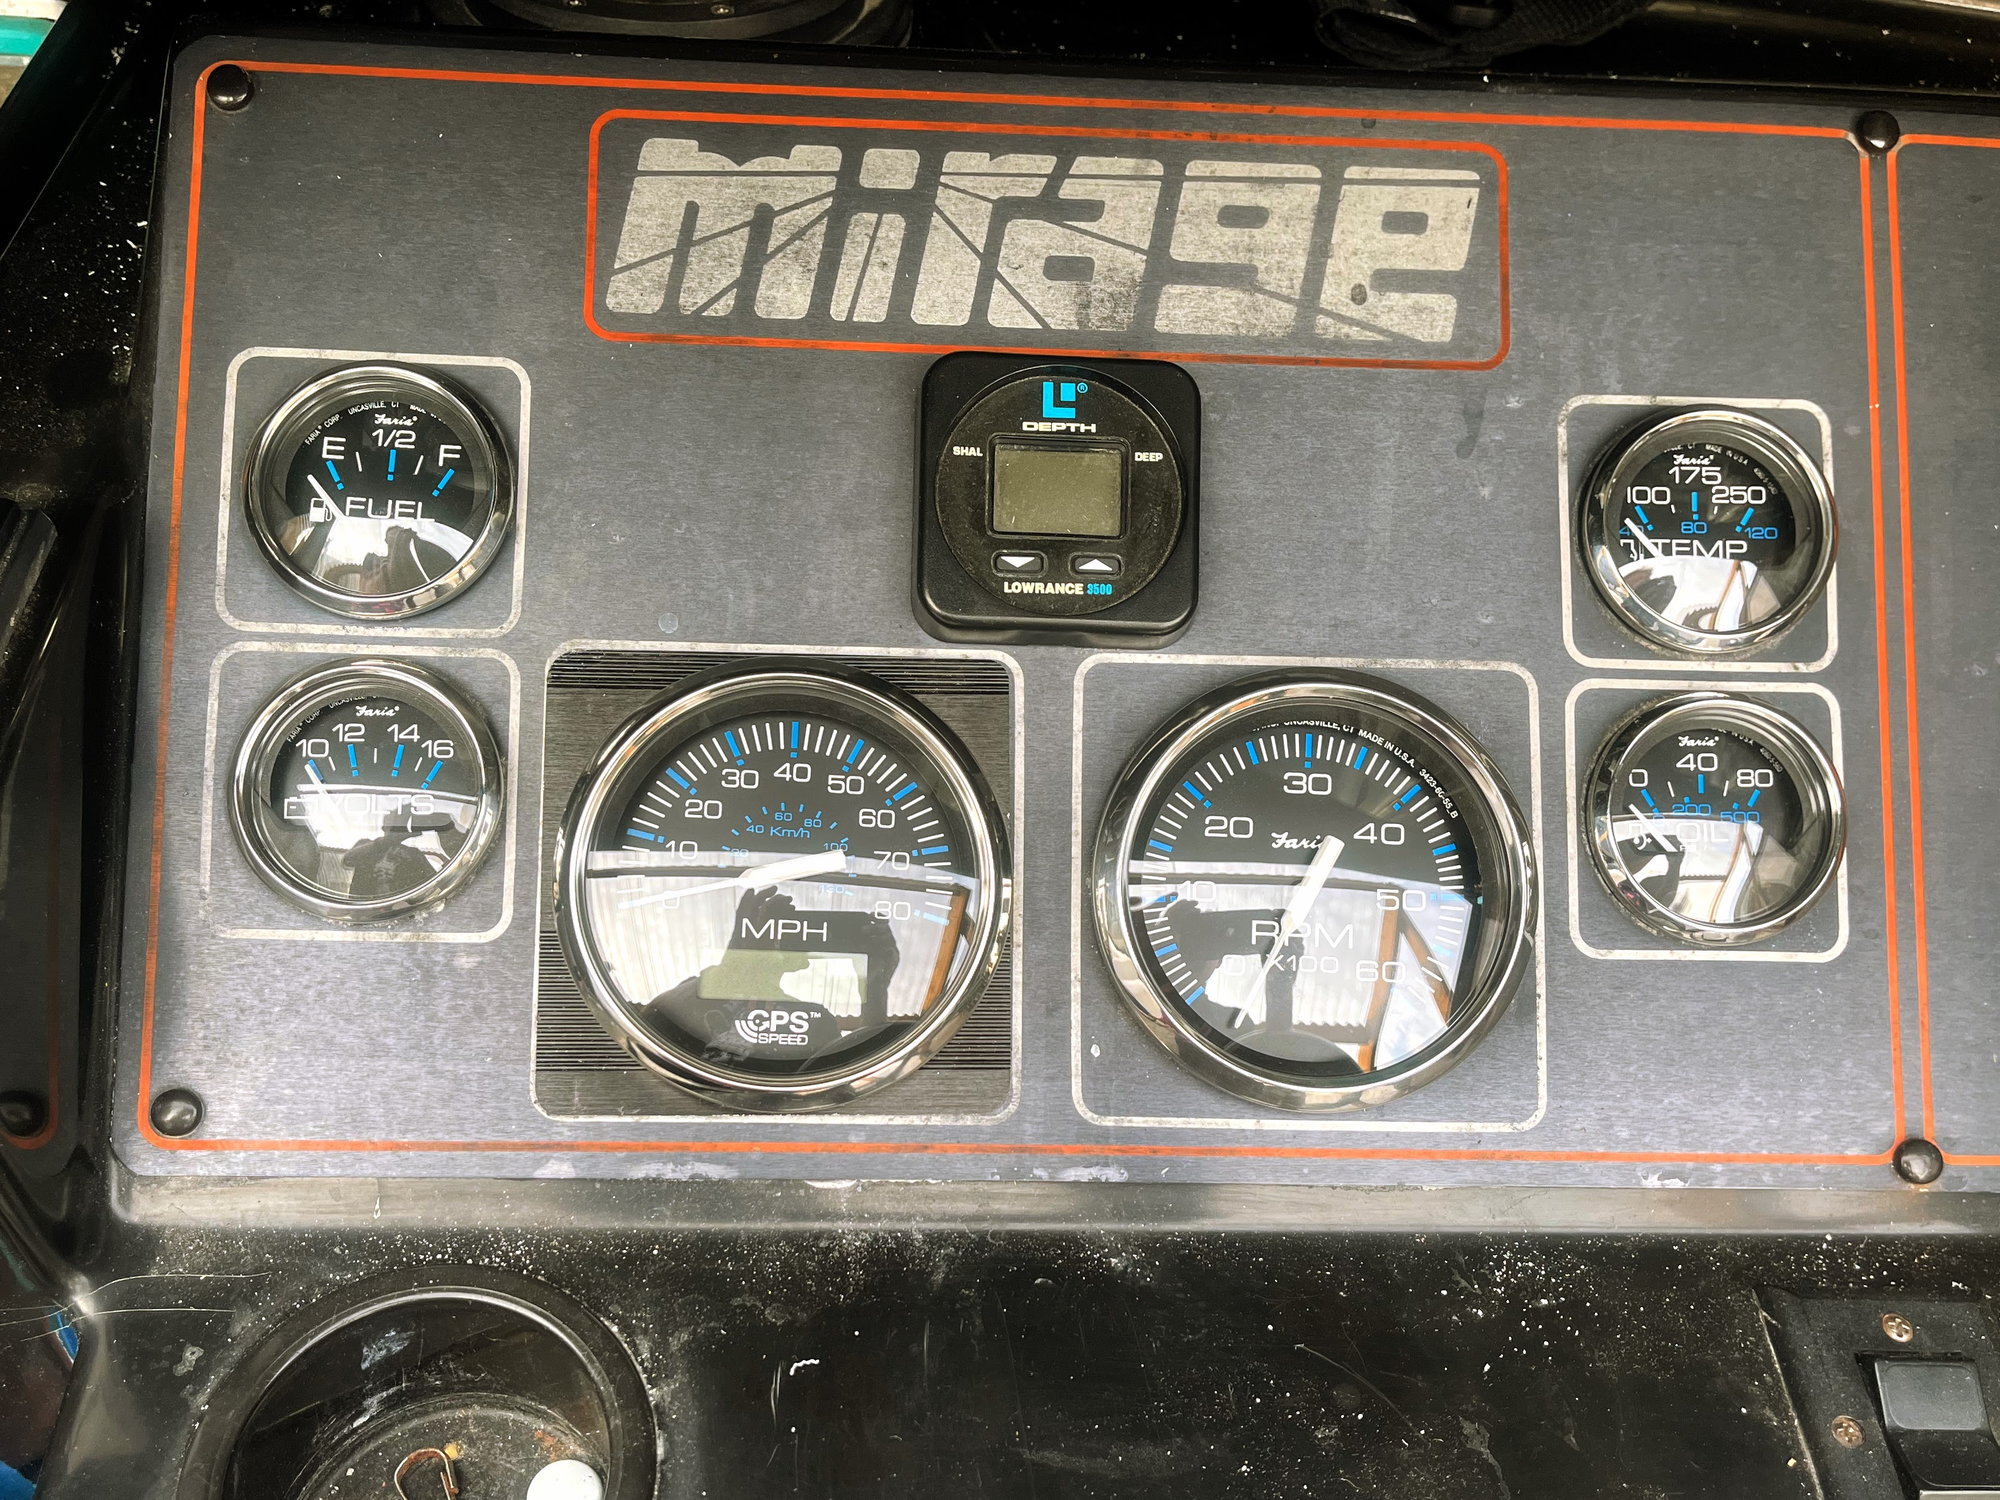
Faria gauges and a GPS speedo
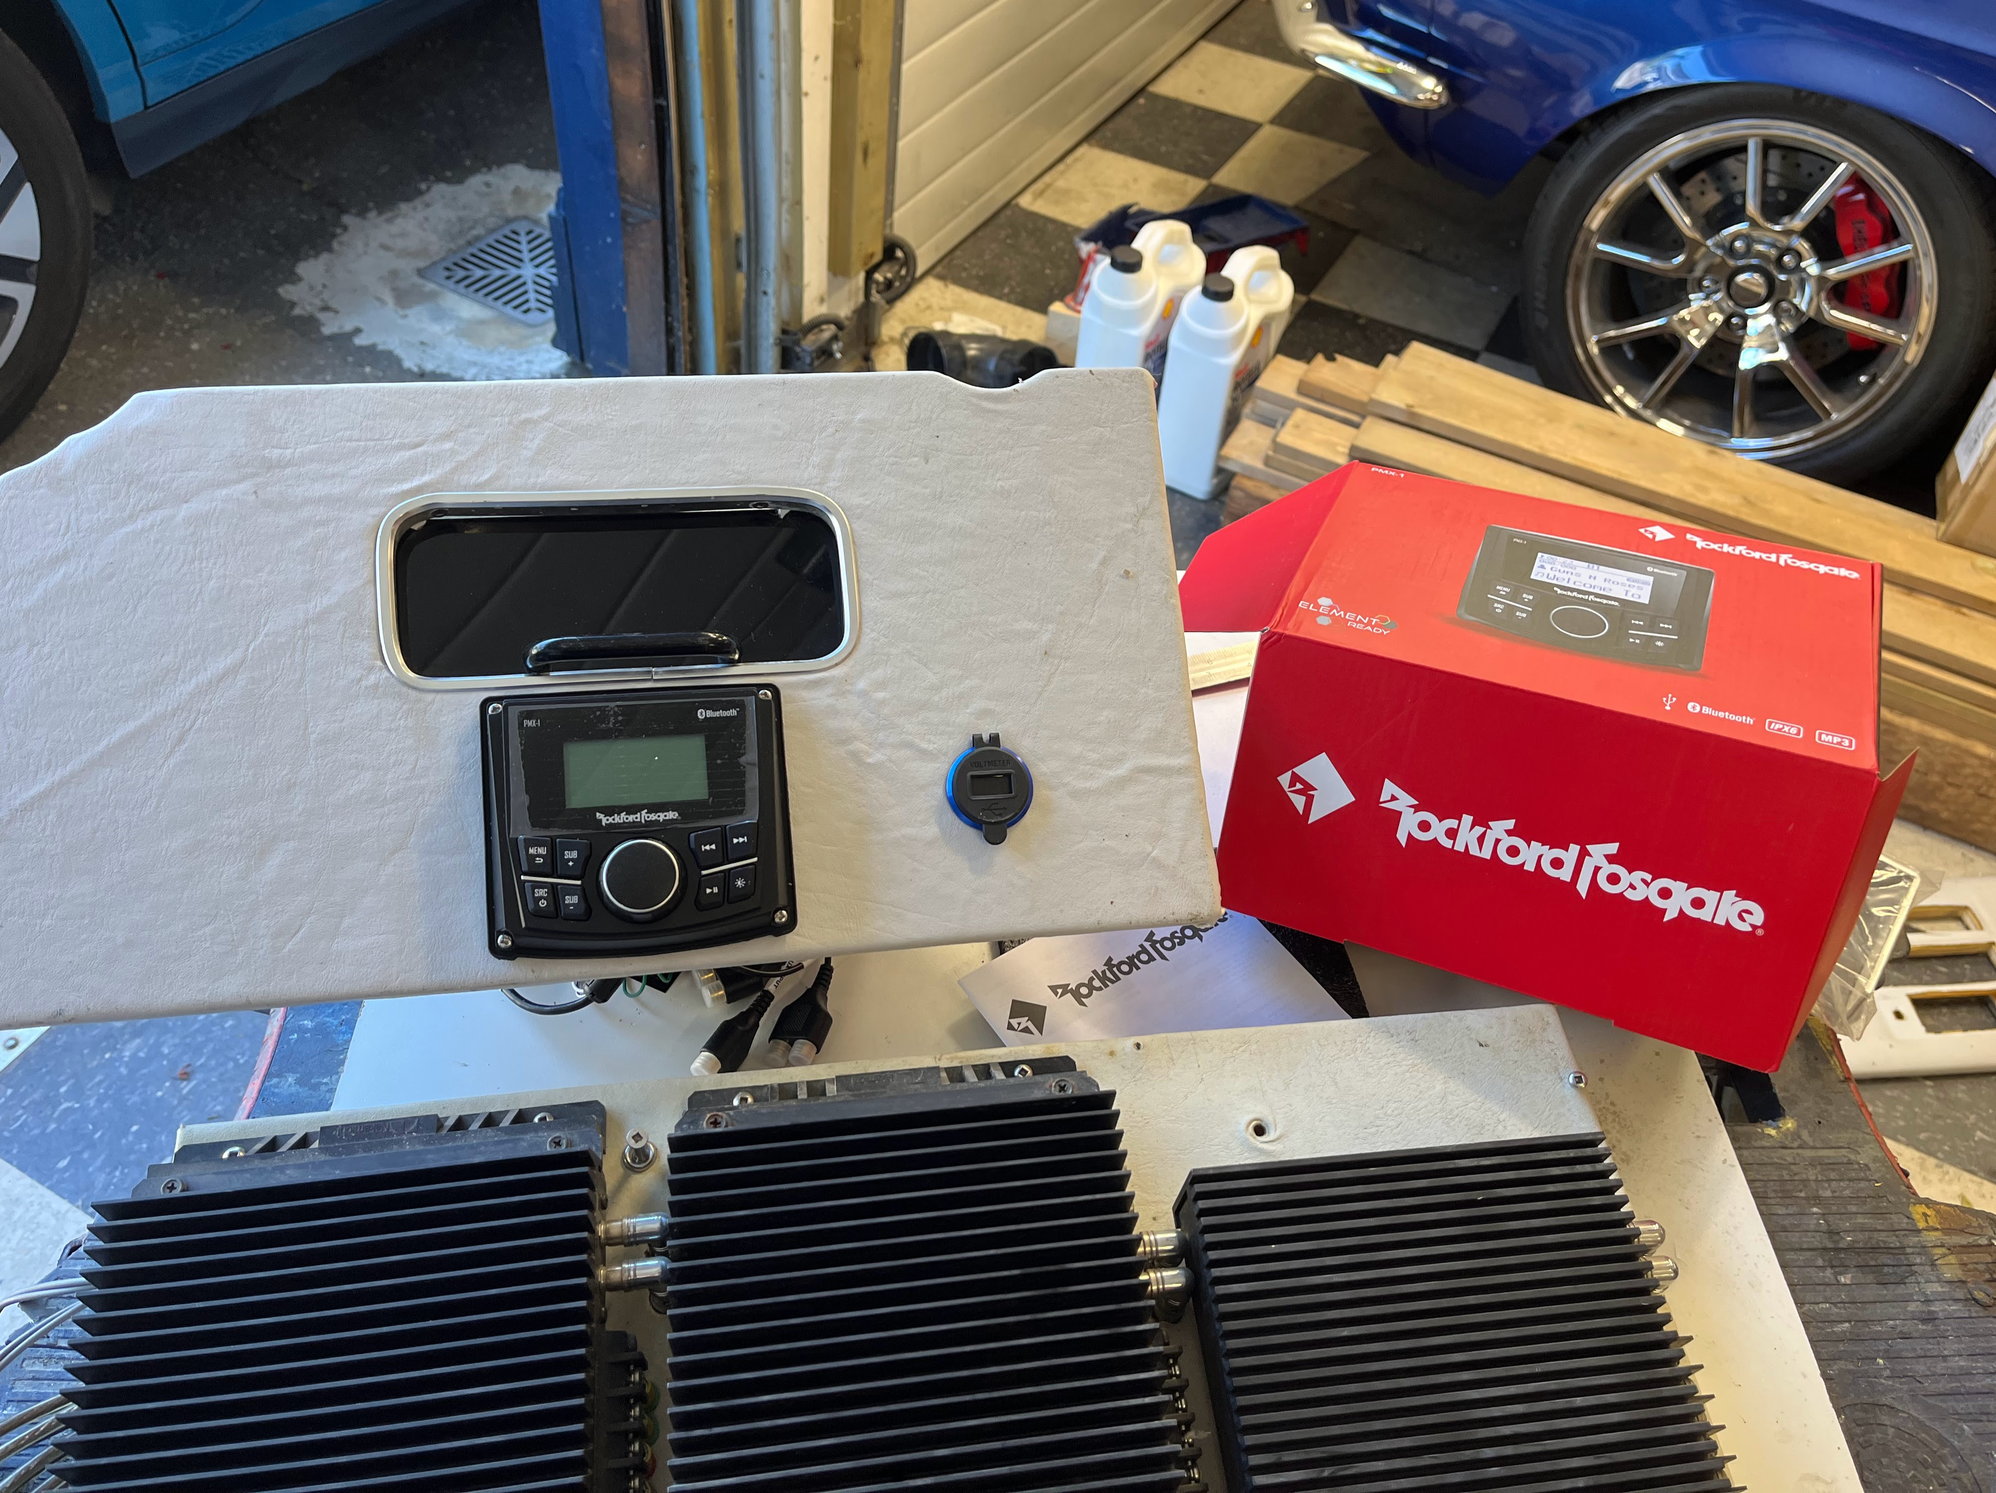
New Fosgate bluetooth head unit and a triple set of old amps
I also went to work updating the sound system. A boat this old has had a few iterations of stereos. Today it's bluetooth and streaming, so it was absolutely a must to update.The head units are pretty simple now, and I'm a Fosgate user from a long time ago, so that head unit seemed like a good fit.
My three amps have been stored in a dry place for all this time. Hooking up the head unit, I was able to test the small amp already. This confirmed all the speakers are also working I'm hoping tomorrow to get a couple more patch cables to test the main and subwoofer amp.
Should make the girls happy to have some summer sounds that they can stream from their phones.
Faria gauges and a GPS speedo
New Fosgate bluetooth head unit and a triple set of old amps
 08-12-2023, 10:59 PM
#22
The boat performed great this summer, and still has that nice edge, when I open her up a bit. But 60 is the limit, before my better half gives me the evil eye.
There were a couple things on my mind to change after the summer. With the grand kids going up in the cuddy, for long rides, I need badly to redesign the seating up there.
I decided to remove the sink, which is pretty much useless. I think I've maybe used it twice in the 30+ years. That would give me room for double seating on either side in the front.
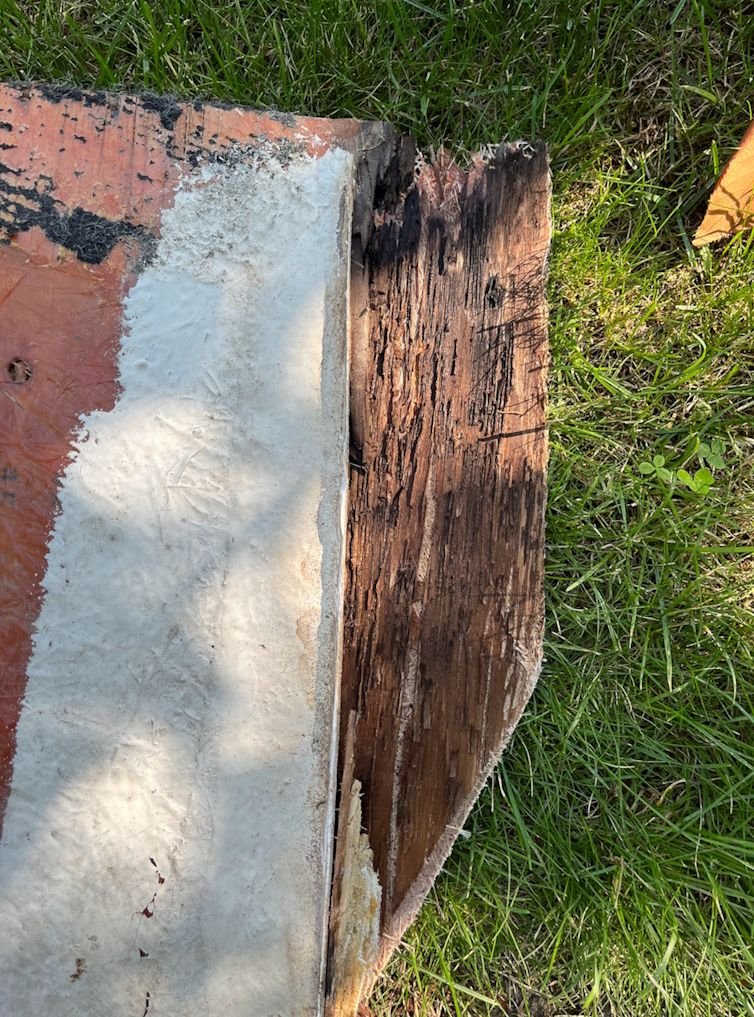
Yesterday and today I went at it trimming out one side and then the other. Not too much of a surprise,the starboard side was good and solid, but the port side was a mess. The foam was damp, and as I trimmed away the foam, there was that black rot in the wood. This was a section original to the boat. I wasn't shocked, but I have to fix it.
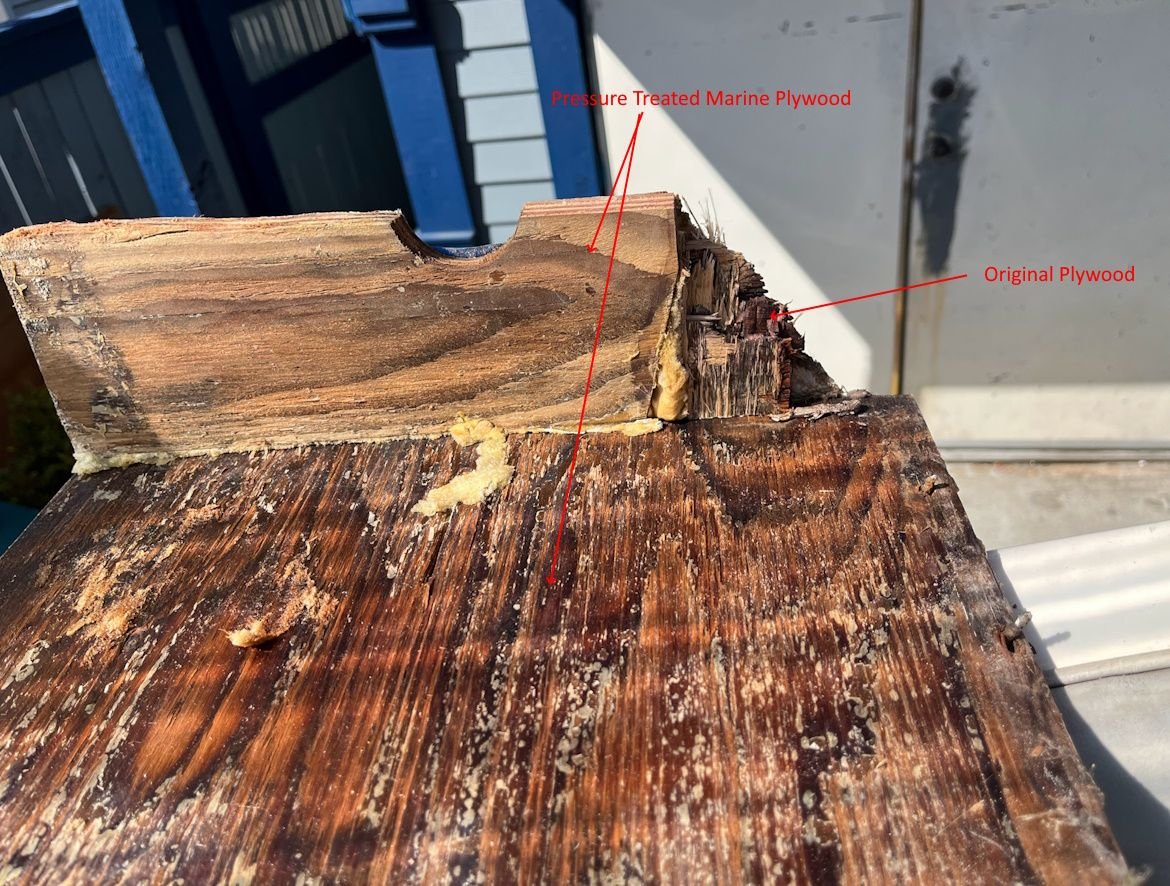
Good that I used pressure treated boat panel, when I redid the stringer system 20ish years ago. That held up well (so far) with only a little damage.
The concerning thing, is the damp foam. Obviously I am getting water ingress from somewhere, so I need to track that down.
I have big plans for the boat, but first will be the demo, and taking everything down. I sectioned the stringer system, when I remade it and added a seeping drain system under the foam, before I filled it, years ago. The idea was to wick any water away at the bottom of the hull. With that, I am hoping the moisture is contained and nothing has made it's way to the beefy stringer assembly that I made in the stern, to support the engine.
There were a couple things on my mind to change after the summer. With the grand kids going up in the cuddy, for long rides, I need badly to redesign the seating up there.
I decided to remove the sink, which is pretty much useless. I think I've maybe used it twice in the 30+ years. That would give me room for double seating on either side in the front.
Yesterday and today I went at it trimming out one side and then the other. Not too much of a surprise,the starboard side was good and solid, but the port side was a mess. The foam was damp, and as I trimmed away the foam, there was that black rot in the wood. This was a section original to the boat. I wasn't shocked, but I have to fix it.
Good that I used pressure treated boat panel, when I redid the stringer system 20ish years ago. That held up well (so far) with only a little damage.
The concerning thing, is the damp foam. Obviously I am getting water ingress from somewhere, so I need to track that down.
I have big plans for the boat, but first will be the demo, and taking everything down. I sectioned the stringer system, when I remade it and added a seeping drain system under the foam, before I filled it, years ago. The idea was to wick any water away at the bottom of the hull. With that, I am hoping the moisture is contained and nothing has made it's way to the beefy stringer assembly that I made in the stern, to support the engine.
08-16-2023, 04:43 PM
#23
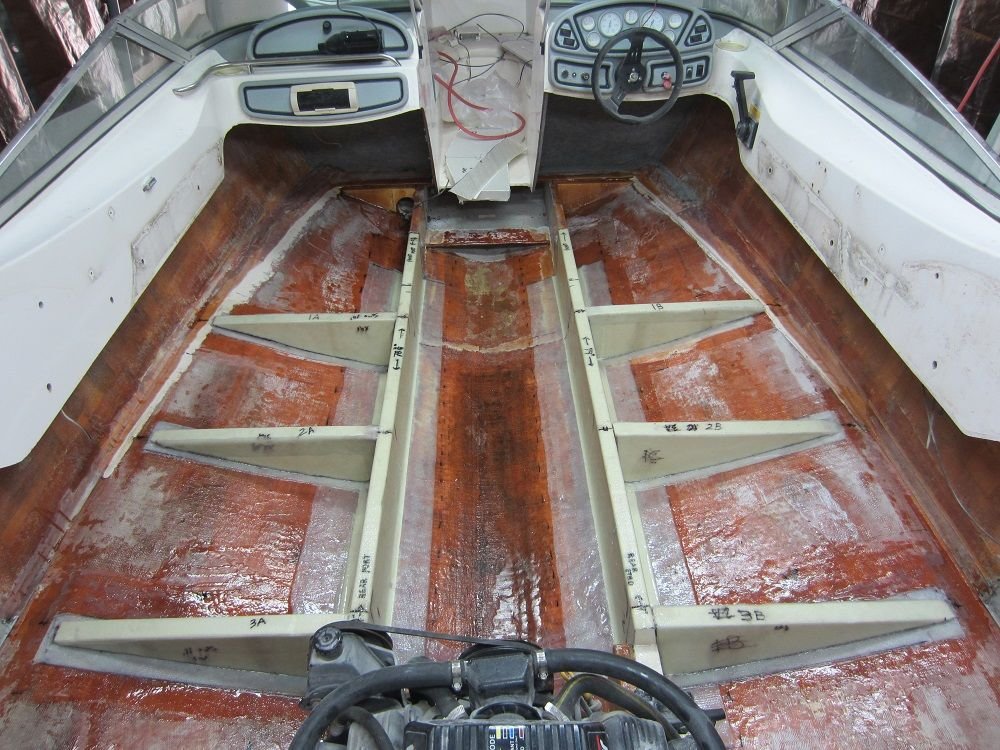
Luckily, I've found a local fiberglass shop that stocks carbon core PVC foam, so I plan on redoing what I need to with that product.
Although as you can see by the photos, the pressure-treated marine plywood has held up well despite the moisture and fungus that was present, over the years.
Hoping other than replacing the floor the stringers have all held up well,
Gives me a little reassurance, that I can make some of the areas lighter as well.
09-07-2023, 10:34 PM
#24
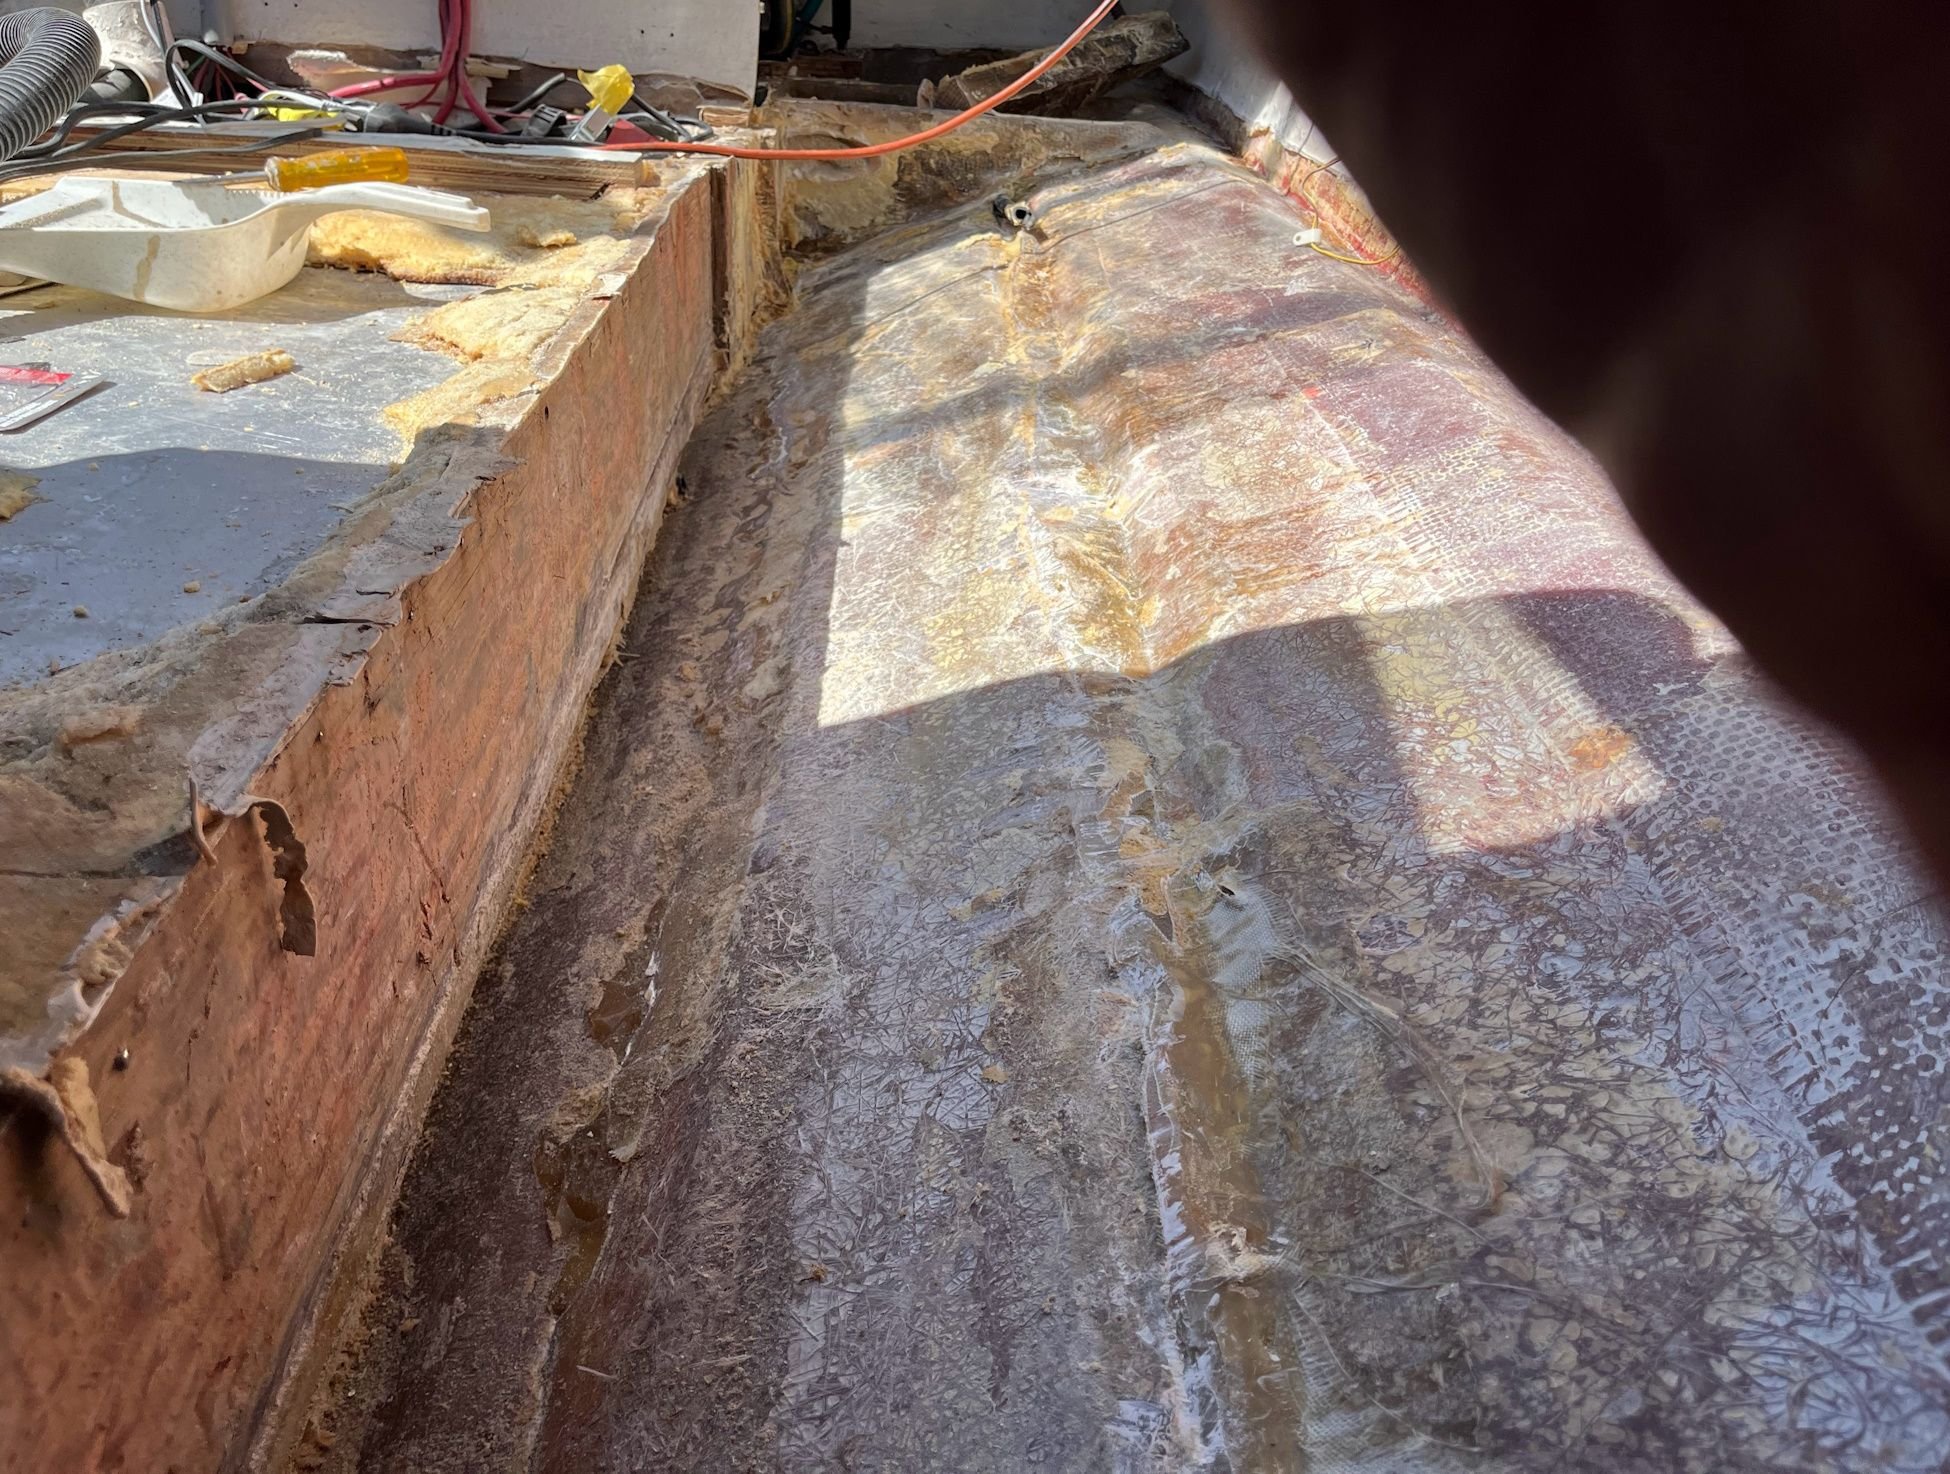
Been on vacation, but started back stripping away the floor.
A couple of things I've noticed. It continues to amaze me how robust the pressure treated marine plywood held up. The main indicator of moisture in removing the floor was the fasteners. I didn't use stainless screws, so where there was moisture, the screws were progressively more rusted.
Since everything is so intact, it's a big job taking it apart.
But it's very clear where the moisture was once I started harvesting out the foam. One particular location was saturated. Since I also added ambient drainage, to weep away any moisture buildup to the bilge, it seems pretty local so far.
This weekend I plan on getting a pressure washer to the ouside of the hull where I think it is potentially getting water inside and see what happens.
04-14-2024, 12:40 PM
#25
I've been slowed down a bit by weather and waiting for a heart procedure, which I got about 7 weeks ago. Feeling energetic enough to get back at it. Sometimes I wish I had a big weather-proof garage to work out of, but I don't so going to do the best I can to get it ready for the summer.
That's a bunch of work, as you all know.
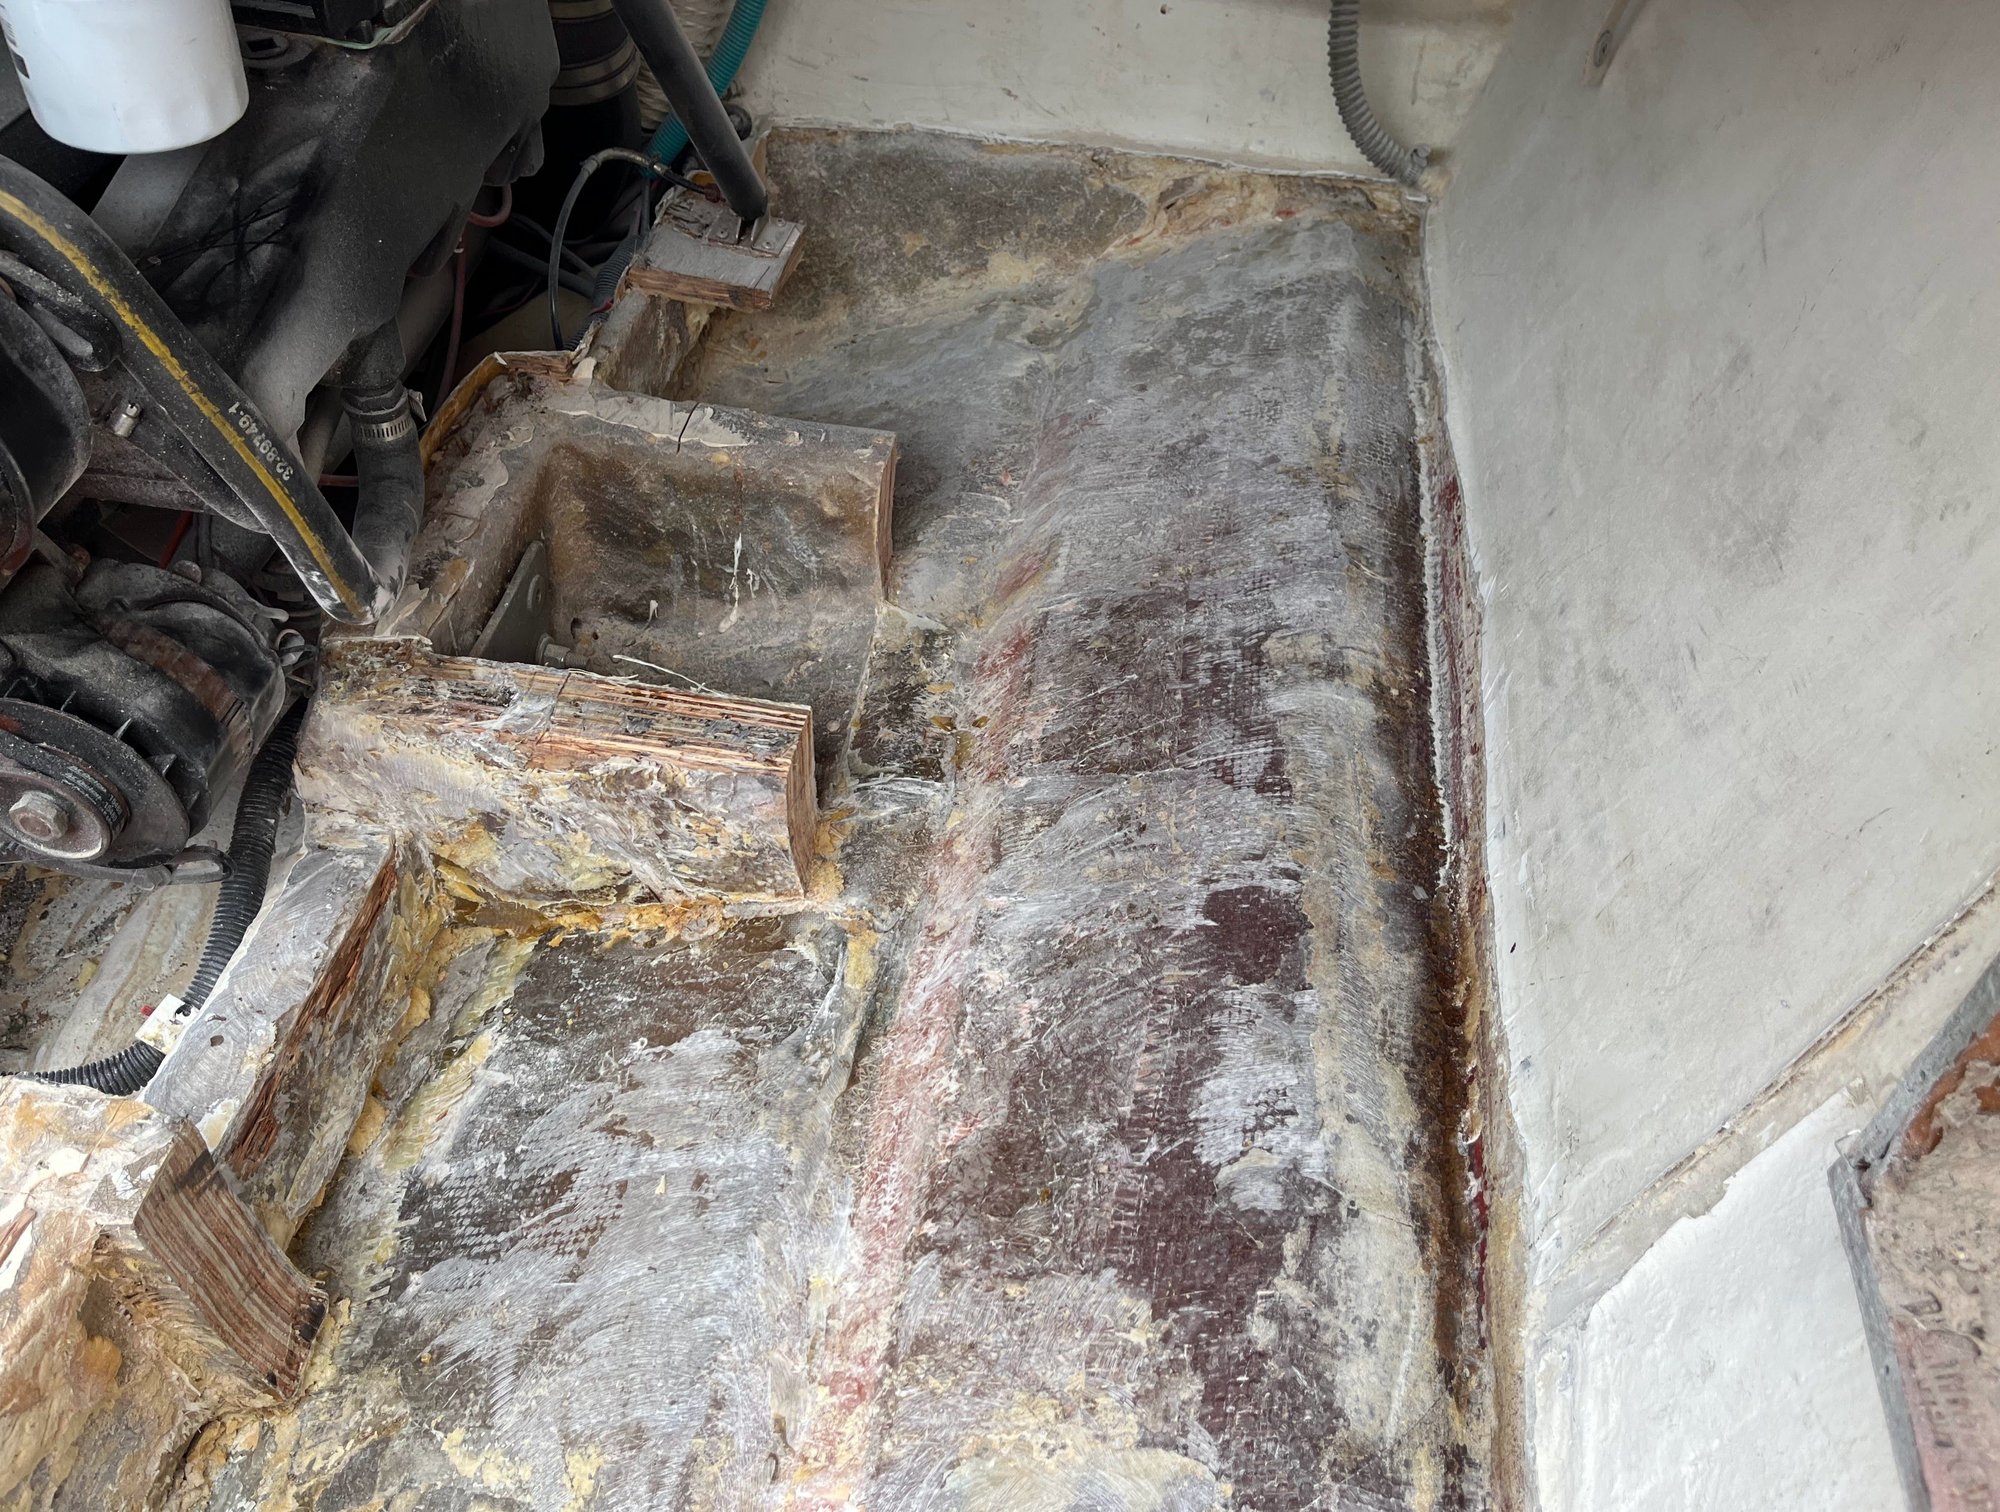
Continuing to strip the stringer system the I built in the 90's out. In a lot of respects I did a good job, but where I didn't do a good job, that's allowed the foam to get saturated underneath. I'm going to have to pull the tank out soon. I am hoping that nothing else comes at me sideways and I've discovered all the evil areas.
Based on all this work, I've decided to use composites for the new stringer system, coosa board or similar.
Went to the boat show a couple of months ago, so have some new ideas.
stripped out one side of the tank
That's a bunch of work, as you all know.
Continuing to strip the stringer system the I built in the 90's out. In a lot of respects I did a good job, but where I didn't do a good job, that's allowed the foam to get saturated underneath. I'm going to have to pull the tank out soon. I am hoping that nothing else comes at me sideways and I've discovered all the evil areas.
Based on all this work, I've decided to use composites for the new stringer system, coosa board or similar.
Went to the boat show a couple of months ago, so have some new ideas.
stripped out one side of the tank
04-14-2024, 01:03 PM
#26
VIP Member
I know a guy who rebuilt his boat with PRISMA stringers...worked out well for him....
__________________
Baja 252 Islander
Baja 252 Islander
04-14-2024, 08:03 PM
#27
04-28-2024, 07:53 PM
#28
Trimming the old fibreglass tabbing, and stringers.
I hate this part of the job, but there are some positives. The pressure treated marine plywood that I used the last time I did the stringer system is 90% intact and not rotted at all.
This also makes it very difficult to take out. It's hard work. Since I bedded the stringers back in the day, with canned spray foam, it made pockets of wet foam throughout the hull.
That's the challenge getting everything cut out, de-foaming the hull.
The 2-part foam is largely dry-ish, but there are some wet pockets.
Little by little making some headway. It's been a good weekend and have almost everything down where I need it, except for draining at then cutting out the fuel tank.
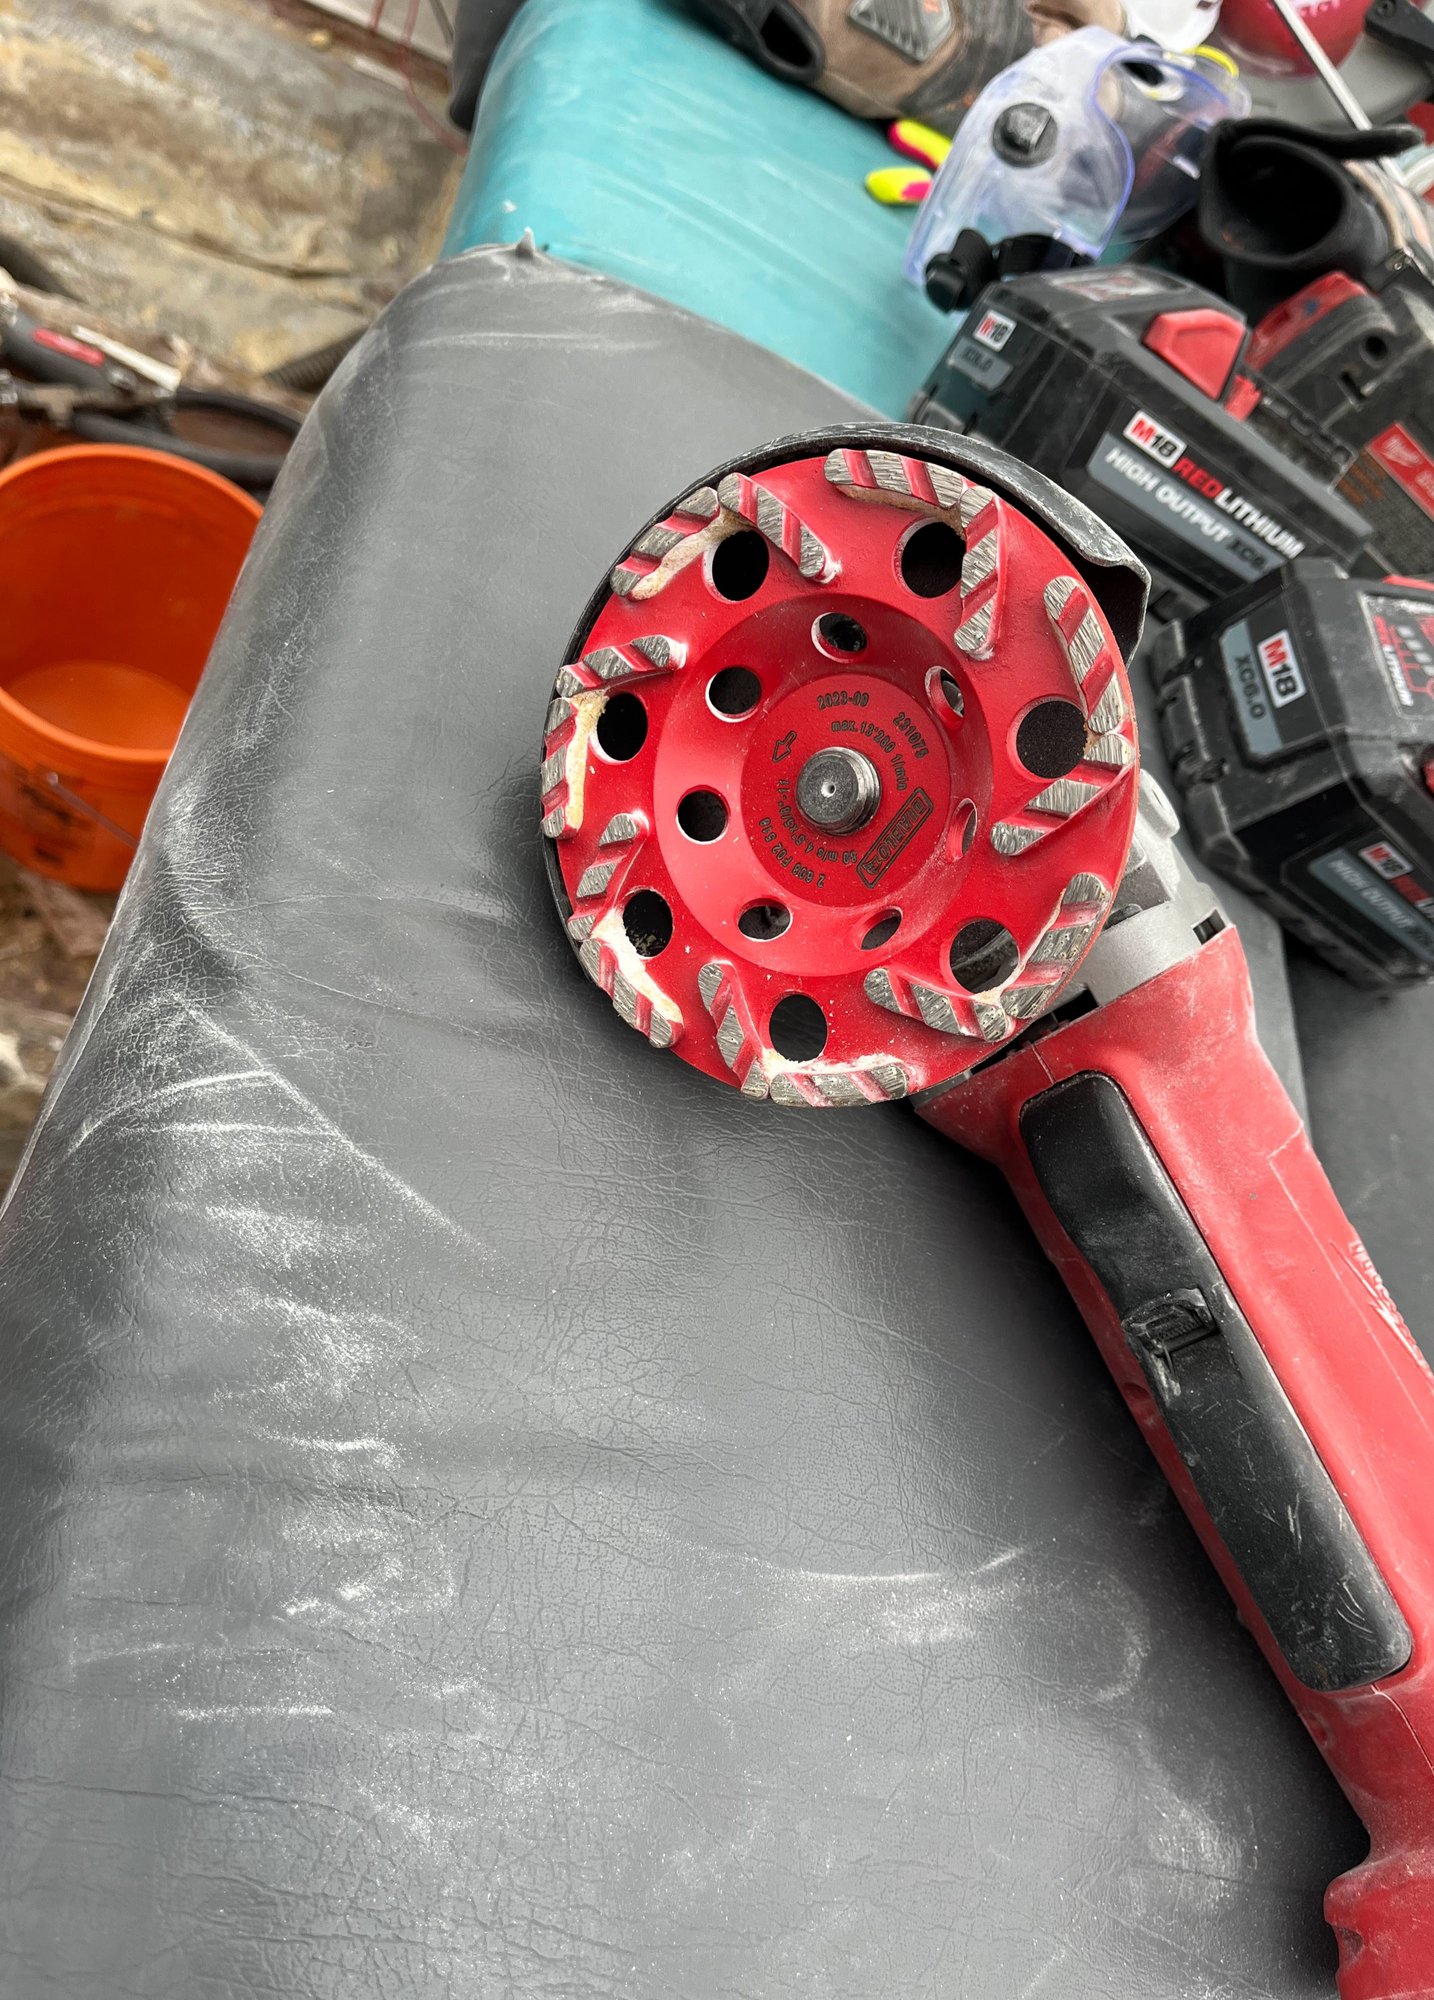
After a bit of a guess, I tried a couple of concrete grinding discs to strip the excess fibreglass and take it down to the bare hull. The one that worked great is called a diablo. It has multiple grinding teeth, Cuts well, stays flat on the hull and does not clog,
I learned something though. Do not use a battery grinder!. I burned out a good grinder. Switched to my corded grinder after that.
Found a local supplier for Coosa panels, so that's the plan. Also going to change the layout of the hull components to make boating a little easier. Have ordered quite a few parts including new Imco exhaust. Should lighten the back end of the boat a few pounds also.
I hate this part of the job, but there are some positives. The pressure treated marine plywood that I used the last time I did the stringer system is 90% intact and not rotted at all.
This also makes it very difficult to take out. It's hard work. Since I bedded the stringers back in the day, with canned spray foam, it made pockets of wet foam throughout the hull.
That's the challenge getting everything cut out, de-foaming the hull.
The 2-part foam is largely dry-ish, but there are some wet pockets.
Little by little making some headway. It's been a good weekend and have almost everything down where I need it, except for draining at then cutting out the fuel tank.
After a bit of a guess, I tried a couple of concrete grinding discs to strip the excess fibreglass and take it down to the bare hull. The one that worked great is called a diablo. It has multiple grinding teeth, Cuts well, stays flat on the hull and does not clog,
I learned something though. Do not use a battery grinder!. I burned out a good grinder. Switched to my corded grinder after that.
Found a local supplier for Coosa panels, so that's the plan. Also going to change the layout of the hull components to make boating a little easier. Have ordered quite a few parts including new Imco exhaust. Should lighten the back end of the boat a few pounds also.
05-04-2024, 09:53 PM
#29
Picked up a few fibreglass materials, along with a little bit of lightweight carbon core.
Battled pretty hard today and got the gas tank free from the hull..
Also the replacement exhaust manifolds came this week.
I am hoping the weather is cooperative tomorrow and I can get close to finish on the stripping of the hull.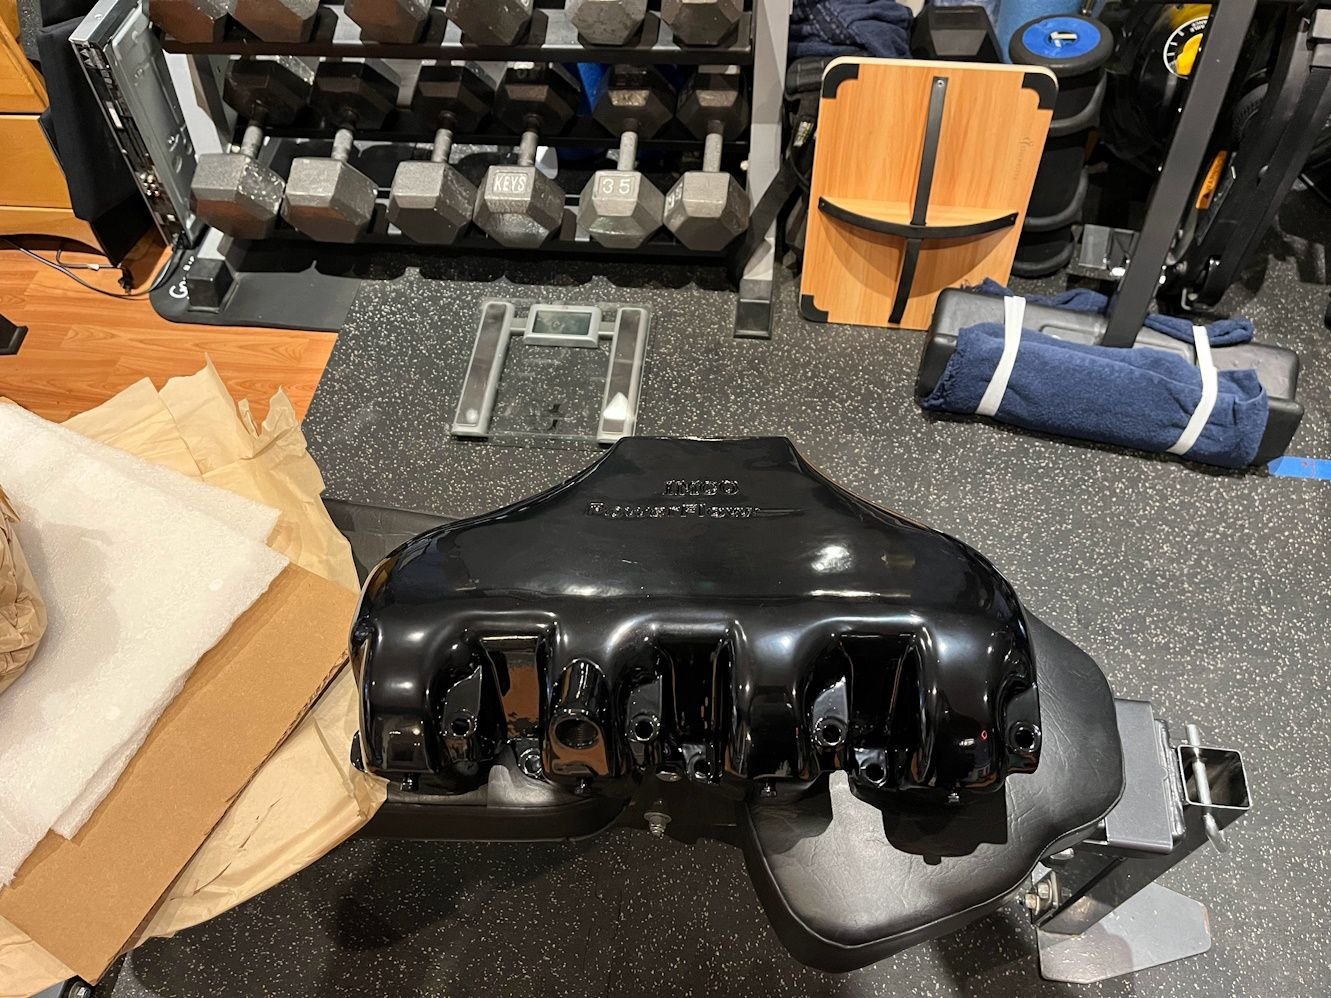
Battled pretty hard today and got the gas tank free from the hull..
Also the replacement exhaust manifolds came this week.
I am hoping the weather is cooperative tomorrow and I can get close to finish on the stripping of the hull.
05-07-2024, 12:07 AM
#30
When I pulled the fuel tank, there was a very heavy fuel smell in the surrounding foam etc. Then when I got to the foam at the base of the tank there was actually some fuel under there.
I assumed the worst that the tank had to be replaced. When I took off the fuel level sending unit there was quite a bit of corrosion around there, along with a pattern that indicated fuel staining from up top, rather than other parts of the tank. I sanded down the tank, in hope that it might be okay.
When I pulled the tank 18 years ago, I gave it a heavy coat of automotive high temp spray paint. I think that saved the tank, as the paint was mostly intact along with minimal corrosion.
Obviously still leaking, I made a plan to pressure test the tank tonight. Despite cleaning up the rubber gasket, clearly it's leaking under pressure at the sending unit, and mostly the screws. A fixable problem, with a new gasket, some permatex and washers for the screws.
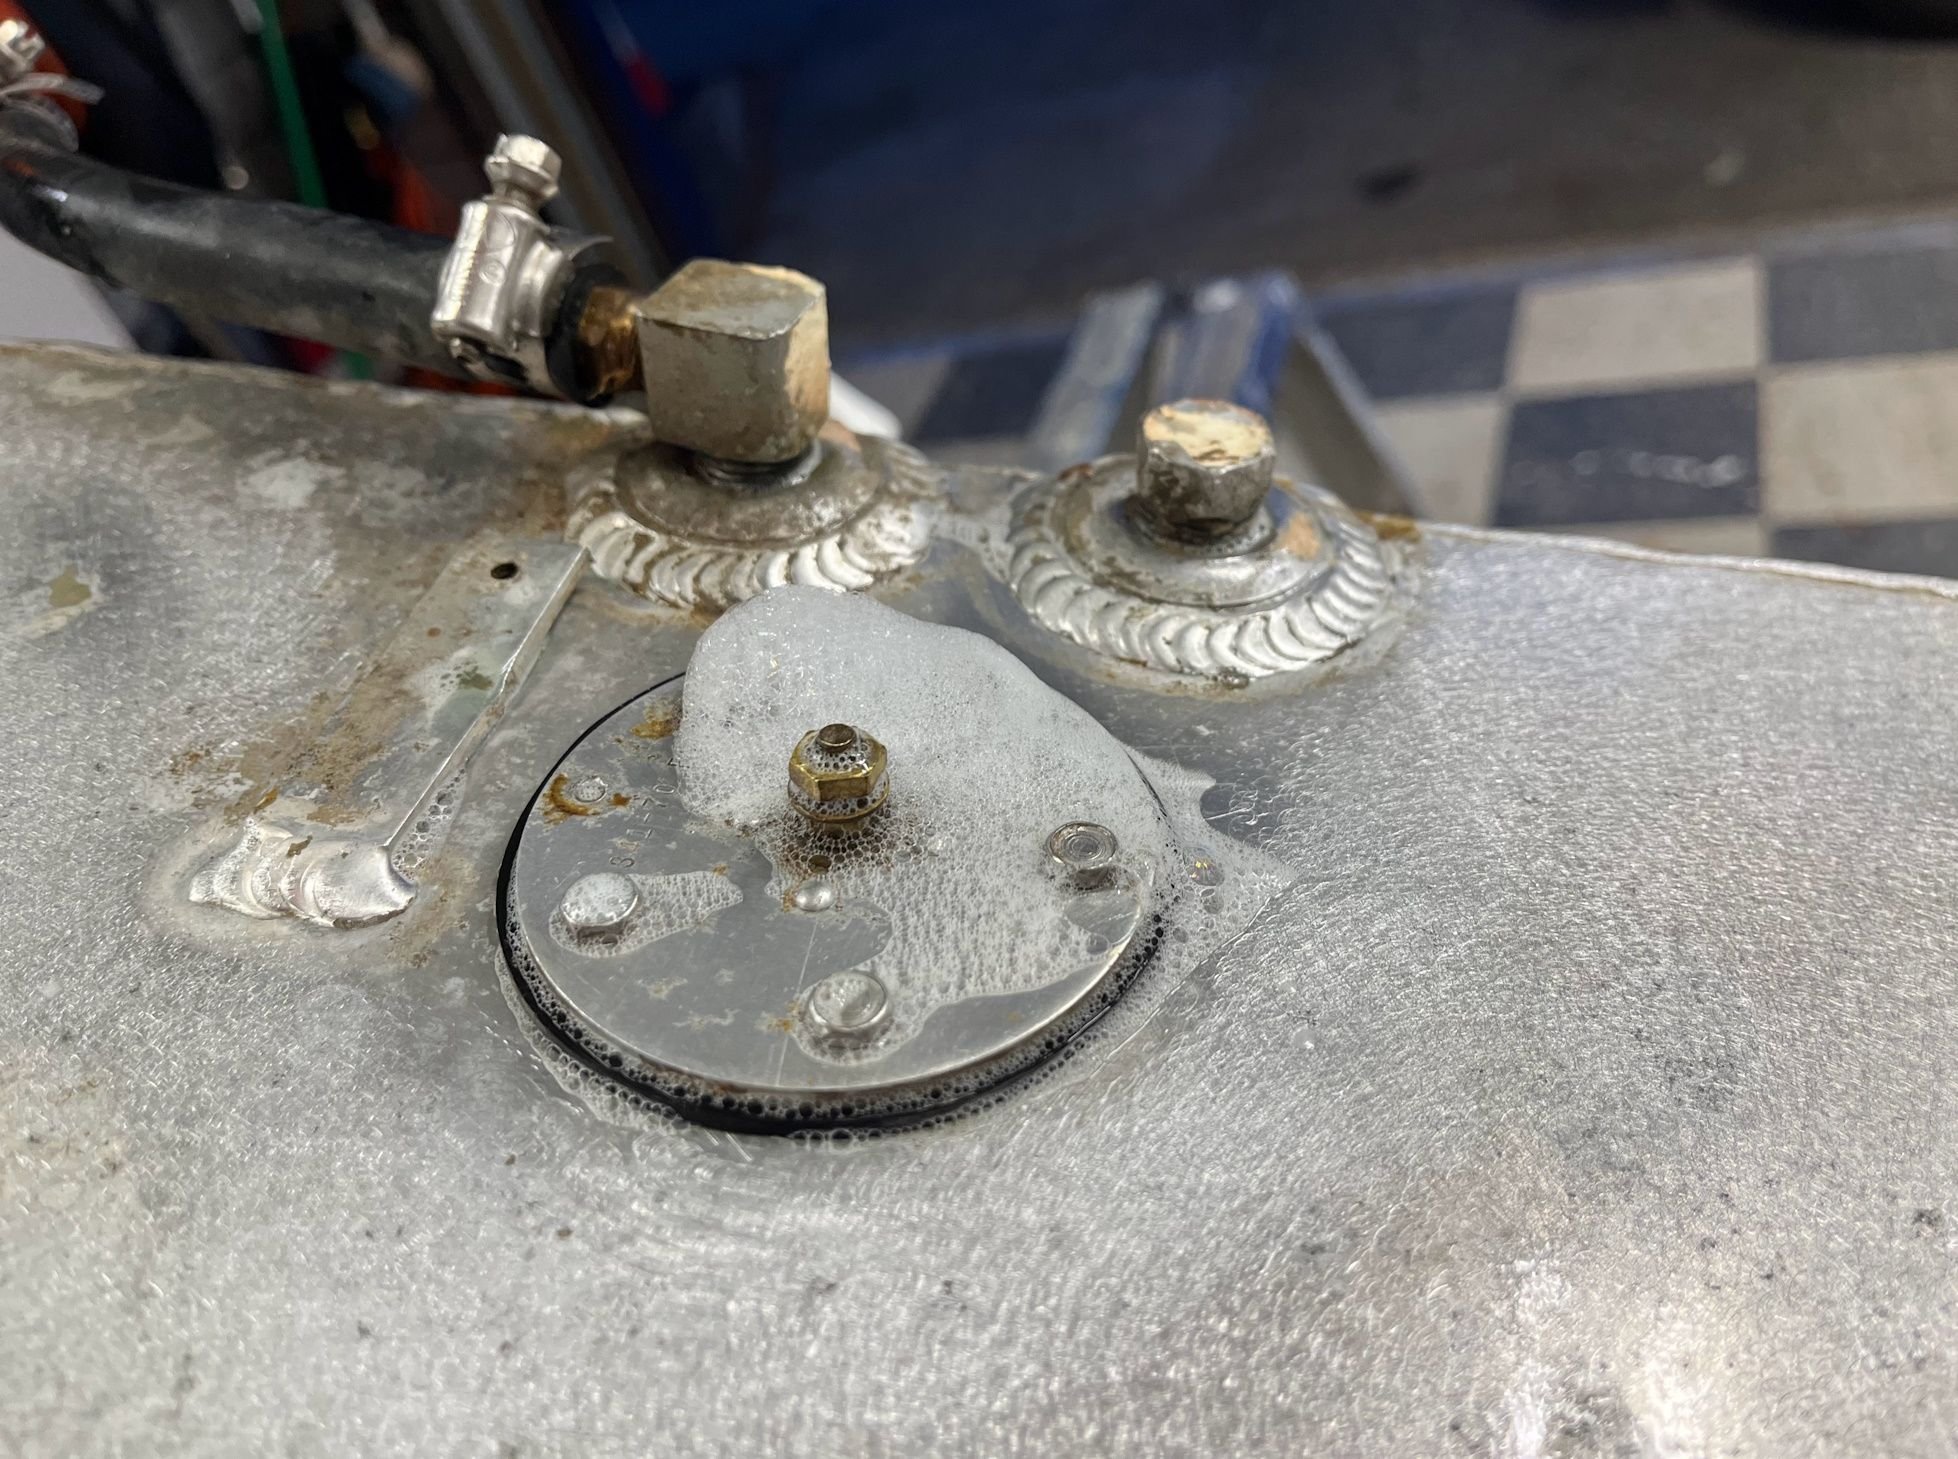
Lots of soap bubbles but a fixable location
I assumed the worst that the tank had to be replaced. When I took off the fuel level sending unit there was quite a bit of corrosion around there, along with a pattern that indicated fuel staining from up top, rather than other parts of the tank. I sanded down the tank, in hope that it might be okay.
When I pulled the tank 18 years ago, I gave it a heavy coat of automotive high temp spray paint. I think that saved the tank, as the paint was mostly intact along with minimal corrosion.
Obviously still leaking, I made a plan to pressure test the tank tonight. Despite cleaning up the rubber gasket, clearly it's leaking under pressure at the sending unit, and mostly the screws. A fixable problem, with a new gasket, some permatex and washers for the screws.
Lots of soap bubbles but a fixable location

