

have a laugh ! it's fun friday
 05-18-2018, 01:25 PM
#31
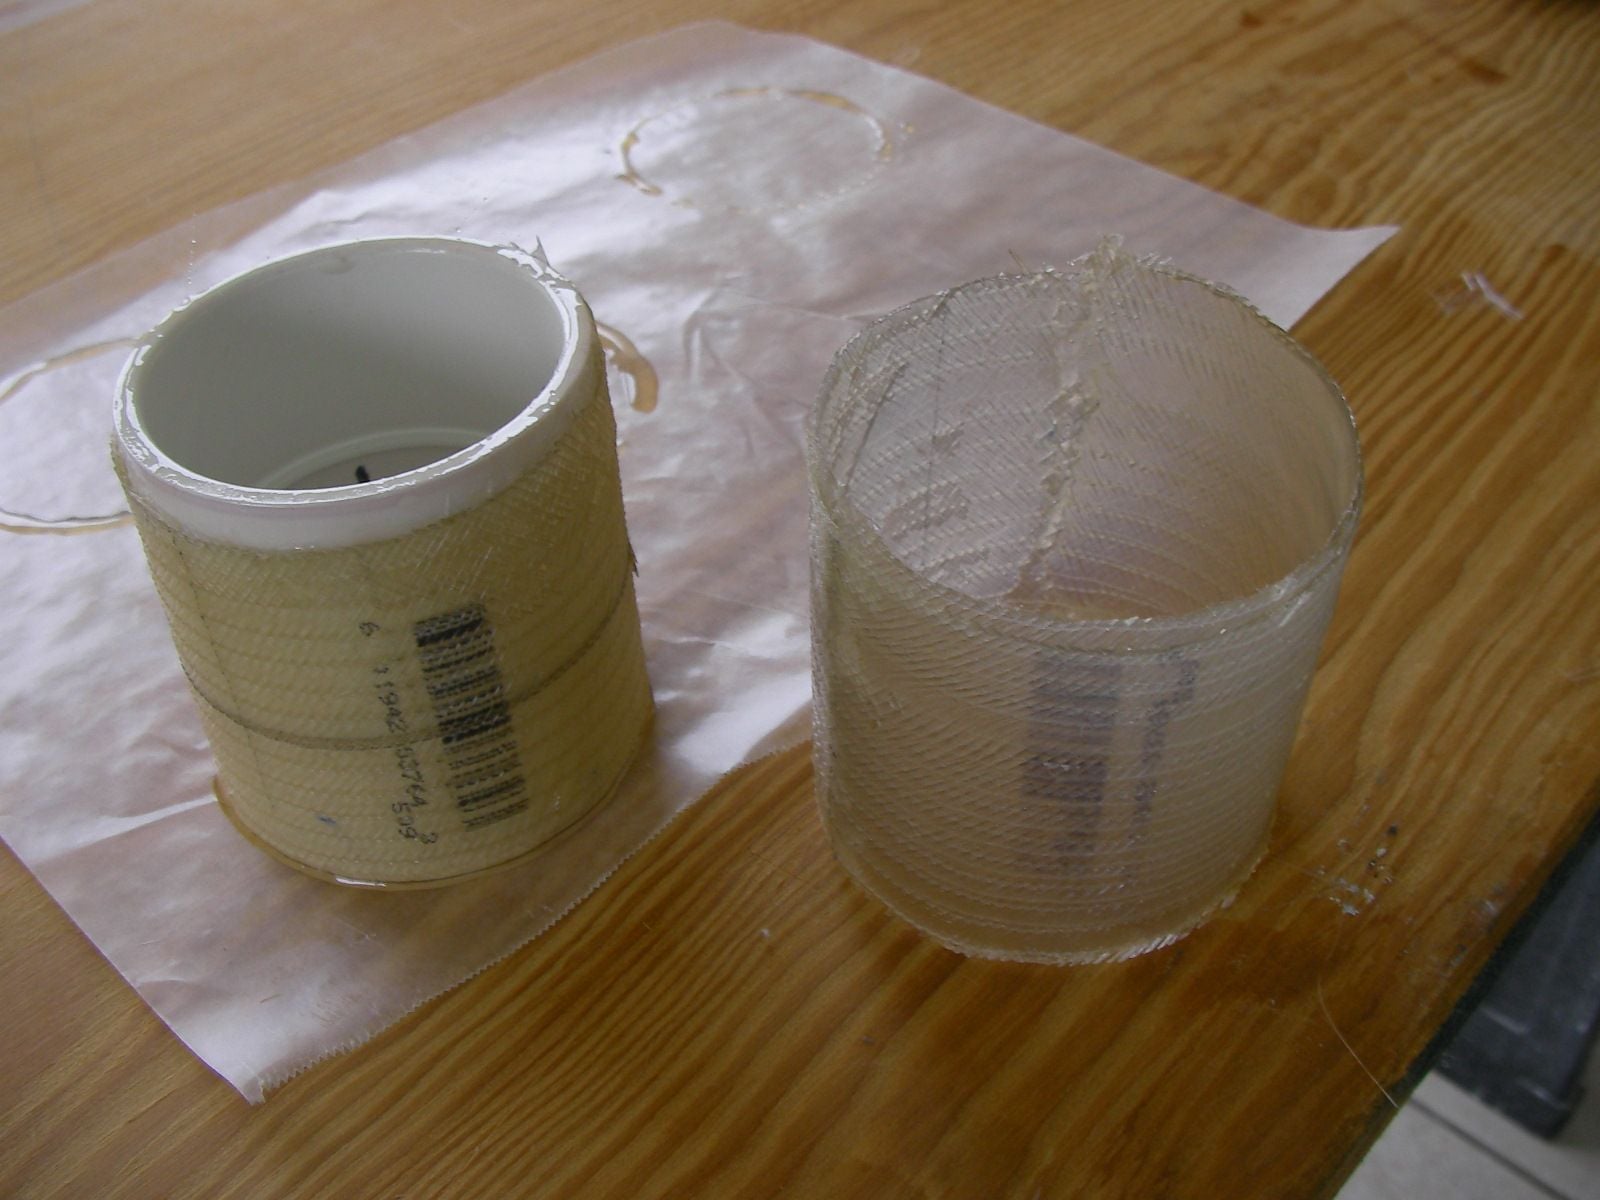
jimofstuart, my fault for not being clear in the description.
meguires maximum release mold wax, 8 coats applied and buffed per directions
foam brush for pva because preval sprayer failed immediately
gel was applied w/ a 2 inch chip brush dipped in gel before every stroke
i will have to call the manufacturer about the gel it is NOT supposed to have wax in it
if it does, everything that was done today is going to be another fail
yes, have a compressor, and a new 0.8 tip hvlp gun strictly for pva.
cdshack that fuzz in the corner is from cleaning the mess out, it was "goo-e" all over
and the little grinder tool couldn't really get all up in there, no did not use a bubble roller.
had no air in it during lay up, it literally blew up as it dried where the resin was light, my fault
thanks guys
 05-18-2018, 01:38 PM
#32
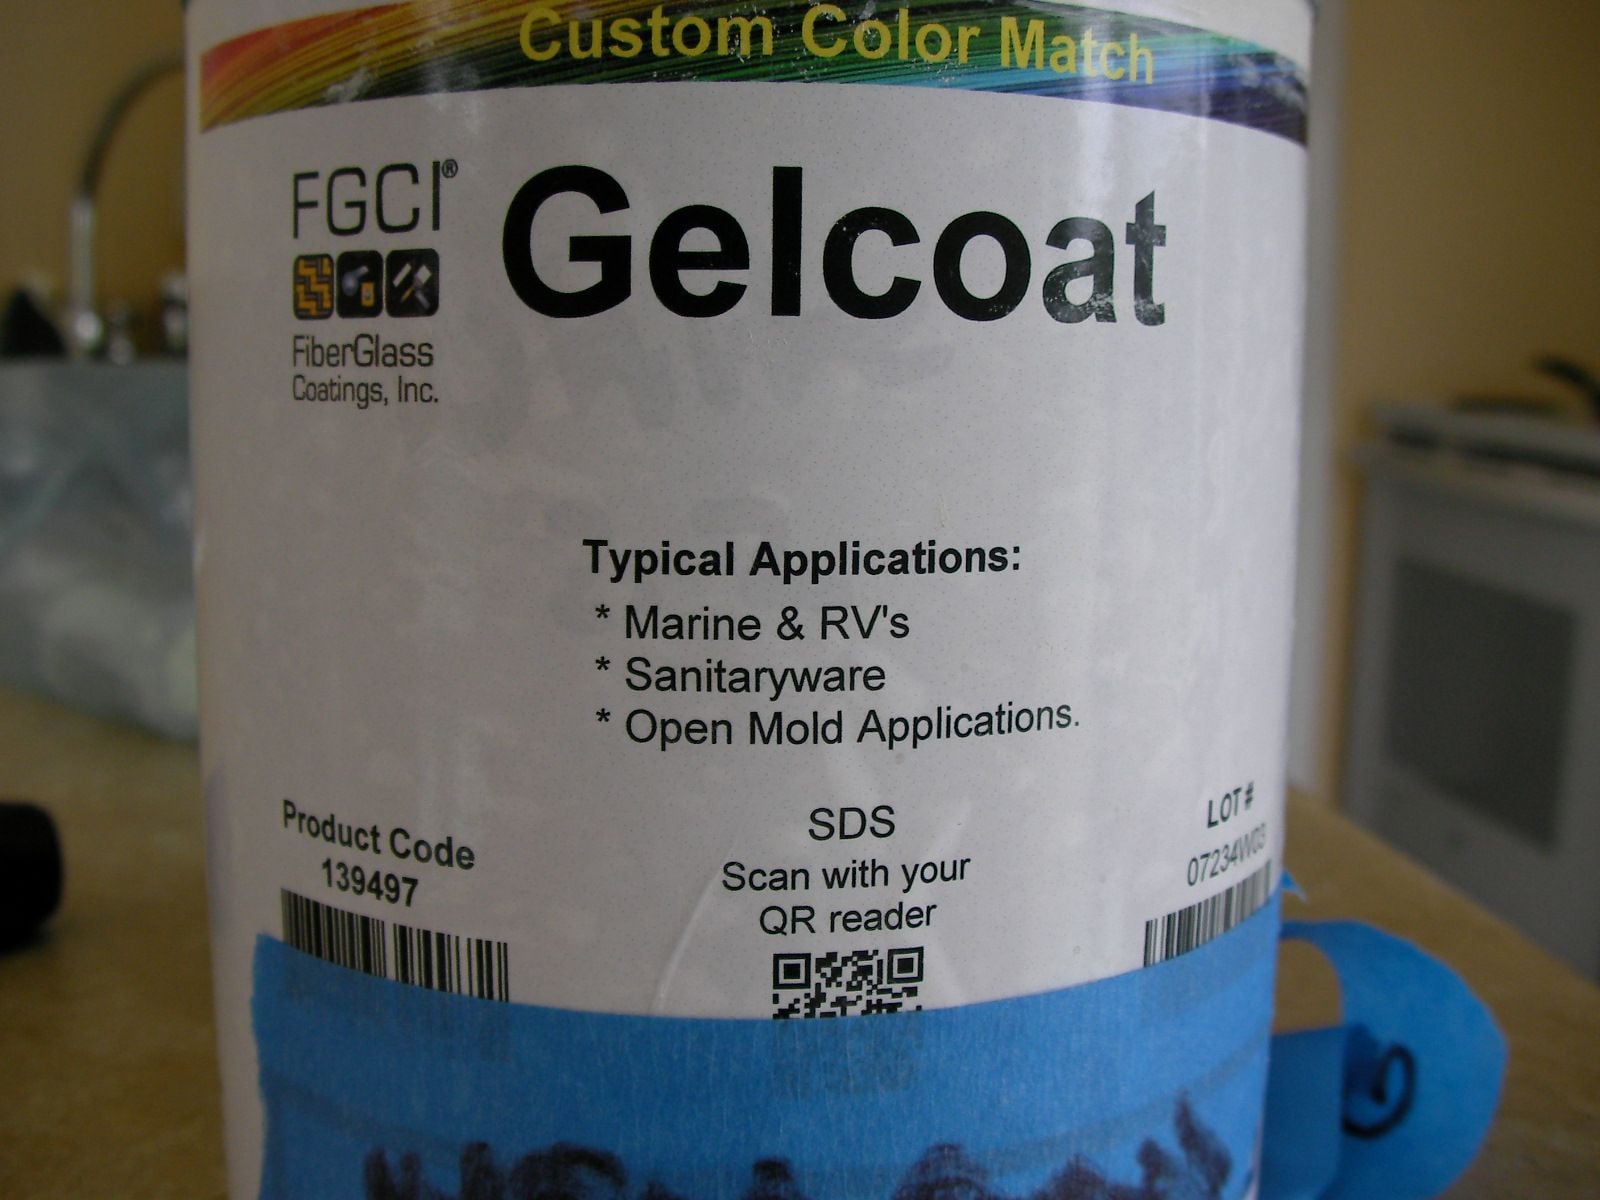
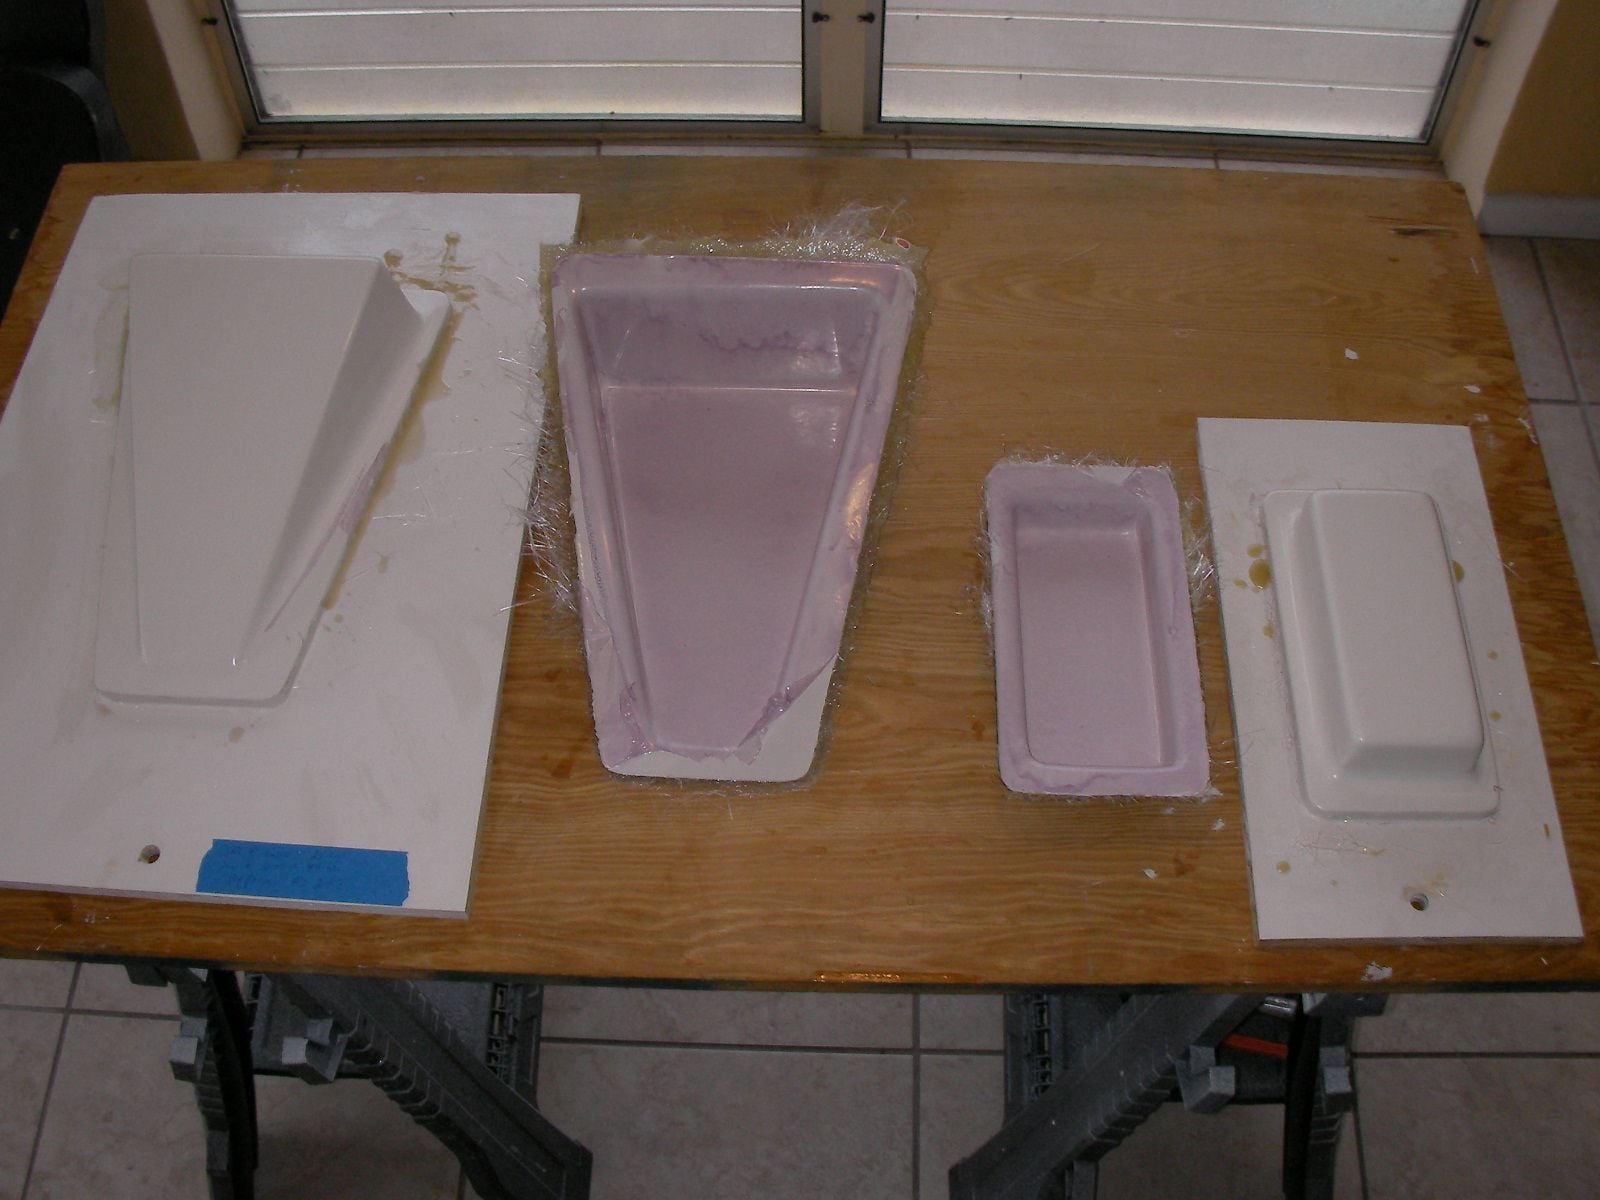
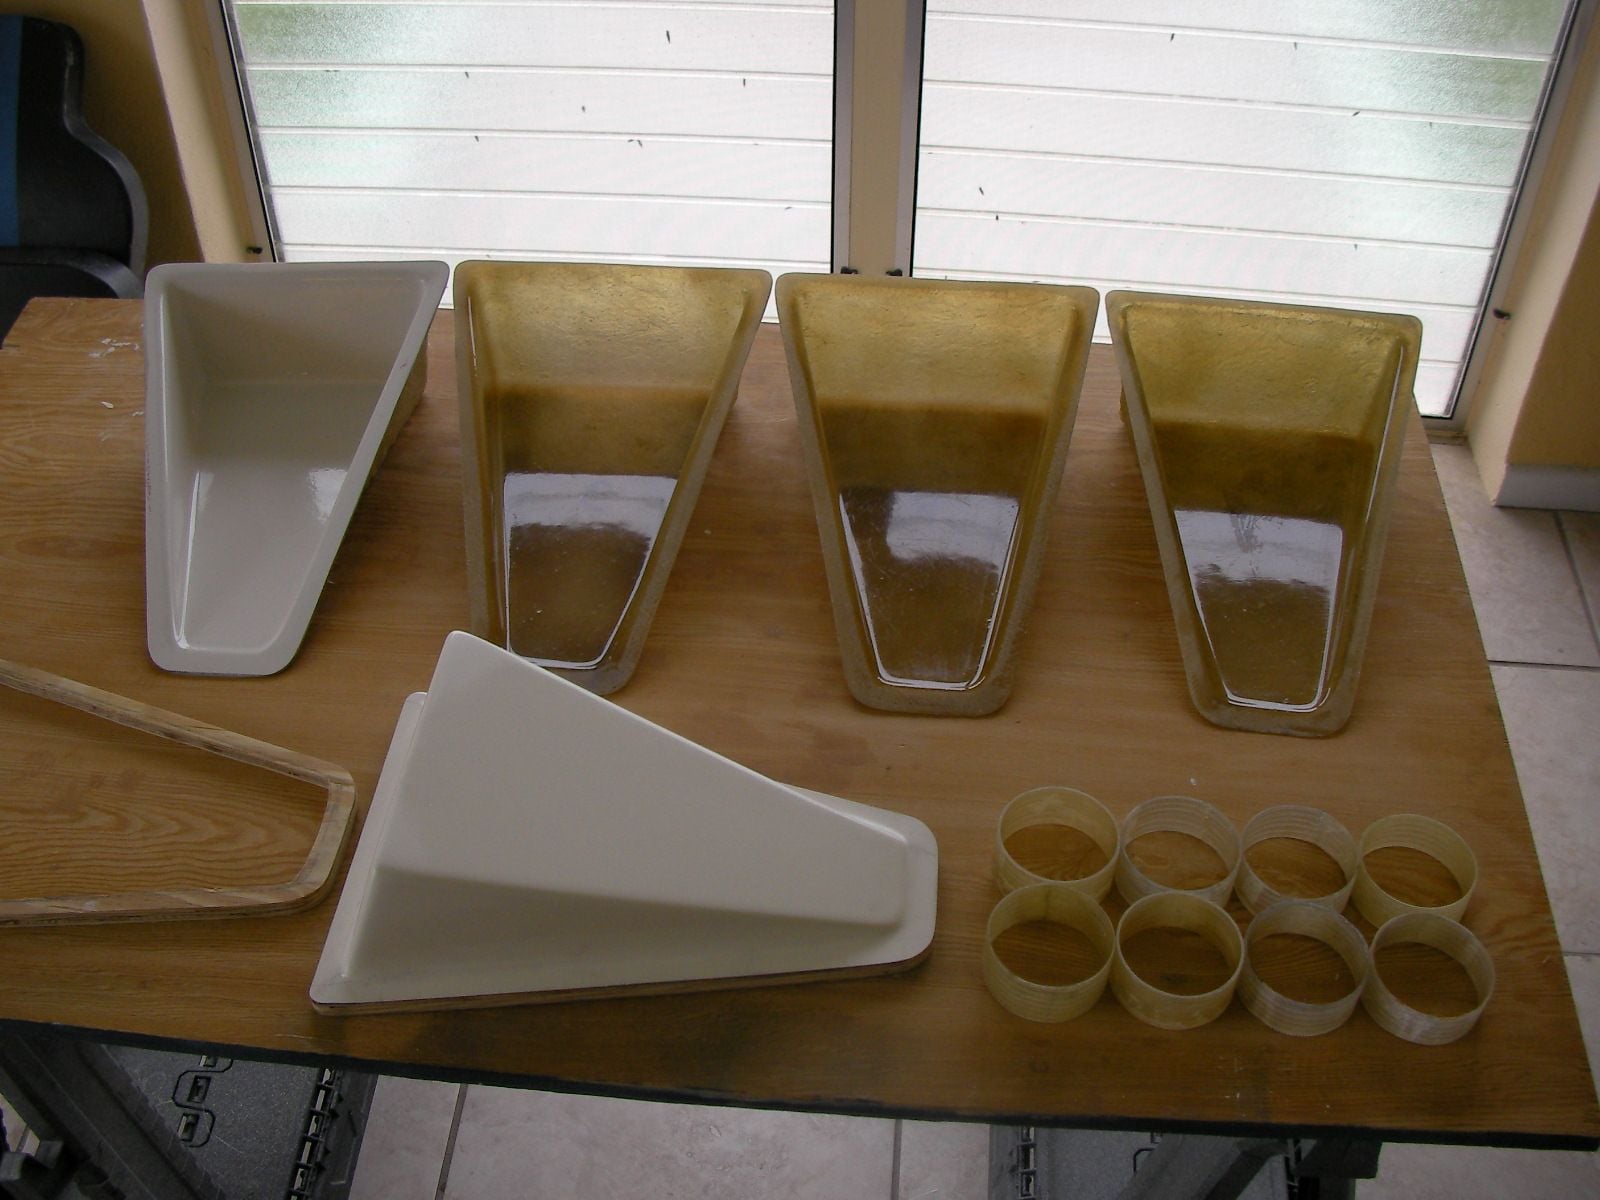
this is the gel for the parts being made now, it's new and just opened.
had pretty good success from the first batch that was shot on the transom, dash and fairing,
( although it was quite a learning curve and a lot of sanding )
first batch was same color, same manufacturer

had pretty good success from the first batch that was shot on the transom, dash and fairing,
( although it was quite a learning curve and a lot of sanding )
first batch was same color, same manufacturer
Last edited by outonsafari; 05-18-2018 at 01:46 PM.
05-19-2018, 08:34 AM
#33
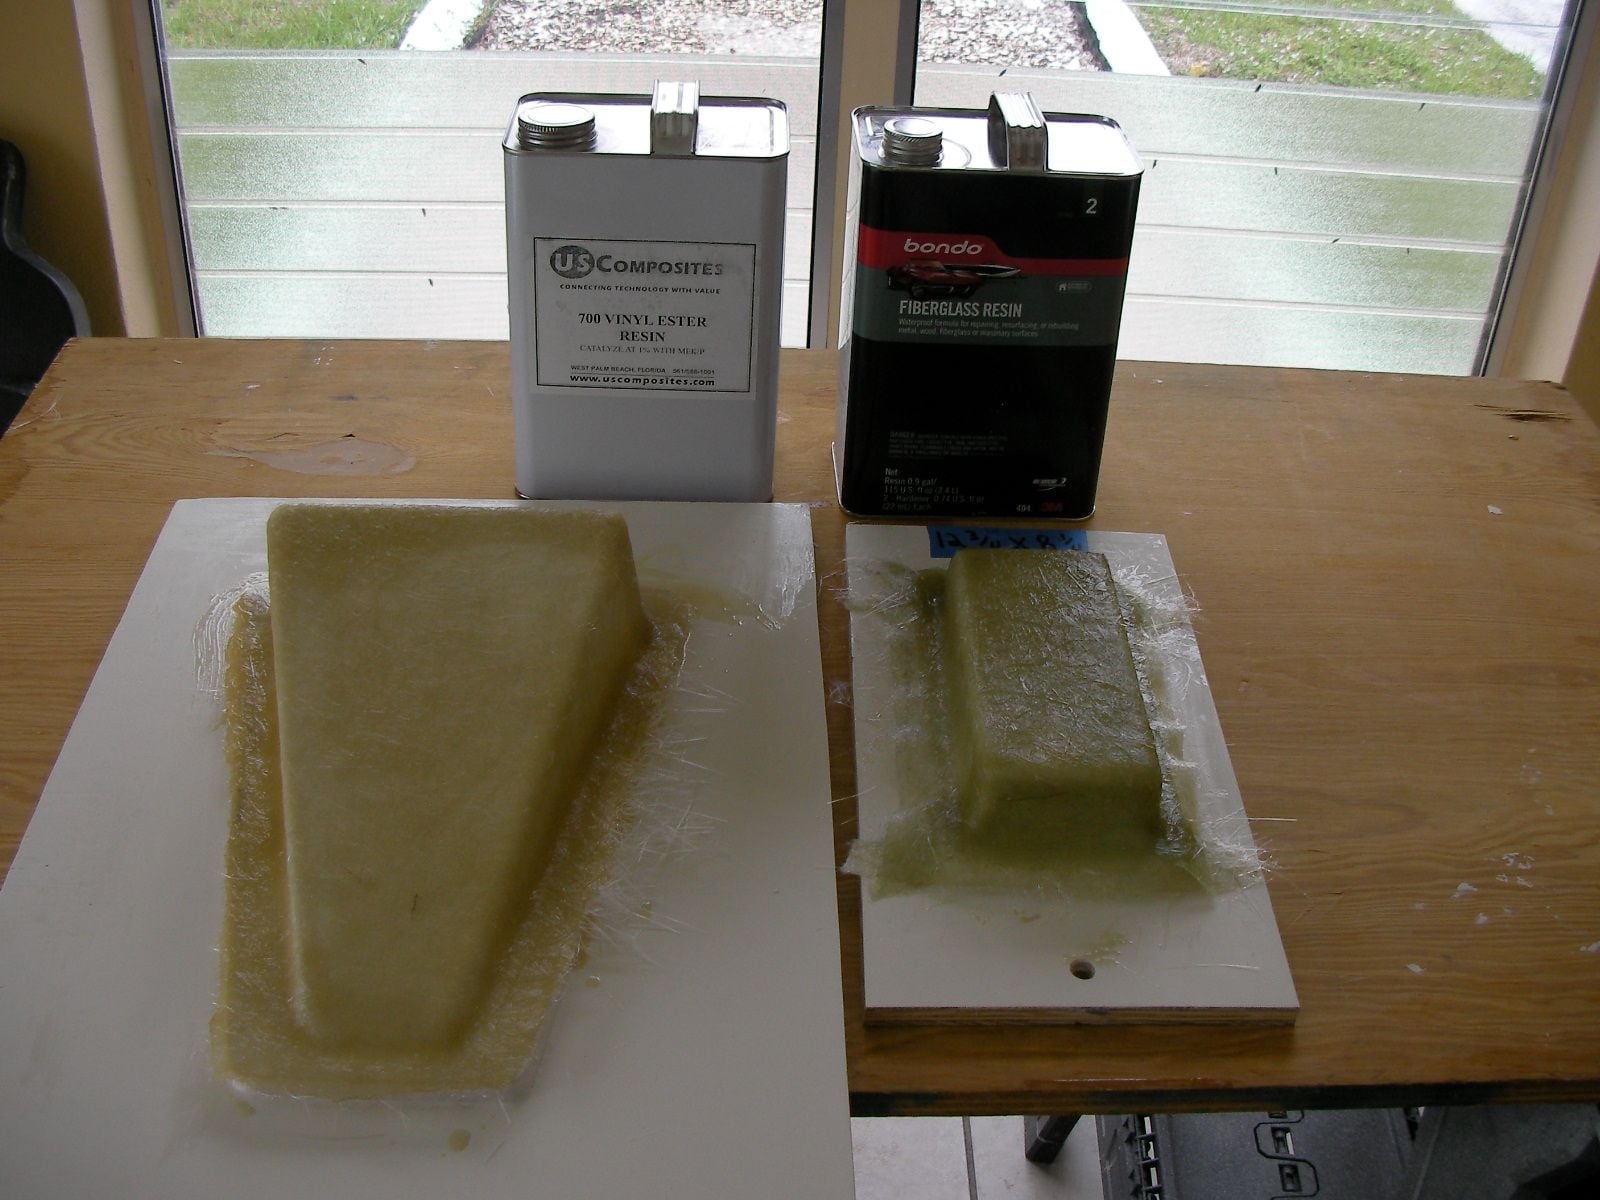
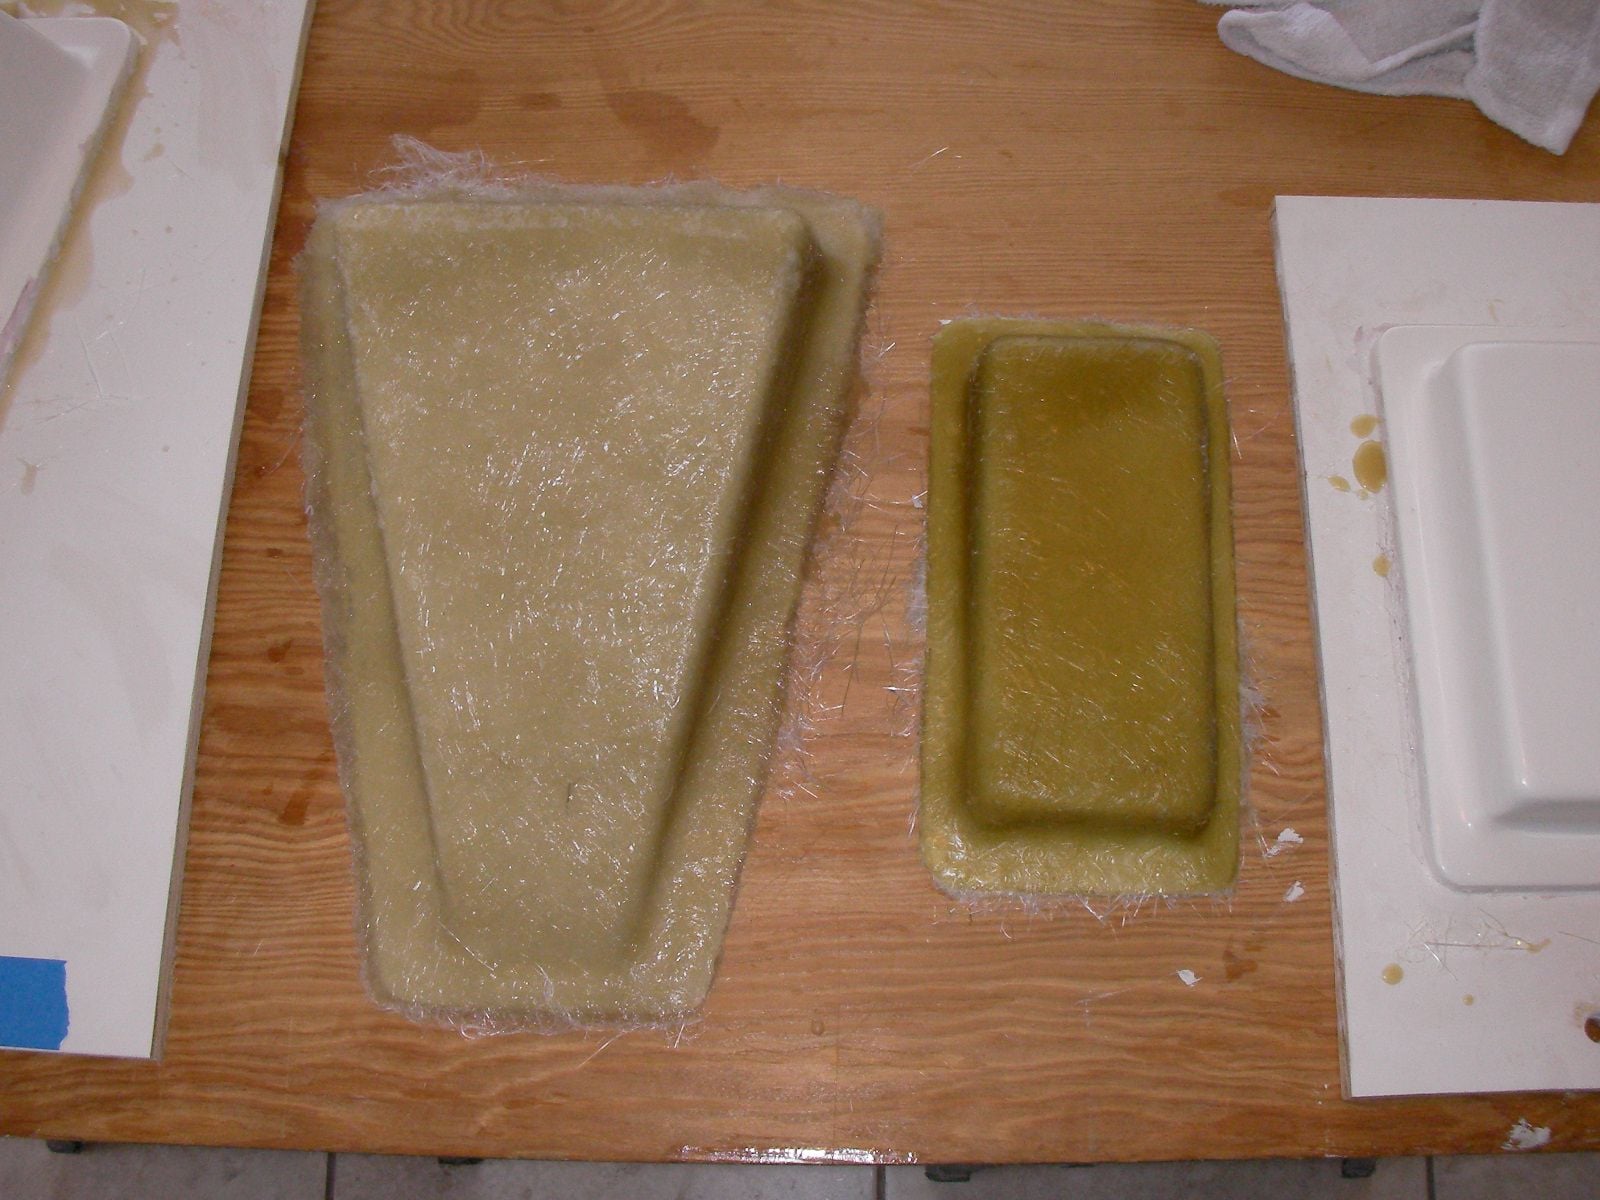
has to be something in the vinyl ester resin that is attacking the gel, used the grooved roller.
doubt a usable part comes off the triangle mold but may add layers every 2 hours.
rectangle mold seems to be going good, and will keep adding layers.

first layer, gel's been on 24 hours
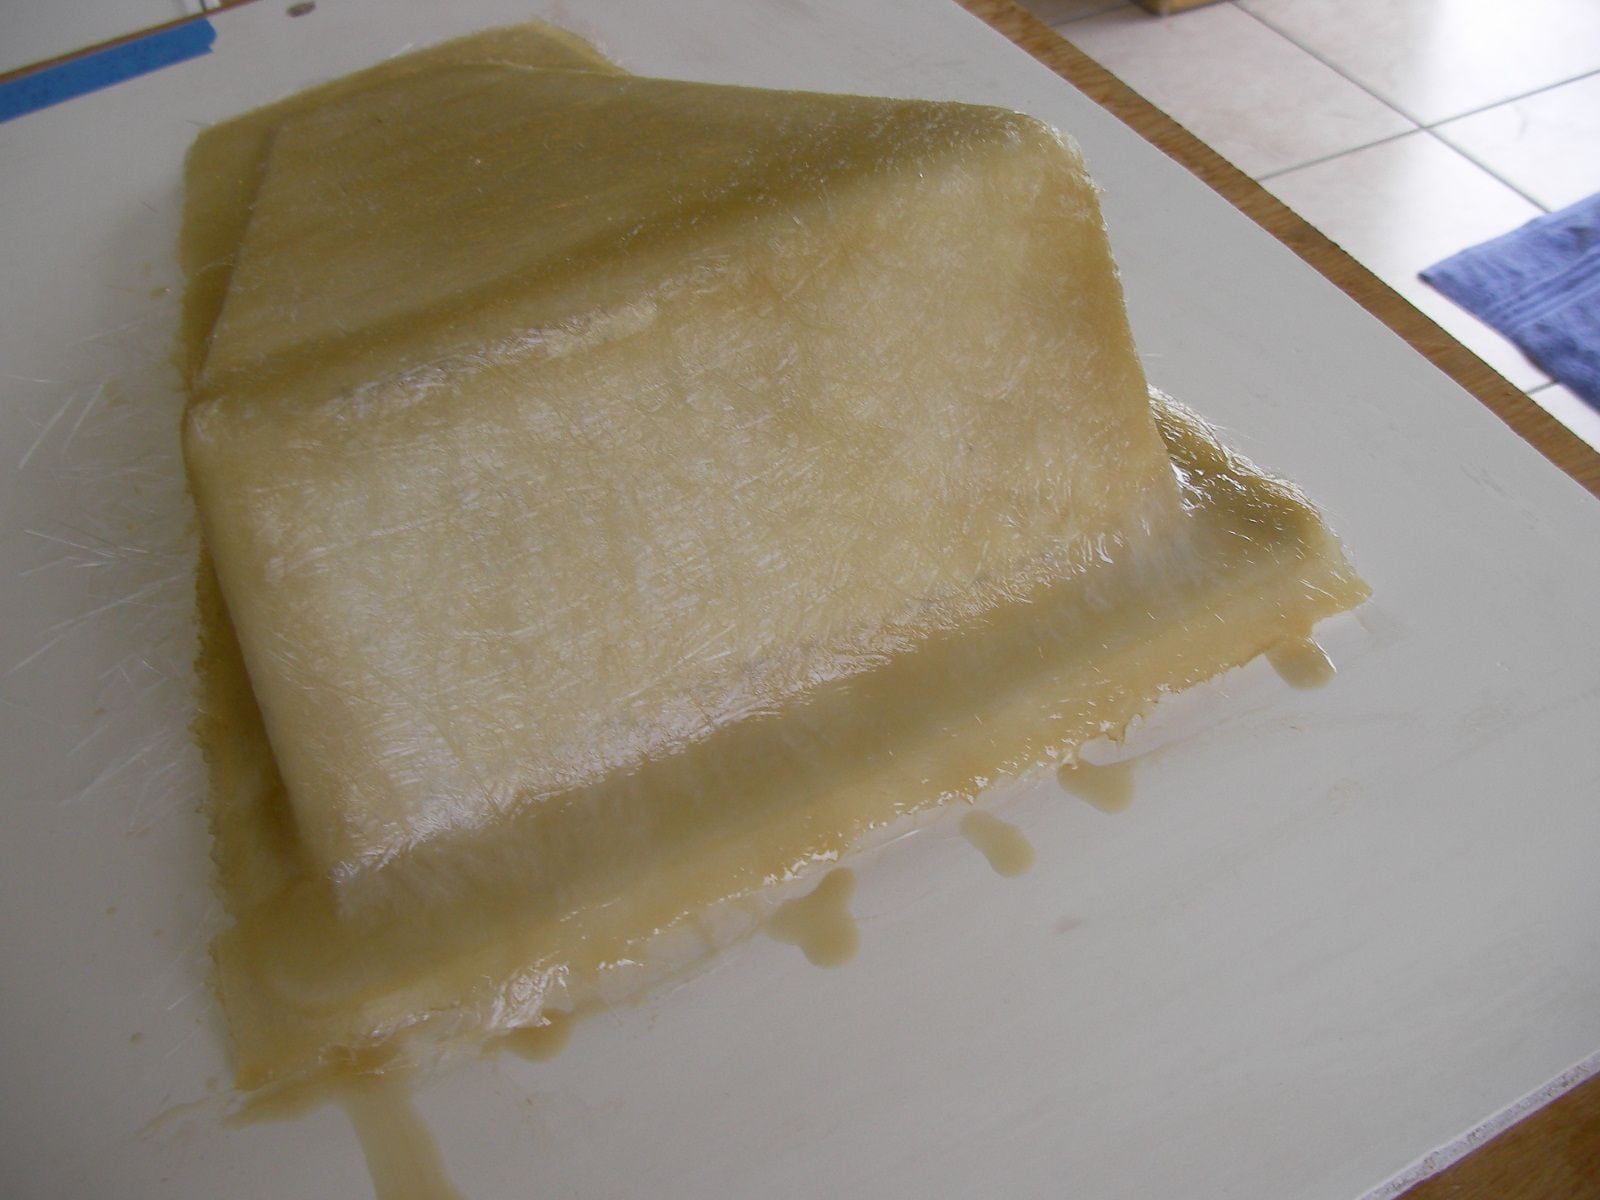
resin already starting to eat the gel
gel on rectangle mold been on 24 hours 1st layer mat w/ polyester resin
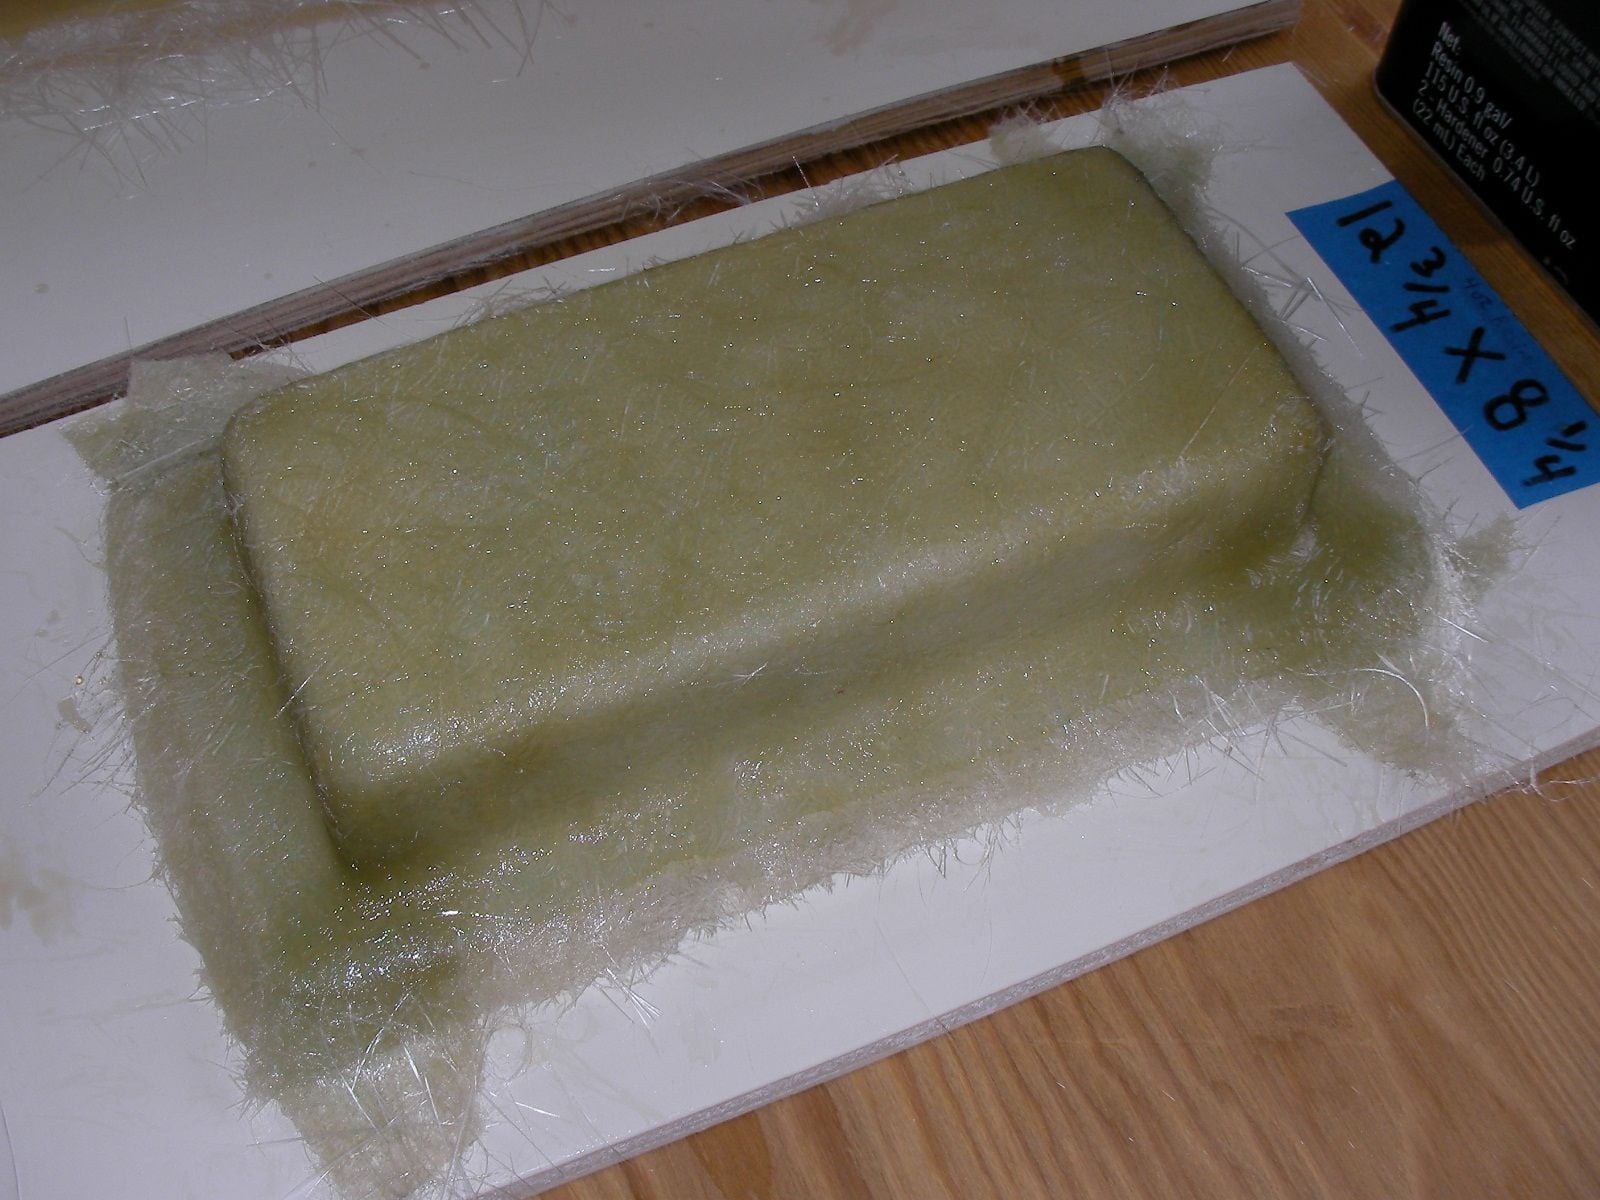
so far so good
by the time the rectangle mold was done and tools cleaned up, the resin and gel on this one is mixing together
doubt a usable part comes off the triangle mold but may add layers every 2 hours.
rectangle mold seems to be going good, and will keep adding layers.
first layer, gel's been on 24 hours
resin already starting to eat the gel
gel on rectangle mold been on 24 hours 1st layer mat w/ polyester resin
so far so good
by the time the rectangle mold was done and tools cleaned up, the resin and gel on this one is mixing together
05-19-2018, 06:52 PM
#34
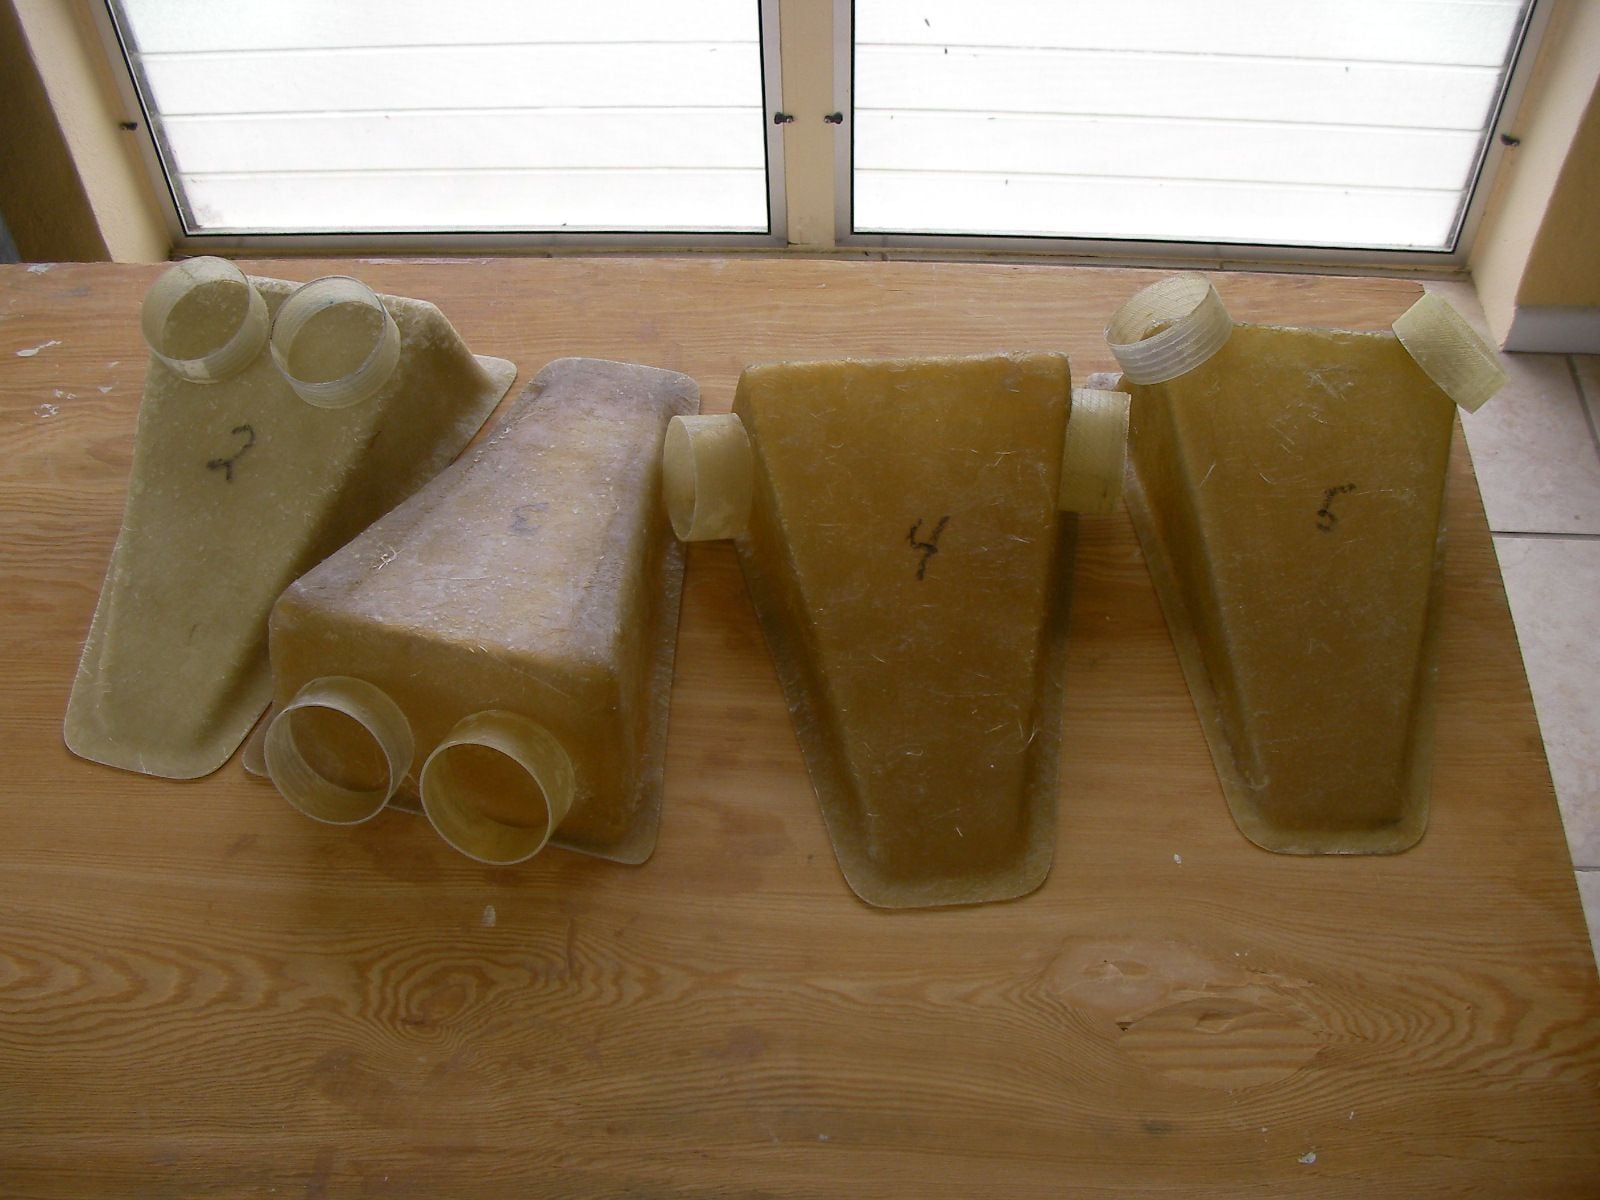
my mom, god bless her irish soul must have pulled some strings w/ the big guy !
pulled usable ducts off the molds today, just couldn't wait to find out what happened.
the remainder of the ducts will get made w/ the poly ester resin.
i need 2 rectangle ducts for the fire wall so after that i'm going to try and lay one up
w/out gelcoat and the poly ester resin.
if it ruins that mold, then the triangle ones will have to be gel coated.
really appreciate the advice and keep it coming,
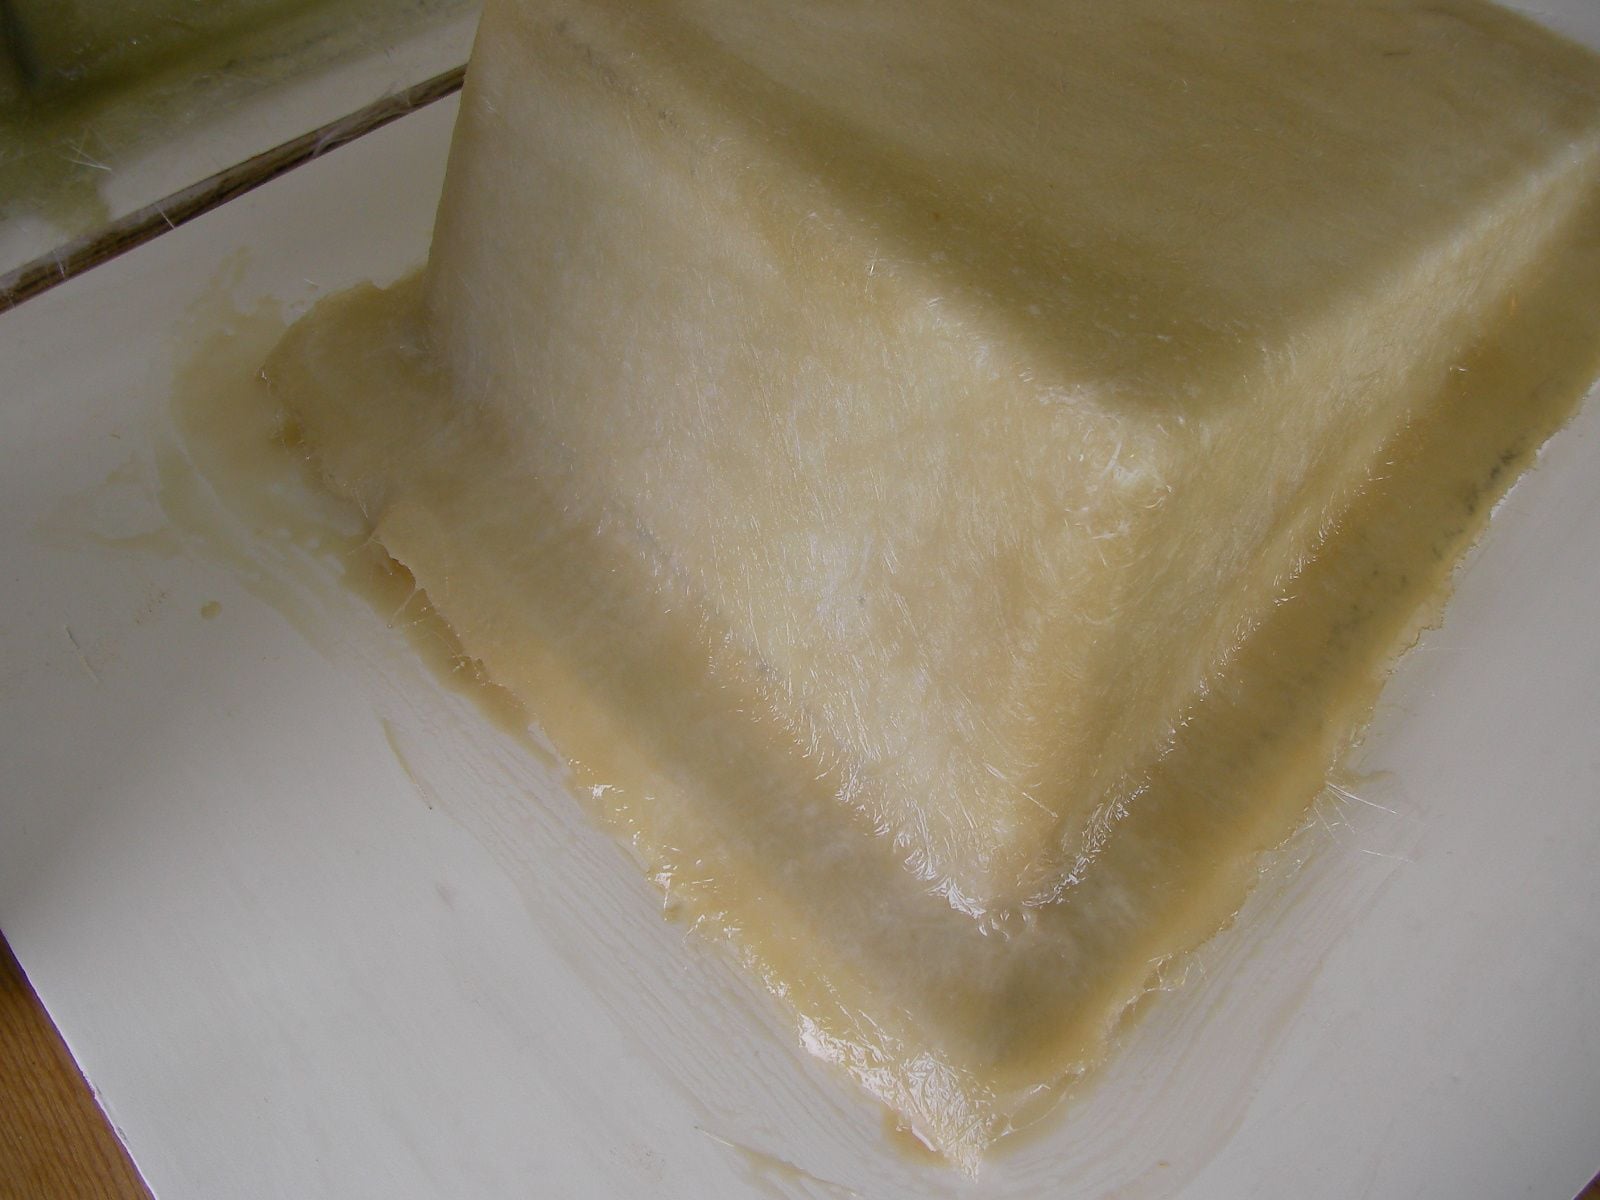
edit in: jimofstuart, you where right, the gel was thin
popped right off, molds look fine except for the mess around the flange. may have to cut the table completely off and lay them up on wax paper.

on the flange and rear lower corners of the triangle duct, the gel is damaged. but the flange will get ground down when they get bonded into the hatch. also the hoses will connect in the lower corner so it should be fine.
they don't look great but they will both work.

another last act of desperation. pva, 2 layers of 1700 in v.e resin
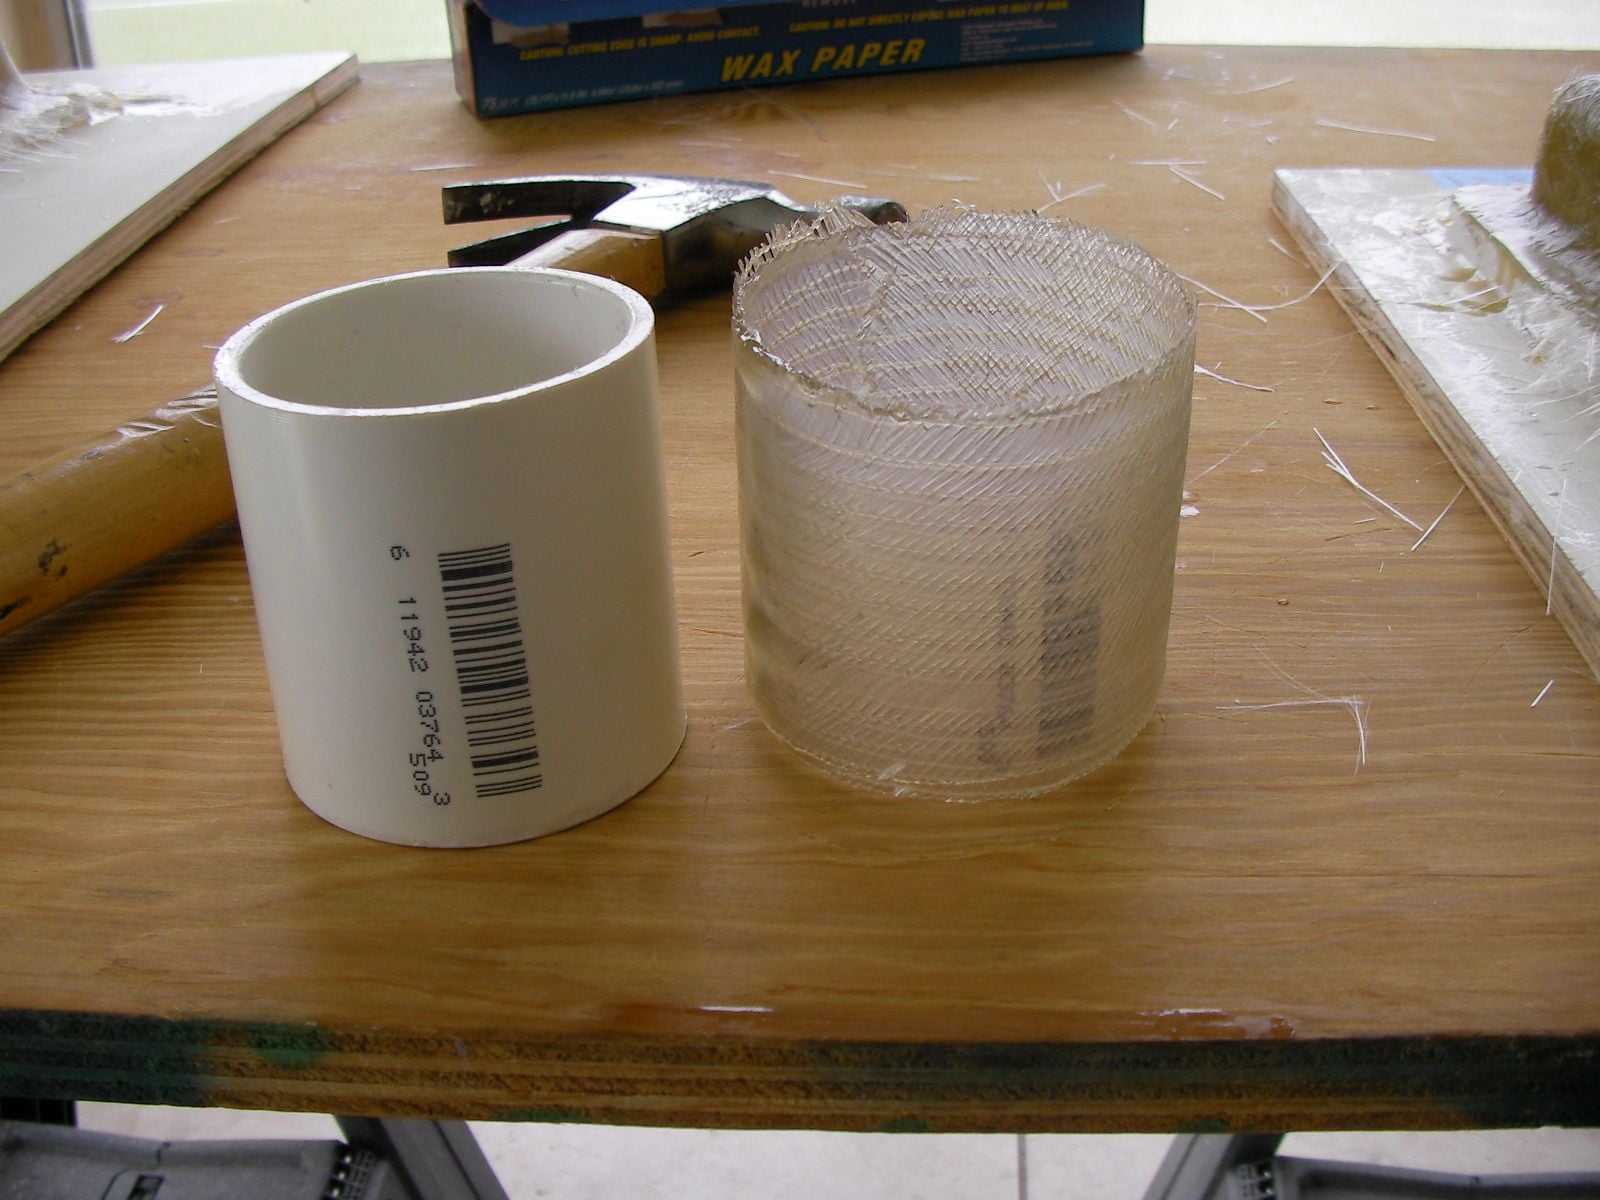
the ducts need hose connections so water doesn't go right onto the engine
they are 2 7/8 o.d.
pulled usable ducts off the molds today, just couldn't wait to find out what happened.
the remainder of the ducts will get made w/ the poly ester resin.
i need 2 rectangle ducts for the fire wall so after that i'm going to try and lay one up
w/out gelcoat and the poly ester resin.
if it ruins that mold, then the triangle ones will have to be gel coated.
really appreciate the advice and keep it coming,
edit in: jimofstuart, you where right, the gel was thin
popped right off, molds look fine except for the mess around the flange. may have to cut the table completely off and lay them up on wax paper.
on the flange and rear lower corners of the triangle duct, the gel is damaged. but the flange will get ground down when they get bonded into the hatch. also the hoses will connect in the lower corner so it should be fine.
they don't look great but they will both work.
another last act of desperation. pva, 2 layers of 1700 in v.e resin
the ducts need hose connections so water doesn't go right onto the engine
they are 2 7/8 o.d.
Last edited by outonsafari; 05-19-2018 at 06:59 PM.
05-22-2018, 05:21 PM
#36
thank you,
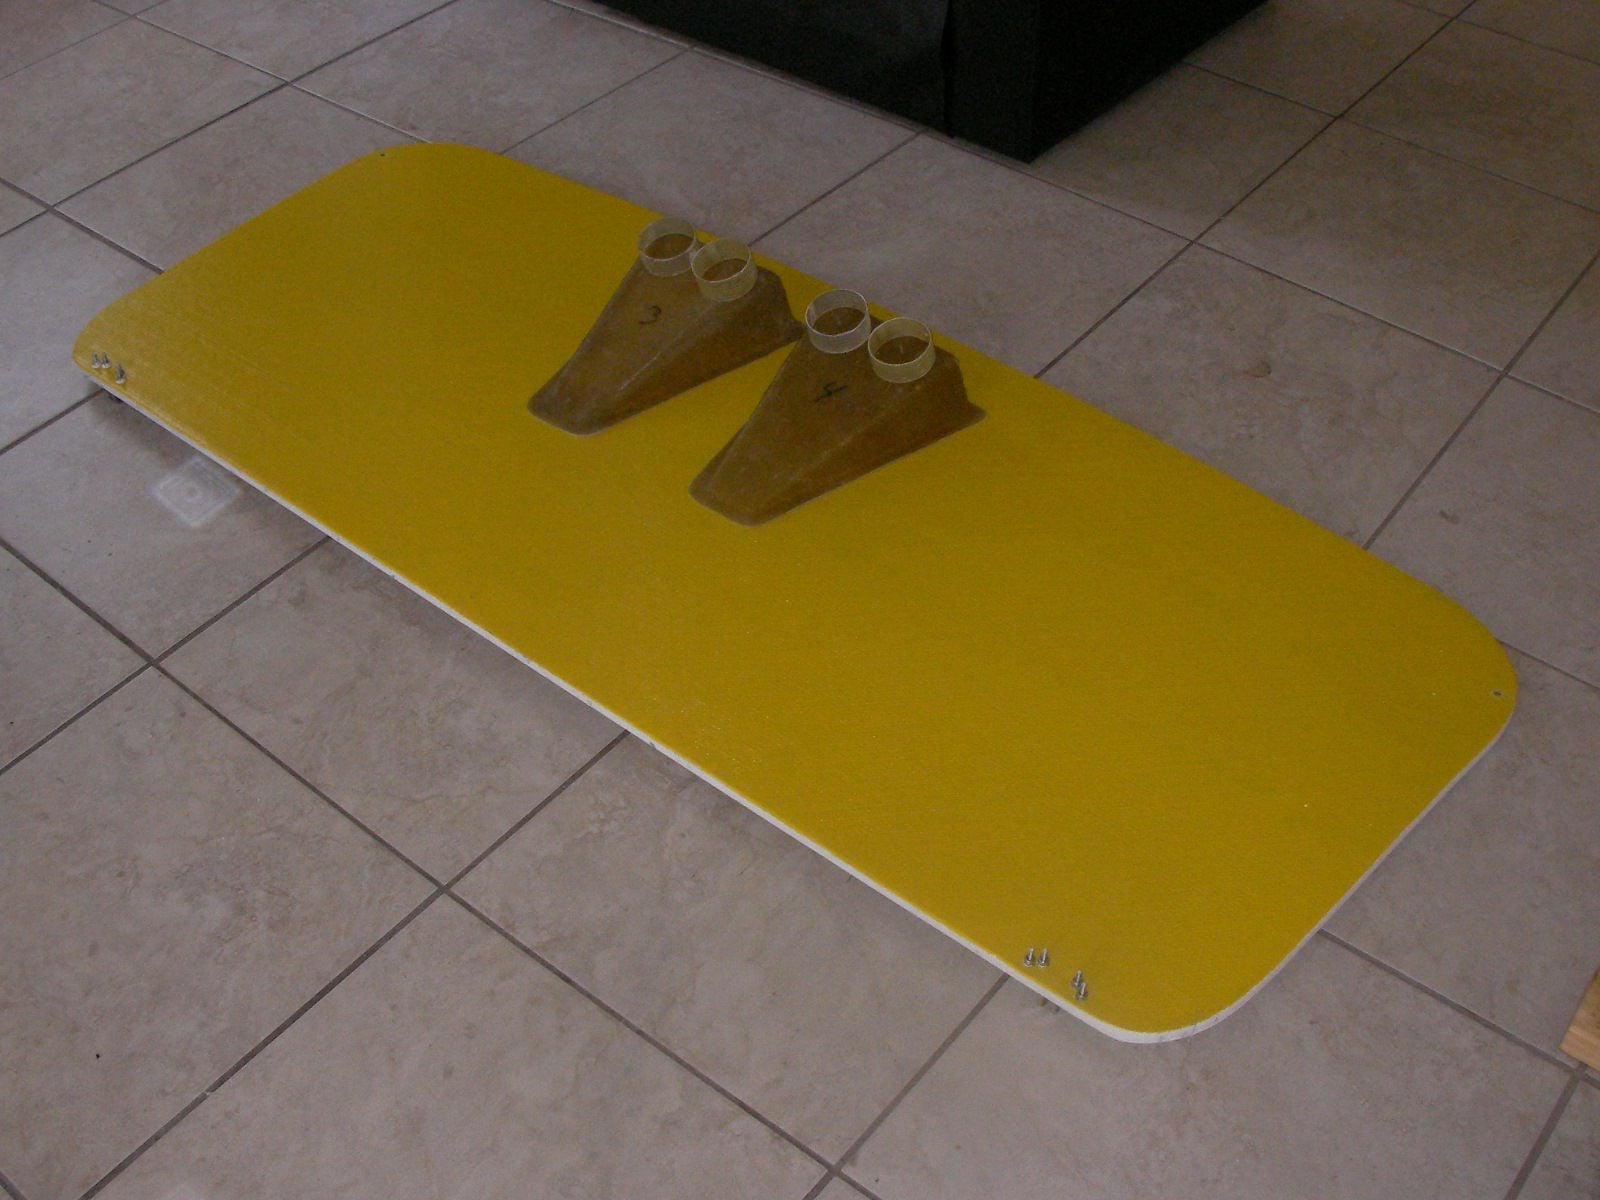
they're coming along but still have a ways to go before they look nice enough on both sides
before they can get installed, blended in and shot with gel.
"blended in" in the loosest terms, not my strong suit
cut the mold off the table and cut the flange to the same amount all the way around
next lay up will be on wax paper or card board so the mess can be just tossed out.
the cheap polyester resin is thick, hard to wet out the mat and dries f-a-s-t fast so the cups gloves
brushes mixing sticks are going outta here like crazy.
only bonus to it is in about 2 hours the part can get pulled so it speeds up the learning process.
will need a better resin for the ducts that get used.
think they can get hosed off in what ever direction is needed, and might put 2 in the firewall pointed
right at the front of the engine as pictured
Last edited by outonsafari; 05-22-2018 at 05:24 PM.


