

have a laugh ! it's fun friday
 05-16-2018, 02:25 PM
#21
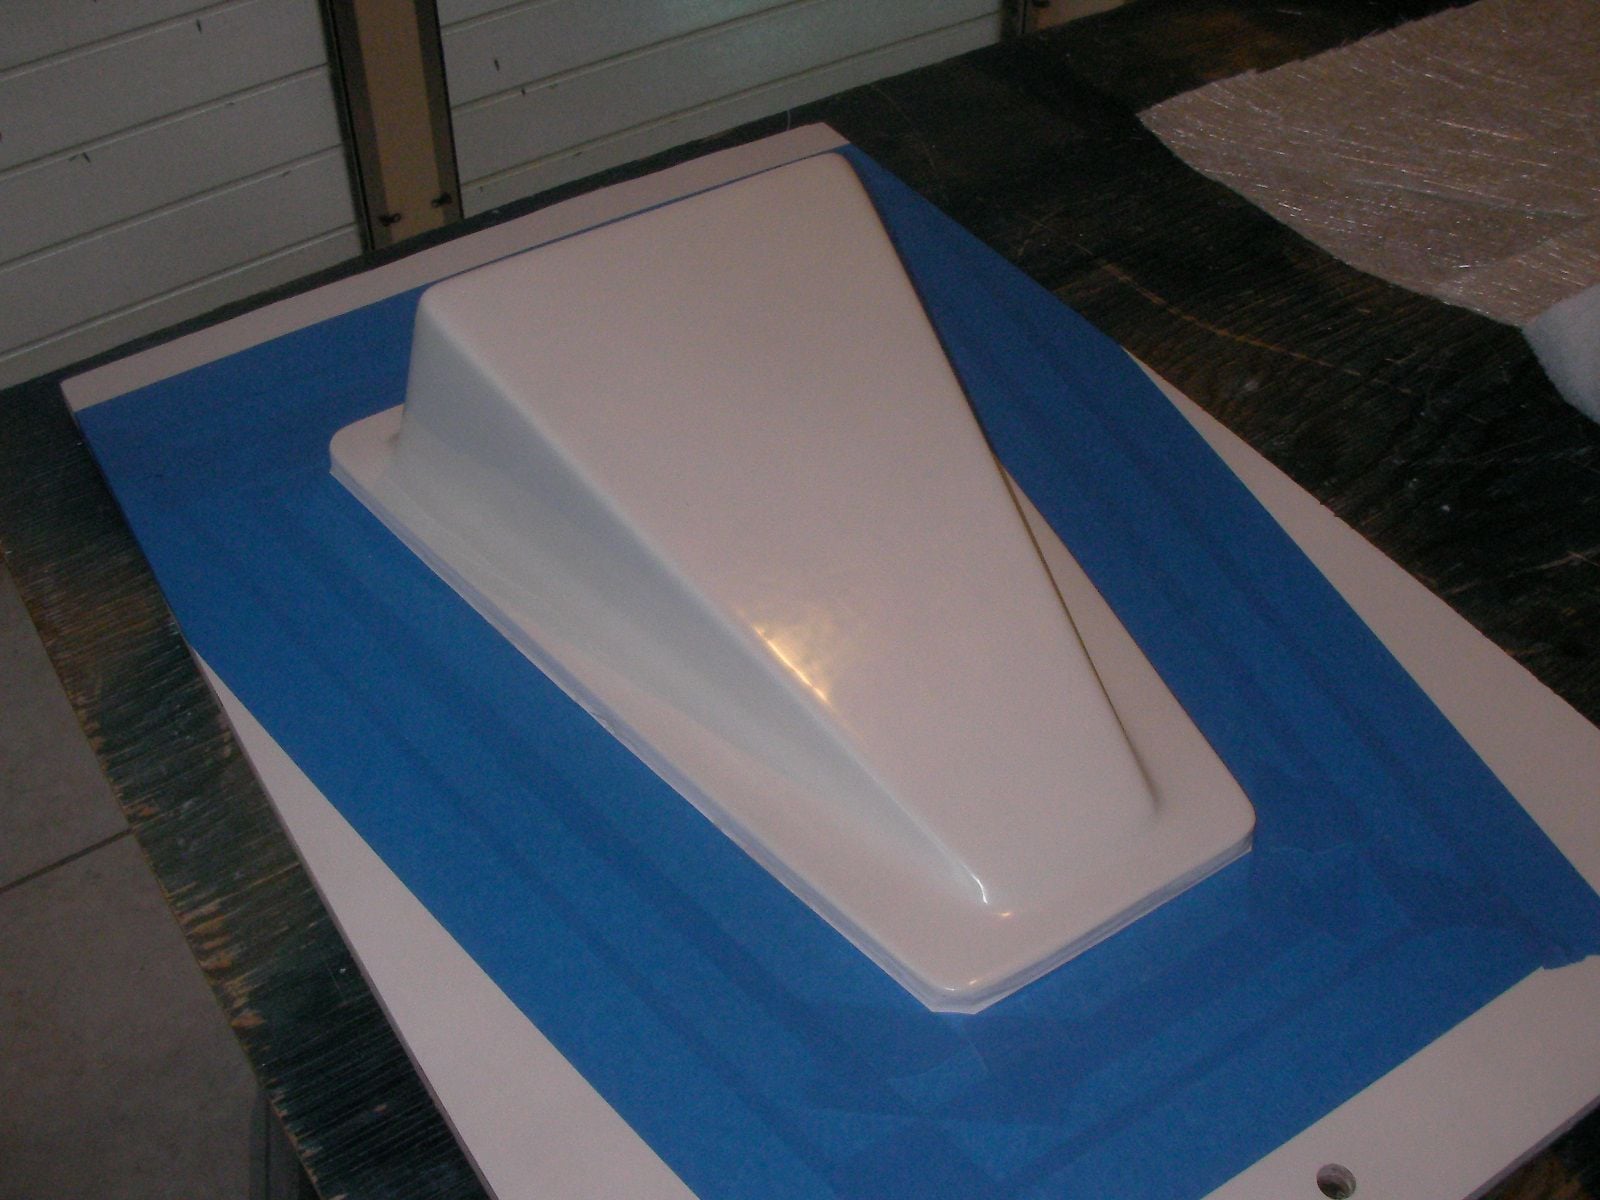
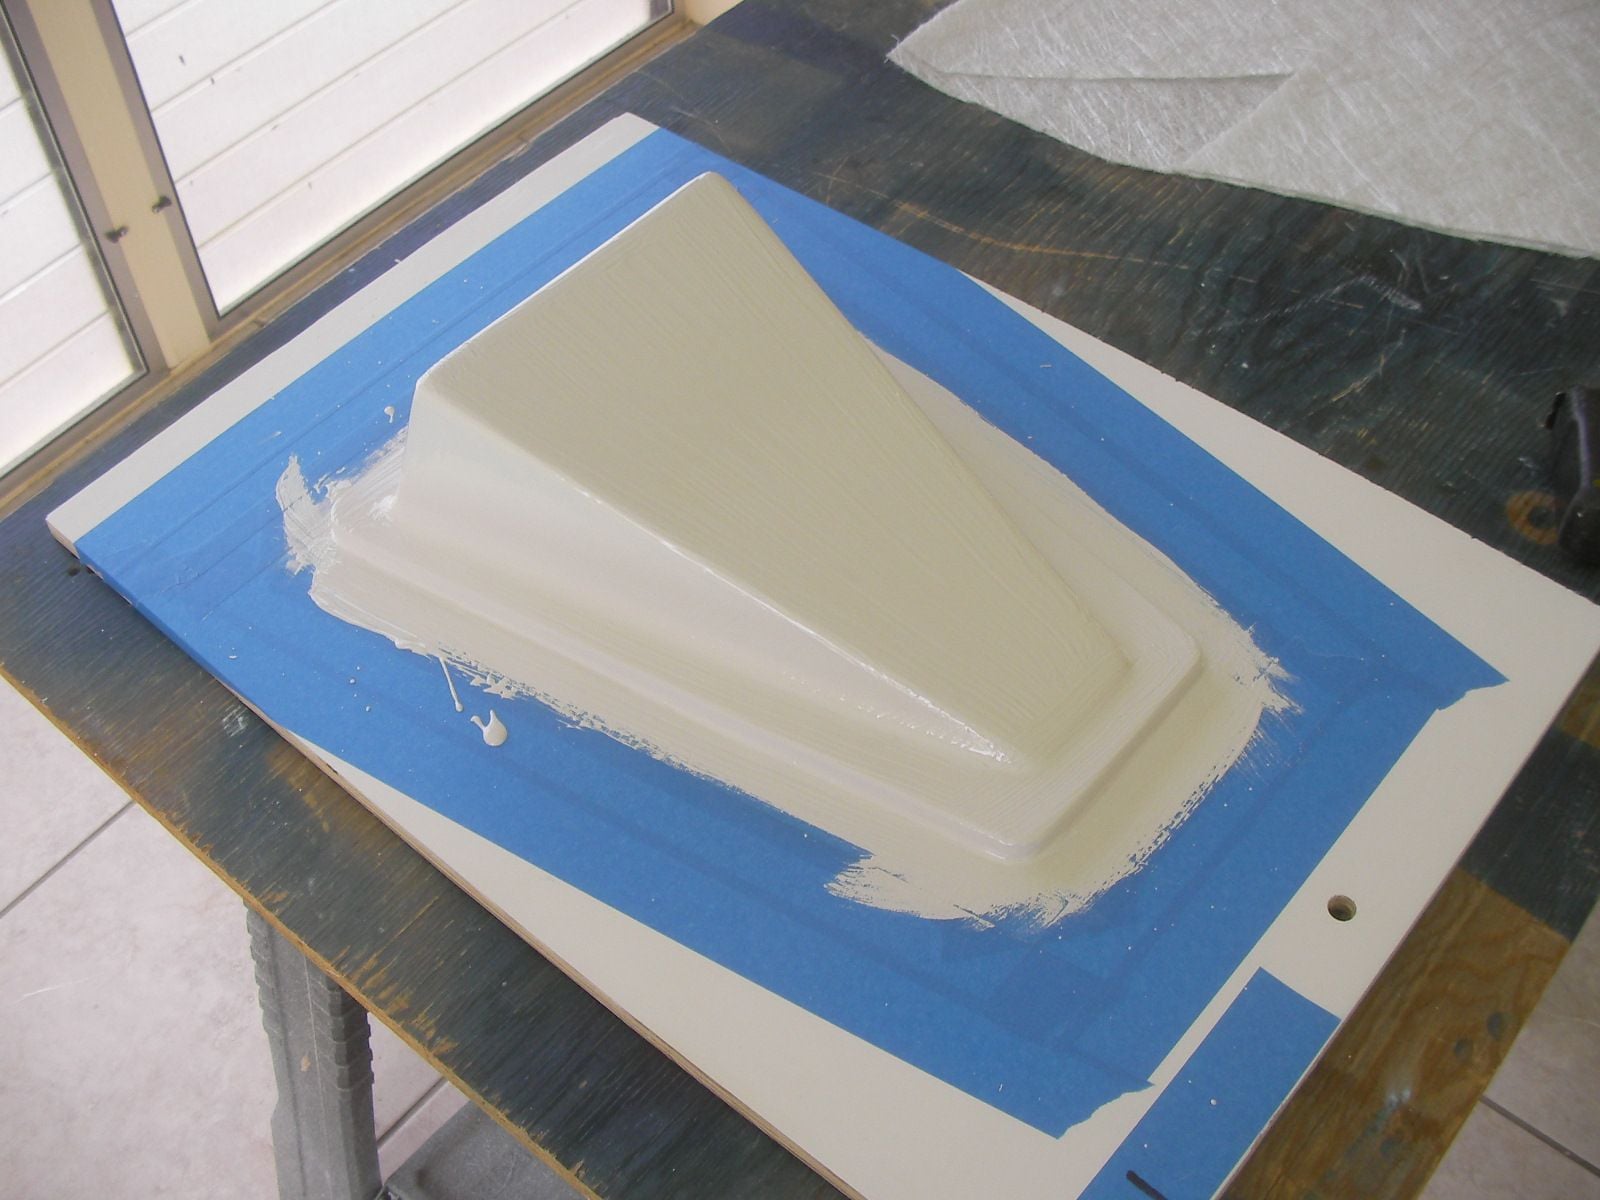
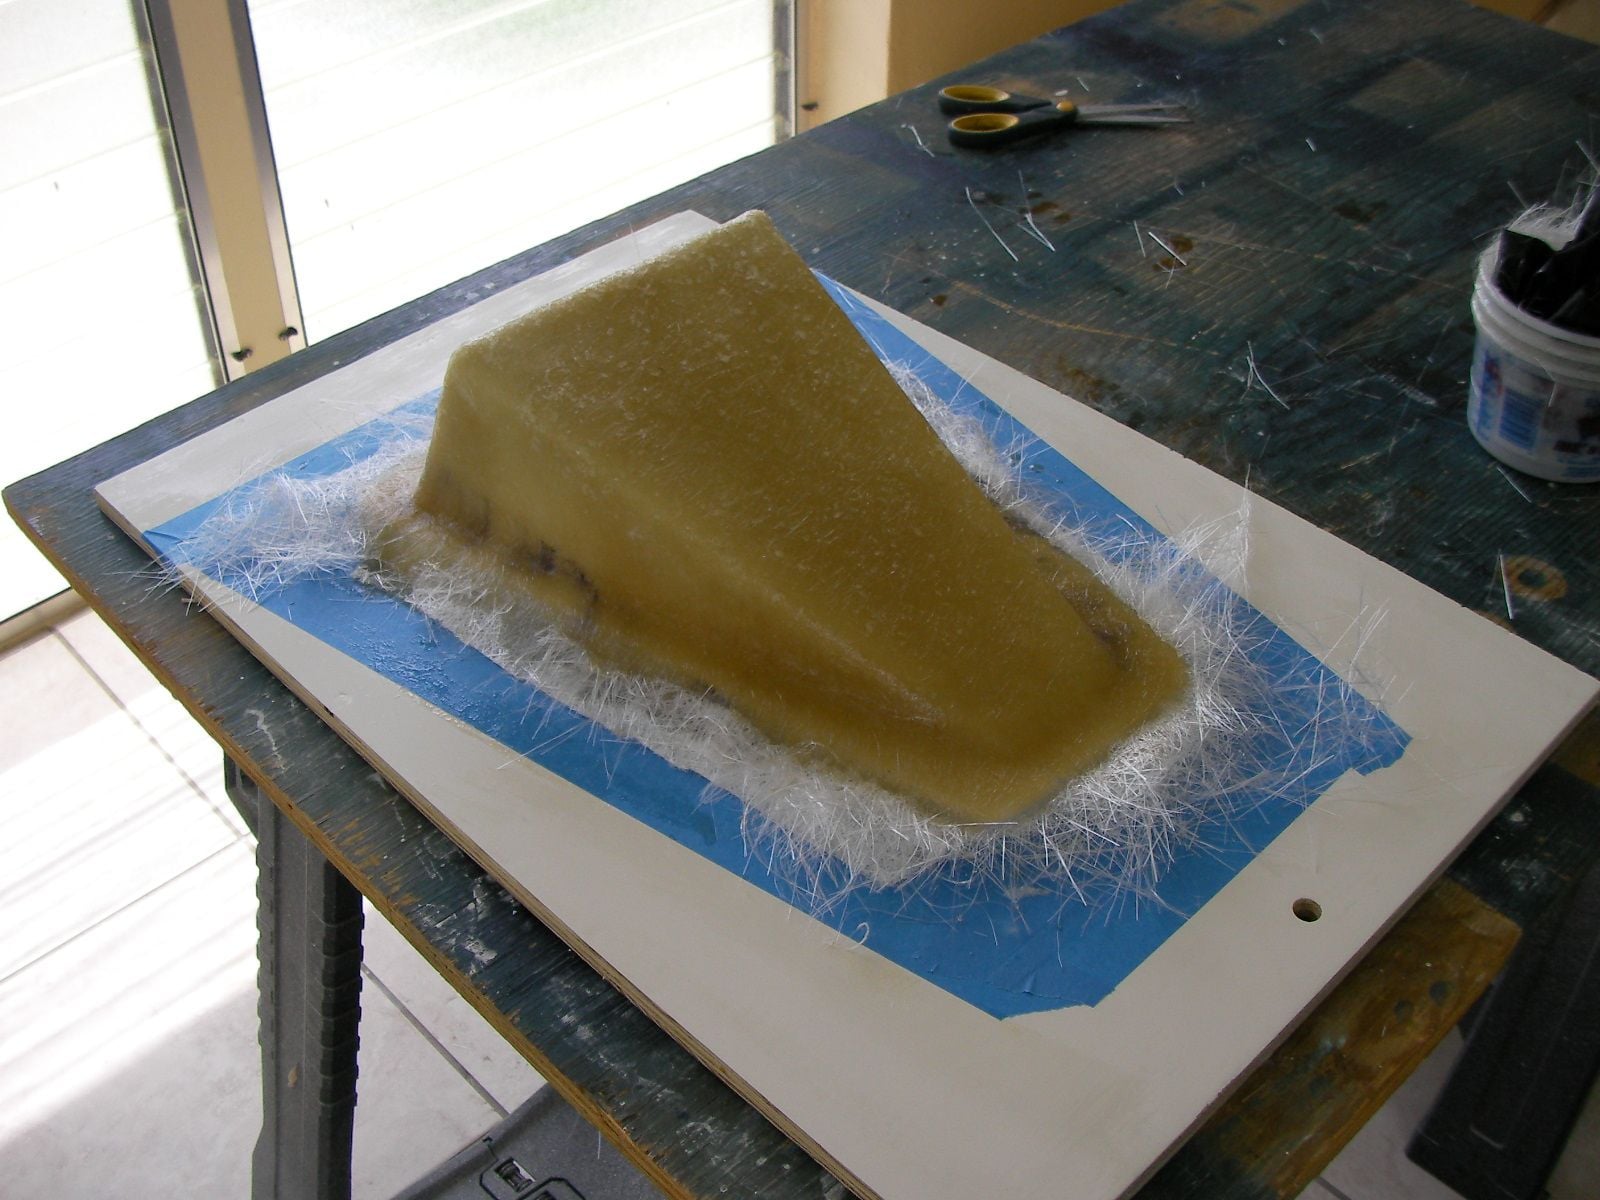
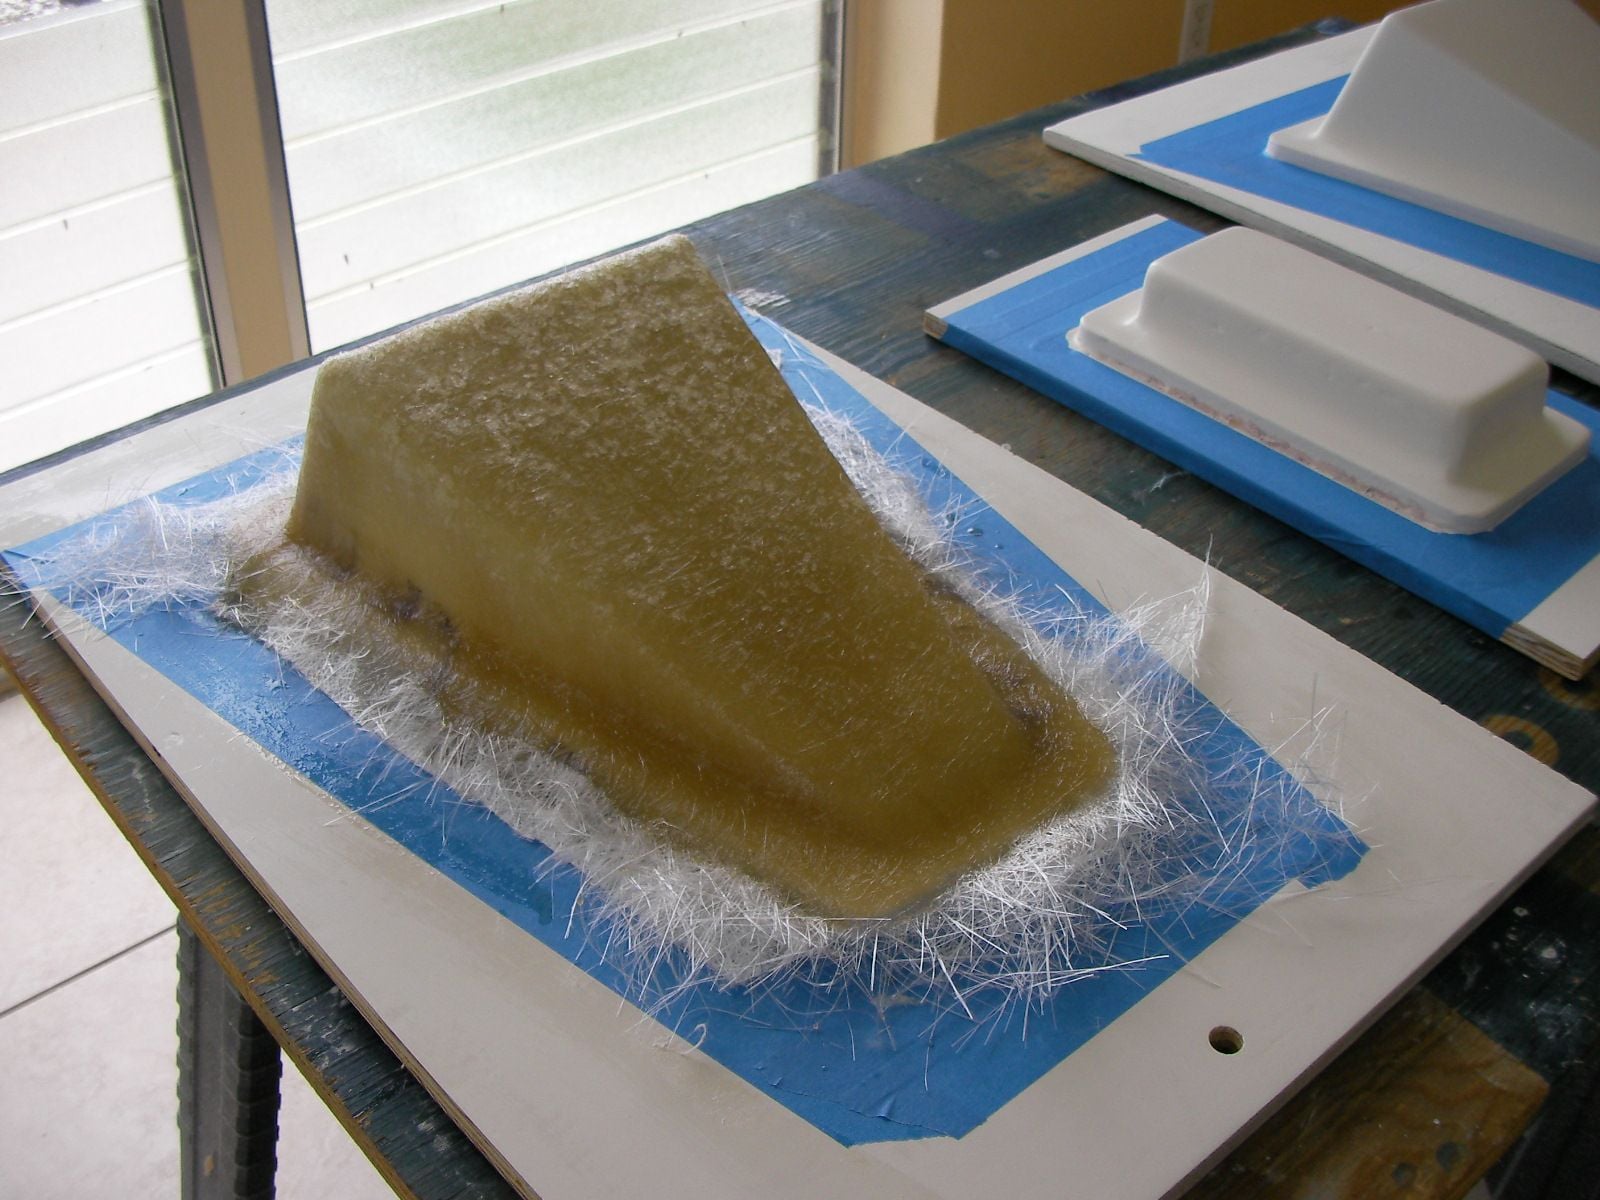
here's the schedule :
pva left to cure 1 hr.
2 oz gel w/ 20 drops mekp, left to cure for 3 hrs.
2 mixes 4 oz each vinyl-ester resin, 30 drops each mekp
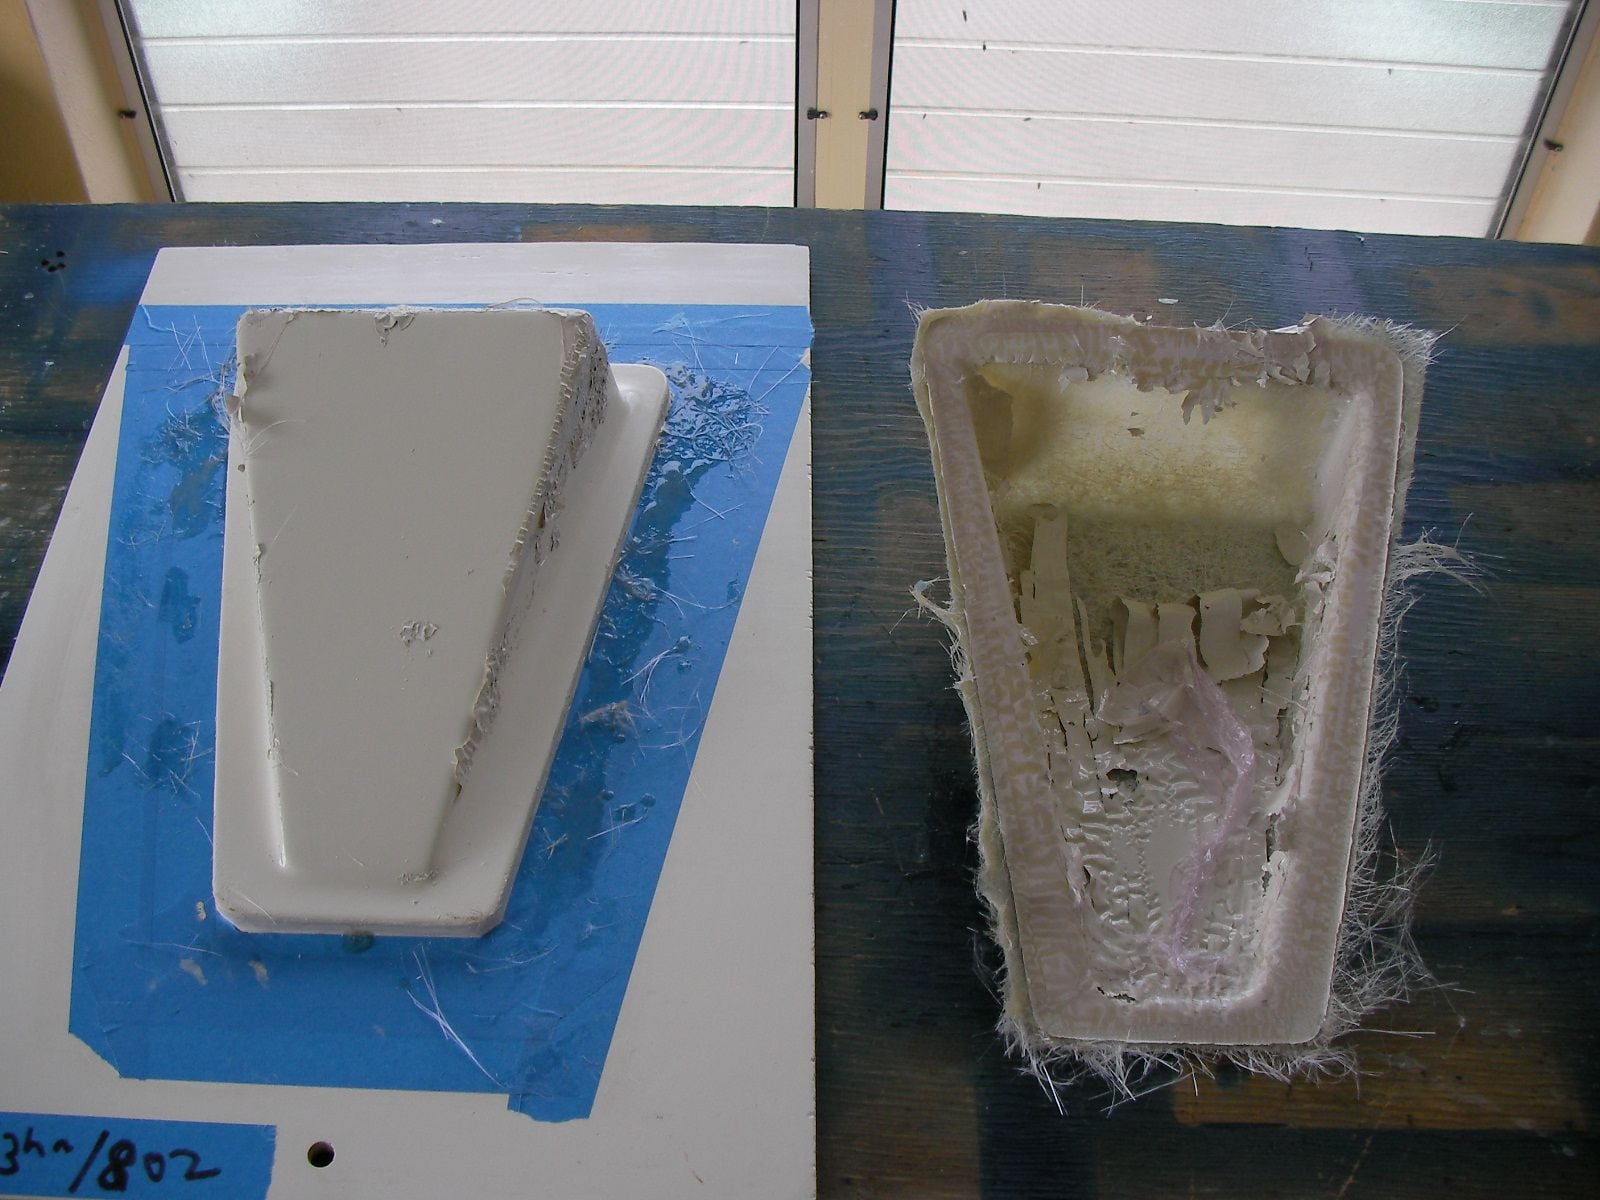
the chopped strand mat was ripped up and some of it was peeled in half.
all the layers add up to 2 1/2 layers and it was all dabbed out w/ a 2 inch chip brush
i think it's wrong again because looking over it, some areas appear light on resin
it literally looks like the glass is blowing up w/ air and off the mold (where the resin seems light.)
the other issue seems to be brushing the gel on, it doesn't lay down, if there is a technique or
different resin type that could be used so the parts could be made w/ out gelcoat, so after they
are bonded into the hatch the gel can be applied, that would be a huge help !
i guess in a few days we'll see what happens, from the above explanation does anyone have any input / tips,
or tricks they would be greatly appreciated.
babysitting it now waiting for it to get hard enough to trim the edges so it can go out in the shed and the
house windows can get closed and the air can go back on in here, muggy and lots of rain today !
pva left to cure 1 hr.
2 oz gel w/ 20 drops mekp, left to cure for 3 hrs.
2 mixes 4 oz each vinyl-ester resin, 30 drops each mekp
the chopped strand mat was ripped up and some of it was peeled in half.
all the layers add up to 2 1/2 layers and it was all dabbed out w/ a 2 inch chip brush
i think it's wrong again because looking over it, some areas appear light on resin
it literally looks like the glass is blowing up w/ air and off the mold (where the resin seems light.)
the other issue seems to be brushing the gel on, it doesn't lay down, if there is a technique or
different resin type that could be used so the parts could be made w/ out gelcoat, so after they
are bonded into the hatch the gel can be applied, that would be a huge help !
i guess in a few days we'll see what happens, from the above explanation does anyone have any input / tips,
or tricks they would be greatly appreciated.
babysitting it now waiting for it to get hard enough to trim the edges so it can go out in the shed and the
house windows can get closed and the air can go back on in here, muggy and lots of rain today !
Last edited by outonsafari; 05-16-2018 at 02:47 PM.

 05-16-2018, 04:45 PM
#23
If I was building these molds this is how I would do it. First I would go to harbor freight and by a cheap gravity feed gun. I'd drill it out as large as I could. If it leaks gel coat its ok. Thin the gel coat with some acetone so it will spray. Keep the air pressure as low as possible but still have a pattern. Keep spraying gel coat on until it almost runs. 4 OZ of gel coat catalyzed with at least 2.5 CC of mekp. Gel coat requires 2% mekp. In 30 minutes it should be ready to glass. You don't need vinyl ester resin. Its actually not recommended because the cosmetics are not as good as other resins. Skin it with 1 1/2 oz mat. You have to roll it. Wait 2 hours it should be ready to glass again. Put on 3 oz. roll it. Wait 2 hours put on and 3 oz. This will give you the thickness you need. Real molds are at least a 1/2 inch thick. All mat. The gel coat should be 22 mills. Paint is about 4 mills.
This is the way I do it.
This is the way I do it.
05-16-2018, 05:15 PM
#24
thank you, the advice is greatly appreciated.
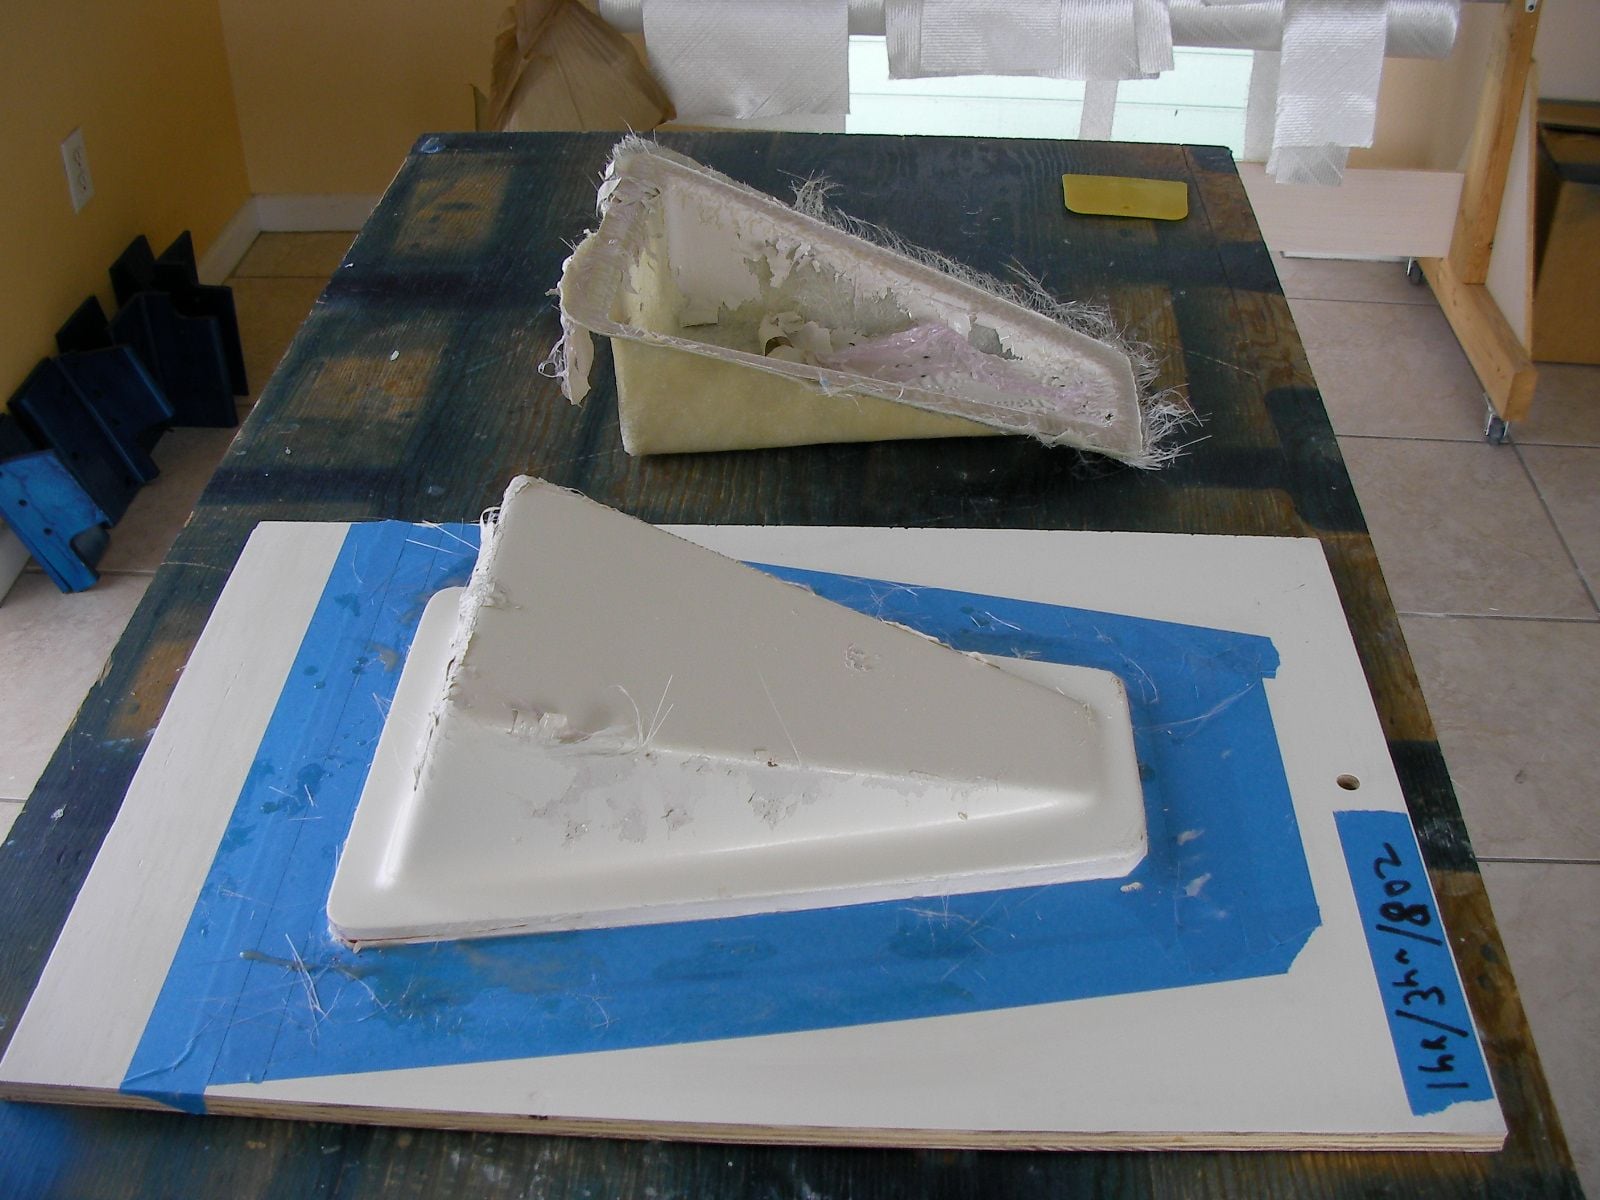
maybe a miscommunication on my end, this attempt is actually of the part itself,
the mold is male, the part is female (homemade naca duct).
i will pick another gun and a quart of polyester resin tomorrow, and will follow the time frame
and layer count you listed. also when you say roll it, my guess is you mean the grooved
fiberglass roller.
thanks again
 05-17-2018, 08:16 PM
#26
Registered
Youve got something bad wrong , how old are your components ? Looks like bad MEK or old Resins . Maybe incorrect ratios?
Jimofstuartfl will have to chime in , this looks Fd up to me.
Jimofstuartfl will have to chime in , this looks Fd up to me.
05-18-2018, 10:07 AM
#27
tell me about it !
all the materials are new and fresh opened.
watched a hundred u tube videos all had different methods and time frames
all steps listed below didn't look like any of the u tube videos:
preval sprayer failed immediately used a foam brush
brushed on gel didn't lay down
added mat didn't see air getting introduced, while adding layers, it literally blew up
resin looks like it did something to the gel (got under and wrinkled it up)
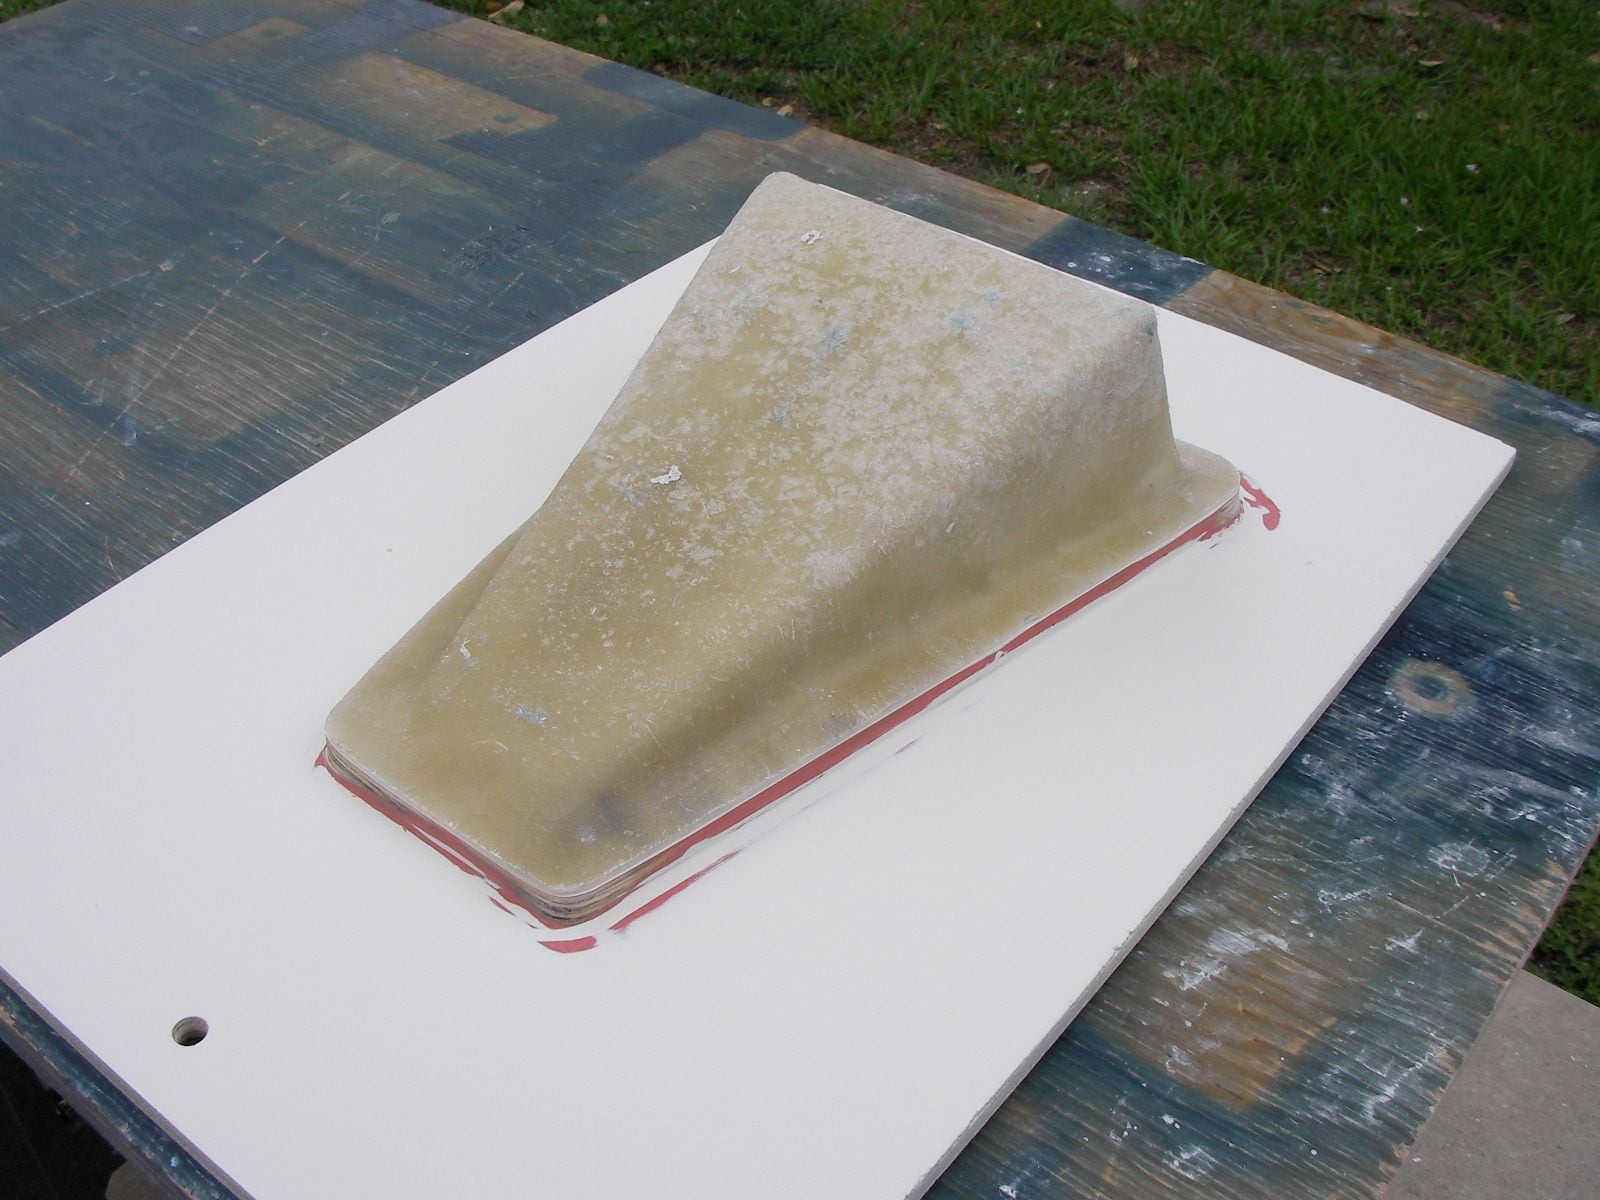
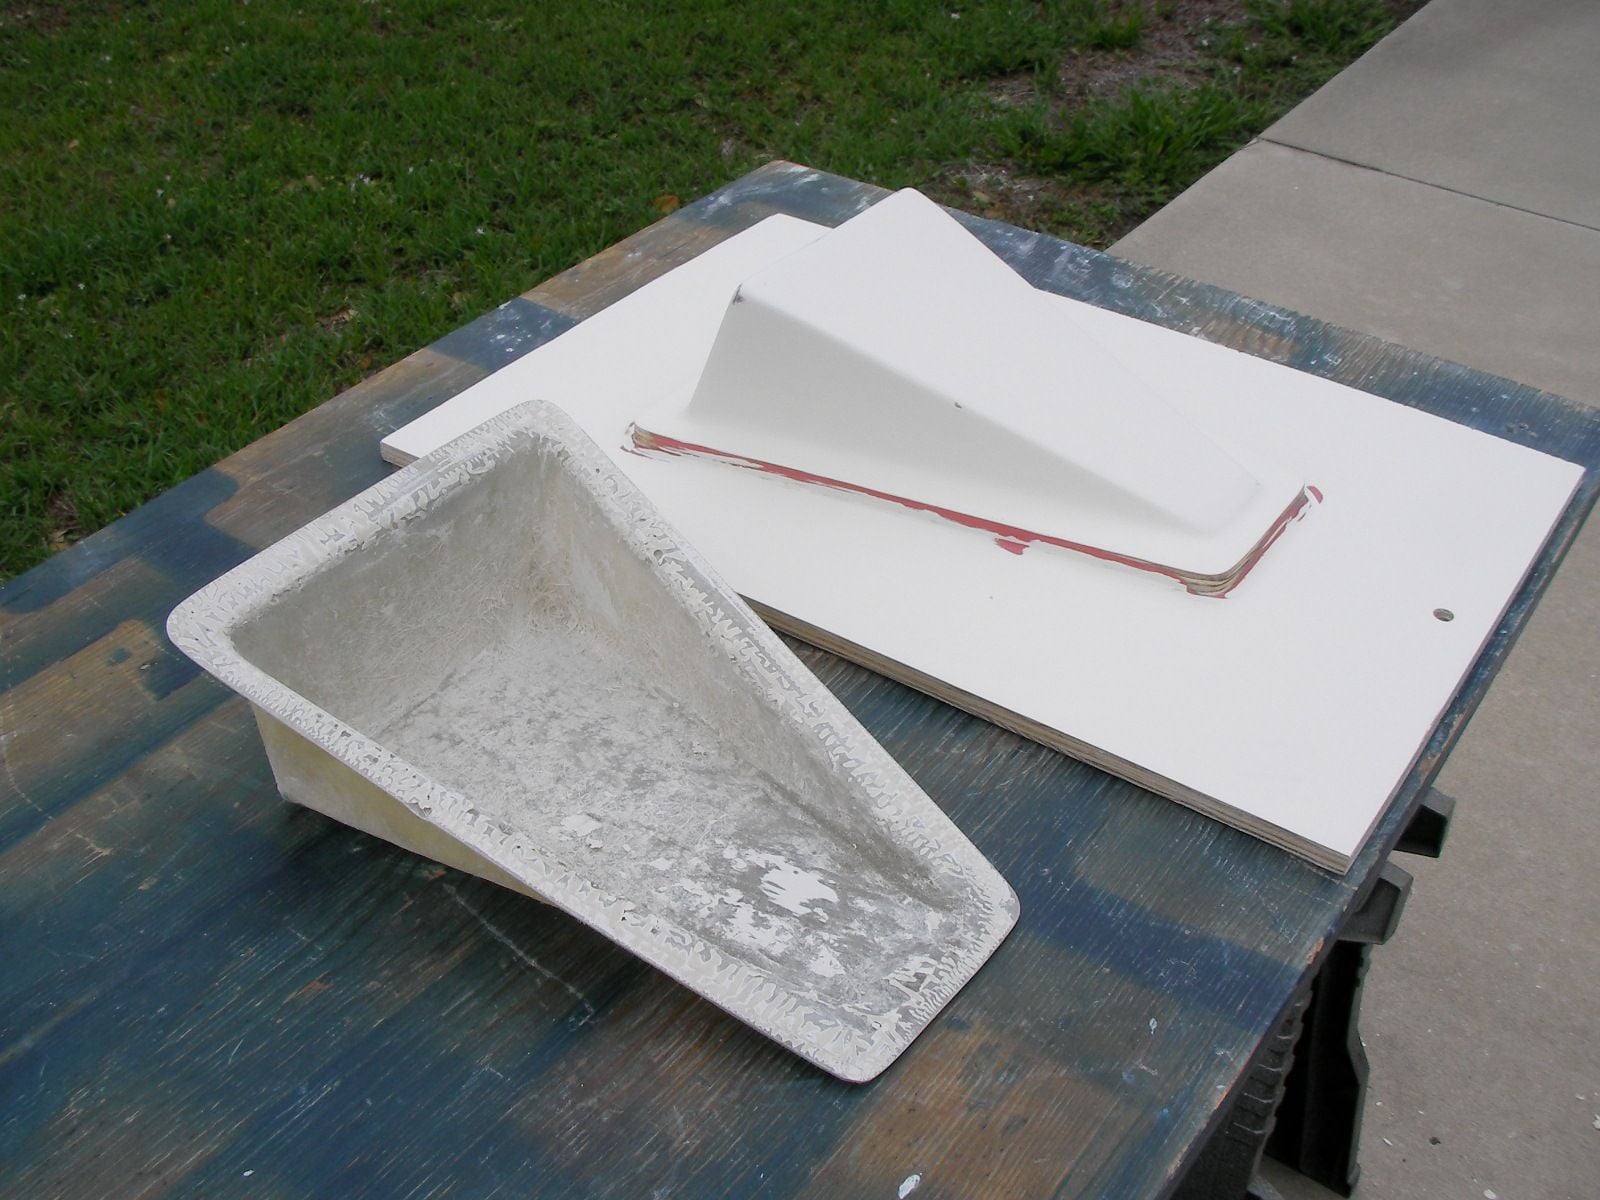
started over, cleaned up the last part so it could be used for a template to cut holes in hatch.
mad, unacceptable, won't quit until parts pop off like they are supposed to !
Last edited by outonsafari; 05-18-2018 at 10:09 AM.
05-18-2018, 12:50 PM
#28
Registered
My experience is years old. I worked for Laser Boats in it's beginning. We would make sure the mold was polished to a high sheen, apply 3 rounds of mold release wax, shoot gelcoat (for the part) in several layers (multicolors) in the evening, let is sit overnight, come in the next morning and start laying glass. In the pic I saw what appear to be what we called 'spider fuzz' in the corner? Where you rolling the air out with a roller? By afternoon we were popping boats out of the molds, rewaxing, and started laying gelcoat again. I'm sure technology has changed, but a polished mold, good release wax and let the gel 'set' were our rules.
05-18-2018, 01:02 PM
#29
Hmmm, In the first photos it looks like what we call gatoring. This is a result of the gelcoat being to thin. What happens is that the styrene in the resin attacks the gelcoat and it gators. Its pretty common. I think that using a foam brush might have done that. I would have used a 2 inch throw away brush and put it on thick. You almost always have to brush it in one direction to keep it thick. I don't think a preval would ever work because you have to thin it so much to get it to spray. I use a preval for a small repair where I don't have air to use a gun.
The fact that it didn't stick to the resin tells me you might have bought a gel coat with wax in it. If it doesn't say wax free on the can, it has wax in it. I've never seen resin not stick that way your part has.
If you're waxing the mold, I use green wax. I forget the name, but its same manufacturer of PVA. I don't buff the wax off. 2 coats of the wax and it'll never stick. Also I spray PVA with high air pressure. I do 3 light coats so that it doesn't run. You need to let it dry between coats. If you don't have an air compressor for any of this, then use the brush for gel coat and green wax.
I'll try to do a video next week so you can see how I do it.
05-18-2018, 01:15 PM
#30
A lot of builders will shoot the gel coat the night before and skin it the following morning. This is pretty normal. I'll do the same thing for large hulls because it takes hours to spray it. A smaller hull under 30ft I'll spray early in the morning and then lay it up. If you kick it at 2% it should be dry but tacky in an hour or so. 20cc to a quart is 2%. 15cc to a quart is 1.5%. I like it a little tacky because then the mat sticks to it and its easier to build.

