

Looking for some bodywork guidance
 10-22-2018 | 10:10 PM
#1
Thread Starter
Registered

Joined: May 2009
Posts: 1,942
Likes: 527
Thank you in advance for any suggestions or tips
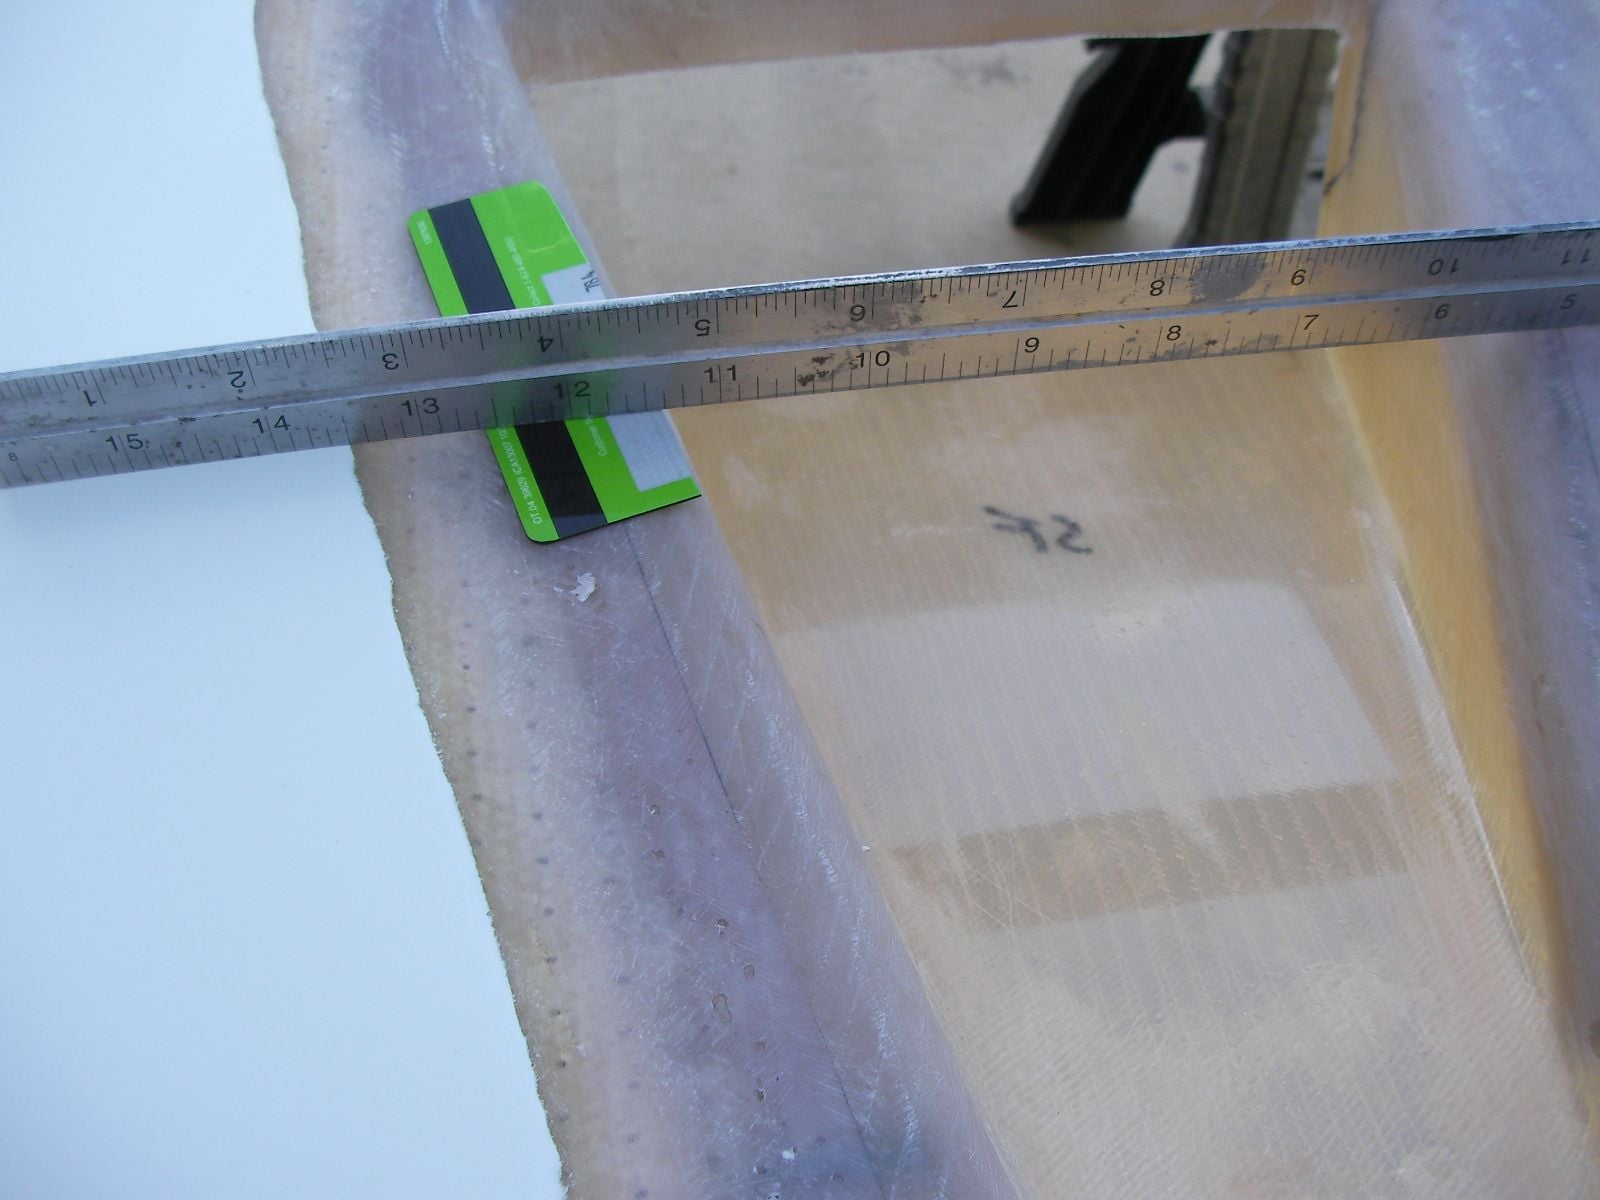
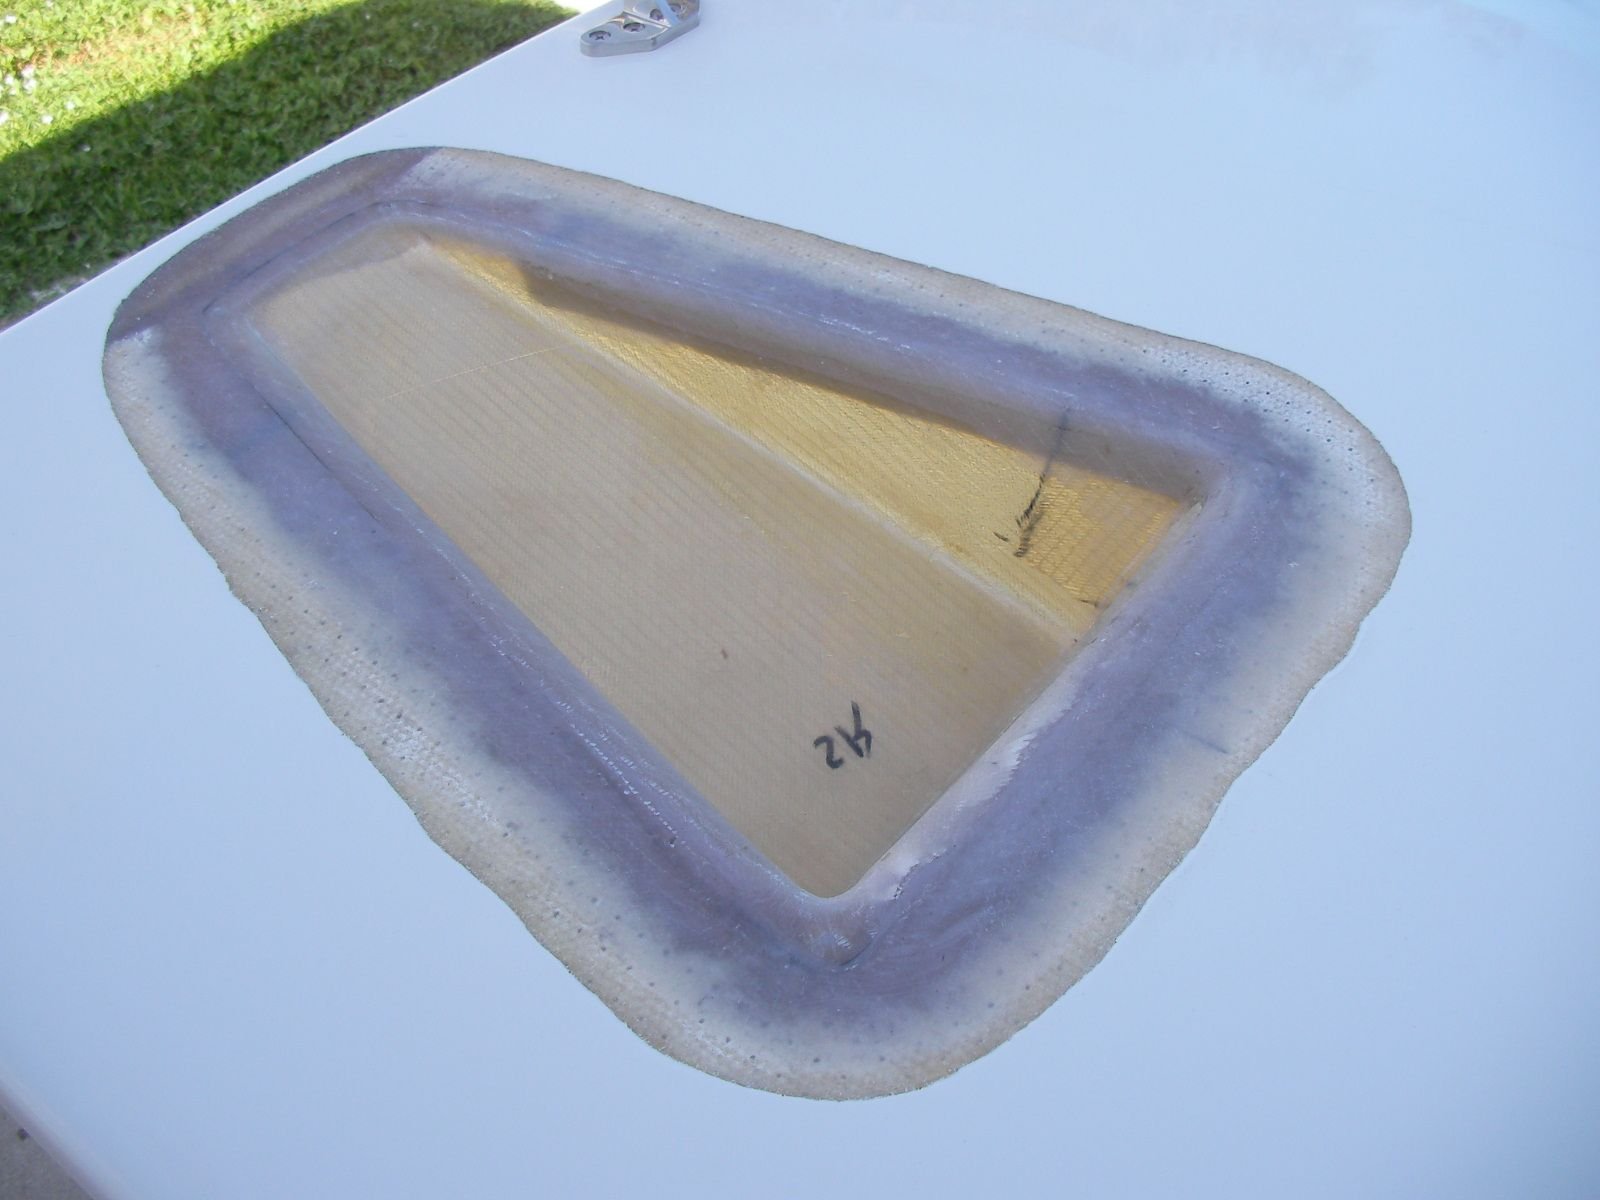
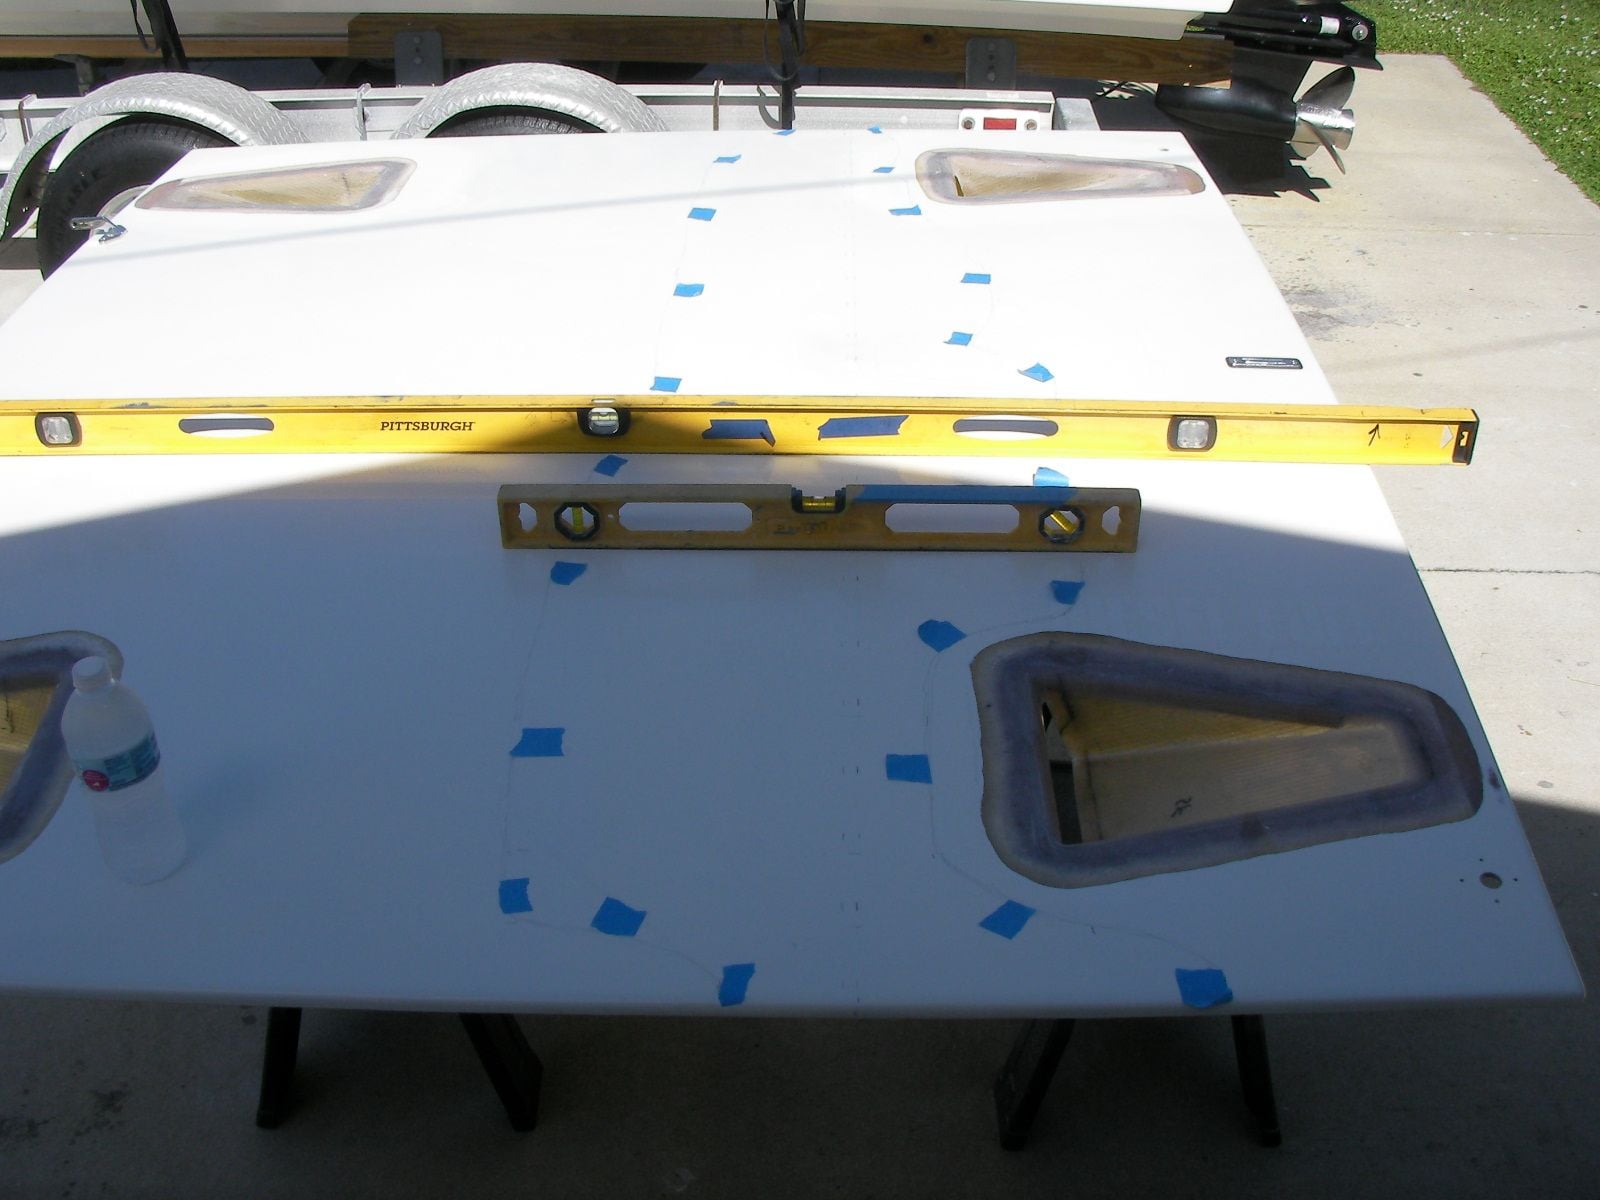
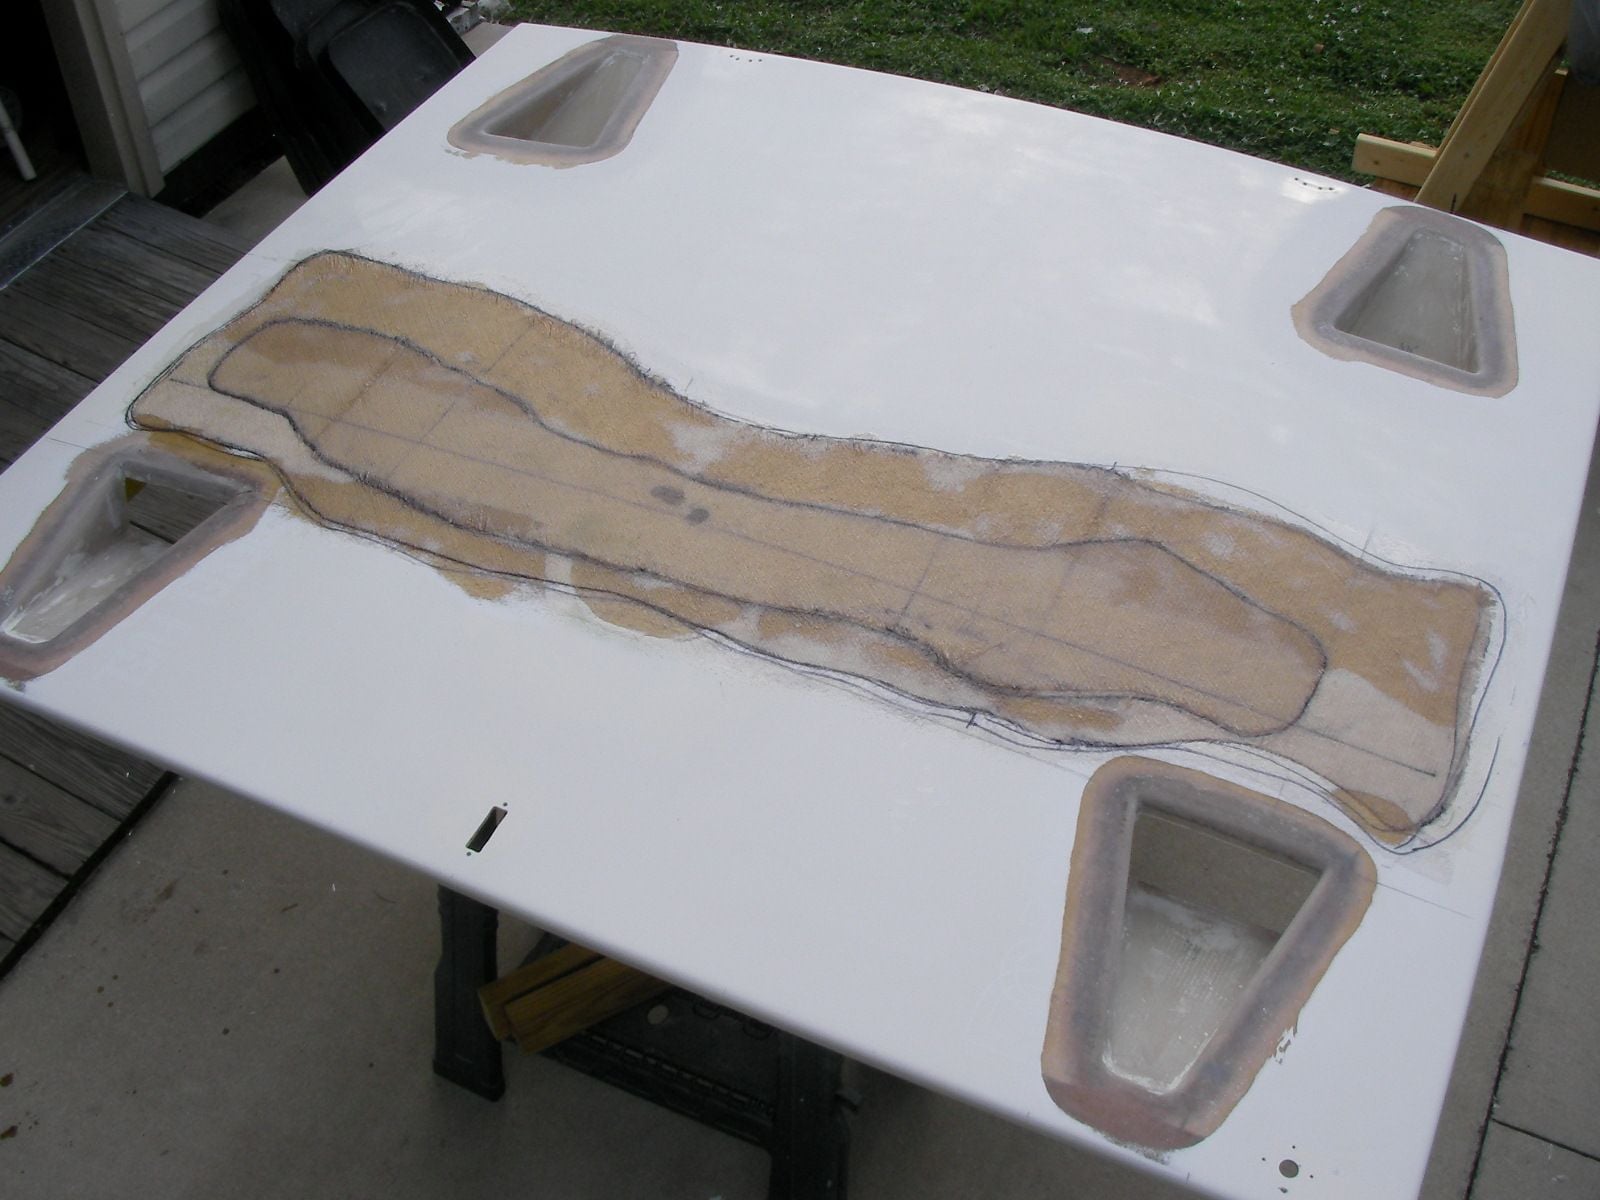
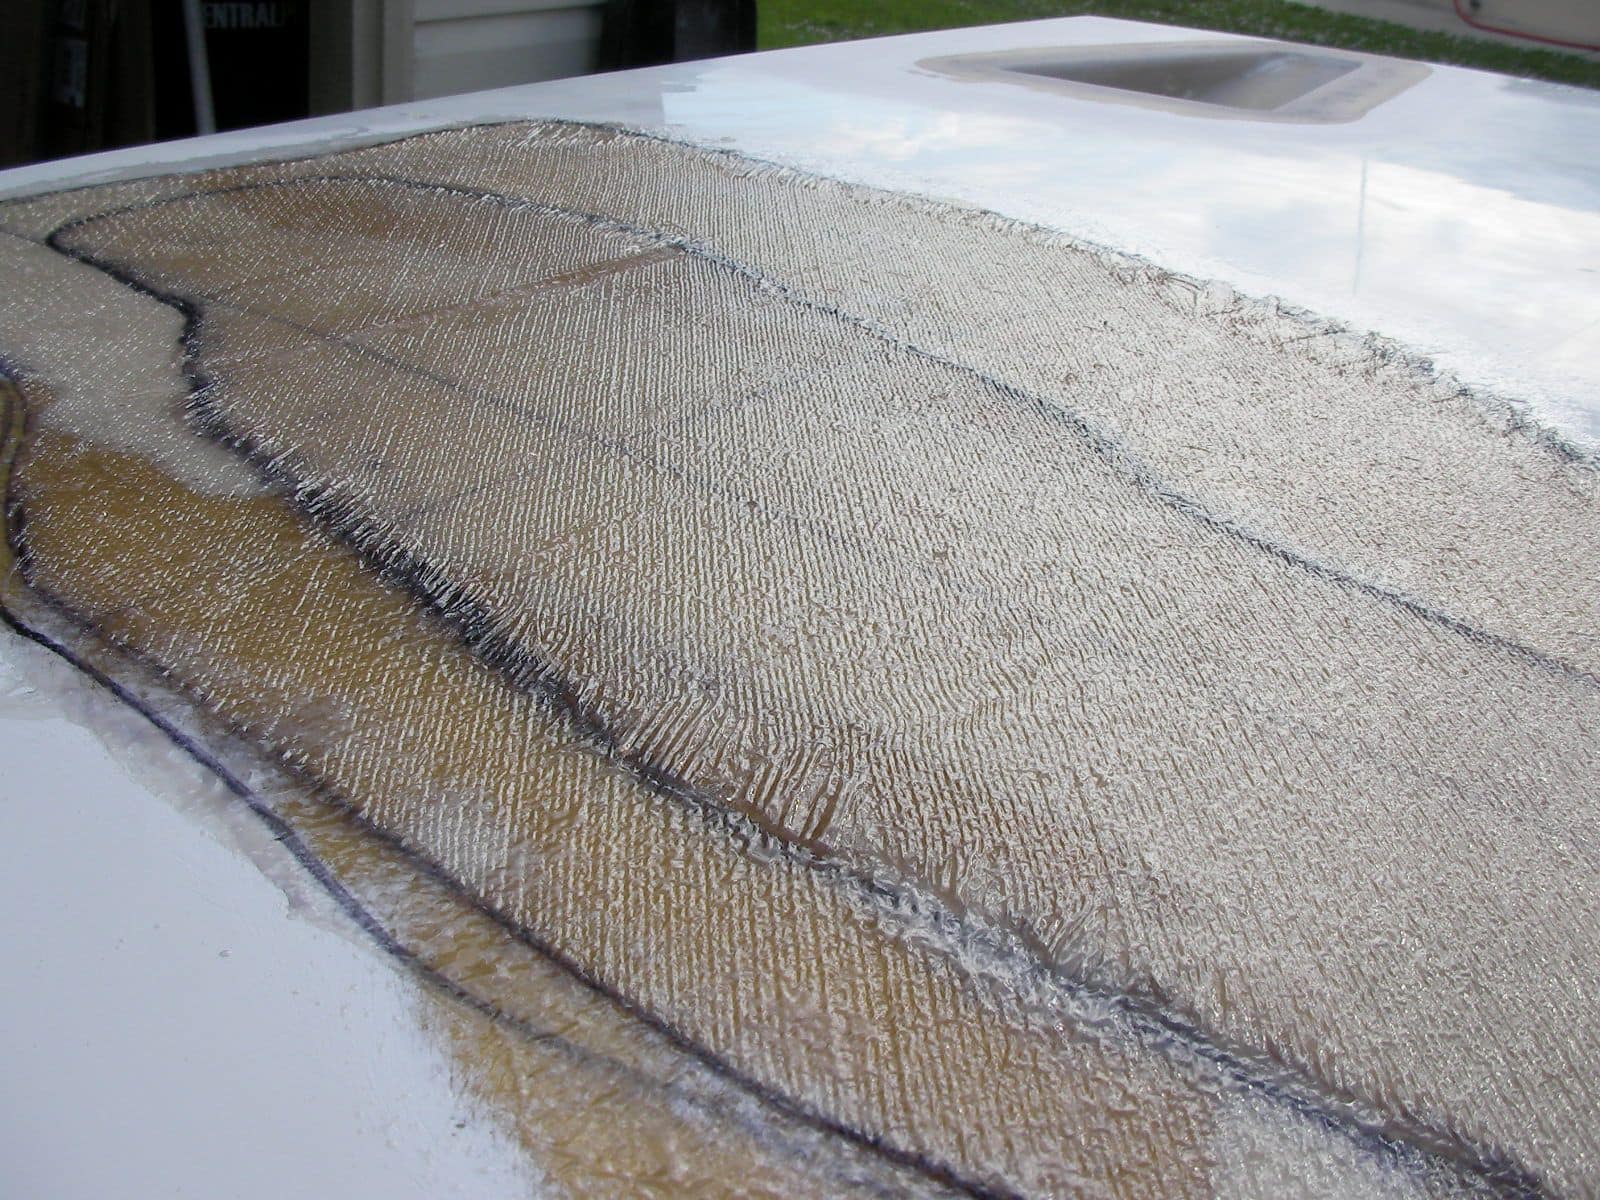
Heres whats going on, got the ducts bedded down on 1708 then glassed over with 2 layers of 1708.
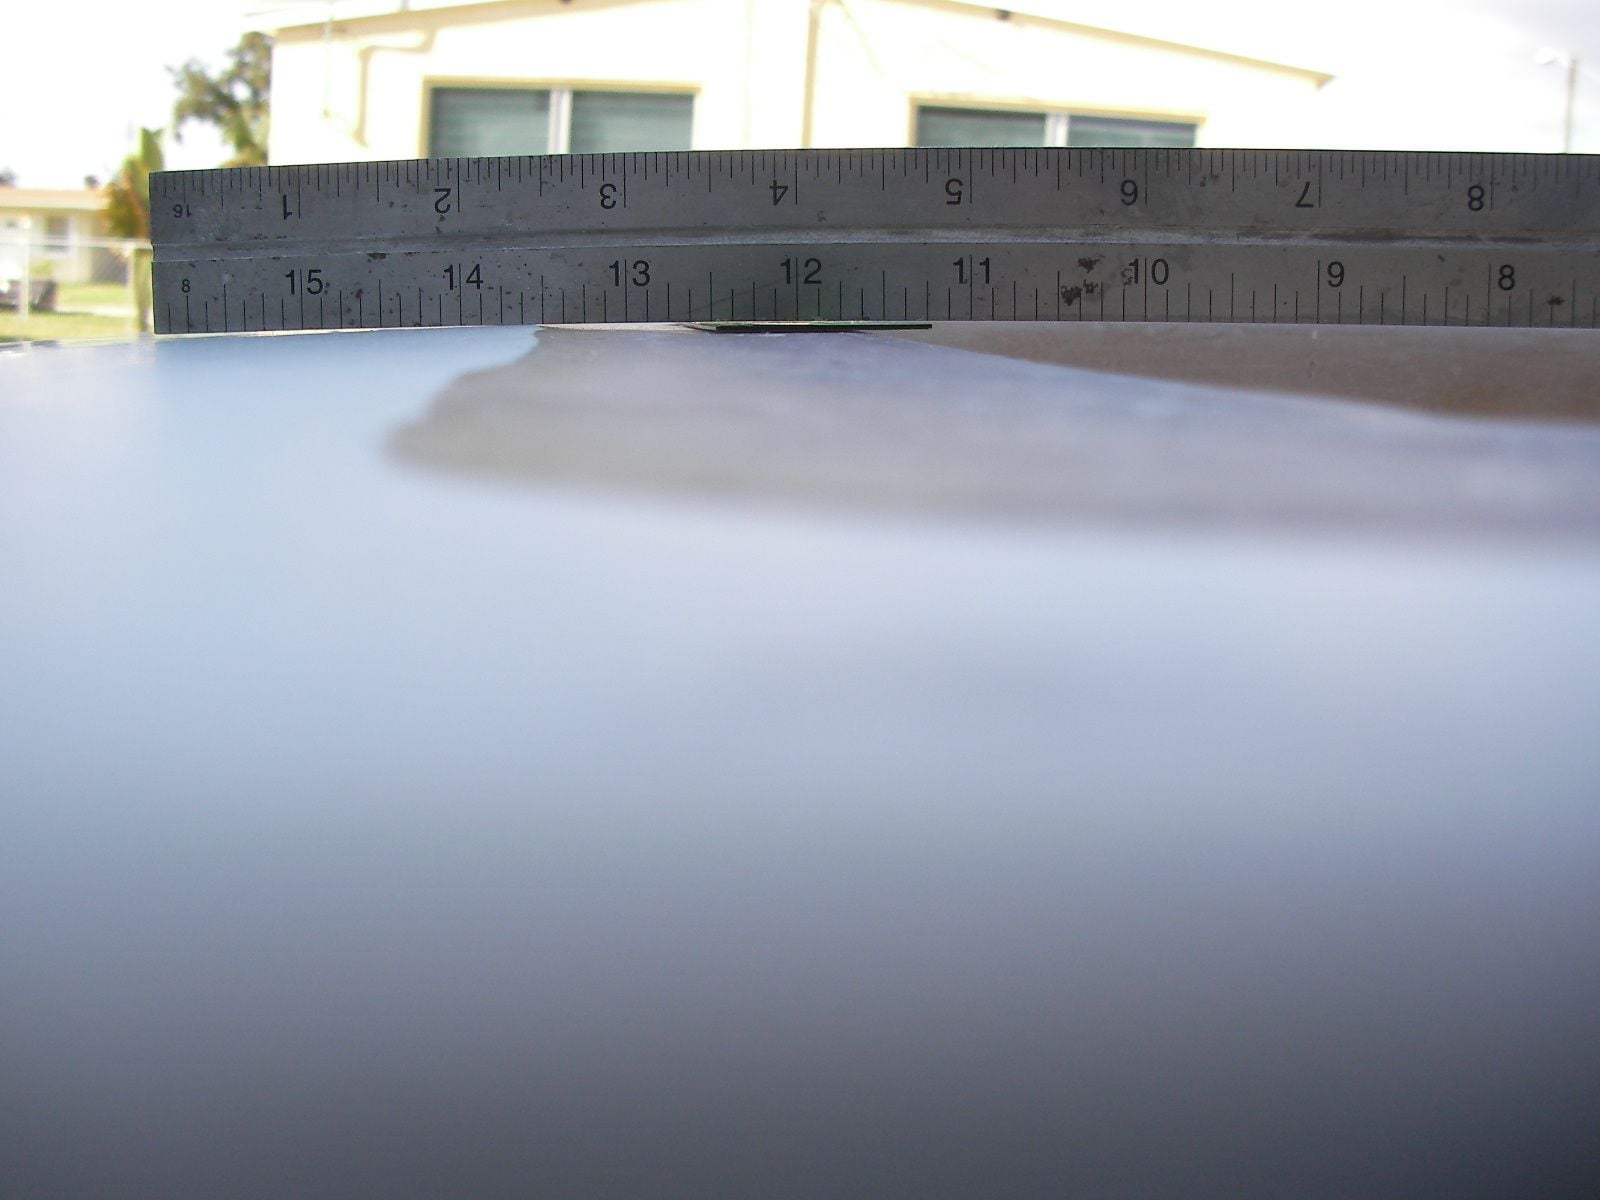
They are all taper ground all about the same, just over a credit card thickness at best.
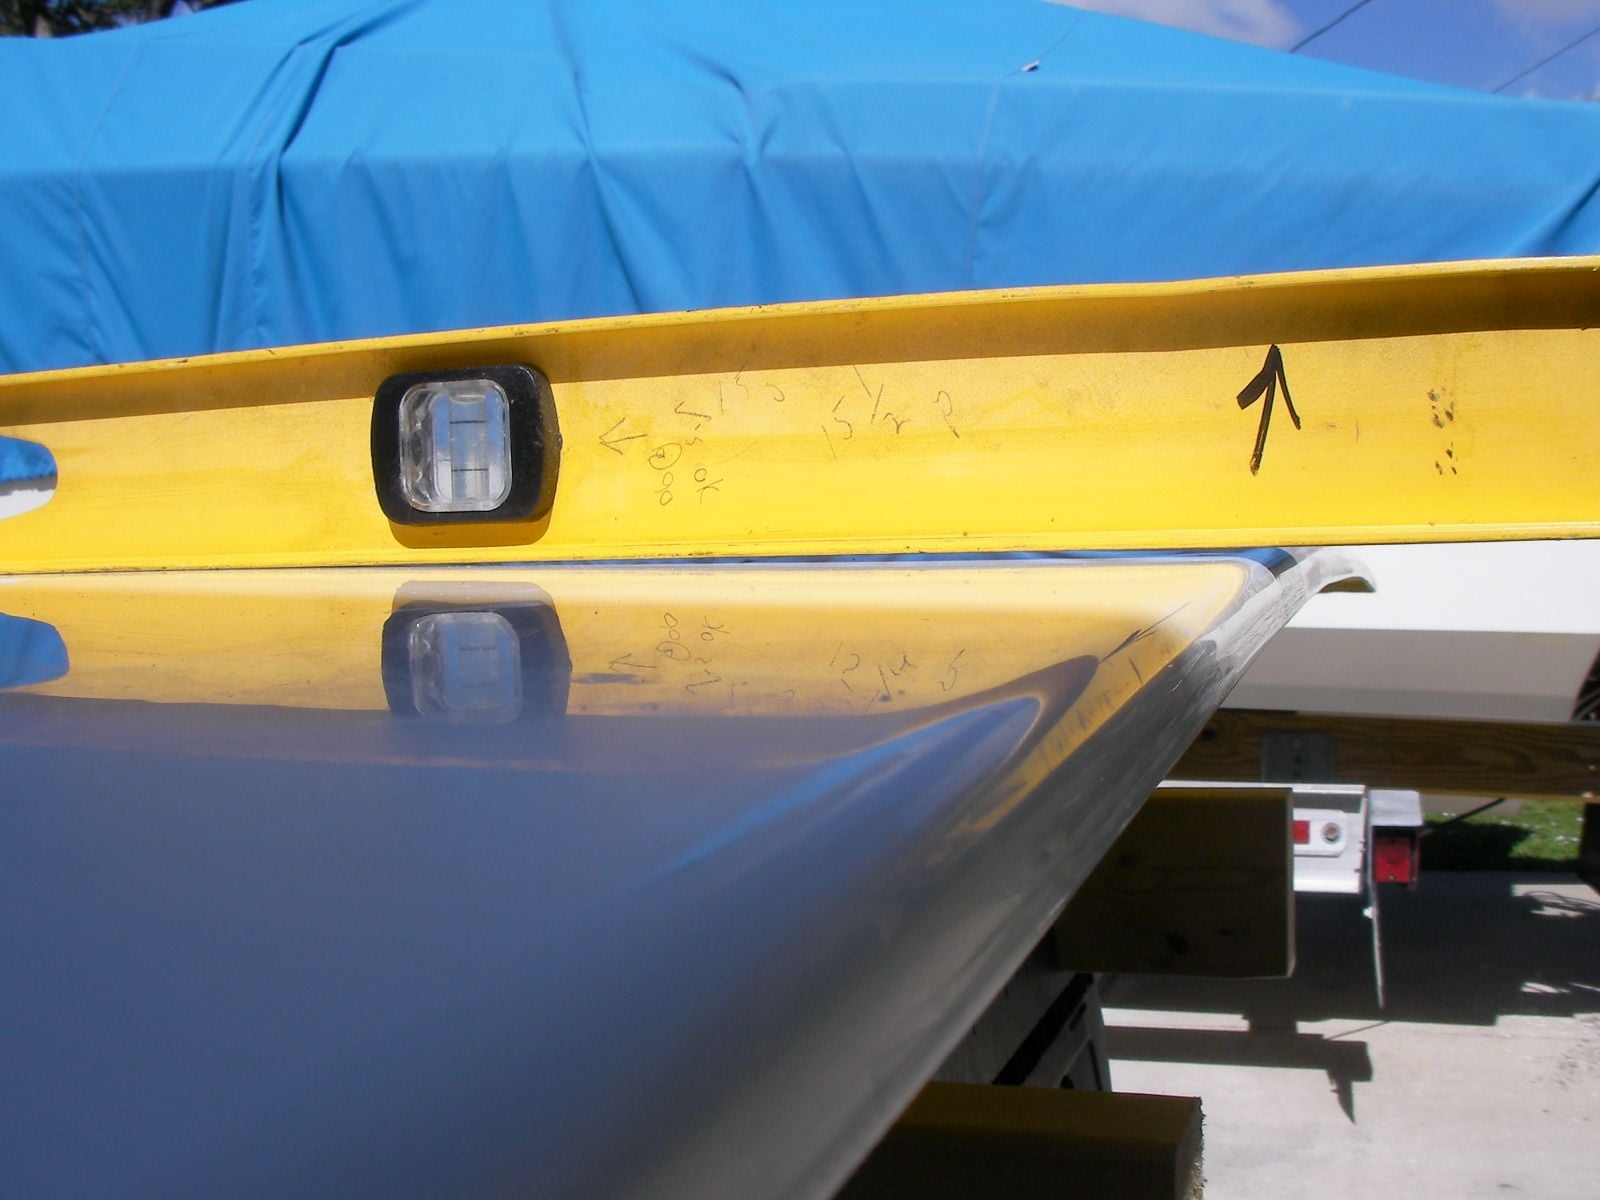
From bonding 2 cut down hatches together and because the front and rear edges roll down a bit i ended up with a low spot at the seam, (see very last pic ) low spot is outlined and marked with blue tape.
At this point i have a gallon of fresh gel and a new syphon gun (tip to be drilled to 5/32).
Plus i have the 2.5 hvlp gun
The thought was shoot the gel on thick in layers until the ducts and seam are built up, hit it with pva,
sand then shoot the entire hatch with 50/50 gel - duratech, (as last finish layer or if needed)
I also have a mil gauge that ive never used just to make things more difficult and confusing.
Now im second guessing myself since i suck at bodywork.
What are my options / how would you do it ?


Heres whats going on, got the ducts bedded down on 1708 then glassed over with 2 layers of 1708.
They are all taper ground all about the same, just over a credit card thickness at best.
From bonding 2 cut down hatches together and because the front and rear edges roll down a bit i ended up with a low spot at the seam, (see very last pic ) low spot is outlined and marked with blue tape.
At this point i have a gallon of fresh gel and a new syphon gun (tip to be drilled to 5/32).
Plus i have the 2.5 hvlp gun
The thought was shoot the gel on thick in layers until the ducts and seam are built up, hit it with pva,
sand then shoot the entire hatch with 50/50 gel - duratech, (as last finish layer or if needed)
I also have a mil gauge that ive never used just to make things more difficult and confusing.
Now im second guessing myself since i suck at bodywork.
What are my options / how would you do it ?


 10-25-2018 | 06:22 PM
#4
Thread Starter
Registered
Joined: May 2009
Posts: 1,942
Likes: 527
Thank you i appreciate the advise
See i thought if it was glassed and ground flat/flush that there would be thin spots in the gel after boarding it down,
Unless the whole hatch was shot and kinda built up, and i puposely ground it that way for build up in those areas.
Easier to build it up with mat and grind flat for me than using any kind of filler,
i always work it too much to make it smooth then dig it out while sanding
10-31-2018 | 12:44 PM
#5
Thread Starter
Registered
Joined: May 2009
Posts: 1,942
Likes: 527
Alright, used 2 plumbobs tied together thrown over the hatch every 6 inches to mark the low spot pretty good.
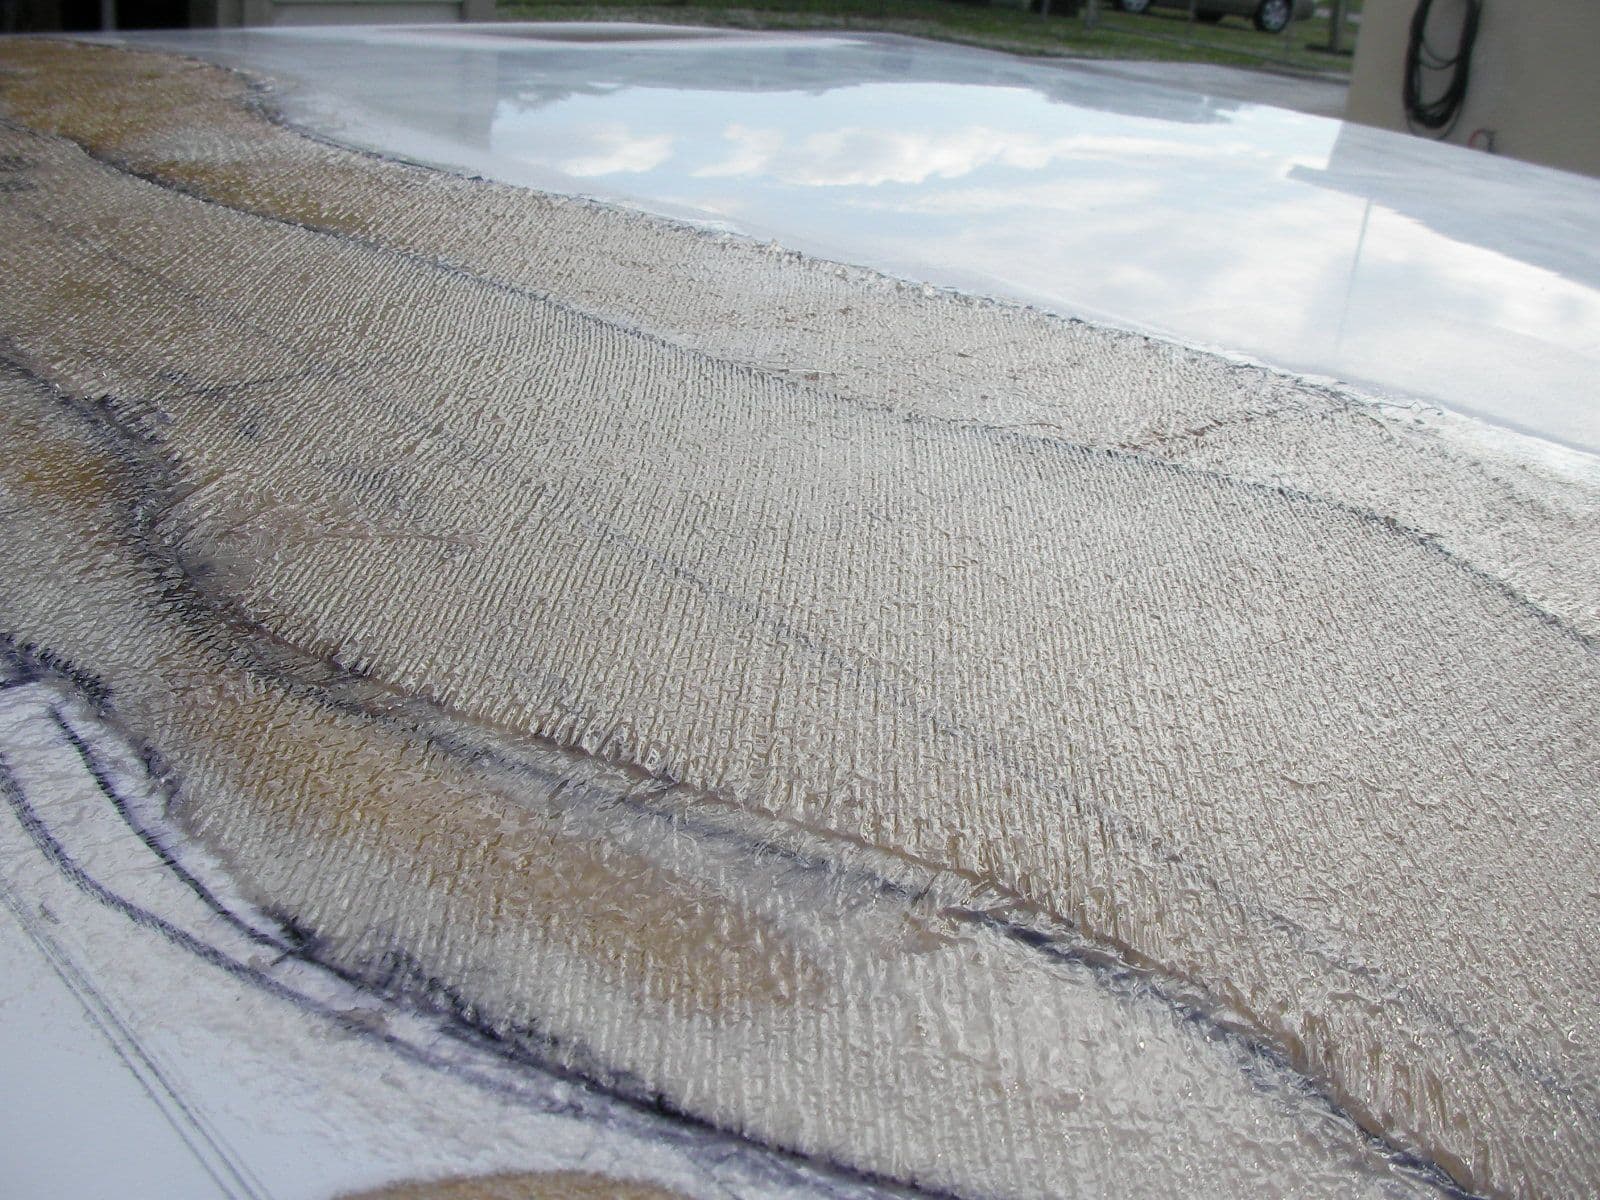
Ground it down and based off the marks put 2 layers of 1708 on it.
It ground down real nice with the 7 inch grinder and 40 grit.
Then i blended it a little better with 120 grit , after that the whole hatch was hand sanded
w/ 80 grit to a nice crosshatch pattern.
The drilled out gun from harbor freight does not shoot gel, it blows bubbles in the cup,
fortunately i had the 2.5 hvlp gun on standby w/ disposable cups, but my opinion a qaurt of gel just got wasted,
It might sand out, wont know till tomorrow.
So its wtf time.
Im ready to mix 2 qaurts and just pour it on the hatch
So what do i do get a cup gun, lay it thick as hell and sand till smooth ?
Or get duratech and shoot a layer, scuff, repeat till its thick enough ?
This is aggravating, i could have primed and painted it 5 times already
(not that it would be awesome but paint is easier )
It has to be gel no two ways about it, what the hell do i gotta do
Need some guidance
Rain comes friday so grind tomorrow hell or high water then back into
the dining room on sawhorses to re prep so first opportunity i can give it another shot
Last edited by outonsafari; 10-31-2018 at 12:47 PM.
 10-31-2018 | 03:46 PM
#8
Thread Starter
Registered
Joined: May 2009
Posts: 1,942
Likes: 527
The drilled out gun wont shoot anything, not even acetone, it just sends air into the pot and blows bubbles.
Did not reduce, it was never mentioned before.
What type of gun are you using w/ that 2.0 tip, what psi, how does it lay down, is there a lot of sanding ??
I have detailed notes that i follow but each time the results are radically different
Ordered a cup gun because i want to move the product and shoot the whole job instead of what happened today.
( got 1 qaurt thru the 2.5 hvlp gun on 12 sq ft and had to stop to clean the gun )
I appreciate you taking the time to help me out
11-01-2018 | 10:34 PM
#10
Thread Starter
Registered
Joined: May 2009
Posts: 1,942
Likes: 527
Thanks dan, again i appreciate the help.
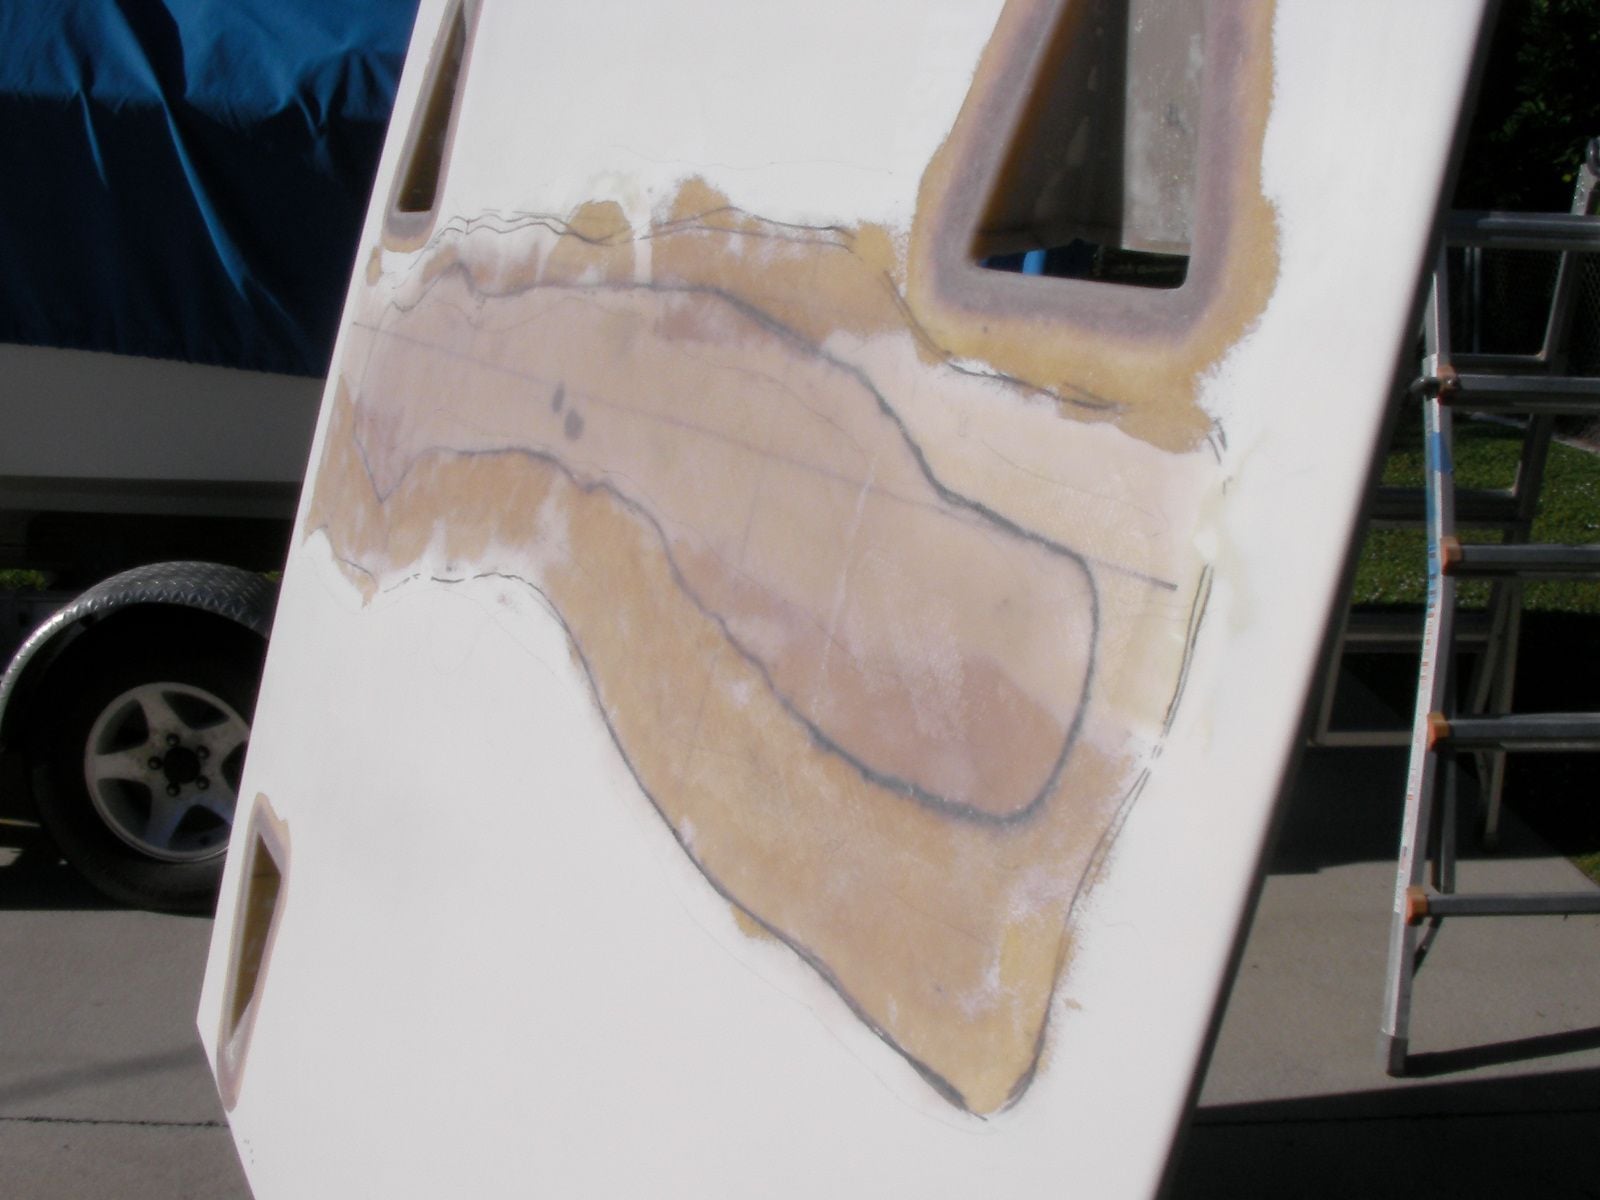
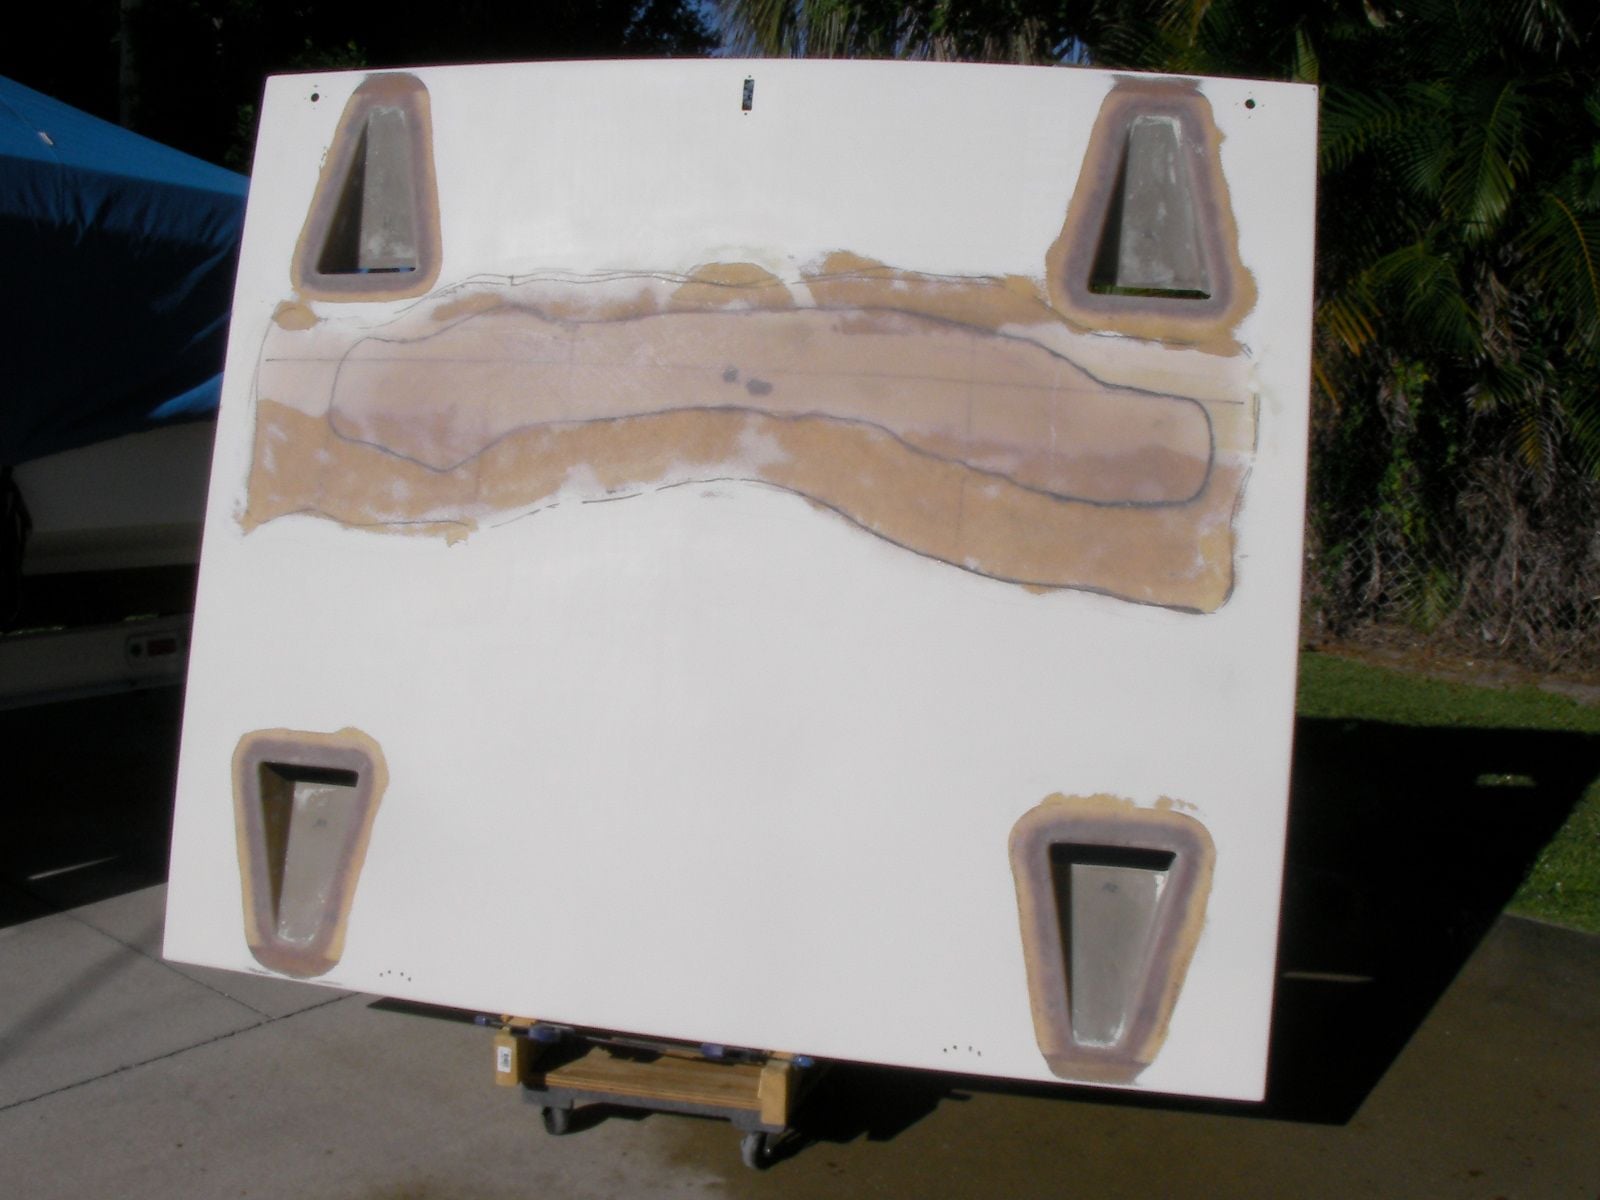
So it boarded down pretty good and the gel wasn't wasted after all, it looked horrible after it was shot and i figured it was just a total loss of time and material.
Looking at the low spots, what i think happened was once the first gun failed the mad dash was on to run activated material thru the hvlp gun which is tough to clean good.
There was lines marked on the hatch where build up was really needed and i didn't hit them enough,
the resulting low spots are minimal and i think they will build up in gel alone, there are a few spots that maybe an ounce or two of 3m marine filler (in total) could be used to correct the worst of it
Using the plum bobs it's flat ( except for the lowspots) so i stopped, could defineately board down better but thats outside of my ability
Going to look at it with fresh eyes and try to have it wrapped up this weekend.
On another note found this re usable vacuum bag material while trying to find out why i suck at this so bad.
https://www.smooth-on.com/tutorials/...demonstration/
Last edited by outonsafari; 11-01-2018 at 10:39 PM.

