

Setting new stringers
 06-01-2019, 07:38 AM
#1
Registered
Thread Starter
Join Date: Jan 2019
Location: Florida
Posts: 28
Likes: 0
Received 0 Likes
on
0 Posts
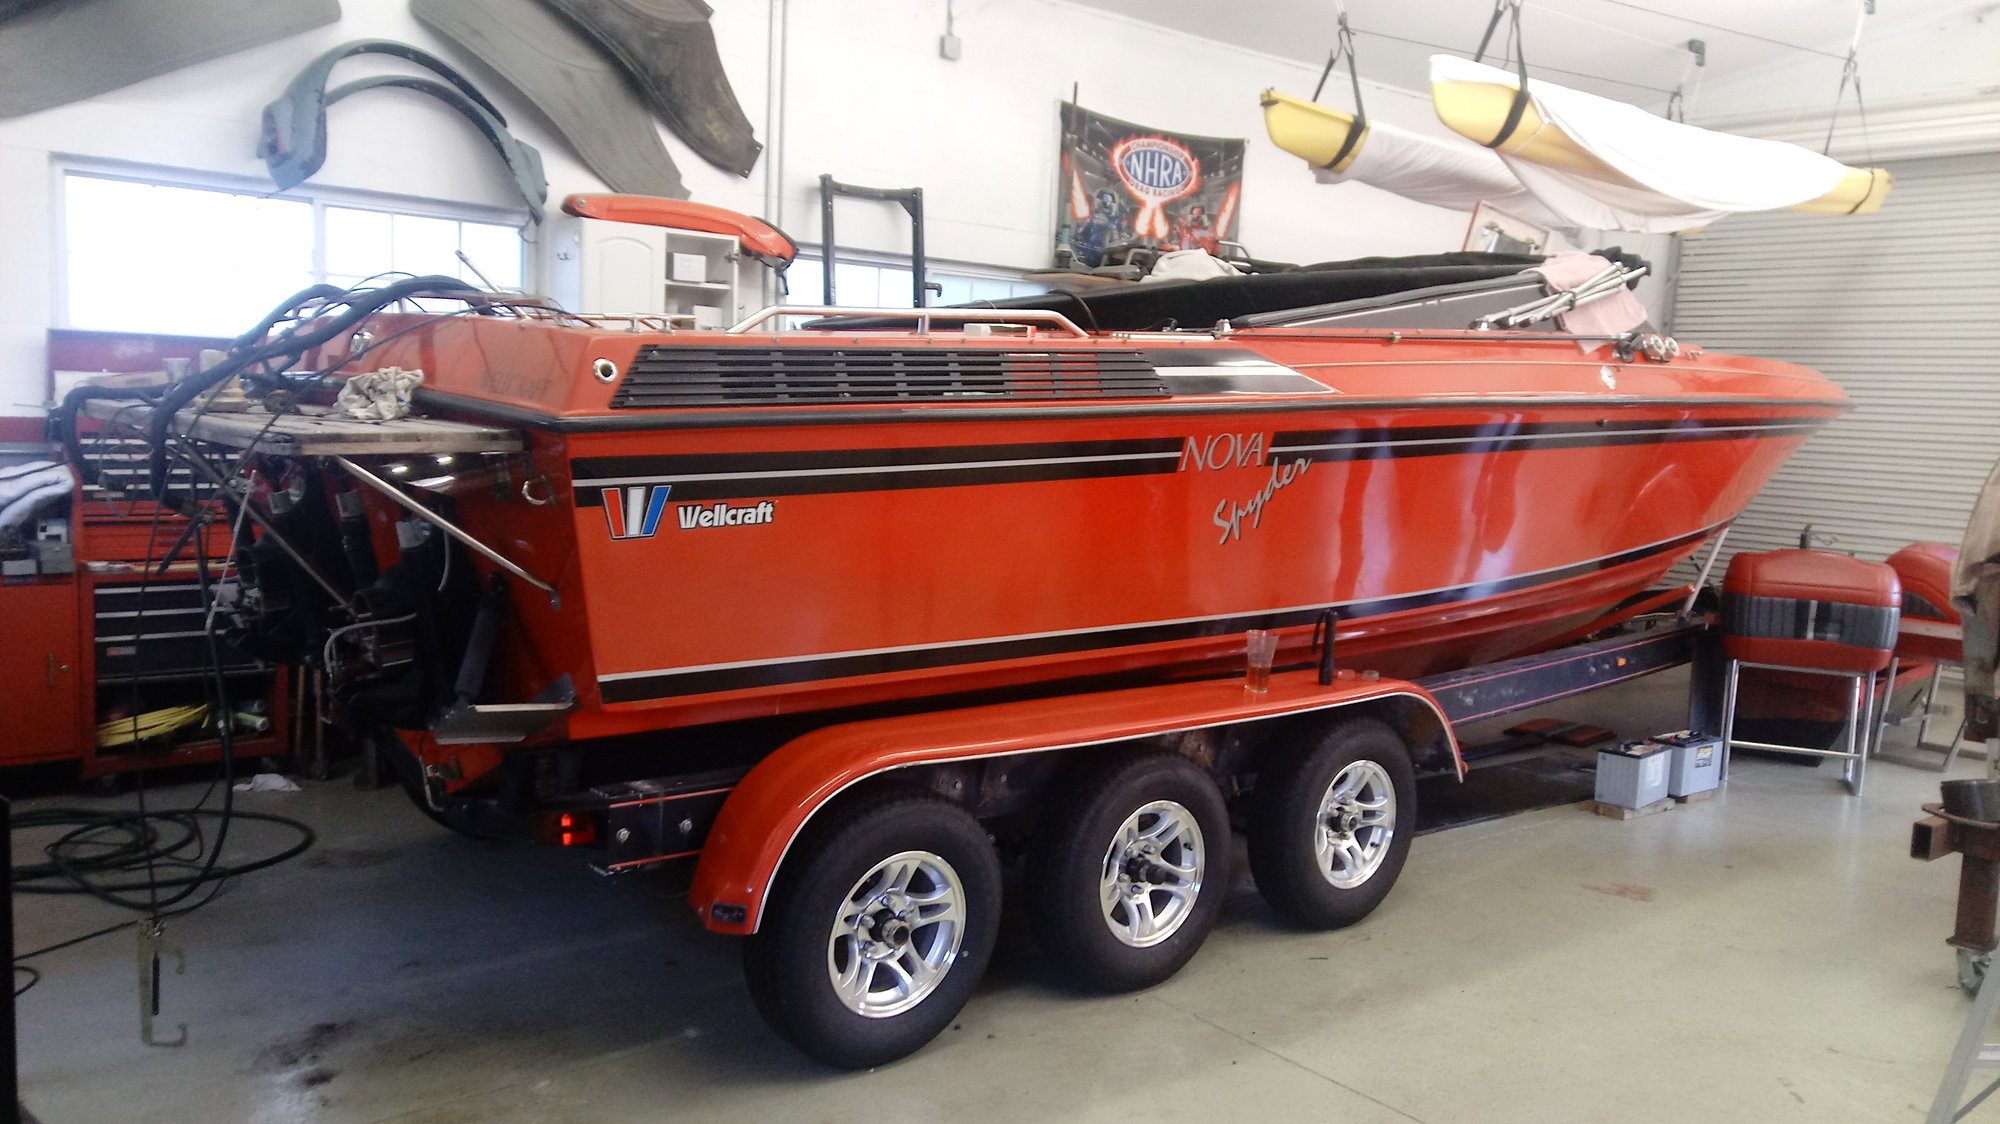
I am at the point where I am ready to start setting my new stringers and bulkheads. Is the proper method to set the raw stringers to the hull with bonding putty and then glass them in with 3 layers of 1708 to encapsulate them? Should I be coating the edges with resin or glassing the entire panels with a layer of cloth before installing them? I am using vinylester and poly bonding putty. This may be a redundant question, but I want to make sure I get it right the first time.
Thanks, Todd
Thanks, Todd
 06-01-2019, 02:32 PM
#2
*

You ought to get plenty of feedback on this but here's my .02c
If it was me , angle the bottoms of the new stringers so that they sit flush on the hull bottom before you do the putty thing . Most builders do not do this and later down the road it results in uneven load distribution and stress cracking on the hull bottom . Locate and drill out your limber holes first , not when the things are installed . Bevel the tops so the layers of glass over the tops will contour more easily. Before installing put at least 2 coats of resin on them (everywhere , tops , bottoms and limber holes) and sand in between coats .What a lot of people find out too late is that if you don't do this what happens when you go to layer the cloth over them the resin wicks into the dry wood and away from the glass resulting in a poor bond .
Cut out all your cloth first with narrow long pieces going down first running the length of the stringers starting at the hull bottom and then each new layer is larger with more coverage . I'd do it so that when you're done the stringer should be finished off with at least 3 layers encapsulating the tops . Of course there'll be over 5 layers on the middle/lower sides and onto the hull bottom. Remember , these are load bearing structures that your engine will rely on for unquestionable strength so don't take any short cuts ! Give yourself credit for doing something that many would run away from .
Last edited by madbouyz; 06-01-2019 at 02:34 PM.
06-01-2019, 04:33 PM
#3
Registered
Thread Starter
Join Date: Jan 2019
Location: Florida
Posts: 28
Likes: 0
Received 0 Likes
on
0 Posts
Madbouyz,
Thanks for your input. I have done most of this. The stringers are angle cut to sit flush with the hull and I re-configured the drain holes so they actually move water out of the compartments should they get water in them. The tops are all rounded over as well. That makes sense to coat them completely in resin. I did not think about the raw wood wicking the resin away from the glass.
One question about laying out the glass. If the resin starts to kick before I get to say the second layer, can I still apply additional layers or will I have adhesion issues? With our 90 degree weather I am not sure what my pot life will be like.
Todd
06-01-2019, 05:39 PM
#4
*
I've not used Vinylester before . I hate regular resin enough ! The last time I did a big job like this I used epoxies . I love that stuff but it's damn expensive. I too was working in a hot climate and I had (and used) the option of using slow cure catalysts . A tip for hot weather work .. Use heavy wax paper or plastic (old gallon + bleach bottles cut open) mixing pots for your resin. They won't transfer the ambient heat to the resin mix as quickly causing it to fire off too soon .
If you have all of your cloth cut in advance and have a helper you can probably make good time of it but if it were me I wouldn't plan on getting it all done at once. I have read in the past of some builders actually doing a layer at a time when building a hull from scratch and sanding in between layers after they have cured but that was a long time back before modern production techniques and vacuum bagging , etc .
When I did my transom I completely coated the 2 x 3/4" slugs with 3 coats of resin (sanding between coats) before they were laminated together and glassed in and it came out awesome.
It sounds like you've done good advance prep on the stringer fabs though . Good for you !
06-15-2019, 08:53 PM
#5
Registered
Thread Starter
Join Date: Jan 2019
Location: Florida
Posts: 28
Likes: 0
Received 0 Likes
on
0 Posts
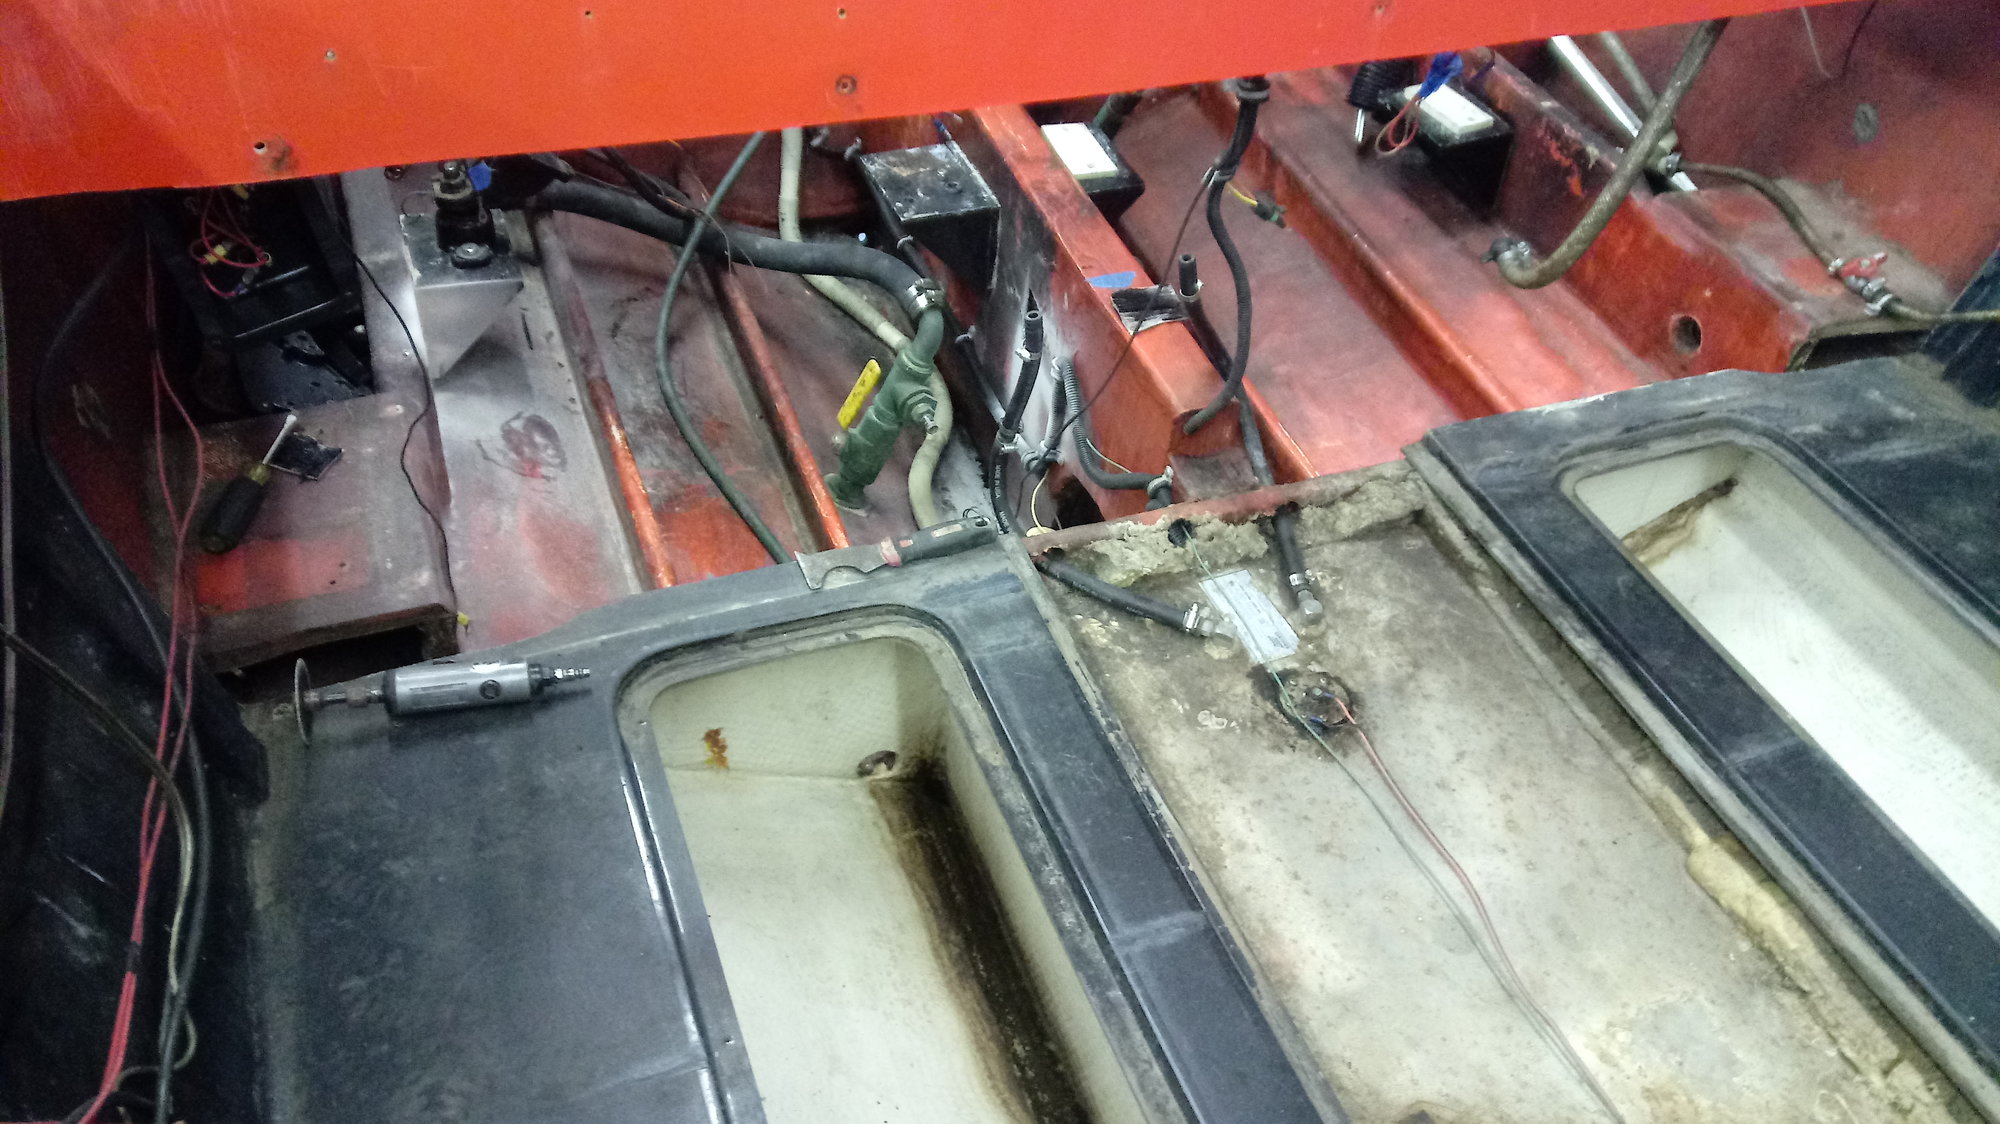
I've got the forward stringers and bulkheads coated with resin and sanded down to install. I bonded the bulkhead between the engine compartment and the fuel tank in place. The engine stringers will butt to the back side of this and the fuel tank stringers and outer chine stringers will tie to the front of it. My question is, should I 1) completely glass this bulkhead in before placing the forward stringers, 2) Glass in a strip of 1708 where the engine stringers and forward stringer will make contact, or 3) bond the front stringers in place and glass them together at one time? The original engine stringers are still in place, only cut back 8".
Thanks, Todd
Thanks, Todd
06-16-2019, 01:28 PM
#6
*
For my old brain a few pics might help clear things up a bit but IMO if your stringers are not full length and are interrupted by bulkheads what I would do is glass all the bulkheads in first , and that would include the transom if you were to be replacing that at the same time , and then glass the stringers in , tying them into the bulkheads. Keeping everything separated by a few layers of glass means that later on down the road if you were to get water intrusion into any of those pieces it stays isolated from the next .
This was something that few manufacturers did when they tied the stringers to the transom as an example . When the transom gets wet the water was able to quickly migrate into the stringers , and then that's all she wrote !
This was something that few manufacturers did when they tied the stringers to the transom as an example . When the transom gets wet the water was able to quickly migrate into the stringers , and then that's all she wrote !
06-16-2019, 03:45 PM
#7
Registered
Thread Starter
Join Date: Jan 2019
Location: Florida
Posts: 28
Likes: 0
Received 0 Likes
on
0 Posts
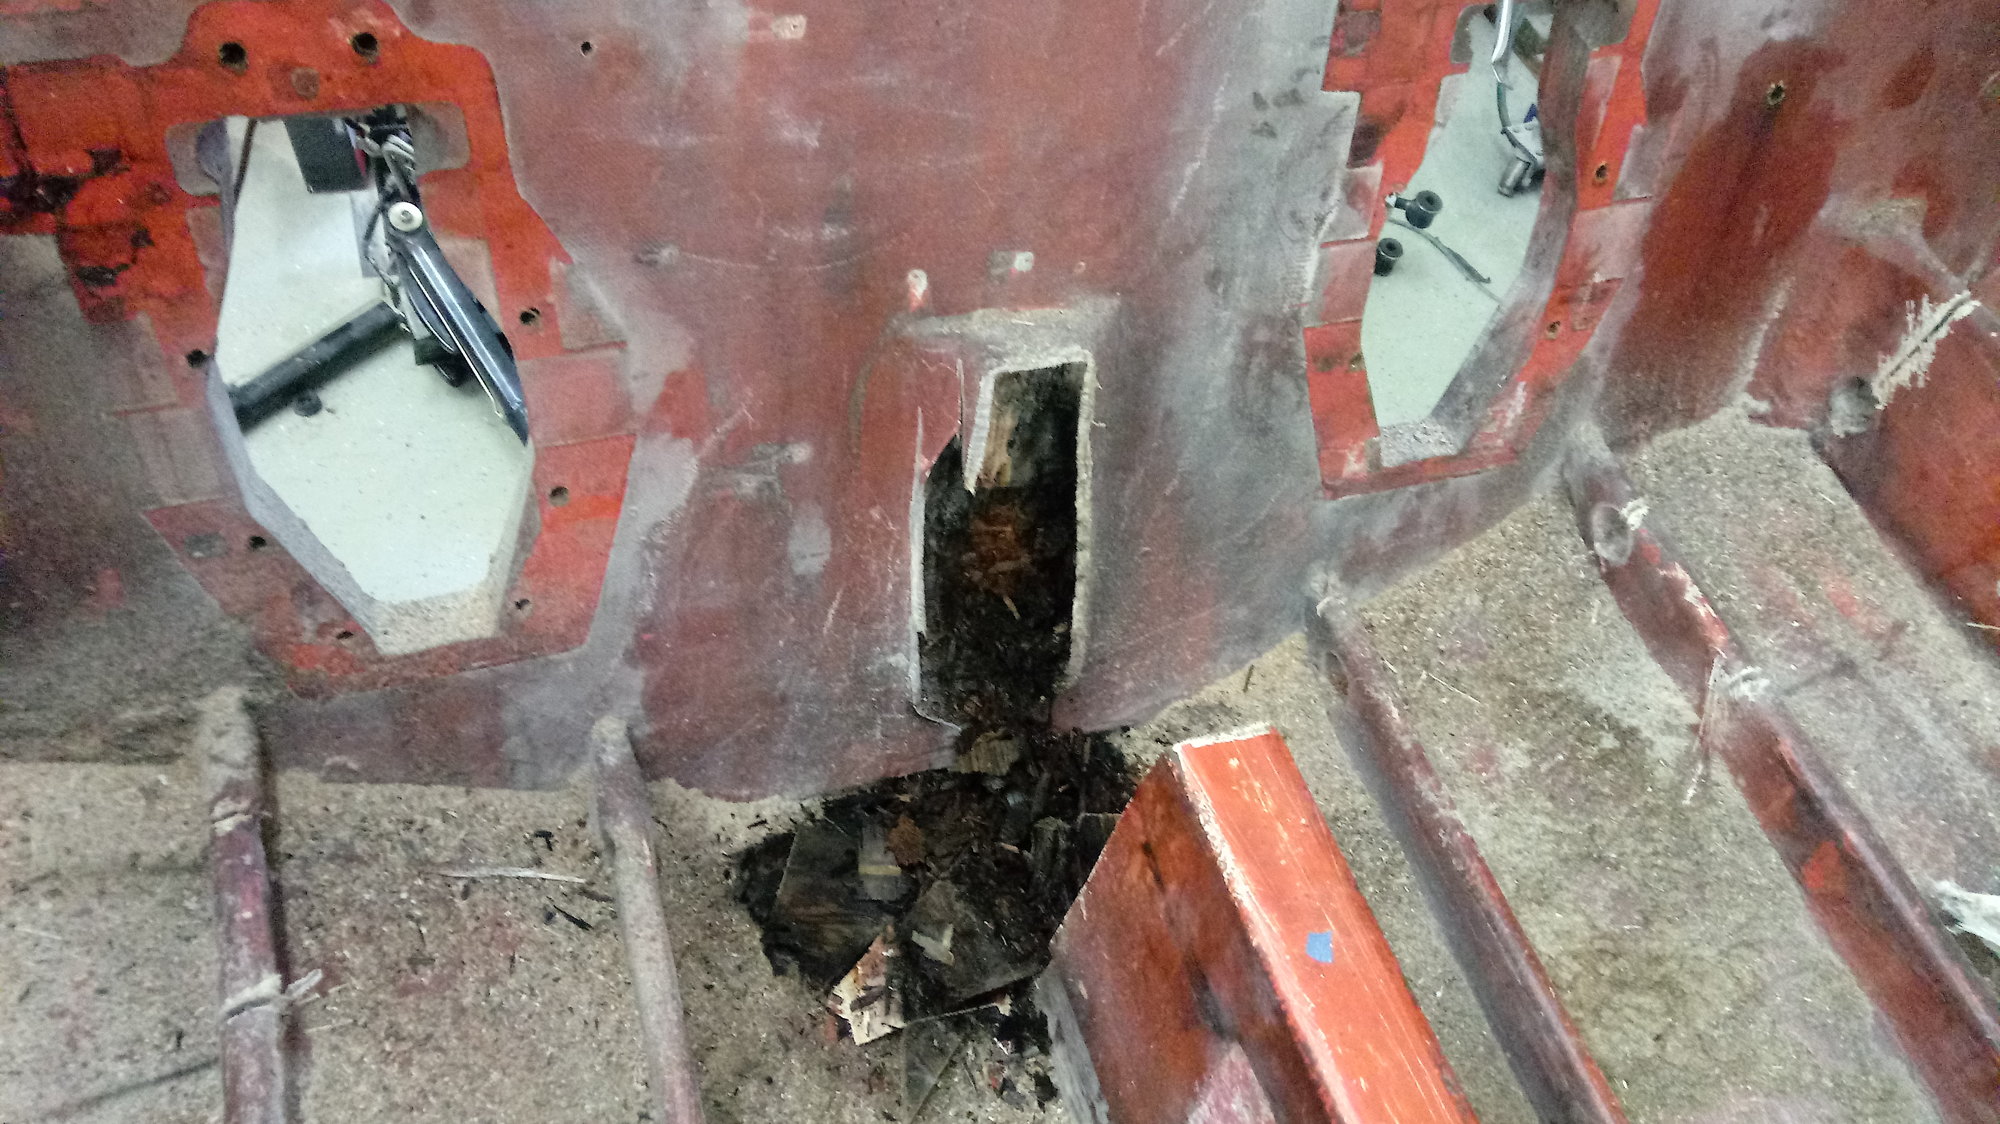
This is what I am rebuilding
I'm with you on the isolation part. My thoughts are to run a 4" strip where the stringers will meet the bulkheads and also wrap the ends of the front stringers with a strip of glass before installing them. This would fully seal each piece but allow me to glass them together with a 3 - 5 layer layup schedule without getting too much build up?
I am working from front to back. The transom actually seems solid, but we won't know for sure till the rear stringers come out. Once the front is glassed in, we will cut out the rear. Trying to keep some stability in the hull even though the boat is blocked up.

This is what I'm working on.
06-16-2019, 04:31 PM
#8
*
Oh sweet memories of all that grinding .. lol
Those stringers would have been full length , and you've already done surgery on them eh ? I didn't have to cut mine out like that , just the rear 8" so after the new transom was completely glassed in I just added the last bit to the stringers and glassed them in and then went over everything with another layer or 2.
I would think that it would be better to take care of the stringers first and then put in your new bulkheads afterwards. I'm surprised that Glassdave hasn't advised yet. He's the resident go to glass guy .
06-16-2019, 05:03 PM
#9
Registered
Thread Starter
Join Date: Jan 2019
Location: Florida
Posts: 28
Likes: 0
Received 0 Likes
on
0 Posts
That picture is deceiving. The rear stringers stopped at the bulkhead. None of them line up with the stringers forward of the bulkhead. You can see where the drain from the locker is 2" up from where the stringer meets the bulkhead, but it is in line with the short engine bay stringer. Also, the short outer stringer had a drain to the rear, but that went straight into the raw outer engine stringer which completely blocked the drain. I know I'm preaching to the choir, but these boats didn't stand a chance at living long.

07-04-2019, 05:07 PM
#10
Registered
Thread Starter
Join Date: Jan 2019
Location: Florida
Posts: 28
Likes: 0
Received 0 Likes
on
0 Posts
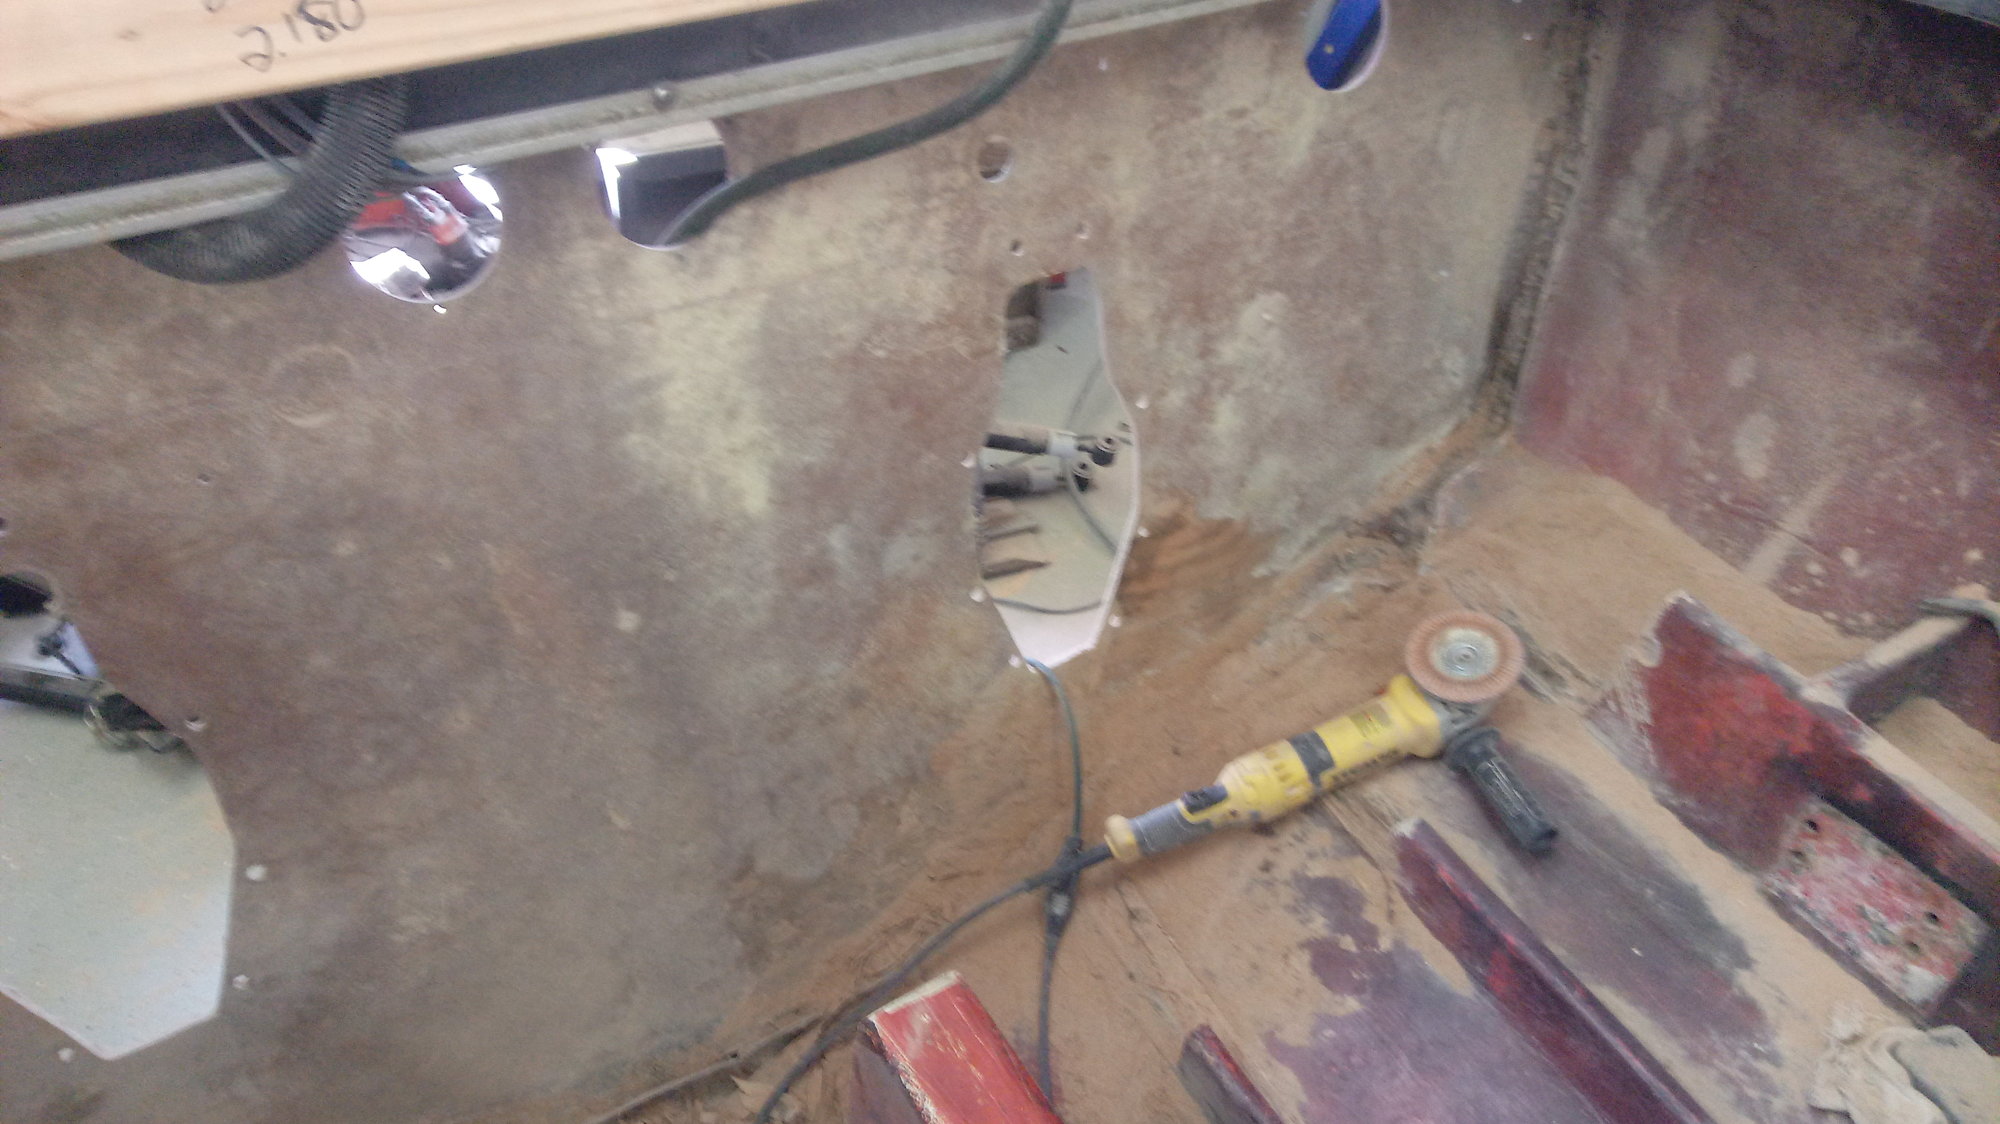
Well so much for a solid transom. The transom is gone where the stringers attached as there was no isolation glass between the two. I have it about 80% removed. I have a few questions as I continue to prep. I am not painting the outside of the hull. What is the best way to keep resin from filling the holes in the transom and running down the outside? Thought about duct tape on the outside, but not sure about how to keep it out of the holes. Also, is there any need to groove or score the plywood to help the 1.5oz mat and resin bond to the hull any better? When I clamp it in place, is it possible to put too much force on it where too much resin will run out? This will be my first time laminating so I am not sure what I am up against. I appreciate any advice you can share.
Thanks, Todd
More mulch
Almost out
Thanks, Todd
More mulch
Almost out

