

Chris Cat Project
 01-08-2018, 12:31 PM
#11
Registered
Welcome and thanks for posting your build thread. I look forward to your future posts as things progress.
Bob
Bob
 04-18-2018, 05:13 PM
#12
Registered
Thread Starter
Hello all. its been a while. Why infusion? Infusing hulls and decks offers a much better product over hand laying. The glass stays in place by using a glue that is made for infusion. The glue actually dissolves when the resin comes in contact with it. When hand laying or vacuum bagging, every laminate has a secondary bond. You have to grind between laminates. The bond is only as good as how much you scuffed the previous layer. its nasty work no one wants to do. We have all seen or heard of delamination. its because the layer was not prep properly. Lets face it, the guy doing the grinding is not the highest paid guy. Also when installing the core, you have to hot coat it and apply it with core bond. A 5 gallon pail weighs about 50 pounds. Its very easy to add hundreds of pounds of unneeded weight. Also it not always bagged in. So its very easy to have voids where the core is not in contact with the core bond.
With infusion, the entire part/hull is one laminate. I gel coat the mold and then skin it with 3 oz of matt. I do 3 oz. on the sides to help prevent print through and 1 1/2 on the bottom. I'm going to build my boats with a hybrid Kevlar/ carbon fiber. The Kevlar being on a 45 and the carbon fiber being on a 90. They are stitched together and very strong. the alternative would be a 1708 and 1808. So the laminate schedule will be 3 oz. skin, Kevlar/Carbon, balsa core, Kevlar/ carbon. This will be very strong and light. When you infuse it, you vacuum the air out until you reach 29 inches of vacuum. 30 inches is one atmosphere. heres the formula when vacuum bagging anything. For every inch of mercury the amount of pressure is half the number per square inch. So lets say you're bagging in core. you only need to pull 5 inches of mercury. That means that you have 2 1/2 pounds of pressure per square inch. There's 144 square inches in a square ft. So you have 360 pounds of equal pressure on the core. More than what you need. With infusion, you have 29 inches of mercury. that means you have 2,088 pounds of pressure on the laminate. It compresses the laminate. therefore you use less resin by about 30%, I think. There is no excess weight. Its also now one laminate.
Why balsa? Everybody knows of rot problems with balsa. With infusion the balsa is completely encapsulated .Unless you drill a hole in it water cannot get into it. the primary reason though is because the resin soaks into the balsa more than any of the other core materials. We all know how wood soaks up resin. balsa is end grained so the resin penetrates it deeper. I work with core cell, divinylcell and balsa.I know from experience that the resin does not soak into the other core materials. At over 100 mph in rough seas, I don't want a problem. I will be using devinycell where ever there is a through hull. that just makes sense. There are other materials I'll use where the screws will be.it just takes planning.
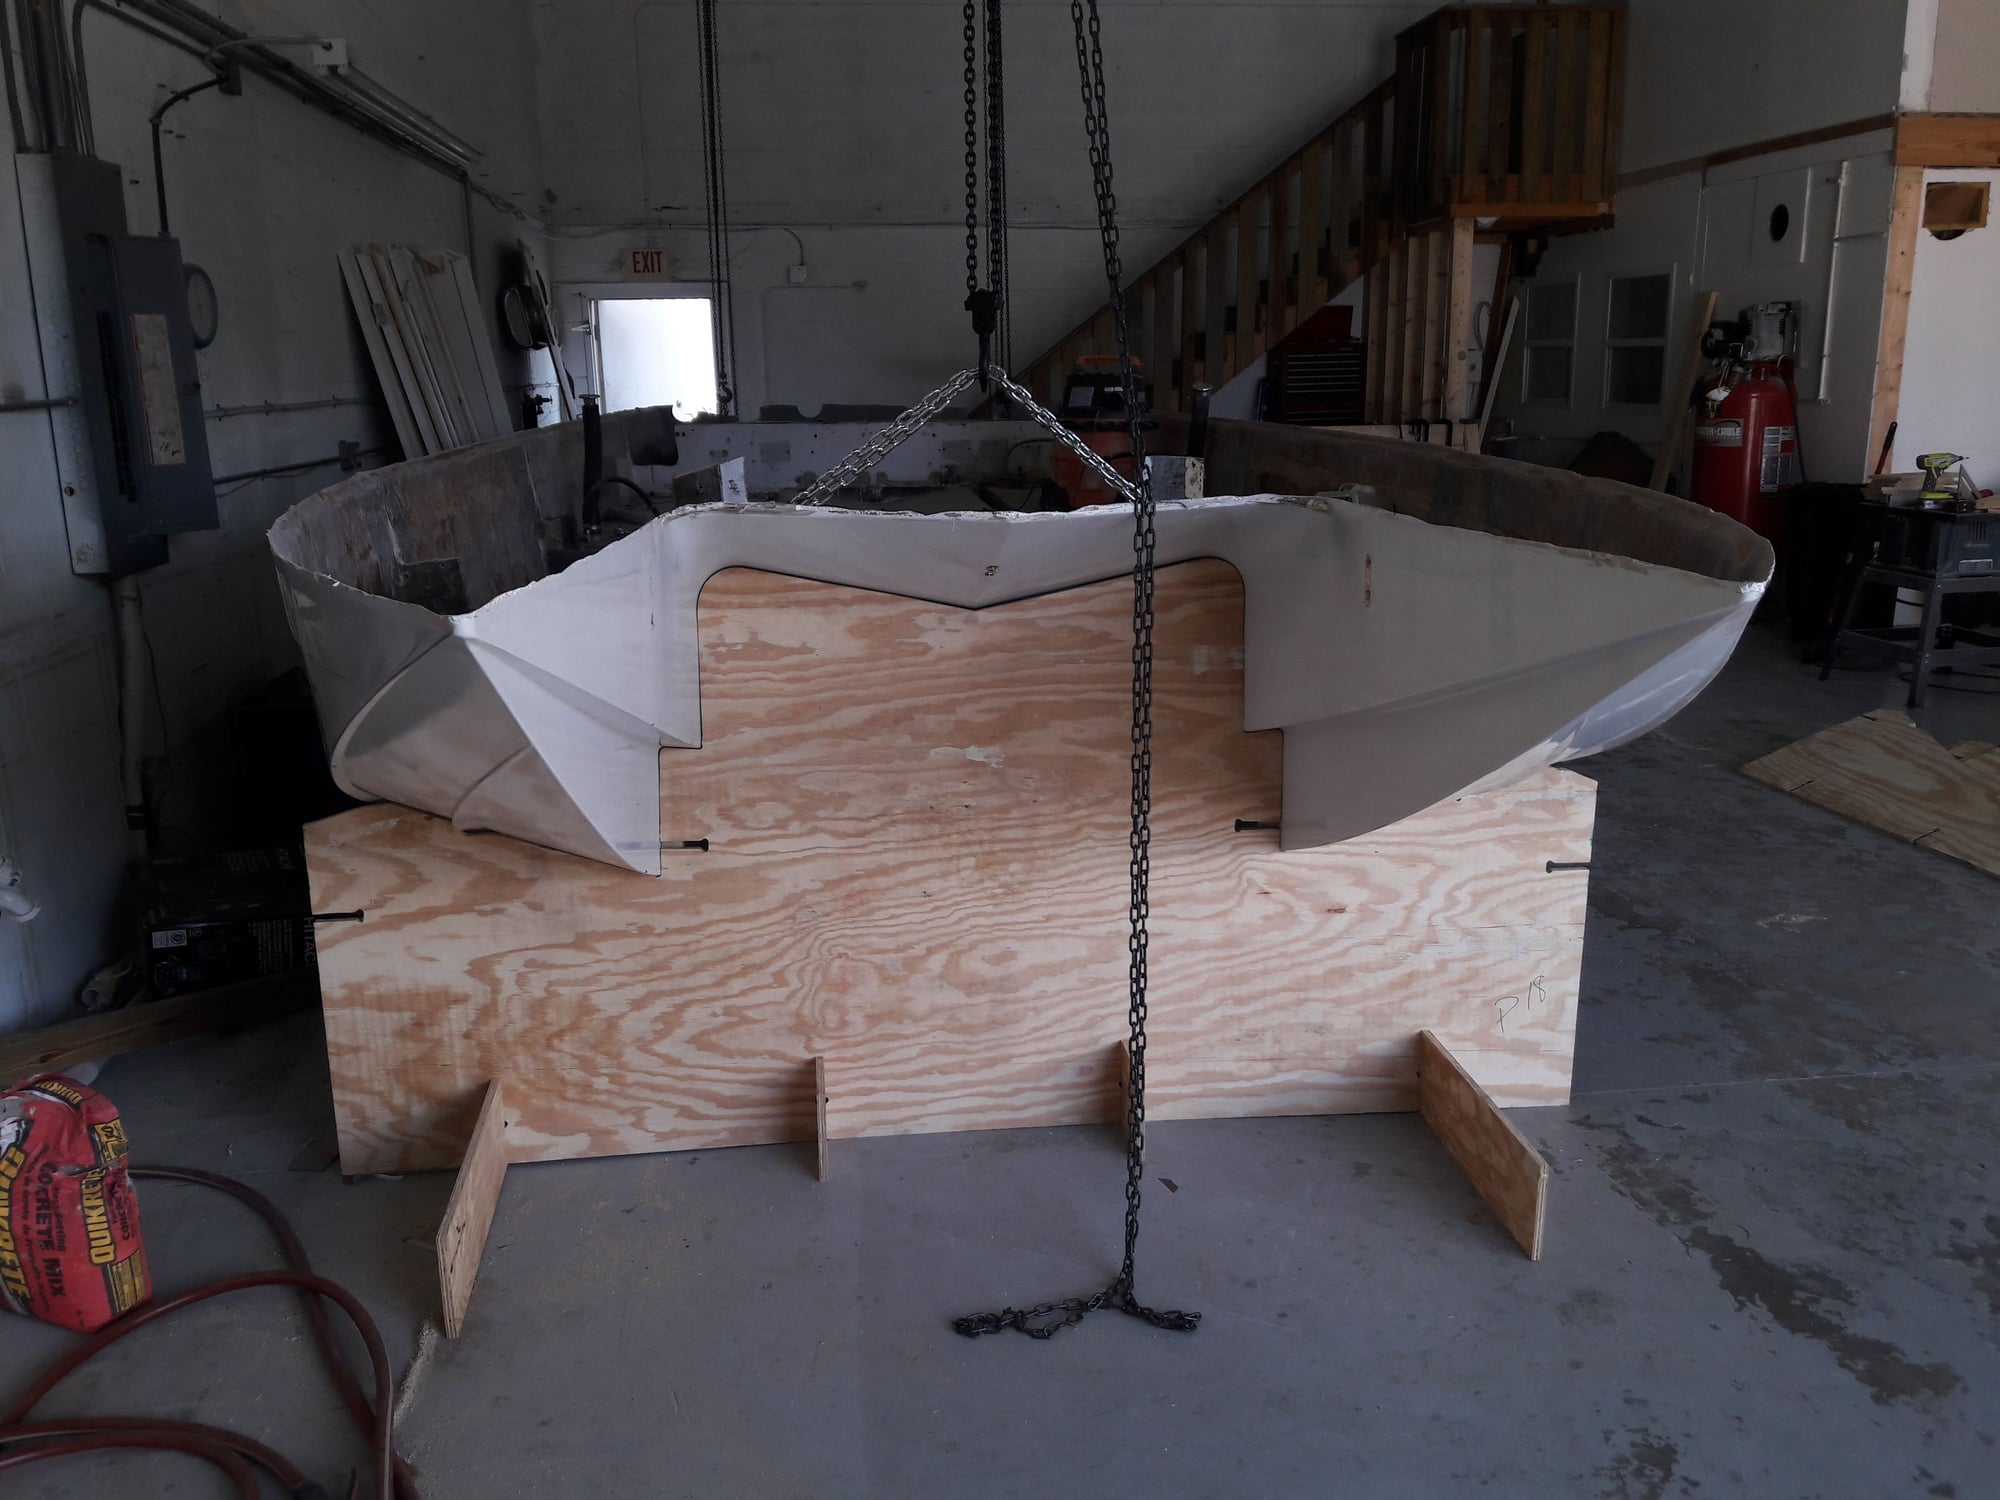
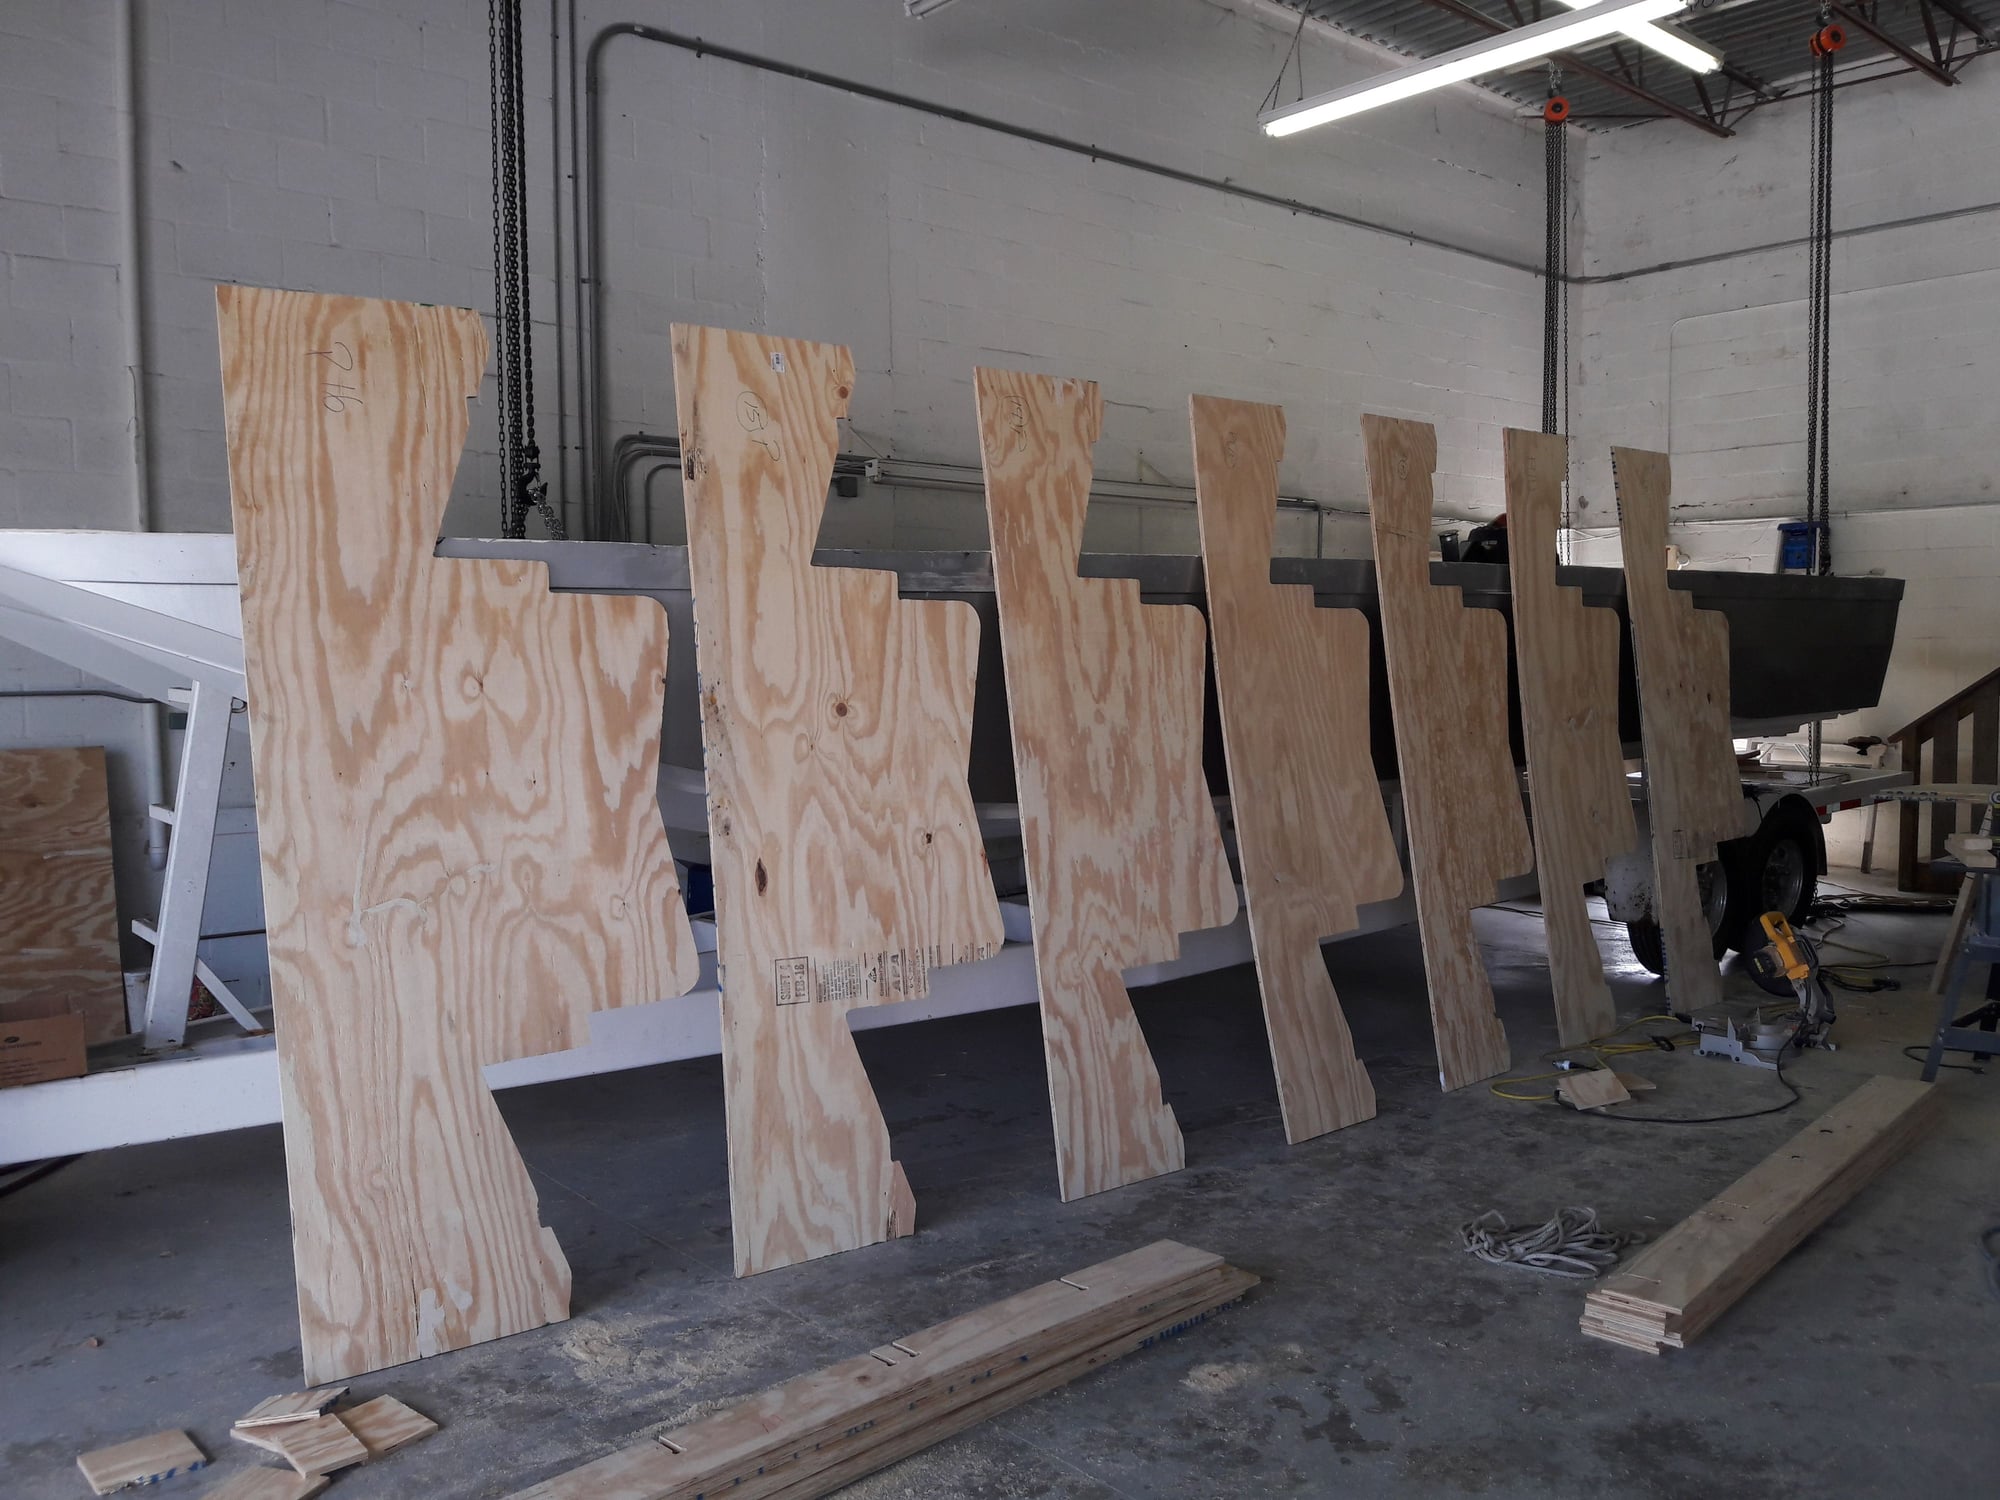
Here's where I am on the boat. I've built a jig for the boat to sit in. What I did was used door skin to make a template of the bottom 20 inches apart. I would then take the template, put on a sheet of plywood and screw it into place. I then cut it out with a jig saw close to the template. I then flipped it over and used a router to finish the part. I made 17 of them. they will all be locked together with other plywood. Now the boat sits perfect in the jig. I've precut the jig in half. Once I cut the boat in half, I remove the screws holding the jig together. I slide one side over a foot and screw it back together. Now its in the perfect position.
This will be easier to understand when I post the photos. I'll do that this week for all to see. Thanks for reading.
With infusion, the entire part/hull is one laminate. I gel coat the mold and then skin it with 3 oz of matt. I do 3 oz. on the sides to help prevent print through and 1 1/2 on the bottom. I'm going to build my boats with a hybrid Kevlar/ carbon fiber. The Kevlar being on a 45 and the carbon fiber being on a 90. They are stitched together and very strong. the alternative would be a 1708 and 1808. So the laminate schedule will be 3 oz. skin, Kevlar/Carbon, balsa core, Kevlar/ carbon. This will be very strong and light. When you infuse it, you vacuum the air out until you reach 29 inches of vacuum. 30 inches is one atmosphere. heres the formula when vacuum bagging anything. For every inch of mercury the amount of pressure is half the number per square inch. So lets say you're bagging in core. you only need to pull 5 inches of mercury. That means that you have 2 1/2 pounds of pressure per square inch. There's 144 square inches in a square ft. So you have 360 pounds of equal pressure on the core. More than what you need. With infusion, you have 29 inches of mercury. that means you have 2,088 pounds of pressure on the laminate. It compresses the laminate. therefore you use less resin by about 30%, I think. There is no excess weight. Its also now one laminate.
Why balsa? Everybody knows of rot problems with balsa. With infusion the balsa is completely encapsulated .Unless you drill a hole in it water cannot get into it. the primary reason though is because the resin soaks into the balsa more than any of the other core materials. We all know how wood soaks up resin. balsa is end grained so the resin penetrates it deeper. I work with core cell, divinylcell and balsa.I know from experience that the resin does not soak into the other core materials. At over 100 mph in rough seas, I don't want a problem. I will be using devinycell where ever there is a through hull. that just makes sense. There are other materials I'll use where the screws will be.it just takes planning.
Here's where I am on the boat. I've built a jig for the boat to sit in. What I did was used door skin to make a template of the bottom 20 inches apart. I would then take the template, put on a sheet of plywood and screw it into place. I then cut it out with a jig saw close to the template. I then flipped it over and used a router to finish the part. I made 17 of them. they will all be locked together with other plywood. Now the boat sits perfect in the jig. I've precut the jig in half. Once I cut the boat in half, I remove the screws holding the jig together. I slide one side over a foot and screw it back together. Now its in the perfect position.
This will be easier to understand when I post the photos. I'll do that this week for all to see. Thanks for reading.


 04-18-2018, 07:27 PM
#14
Registered
Thread Starter
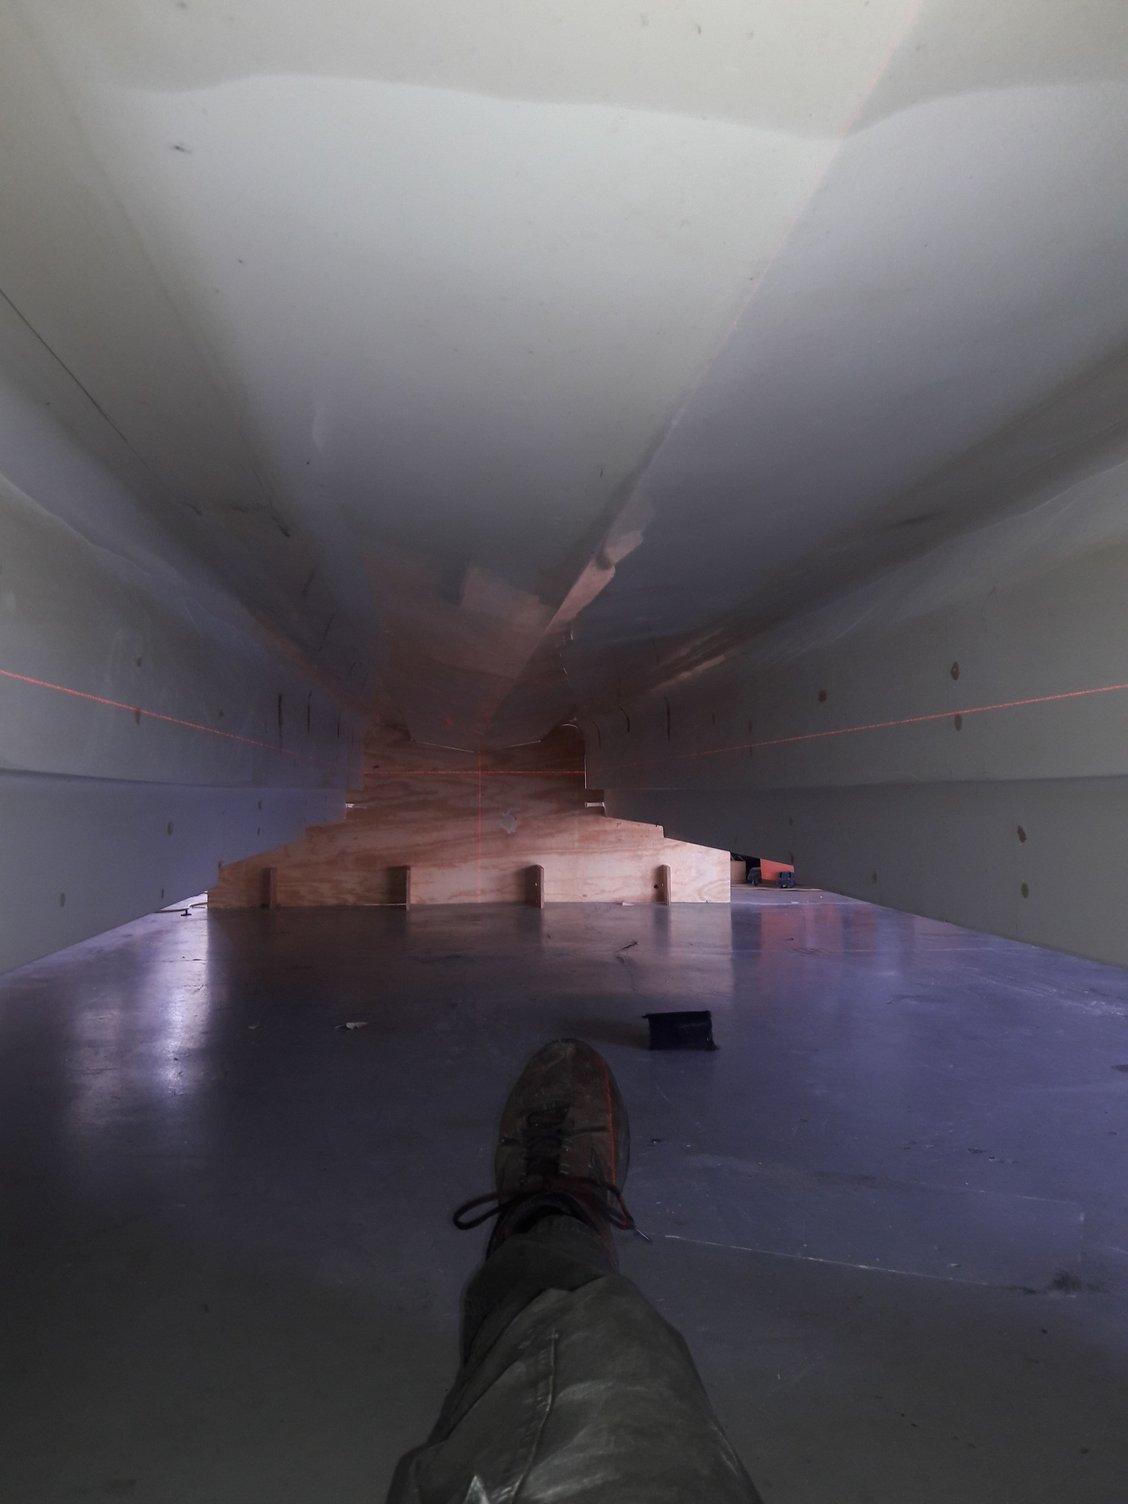
Shooting the bottom with a laser
Here are the photos of the stations and how they will fit. I also shoot the bottom with a laser from underneath the boat. I have a control line on each station that I shoot with a laser. This way I can check to make sure every one is exactly the way that I want it.
04-18-2018, 08:33 PM
#16
Registered
Thread Starter
No, it won't look the same. Vacuum bagging is primarily used to bag core into place. You'll be looking at the core through the bag. You won't see any resin feed lines. Also you won't see all the resin in the part. What I'll do is post the complete build process of building a 46 ft sport fish hull. I have all the photos of building it. I'll either post it here or somewhere else on the site where more people can see it. I'll let you know where it is.
04-24-2018, 10:51 PM
#17
can you lay the stations down, slide them under the hull and stand them up and tap them around to where you want ?
04-25-2018, 06:51 AM
#18
Registered
Thread Starter
That's exactly what I'll do. Stations lock into the pieces running fore and aft. You can see them in the photos. The stations will be sitting on top of a frame that will be leveled with a laser. I already shot the floor and know it's not level. This also gives me a level platform to slide the hull over a foot. This way i know nothing will change, i hope.
Right now I'm in the process of building the frame and checking the stations. Keep in mind I figure this stuff out as I go. The actual building of the part is simple. As always, it's all in the prep work.
I wrote a blog on the infusion process under fiberglass section in the forum. You will probably find it interesting.
04-25-2018, 07:51 AM
#19
great thread  . . . and actually the first one i have ever subscribed to. Its good to see someone utilize, compound and improve such a legendary hull and i have often wondered why no one built a larger center console tournament style fast cat. . . it just makes sense in this day and age. What is you plan for the tunnel feature (the small pod), the V'd part? Are you going to eliminate it or scale it accordingly?
. . . and actually the first one i have ever subscribed to. Its good to see someone utilize, compound and improve such a legendary hull and i have often wondered why no one built a larger center console tournament style fast cat. . . it just makes sense in this day and age. What is you plan for the tunnel feature (the small pod), the V'd part? Are you going to eliminate it or scale it accordingly?
__________________
Throttles- Cleveland Construction 377 Talon
08 OPA Class 1 National Champion
08 Class 1 Geico Triple Crown Champion
08 OPA High Points Champion
10 OPA Class 1 National Champion ( happy now Ed! )
Throttles- Cleveland Construction 377 Talon
08 OPA Class 1 National Champion
08 Class 1 Geico Triple Crown Champion
08 OPA High Points Champion
10 OPA Class 1 National Champion ( happy now Ed! )
Last edited by glassdave; 04-25-2018 at 08:02 AM.
04-25-2018, 08:26 AM
#20
Registered
great thread . . . and actually the first one i have ever subscribed to. Its good to see someone utilize, compound and improve such a legendary hull and i have often wondered why no one built a larger center console tournament style fast cat. . . it just makes sense in this day and age. What is you plan for the tunnel feature (the small pod), the V'd part? Are you going to eliminate it or scale it accordingly?
. . . and actually the first one i have ever subscribed to. Its good to see someone utilize, compound and improve such a legendary hull and i have often wondered why no one built a larger center console tournament style fast cat. . . it just makes sense in this day and age. What is you plan for the tunnel feature (the small pod), the V'd part? Are you going to eliminate it or scale it accordingly?


