

Scarab 31 excel making her sea worthy
 12-19-2018, 08:54 AM
#1
Registered
Thread Starter
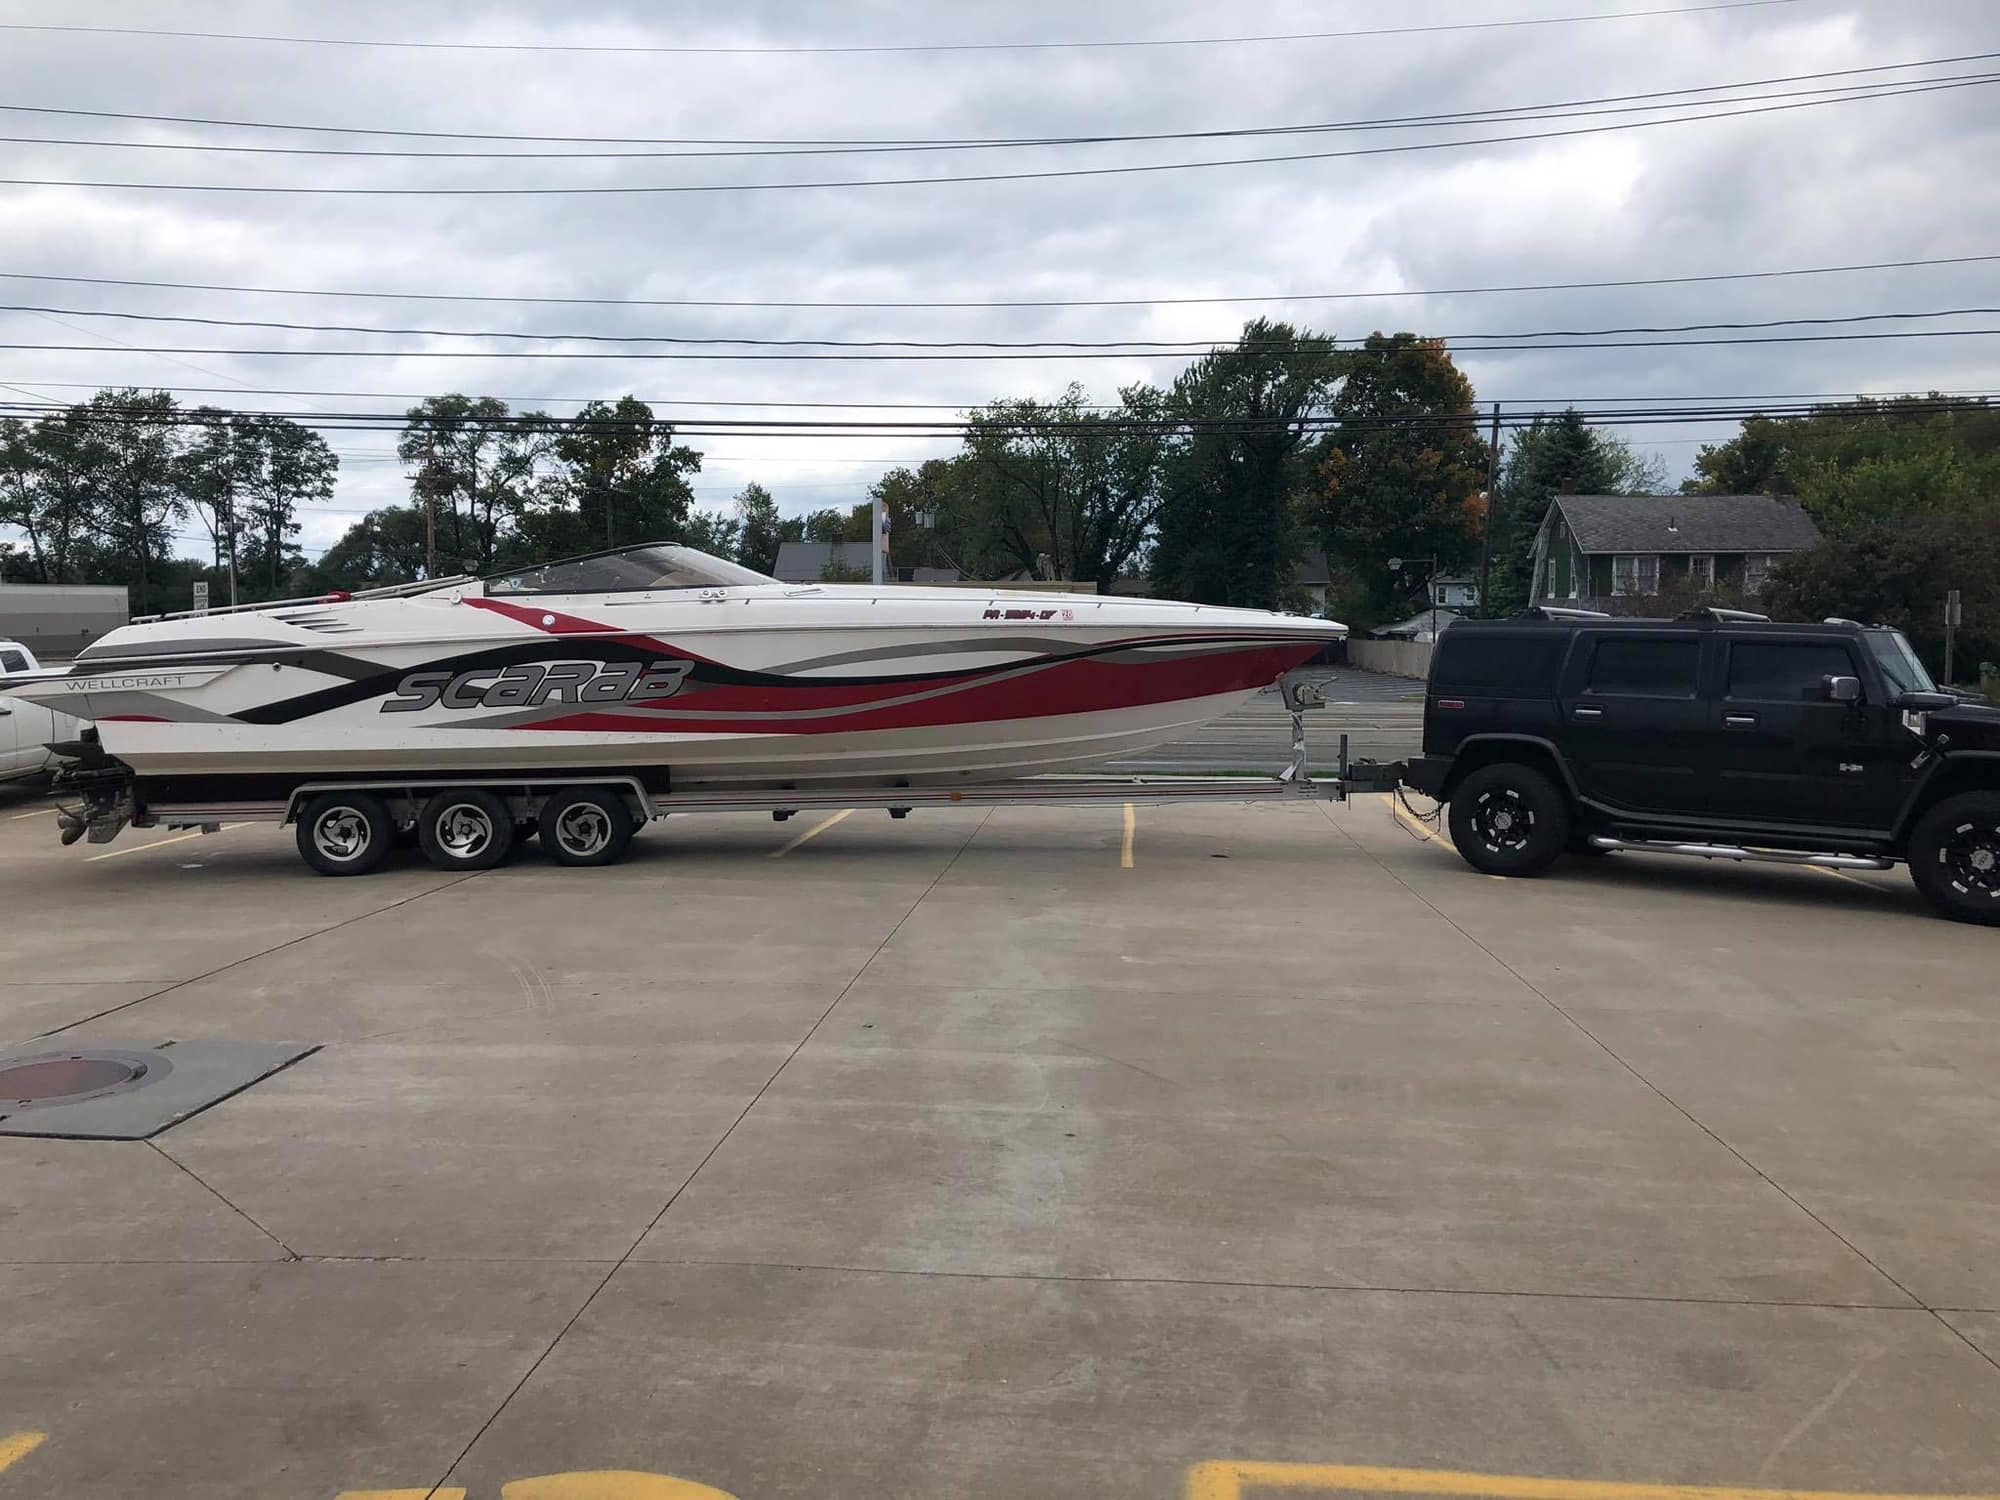
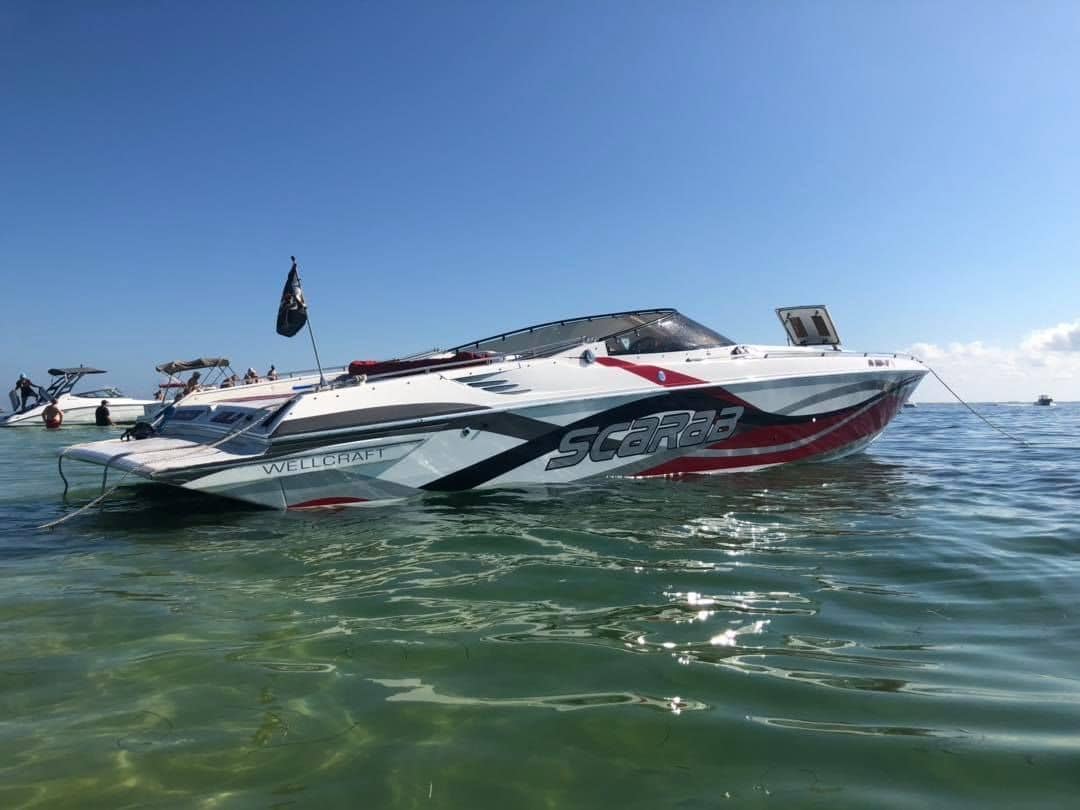
Ok I sold my Baja 236 and picked up a twin excel. I saw it on Facebook and for the price and what he described it was a steal! Problem the boat was 18 hours away... I decided to take a gamble and get it anyway. I knew their was a chance I would have to come home empty handed. The guy described it as in good shape for her age and ready for the water with no issues. So away I went for the long drive. Was supposed to have the boat on the water still so we could test drive it. Well when I arrived he already had it out and at his house. So I did what I could inspecting it in his drive way in the freezing cold rain. I was more work then I wanted and much more then he described but after all this I had to take her. Talked him down a little more and took her home. After about an hour into the drive one of the hubs decided to leave the axle. I got it back and changed the hub bearings in a parking lot at NAPA and got on my way. Made it home finally and it was time to see how much work she really needed.
 12-19-2018, 09:00 AM
#2
Registered
Thread Starter
First up was to take her out and make sure motors and drives where in ok shape. Drives had heavy corrosion for a boat that was kept in a lake. Ton of zebra muscles also. Changed all 3 batteries and got her water and took her out on plane. I was really impressed with the handling of this boat and how it took big waves. After doing some engine runs I was only seeing about 52 mph.... not what I was expecting. I also had high oil temp on the left engine after hard runs. So those where the first things to fix. I was nice to get her out and see what I have to look forward too though and makes the hard work go better.
12-19-2018, 09:05 AM
#3
Registered
Thread Starter
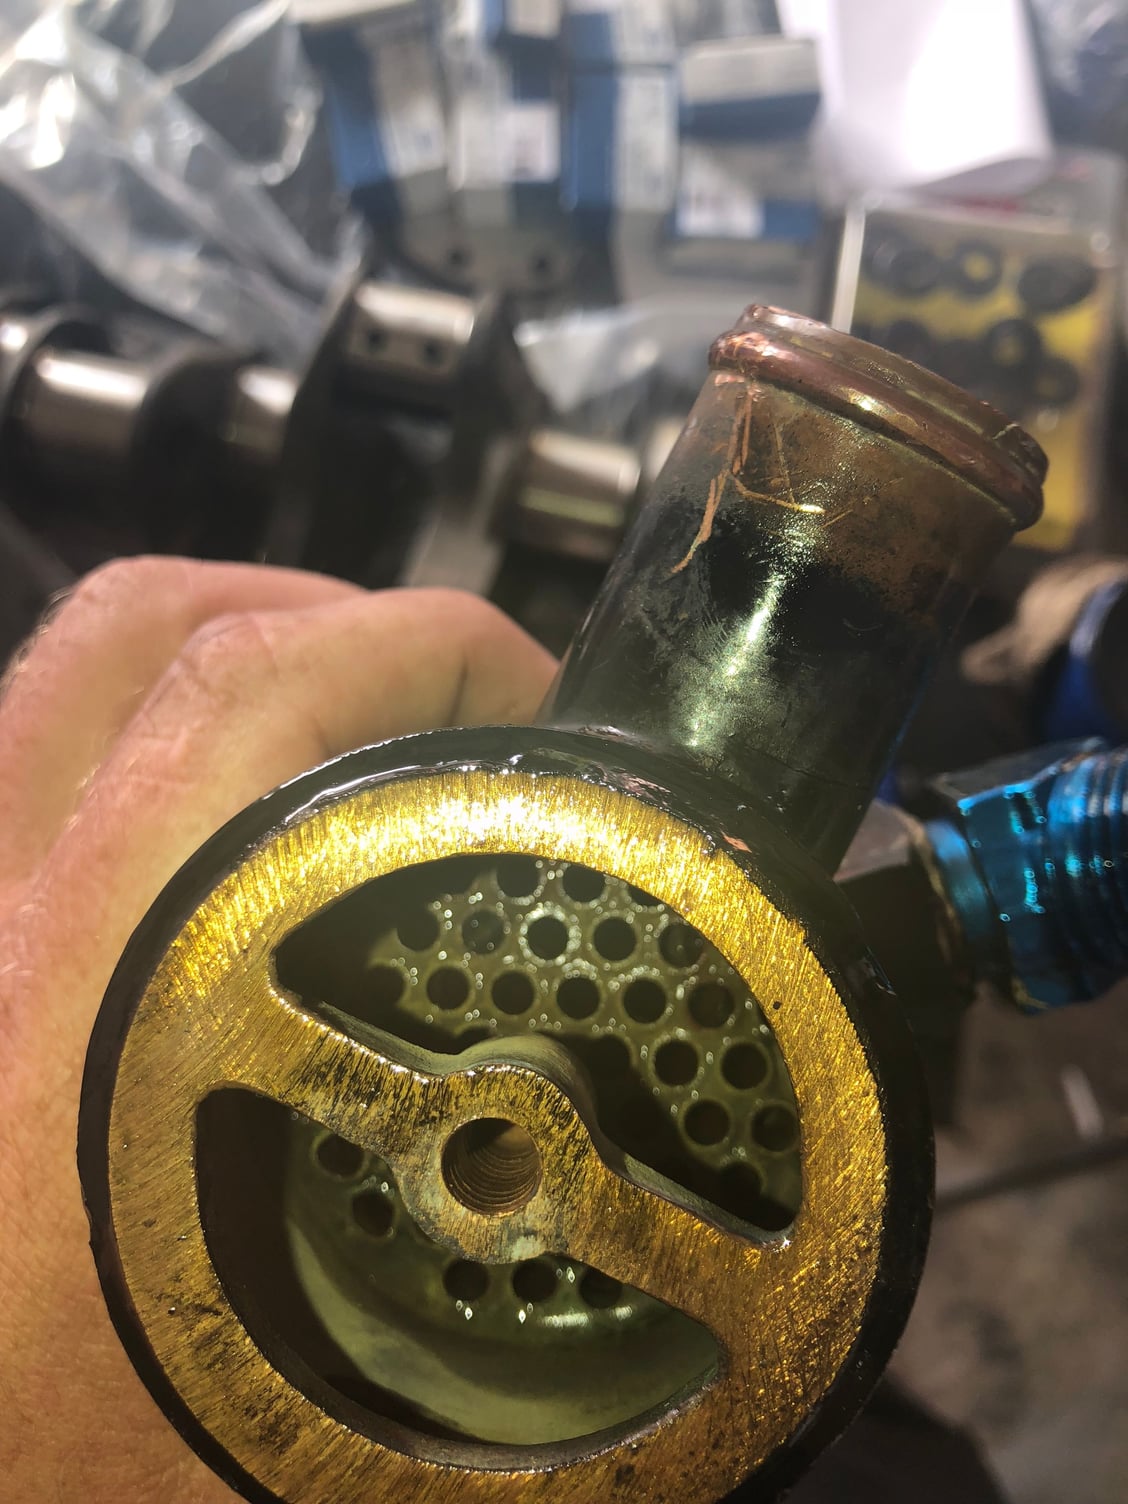
Removed the oil cooler and found that it had lots of tiny rocks inside it. I also discovered the right prop shaft was bent and the prop had a slight dent. So at some point and time the previous owner ran it aground sucked up rocks bent the prop shaft and prop. I removed and replaced both impellers and straightened the prop shaft and prop also. Cleaned out the oil cooler and took her for another test ride. Engine oil temps where good now with no issues.
12-19-2018, 09:07 AM
#4
Registered
Thread Starter
Next up was the heavy work.
Caps X2
Rotors x2
Plugs x2
Wiresx2
Coils x2
Gimble bearings x2
Change engine oil x2
Change gear oil. X2
Replace bellows. X2
Change internal gear box shift seal only 1
Cleaned painted outdrives
Polished props
Fixed trim tab electrical
Rewired main battery bus system
Installed led cabin lights
Fixed corrosion on lighting fuses.
Installed SeaDek
Repaired broken exhaust studs
New water impellers x2
12-19-2018, 09:14 AM
#5
Registered
Thread Starter
Repairing the gill exhaust manifold's was a real pain In the a$$ to say the least. Each manifold had at least 2 broken studs and each and one that had 3 studs broken. So only had one bolt holding that entire elbow on the riser. I also discovered how much fun it is to remove the exhaust without pulling the engines. So drilling the hardened steel studs in an aluminum housing took allot of time and drill bits. But finally was able to save the manifolds and installed new stainless studs.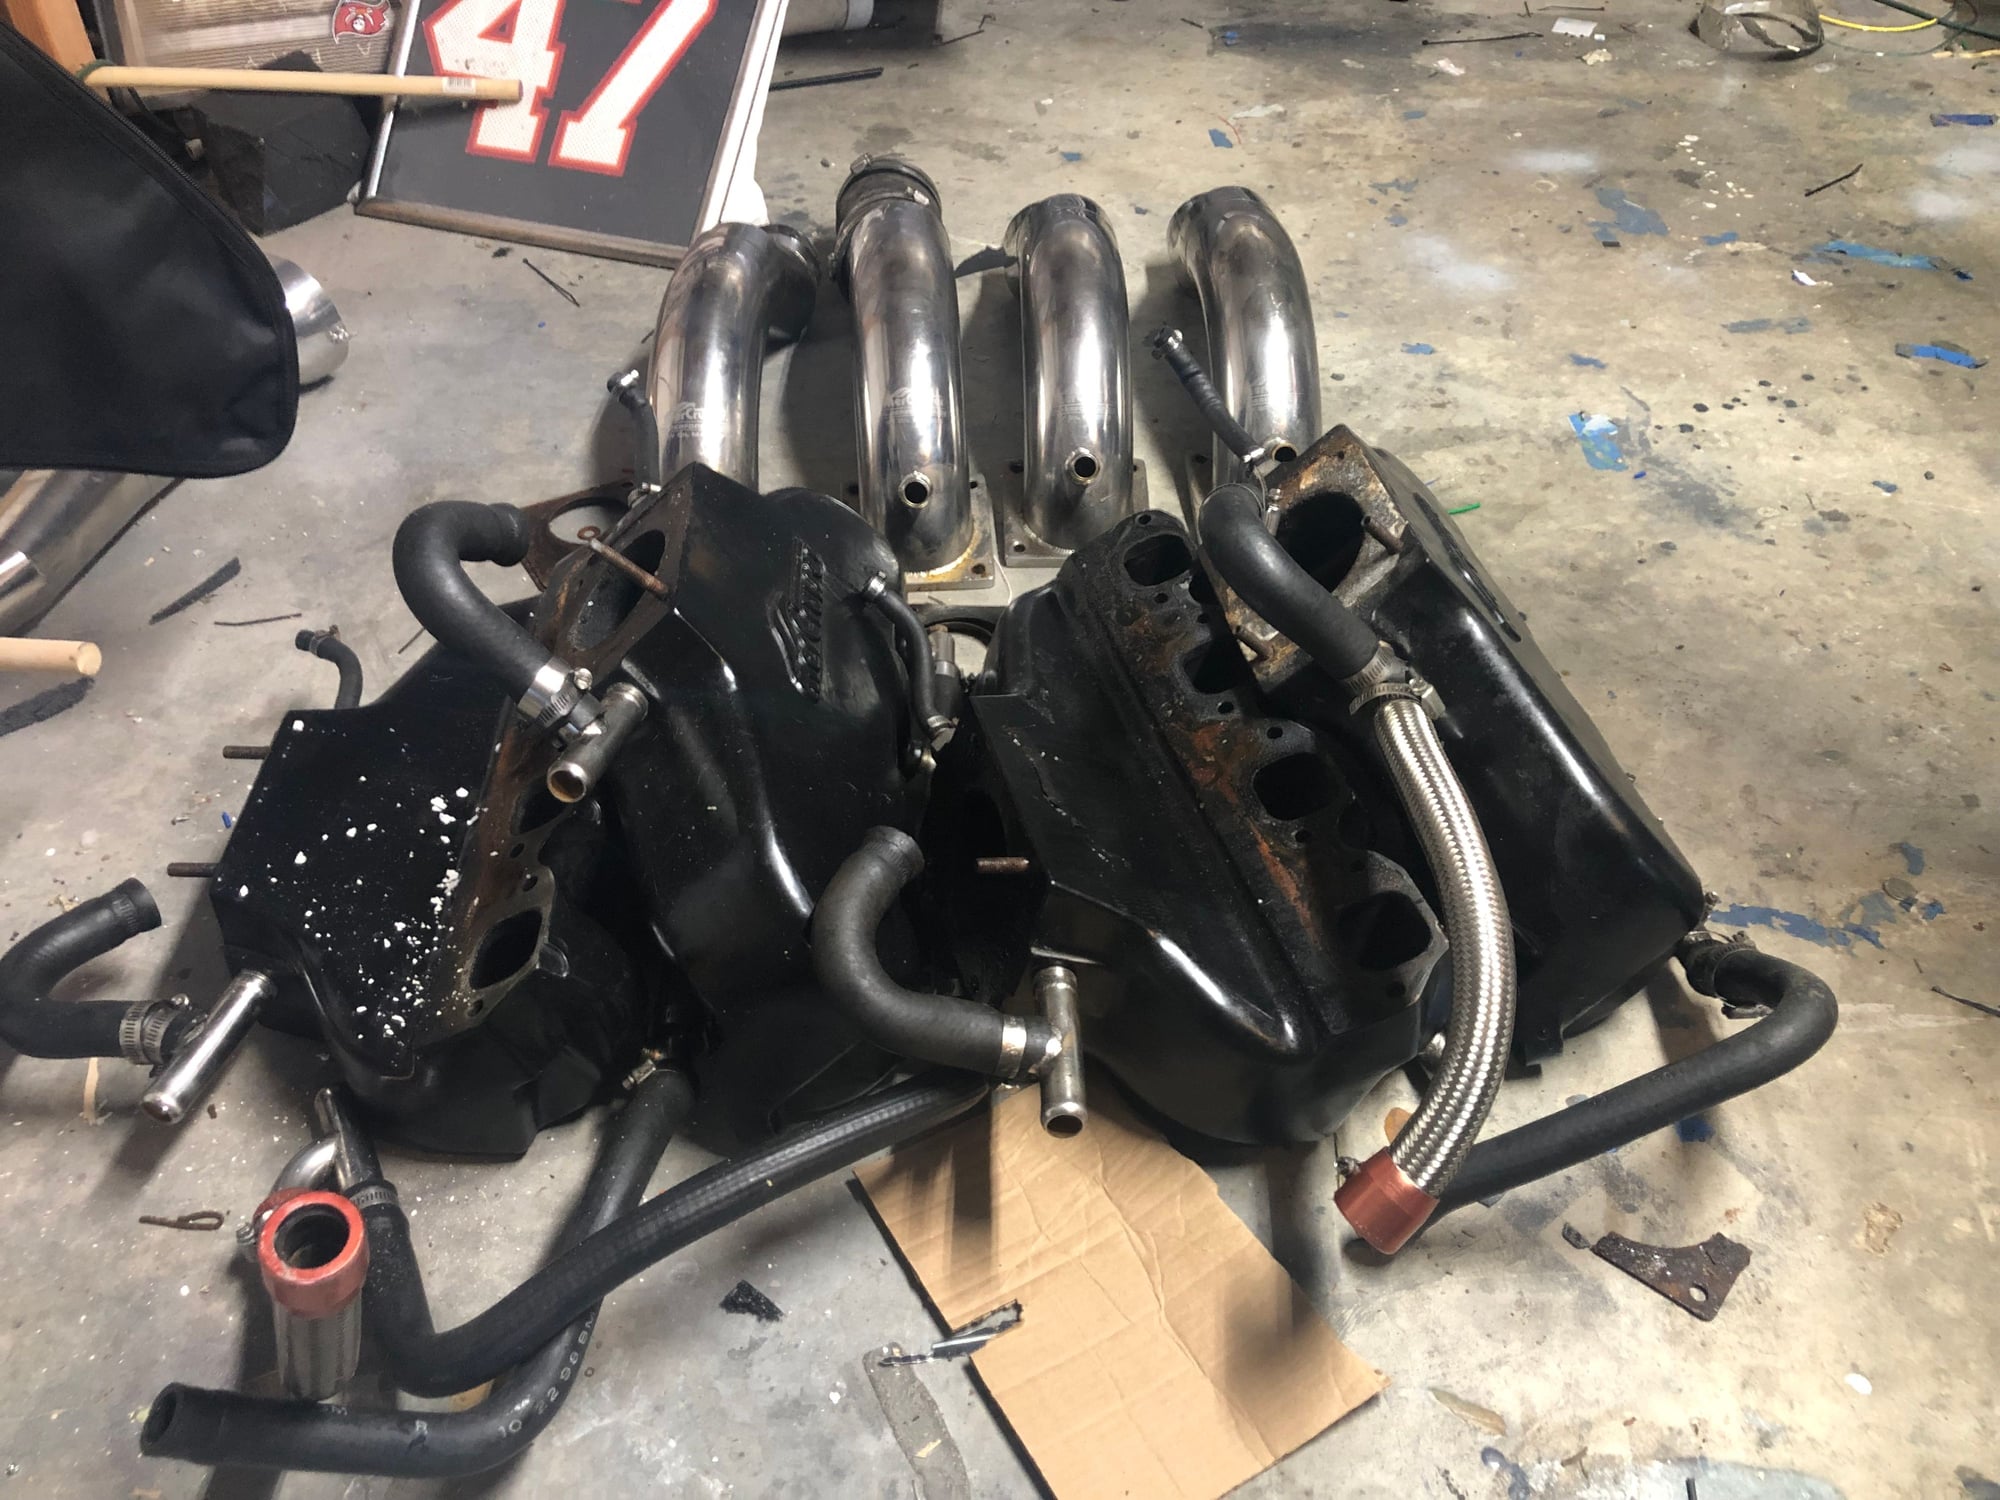
12-19-2018, 09:26 AM
#6
Registered
Thread Starter
After removing the MSD distributor caps and rotors I discovered the advance springs where so rusted they where just brown dust left. Nothing that even looked like a spring was their. Installed new advance springs caps and rotors and used stainless hardware this time since removing the rusted crap was fun. Installed new wires and plugs also. Then while adjusting the floats on the carbs my hand brushed against the coil while the engine was running and it shocked the piss out of e through the case. So coil was acting up and I changed both of those also. All 4 floats where not correctly adjusted before so fixed that and set the idles up. Changed oils using mobil one 15-50 and gear oil is also mobil one gear oil. One of the gimble bearings was in very good...Had to use heat to get it to release. Installed new sealed bearings so I capped off the grease fitting. I discovered the mercathode system on the outdrives had broken wires and system was disabled. That explained why the corrosion was so bad. Also these old bravos do not have places for anodes. I plan on drilling and tapping spot for the anodes later. I did install the one that goes above the props though.
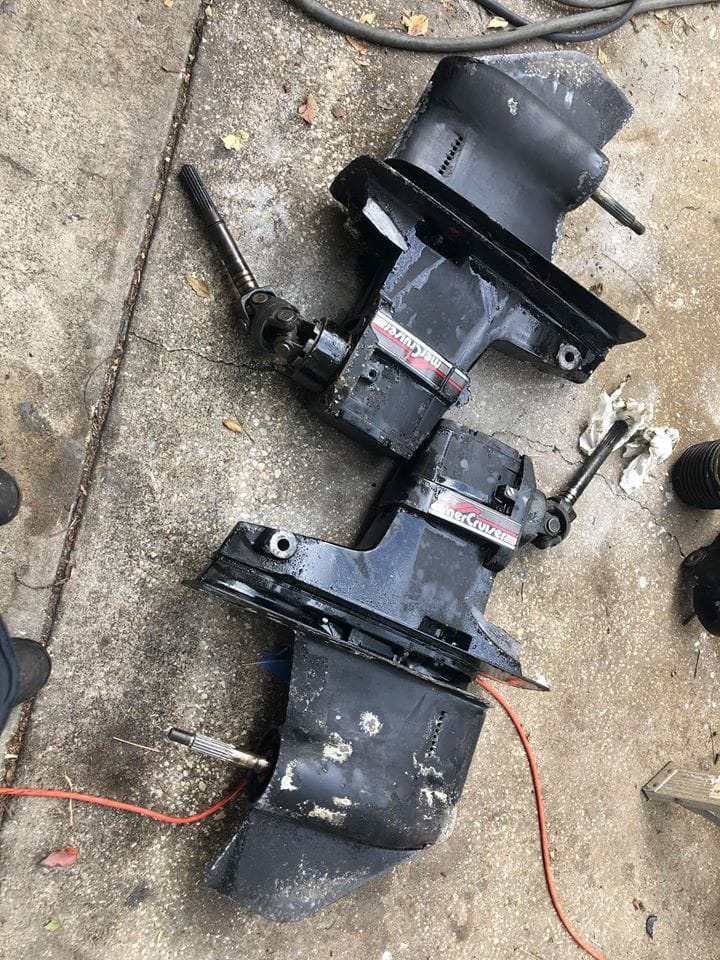
When I pulled the outdrives off one of the sifters was full of oil. So I popped off the top on that outdrive and replaced the shift seal in the back.
I bead blasted the drives and painted with epoxy paint I had laying around. The pitting was very bad so the paint came out crappy with no filling done but at least it wont corrode now and it looks decent... in he water.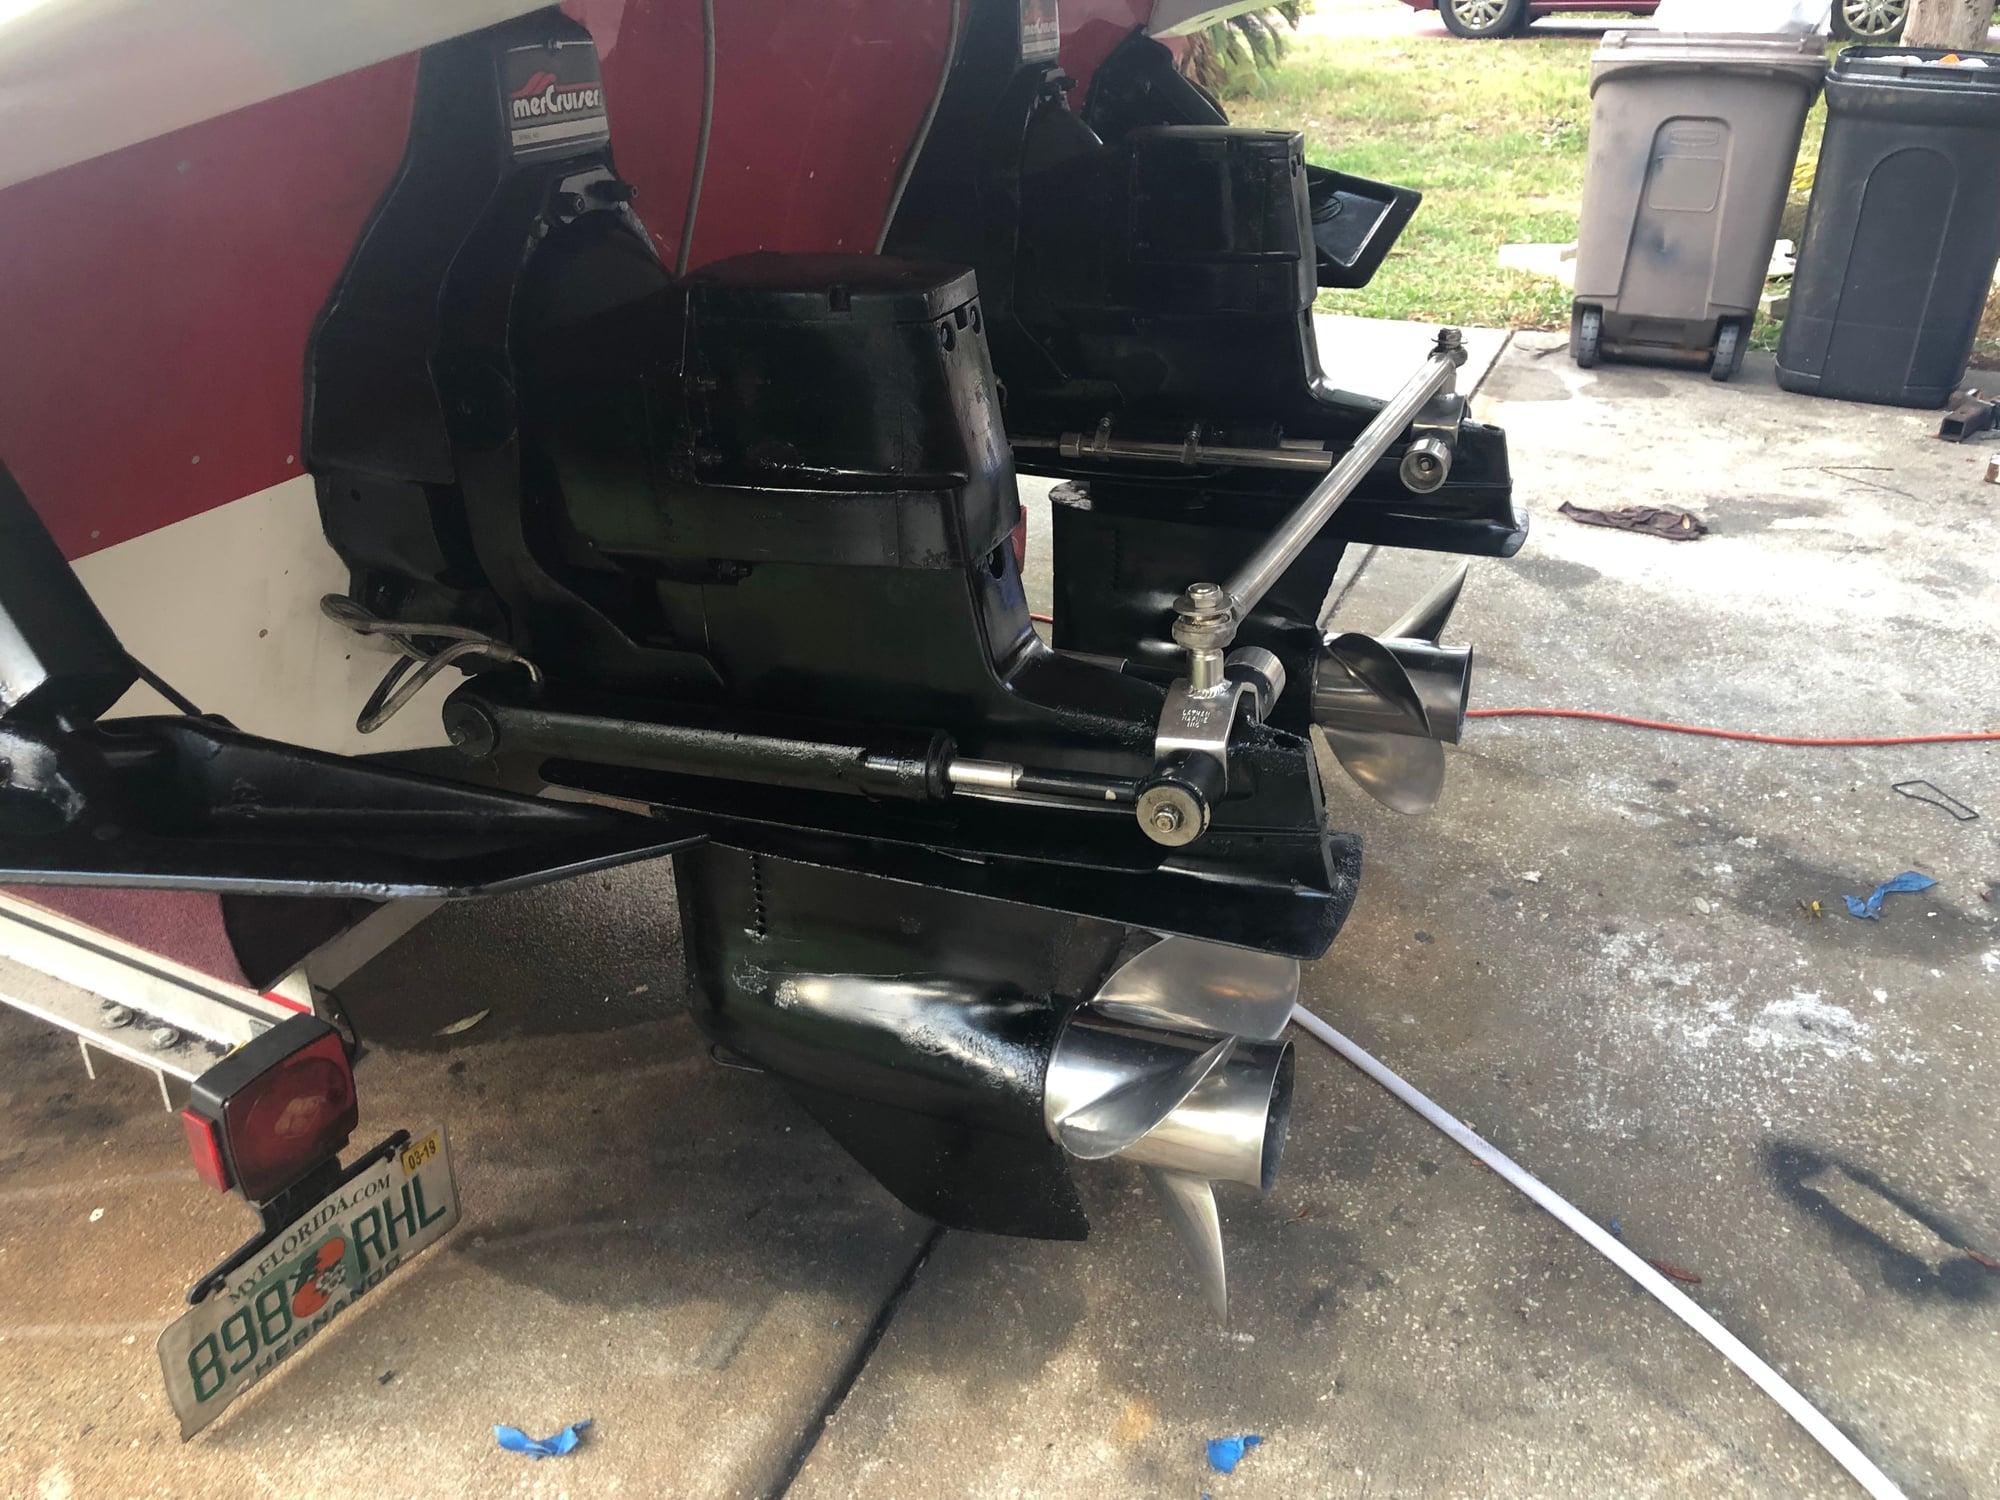
12-19-2018, 09:33 AM
#7
Registered
Thread Starter
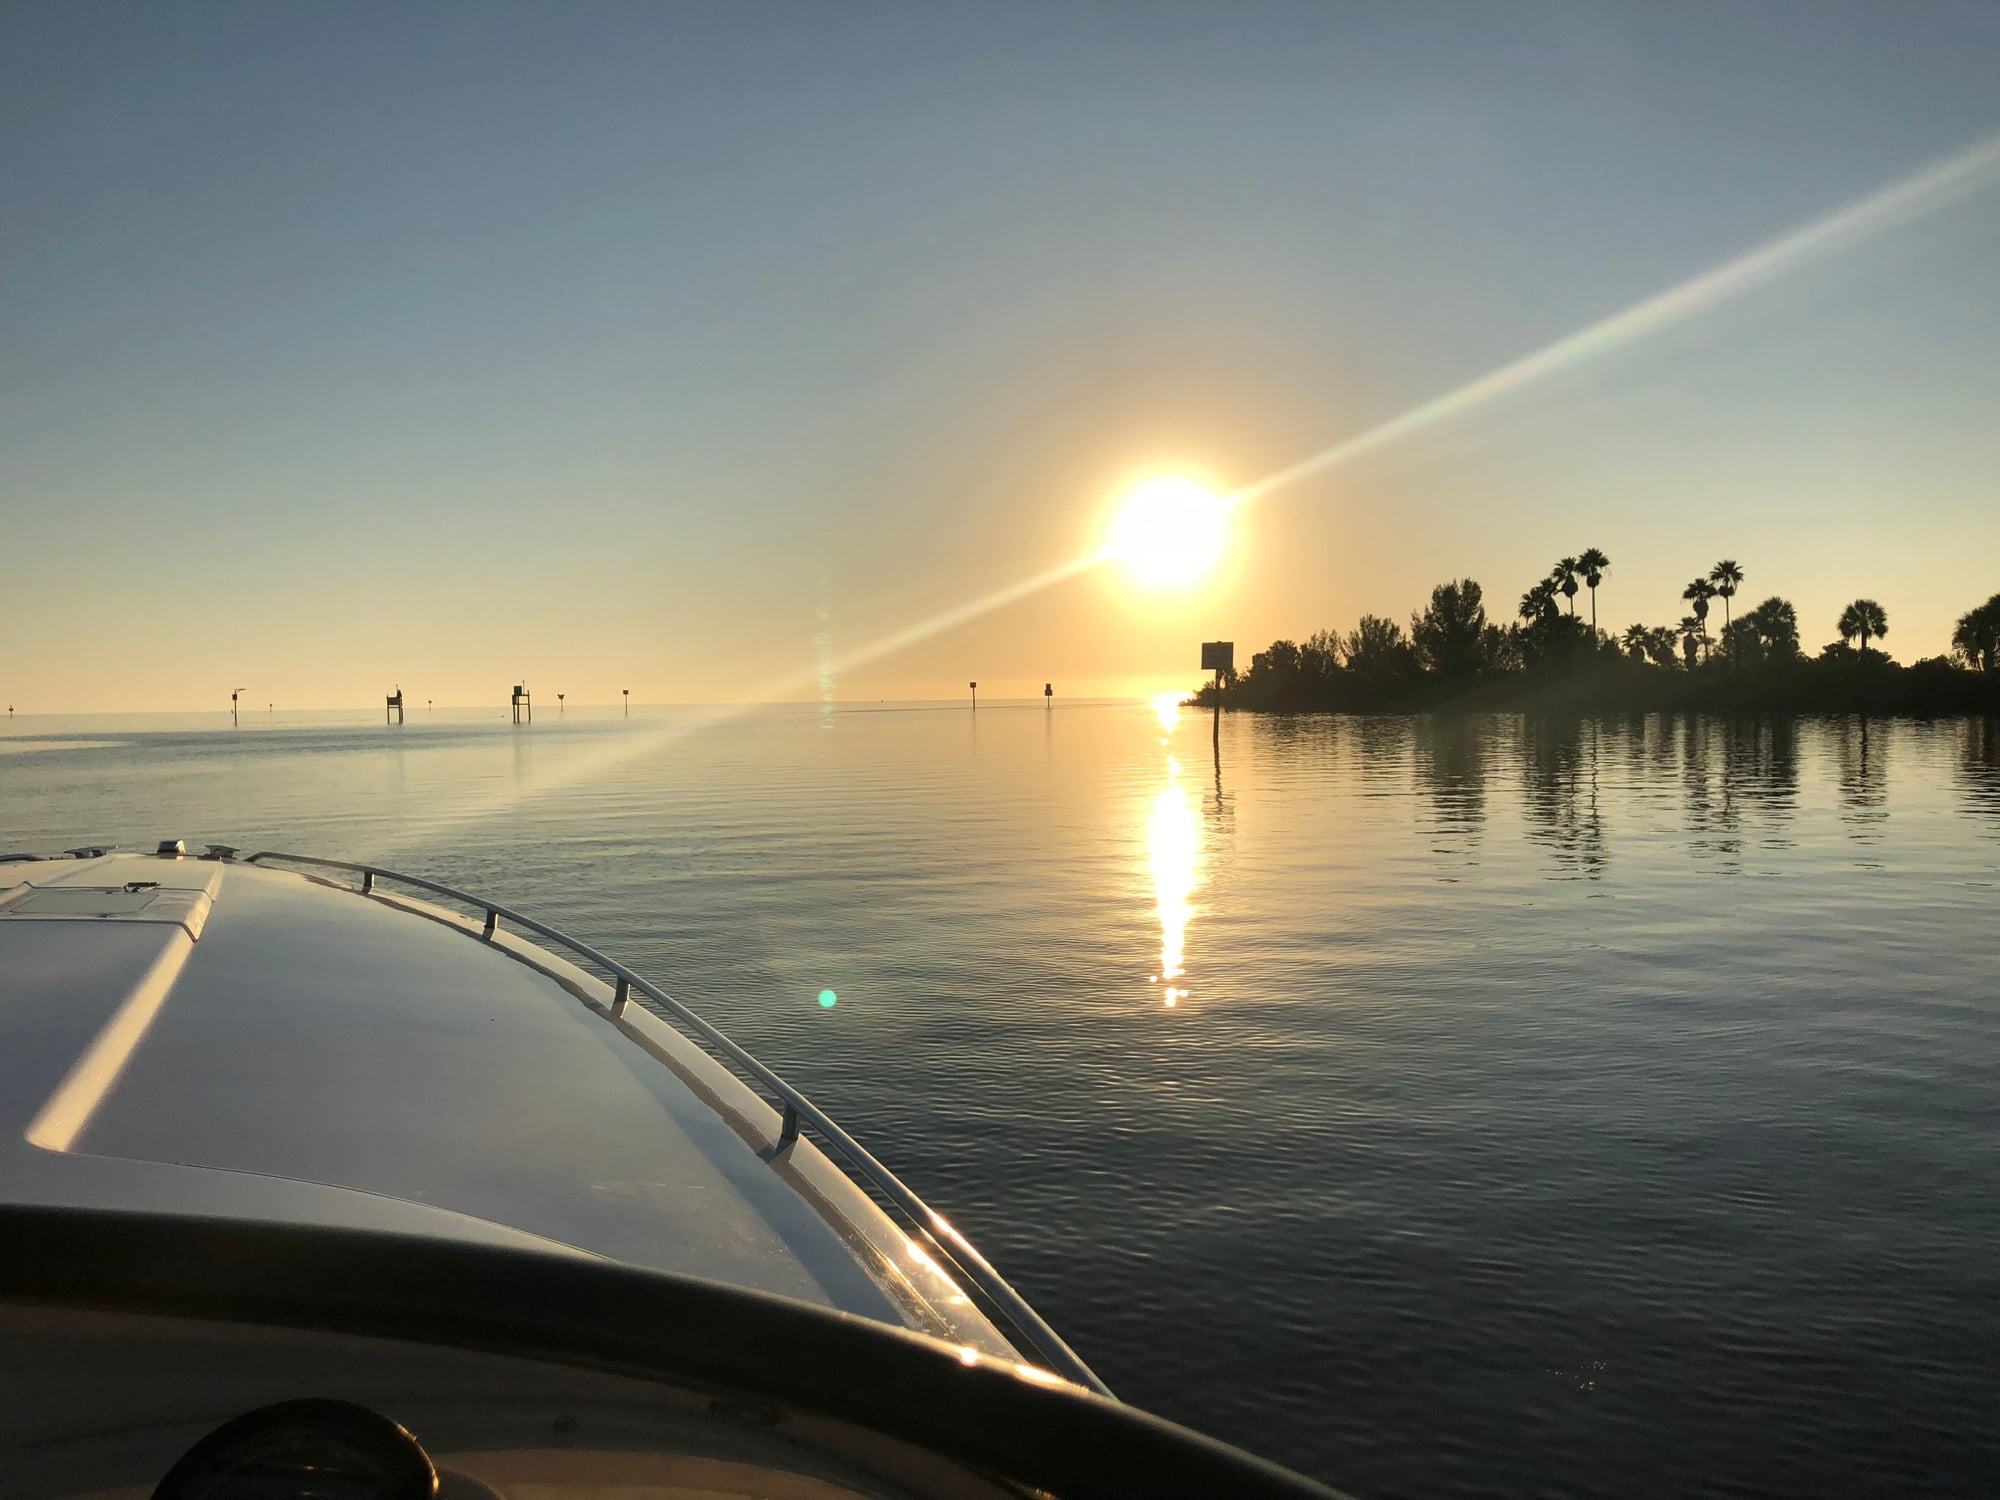
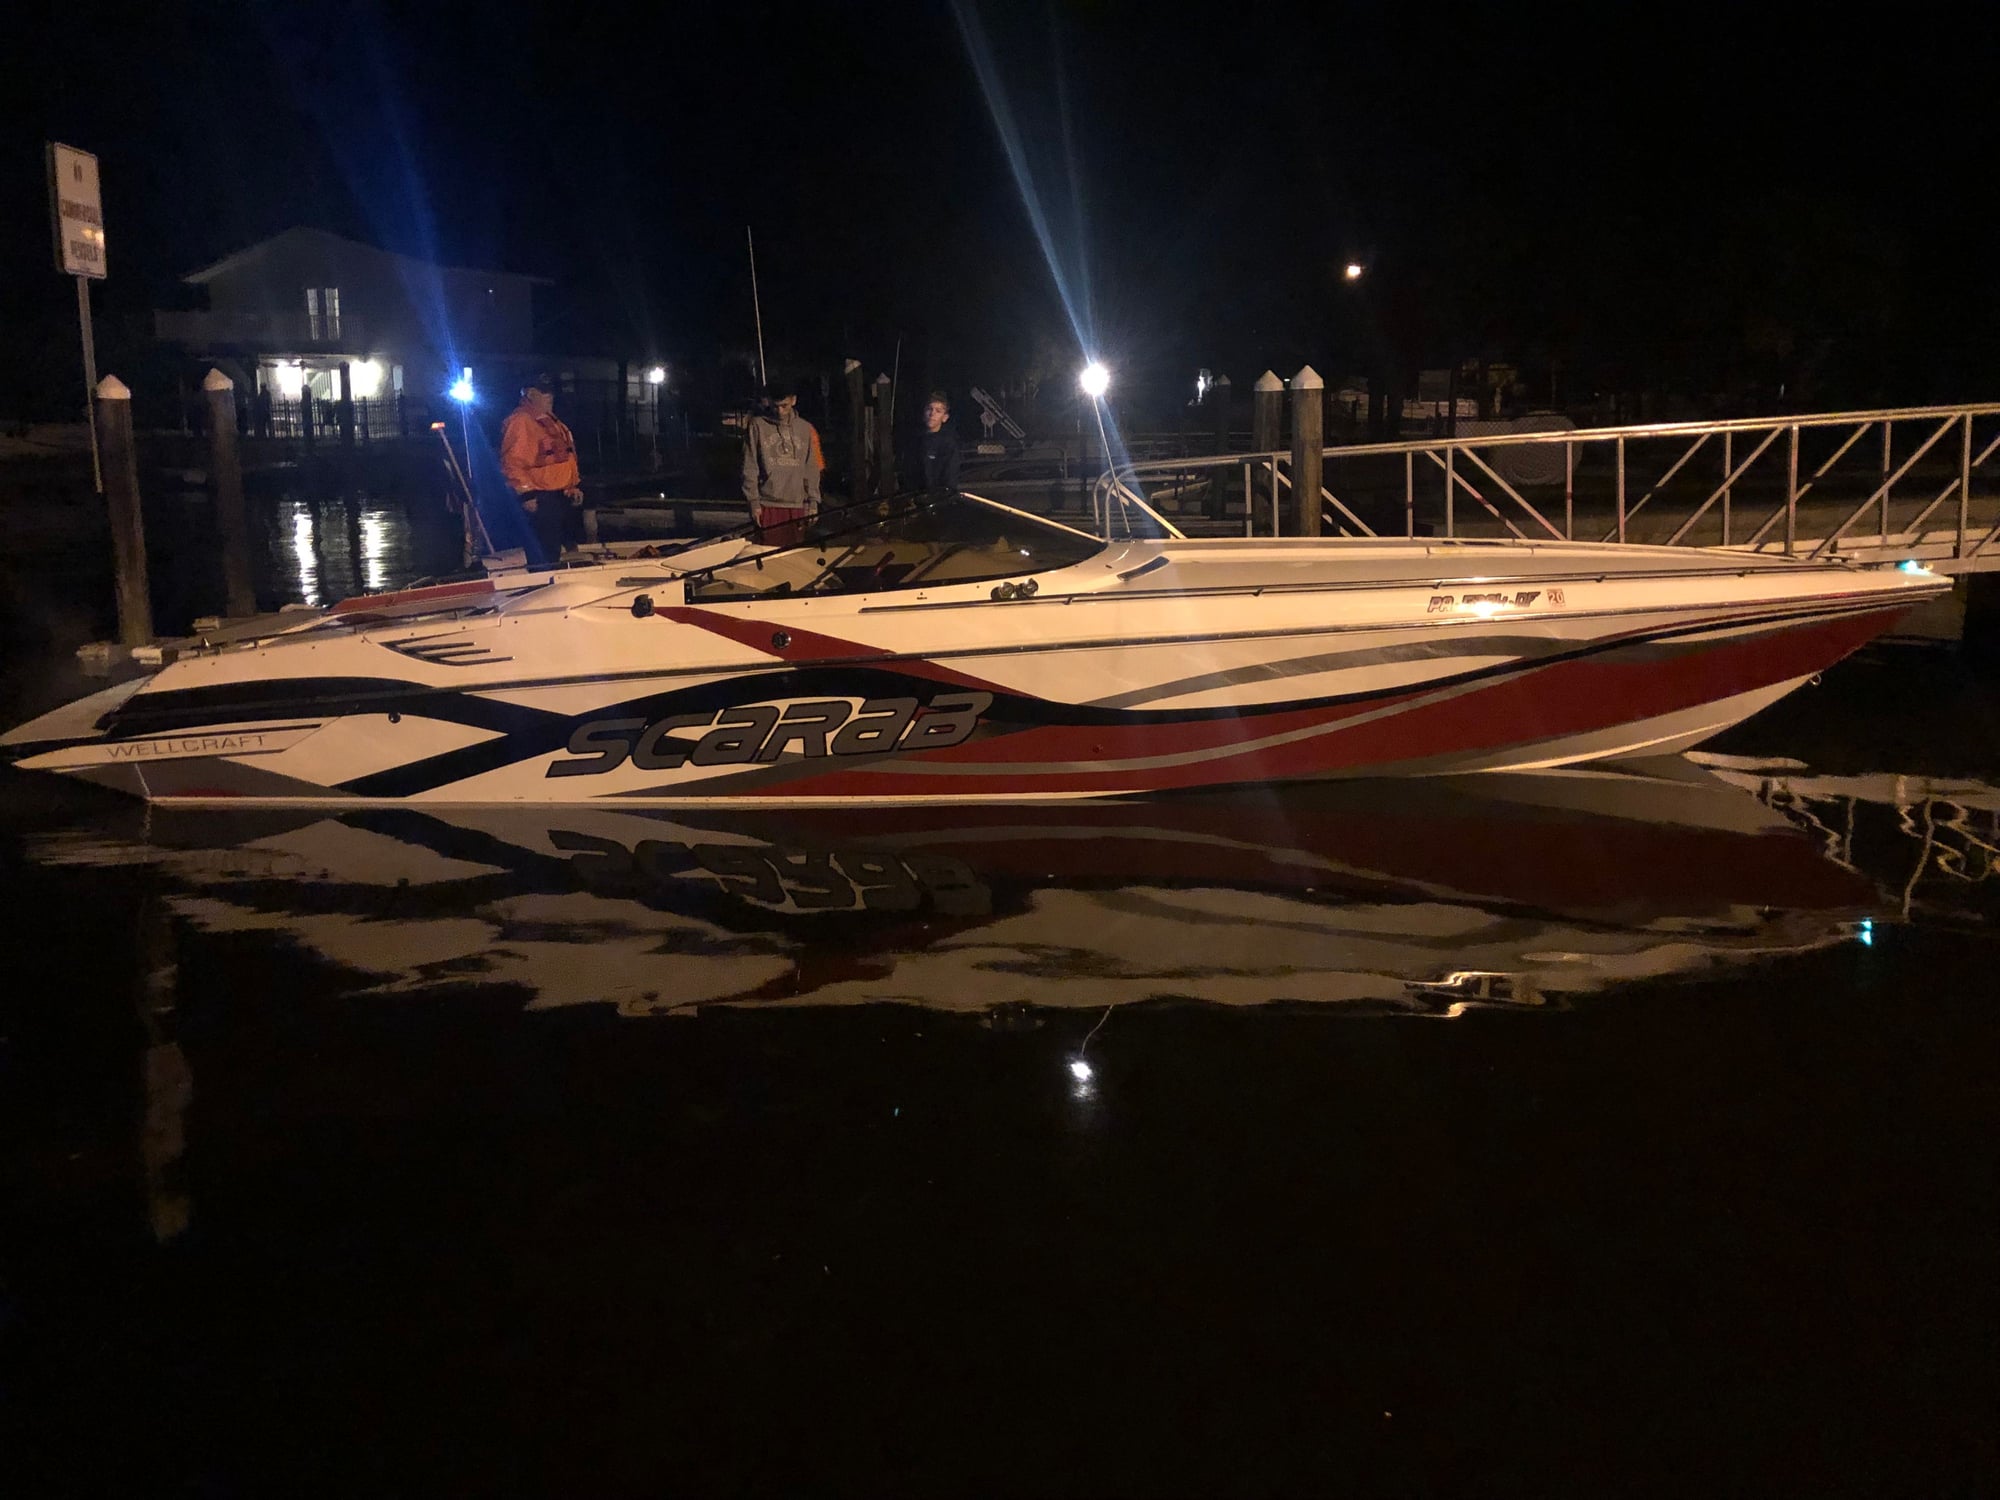
So it was time to see if I got these engines running right now. Took her out and was trying to get out before it got dark for the test run but dealing with my kids and other life duties I was late. So decided to take her out anyway since I know these waters really good. Get her out of the channel and right away I felt the difference. She went right through 60 mph and topped out around 65. It was nice getting her dialed in. It was pitch black out so will be nice doing it in the day light so I can play with the trim a little more. So on this trip only issue I had was the left oil temp was inop. I felt both oil filters and they were about the same temp.
Got home and grounded out the temp wire and the gauge went max so gauge and wiring are good. Picked up a new sender and tested it in some cooking oil heated up to 200 degrees and all is good.
Got home and grounded out the temp wire and the gauge went max so gauge and wiring are good. Picked up a new sender and tested it in some cooking oil heated up to 200 degrees and all is good.
 12-19-2018, 09:38 AM
#9
Platinum Member
iTrader: (6)
You've done a lot of work to a boat that was a new purchase, hope you got a good deal.....seems you have the bulk of the hard work behind you and are getting it dialed in,
 12-19-2018, 09:46 AM
#10
Registered
Thread Starter
Now that she is running good its time to address the lav
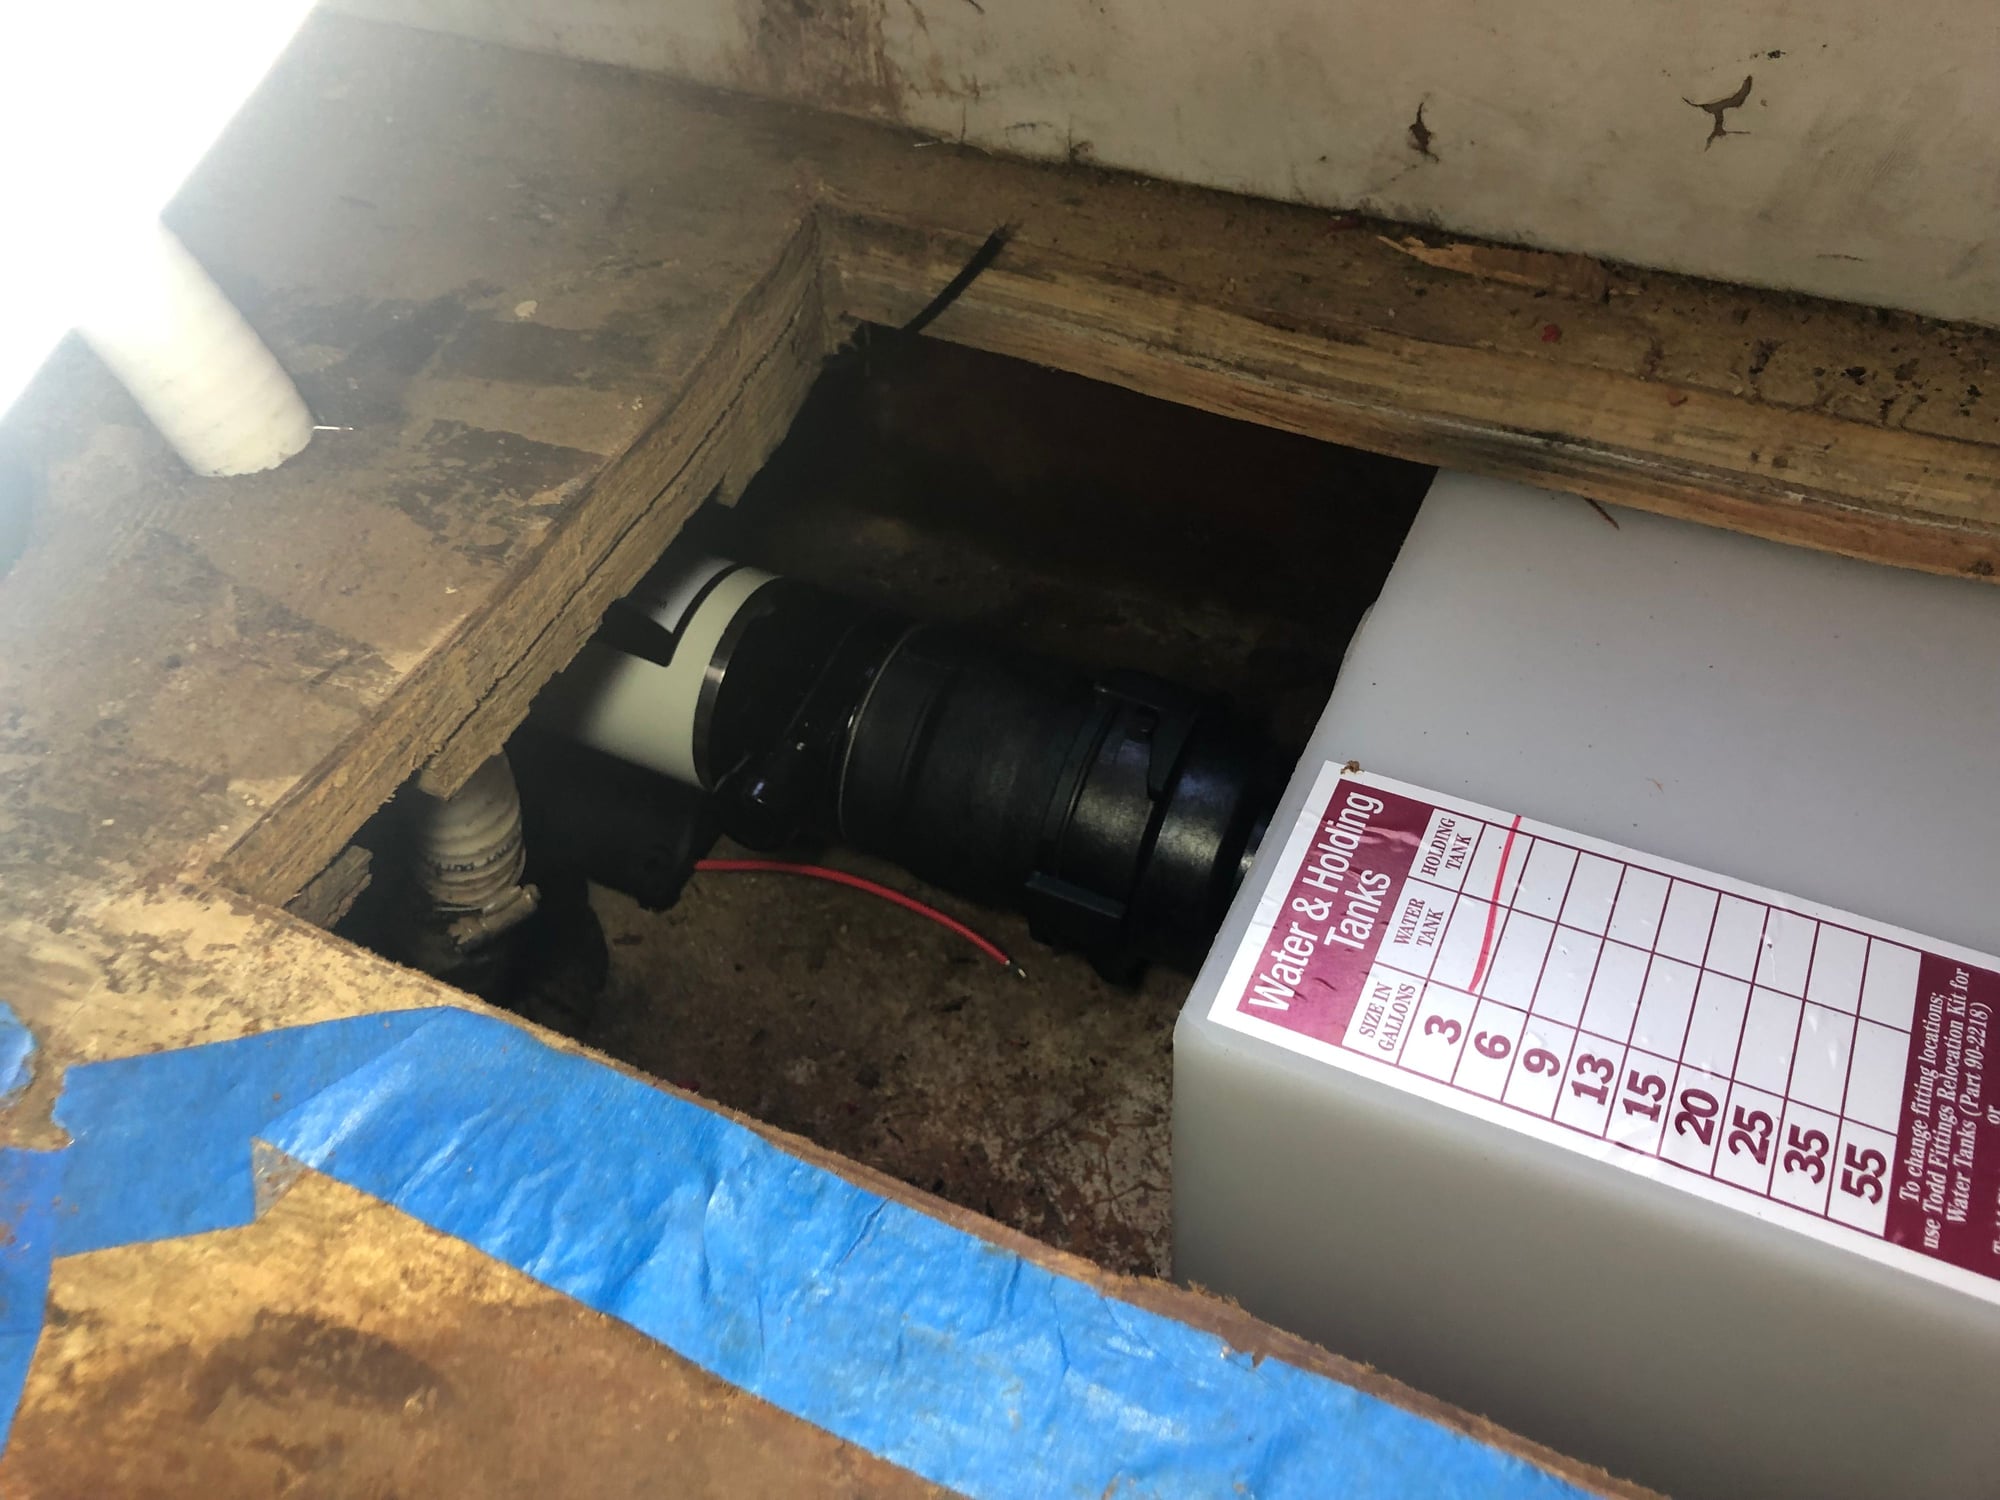
She has a flushing toilet that uses sea water. Problem is it has no holding tank and vents the turds right out into the water. Looks like the holding tank and plumbing was removed. I decided best place for the tank would be under the floor next to the lav. After removing the wall to the lav I discovered it was rooted bad from the air intake on top of the boat in front of the windscreens leaking water into the cabin. So now I need to replace that and after cutting a hole in the floor I discovered it was replaced before and had all kids of patches underneath it. So more stuff to fix . The good news is the holding tank and new macerator pump fits. My plan is to use the holding tank while in port ( we will be taking this to bimini) then dumping it with the new pump when out at sea and not using the pump out. I already have a shutoff valve under the floor so will install a switch for the macerator pump in the same location. Now when I need to dump it I open the valve and pump it out and shut the valve back off when done since its bellow the water line. This way I don't need to use a vented Y.
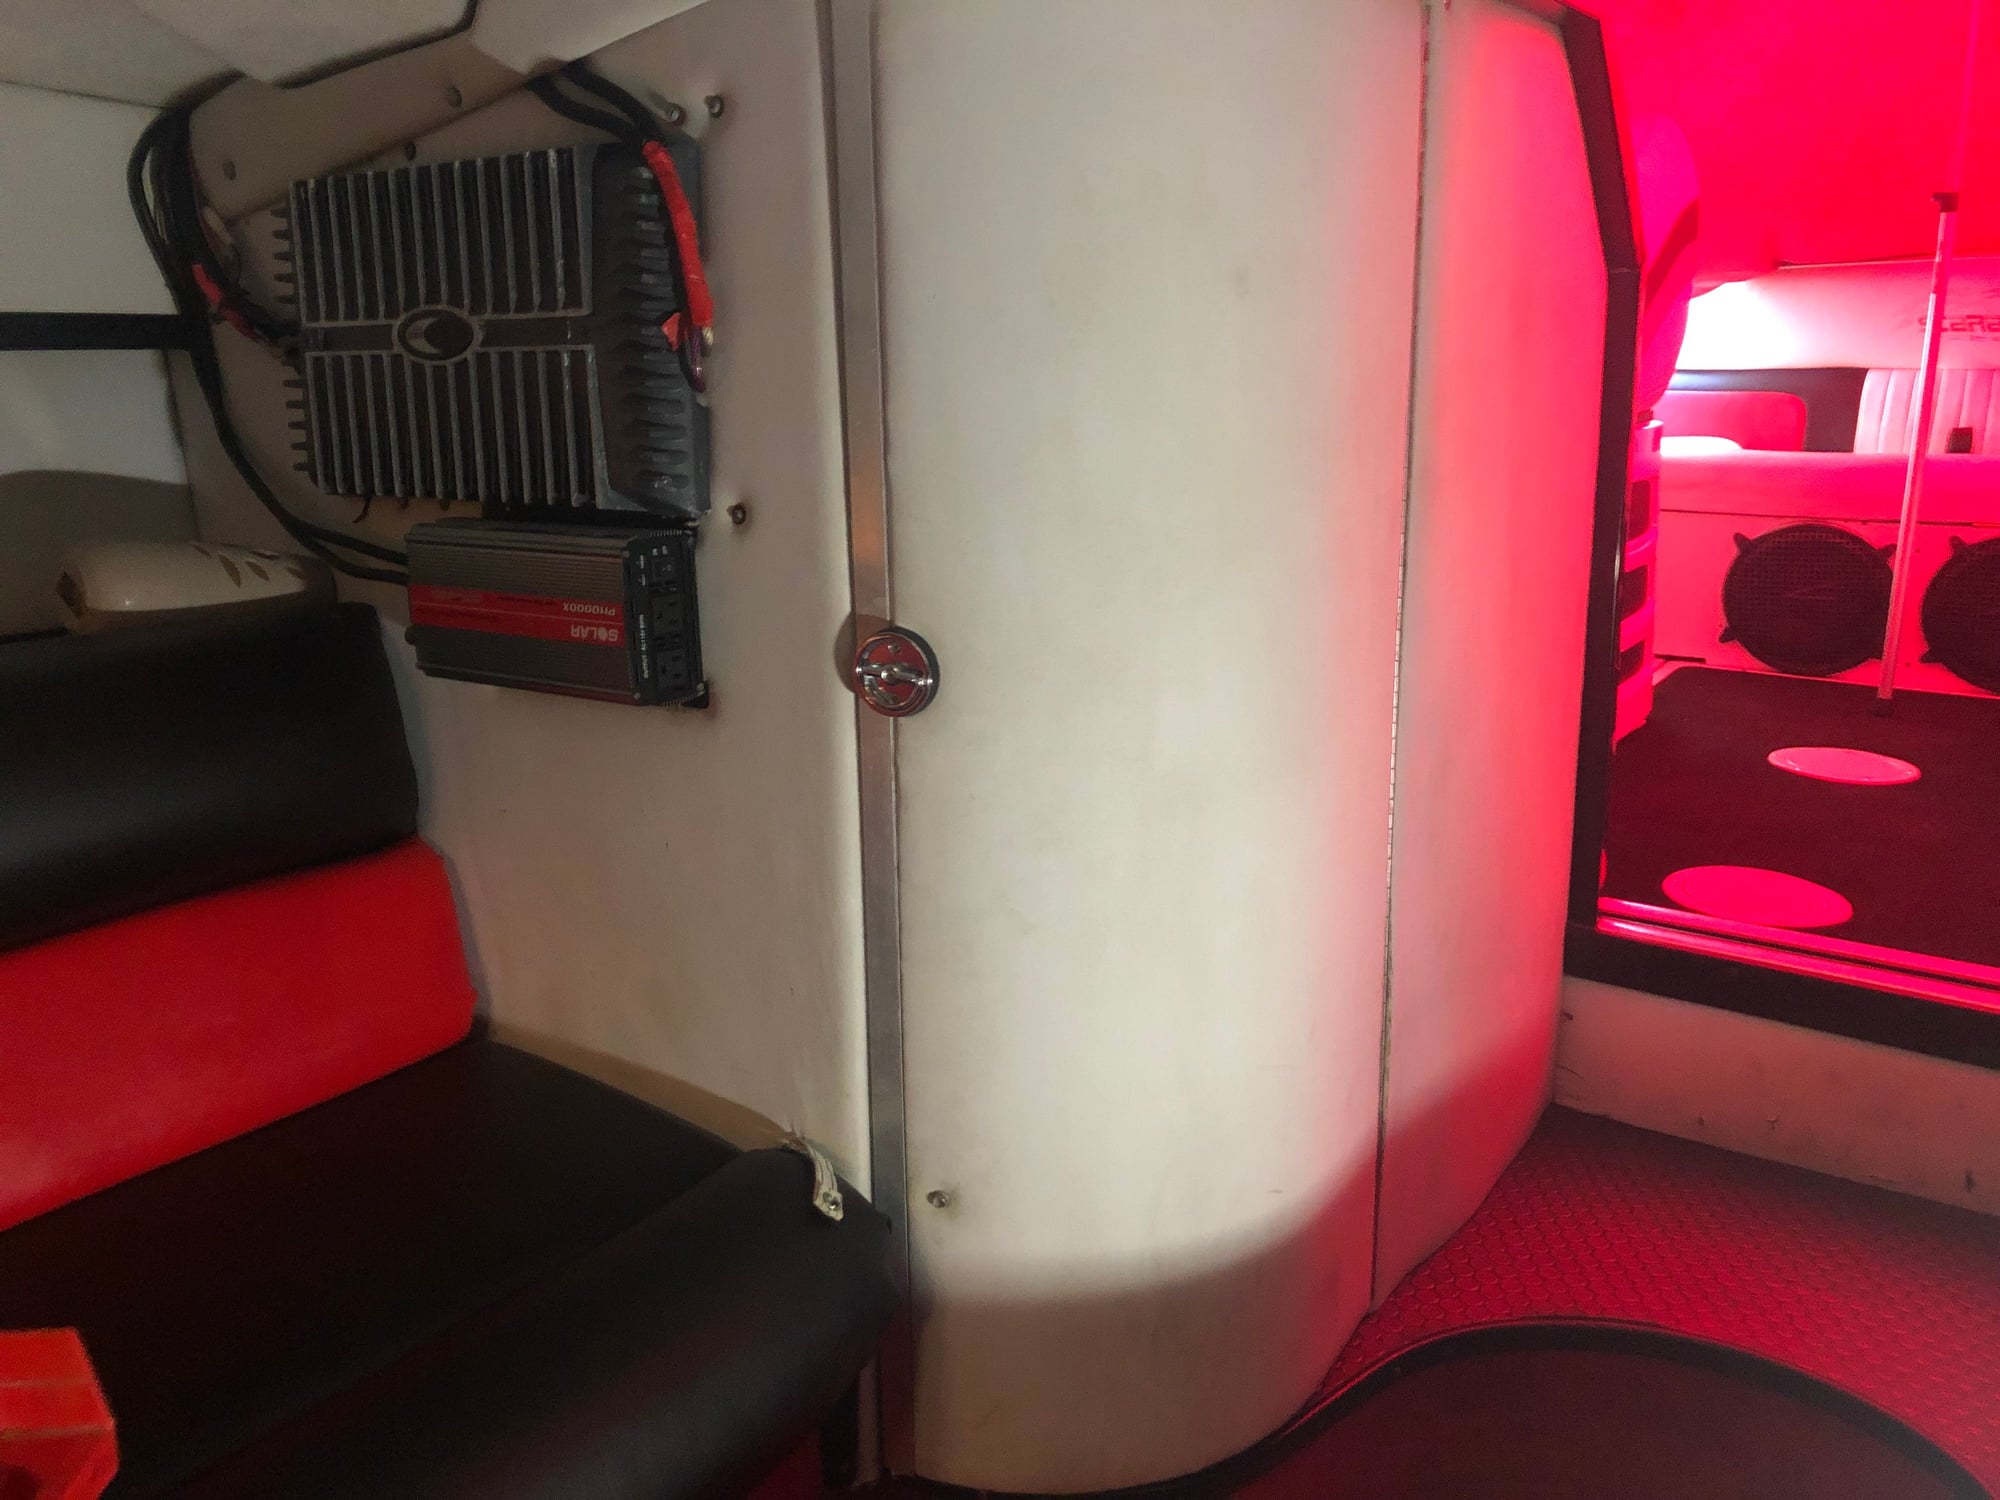
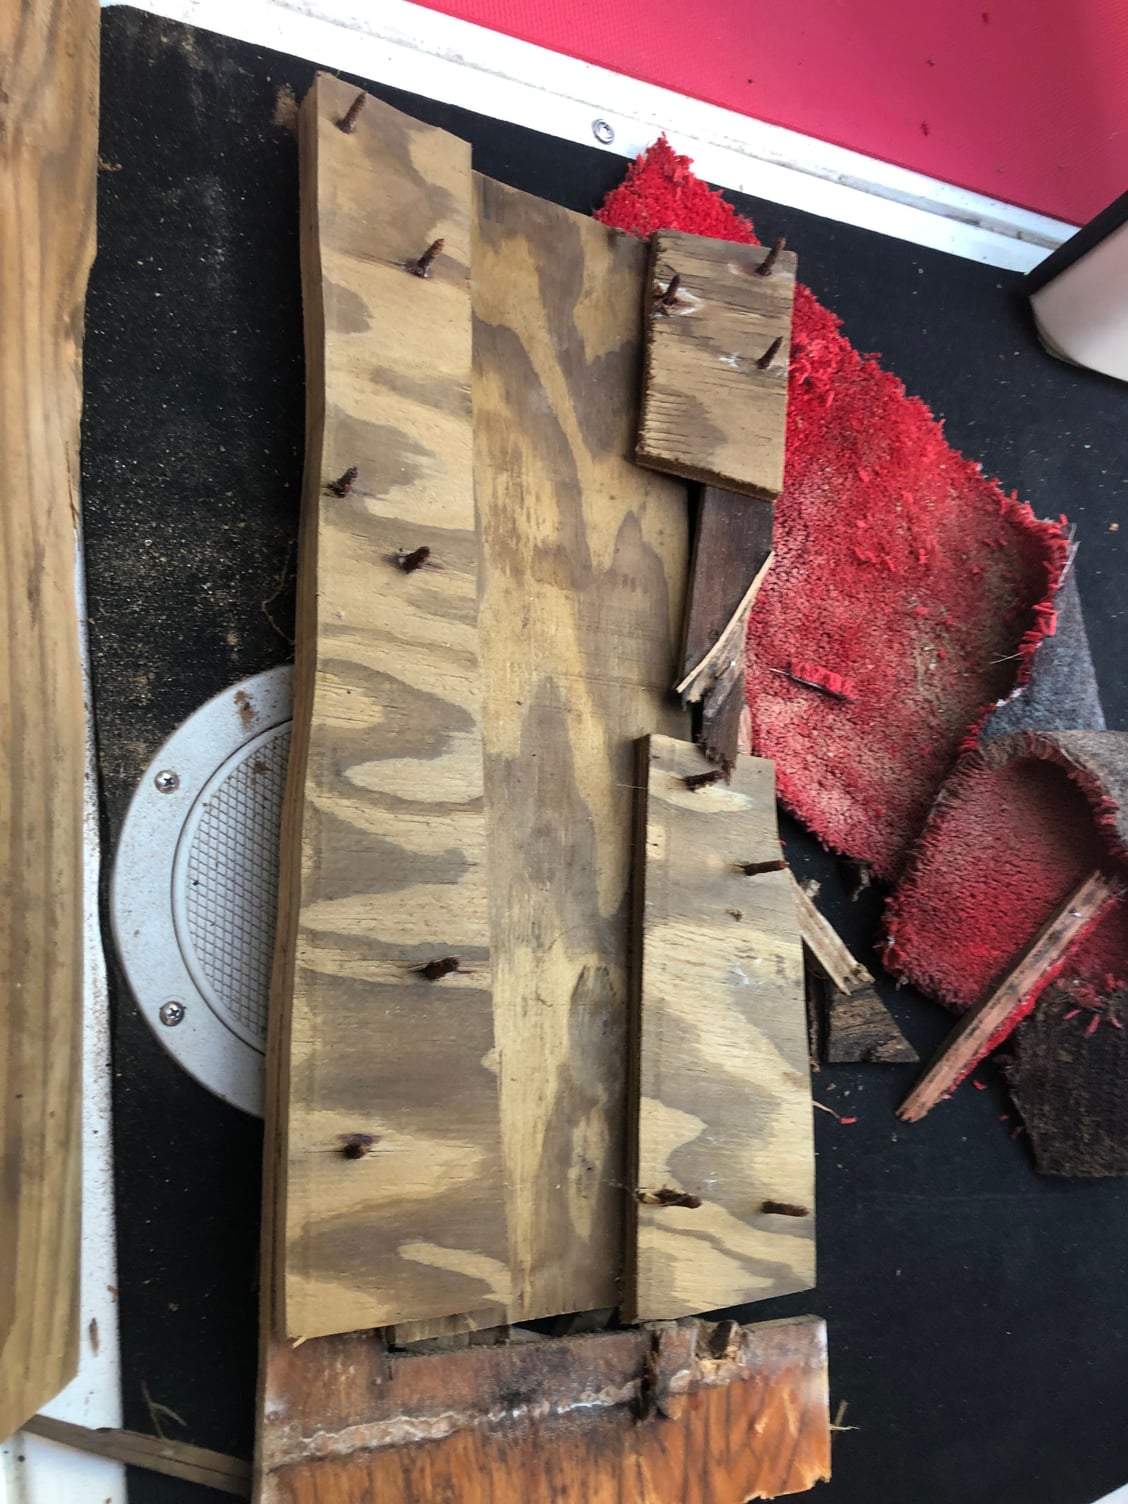
She has a flushing toilet that uses sea water. Problem is it has no holding tank and vents the turds right out into the water. Looks like the holding tank and plumbing was removed. I decided best place for the tank would be under the floor next to the lav. After removing the wall to the lav I discovered it was rooted bad from the air intake on top of the boat in front of the windscreens leaking water into the cabin. So now I need to replace that and after cutting a hole in the floor I discovered it was replaced before and had all kids of patches underneath it. So more stuff to fix
. The good news is the holding tank and new macerator pump fits. My plan is to use the holding tank while in port ( we will be taking this to bimini) then dumping it with the new pump when out at sea and not using the pump out. I already have a shutoff valve under the floor so will install a switch for the macerator pump in the same location. Now when I need to dump it I open the valve and pump it out and shut the valve back off when done since its bellow the water line. This way I don't need to use a vented Y.

