I think I need a MacGyver trick here.
 05-08-2012 | 12:16 AM
#1
Thread Starter
Registered
Joined: Aug 2010
Posts: 137
Likes: 0
From: Tacoma, WA
Heres the deal. I heard a pretty signifigant tick on my starboard engine which I thought was a stuck valve, took the valve cover off and looked for the obvious. I then decided to take the easier route and pop of the exhaust elbow and riser hoping it was just a bad gasket. I replaced the gasket between the exhaust manifold and riser, and also the riser and elbow. Started it back up and bingo....no tick!
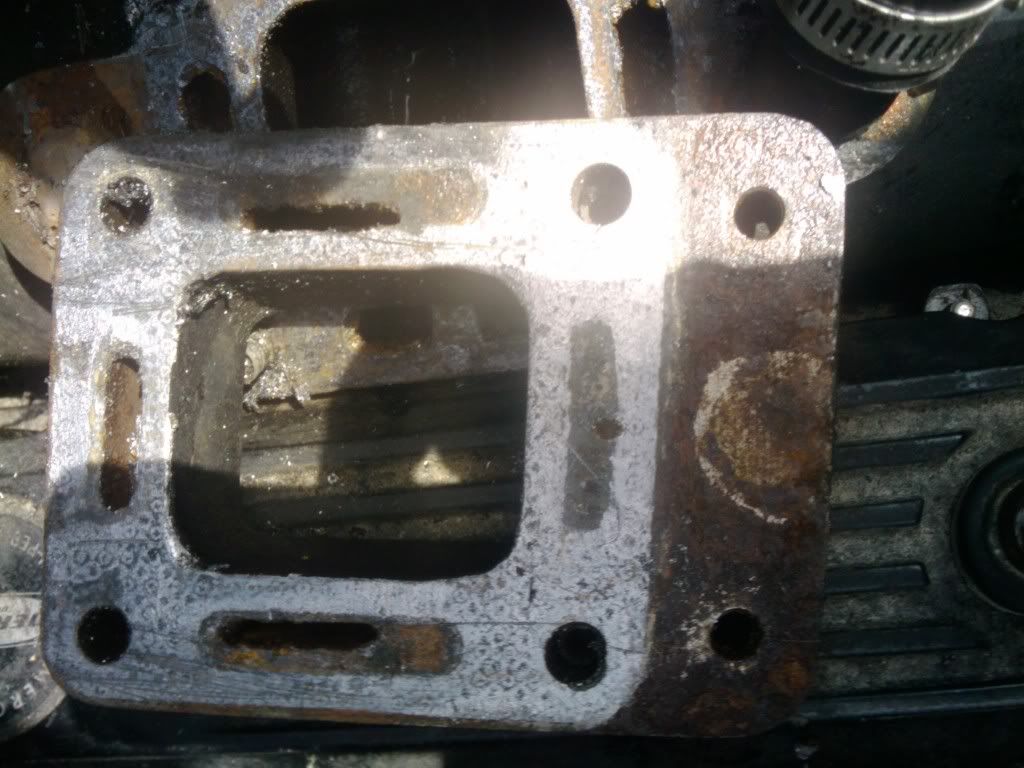
Here the problem, in the process of doing this I damaged the gasket between the manifold and an adapter plate that sits between the riser and manifold. The manifold has an exit that is a square flange then the adapter changes it to a larger rectangular size which then mates with the riser.
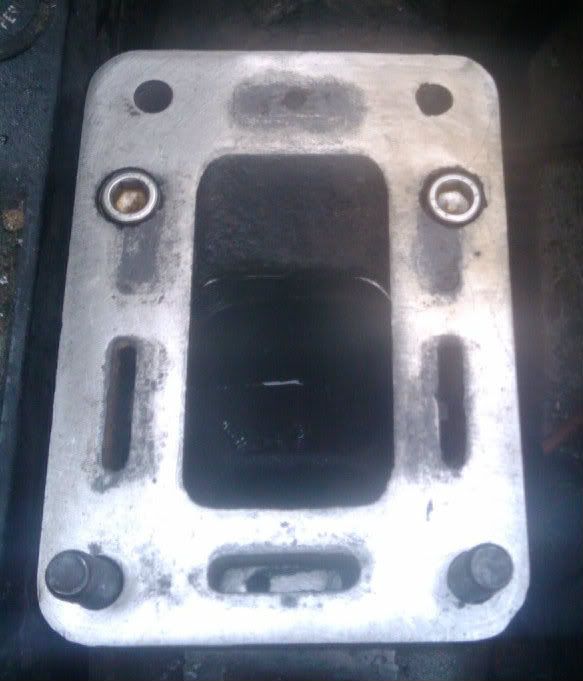
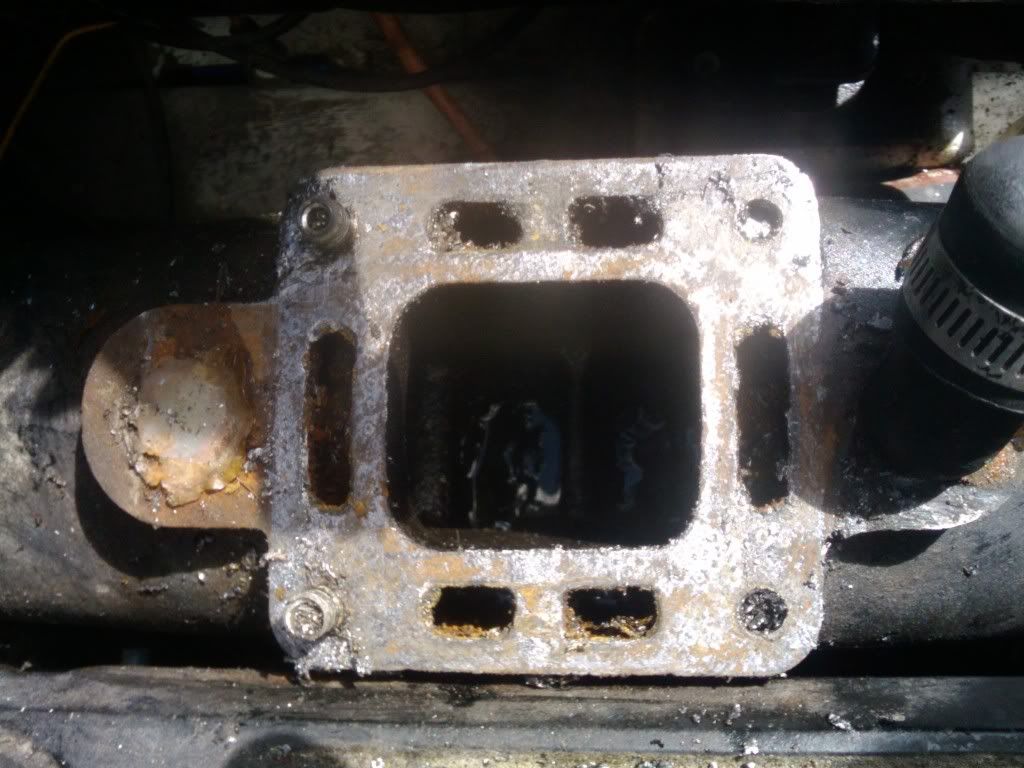
I have no idea how the adapter plate was held on, the two most forward bolts on the manifold line up with the adapter plate however the two rears do not. When I took it off I had to drill out some kid of threaded stud the previous owner used, but there was no head on it. If you look at the picture of the adapter installed that was before I drilled out the studs, as you can see no heads on the studs.
Top of Manifold
Bottom of adapter plate
Adapter Installed

Riser setup

Here the problem, in the process of doing this I damaged the gasket between the manifold and an adapter plate that sits between the riser and manifold. The manifold has an exit that is a square flange then the adapter changes it to a larger rectangular size which then mates with the riser.
I have no idea how the adapter plate was held on, the two most forward bolts on the manifold line up with the adapter plate however the two rears do not. When I took it off I had to drill out some kid of threaded stud the previous owner used, but there was no head on it. If you look at the picture of the adapter installed that was before I drilled out the studs, as you can see no heads on the studs.
Top of Manifold
Bottom of adapter plate
Adapter Installed
Riser setup
 05-12-2012 | 06:45 AM
#4
Registered
Joined: Apr 2012
Posts: 26
Likes: 0
05-12-2012 | 09:31 PM
#6
Thread Starter
Registered
Joined: Aug 2010
Posts: 137
Likes: 0
From: Tacoma, WA
Yup, it turns out it was female hex nuts that worked. When I took it off I had to drill them out, so I wasn't really sure what was in there to begin with because they where pretty deteriorated.