

Wellcraft Nova 23 Work Continues....
 09-11-2018 | 09:44 AM
#1
Thread Starter
Registered
Joined: Mar 2016
Posts: 57
Likes: 0
Replacing Transom now and at bottom were drain plug is and were ever the deck/cock pit it glued to the stringers there is this bondo looking stuff. super strong but easy to cut. can anyone tell me what this is? should i use this when regluing the deck down after repairs are done or some other product?

 09-11-2018 | 12:11 PM
#3
Thread Starter
Registered
Joined: Mar 2016
Posts: 57
Likes: 0
It like a beige tan color. Just wondering what wellcraft used back in the day also. interesting how it was all at the bottom of the transom on the hull also. wondering if i need to do that again or just make a mouse hole for the drain hole. i already chiseled it out was all black behind it and the glass is not as thick in that area about 1.5" up from the keel inside of hull.
09-13-2018 | 05:40 PM
#4
Gold Member

Joined: Jun 2004
Posts: 749
Likes: 1
From: New Jersey
When Wellcraft produced these boats fine craftsmanship was not really a priority. The transom wood was not cut to exacting specification and most of the time there was a gap in the area between the bottom of the transom and the bottom of the boat (on the inside). Strangle enough, this area is general considered the strongest part of the boat (when built properly).Sometimes they filled the void with builders goop, and sometimes they just left the void. The drain plug female piece would then be secured into the thin fiberglass only.
I saw these voids on a few of the smaller Scarabs back in the day. When I asked about it at the factory in Sarasota, they told me " we don't make that boat here, its made in Avon Park"
I saw these voids on a few of the smaller Scarabs back in the day. When I asked about it at the factory in Sarasota, they told me " we don't make that boat here, its made in Avon Park"
09-14-2018 | 06:27 AM
#5
Thread Starter
Registered
Joined: Mar 2016
Posts: 57
Likes: 0
Yea thanks!, that clears up some curiosity. Well I cleaned it all out anyway. The transom (fiberglass part) is very thick at least half inch. When I put the wood back in i'm going to to bottom make a mouse hole then fill the rest with thickened epoxy resin. ill put a piece of pvc pipe for the drain void.
09-14-2018 | 07:29 AM
#6
Thread Starter
Registered
Joined: Mar 2016
Posts: 57
Likes: 0
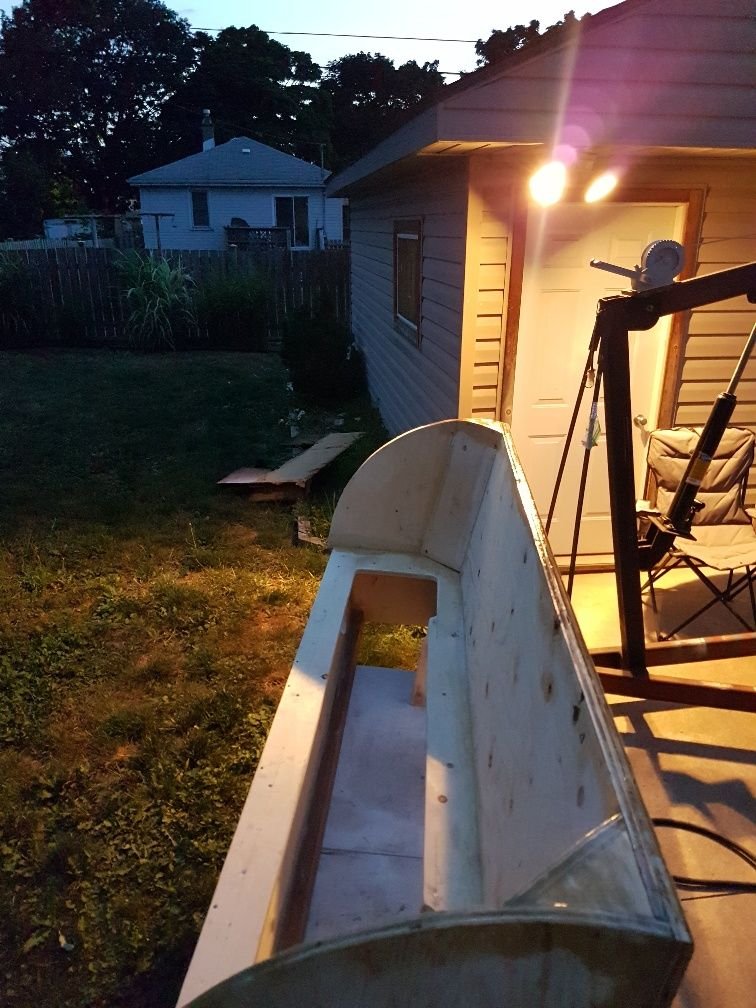
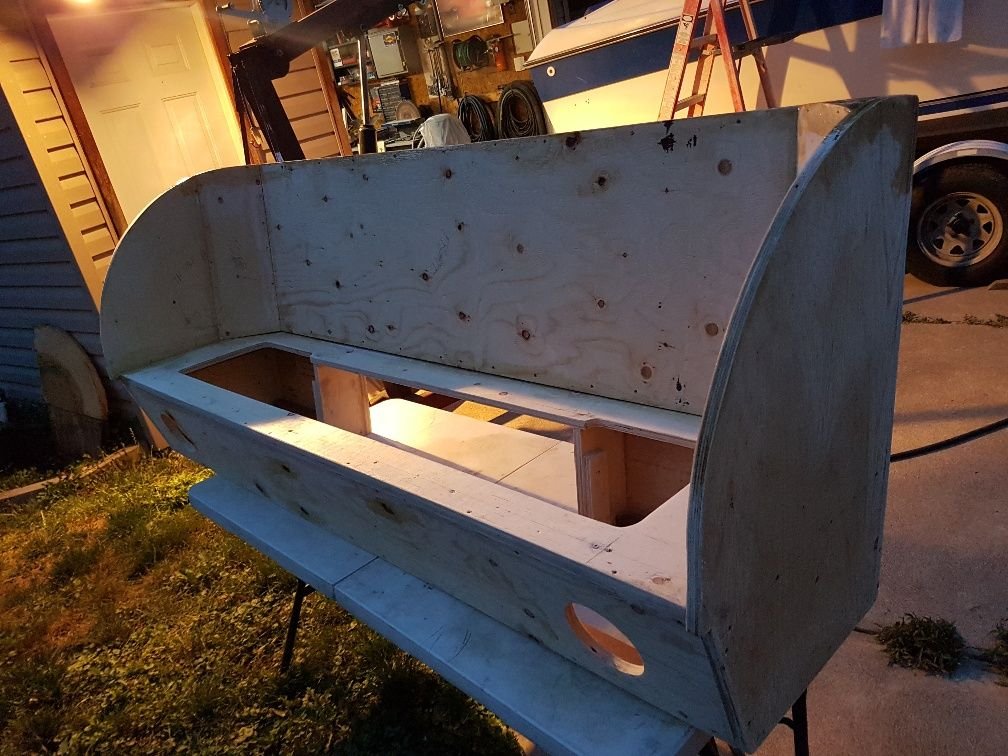

Here is a pick of the goop. (and some of my progress) This picture is a few days old, it's already all gone and cleaned up. This weekend I am going to cut the floor out up to the bulkhead to gain access to the rest of the transom were the batteries would sit. (didn't just want to replace part of transom want to replace the whole piece). I've already rebuilt all the interior with new wood, sealed everything with 2 coats of poly and have already been reupholstered. ( sunpad, side panels, captains chairs, and rear bench seat) I did this before knowing this motor stringers were bad and then found little moisture at bottom of transom so decided to rip the whole thing out. so long story short i'm kinda stuck fixing it so i wanna do it right for many years to enjoy.
09-14-2018 | 08:05 AM
#7
Gold Member
Joined: Jun 2004
Posts: 749
Likes: 1
From: New Jersey
I applaud you on the hard work. If I remember correctly, most of if not all of the 23 Nova's had the motor mounts directly bolted into the stringers. It was like a giant wood screw into the wood of the stringer. I always thought this was cheap and a recipe for rot. Make an aluminum bracket and do it better than Wellcraft did. That back seat looks great. Did you do the upholstery work ?
09-14-2018 | 10:01 AM
#8
Thread Starter
Registered
Joined: Mar 2016
Posts: 57
Likes: 0
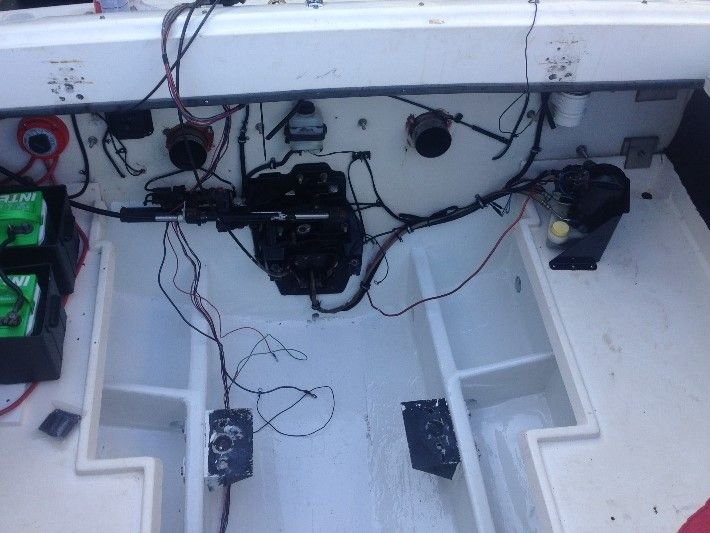
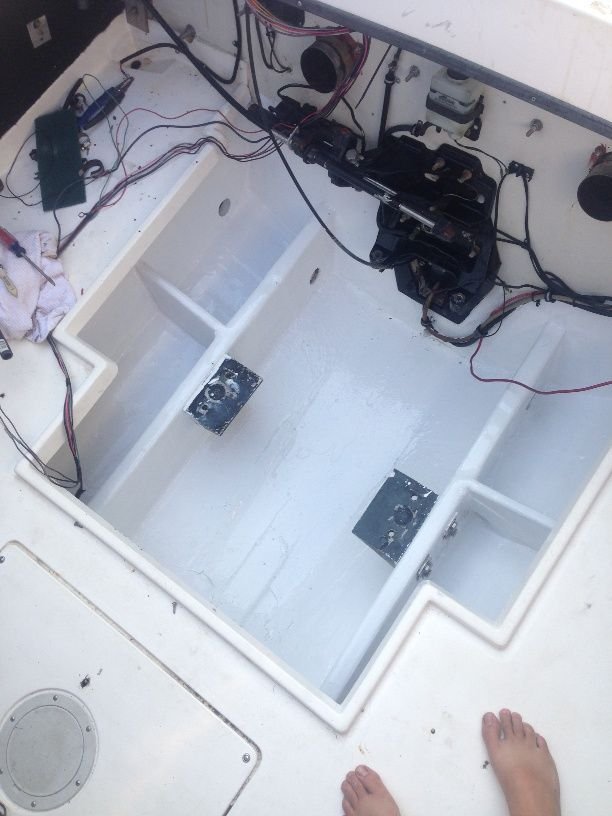
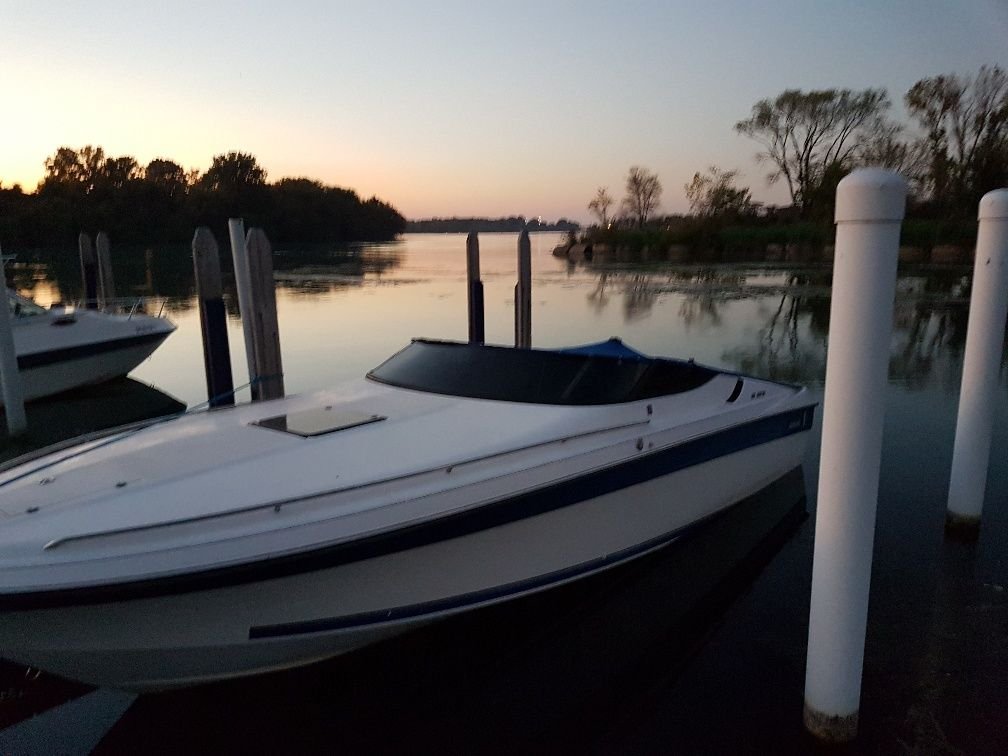
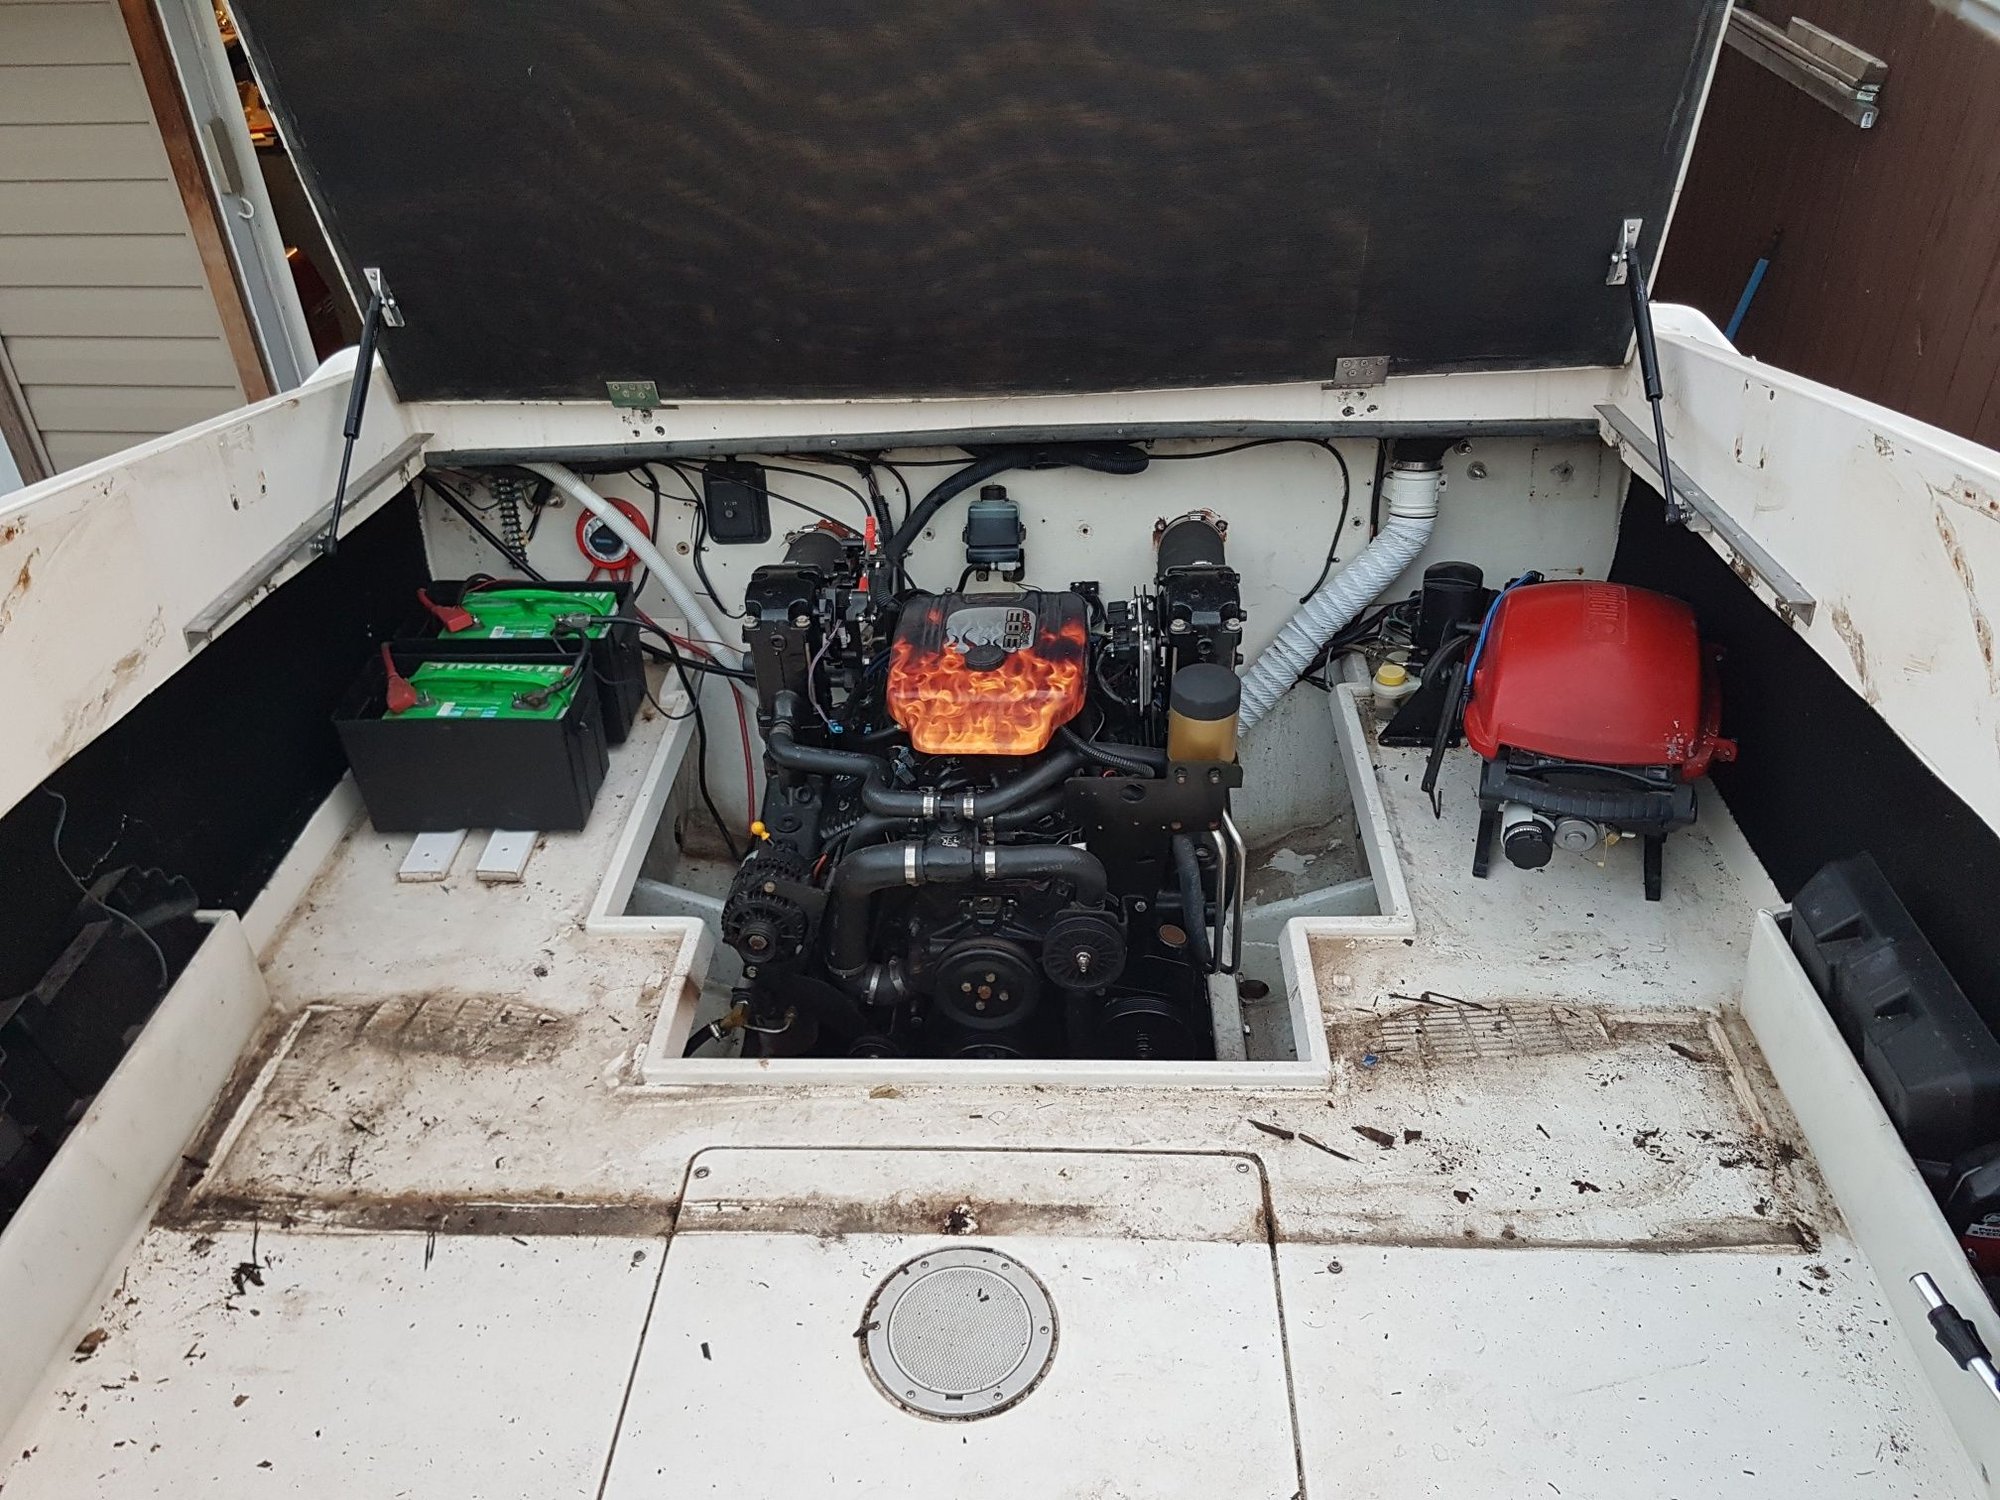
Actually the motor mounts are heavy duty angle plates which are gusitied with 4 stainless bolts thru the stringer and thick square washers to sandwich the bracket on(whether or not that was factory couldn't tell ya). over all really impressed by the construction of the fiber glass hull. really thick and solid (Guess that why is such a heavy boat but for the great lakes makes a good wave baser and nice ride) just to bad they didn't take more time sealing the drain holes on the stringers i'm thinking that's were most of the water got in over the years. here is a picture of the engine bay that the previous owner took when he was repainting the bay and swapping out the old 454 for the new 383 mercruiser stroker The picture only shows the brackets the motor mounts were unbolted for some reason. and a picture of the boat I took before the demolition derby lol. The upholstery was done buy a guy localy hes been doing upholstery for 25+ years. he did this out of his garage so I took a chance, i think it come out nice. I only did the wood fabrication part of it.
Last edited by apex808; 09-14-2018 at 10:13 AM.
 09-14-2018 | 02:05 PM
#10
Gold Member
Joined: Jun 2004
Posts: 749
Likes: 1
From: New Jersey
Yes that is a much improved motor mount/bracket. I saw many of them that had a large bolt size wood screw, directly screwed into the stringer from the top down. The torque from starting and running the engine would act to weaken the wood and eventually the mount would loosen up. Then of course water would set in...…. and the rest was history.

