

COLOSSUS! All I wanted was a seat.
 10-24-2022 | 08:31 PM
#1
Thread Starter
Registered

Joined: May 2009
Posts: 1,942
Likes: 527
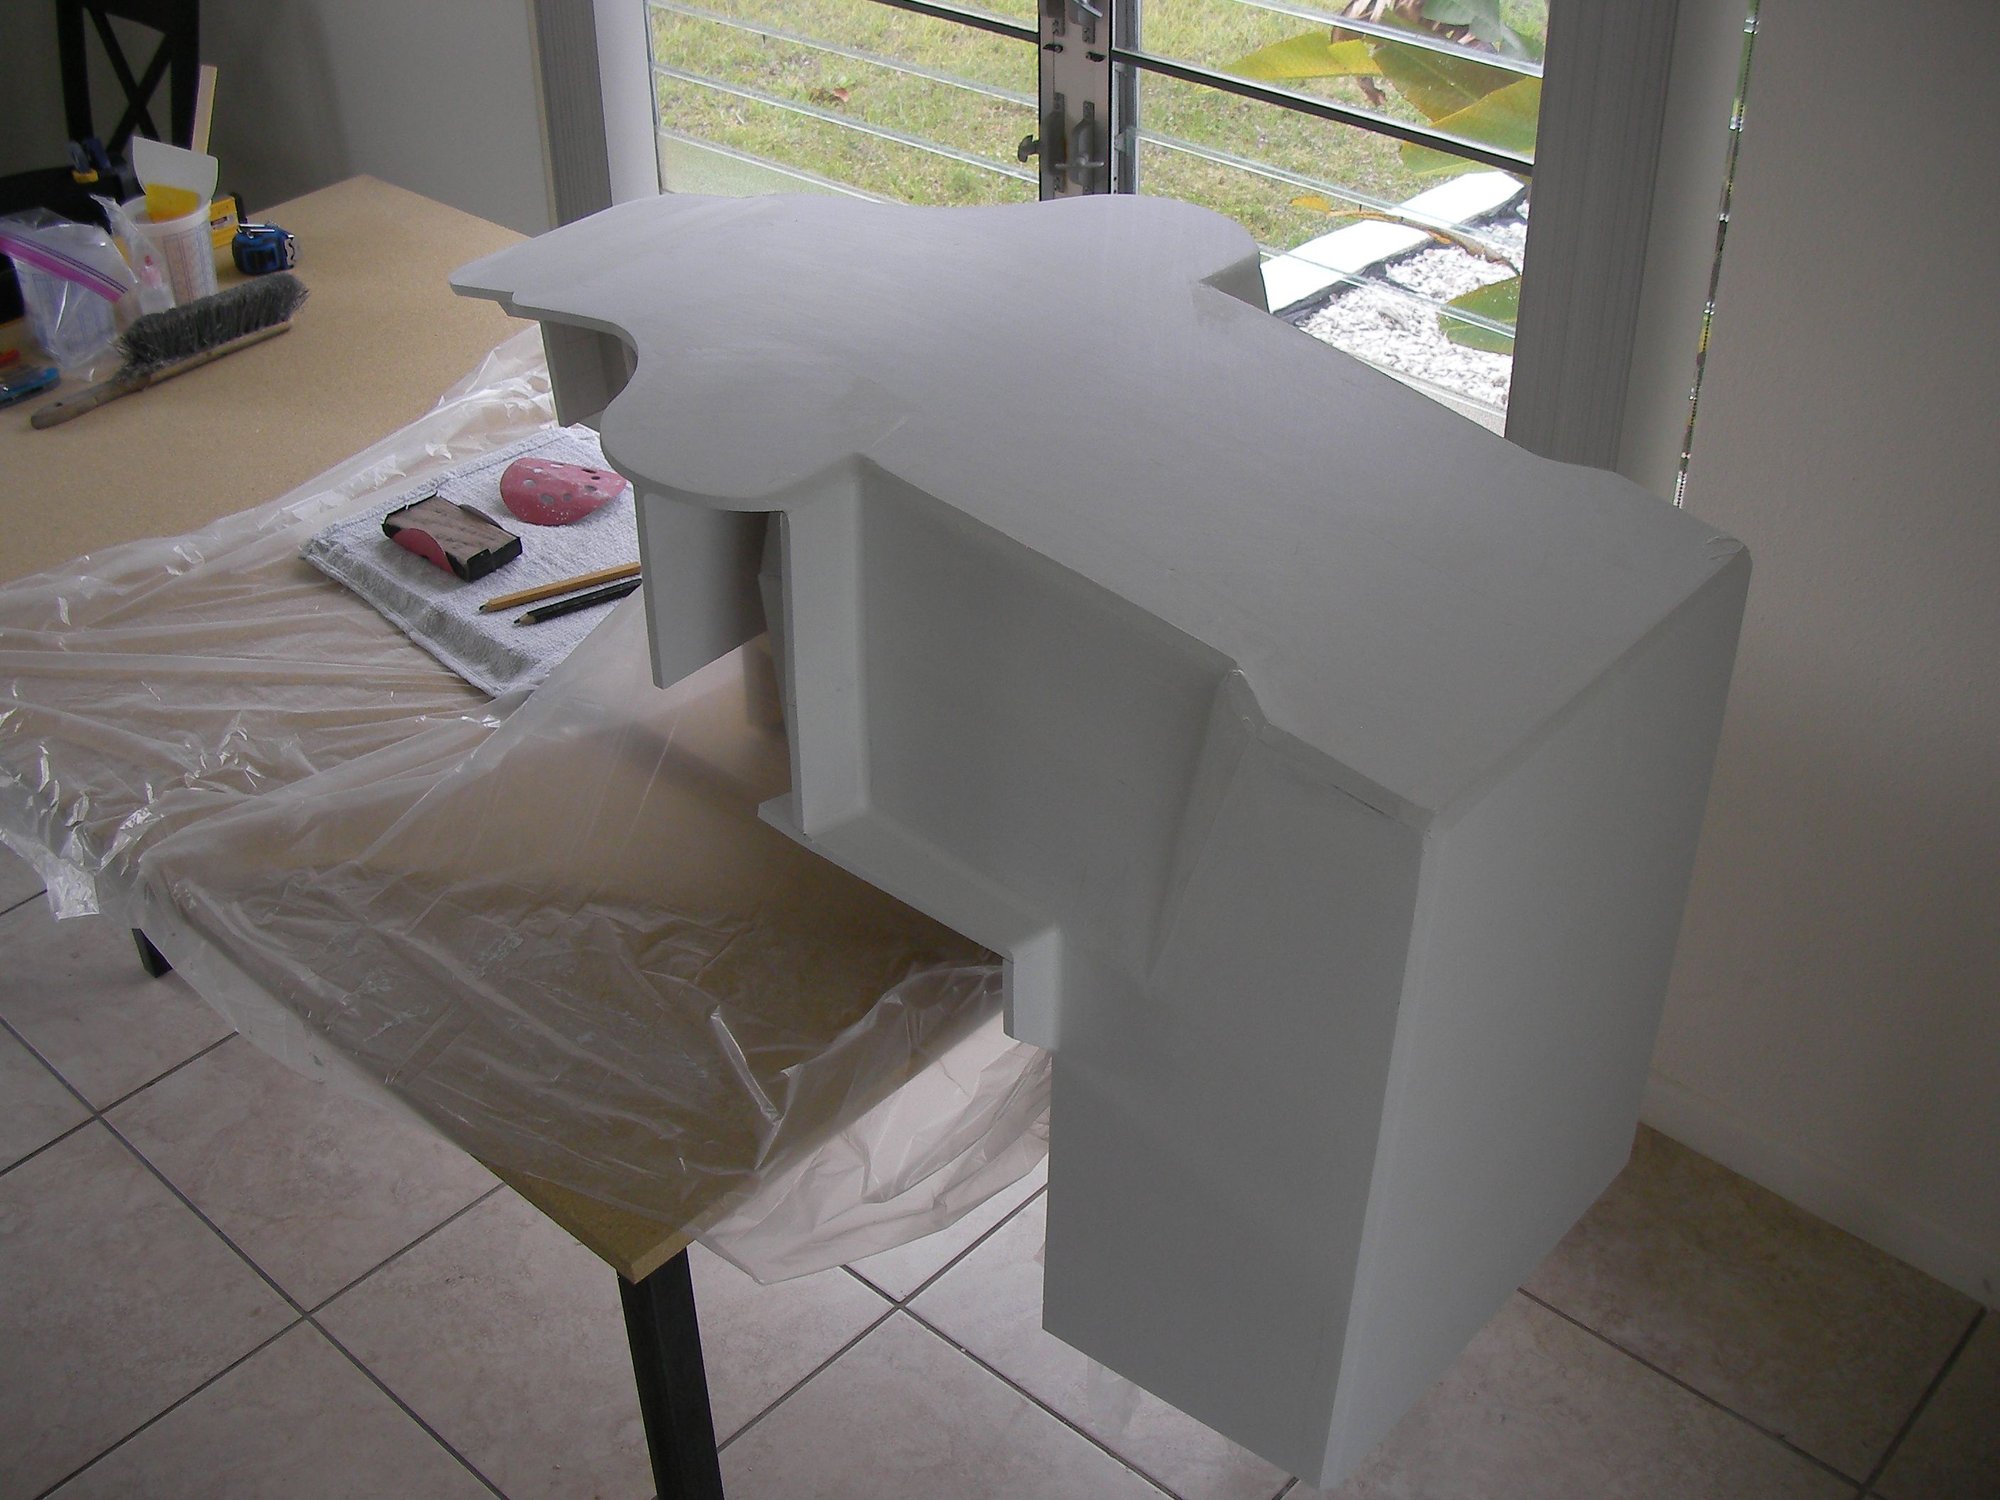
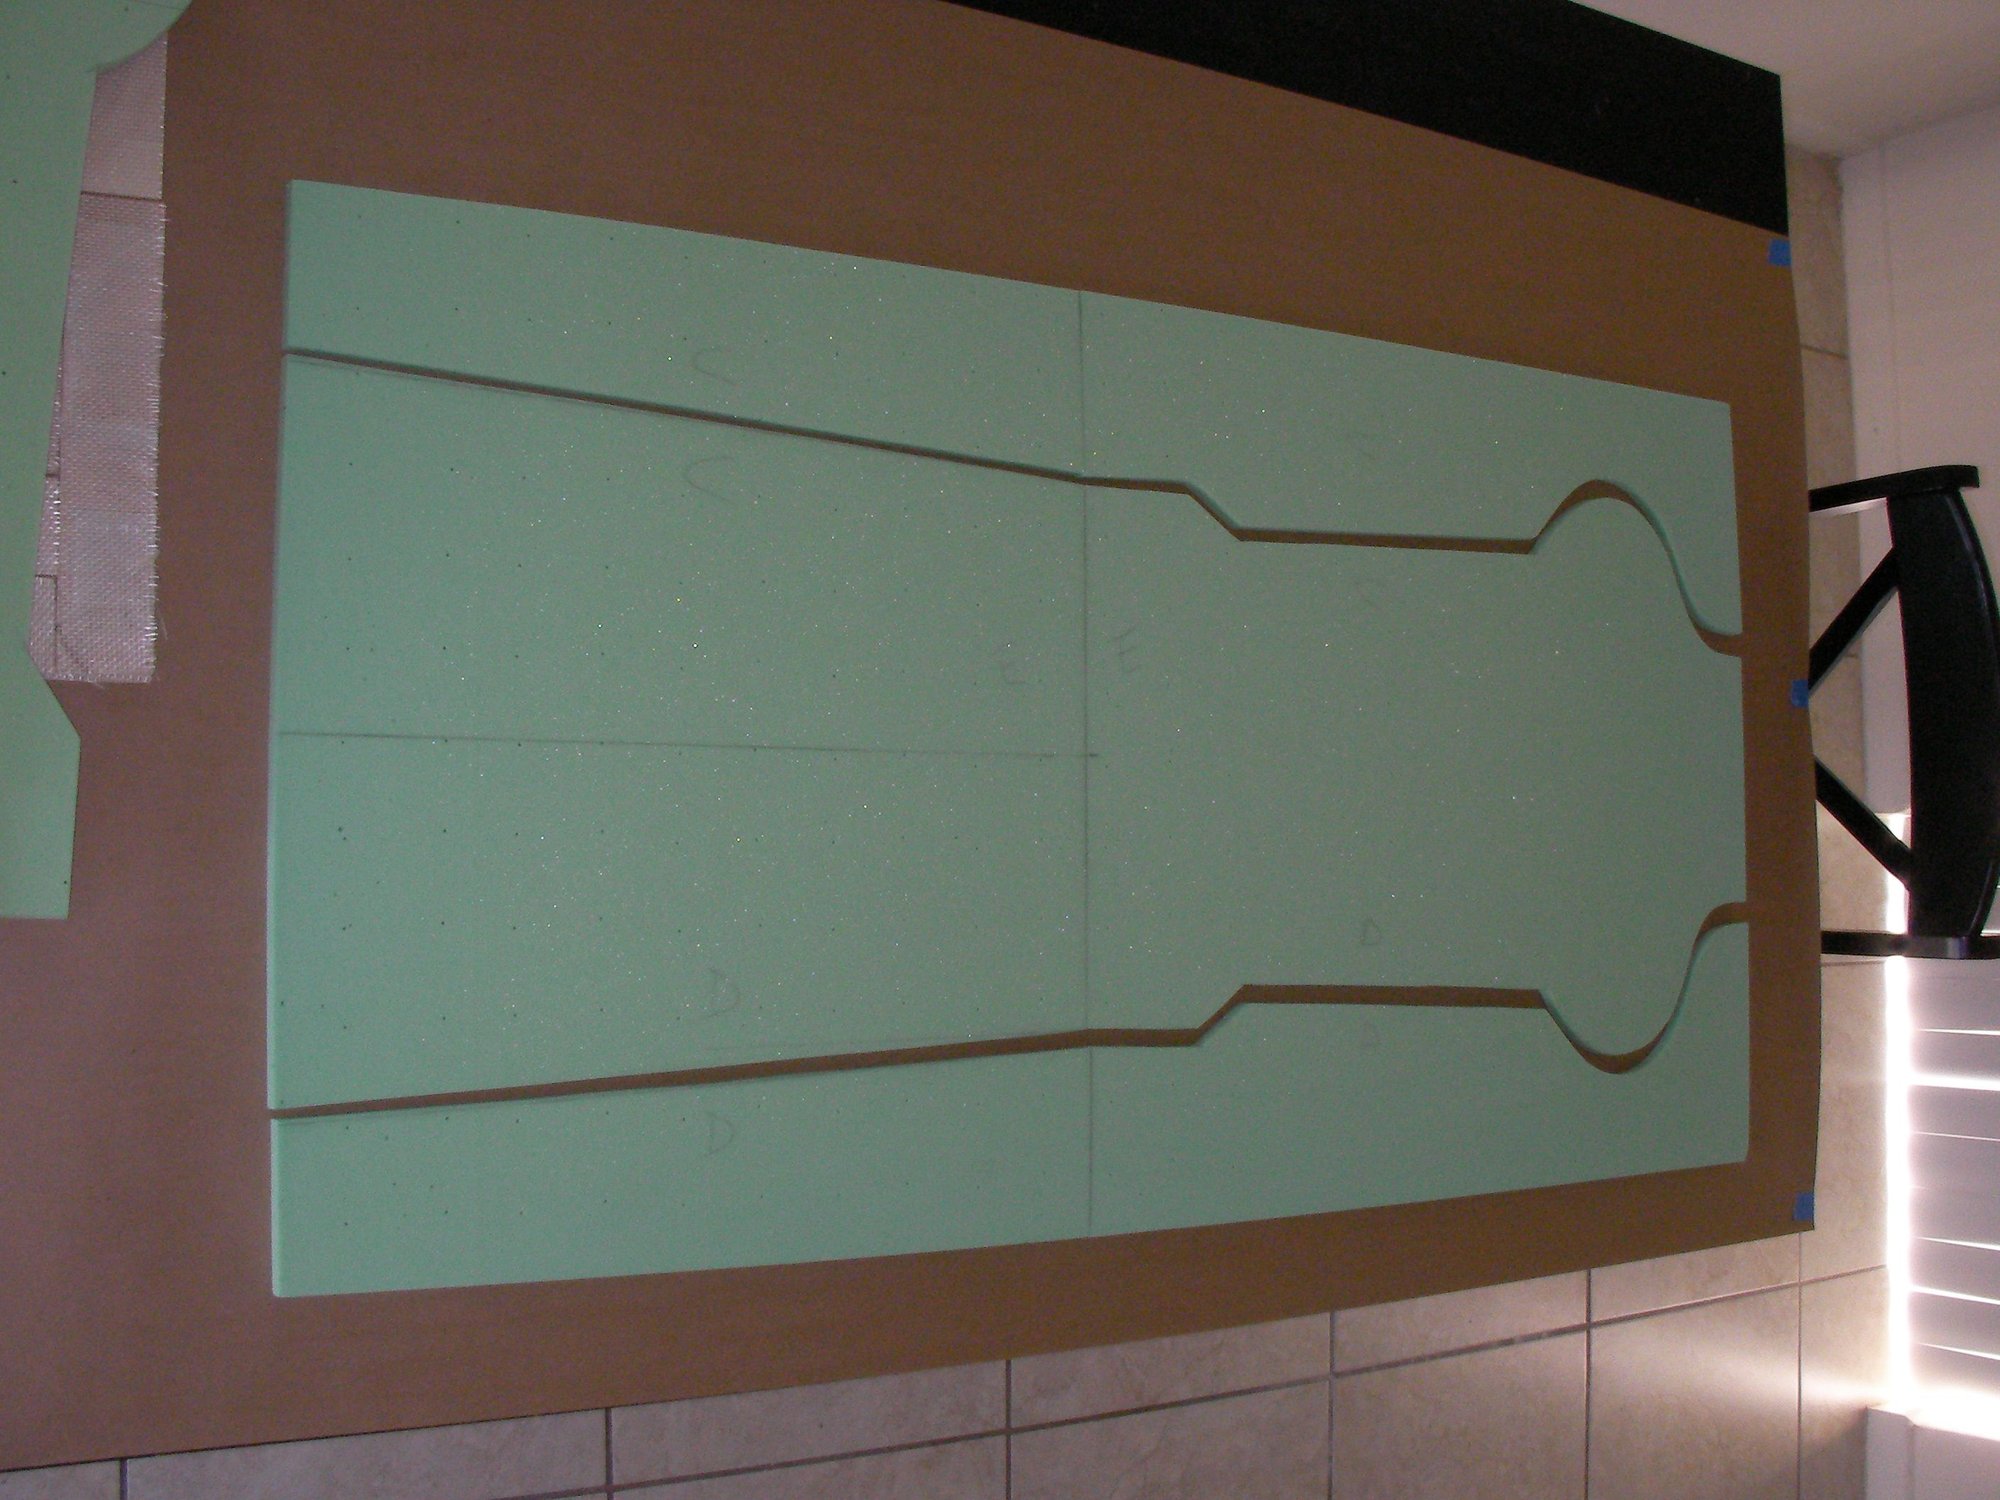
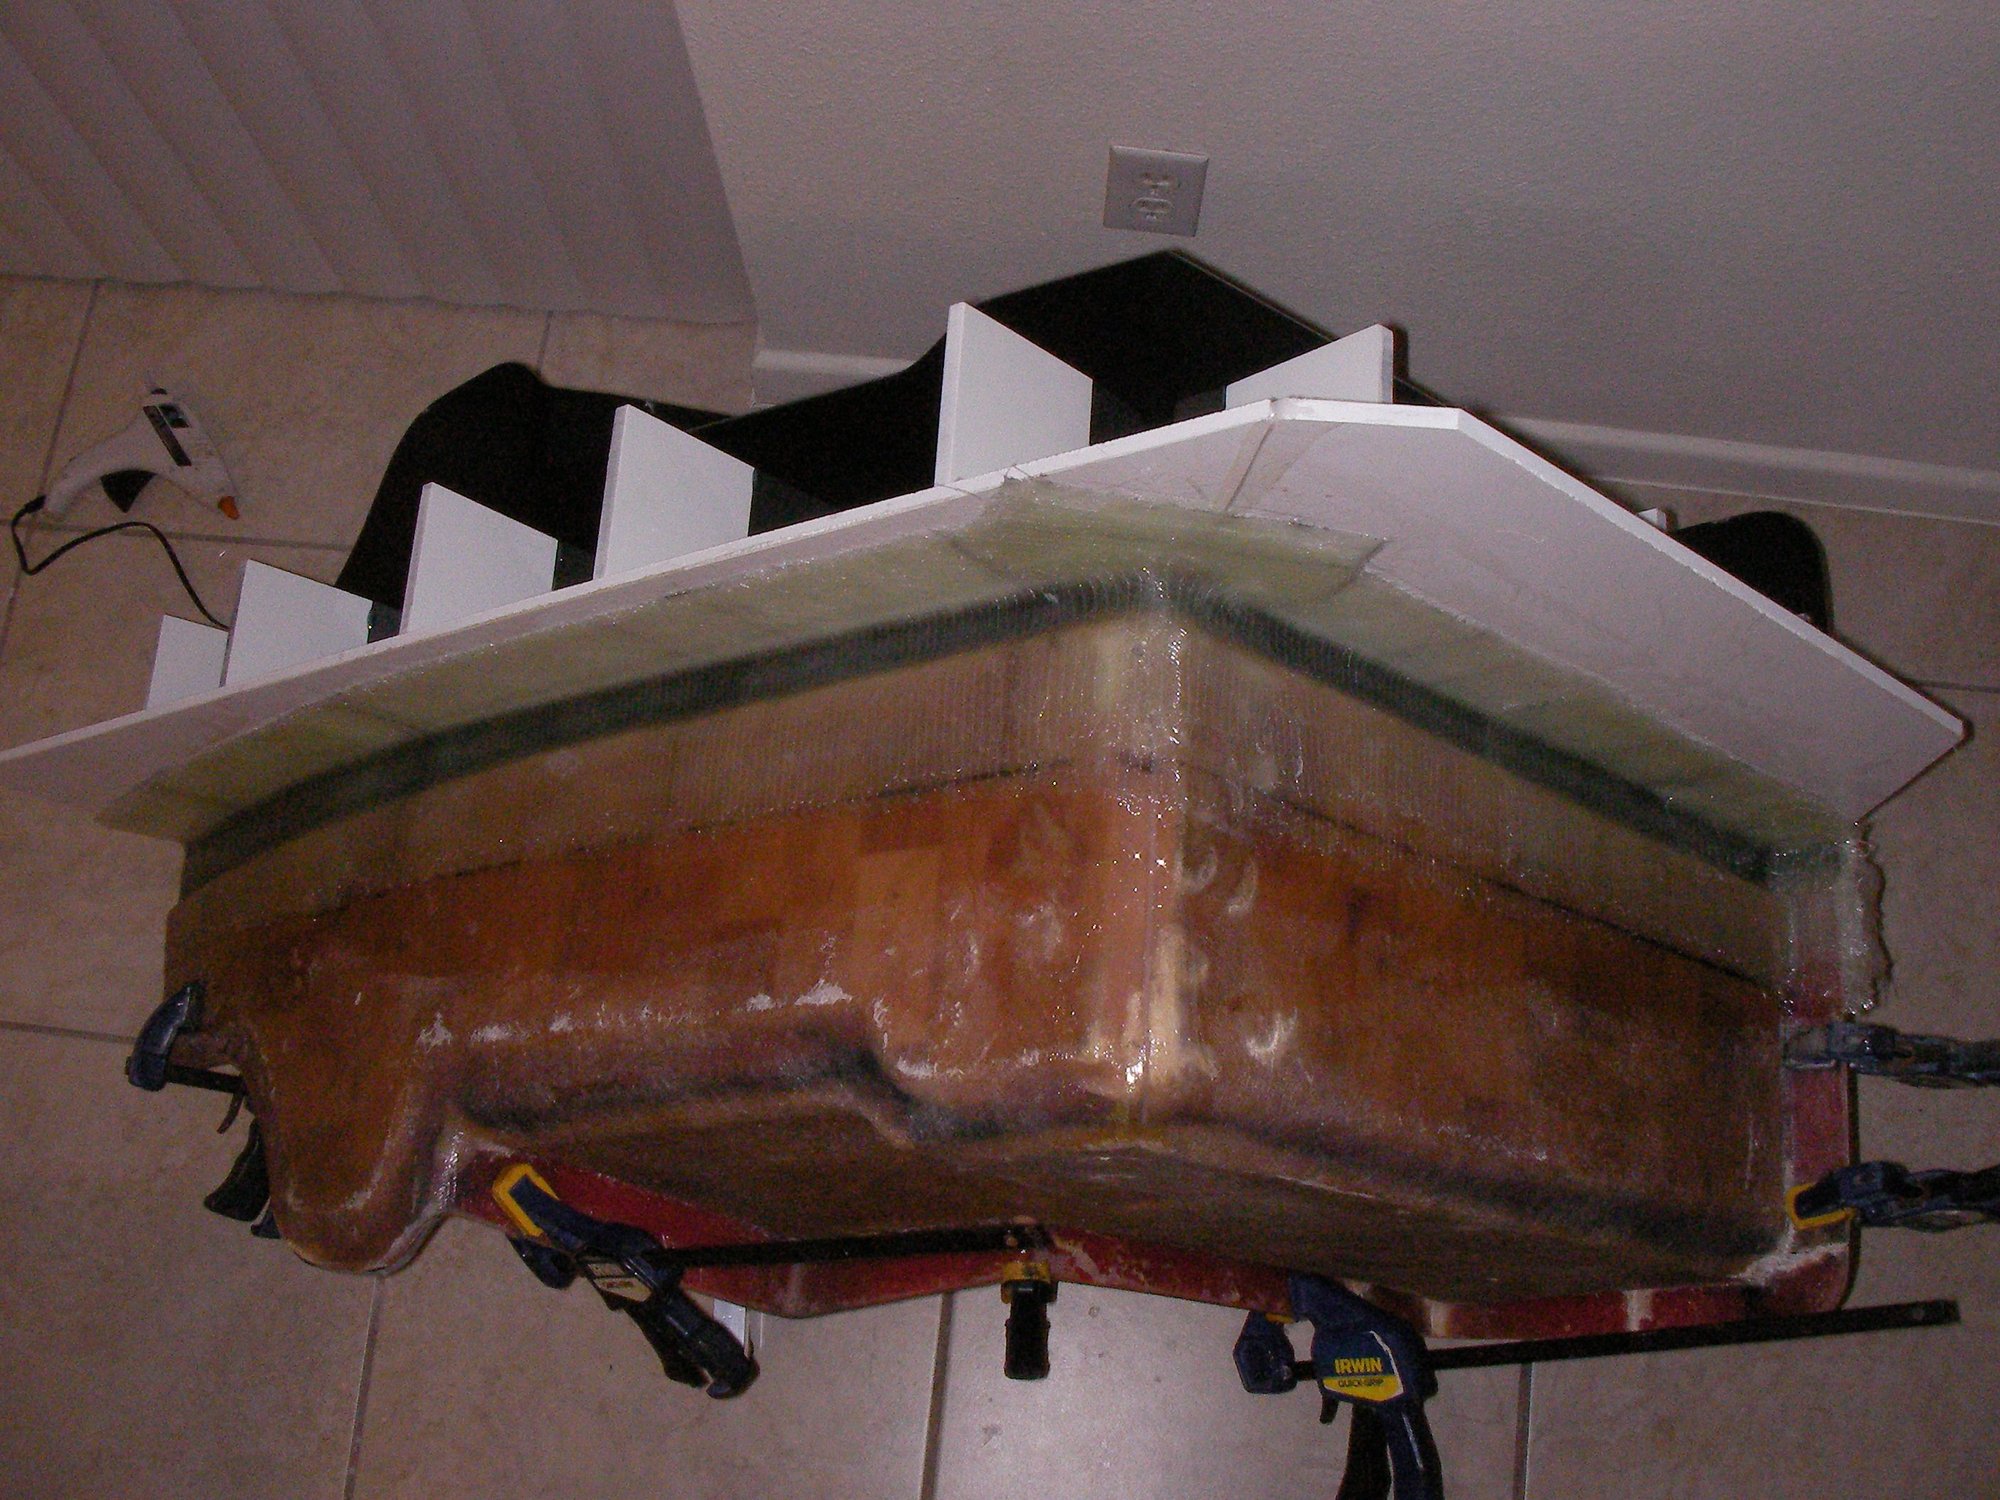
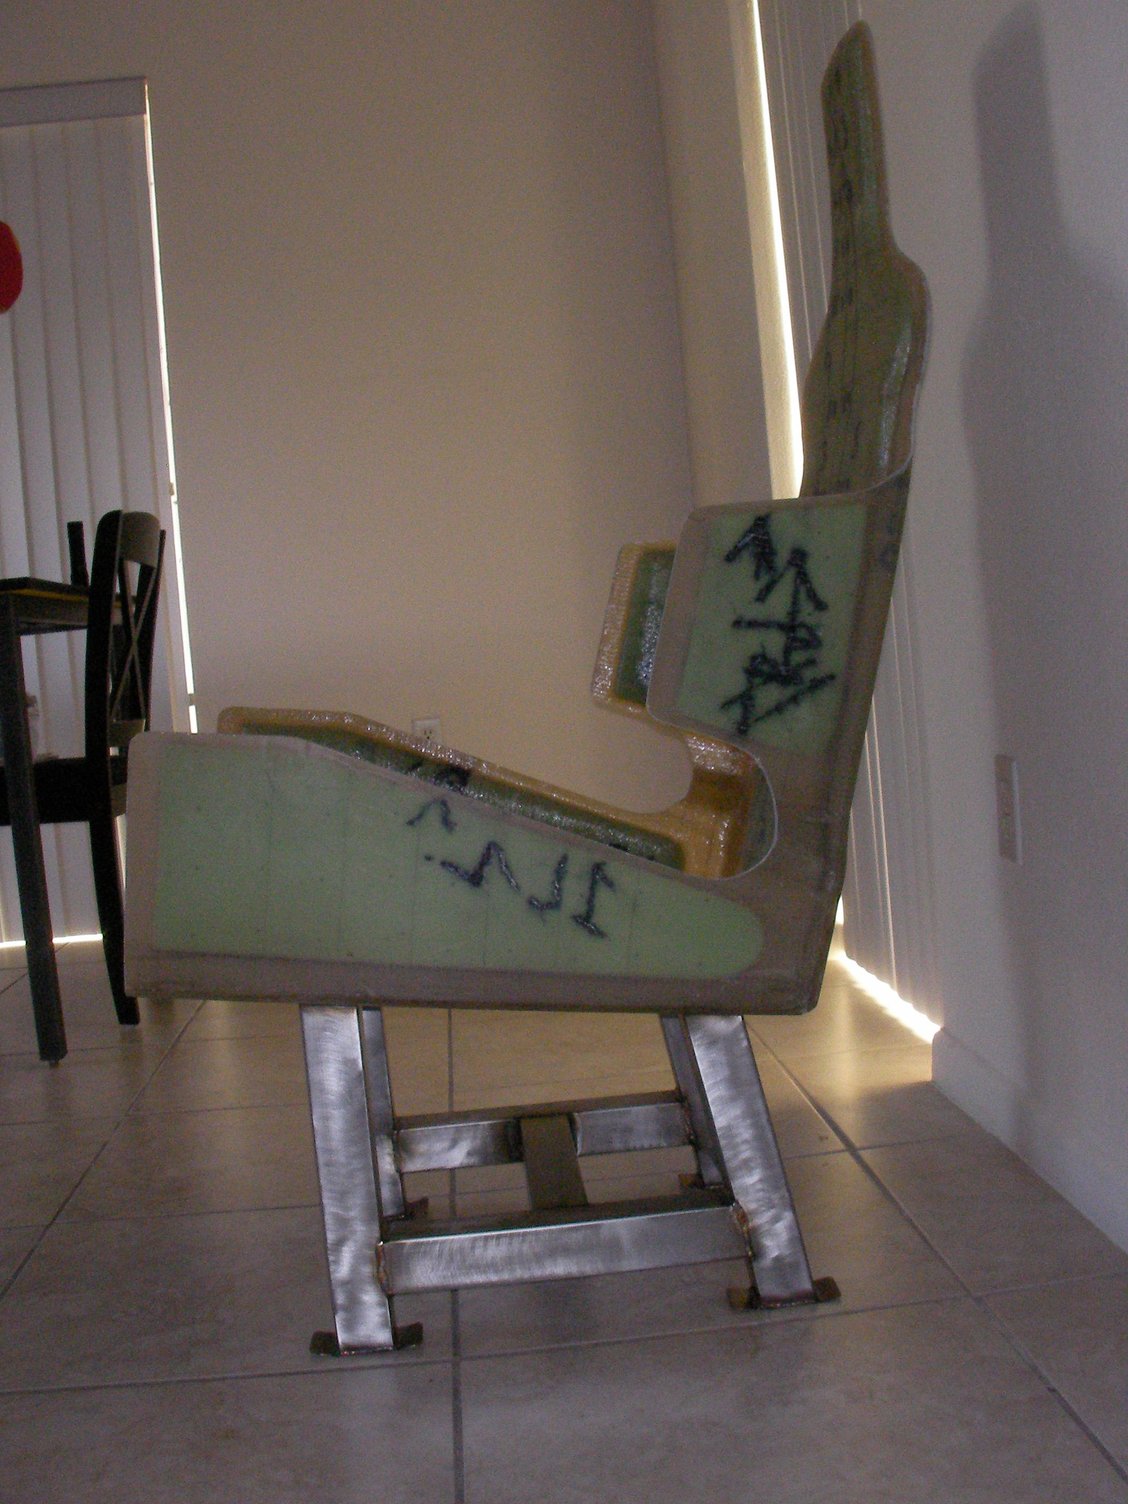
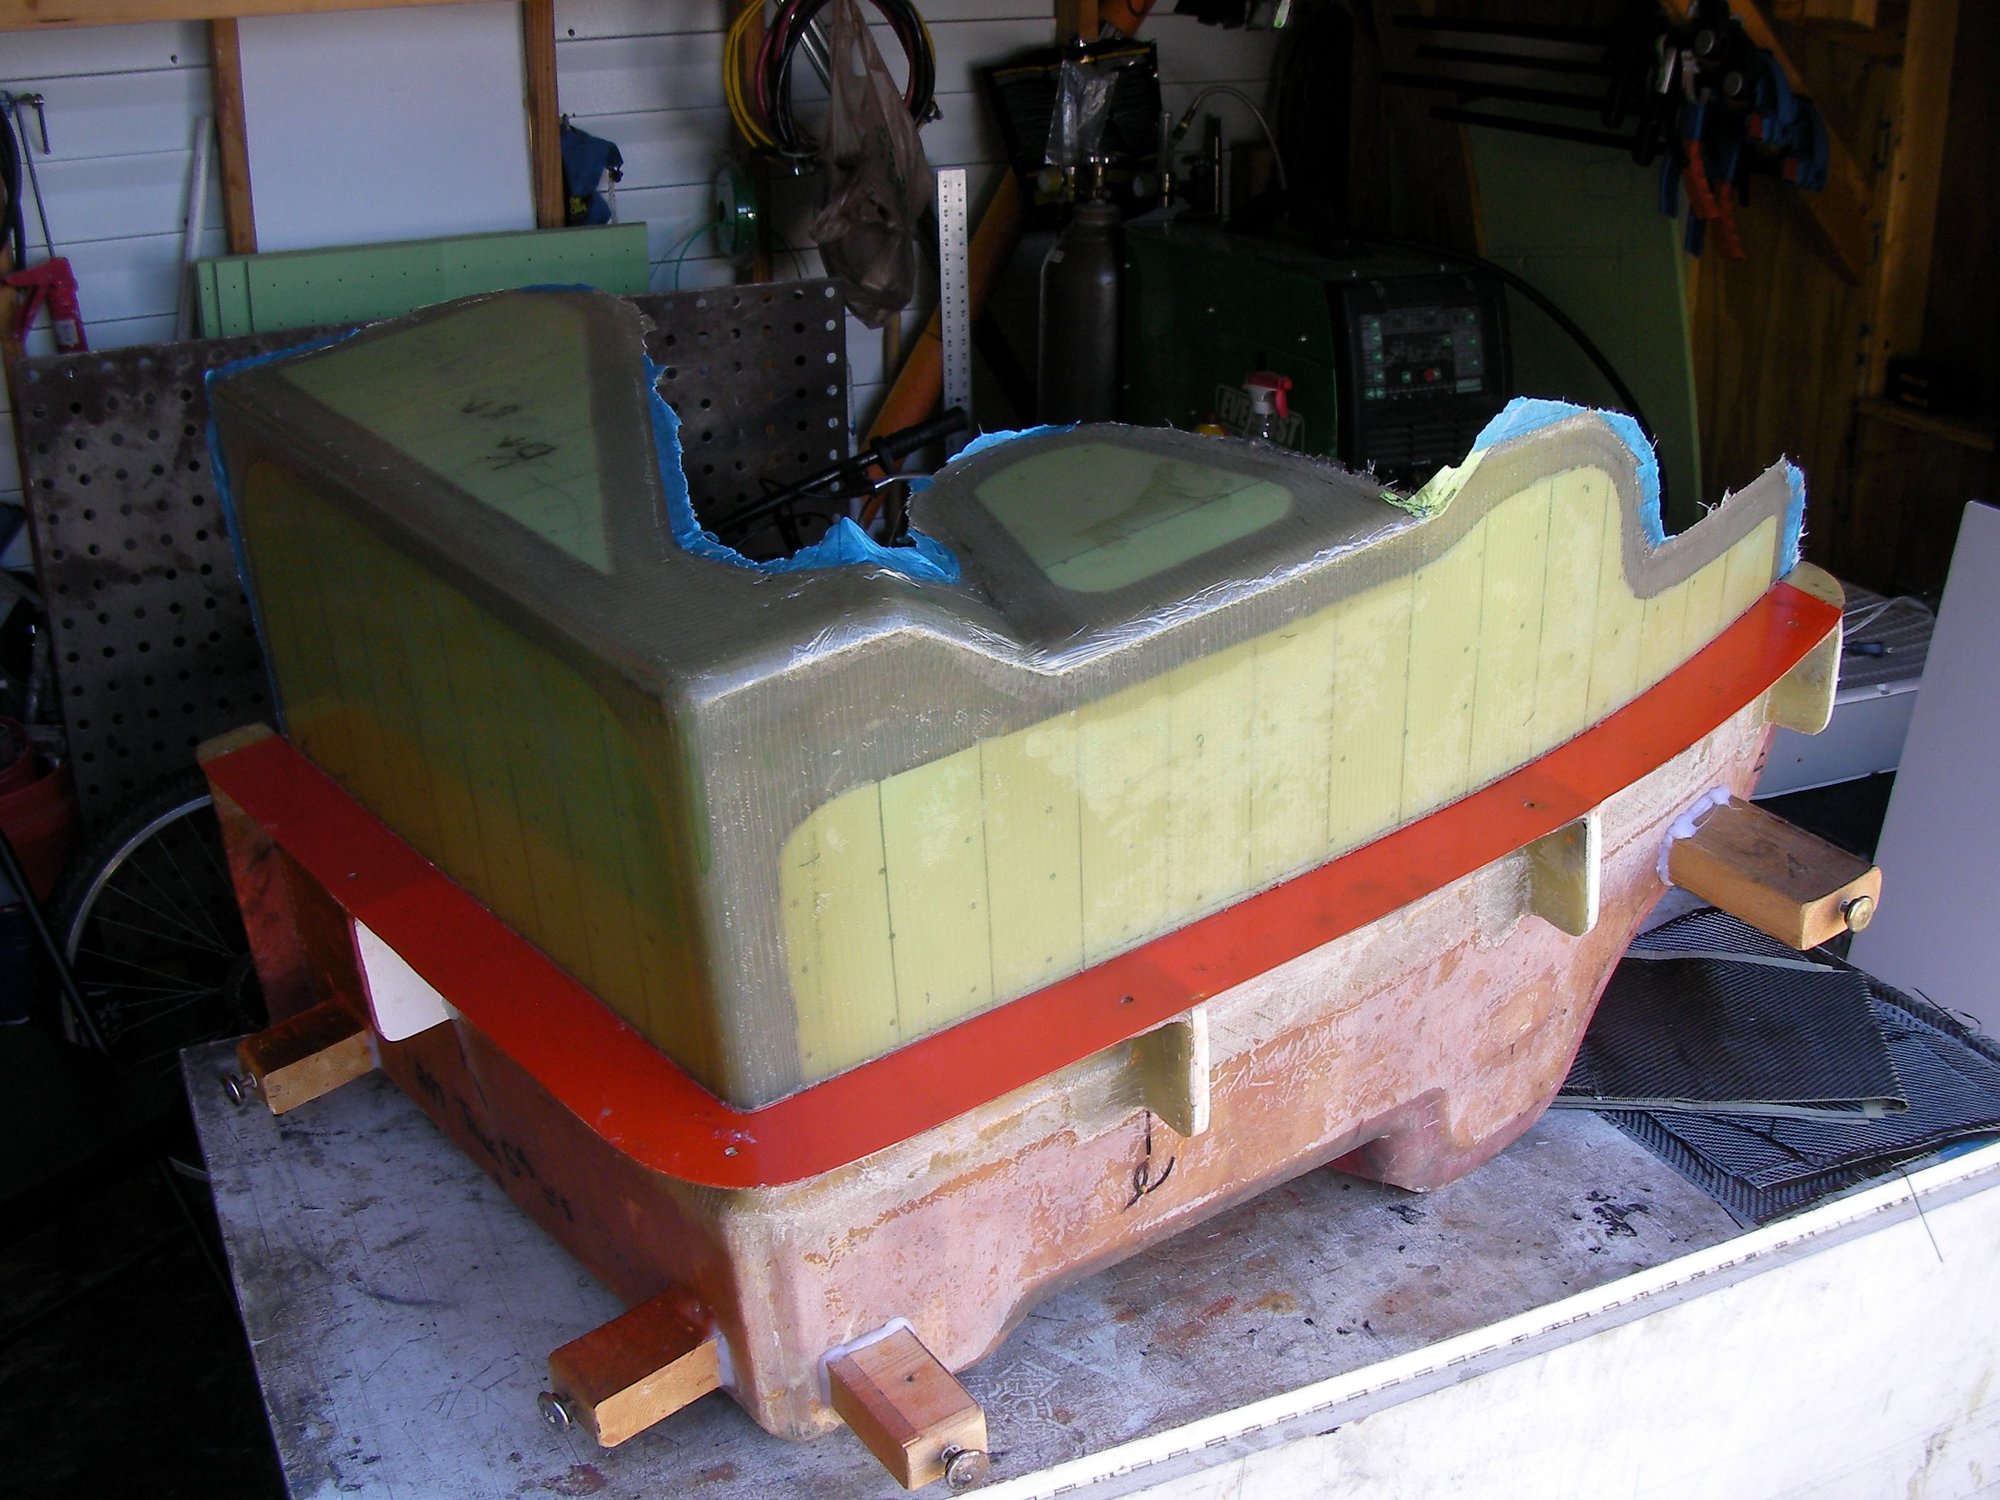
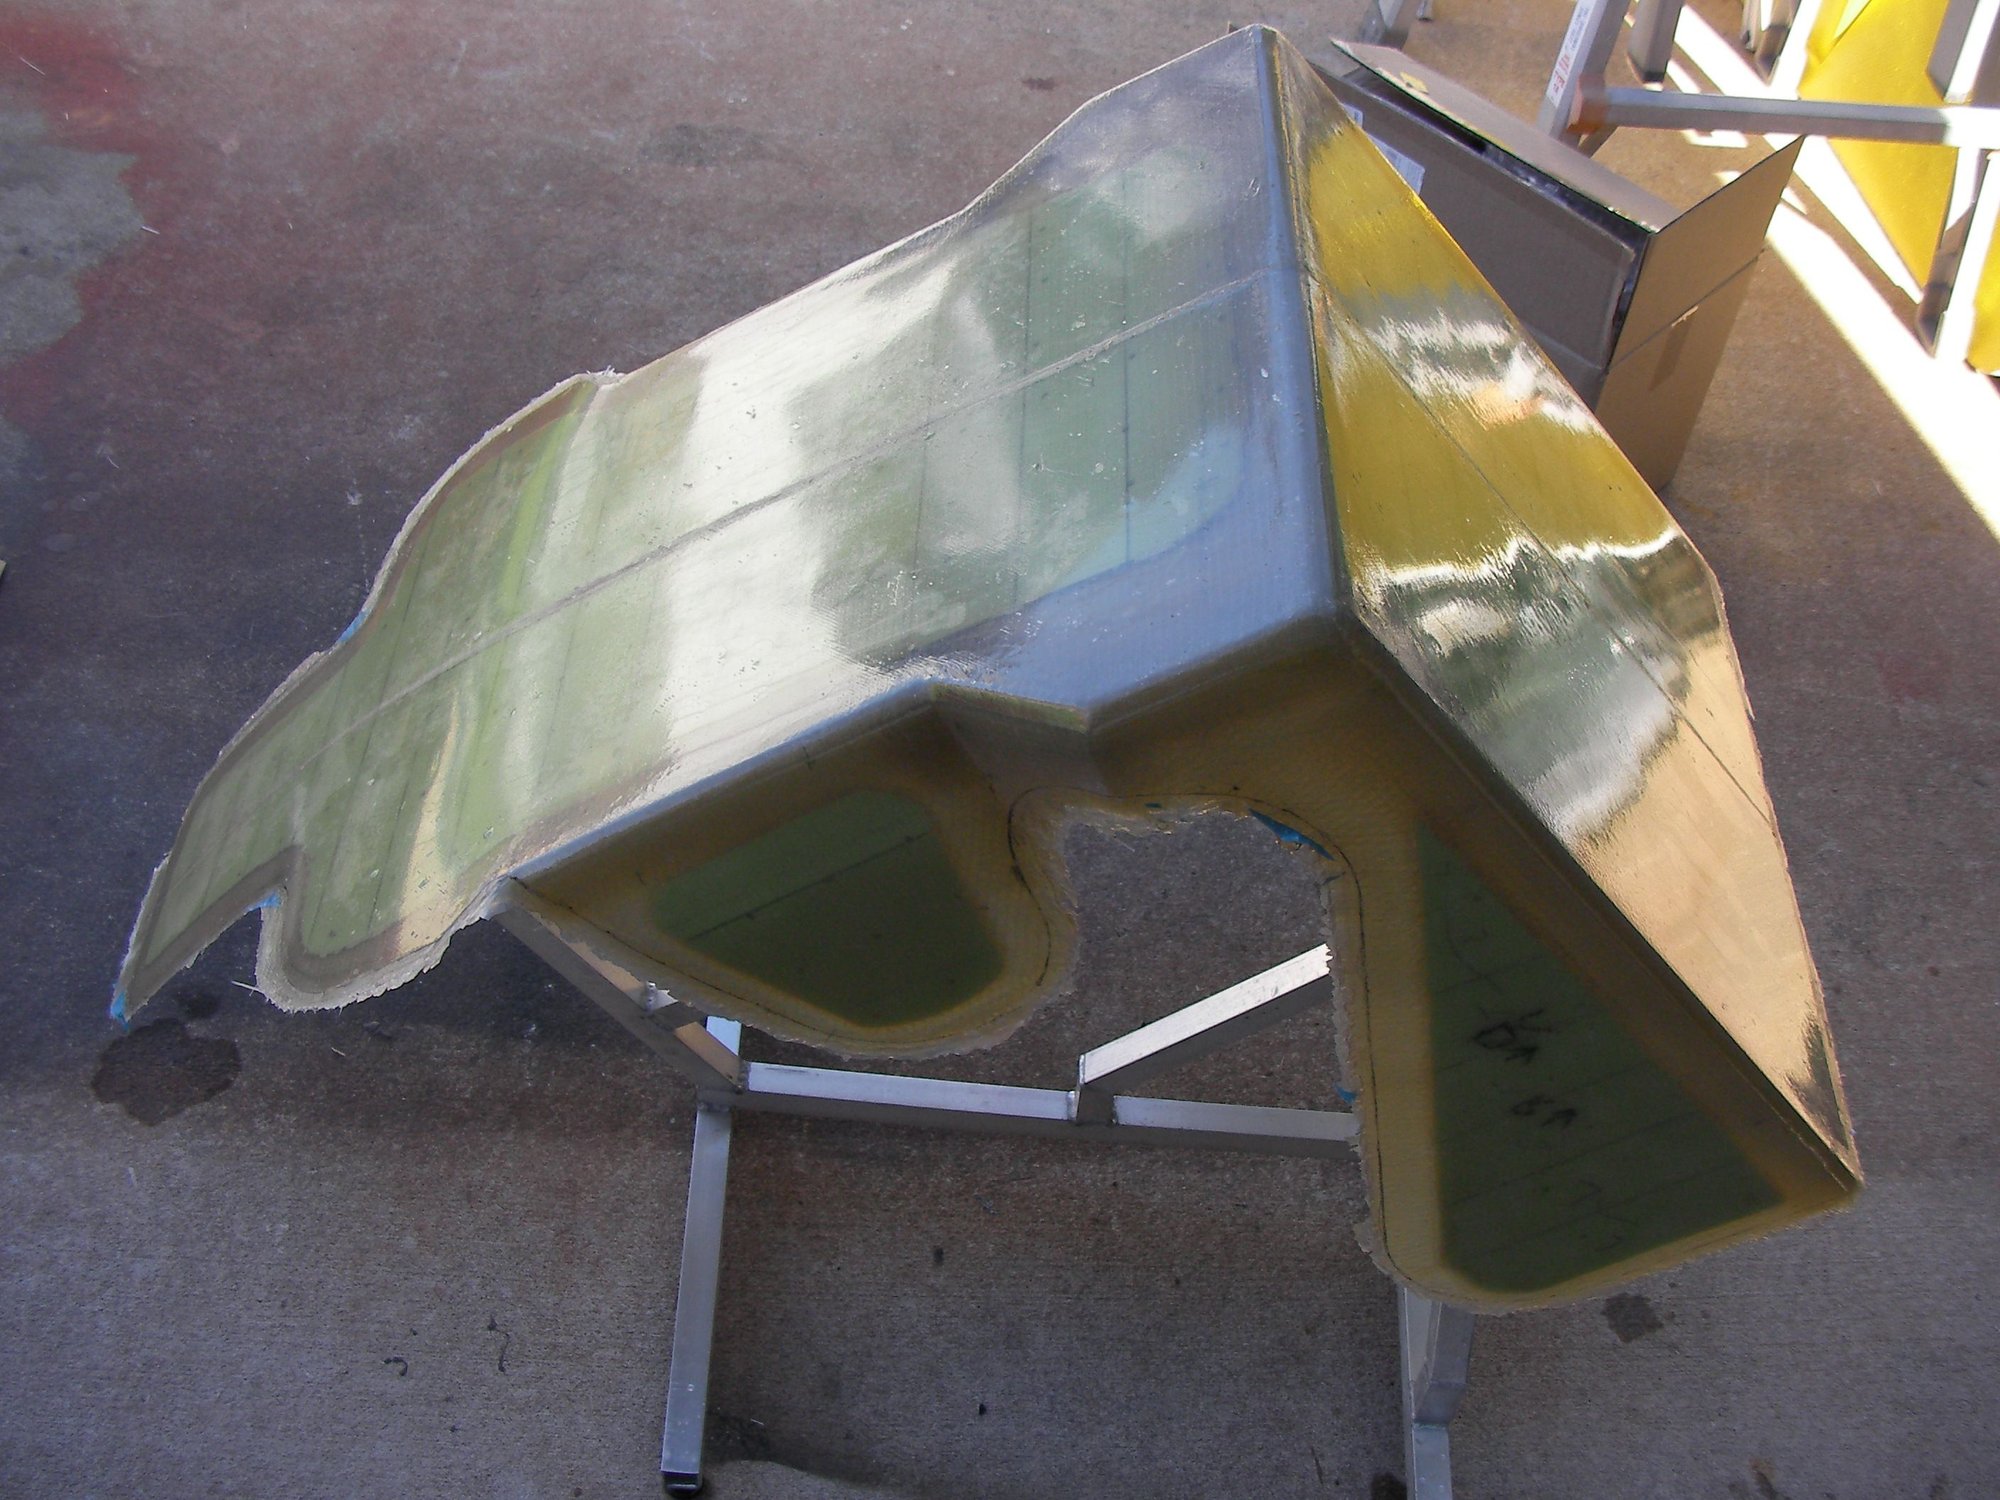
But it turned into a big giant bronze statue that went from plug to mold back to plug, to mold again, then it became a split cavity mold with a final mod. Here's round 1 ding ding

Last edited by outonsafari; 10-24-2022 at 08:50 PM.
 10-24-2022 | 08:49 PM
#2
Thread Starter
Registered
Joined: May 2009
Posts: 1,942
Likes: 527
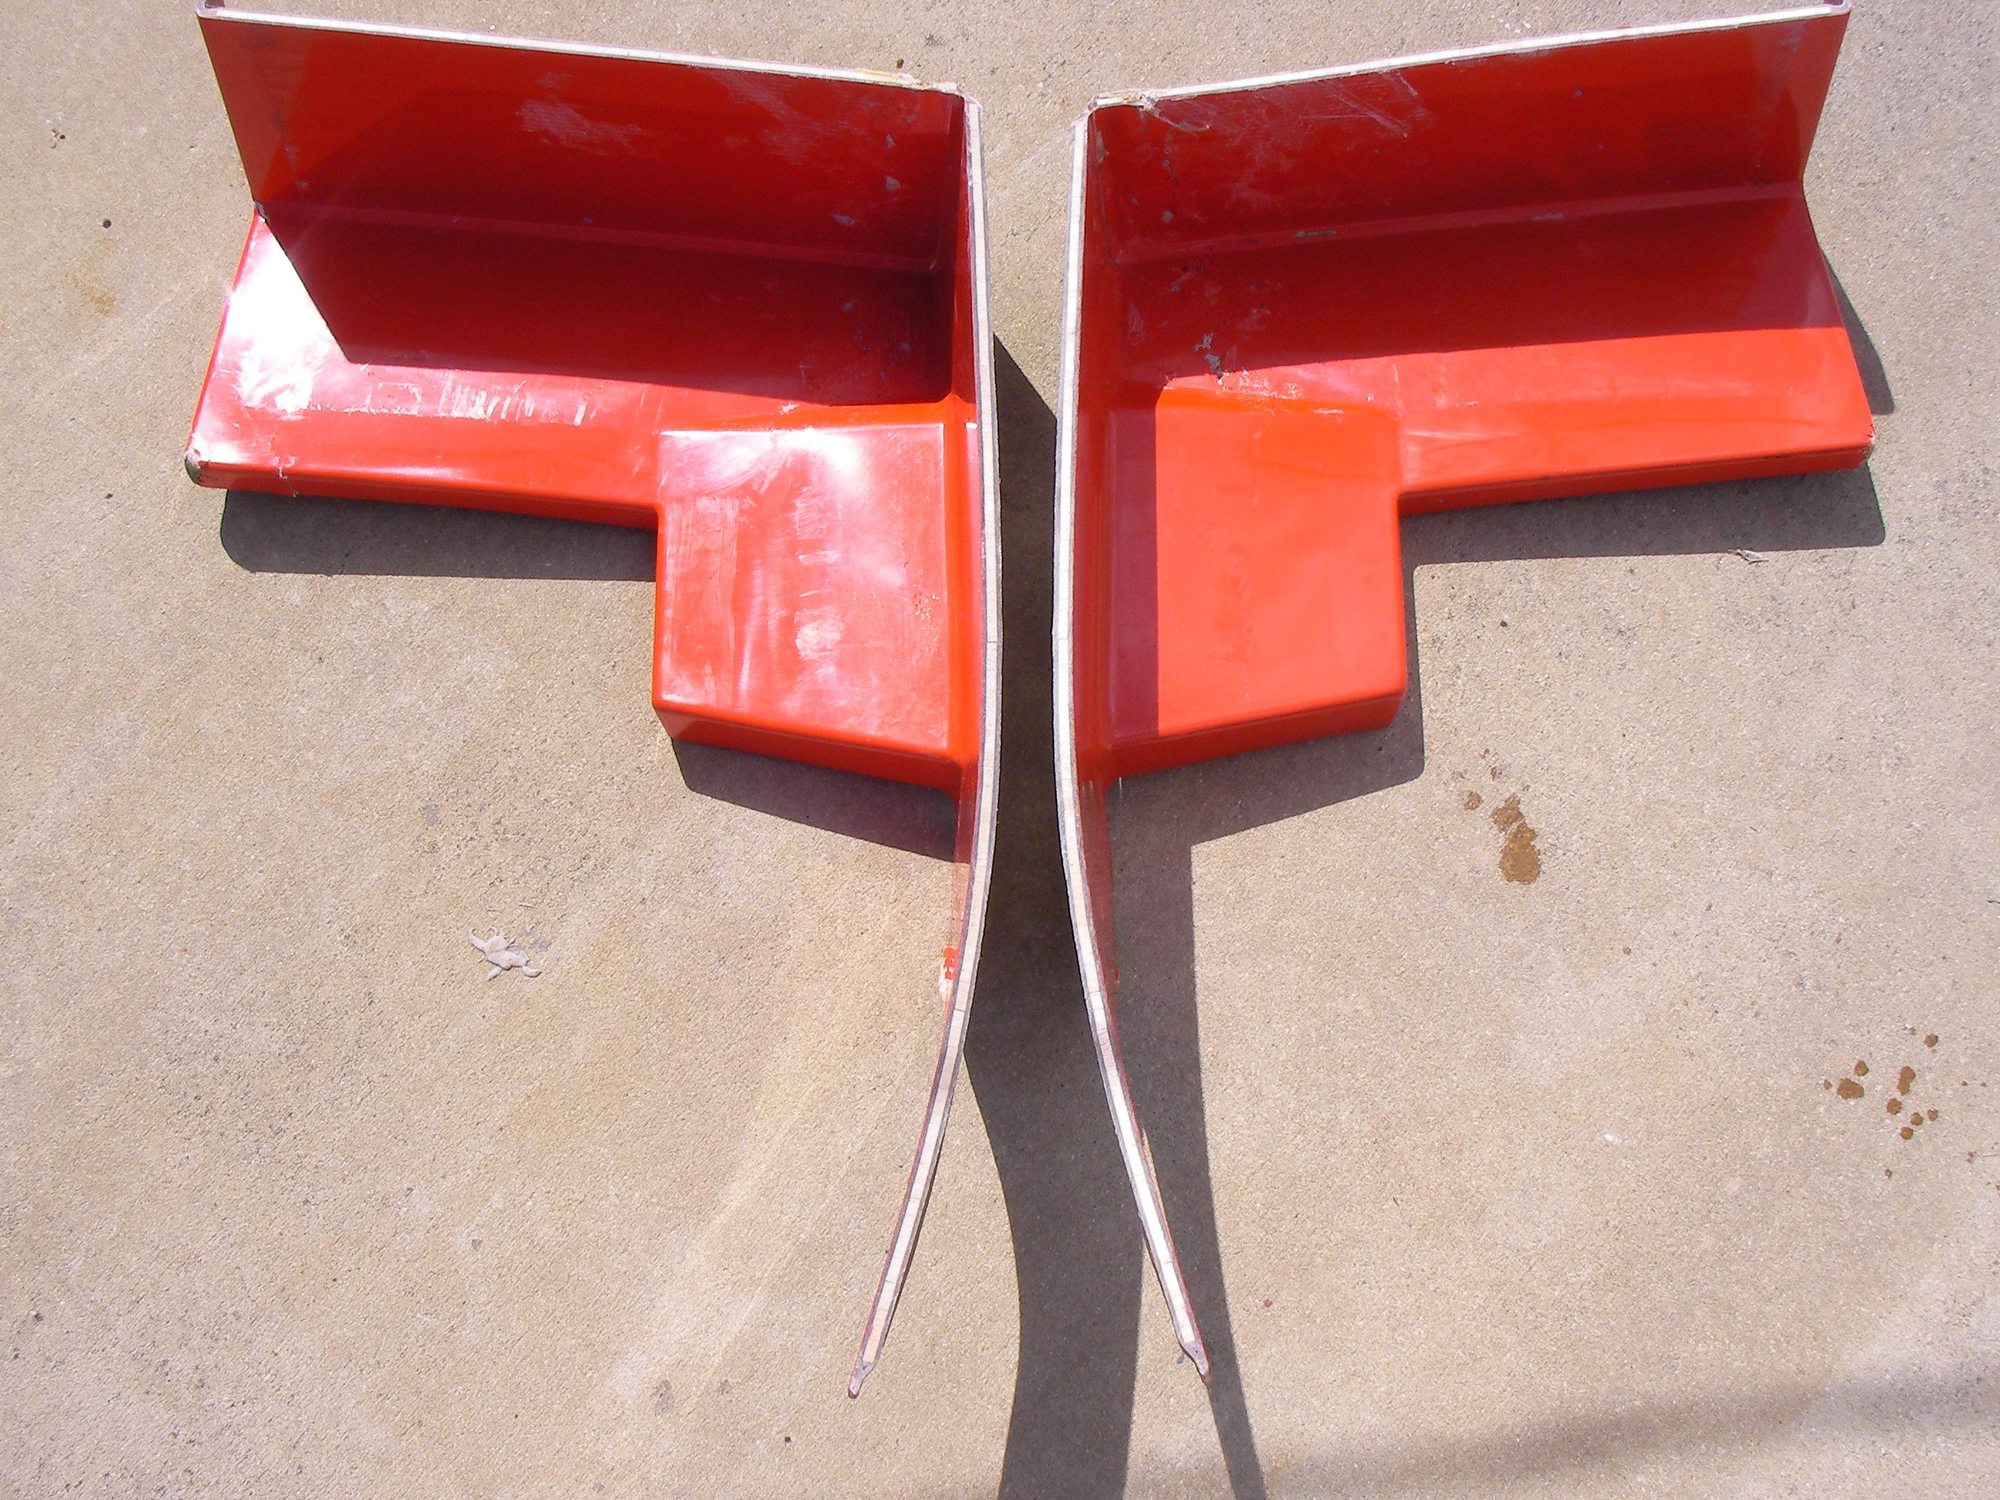
The mold didn't pop so the plug had to be busted out. I used the damaged mold to to pull a plug and then lay up mold number 2,
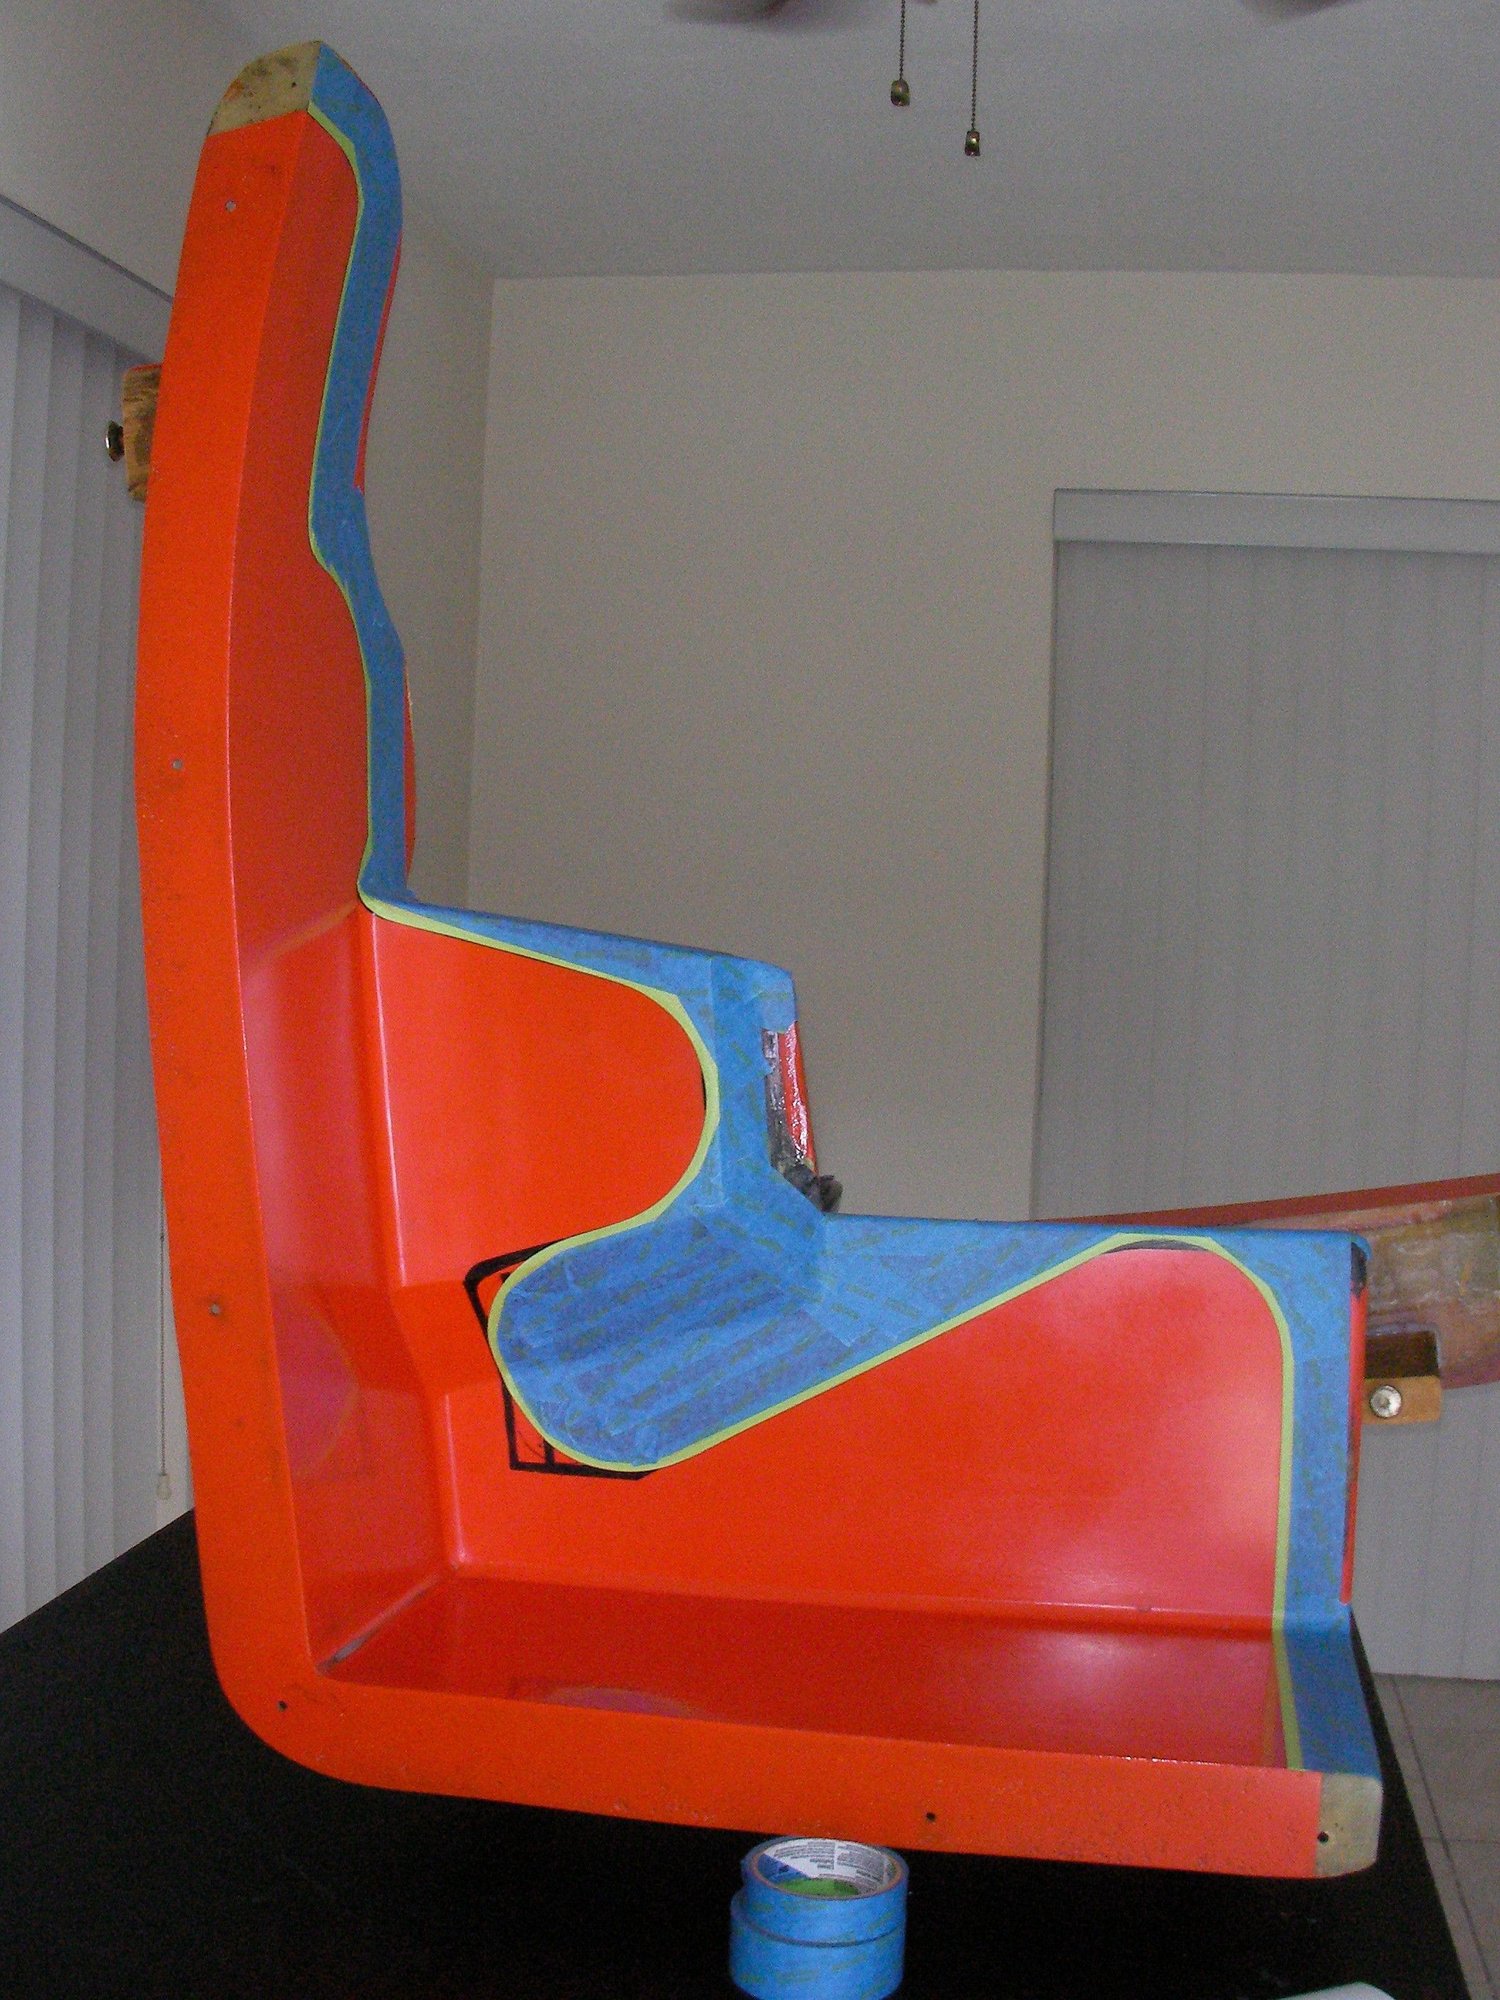
which popped loose no problem as seen in the last pic the 90 degree flange around the torso/thigh is key and comes into play on the first seat.
10-24-2022 | 08:58 PM
#3
Thread Starter
Registered
Joined: May 2009
Posts: 1,942
Likes: 527

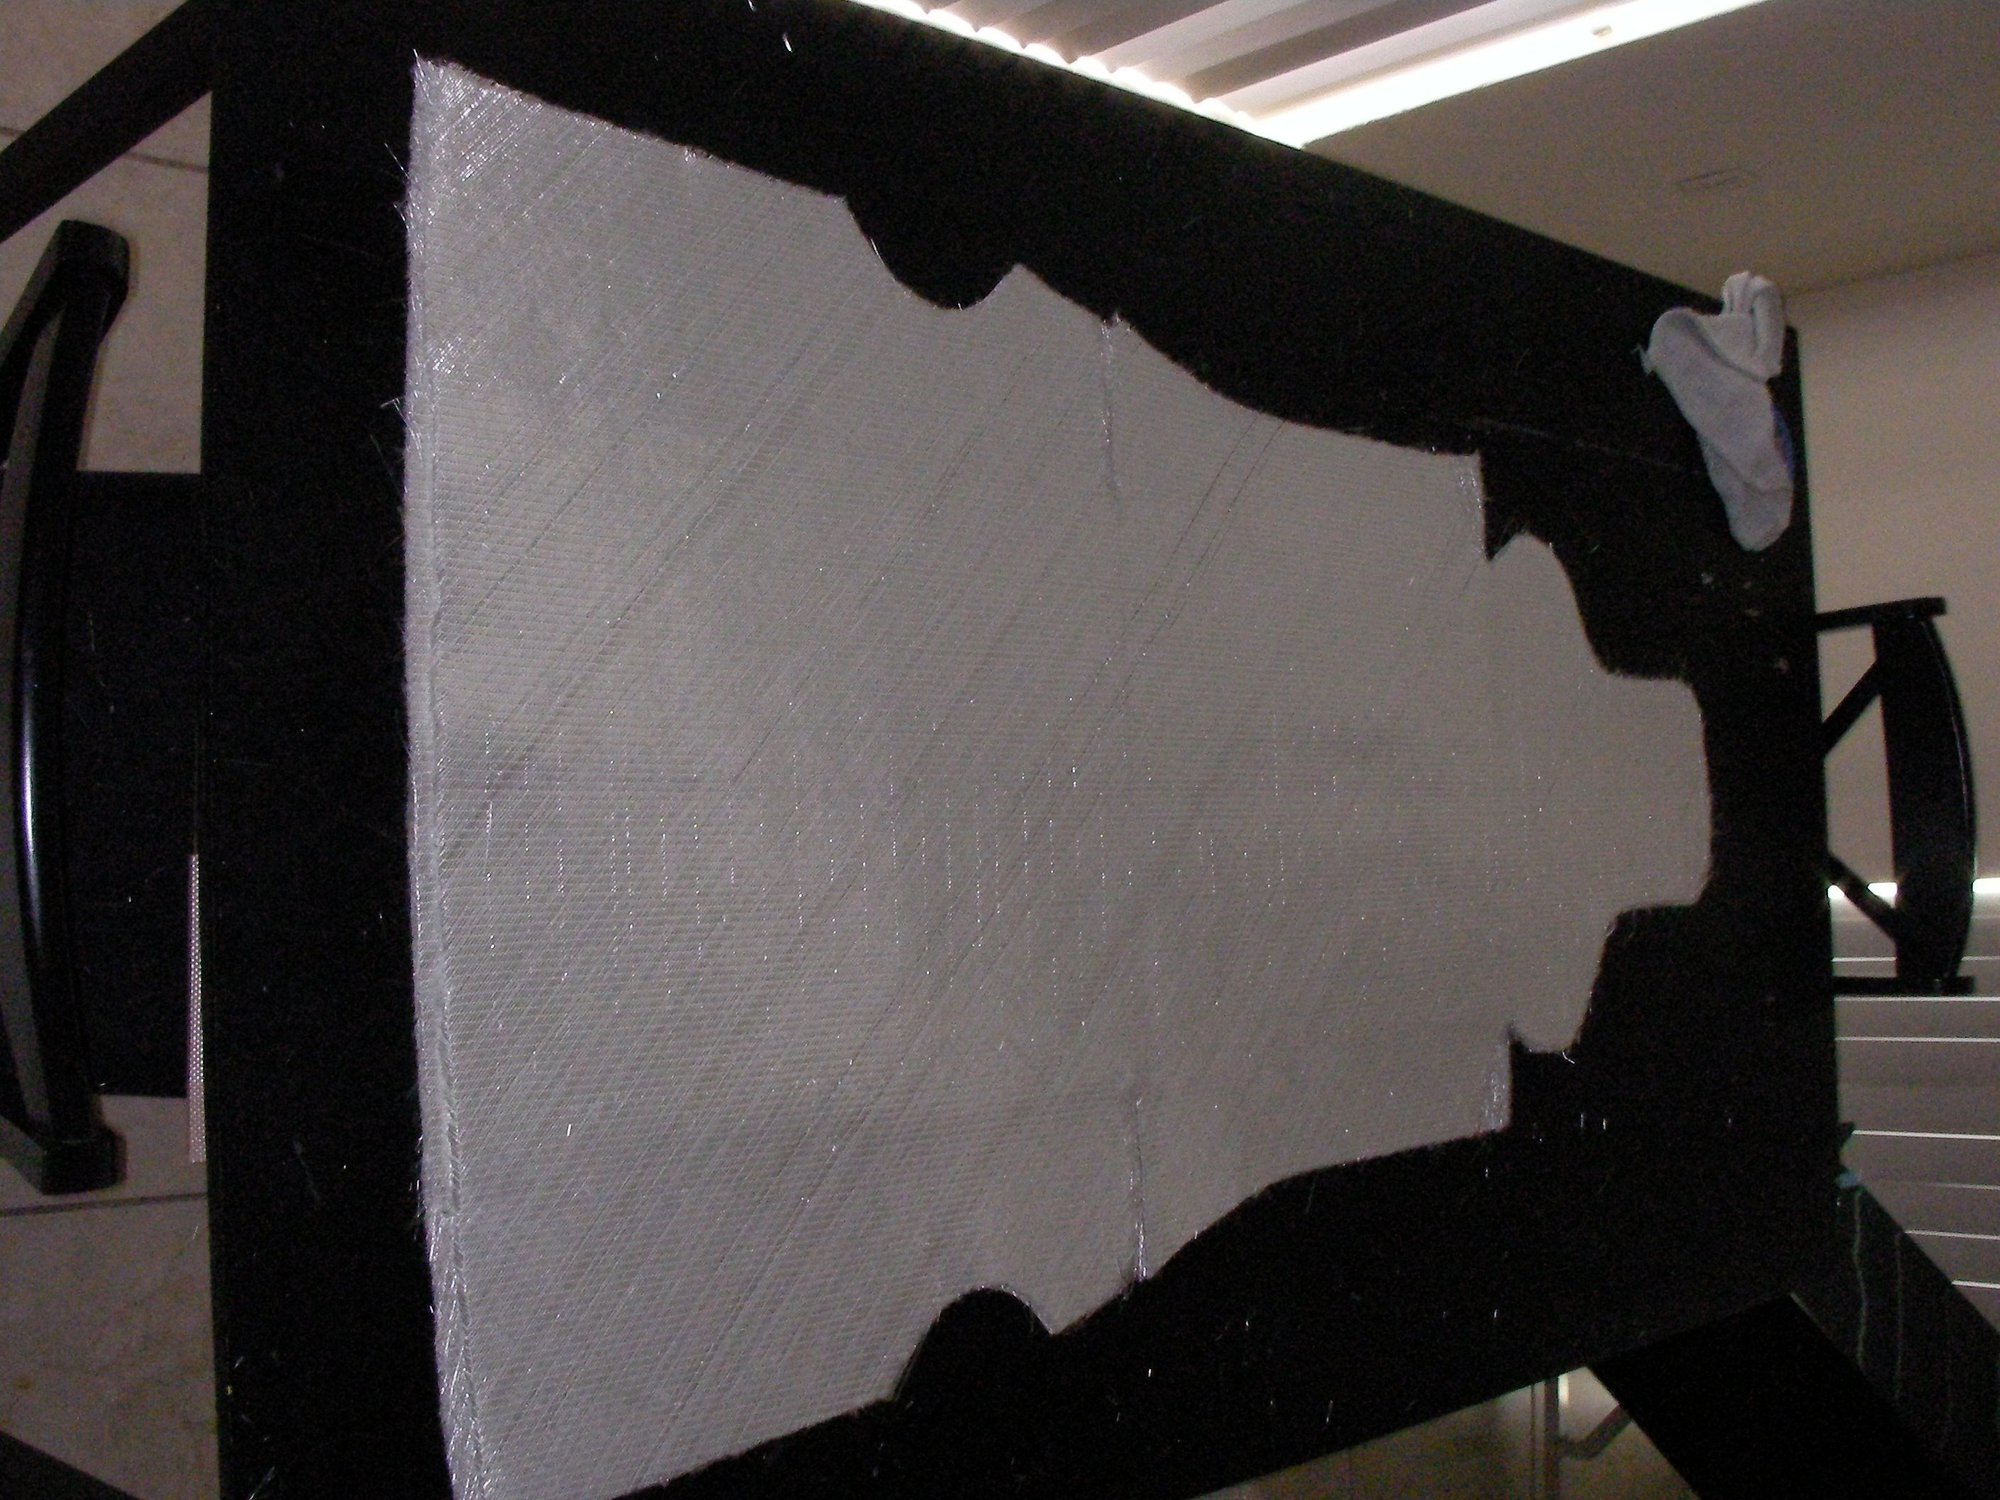

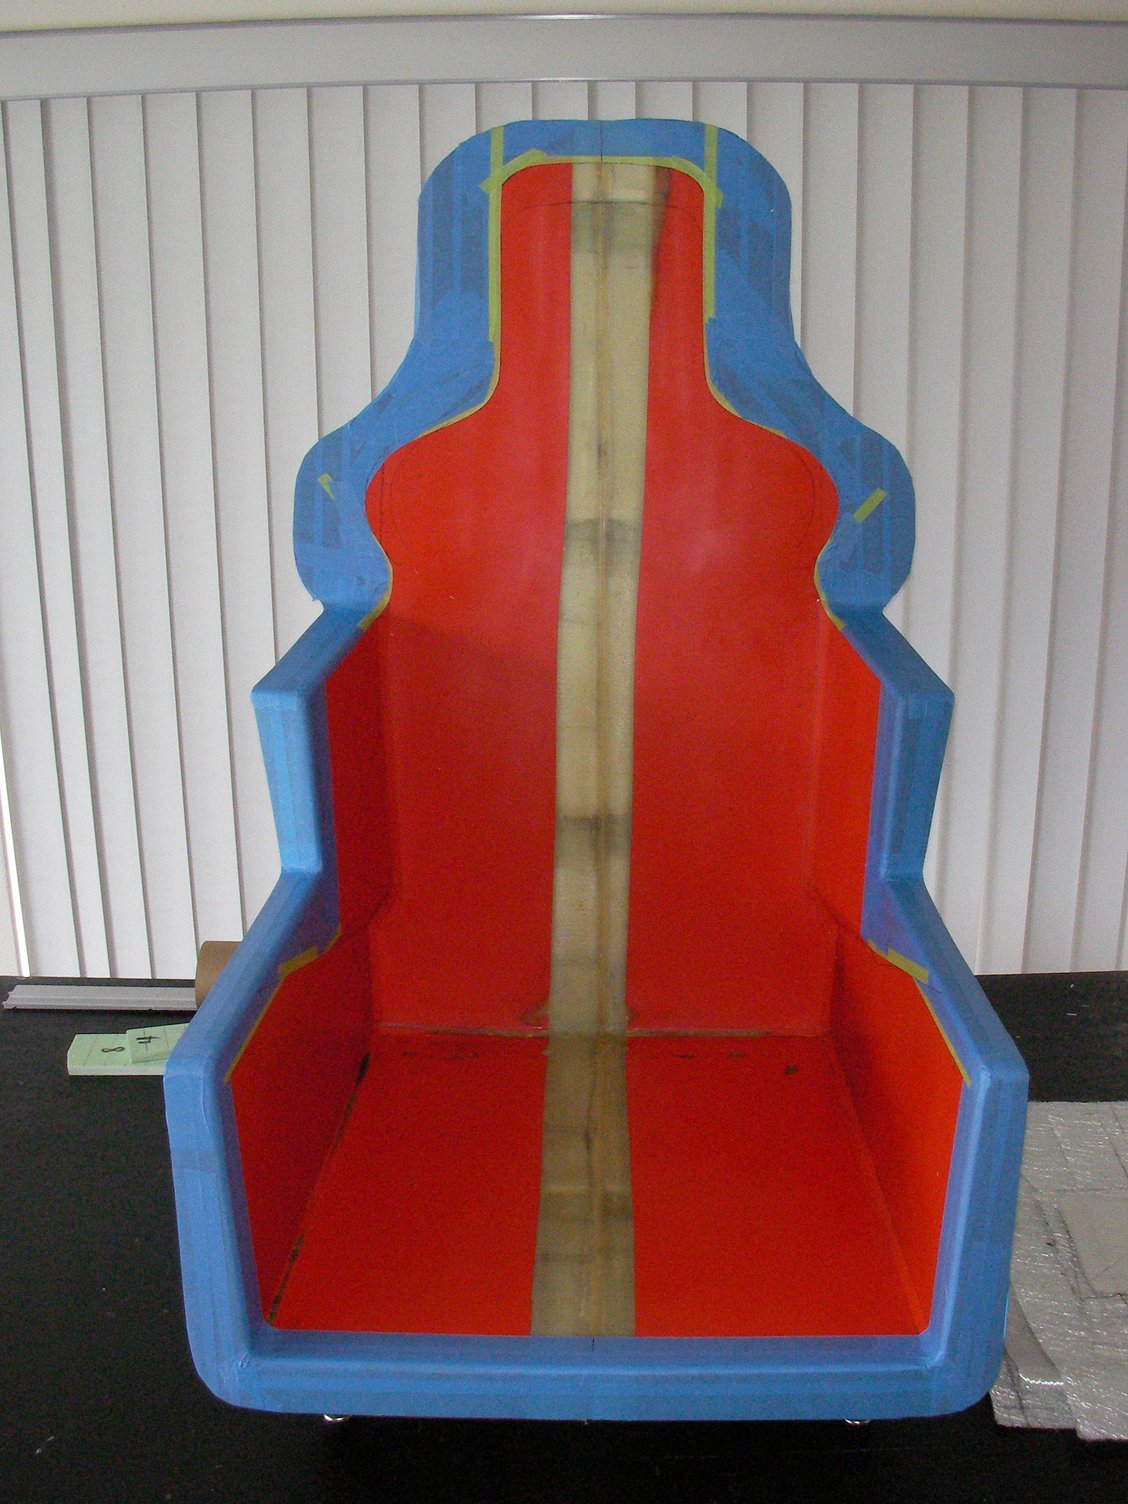
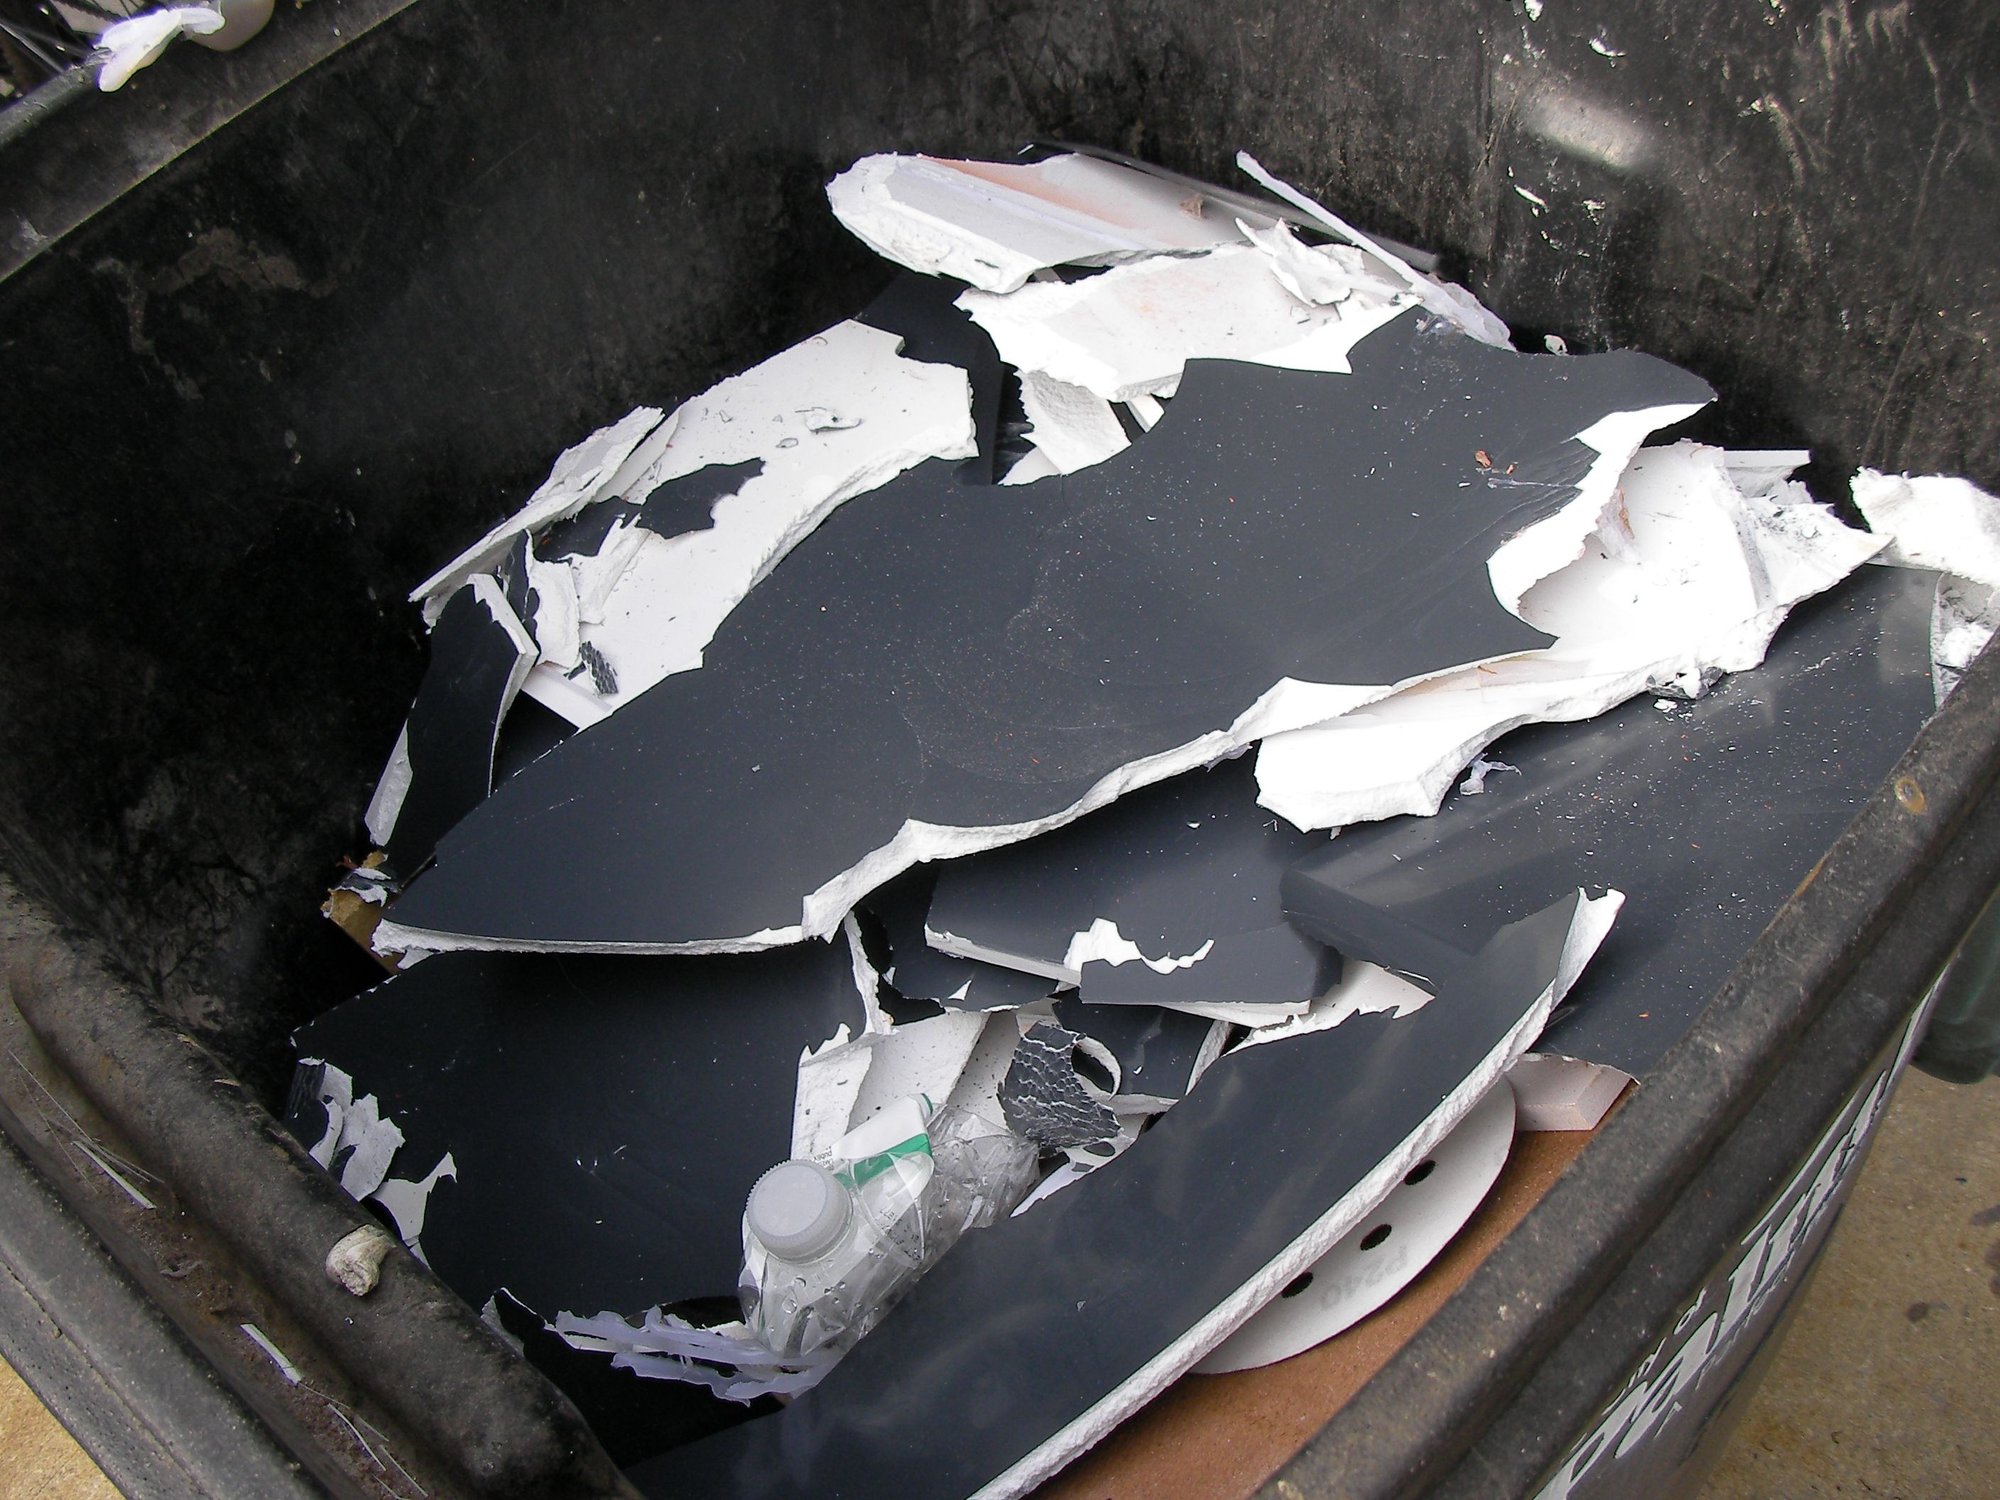
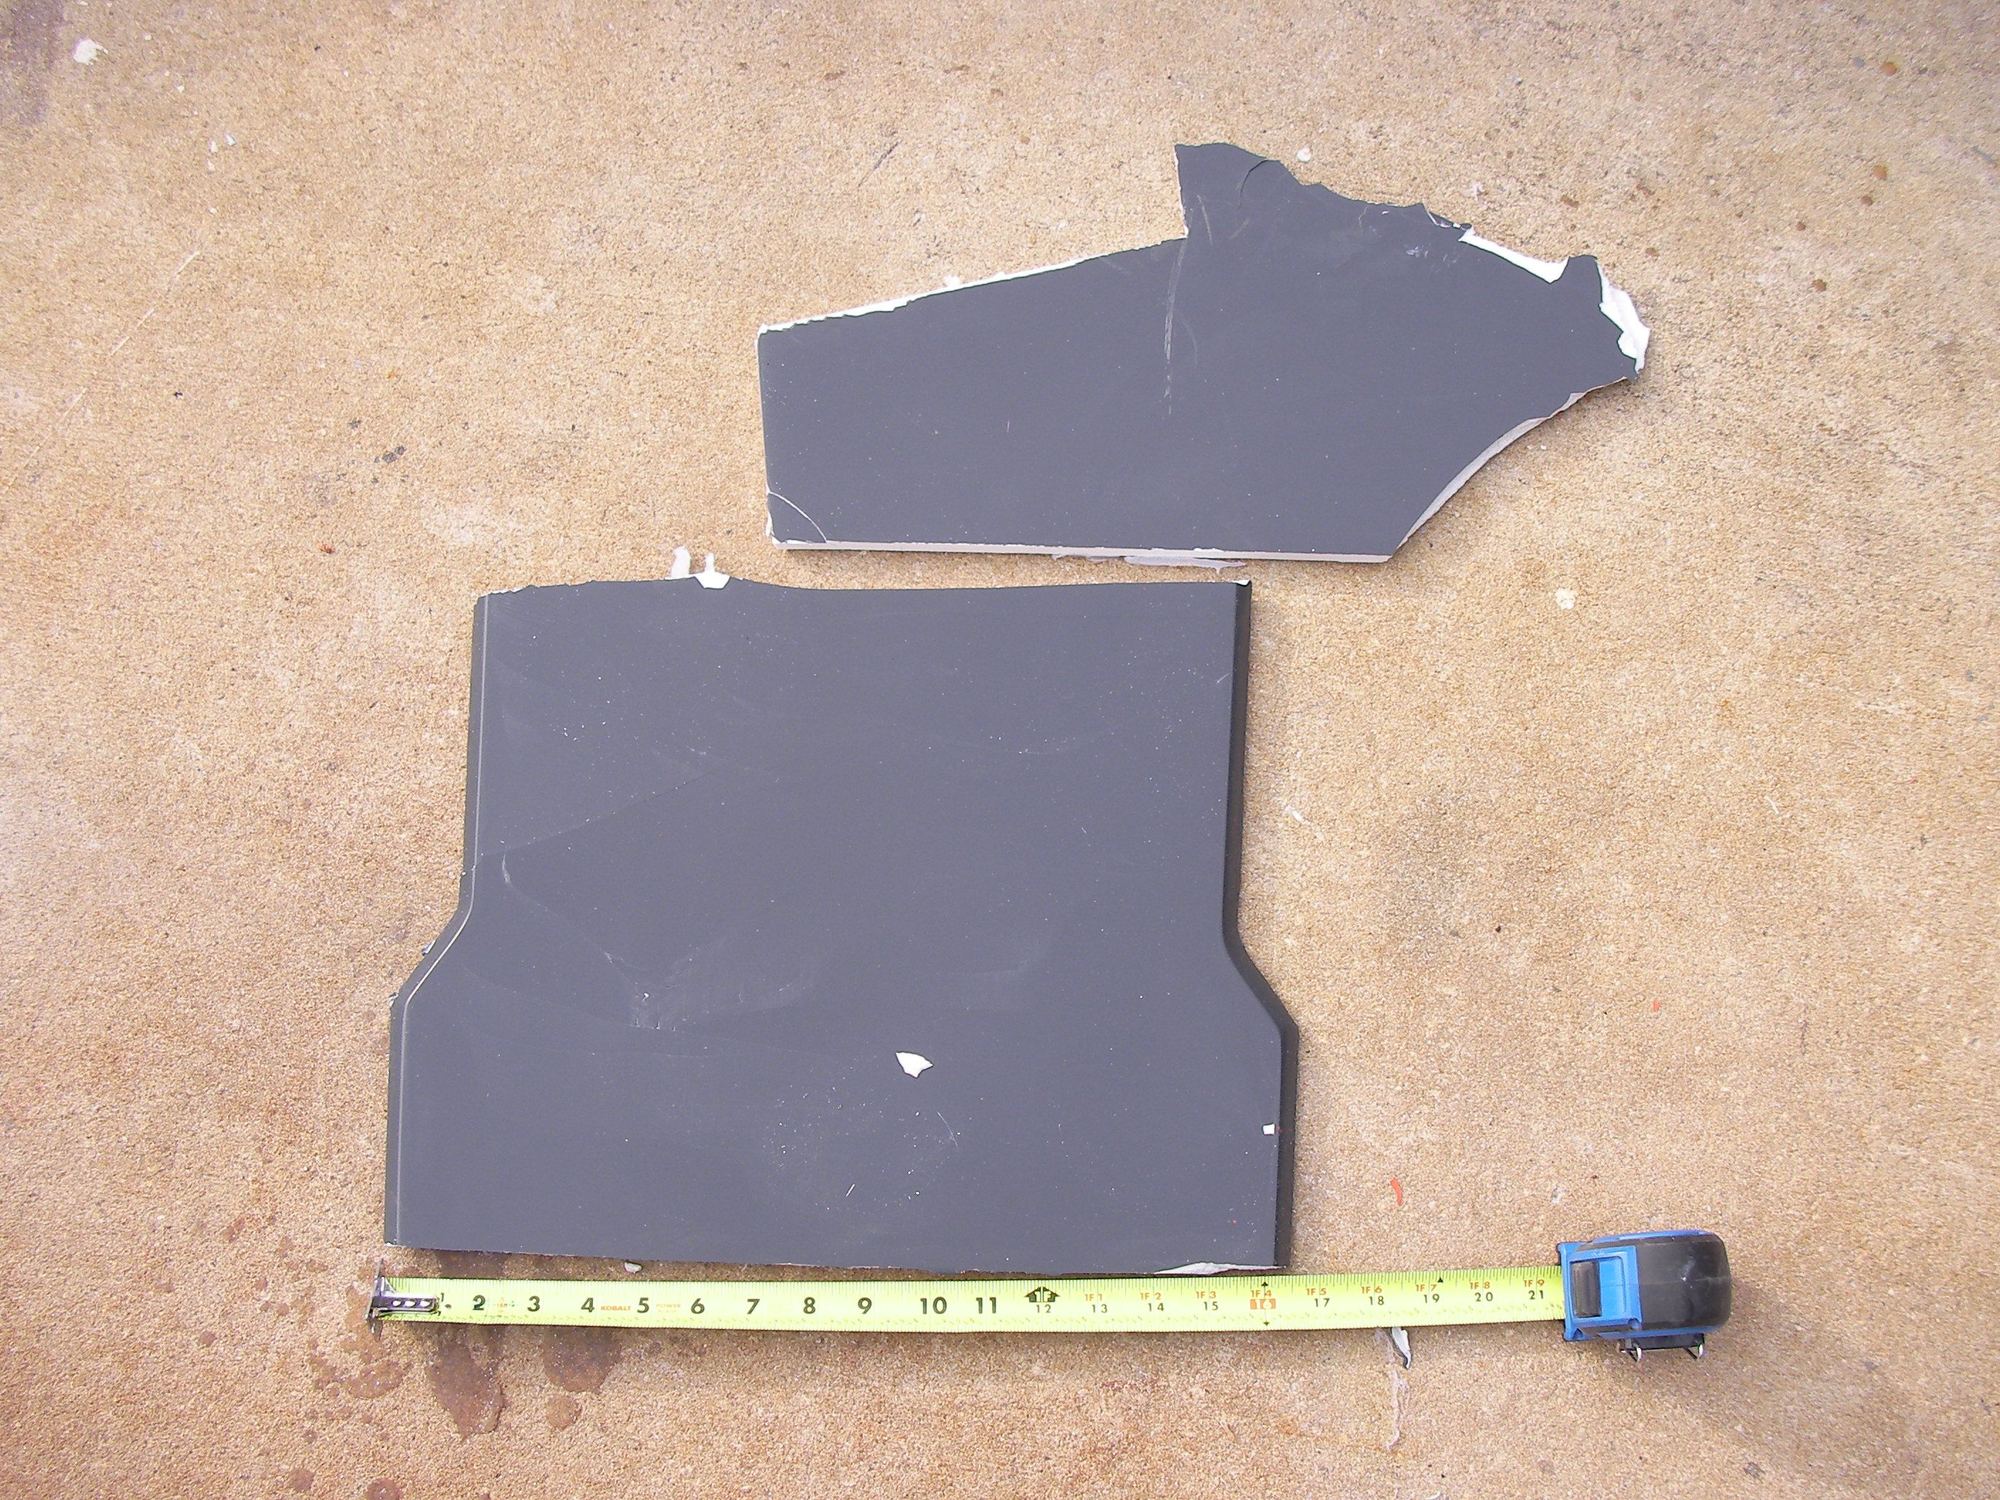
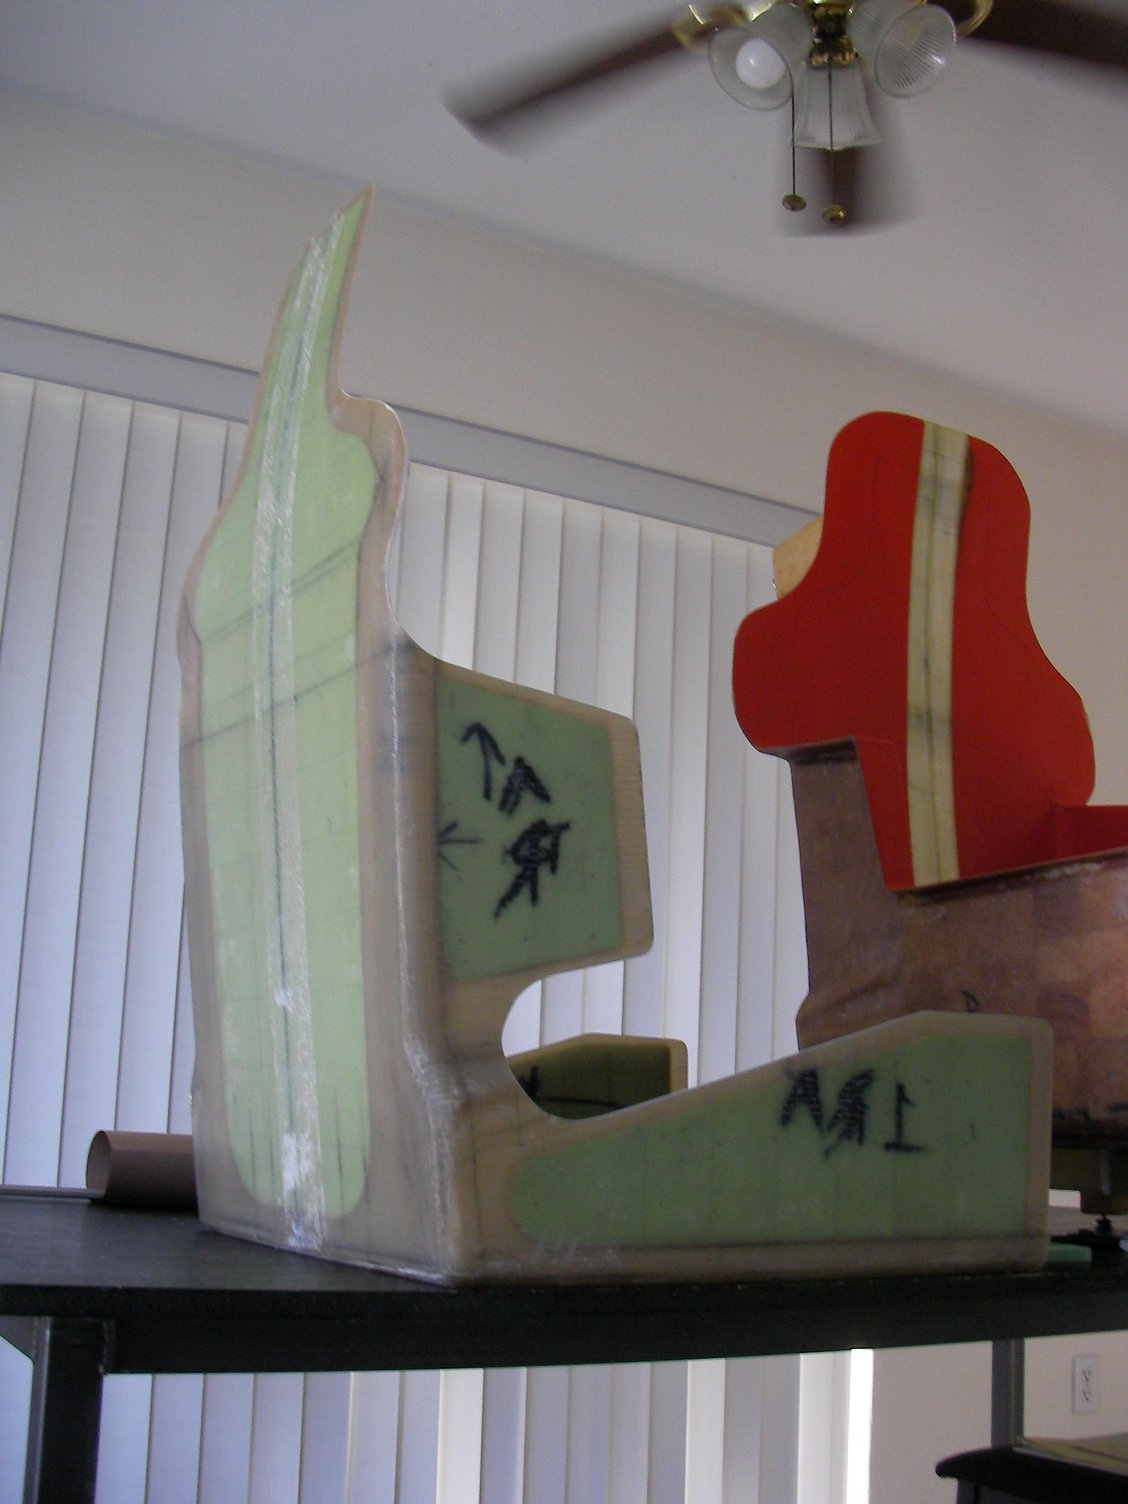
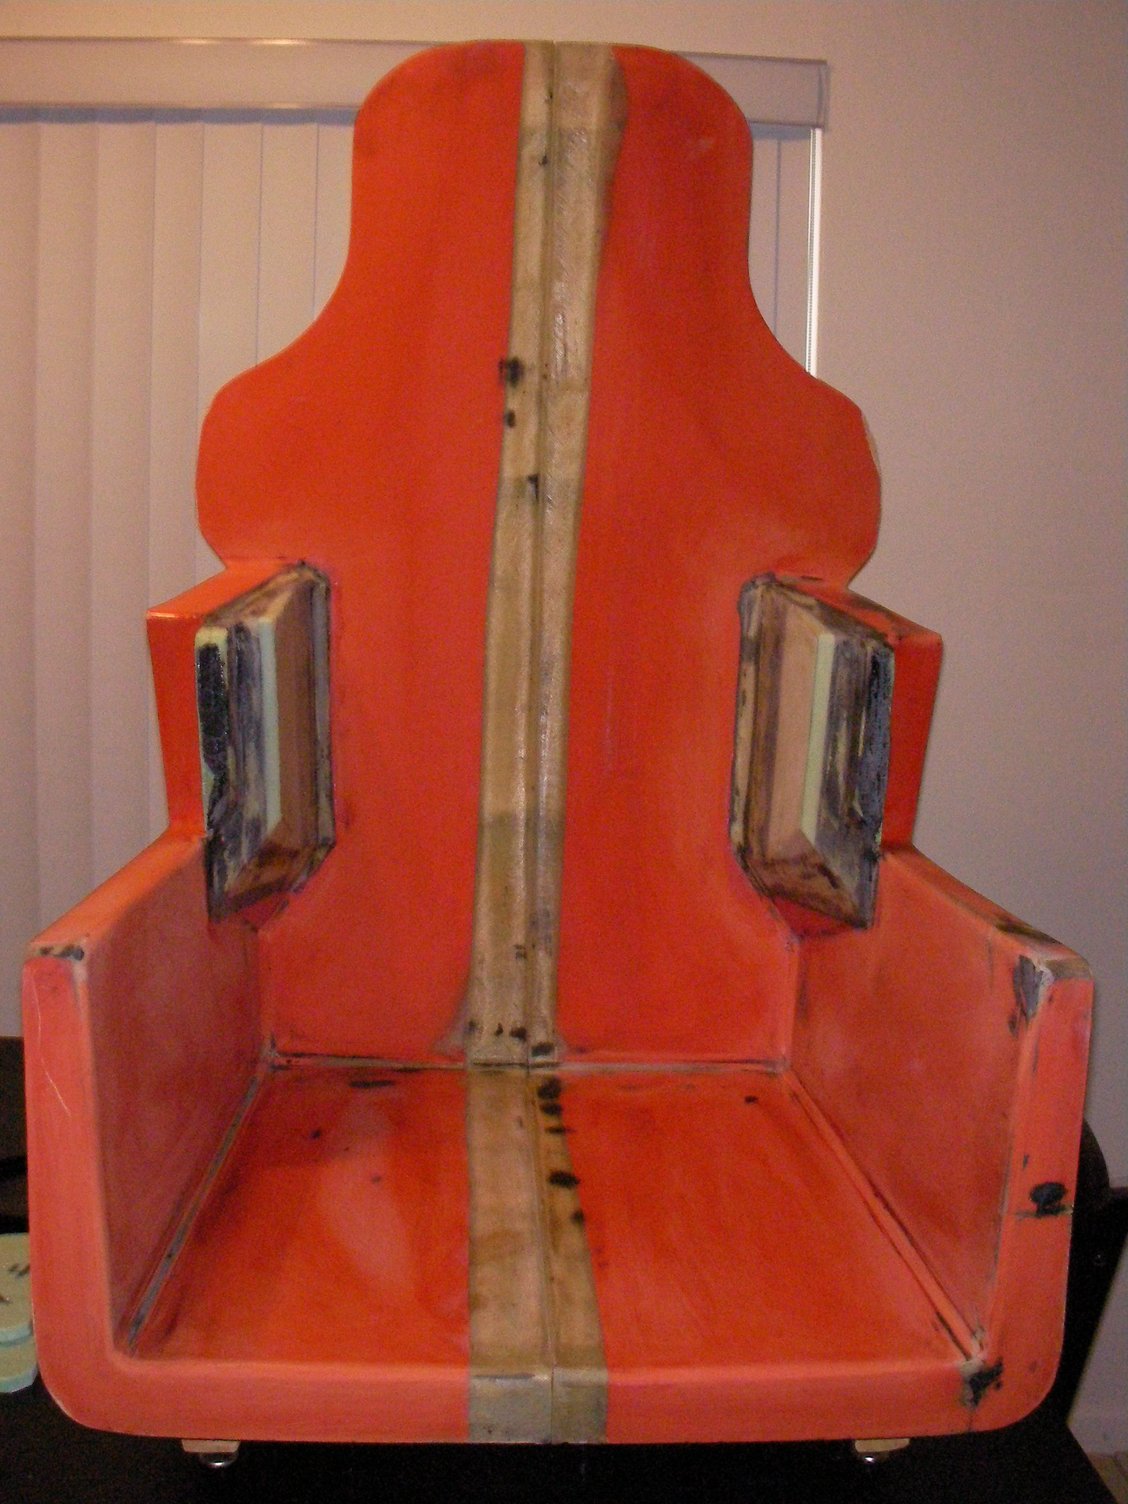
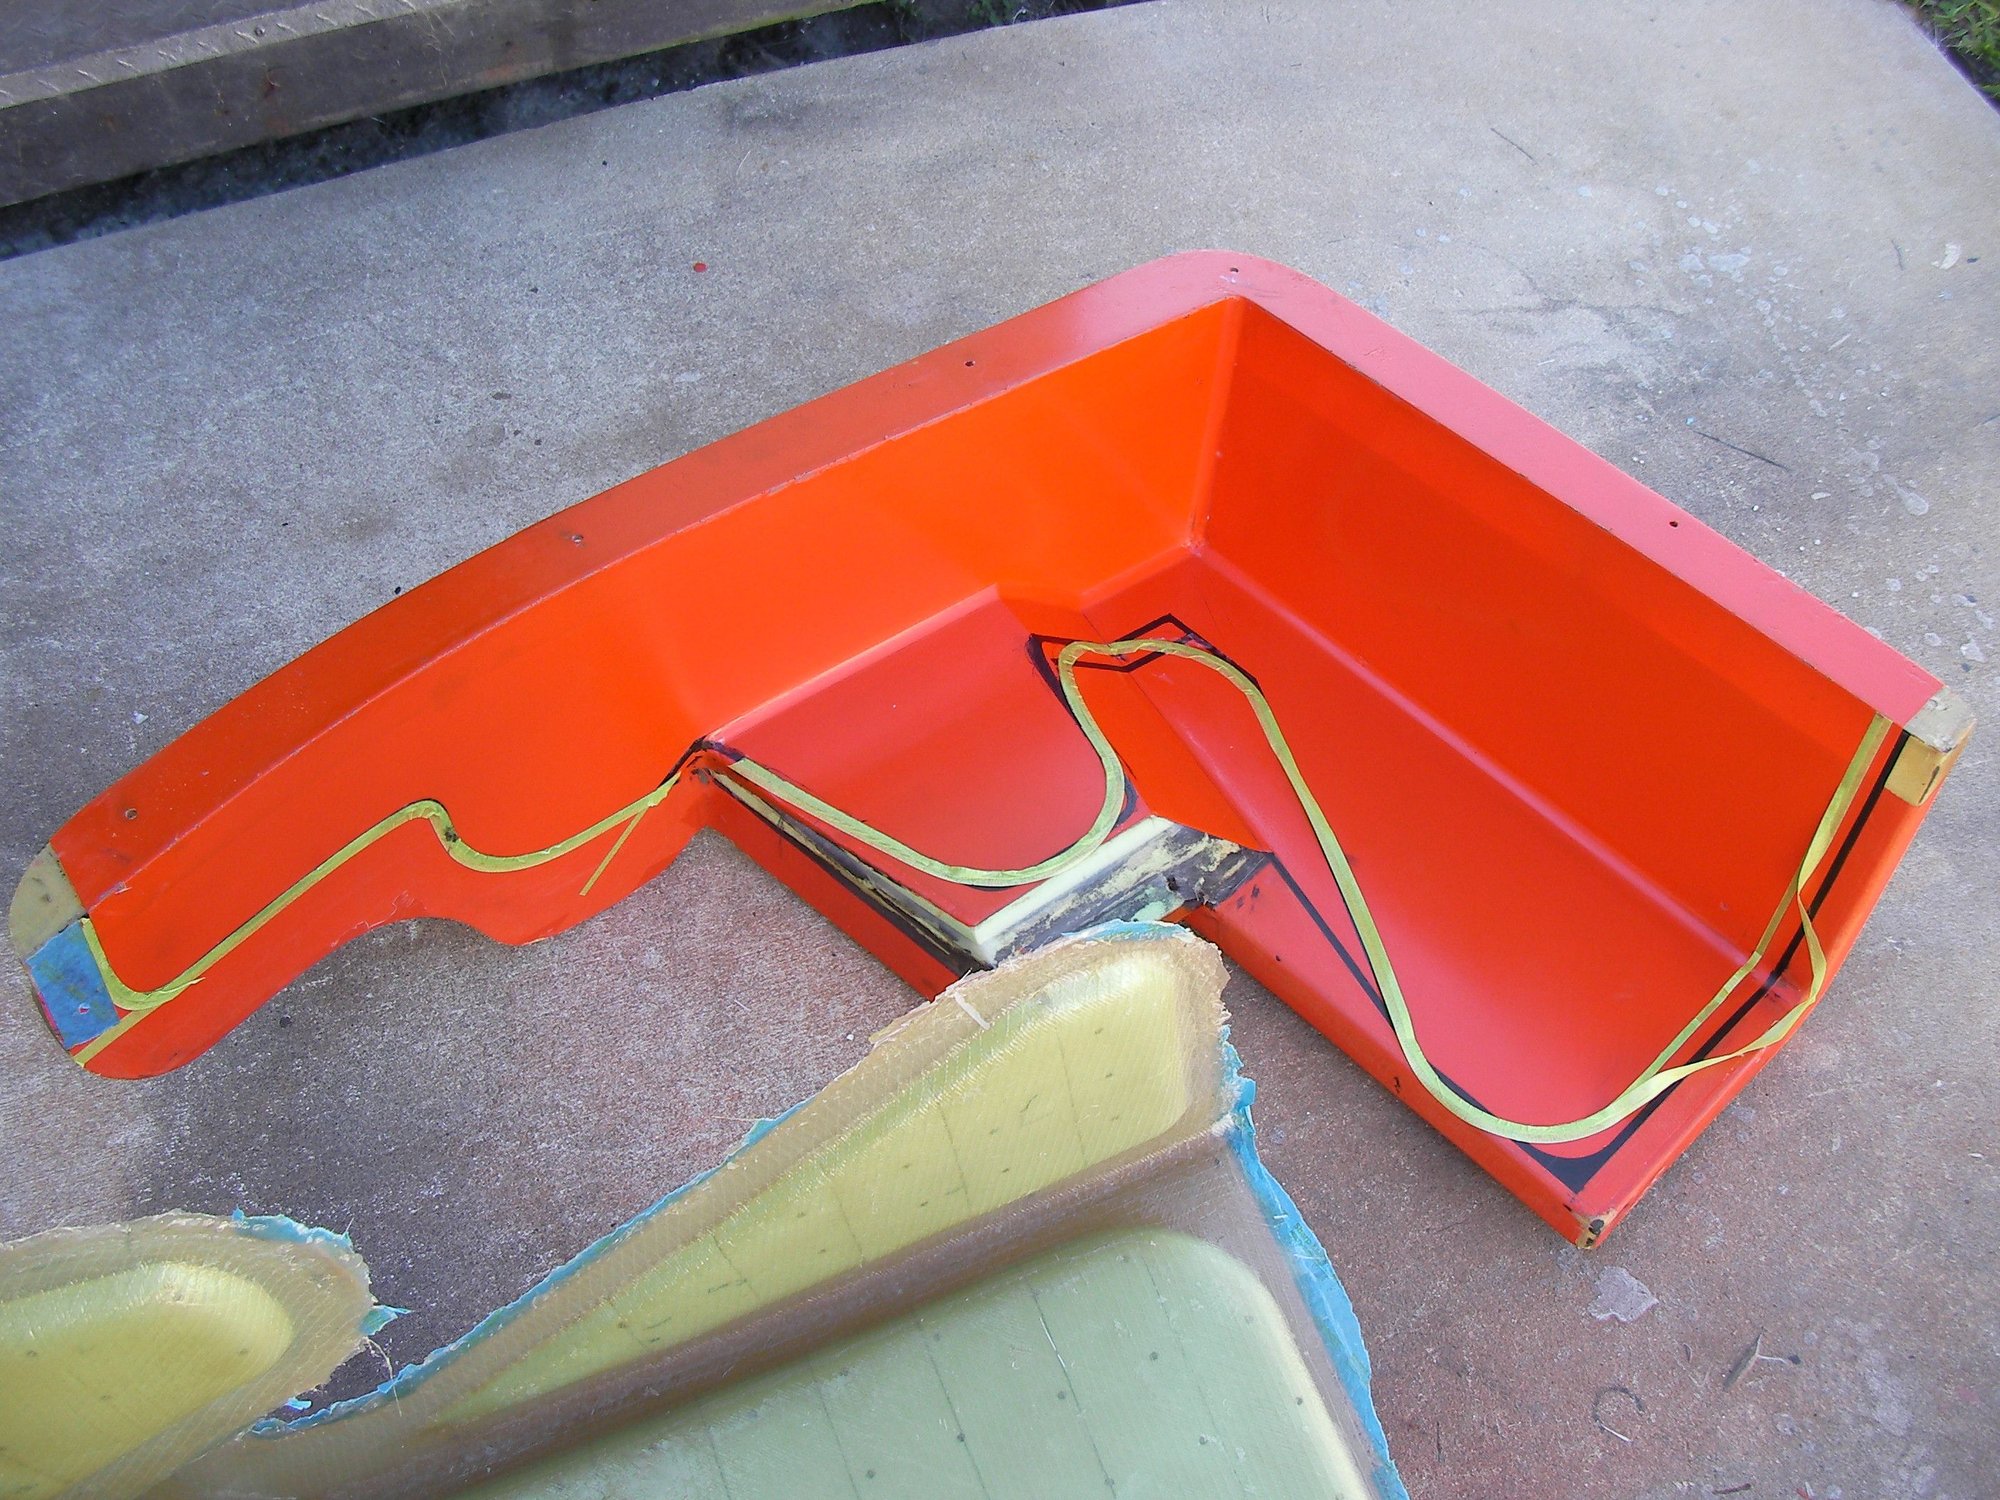
The first seat from mold 2 didn't pop out because there was no way to put forward pressure on it ( the lay up didn't go out to 90 flange at the thigh/torso.
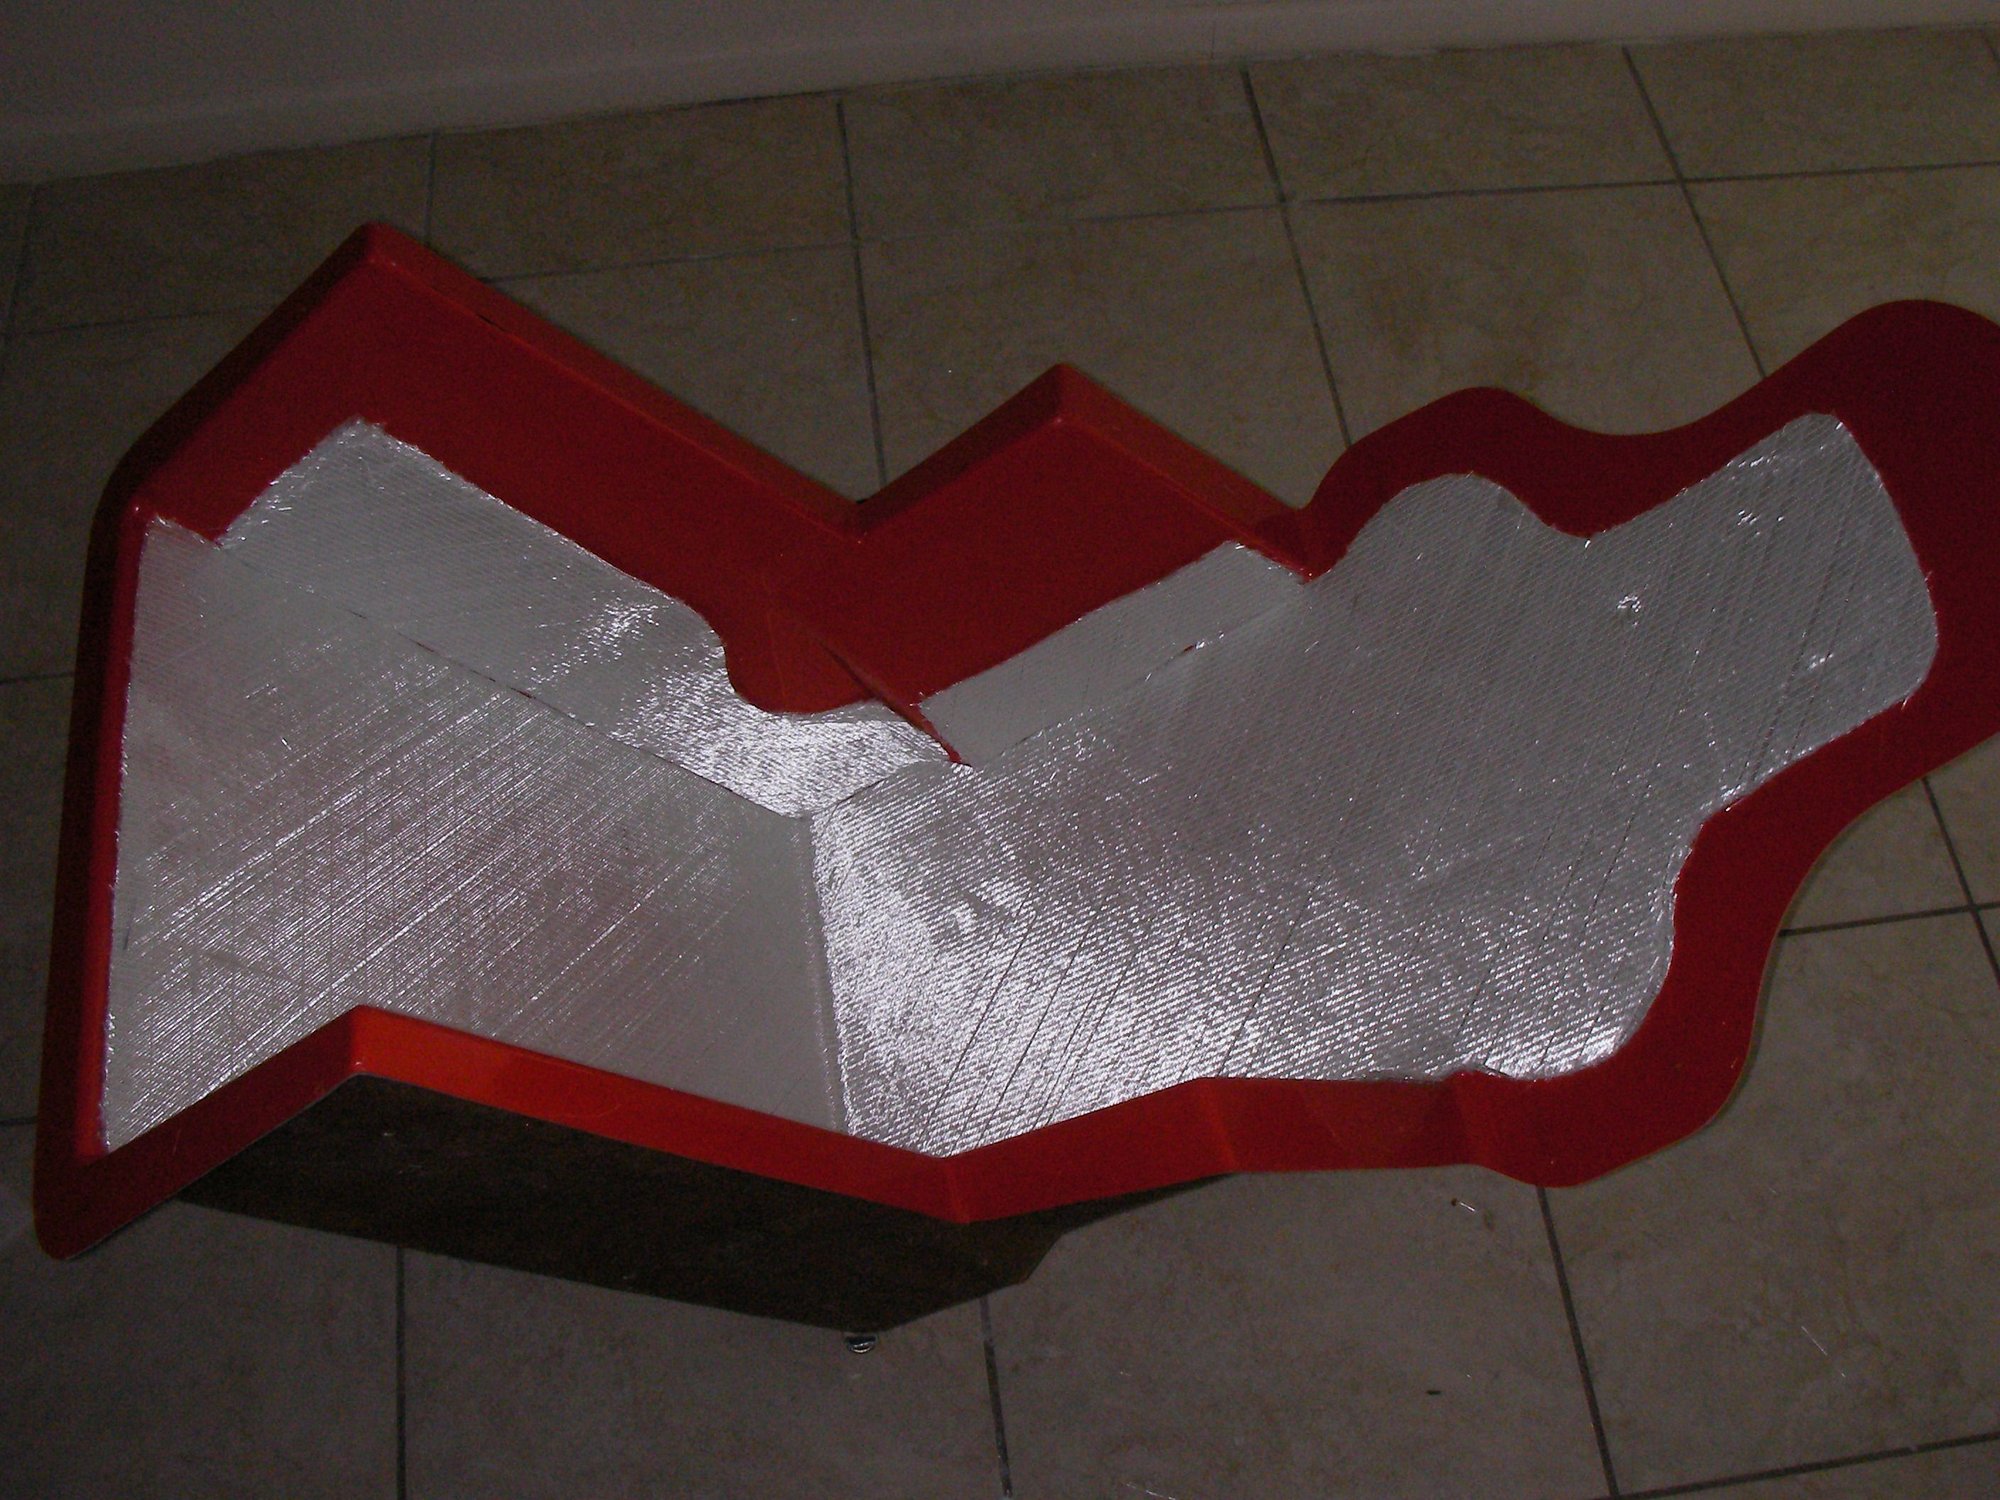
so I jammed the circle saw thru the mf'r and used plug number 2 to help convert mold number 2 into a split cavity mold, which is mod 1, widening it 3 inches is mod 2.
mod 2 would cause mod 3 but first a test to see if the split mold would work.
Disclaimer; the term split cavity mold is loosely applied here ok.
Last edited by outonsafari; 10-24-2022 at 09:55 PM.

 10-24-2022 | 09:17 PM
#5
Thread Starter
Registered
Joined: May 2009
Posts: 1,942
Likes: 527
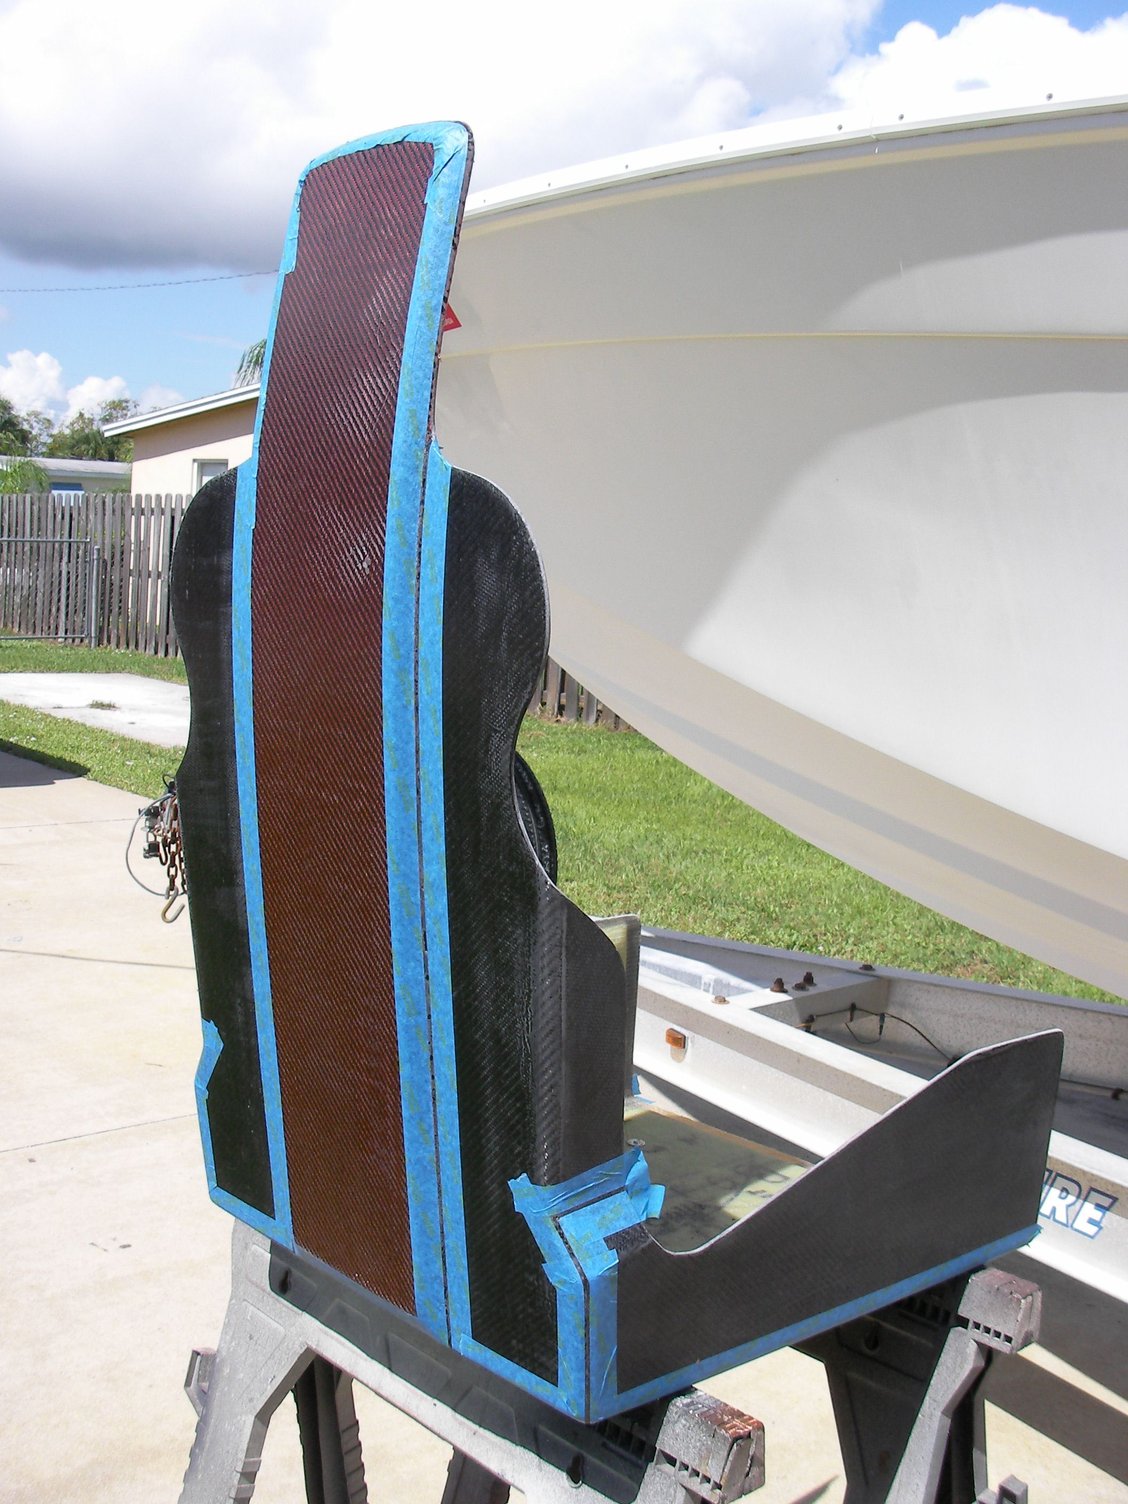
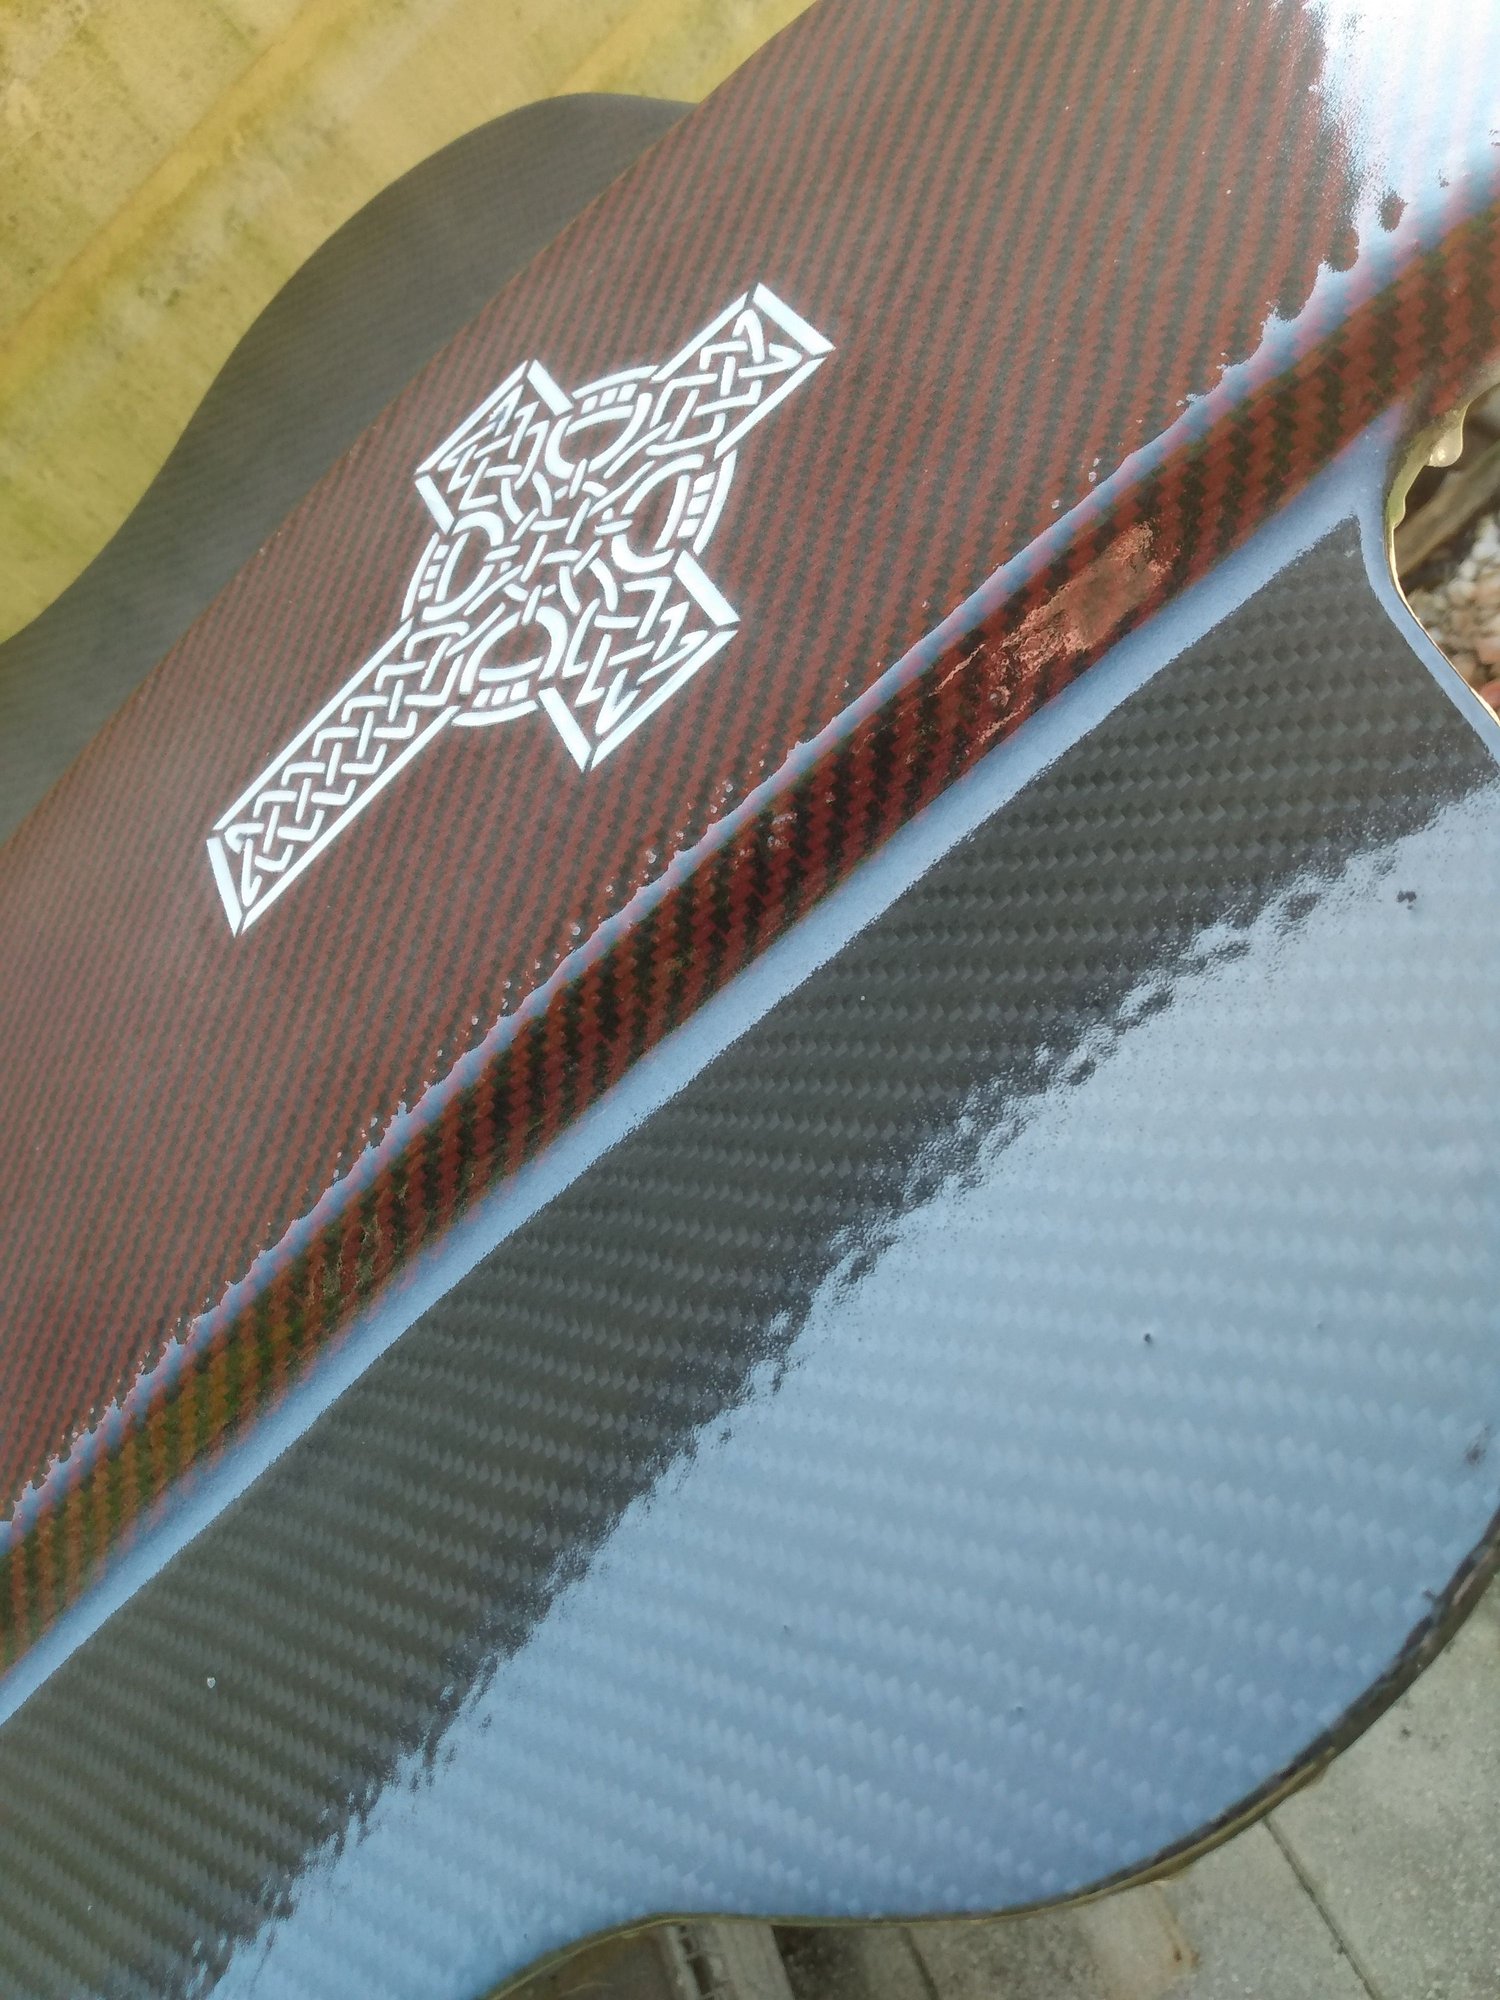
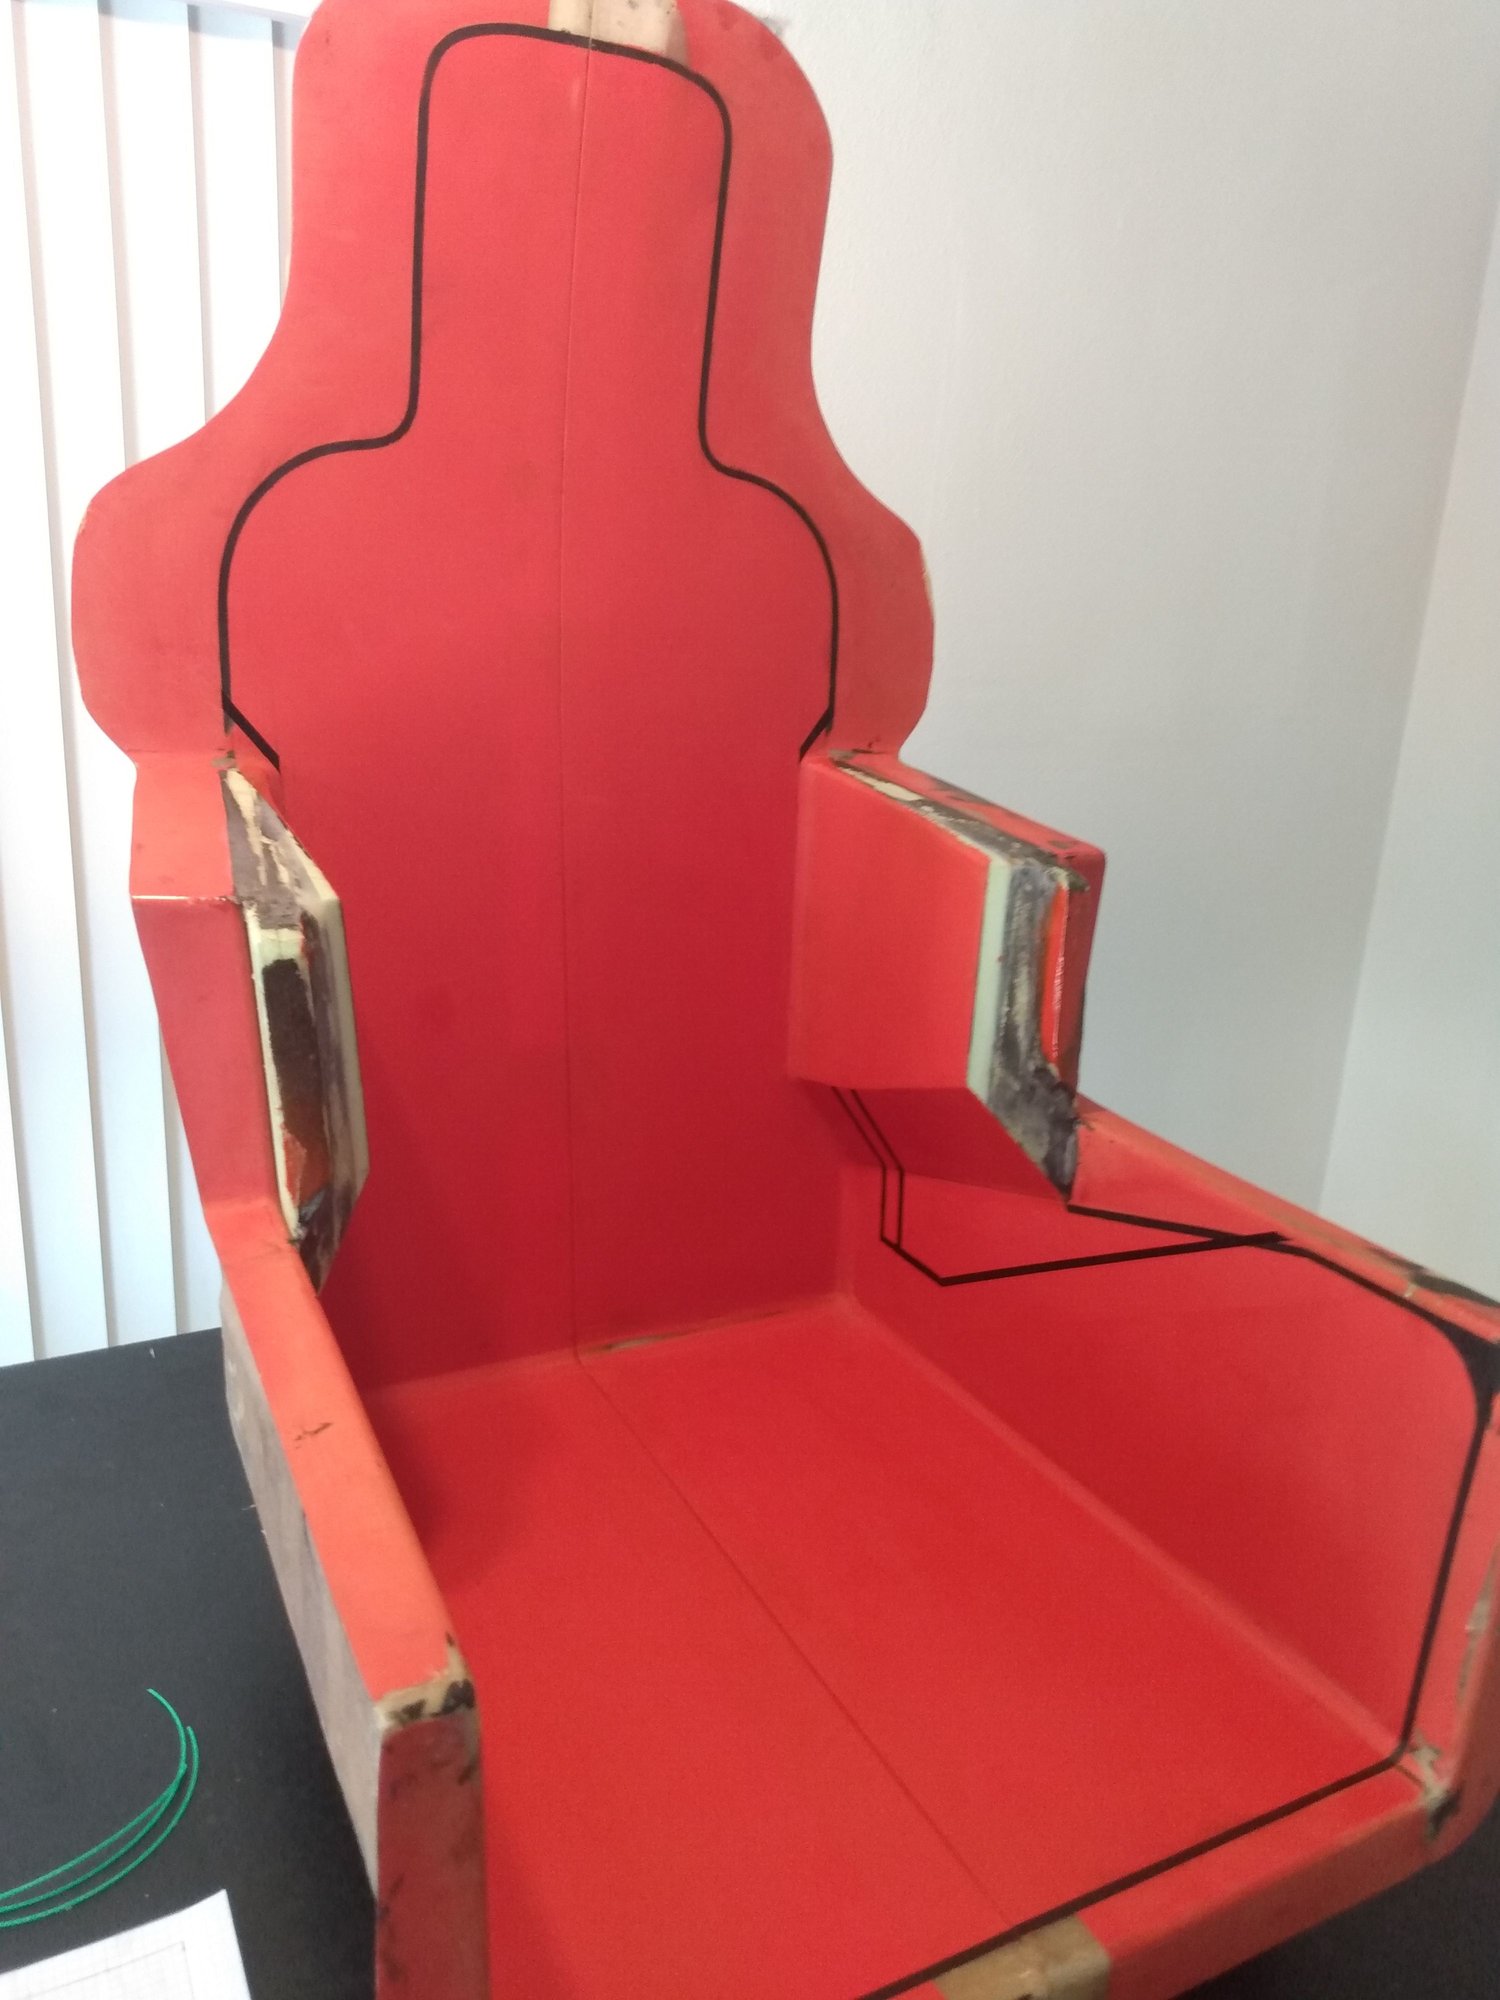
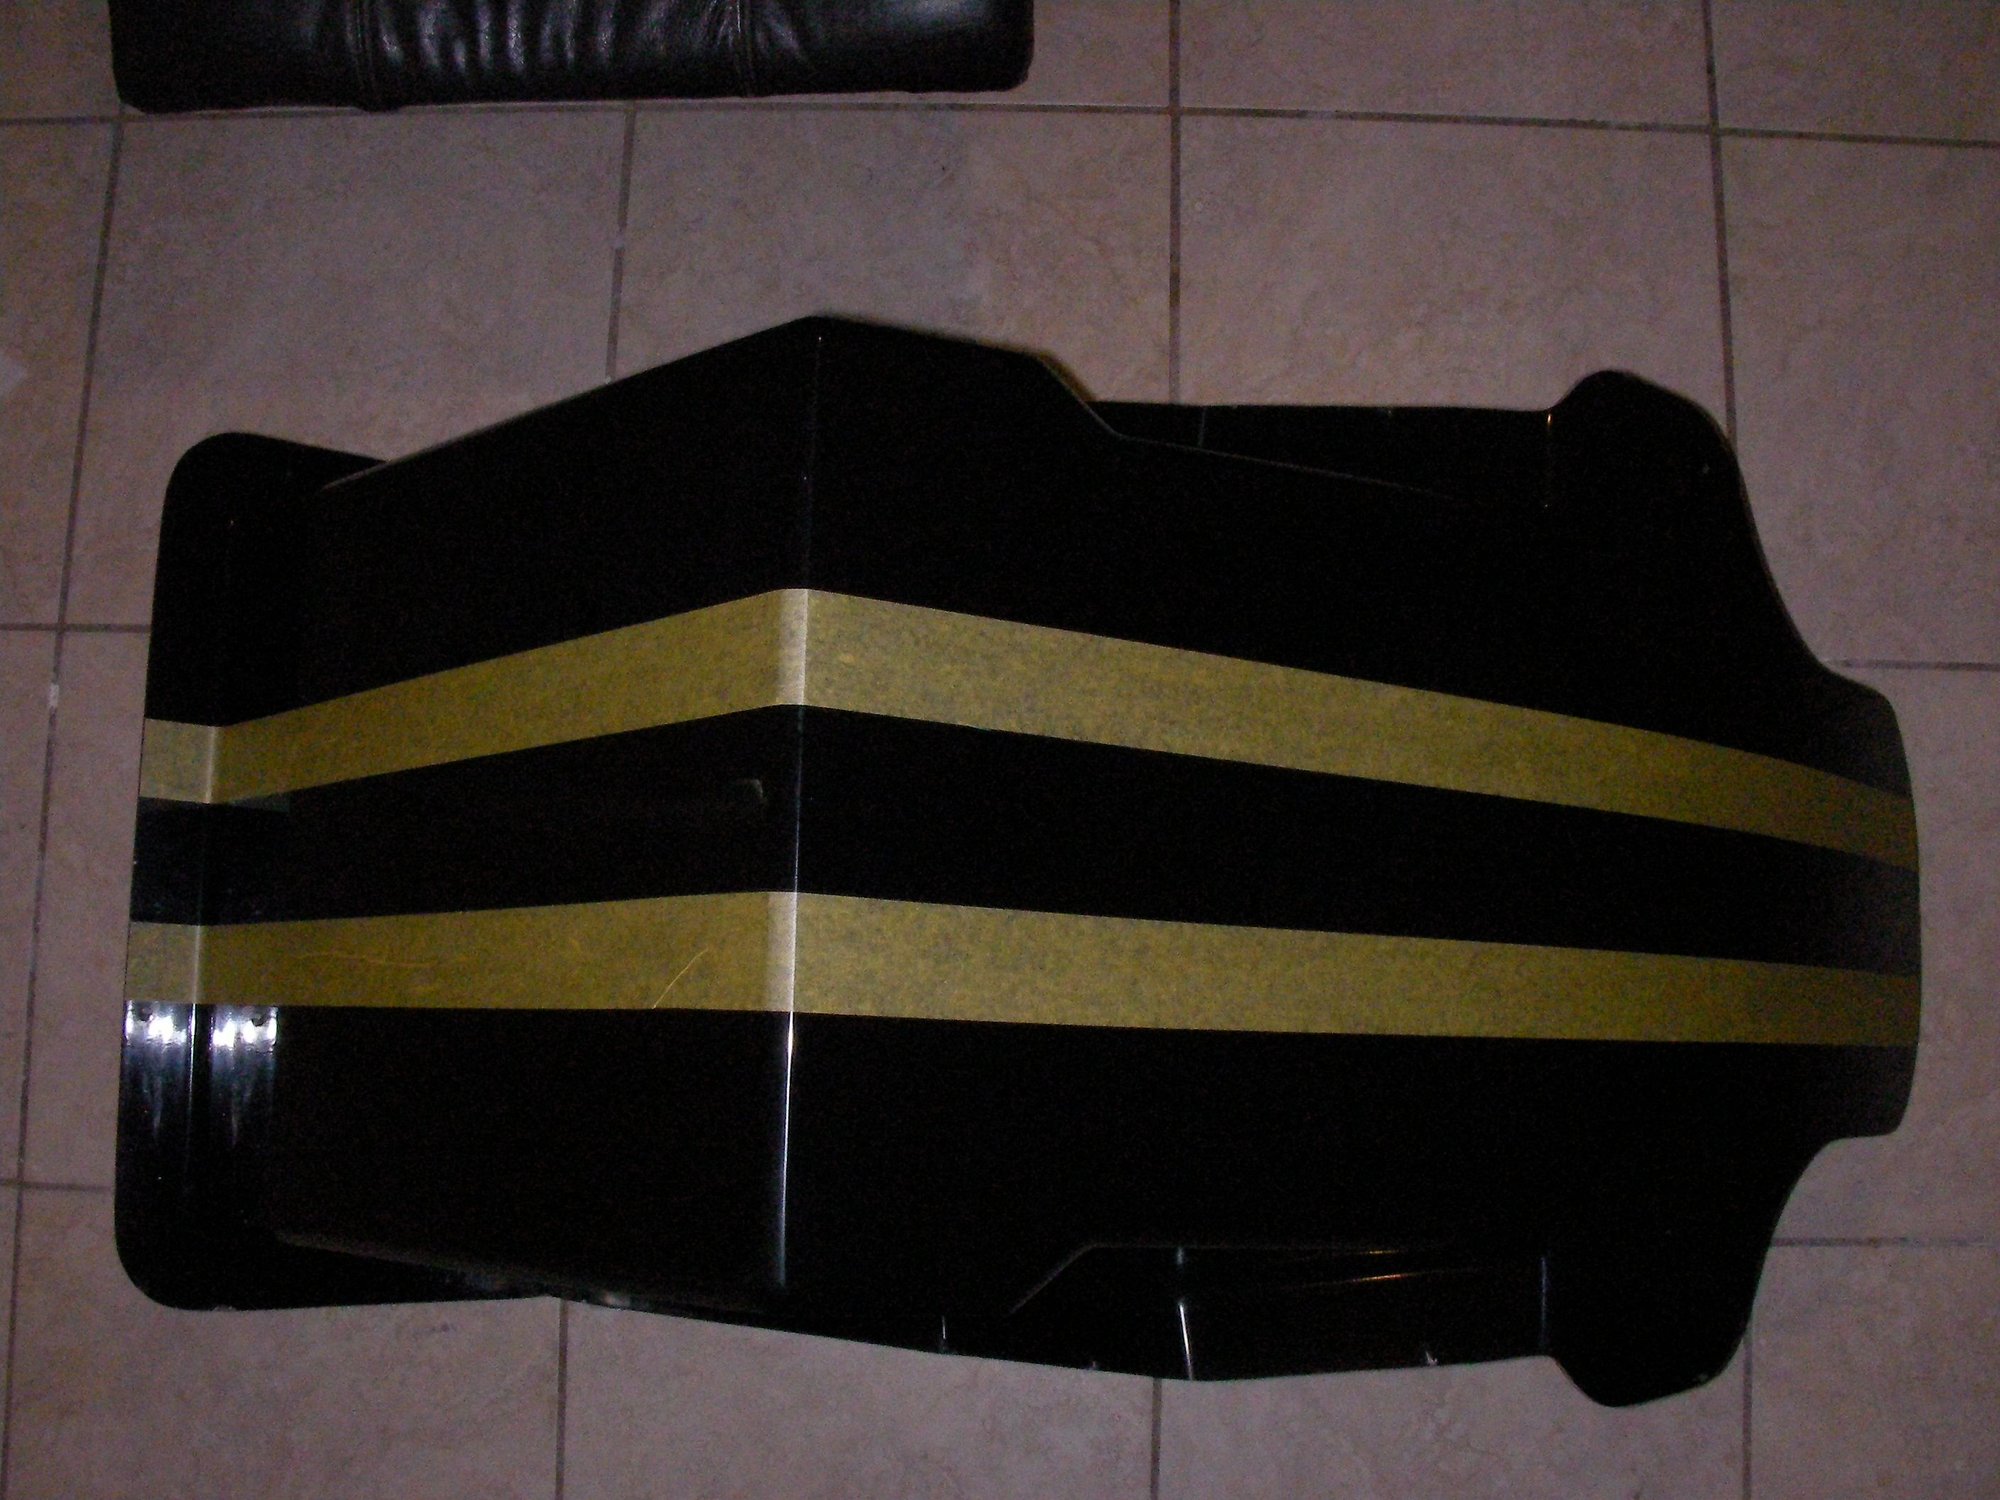
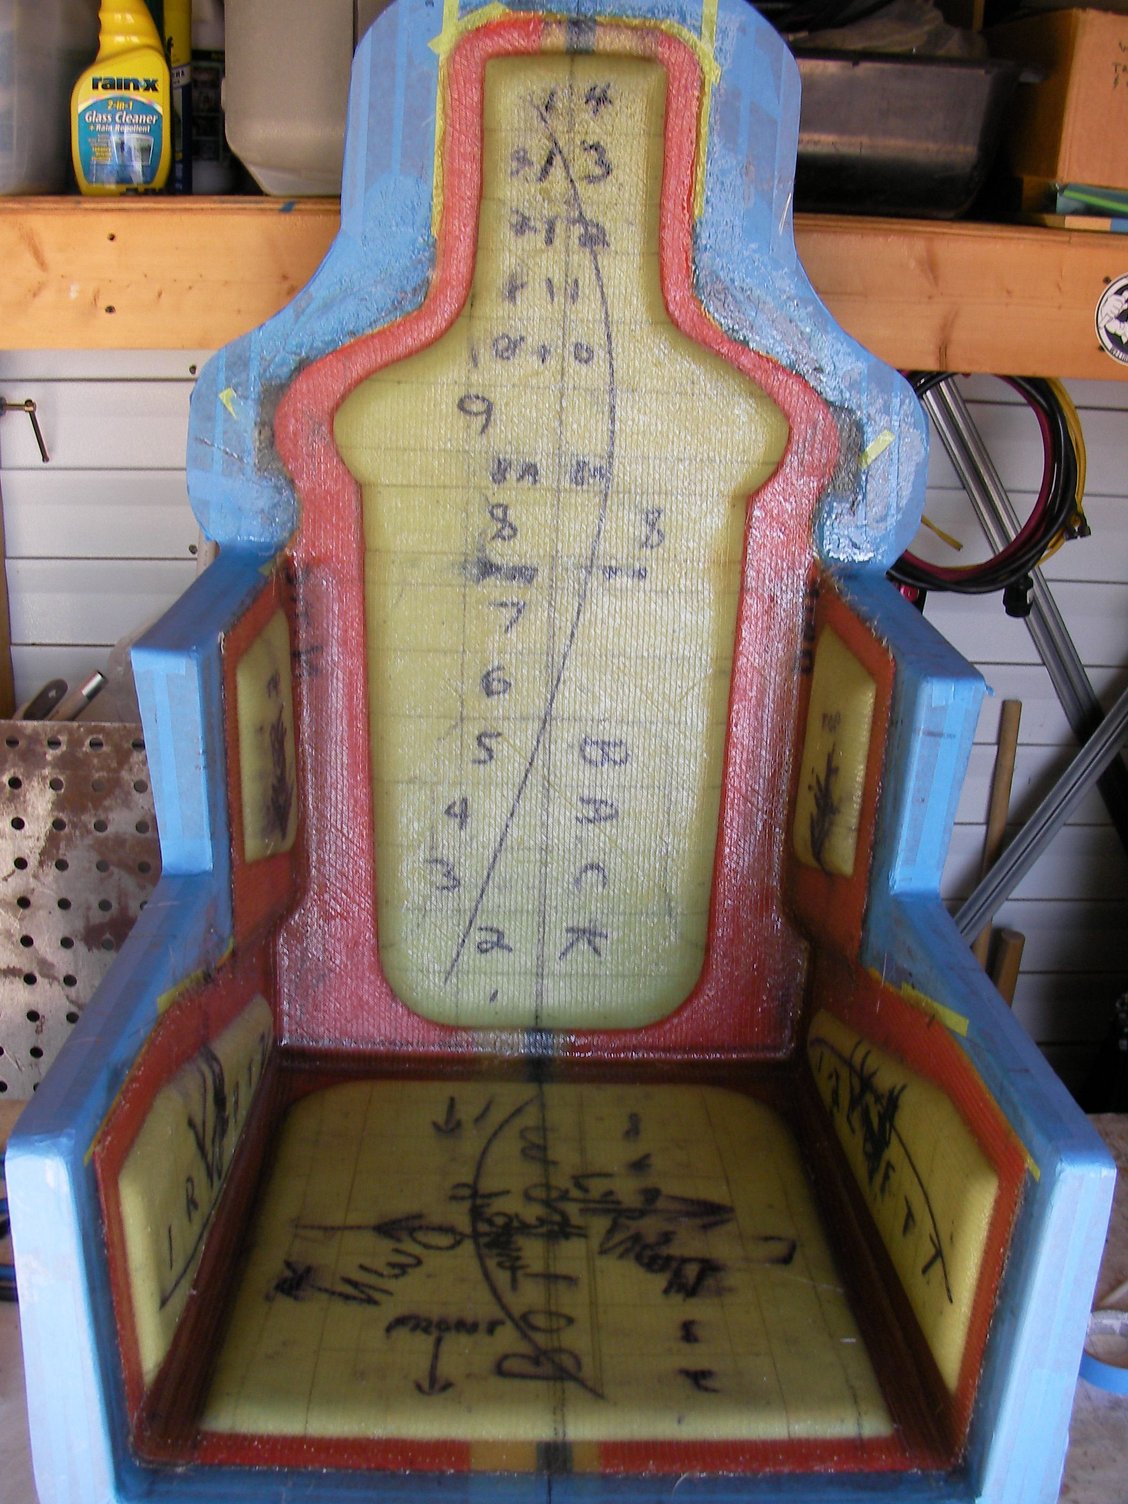
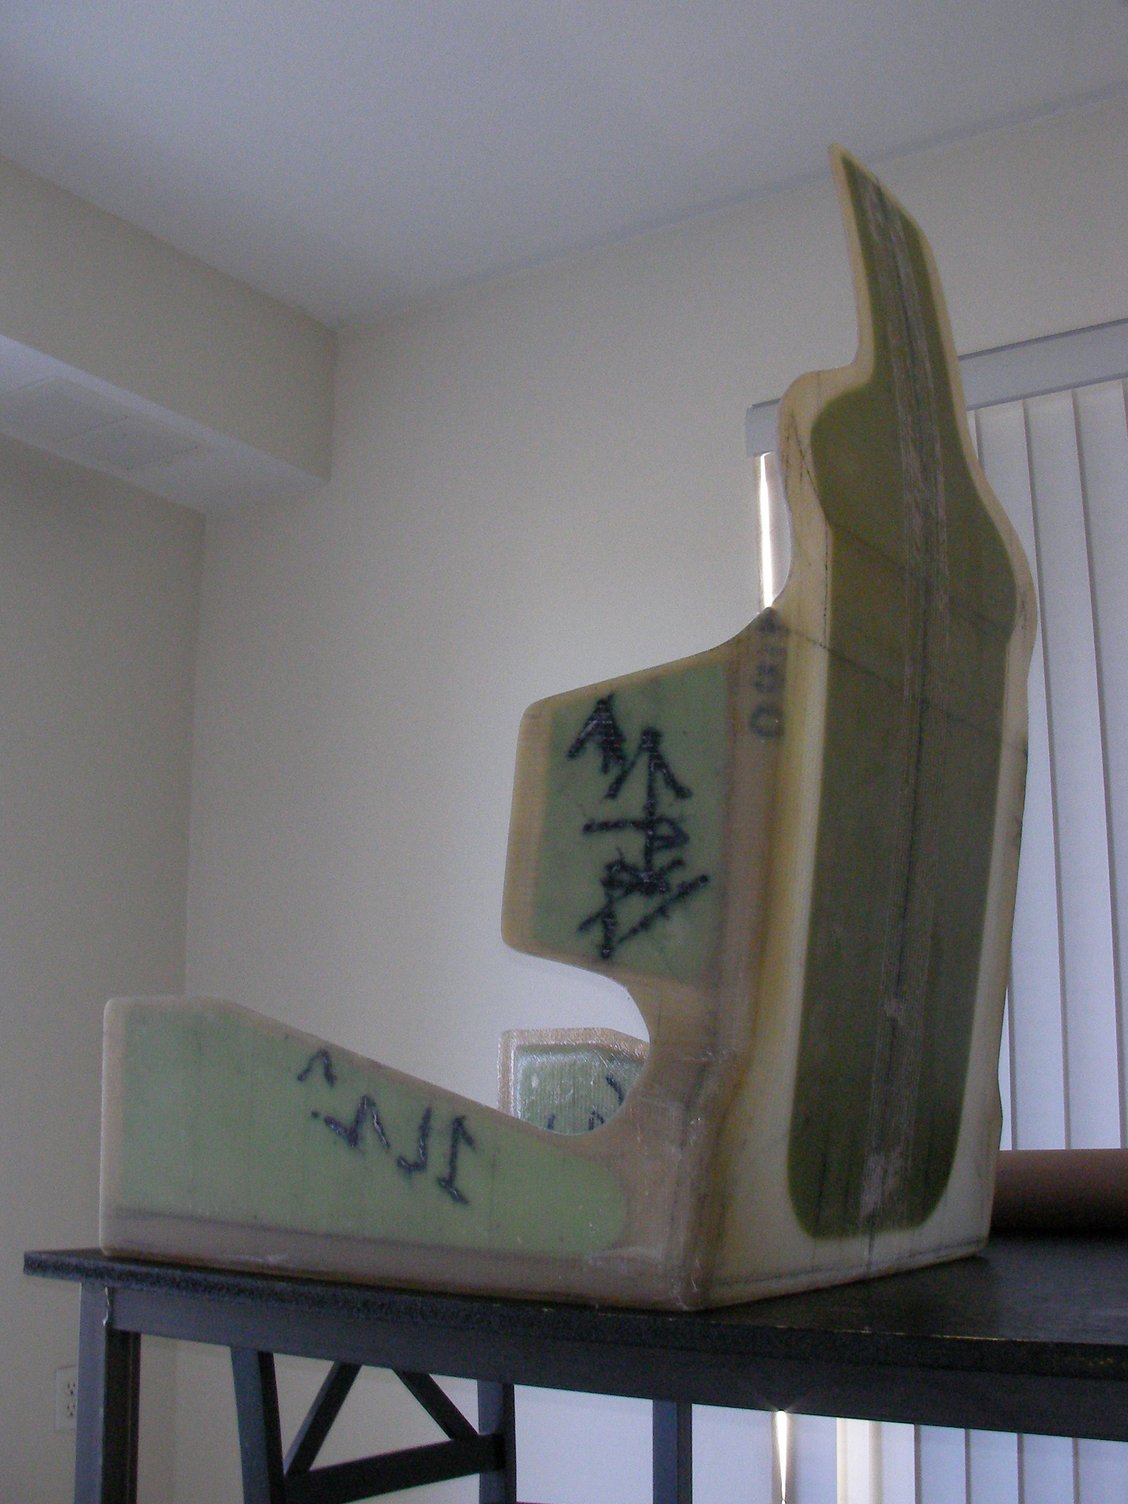
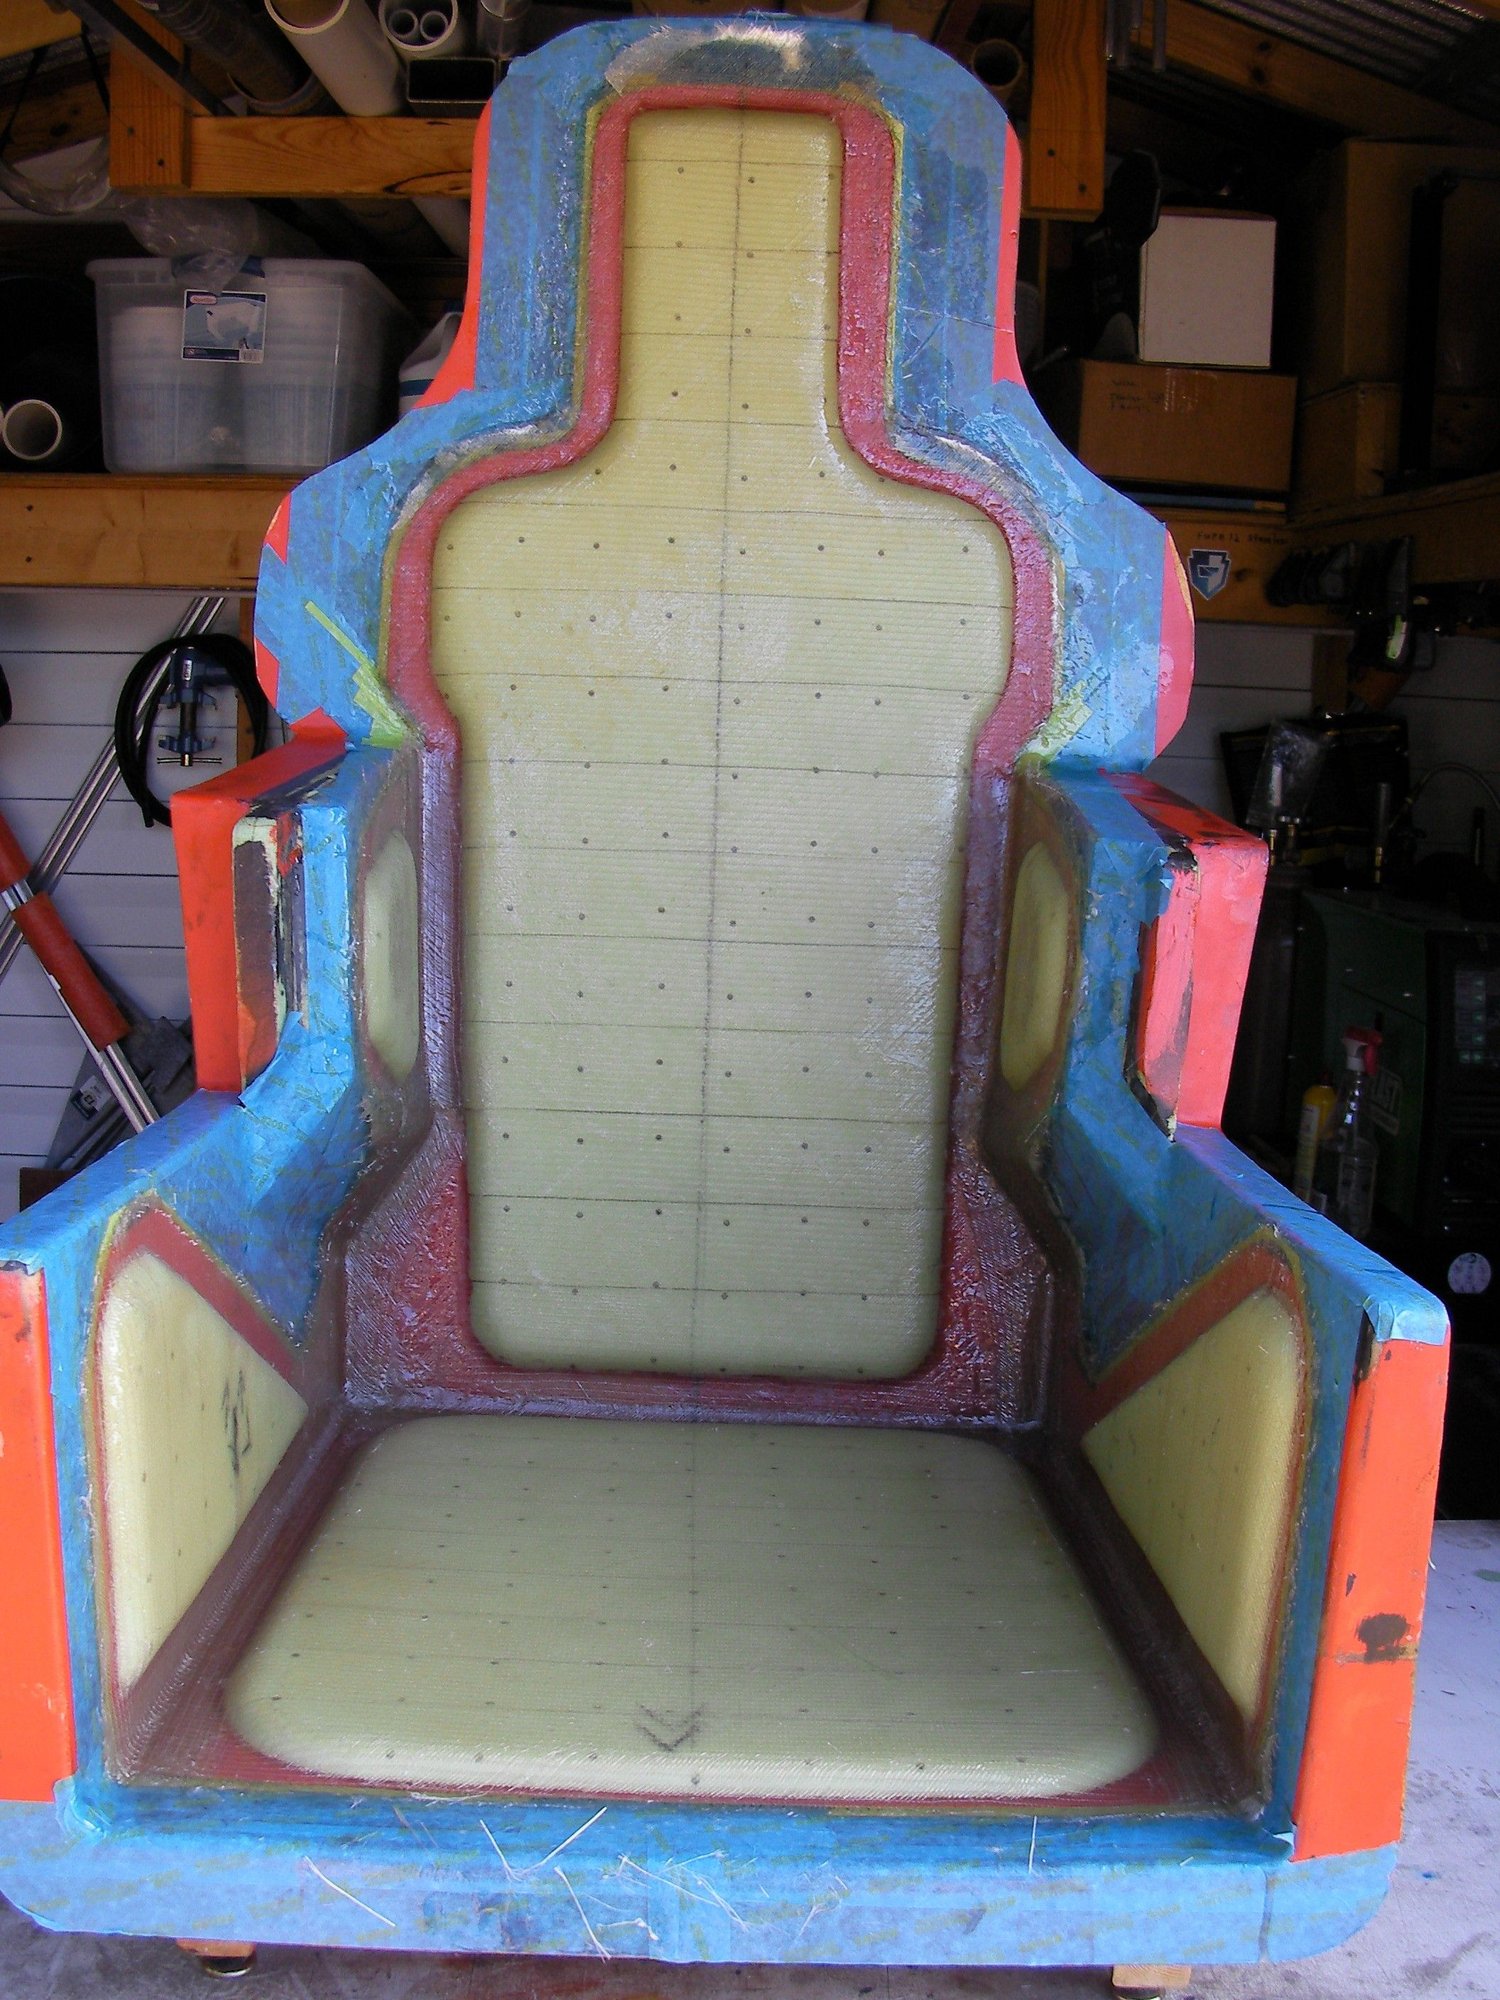
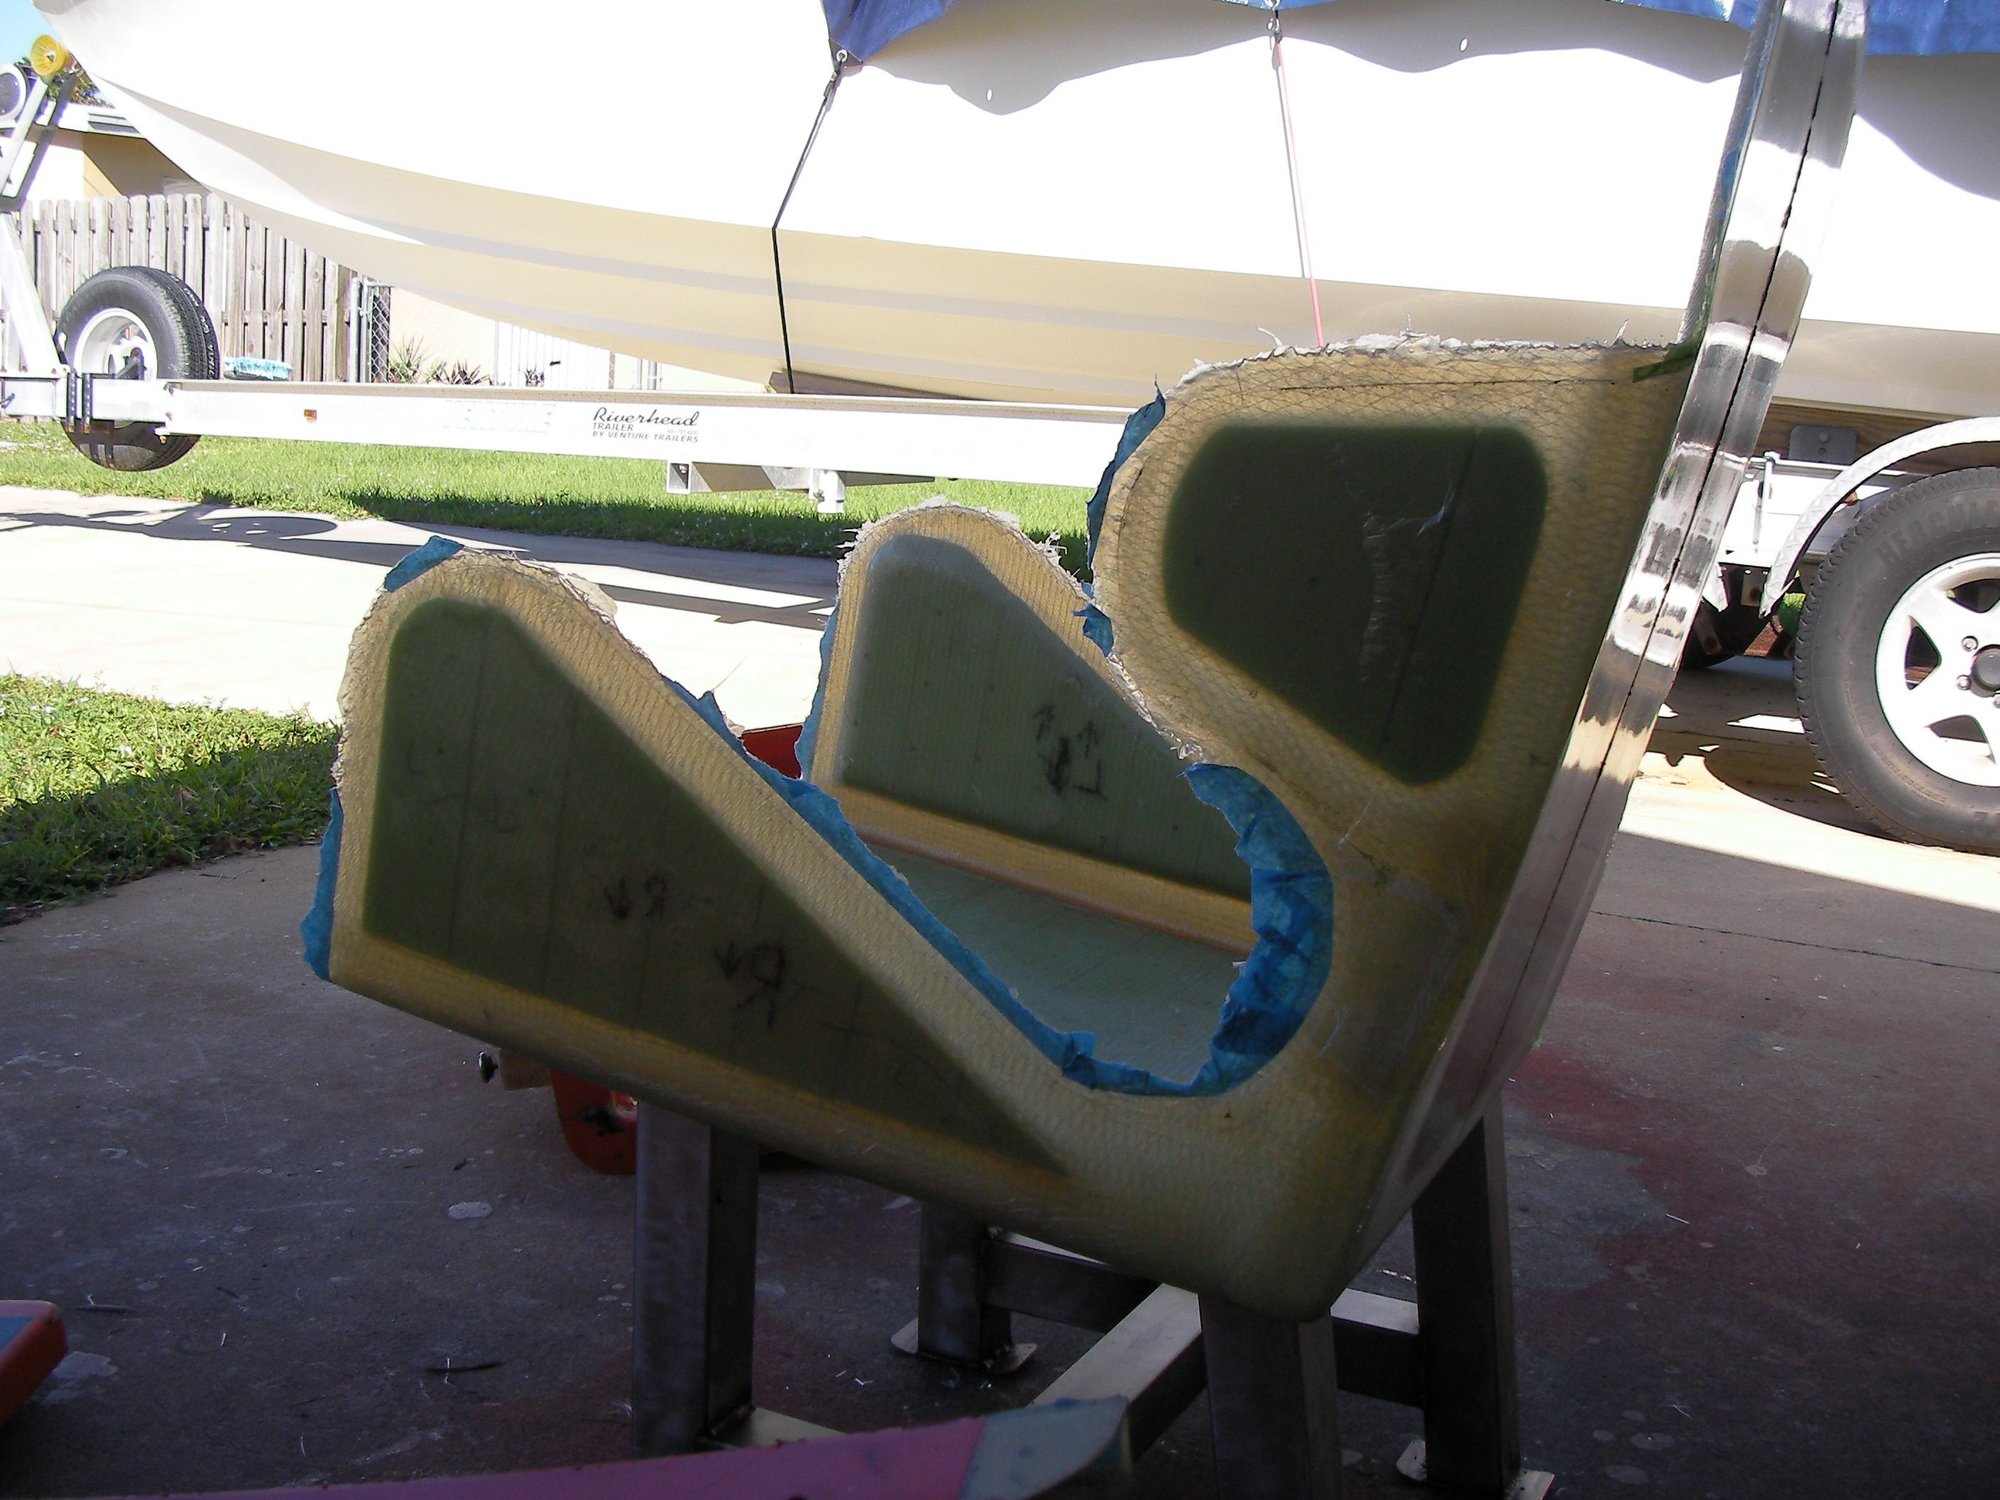
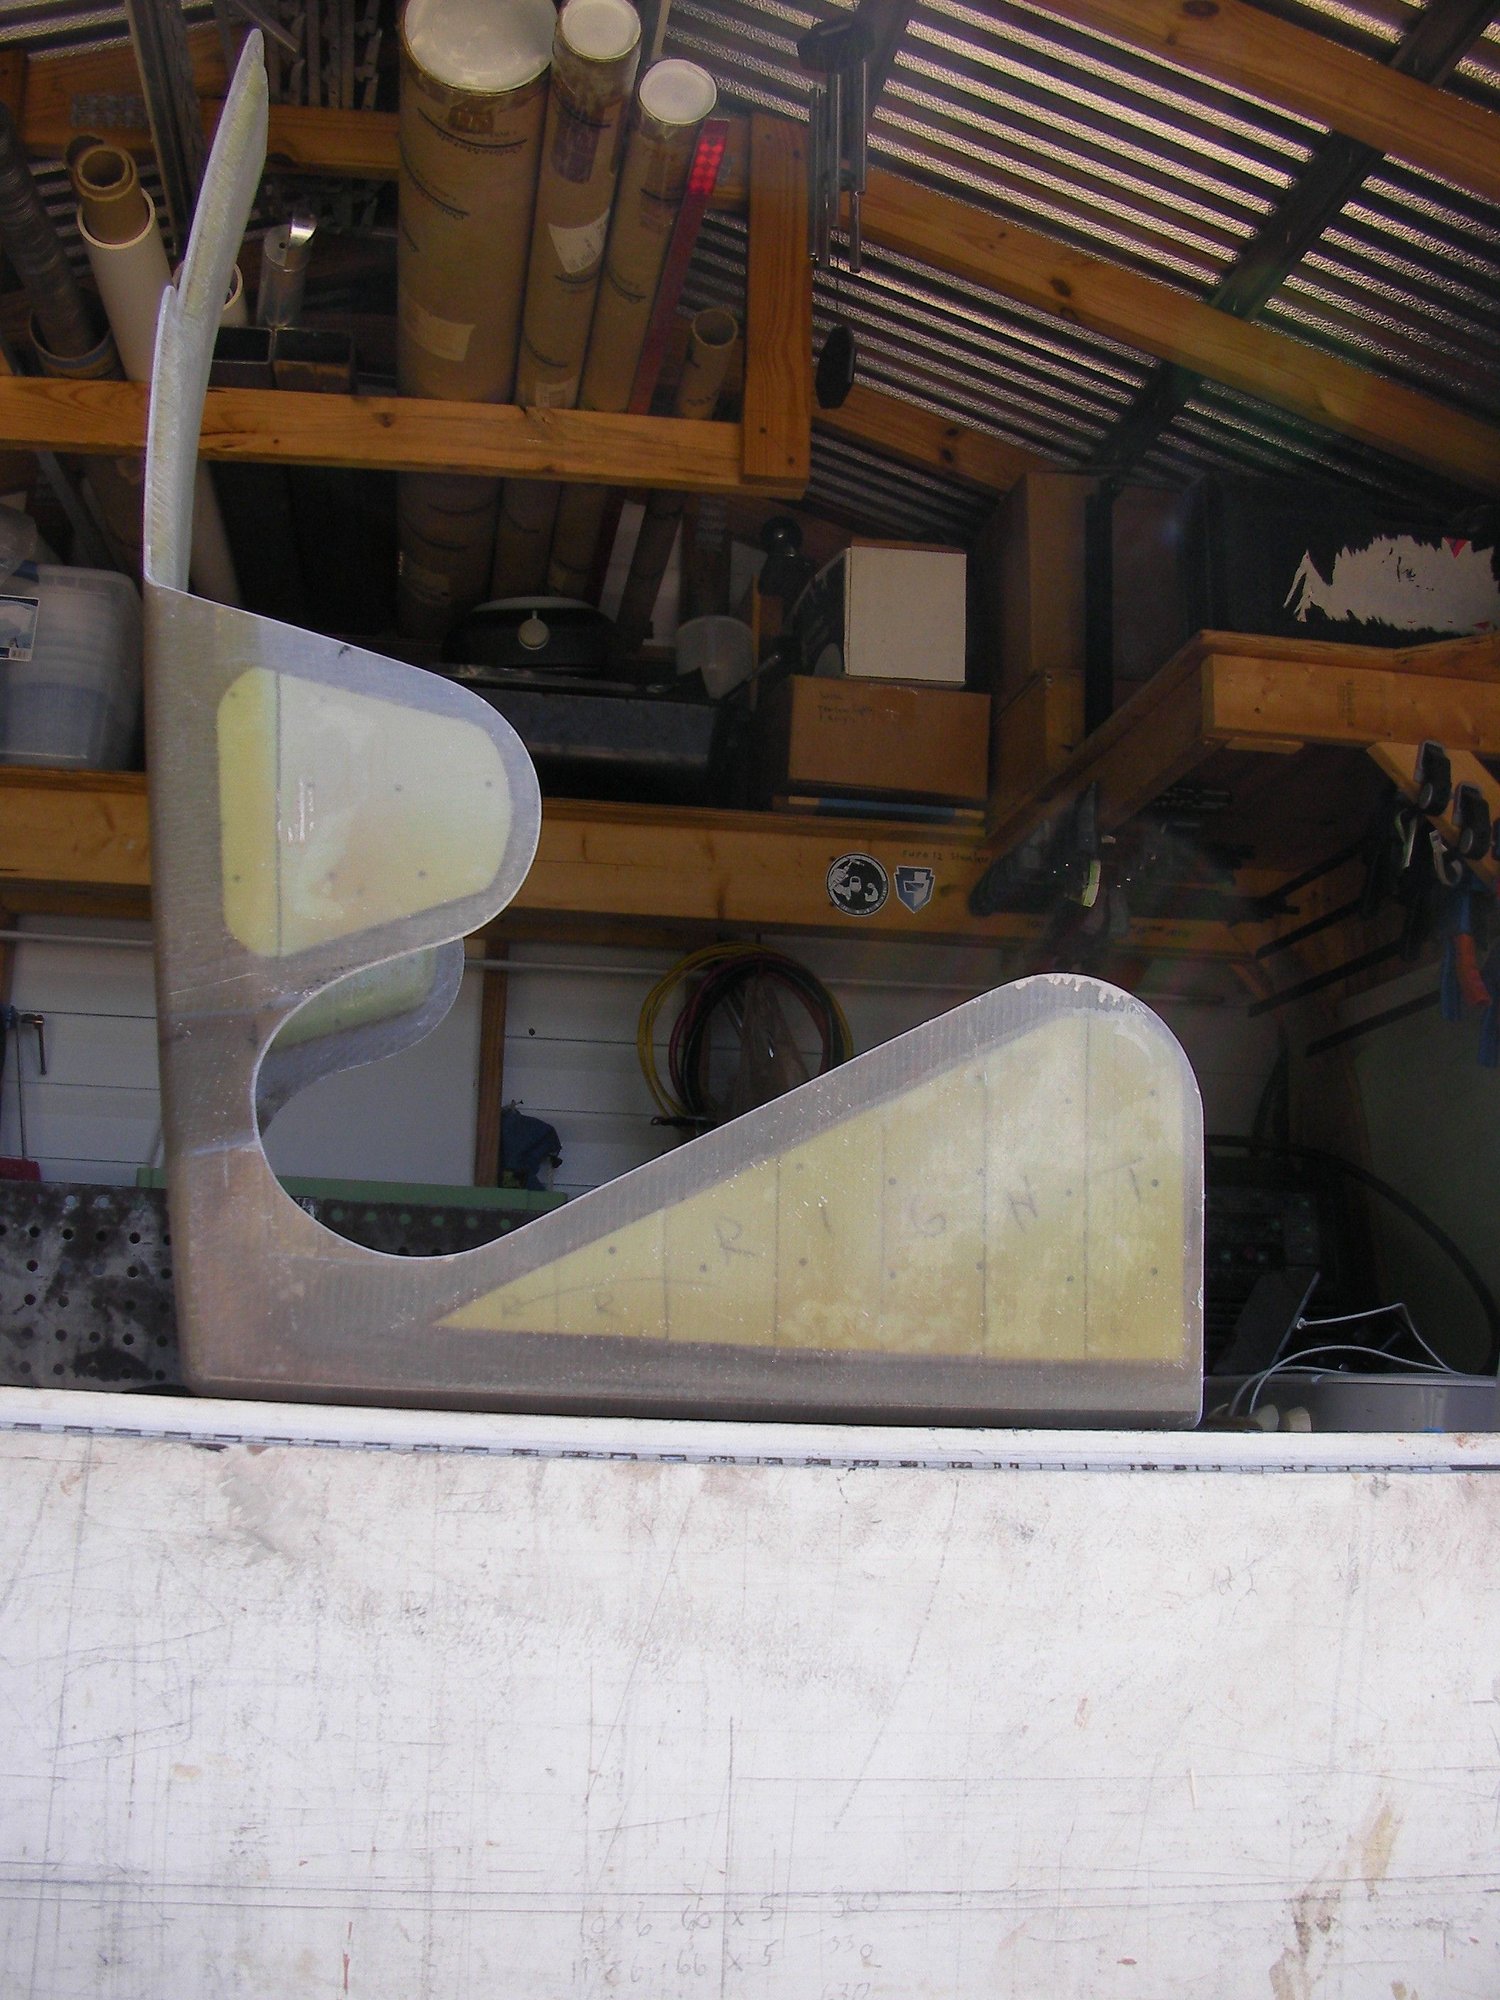
the torso bolsters were too wide so they got cut off and there was some messing around with carbon, carbon Kevlar skinning, stencils and pinstriping with tinted resin and gel.
meantime the torso bolsters got narrowed 2 inches at the back rest and 4 inches out towards the end, they're angled in but the 2 piece mold negates what would be a mechanical lock, plus gel and tinted resin outlines to speed up the lay up process.
Last edited by outonsafari; 10-24-2022 at 09:22 PM.
10-24-2022 | 09:32 PM
#6
Thread Starter
Registered
Joined: May 2009
Posts: 1,942
Likes: 527
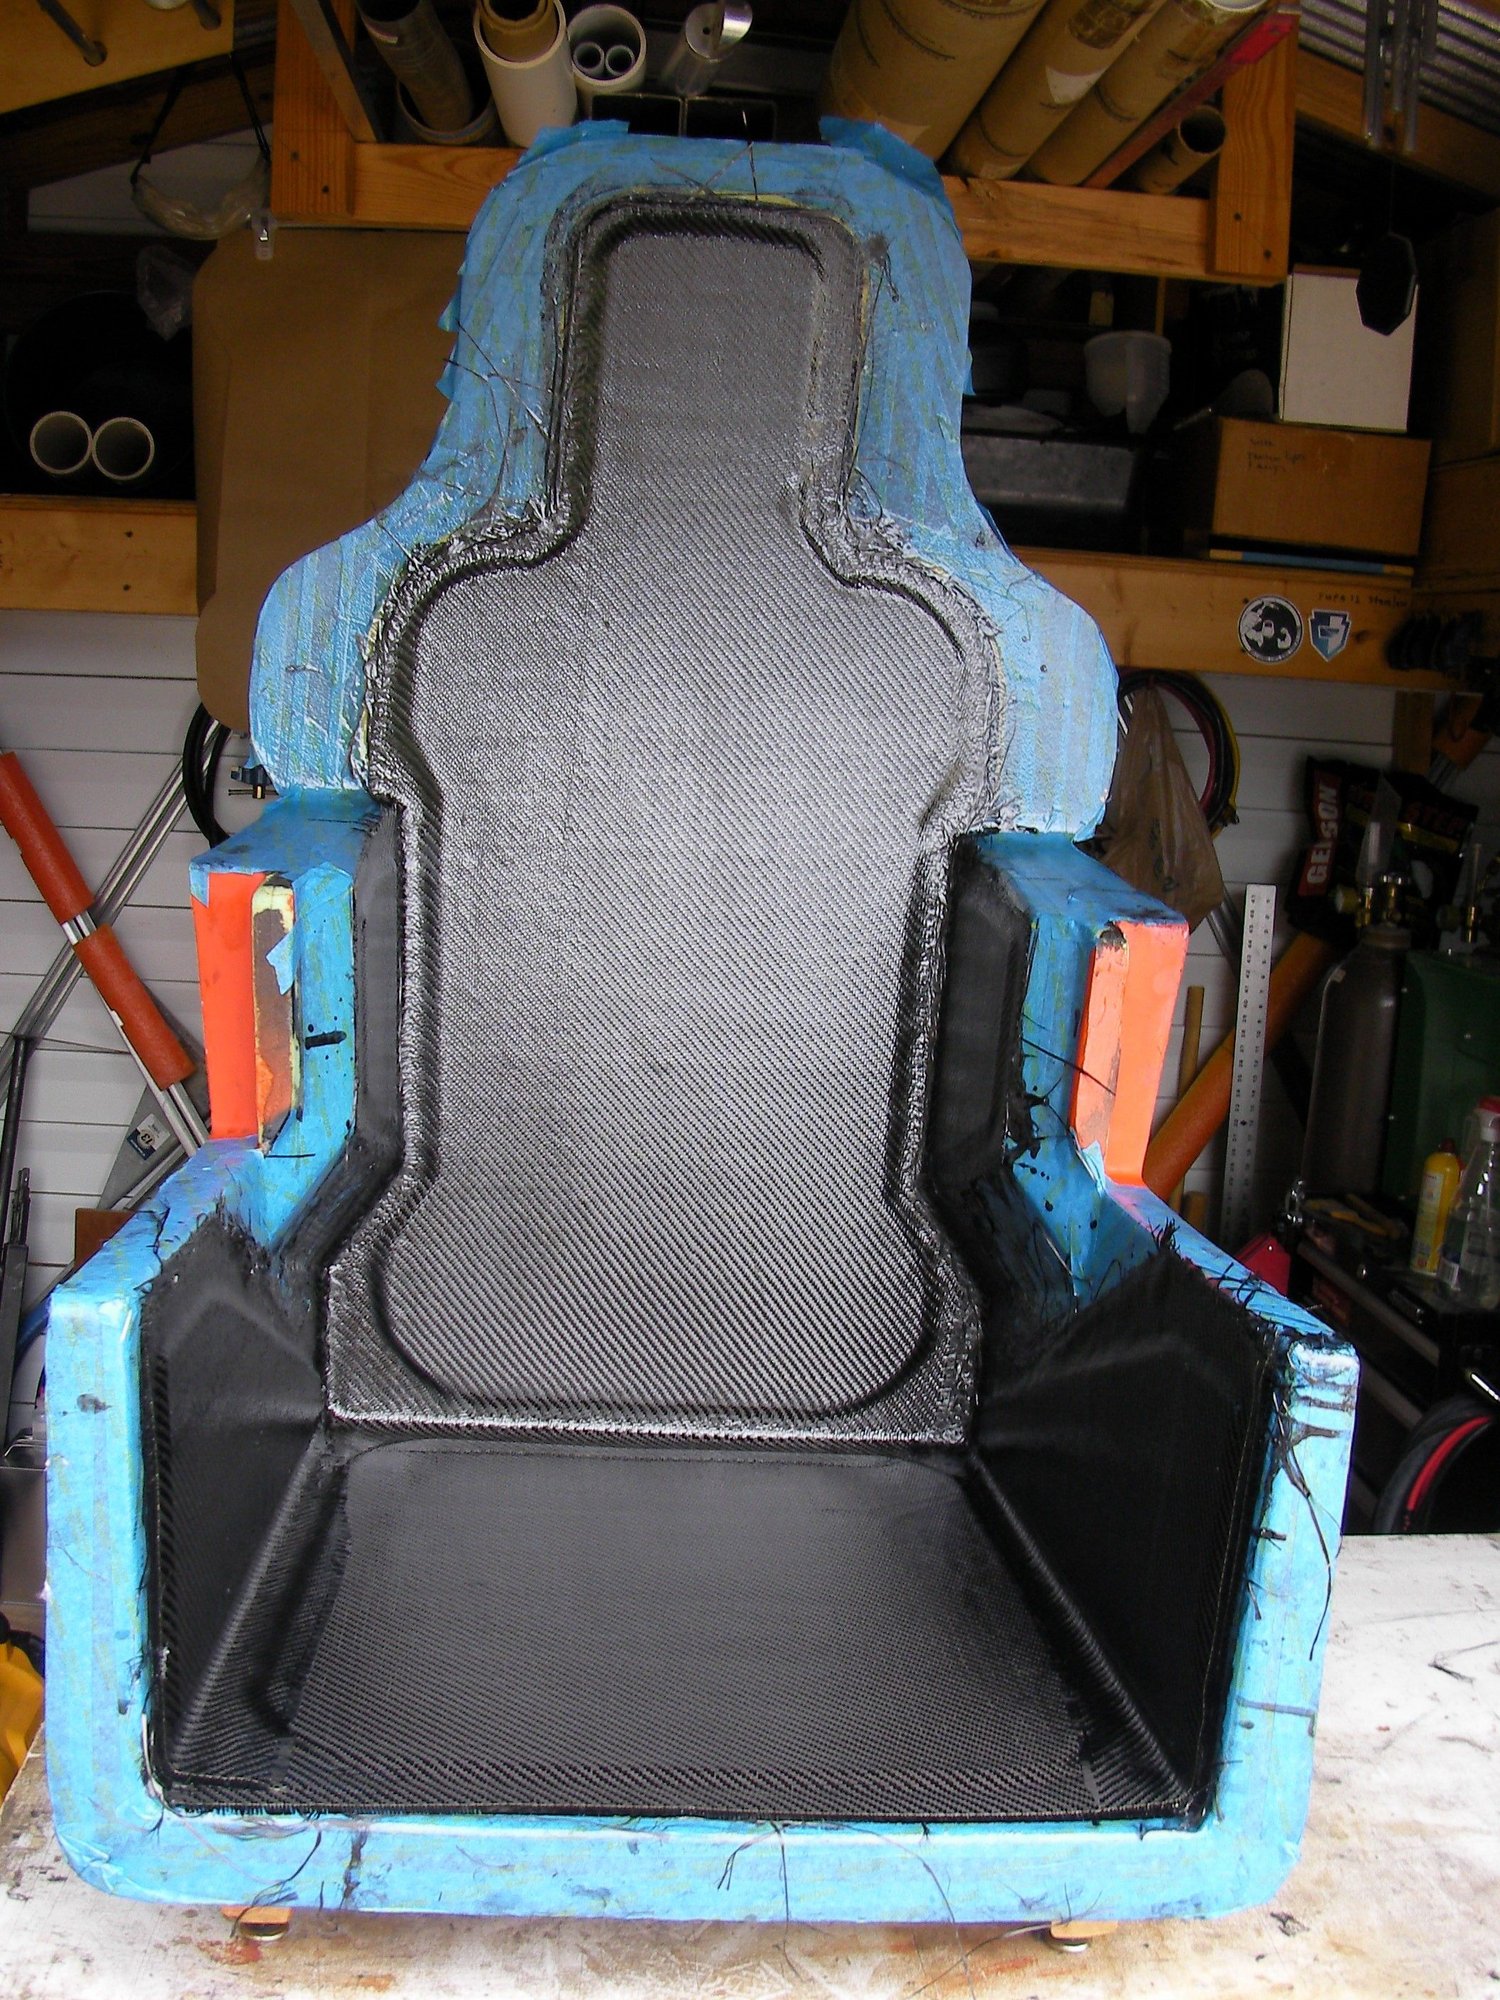
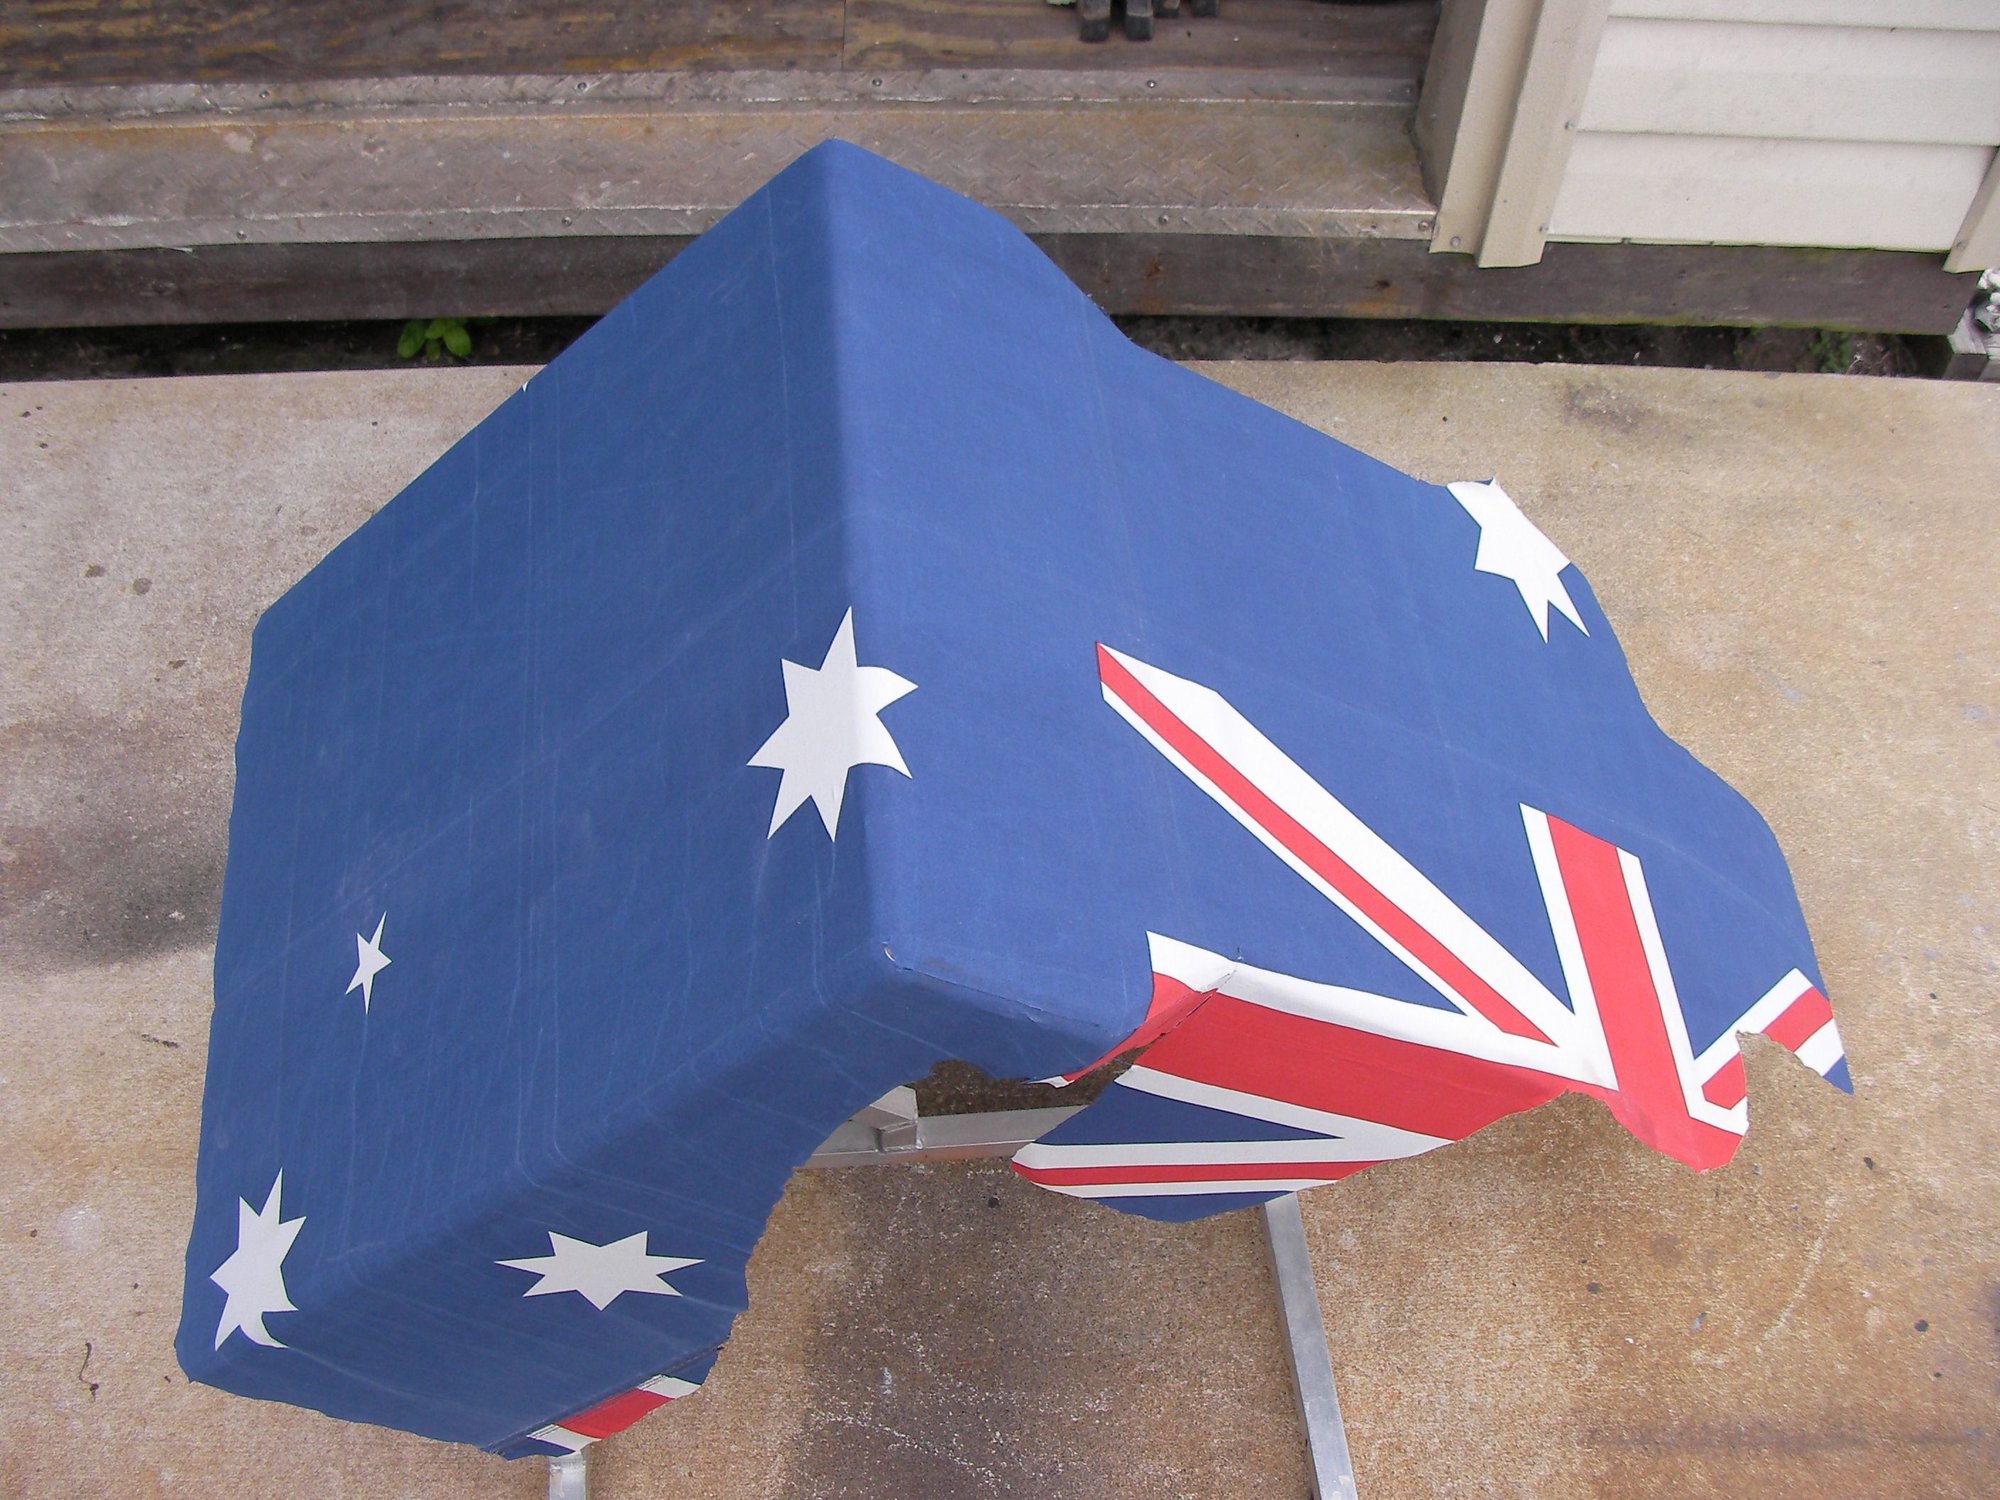
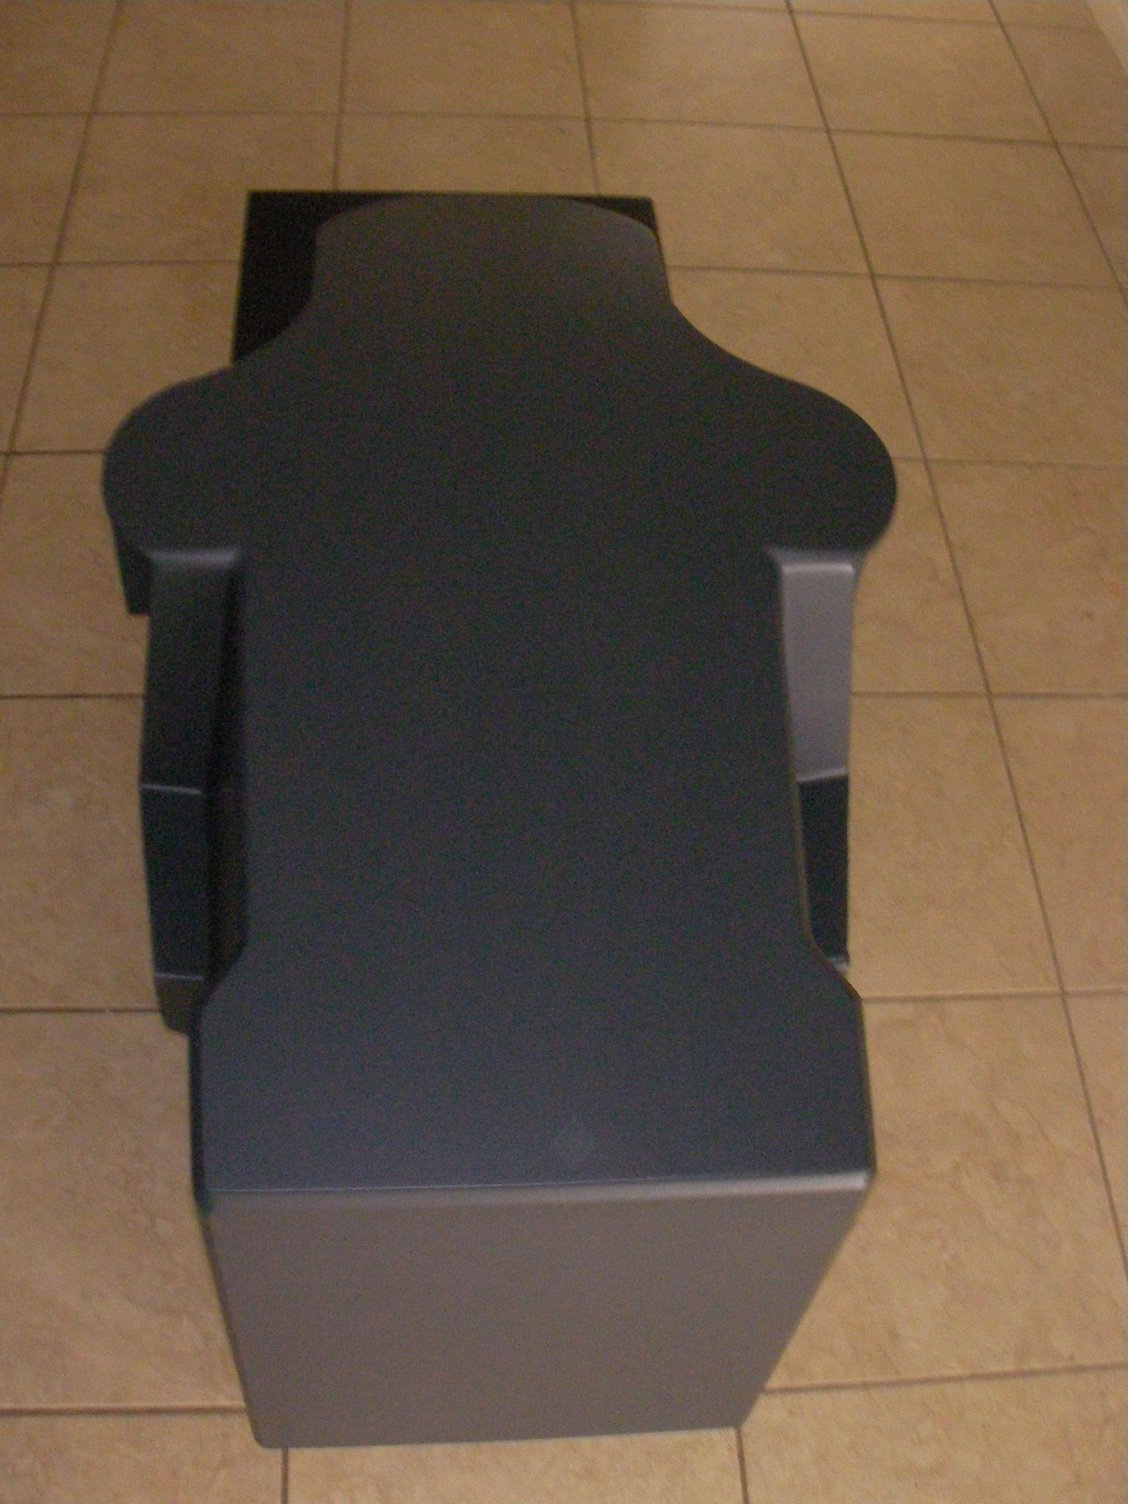
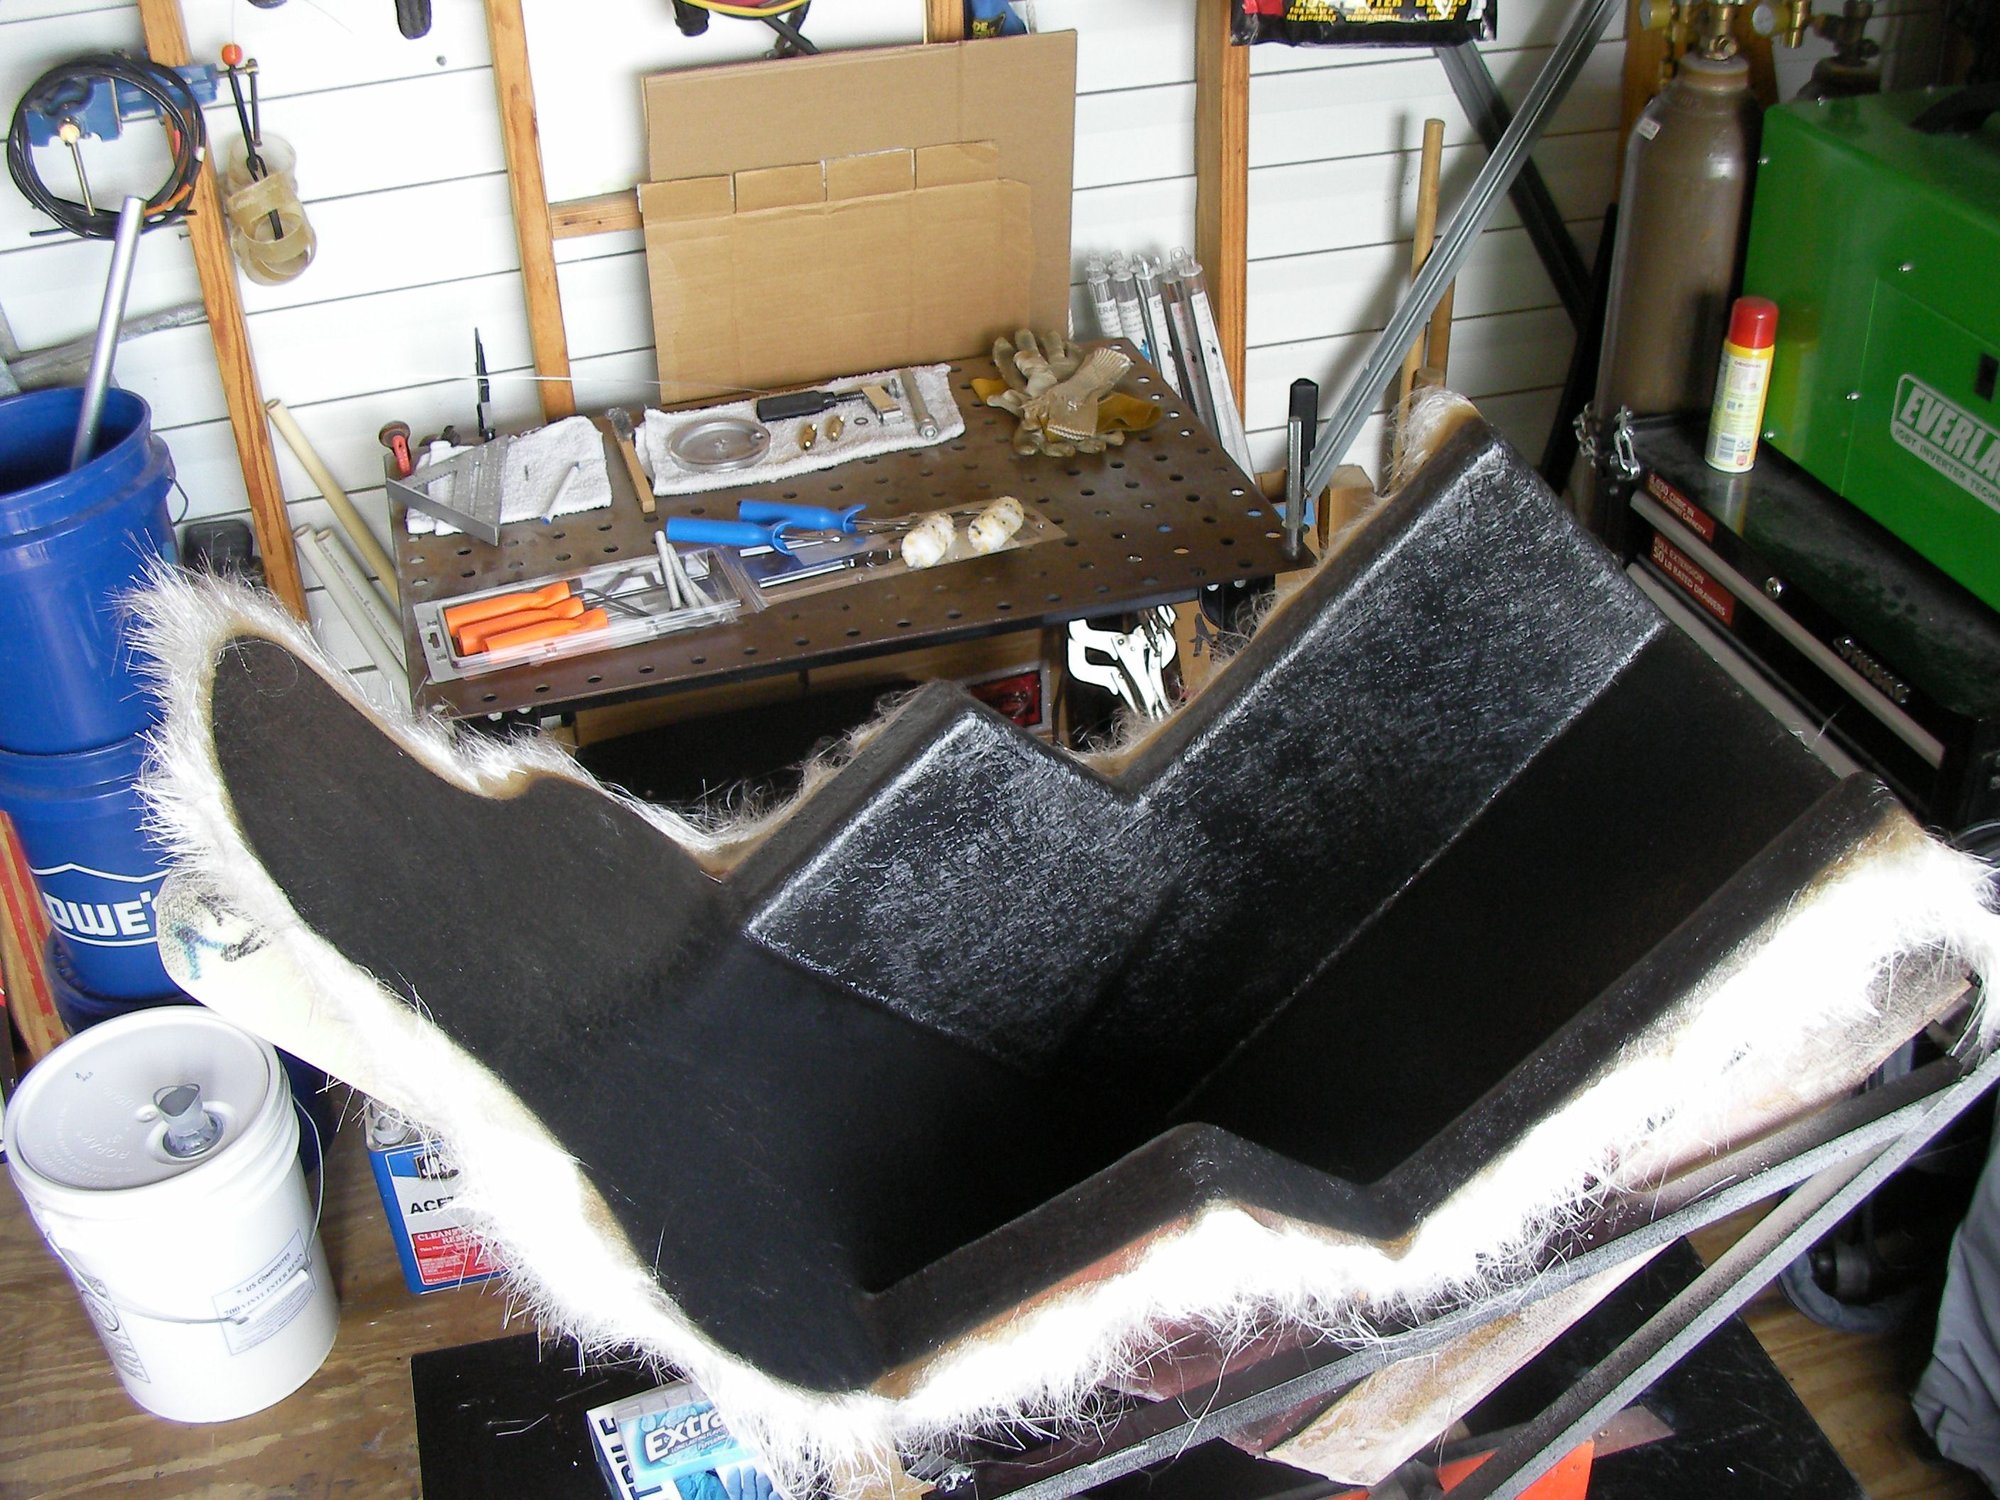
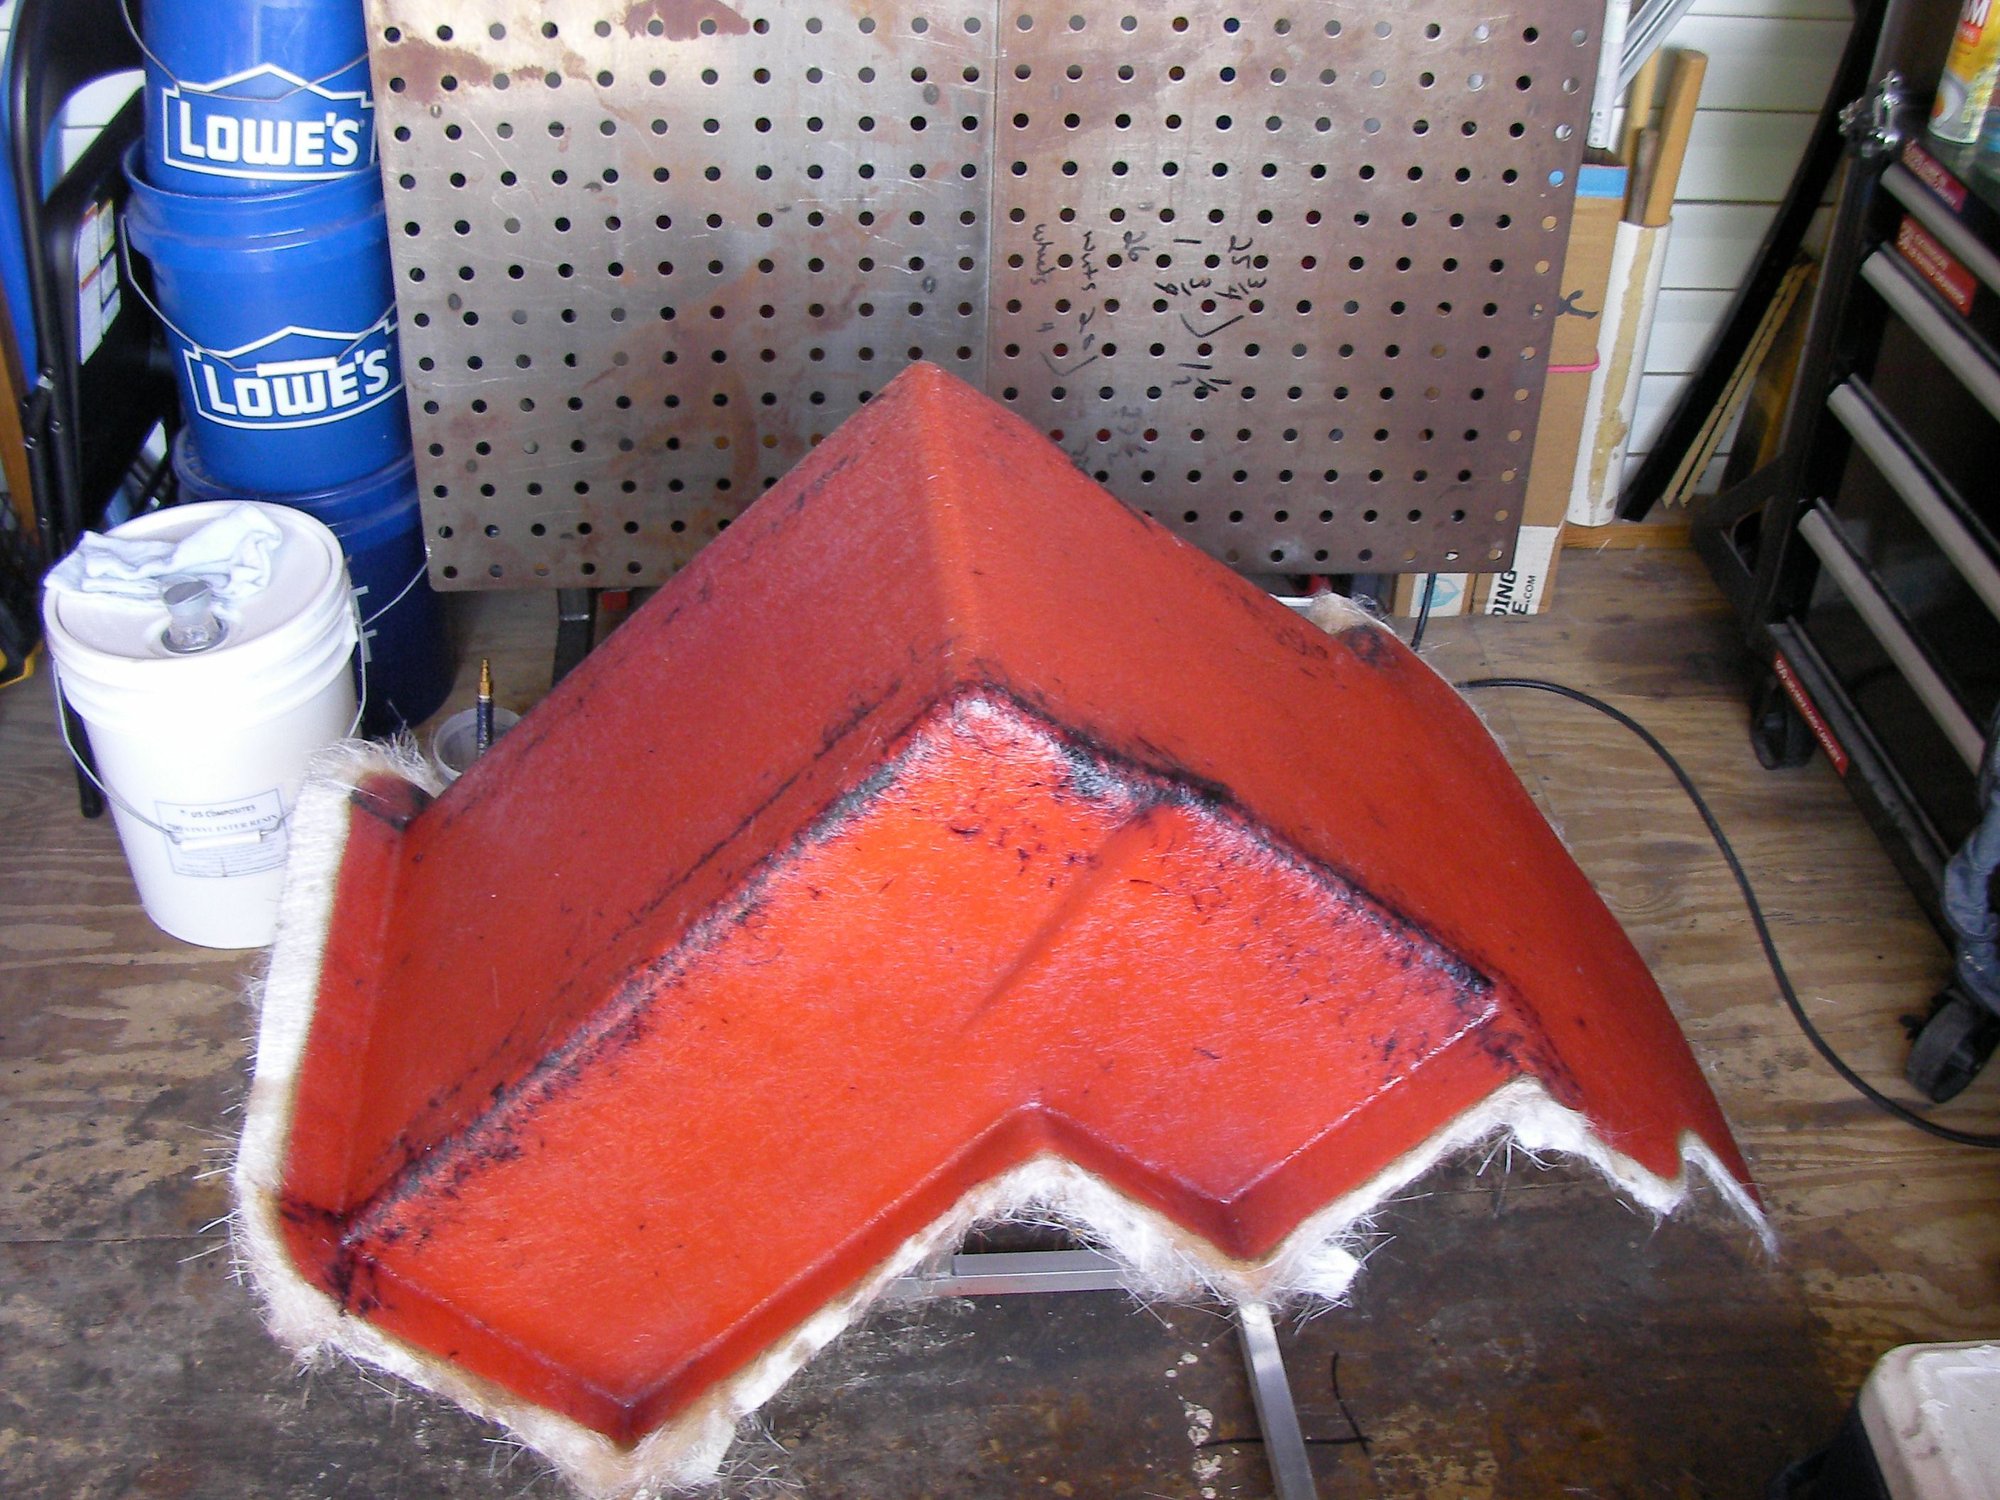
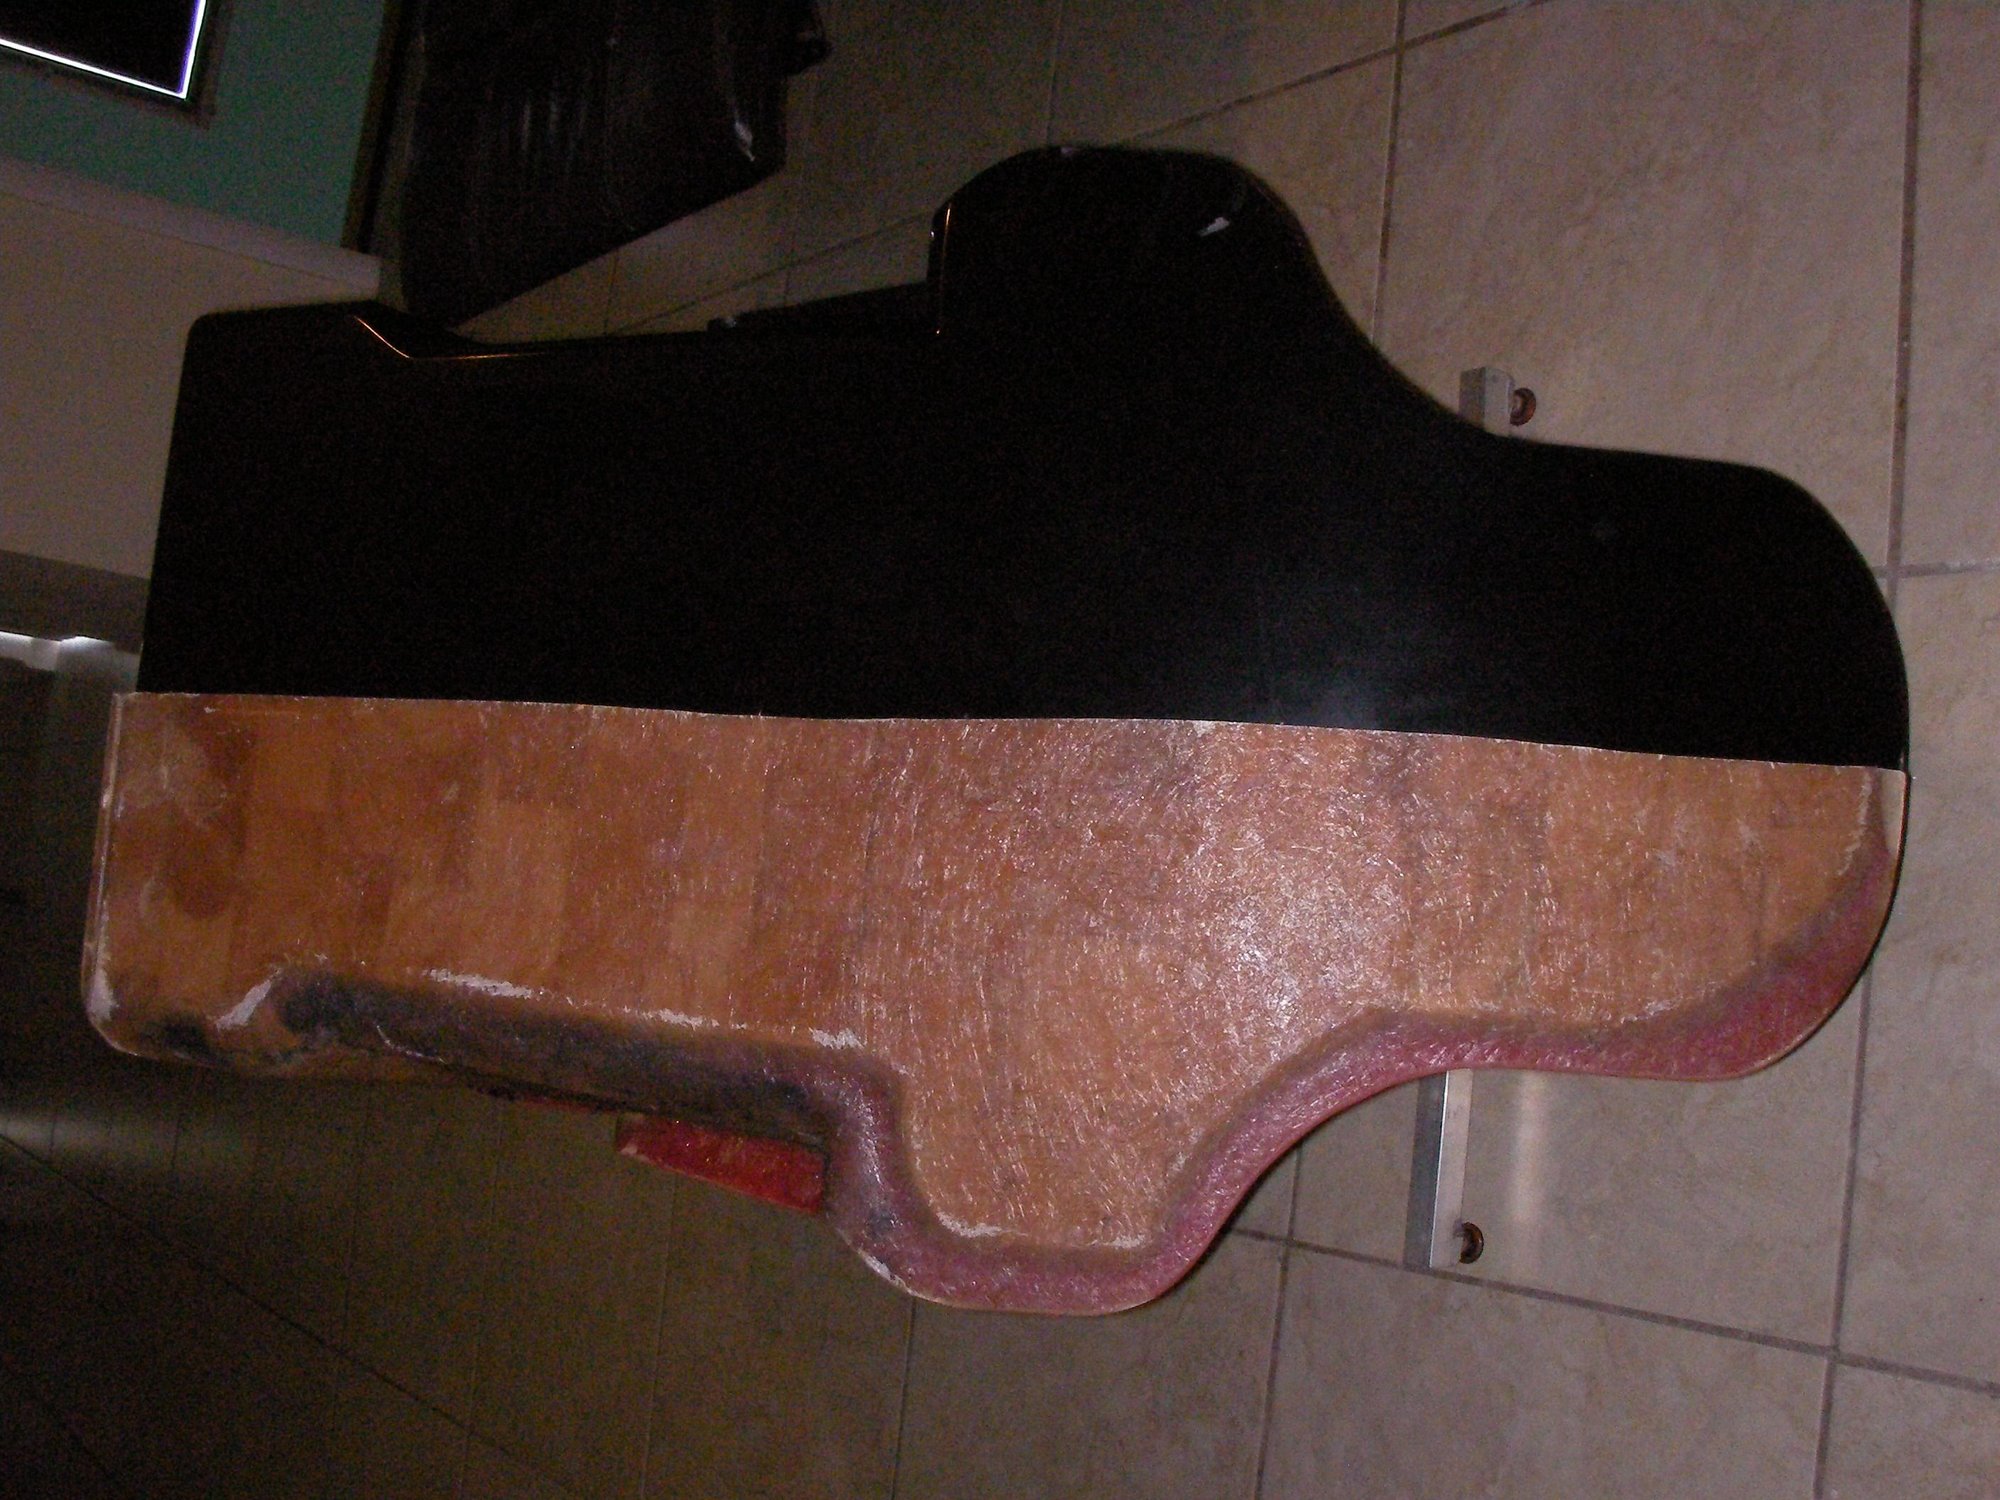
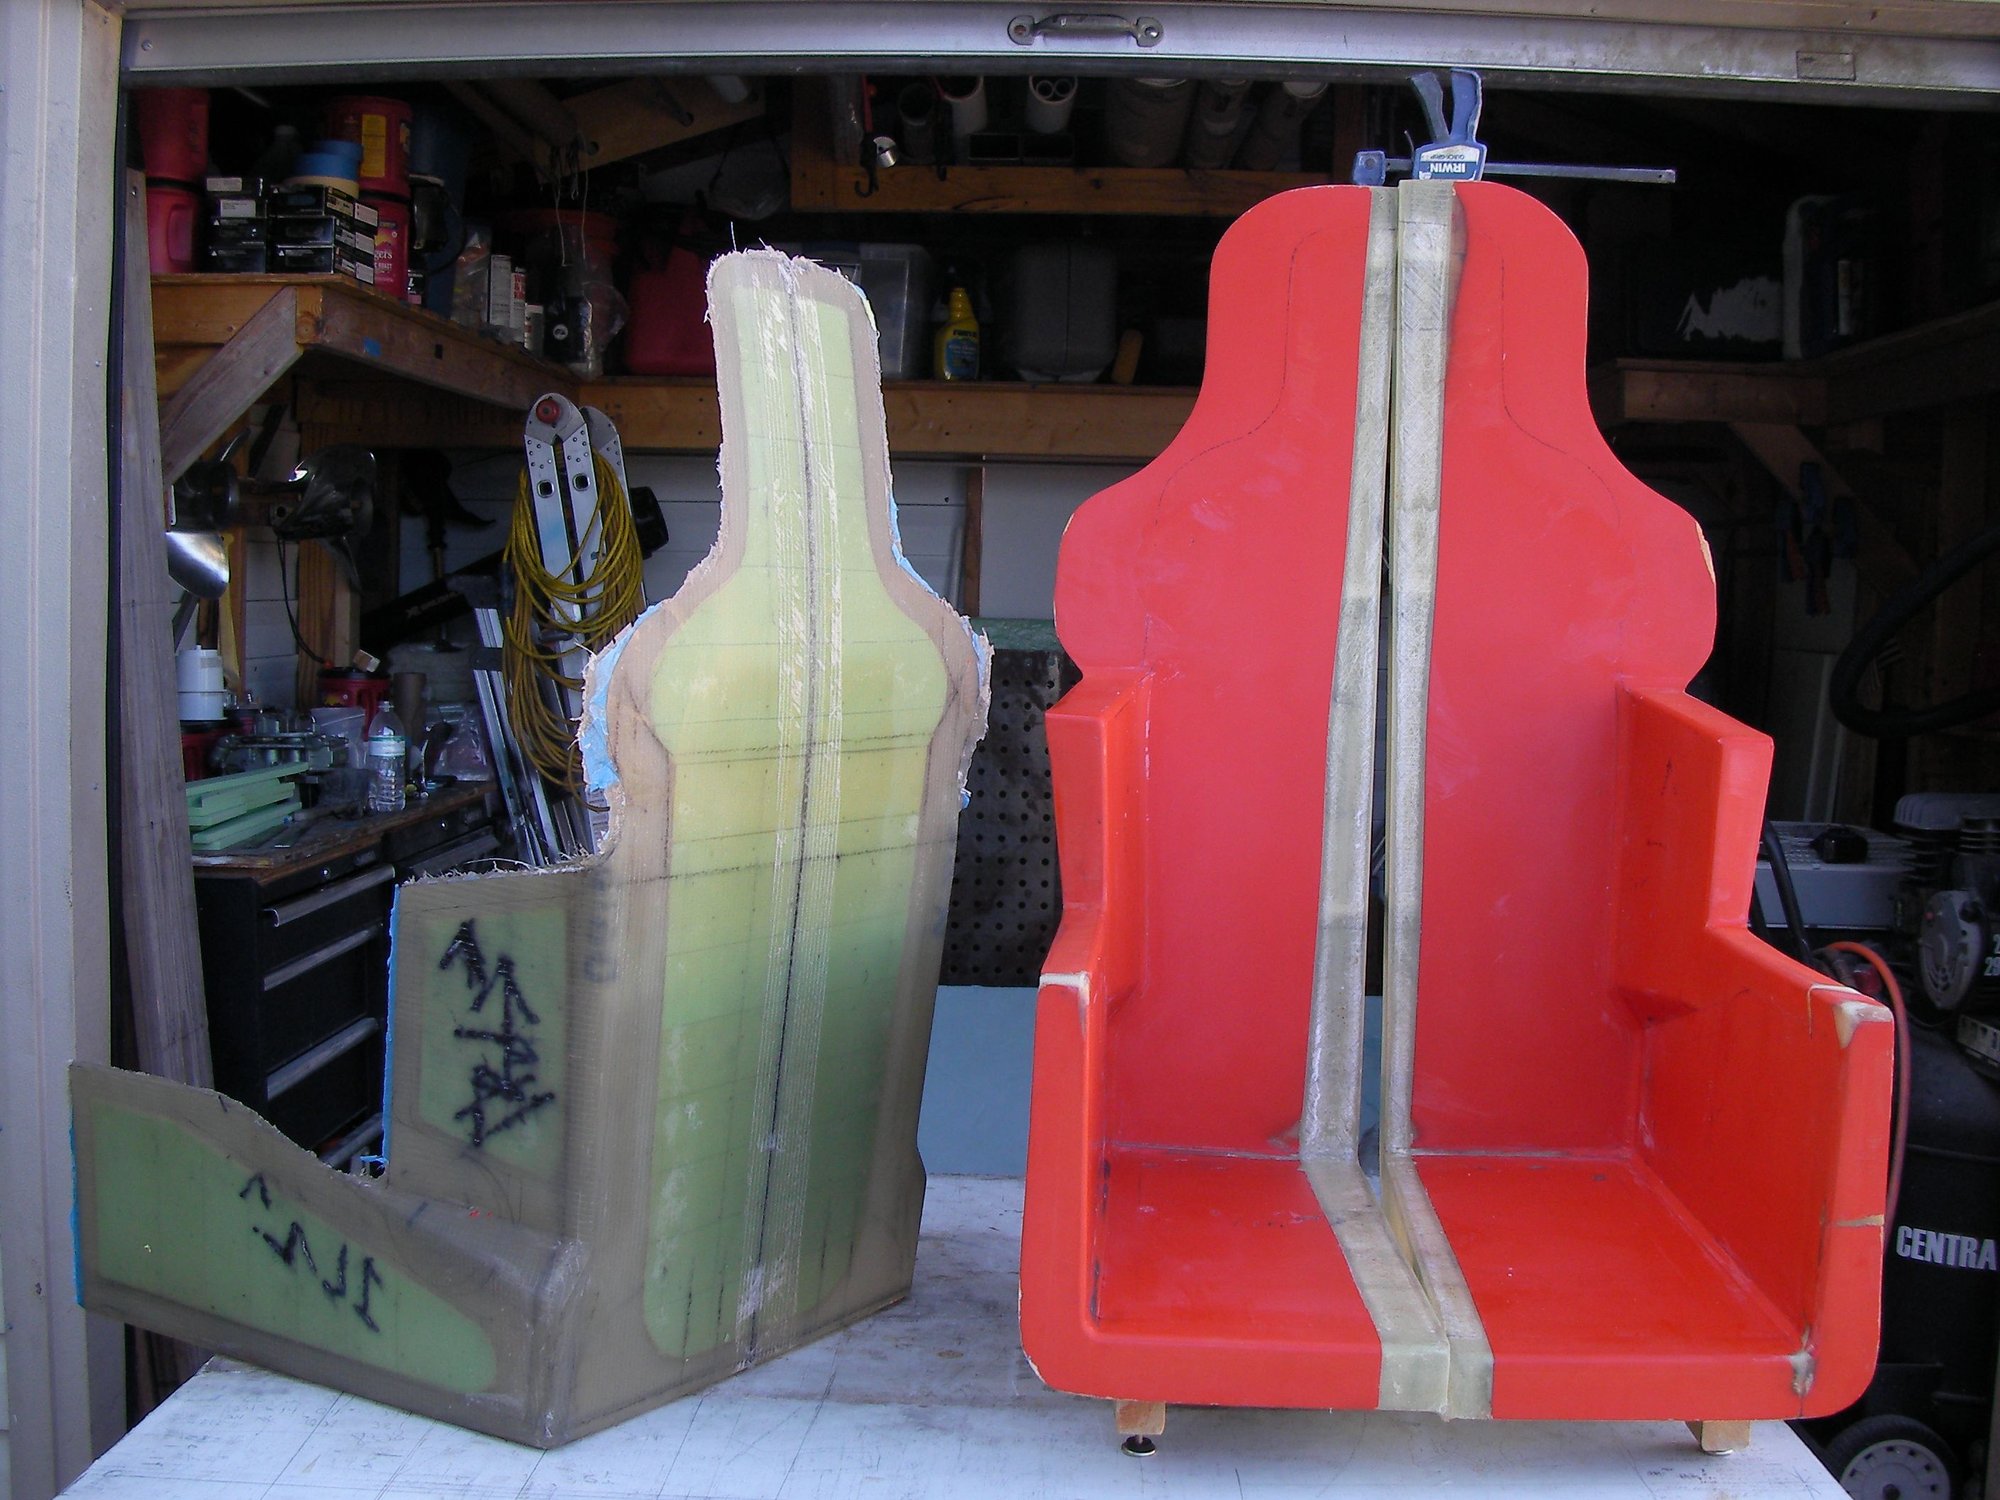
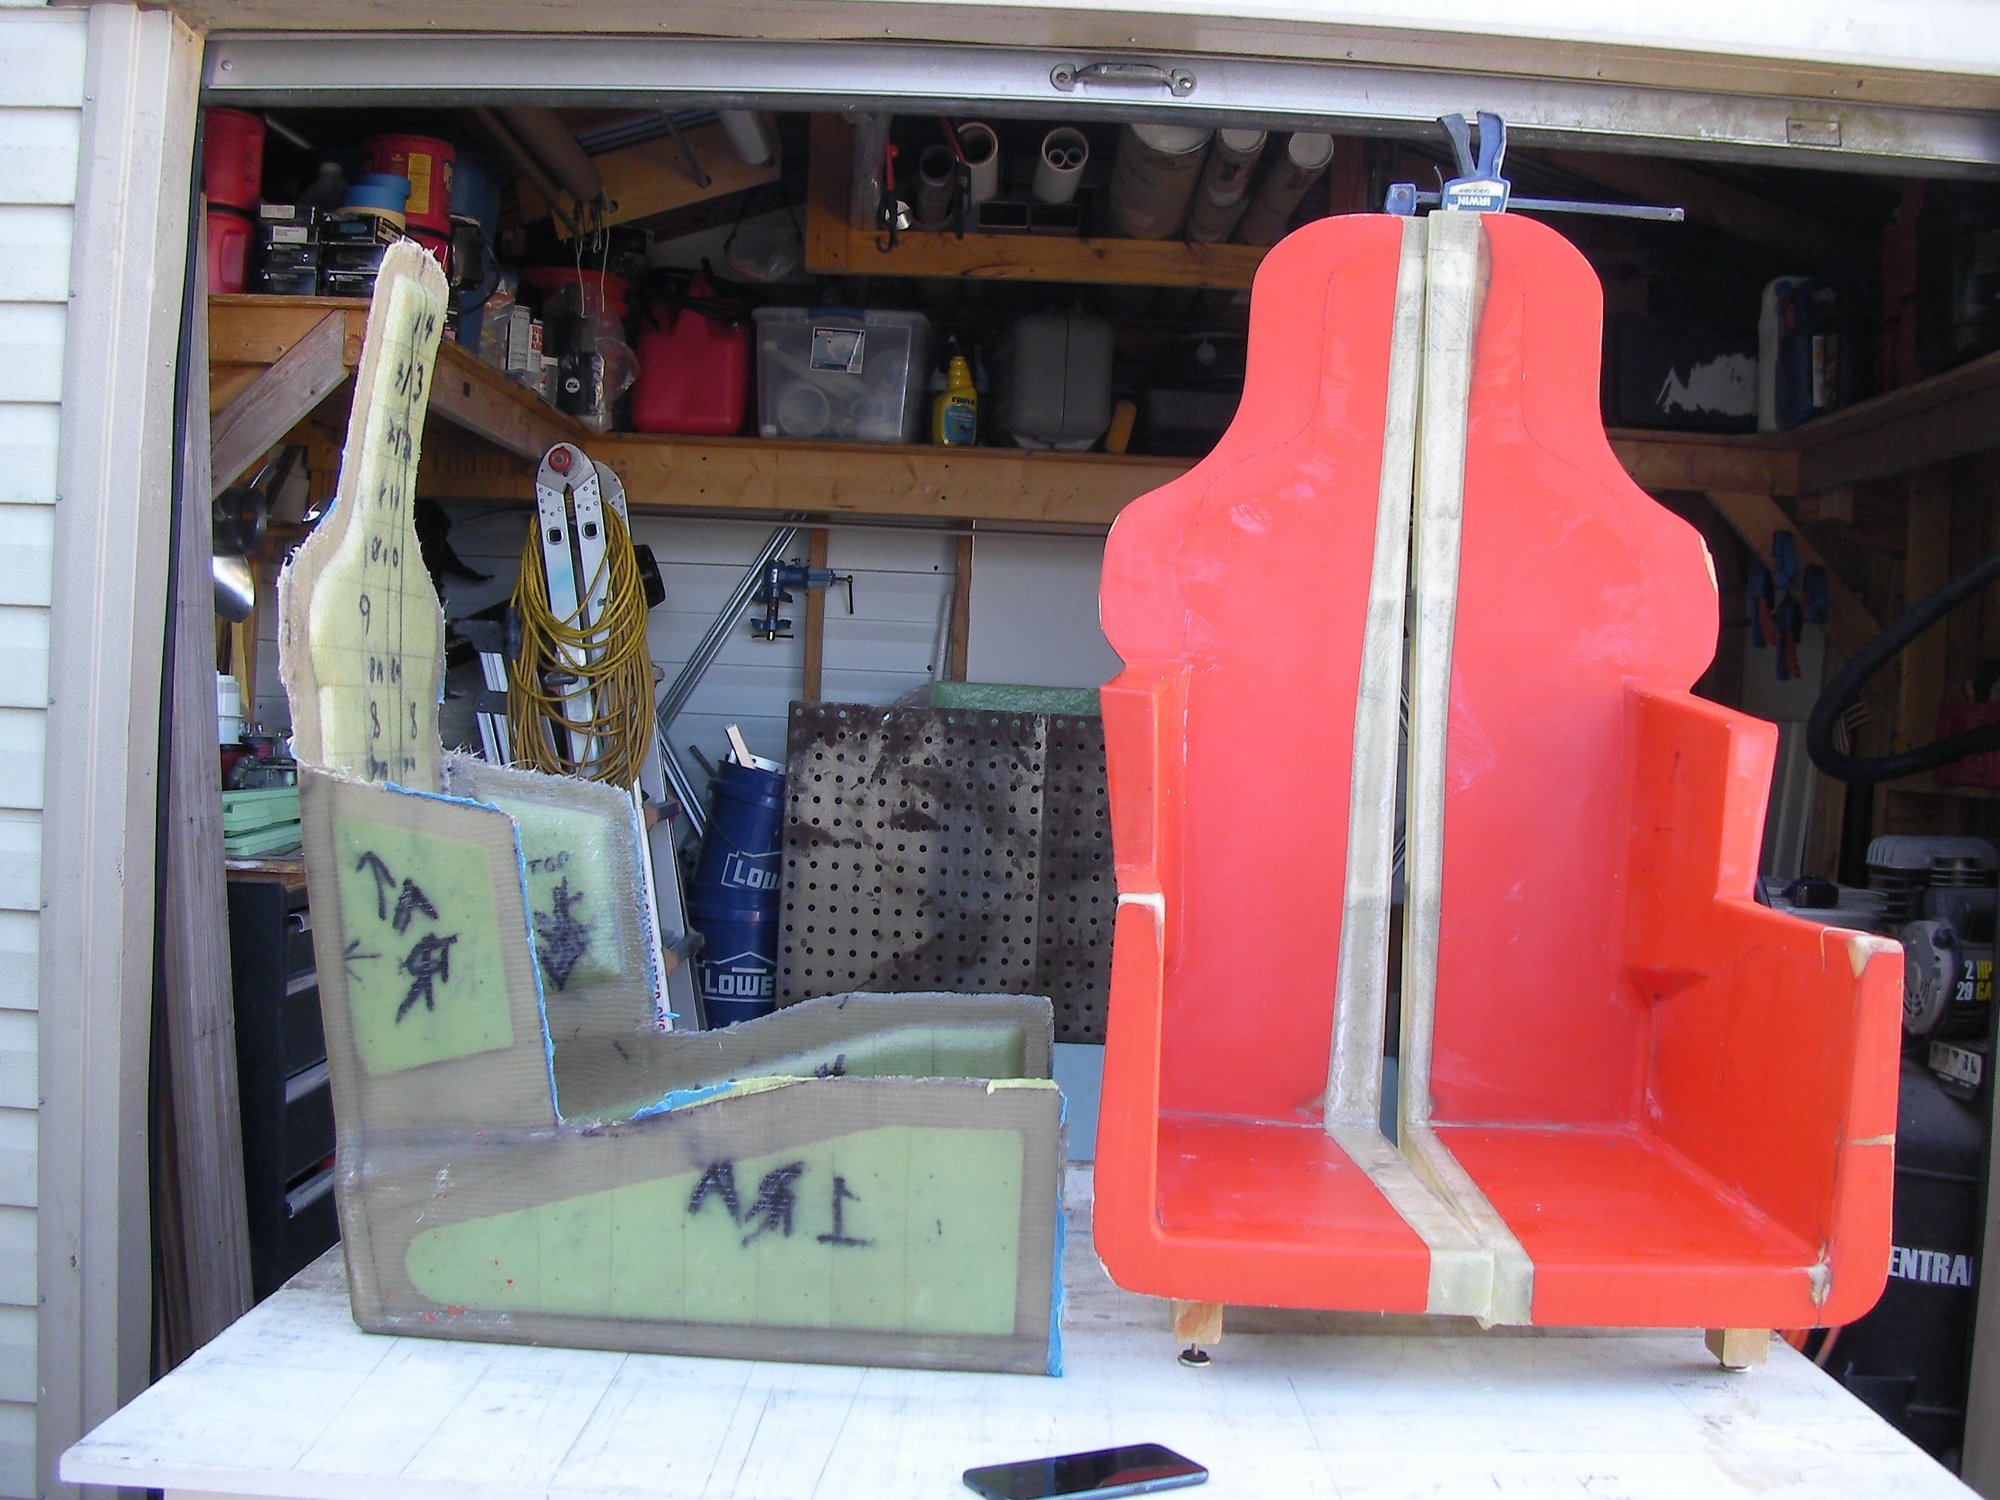
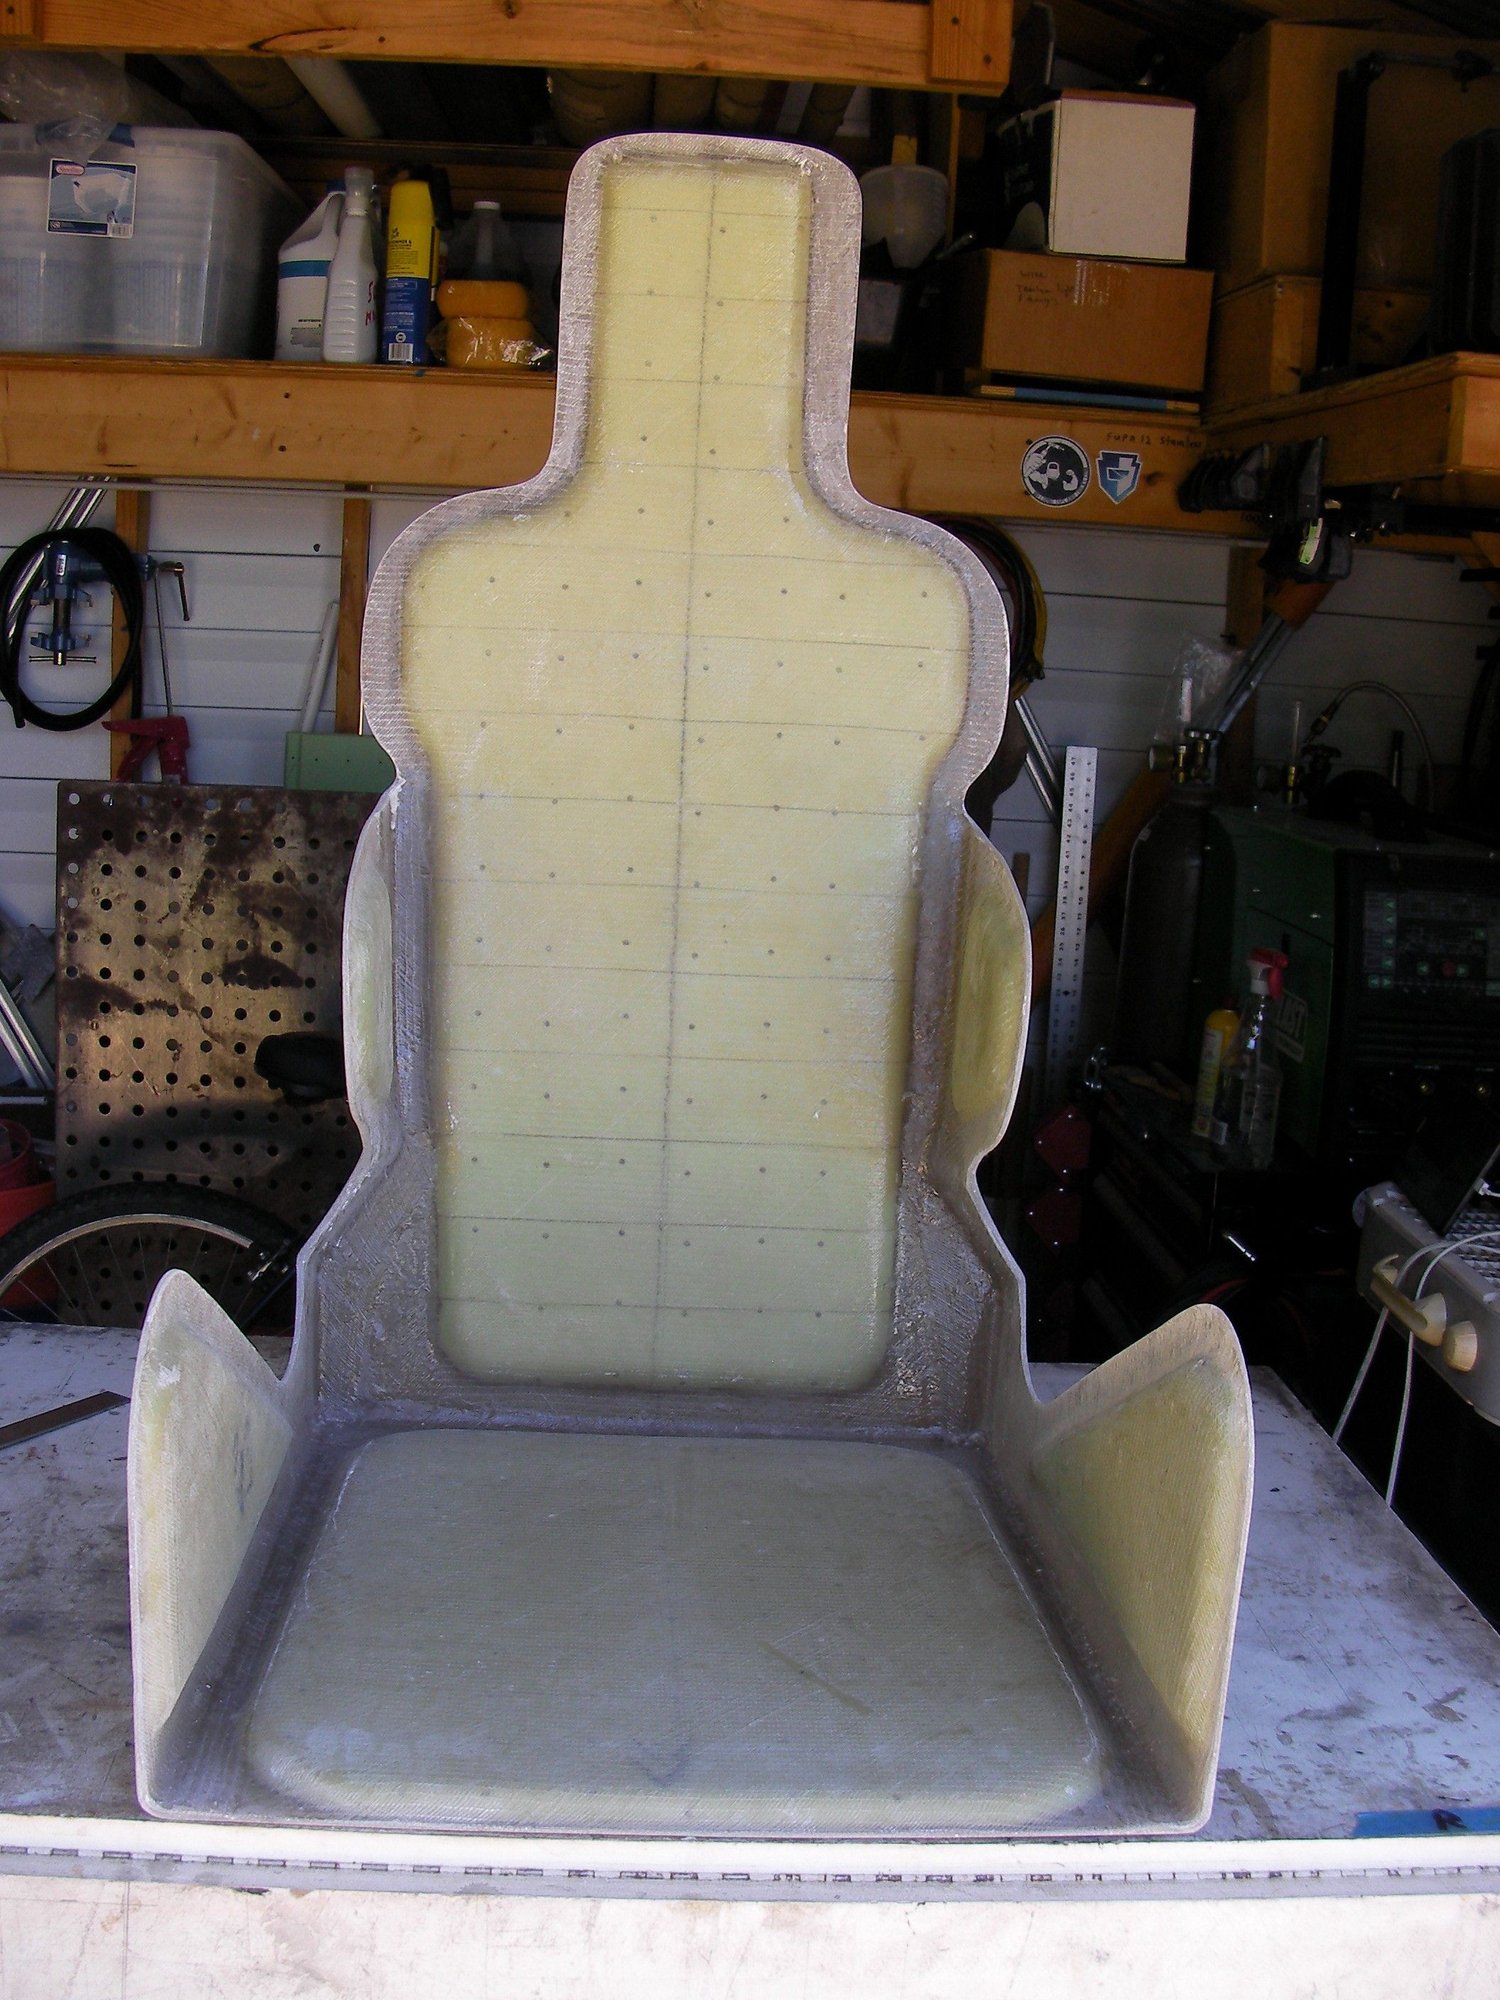
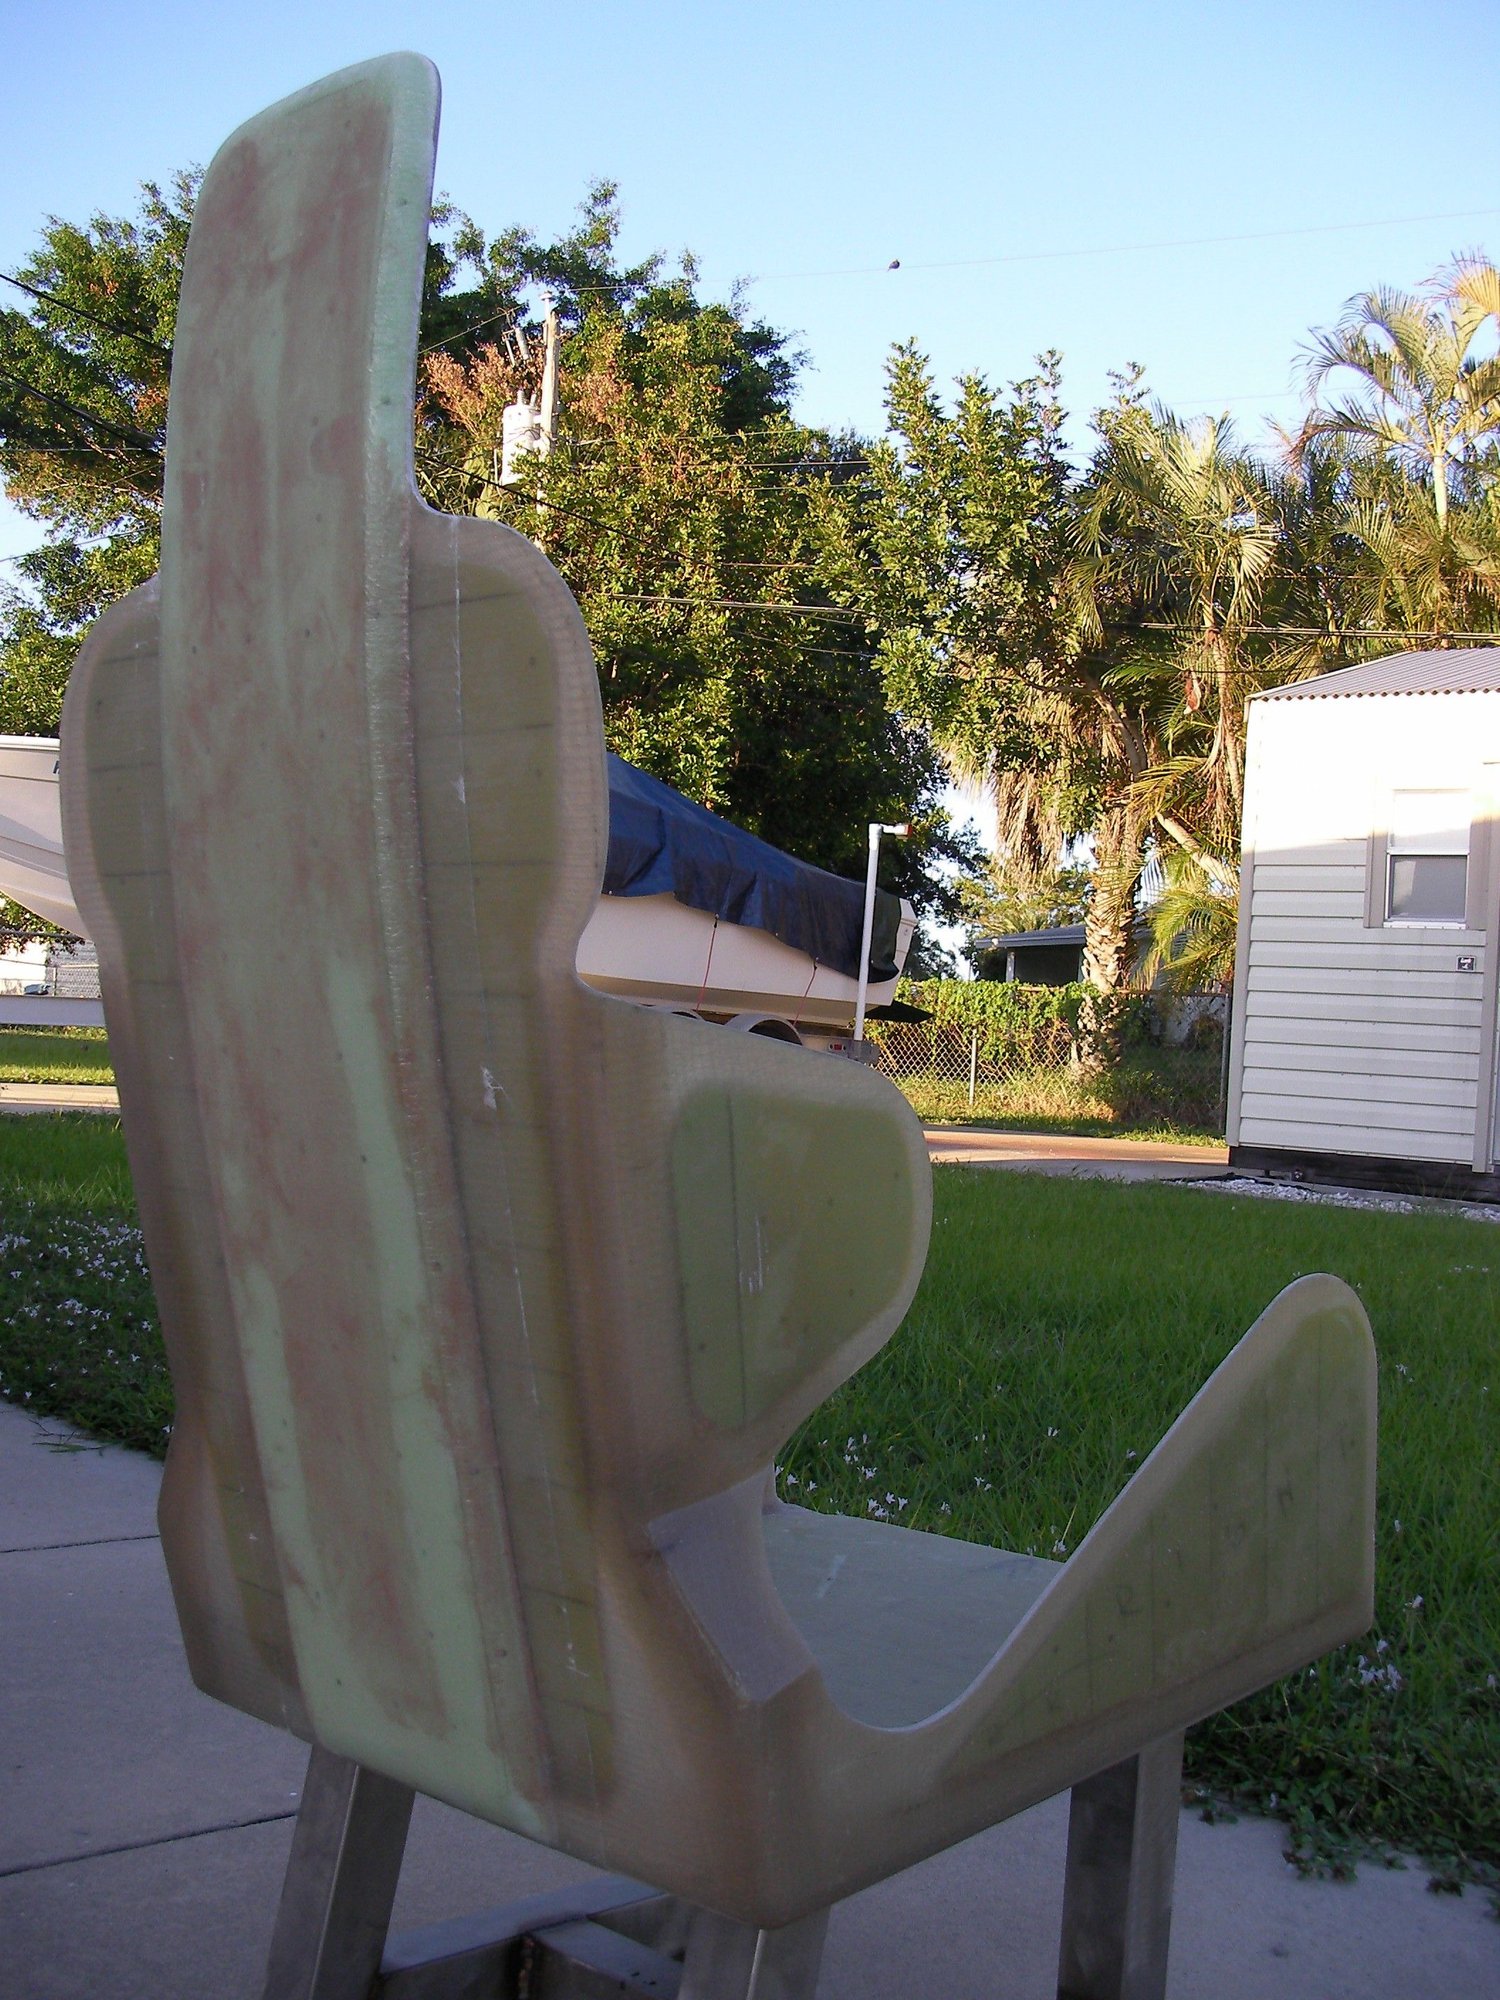
Mold 2 mod 3, seat 1. other than for skinning you can keep the carbon, for now it's too big a learning curve.
dummy me but what the heck. Pva in the mold and the seat fell out, a wedge to to start splitting the flange and that's it.
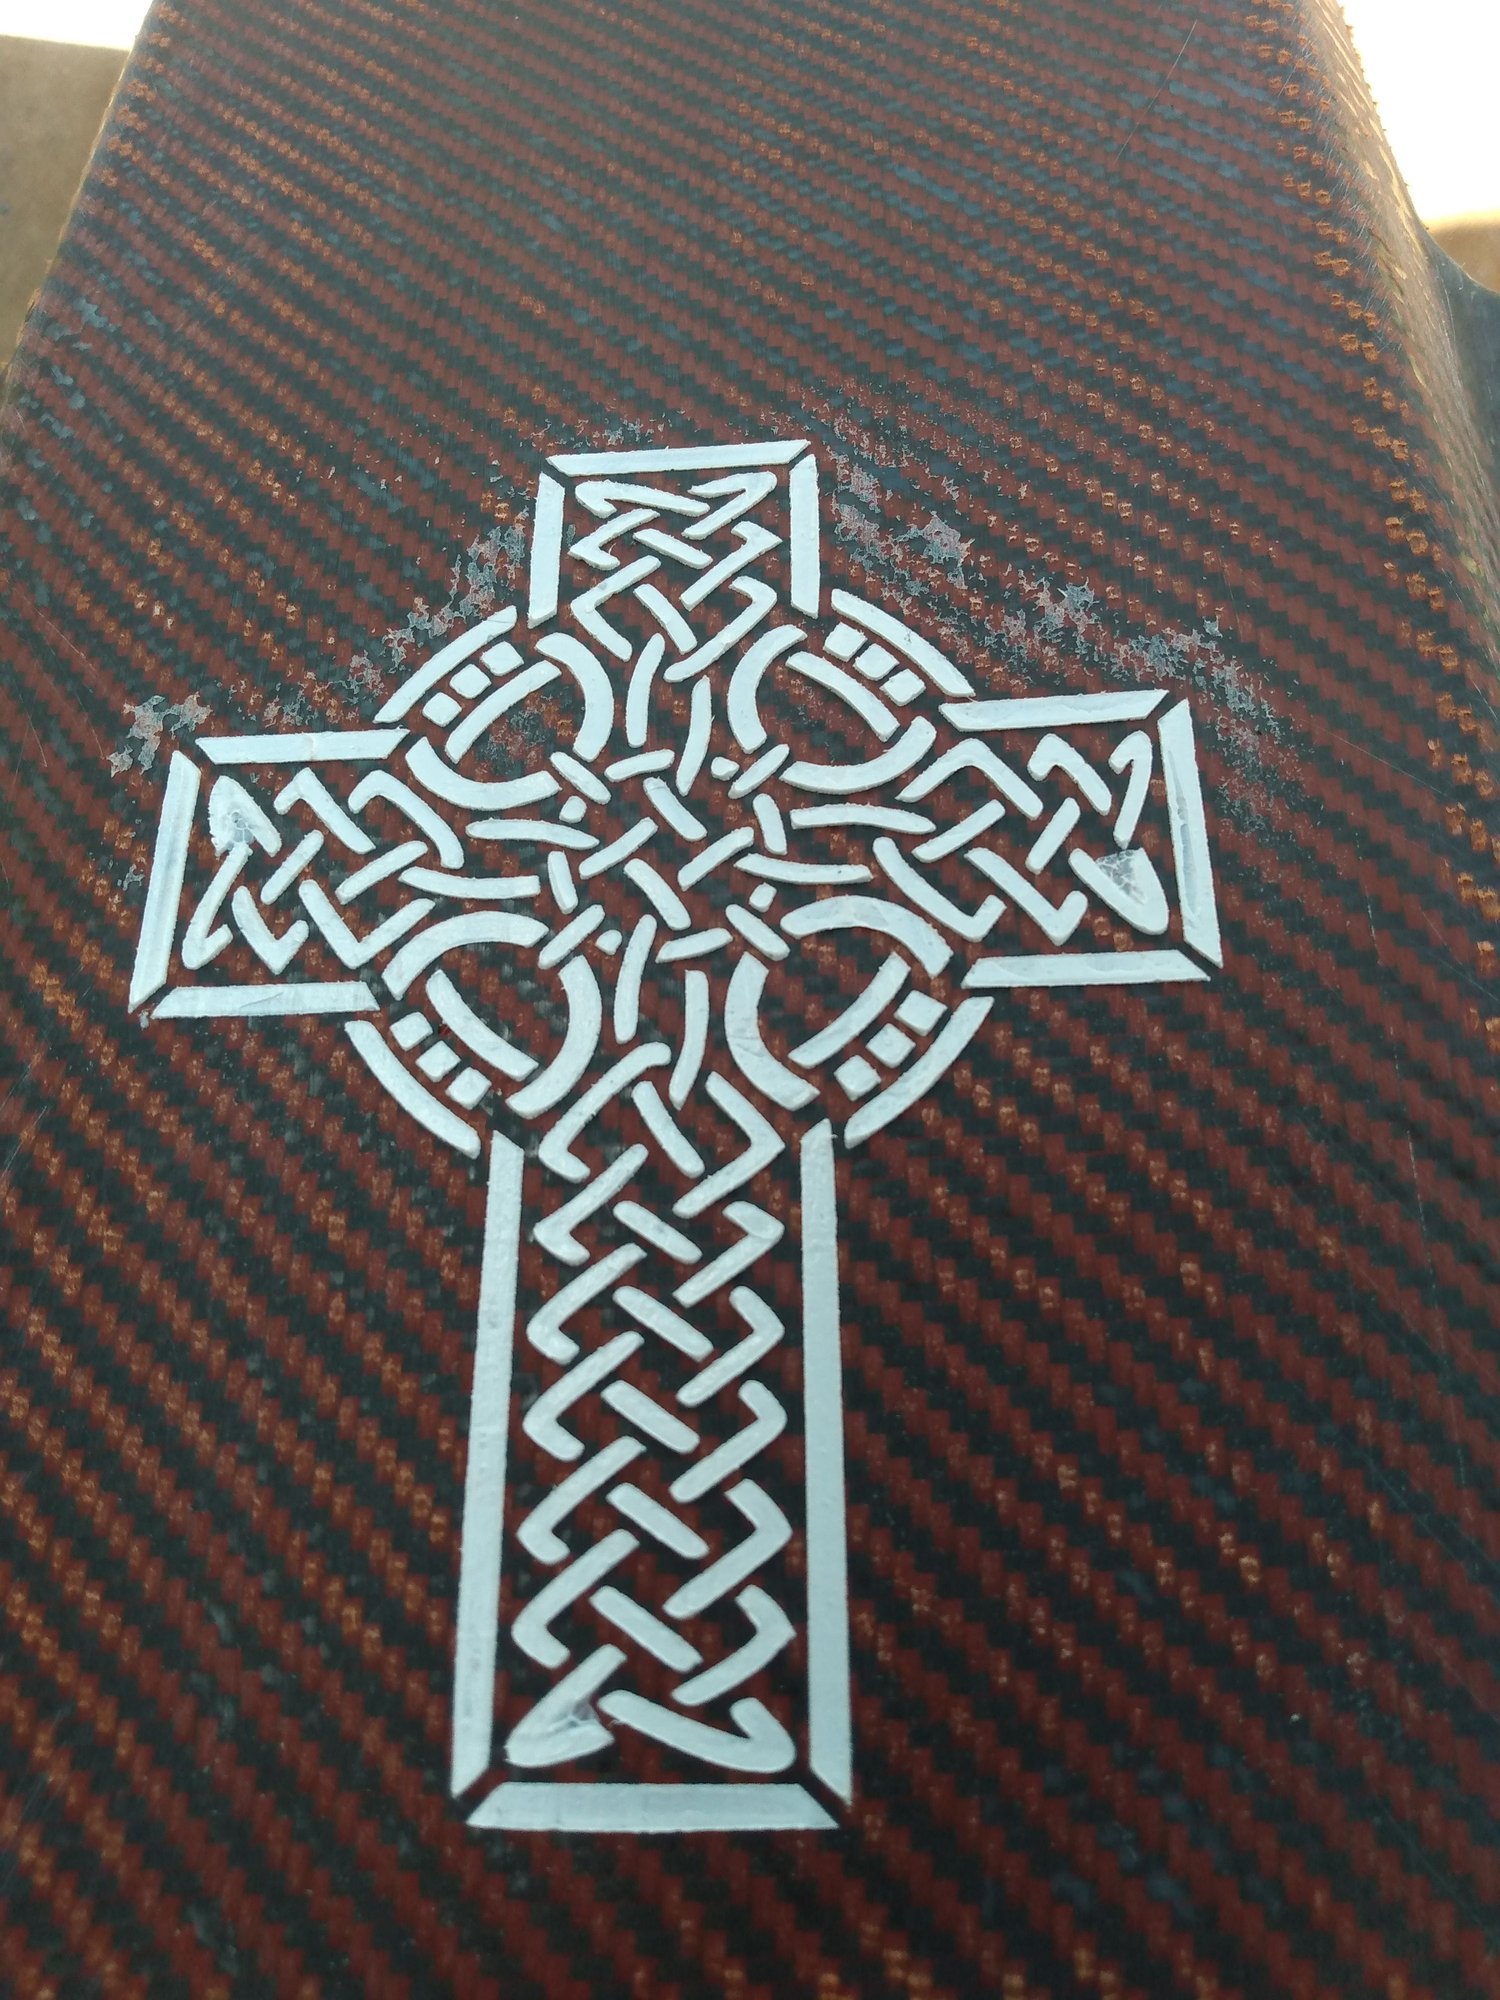
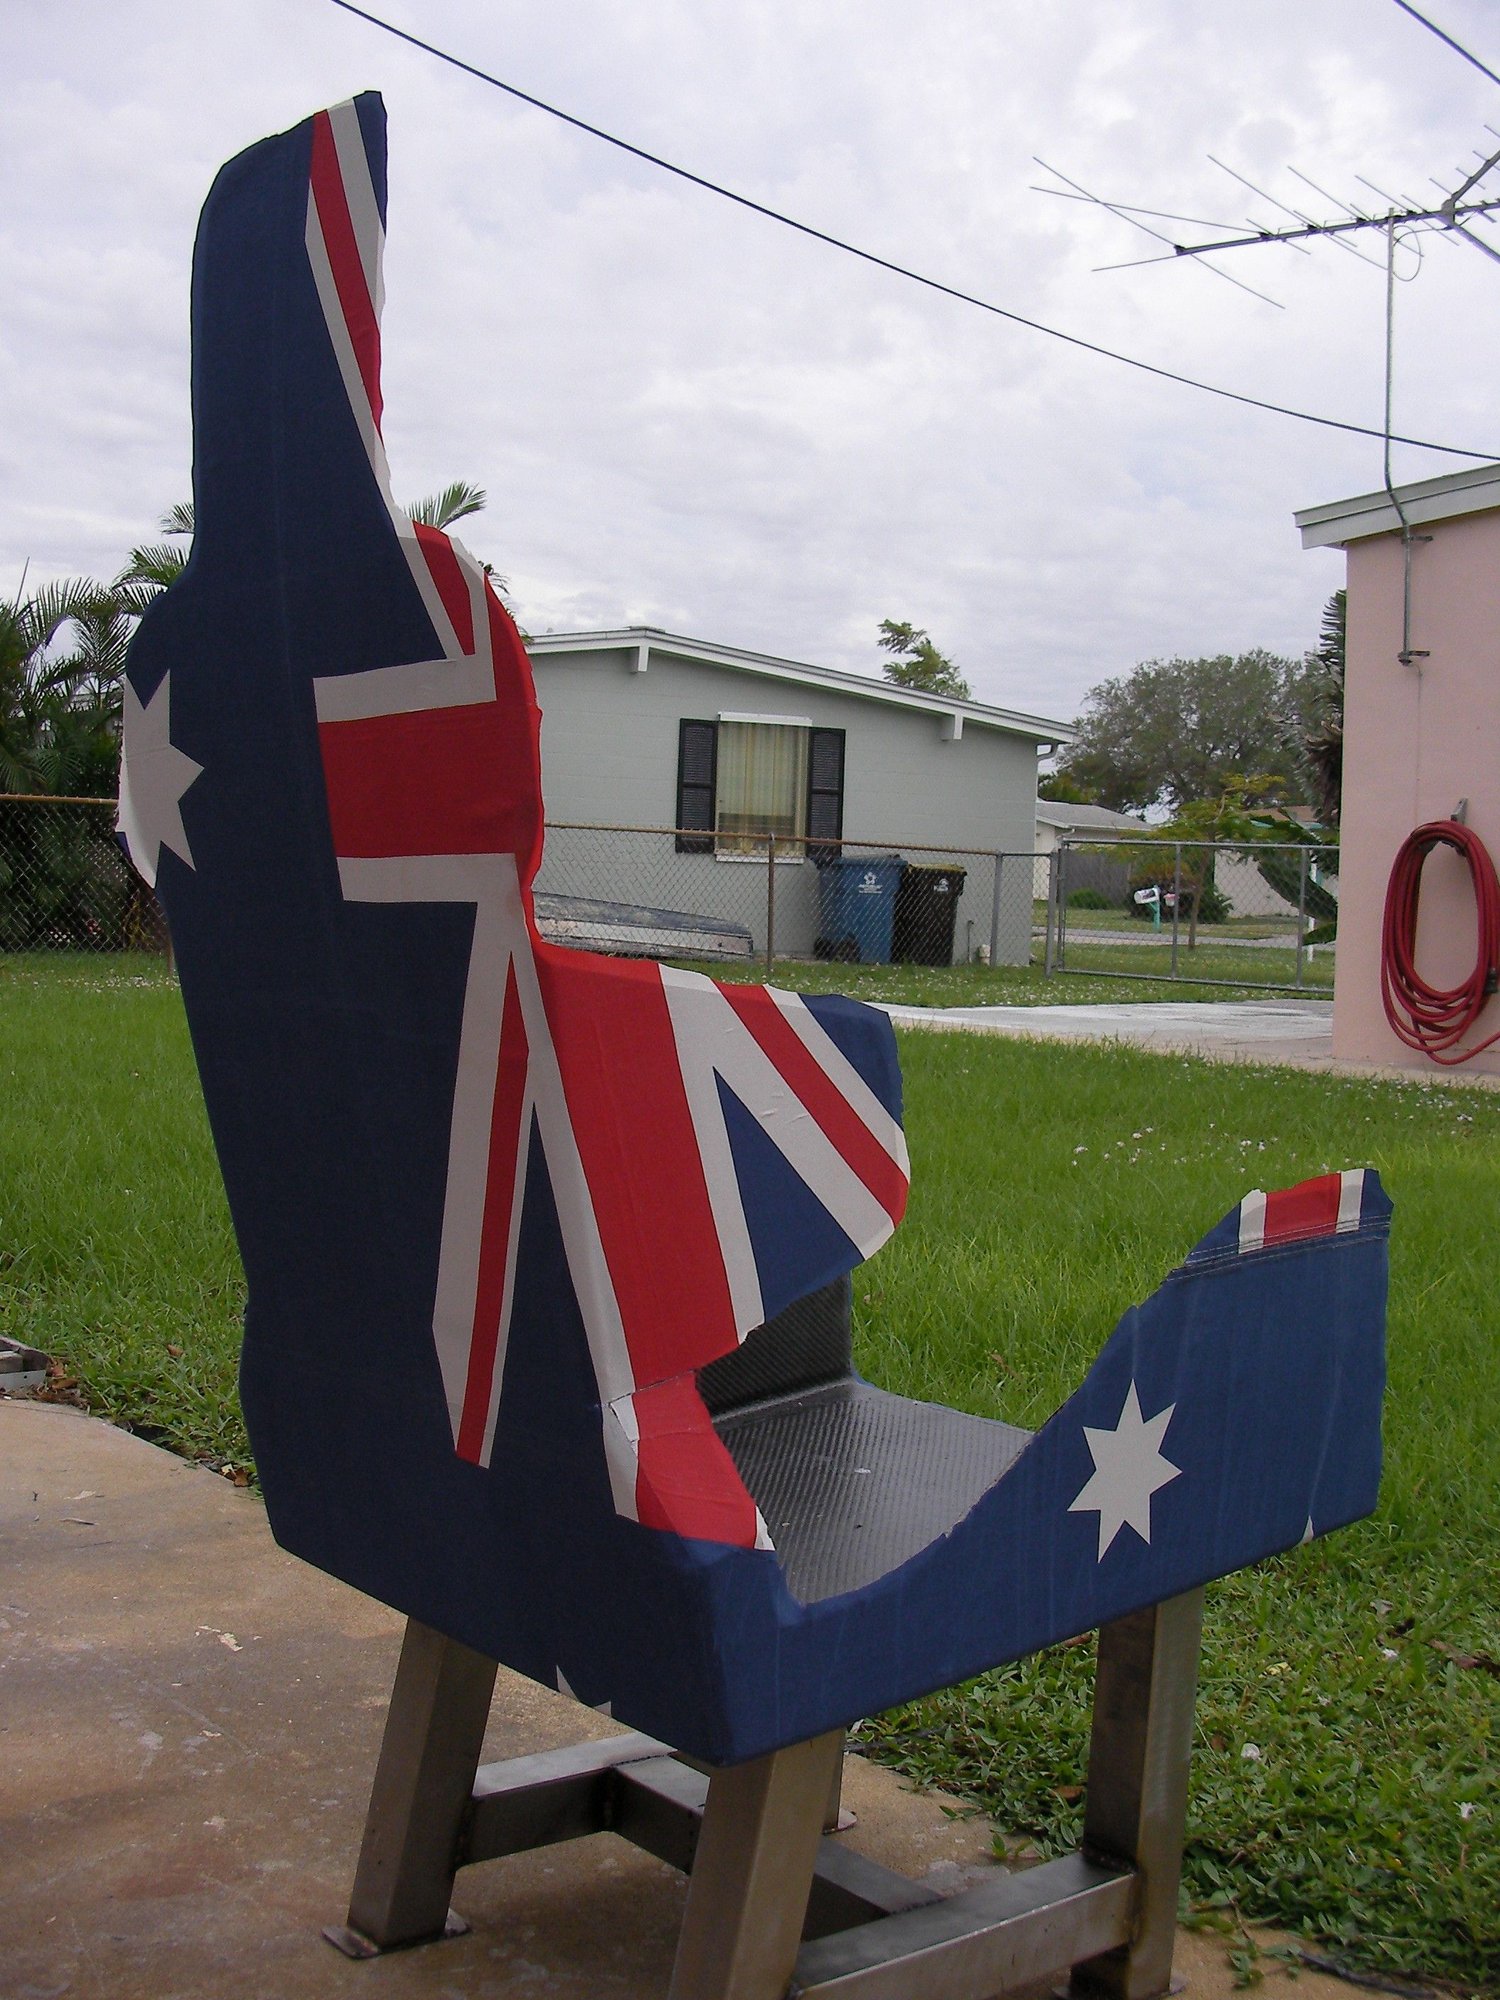
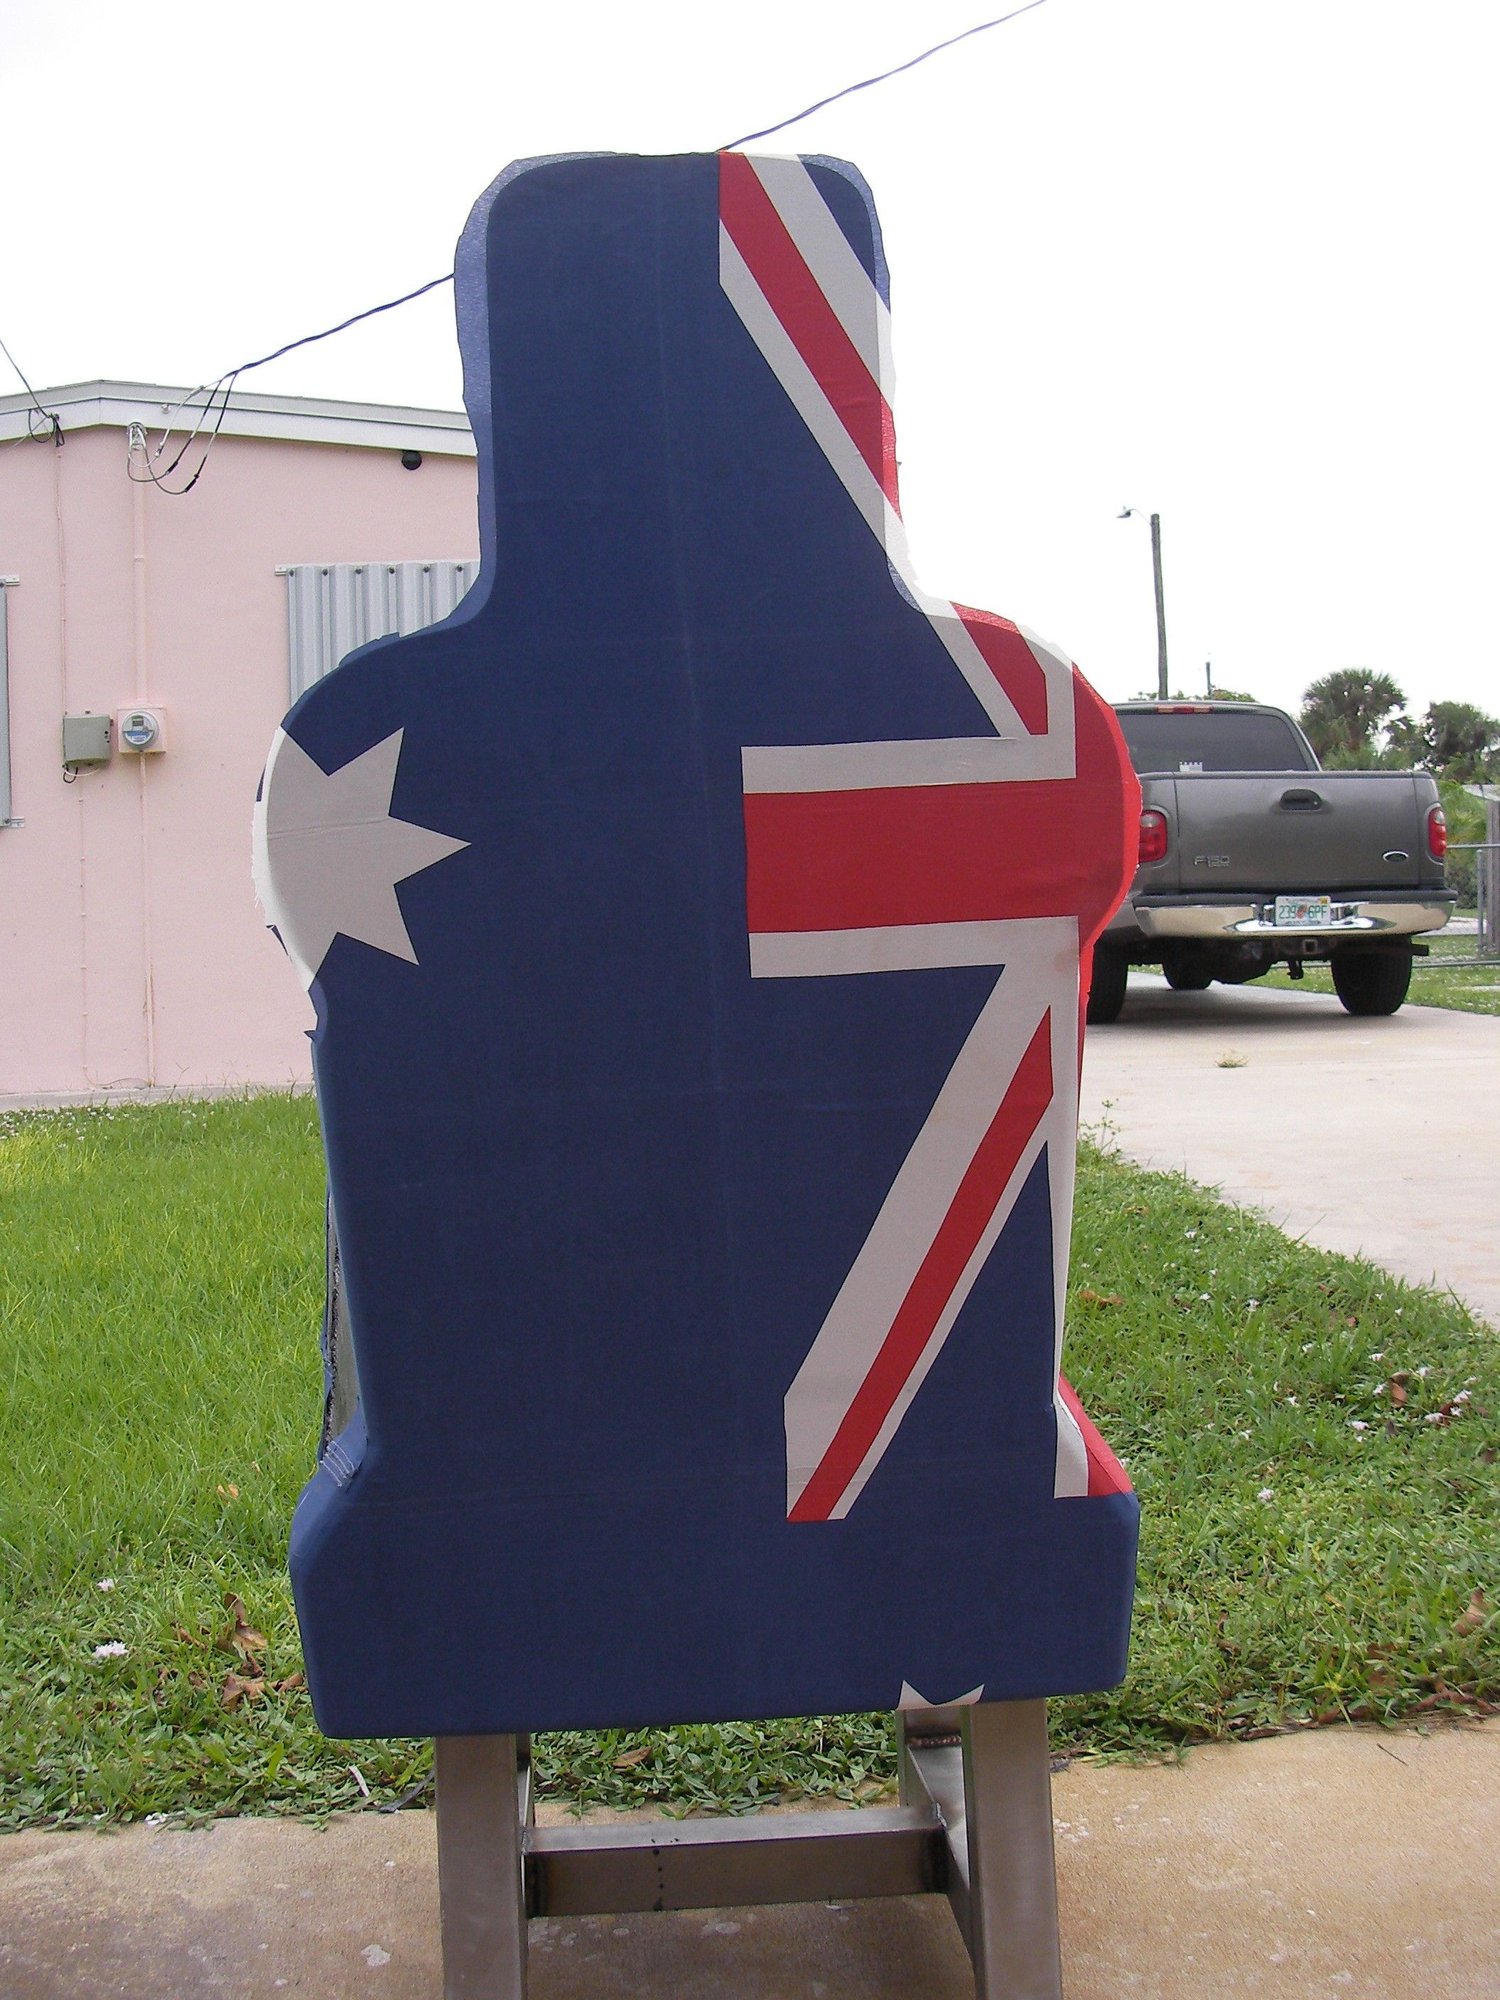
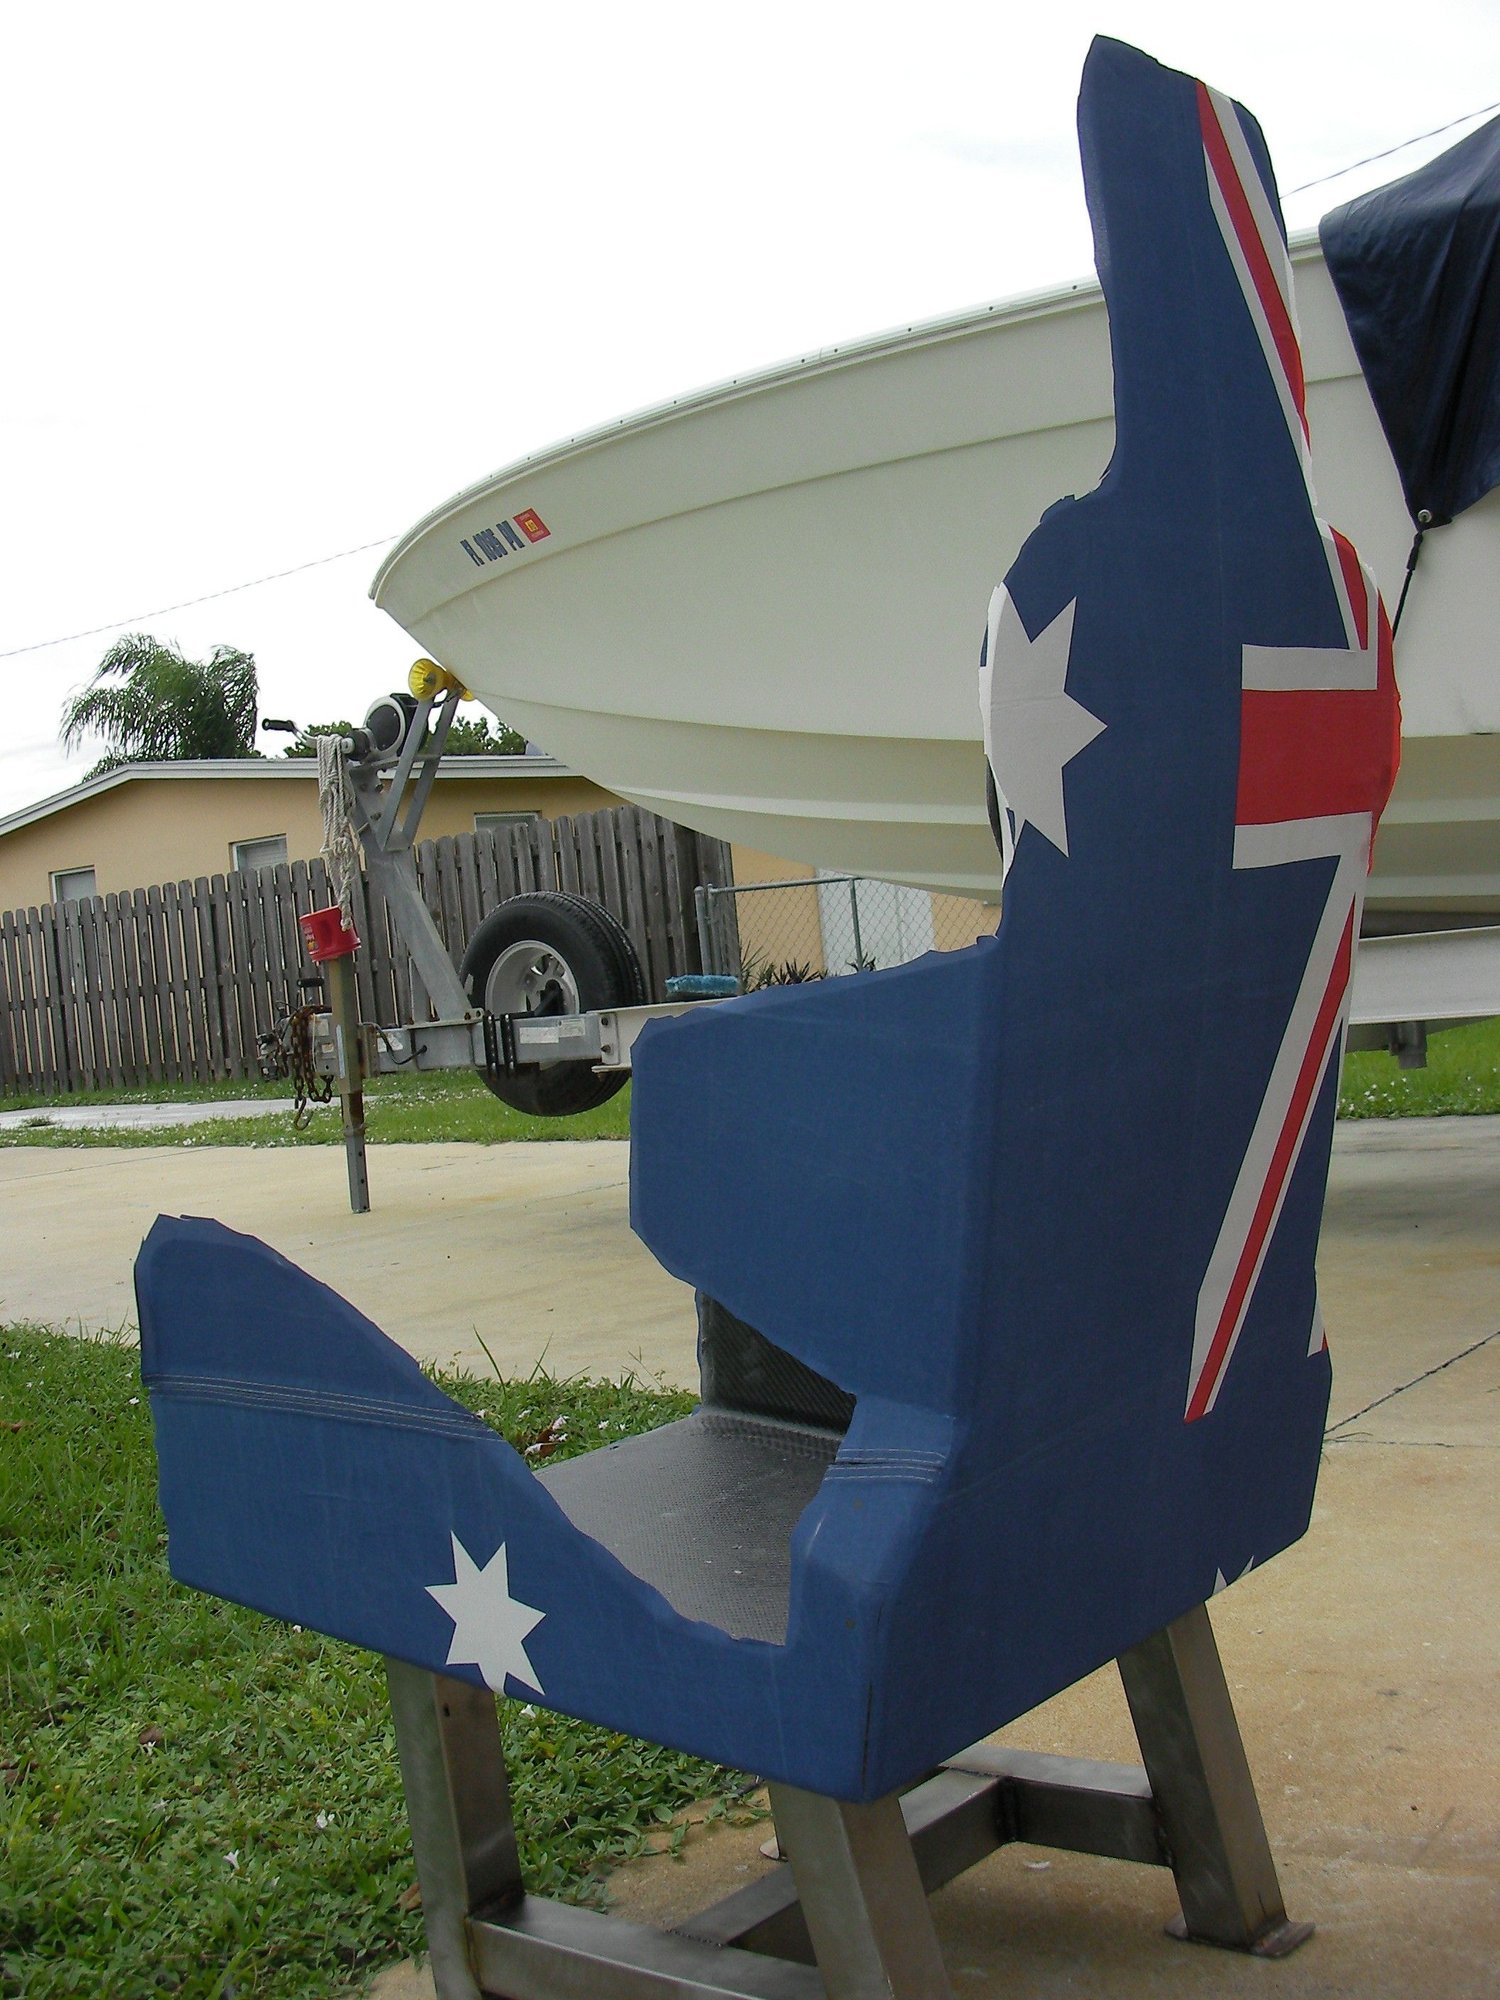
Mod 3, the torso bolsters are perfect, for laughs it got skinned in a flag I had folded up in a ziploc bag since 07, doable but need to find the right resin for it.
Last edited by outonsafari; 10-24-2022 at 10:03 PM.
10-24-2022 | 09:46 PM
#7
Thread Starter
Registered
Joined: May 2009
Posts: 1,942
Likes: 527
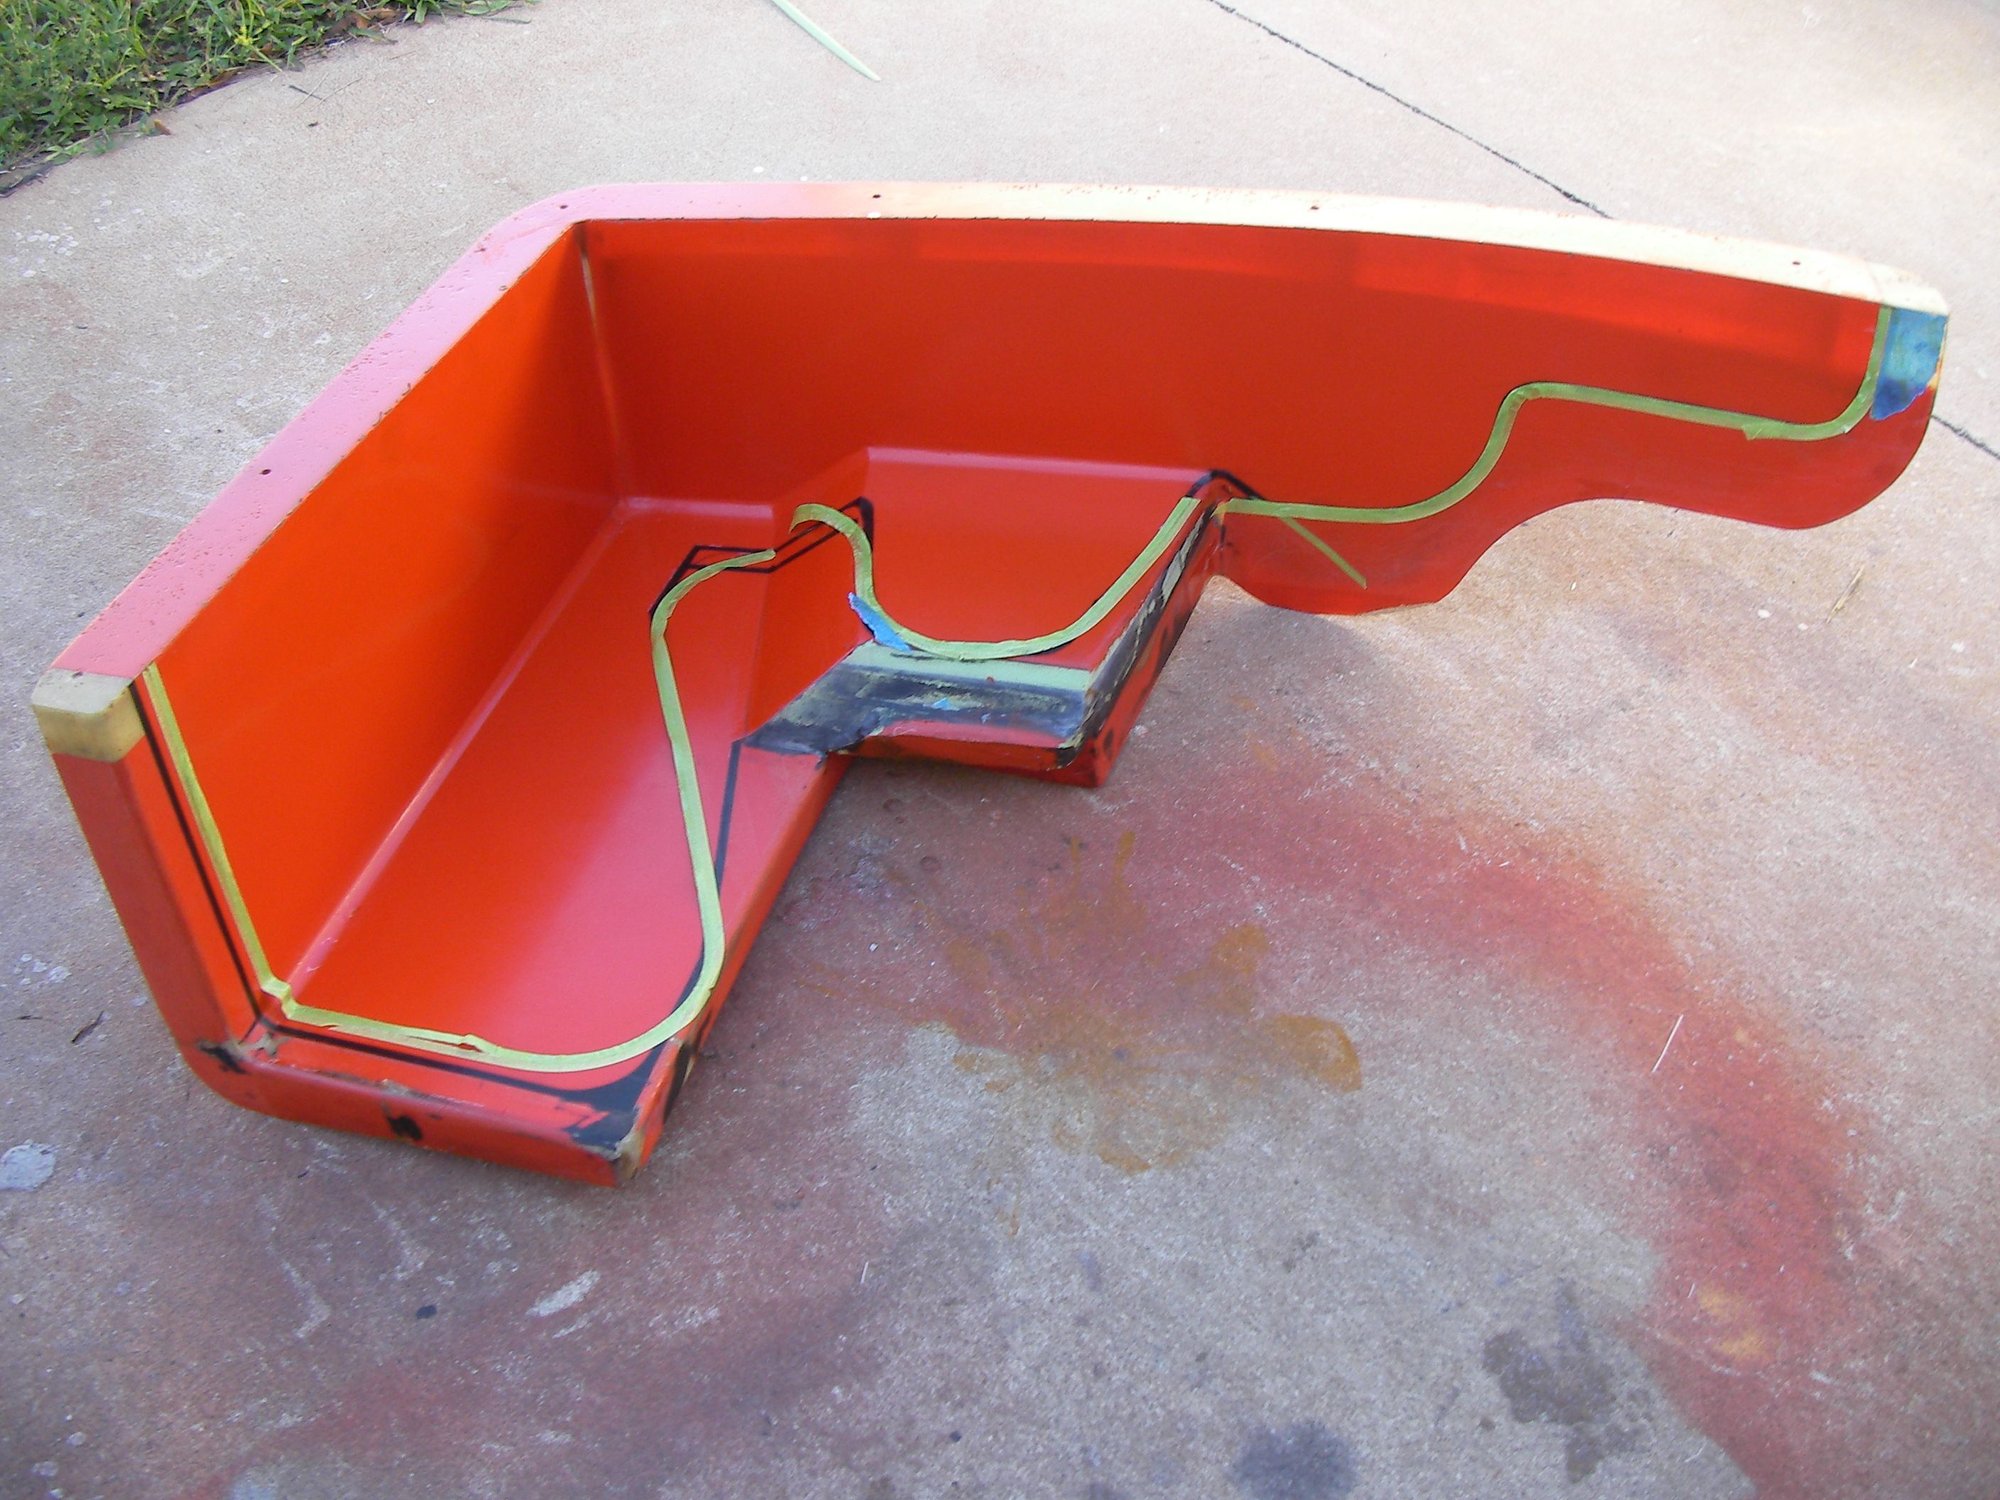
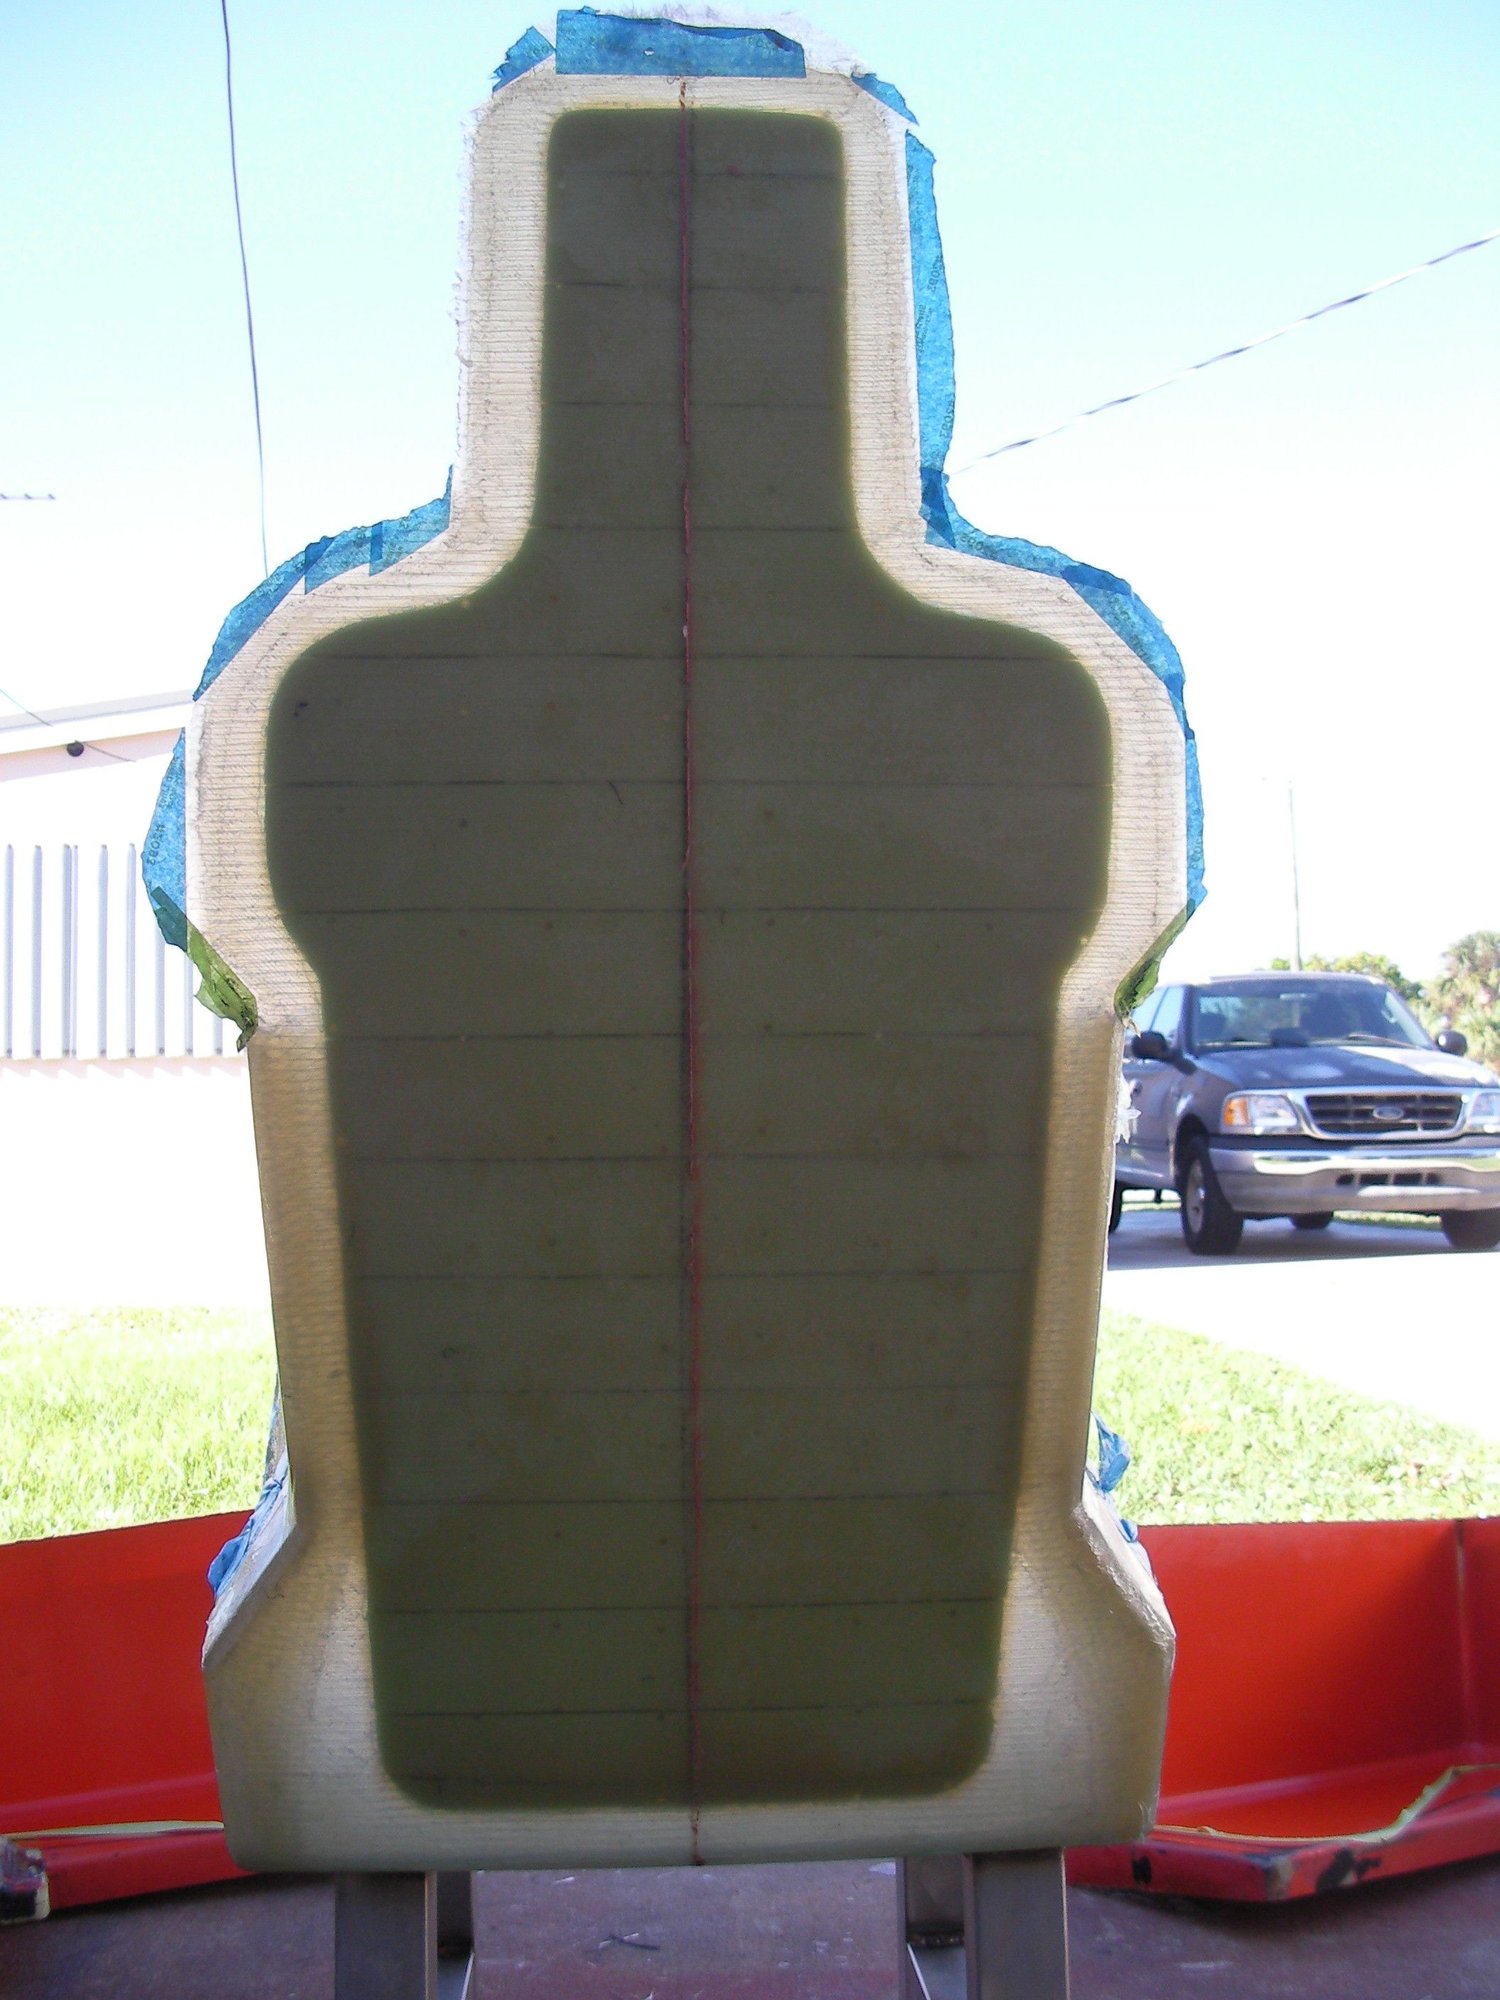
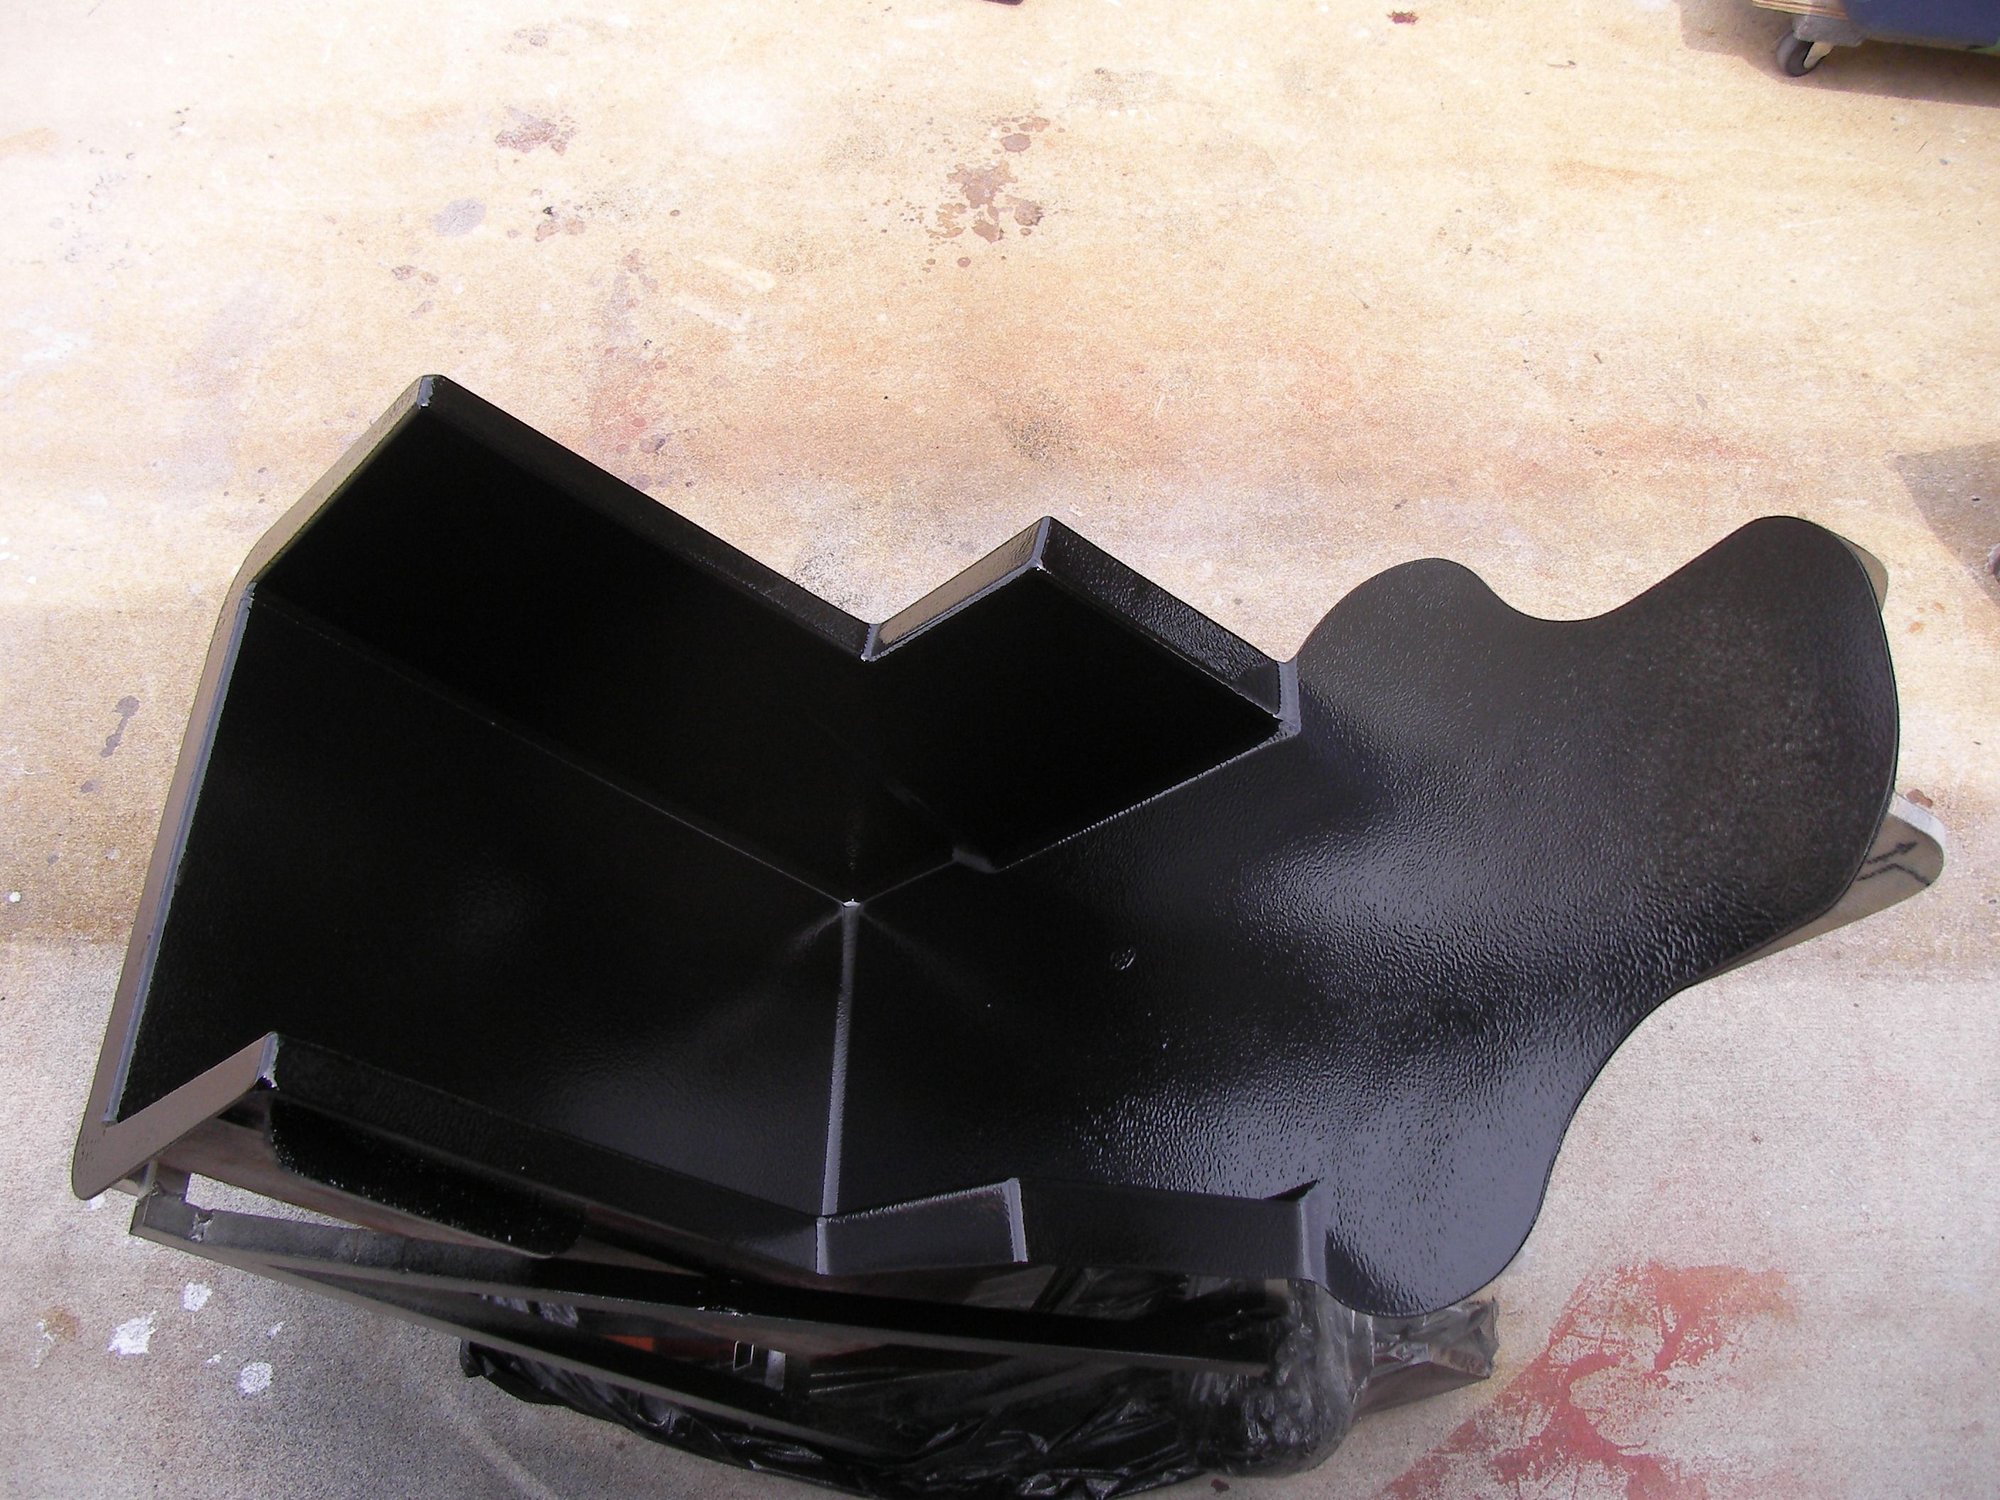
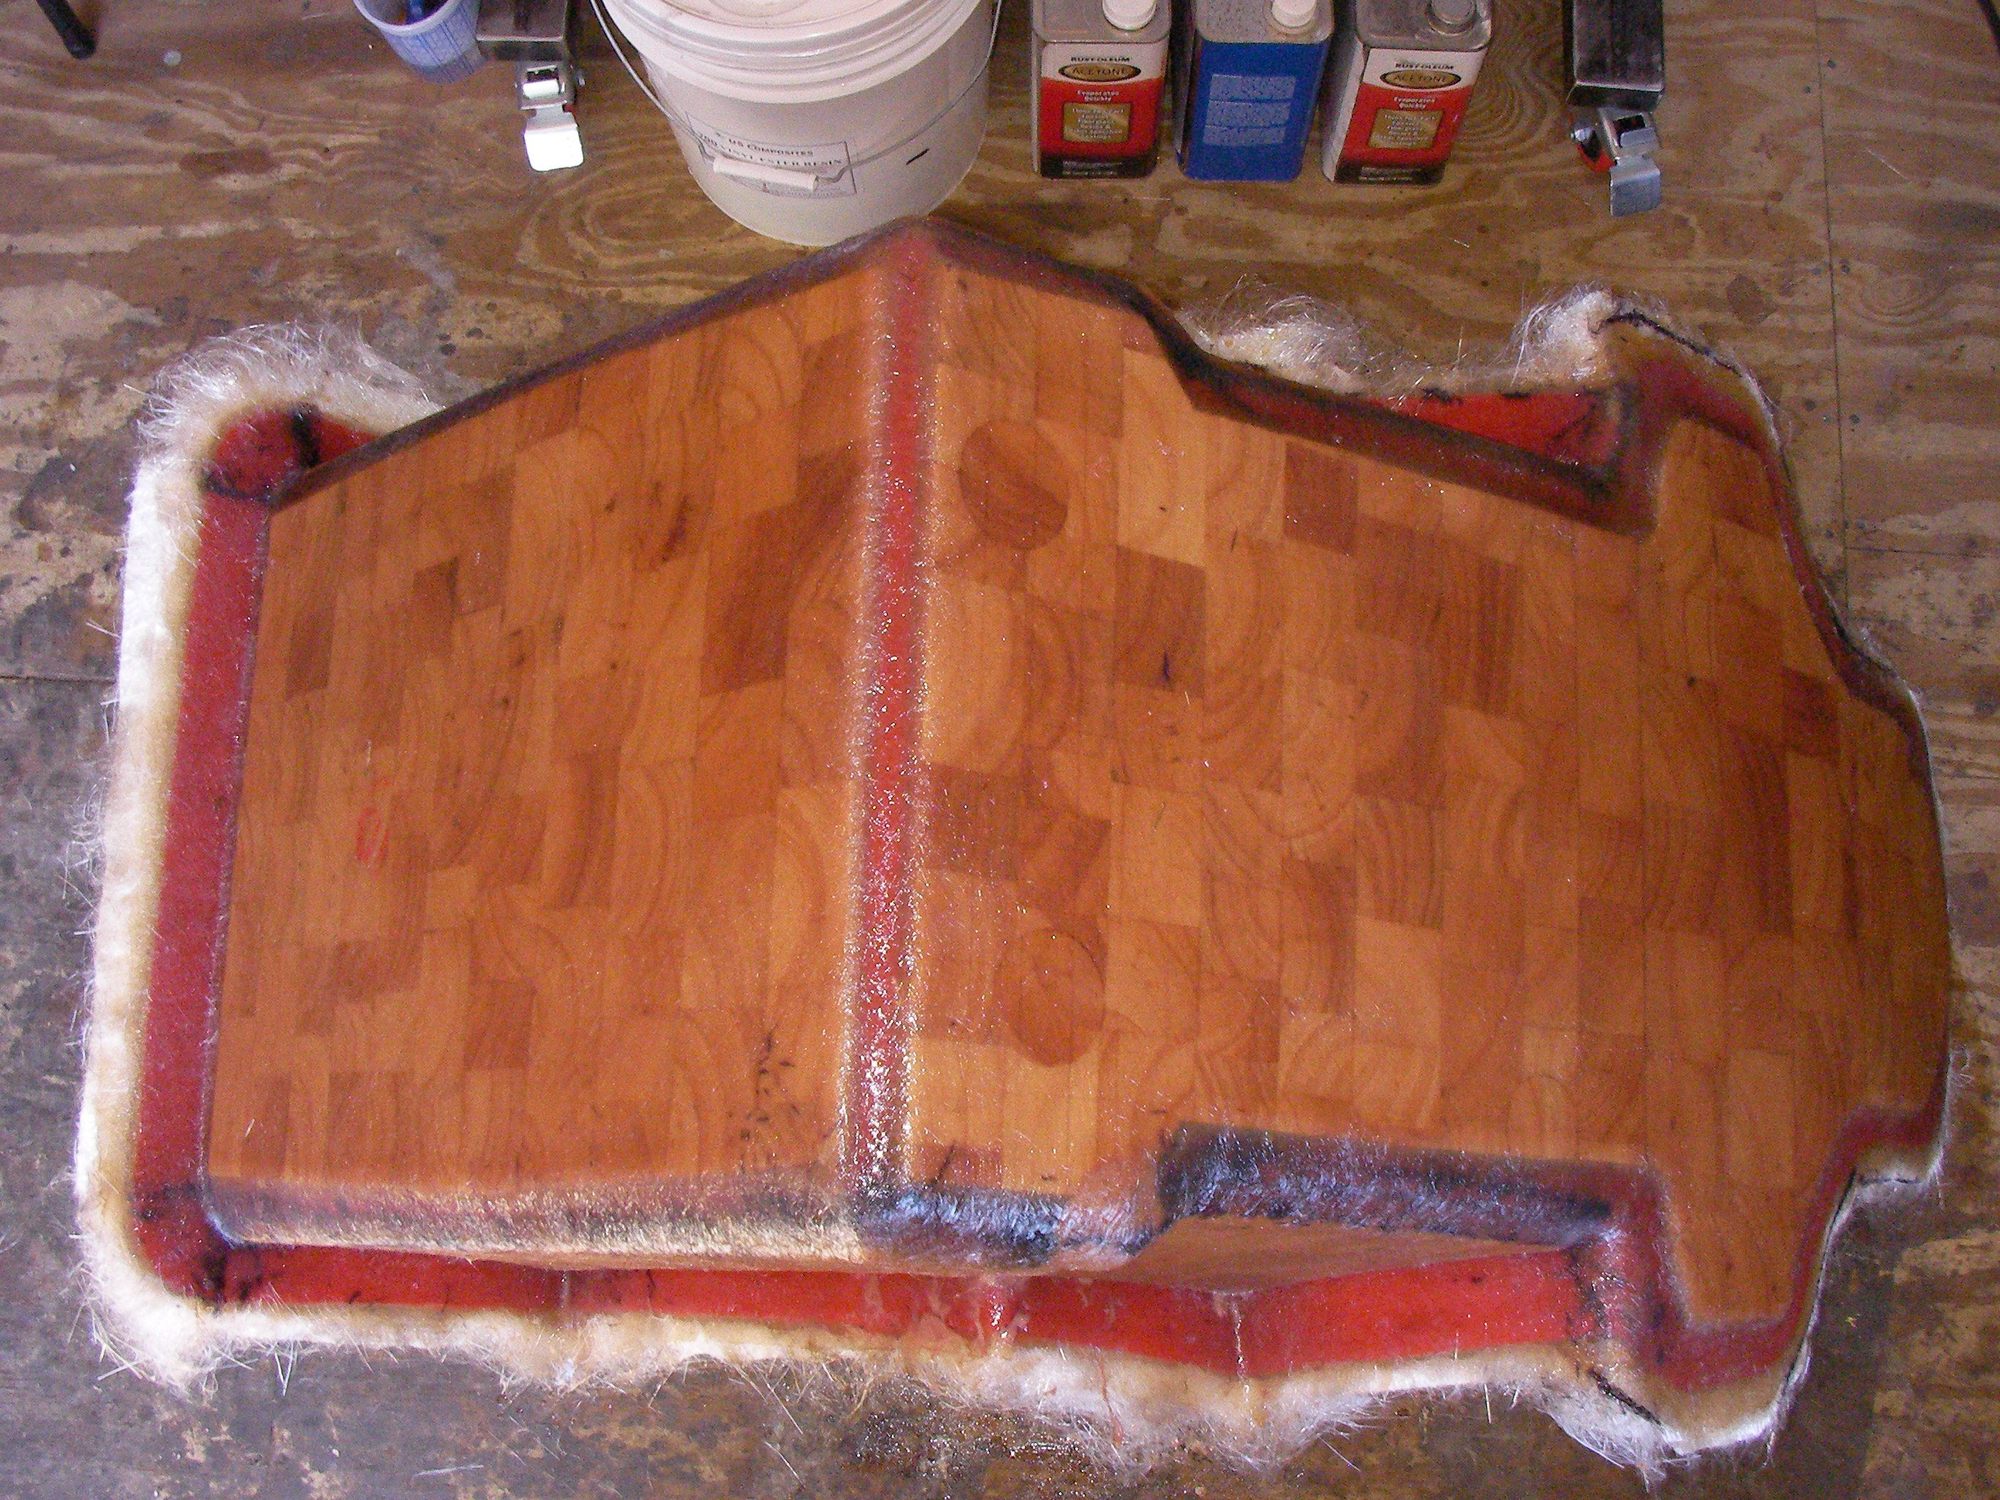
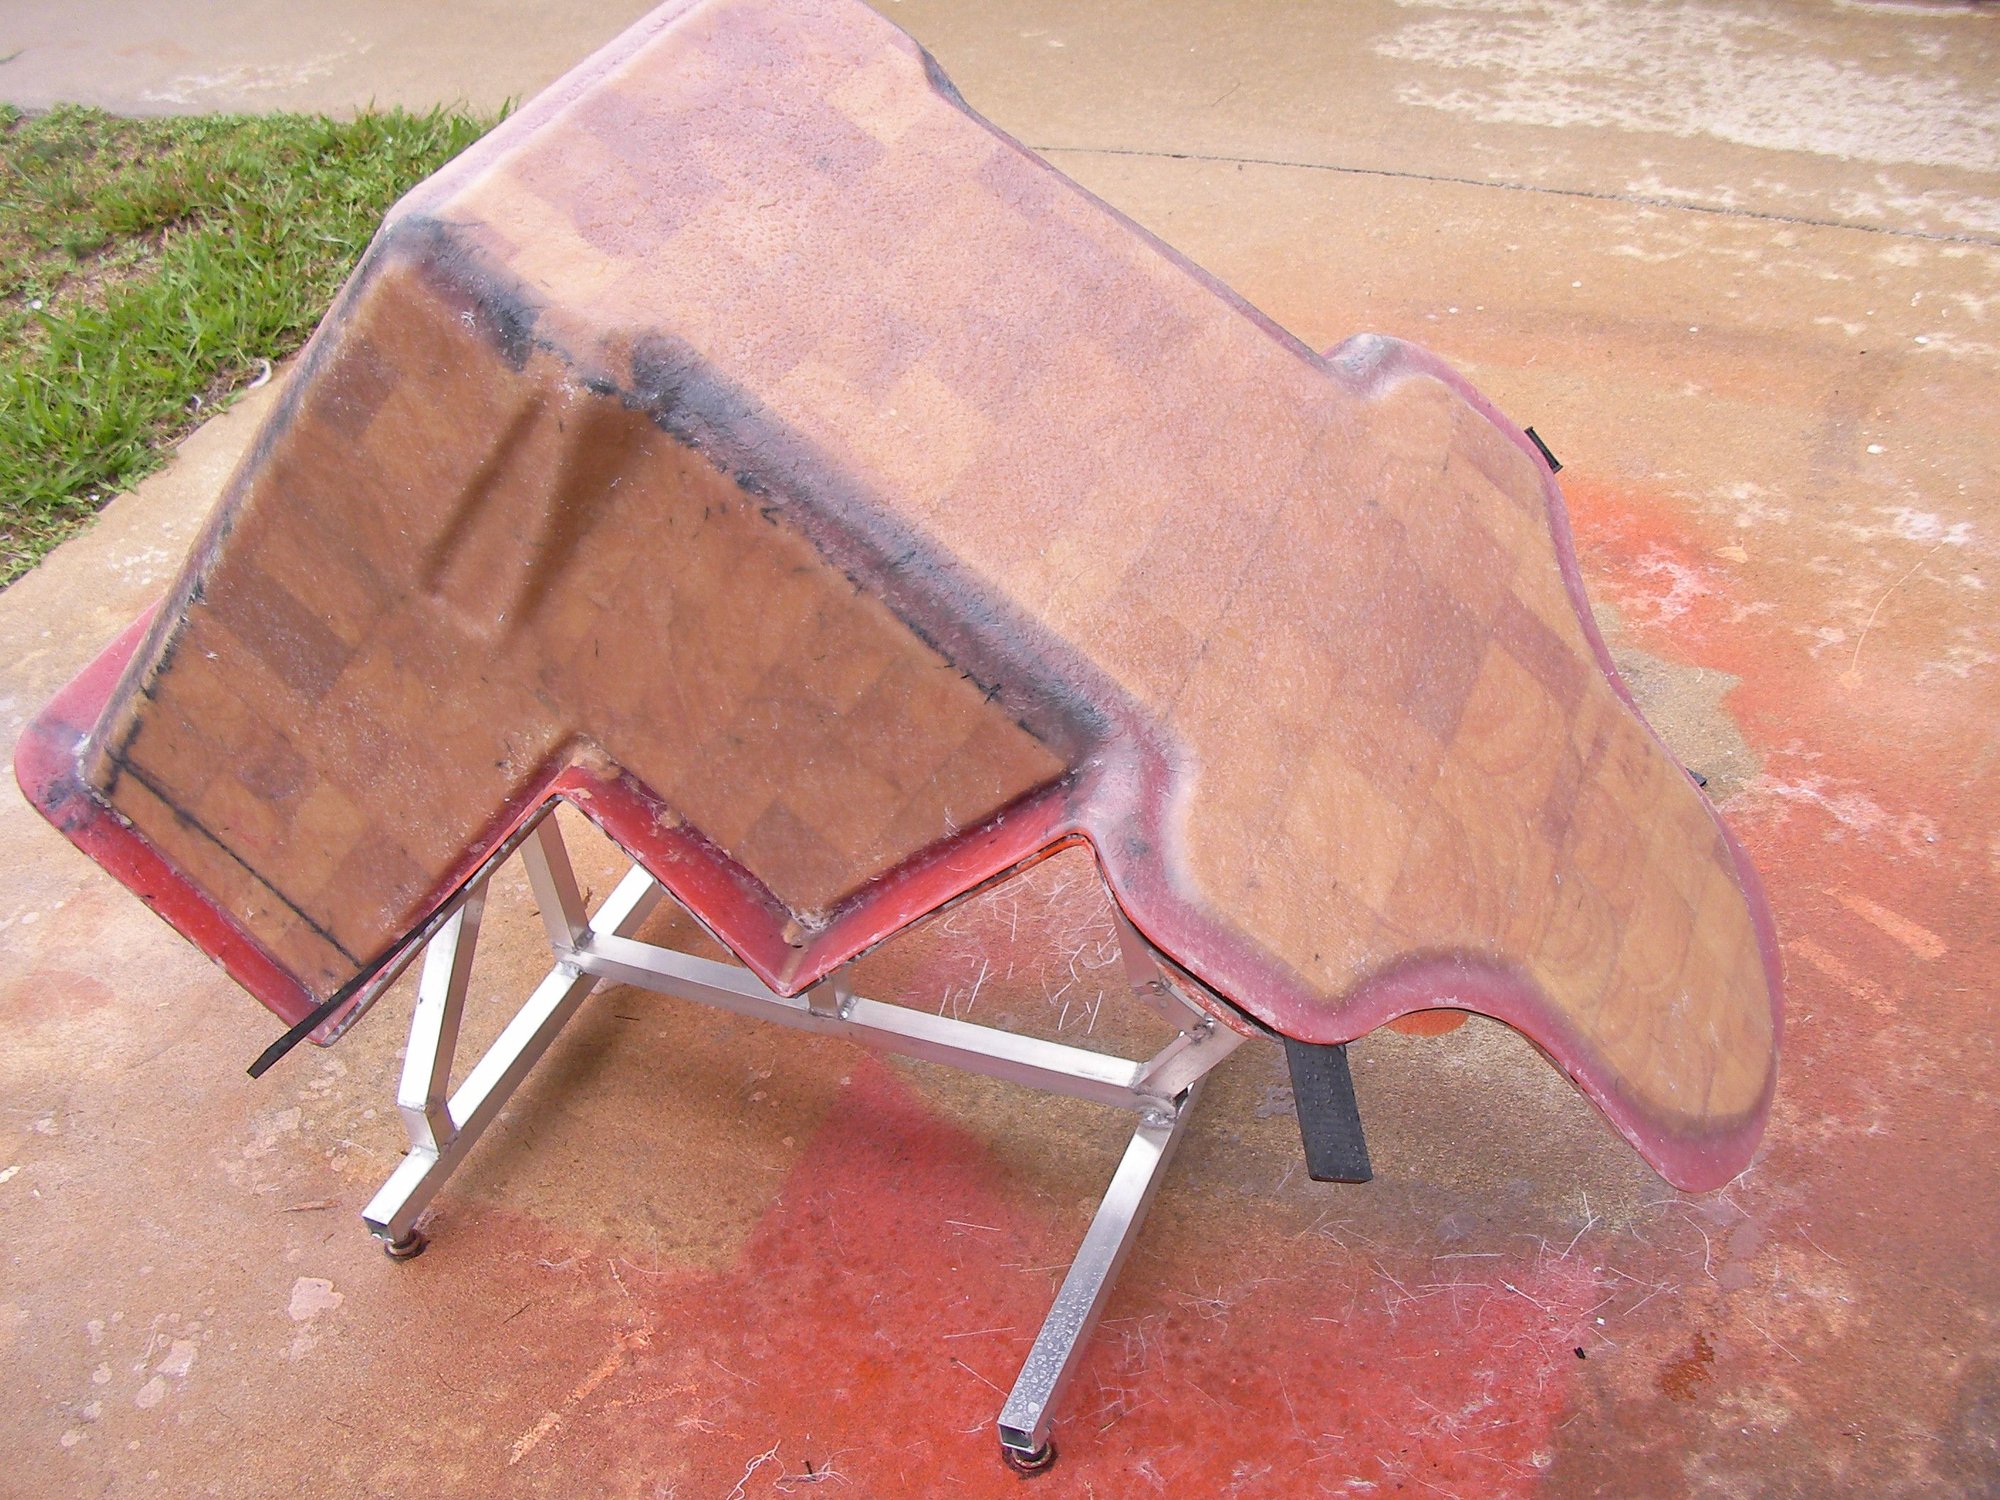
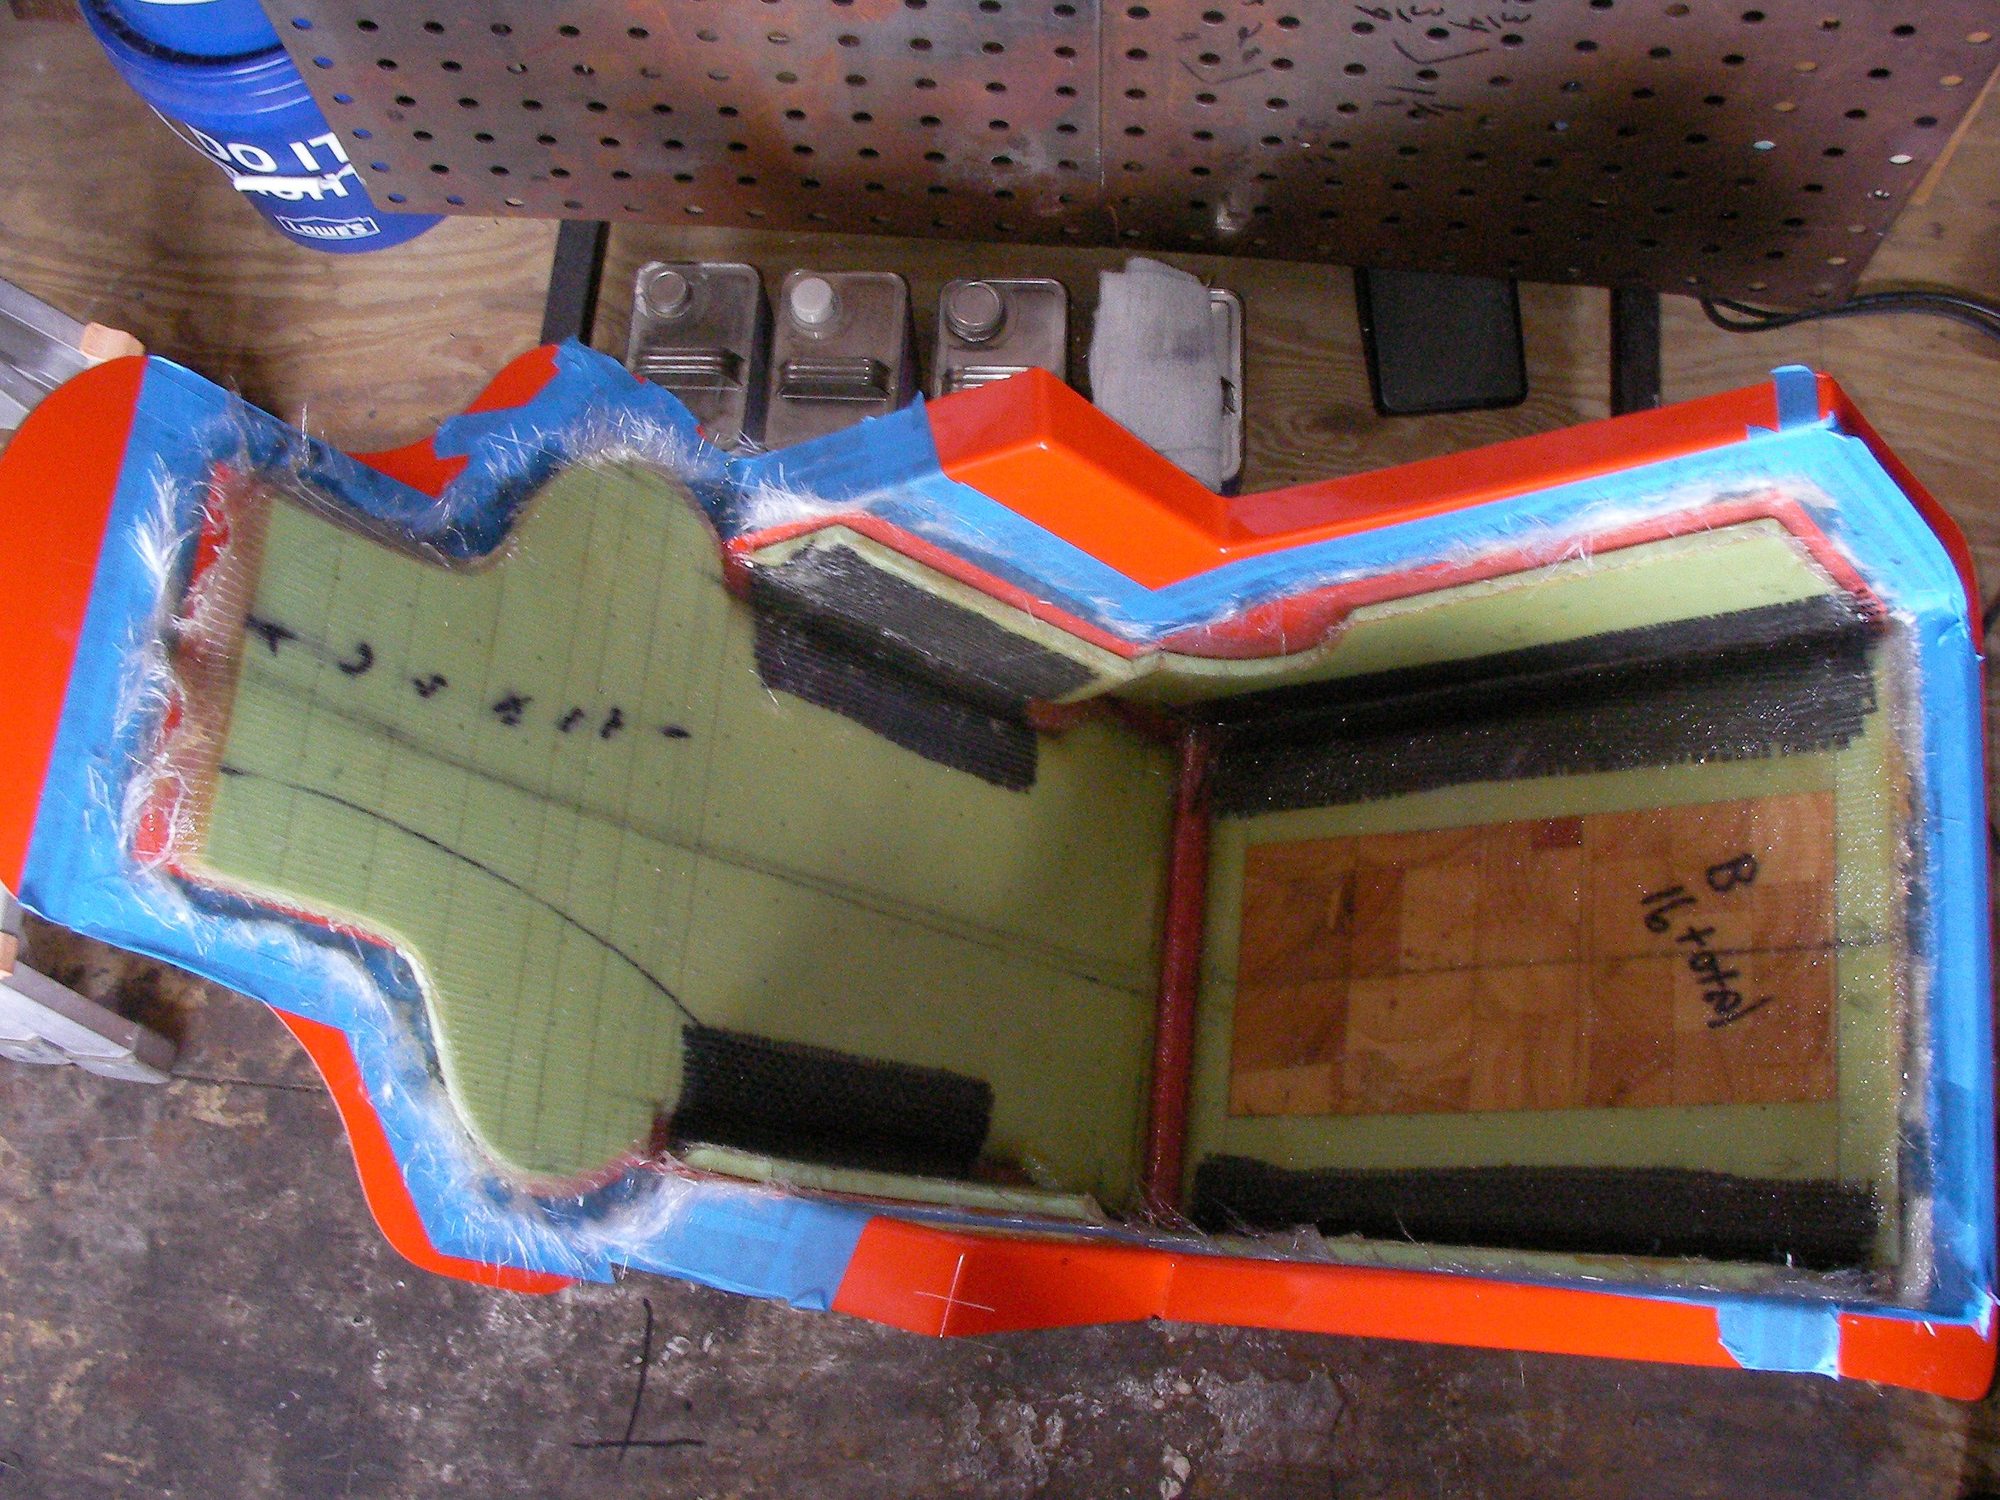
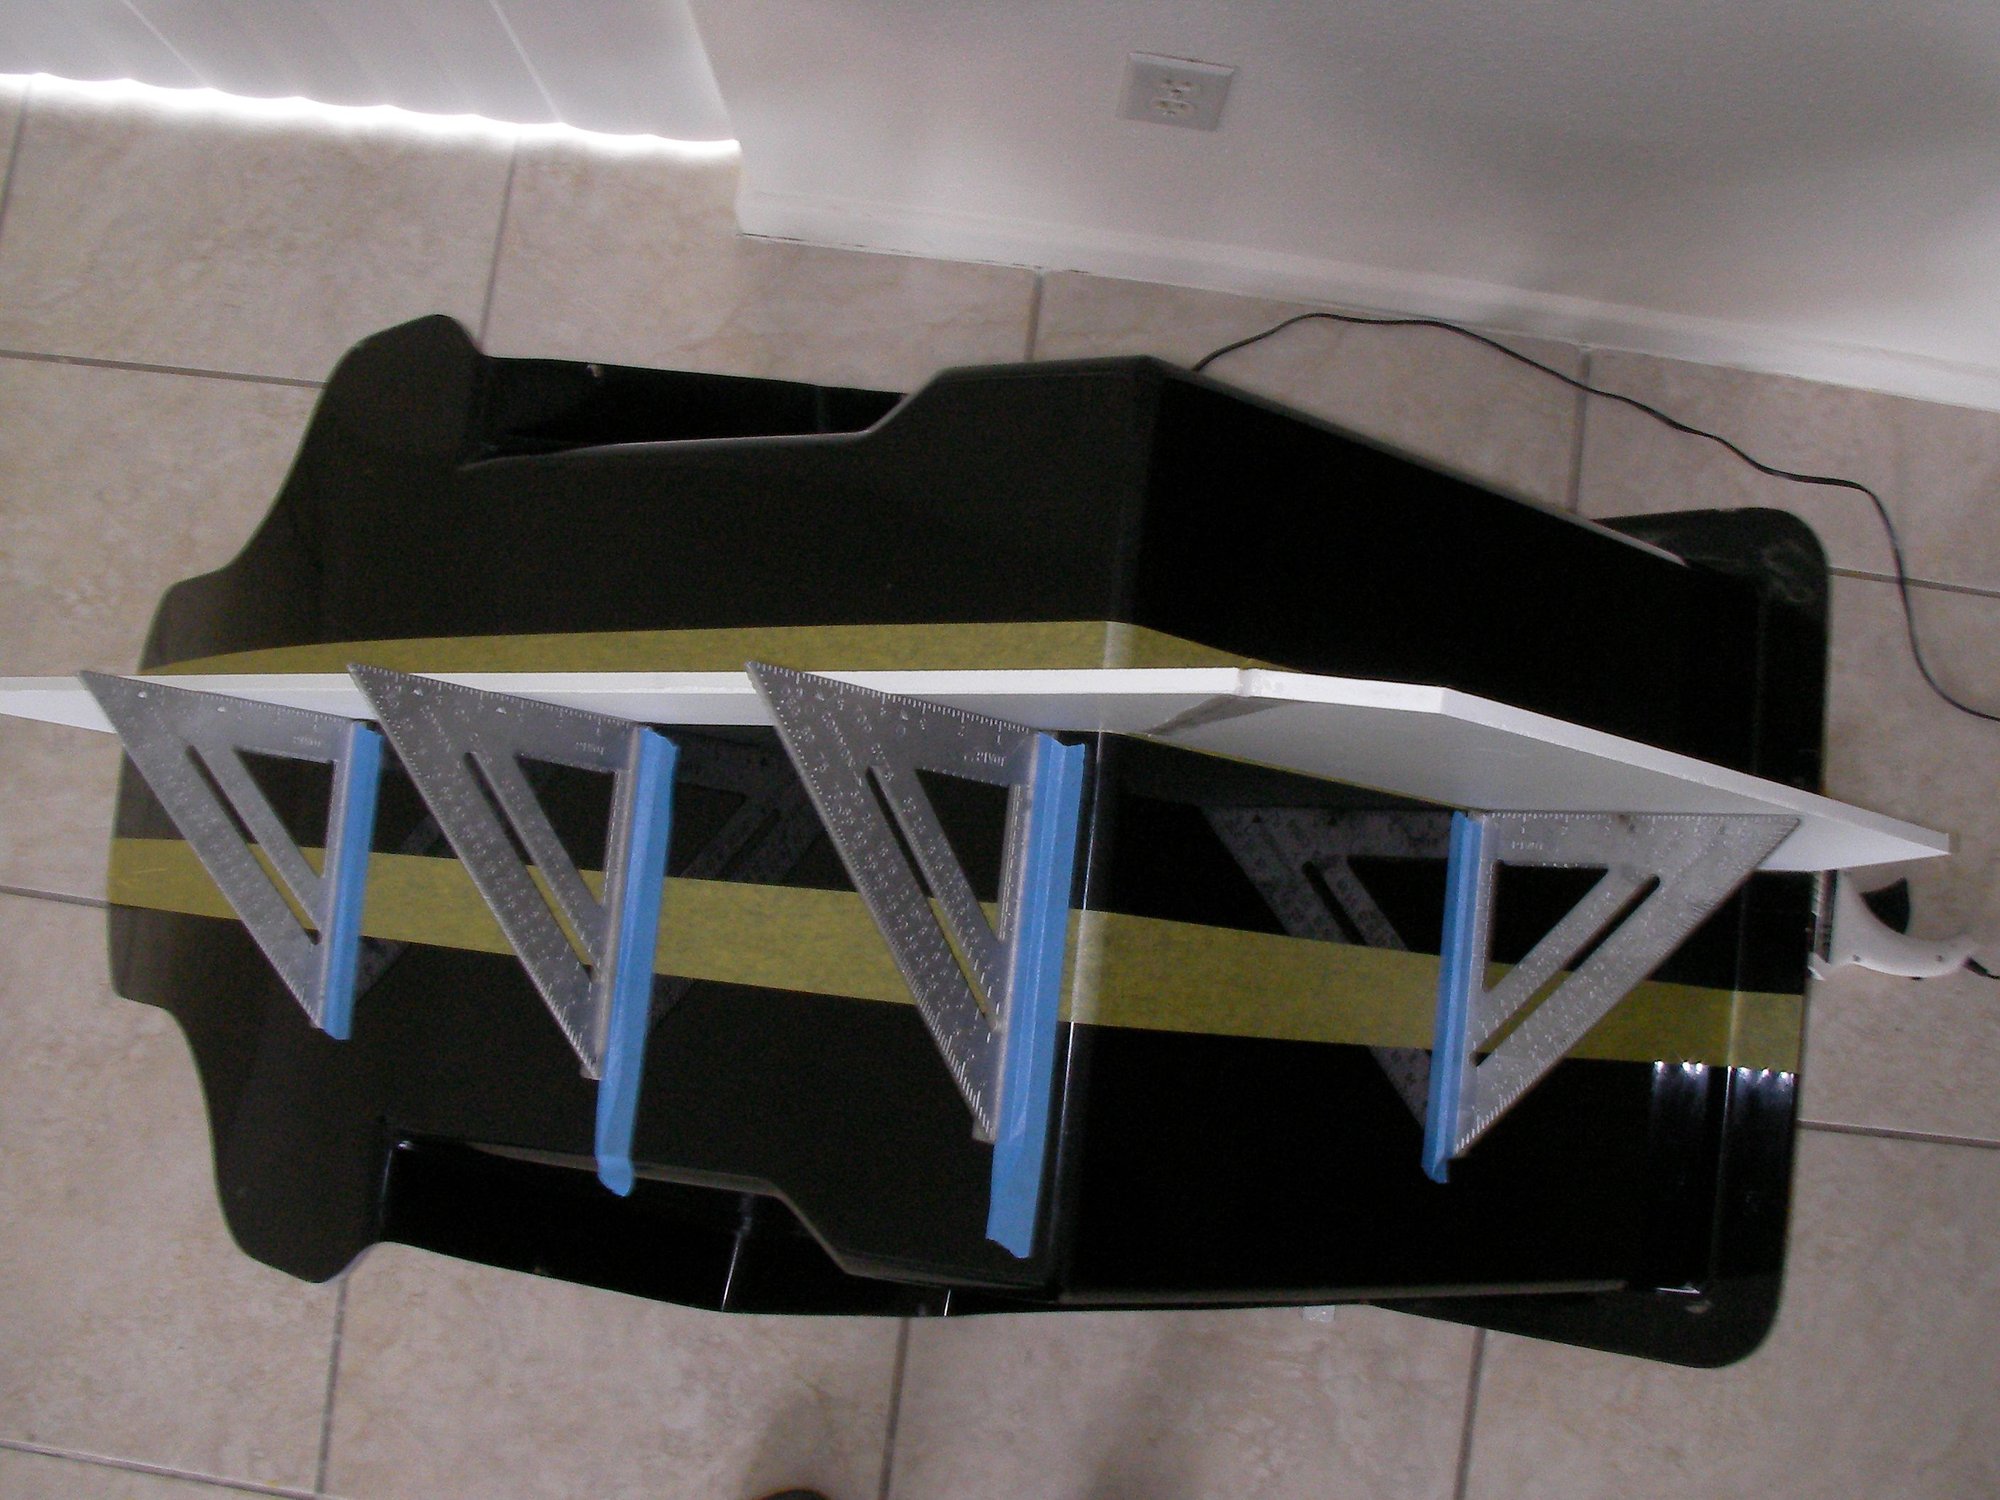
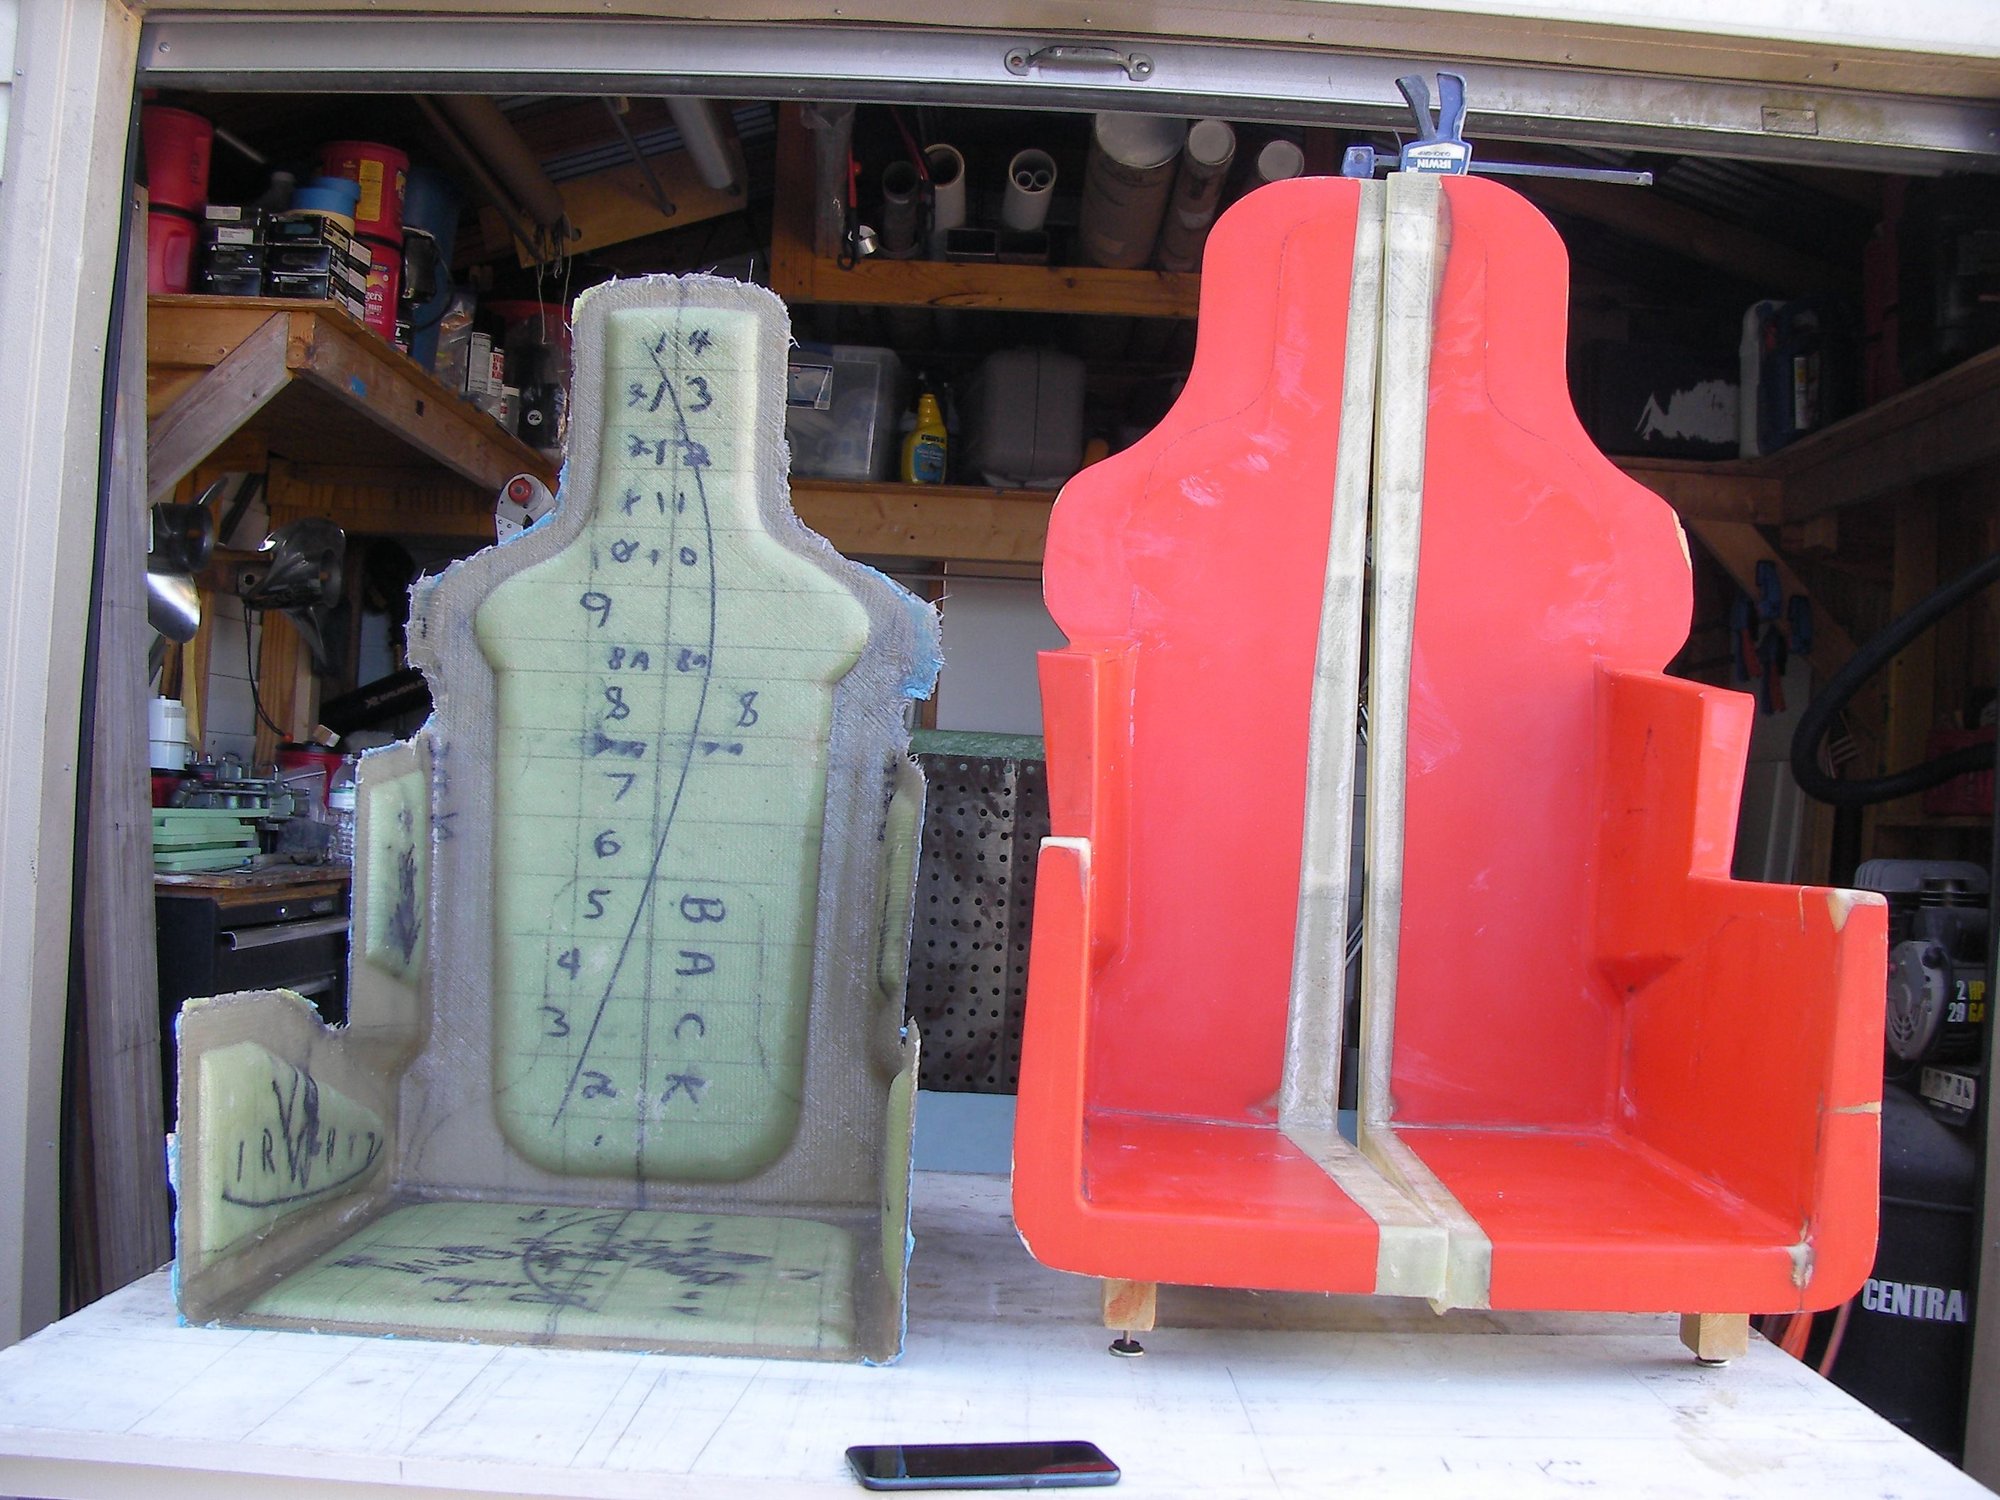
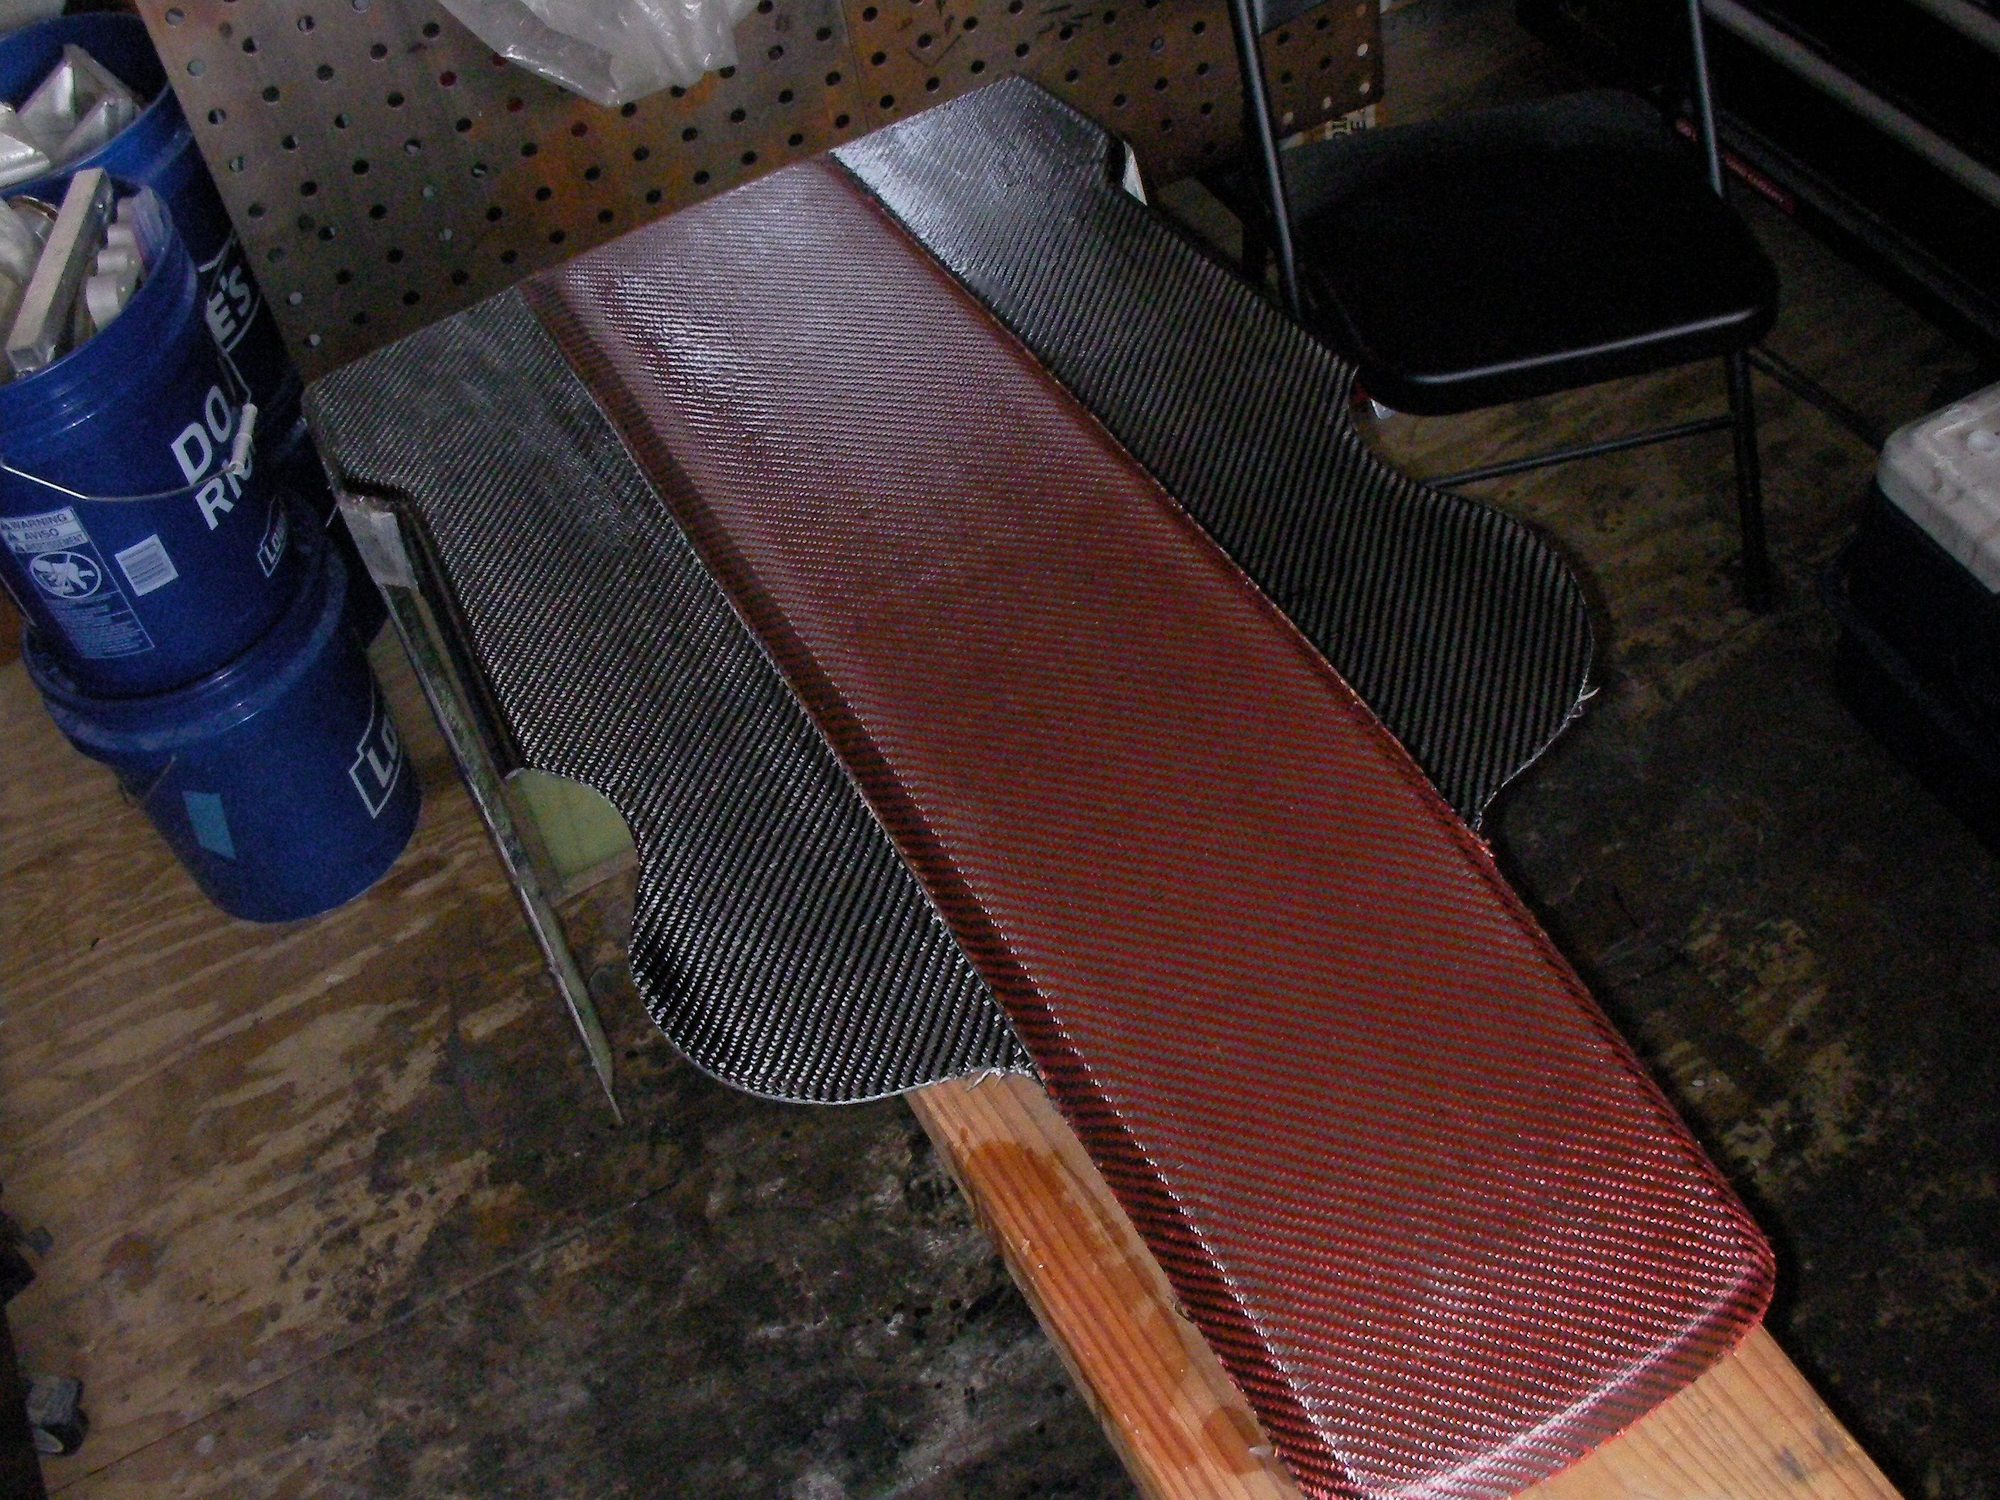
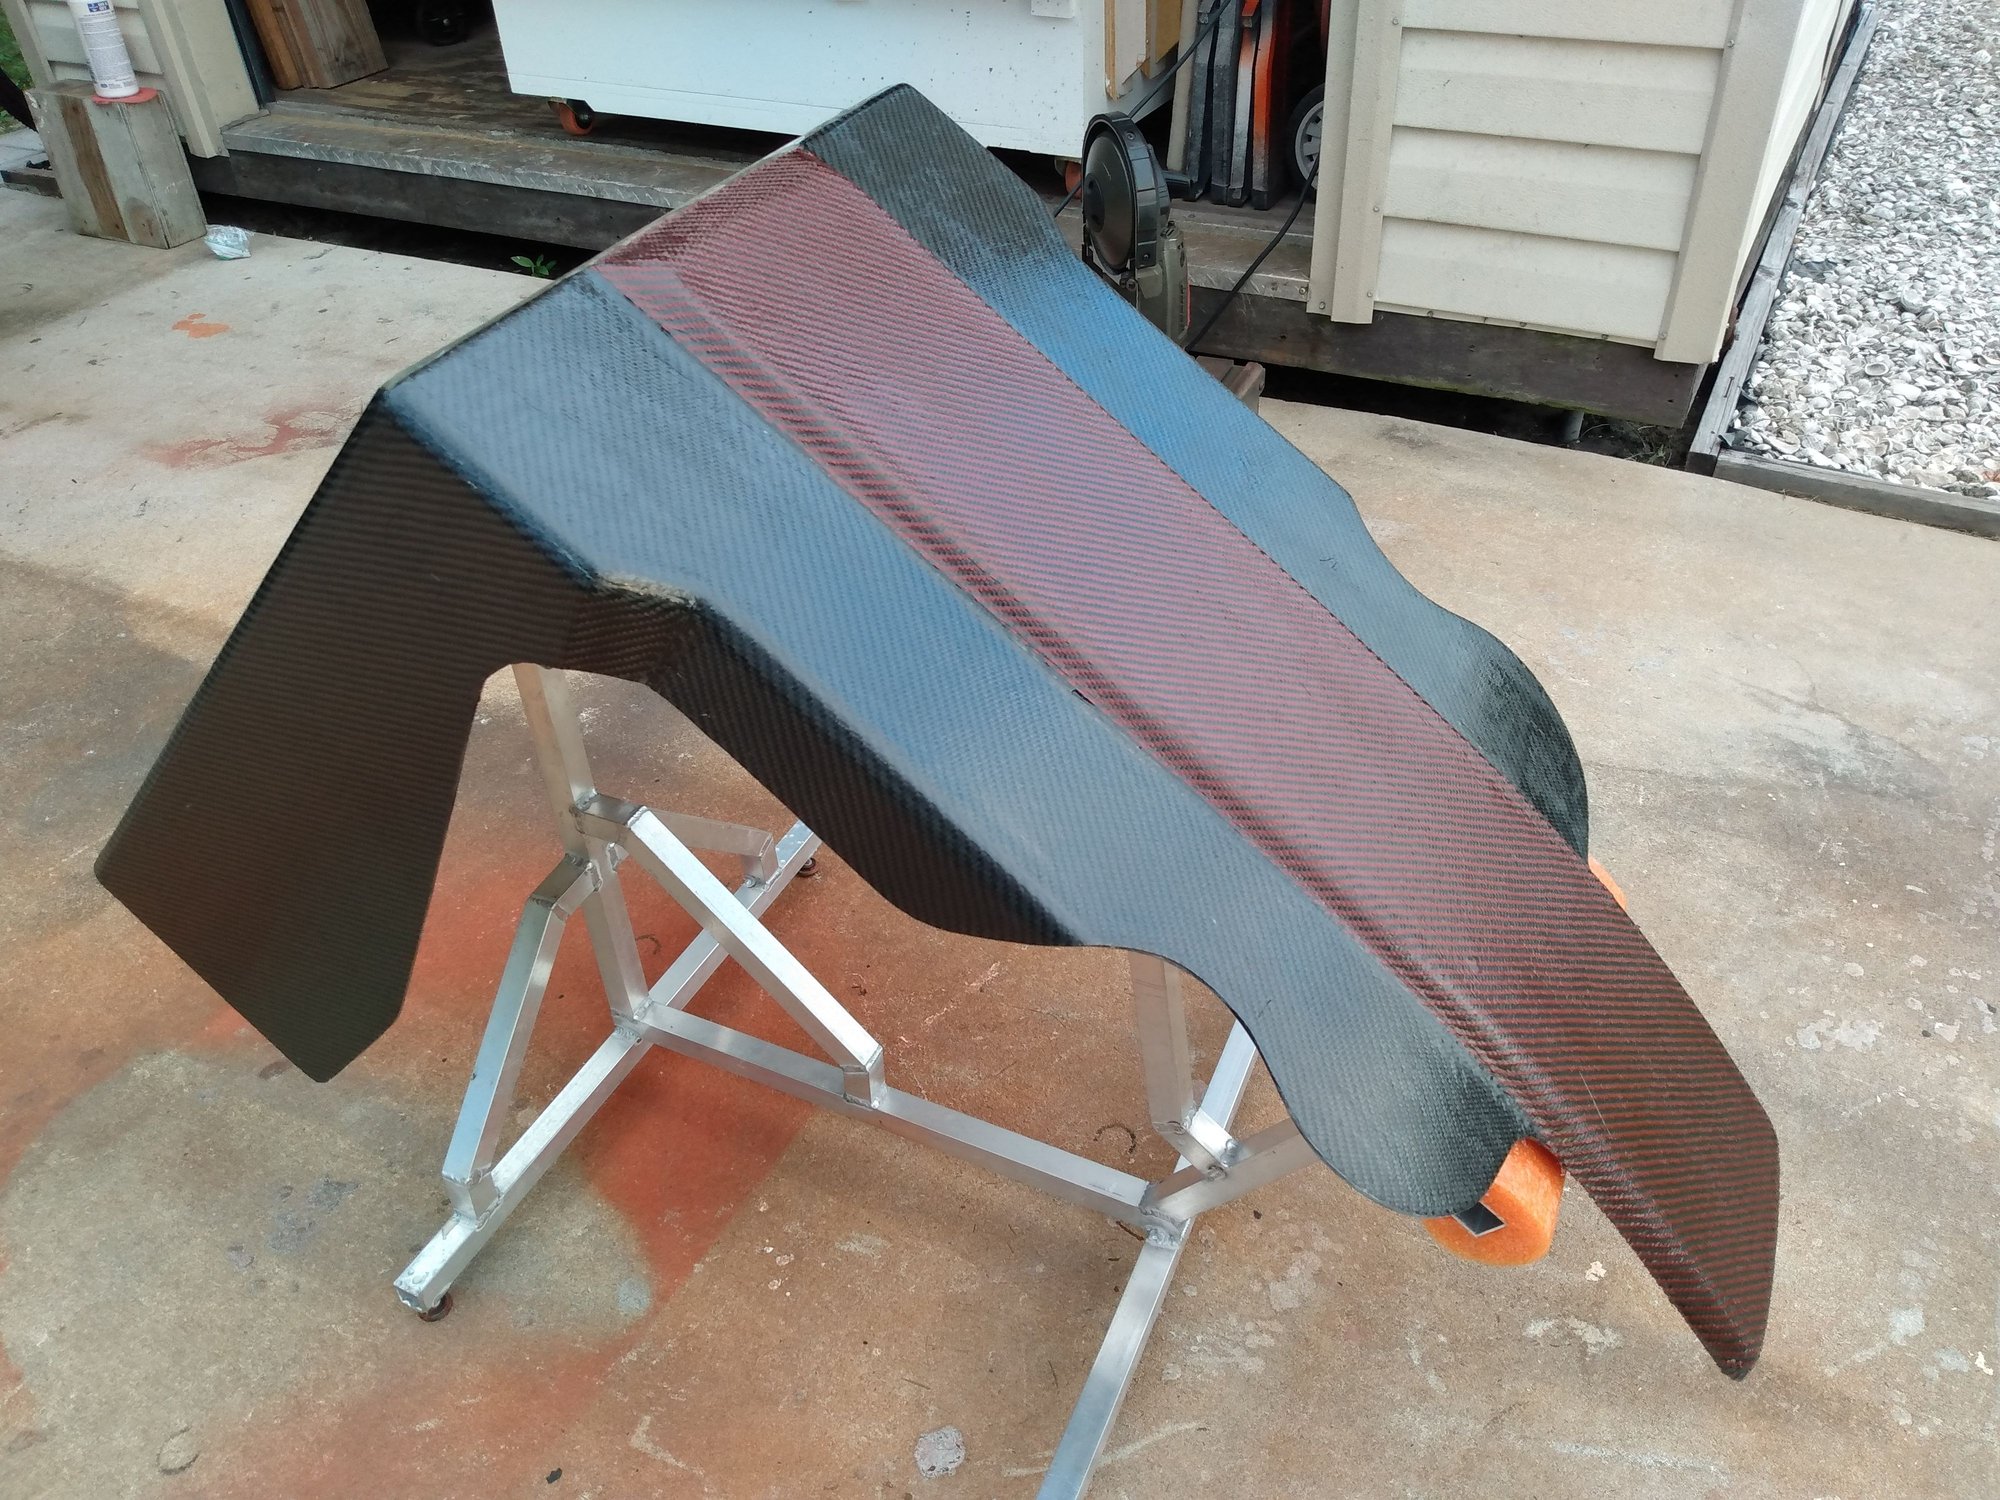
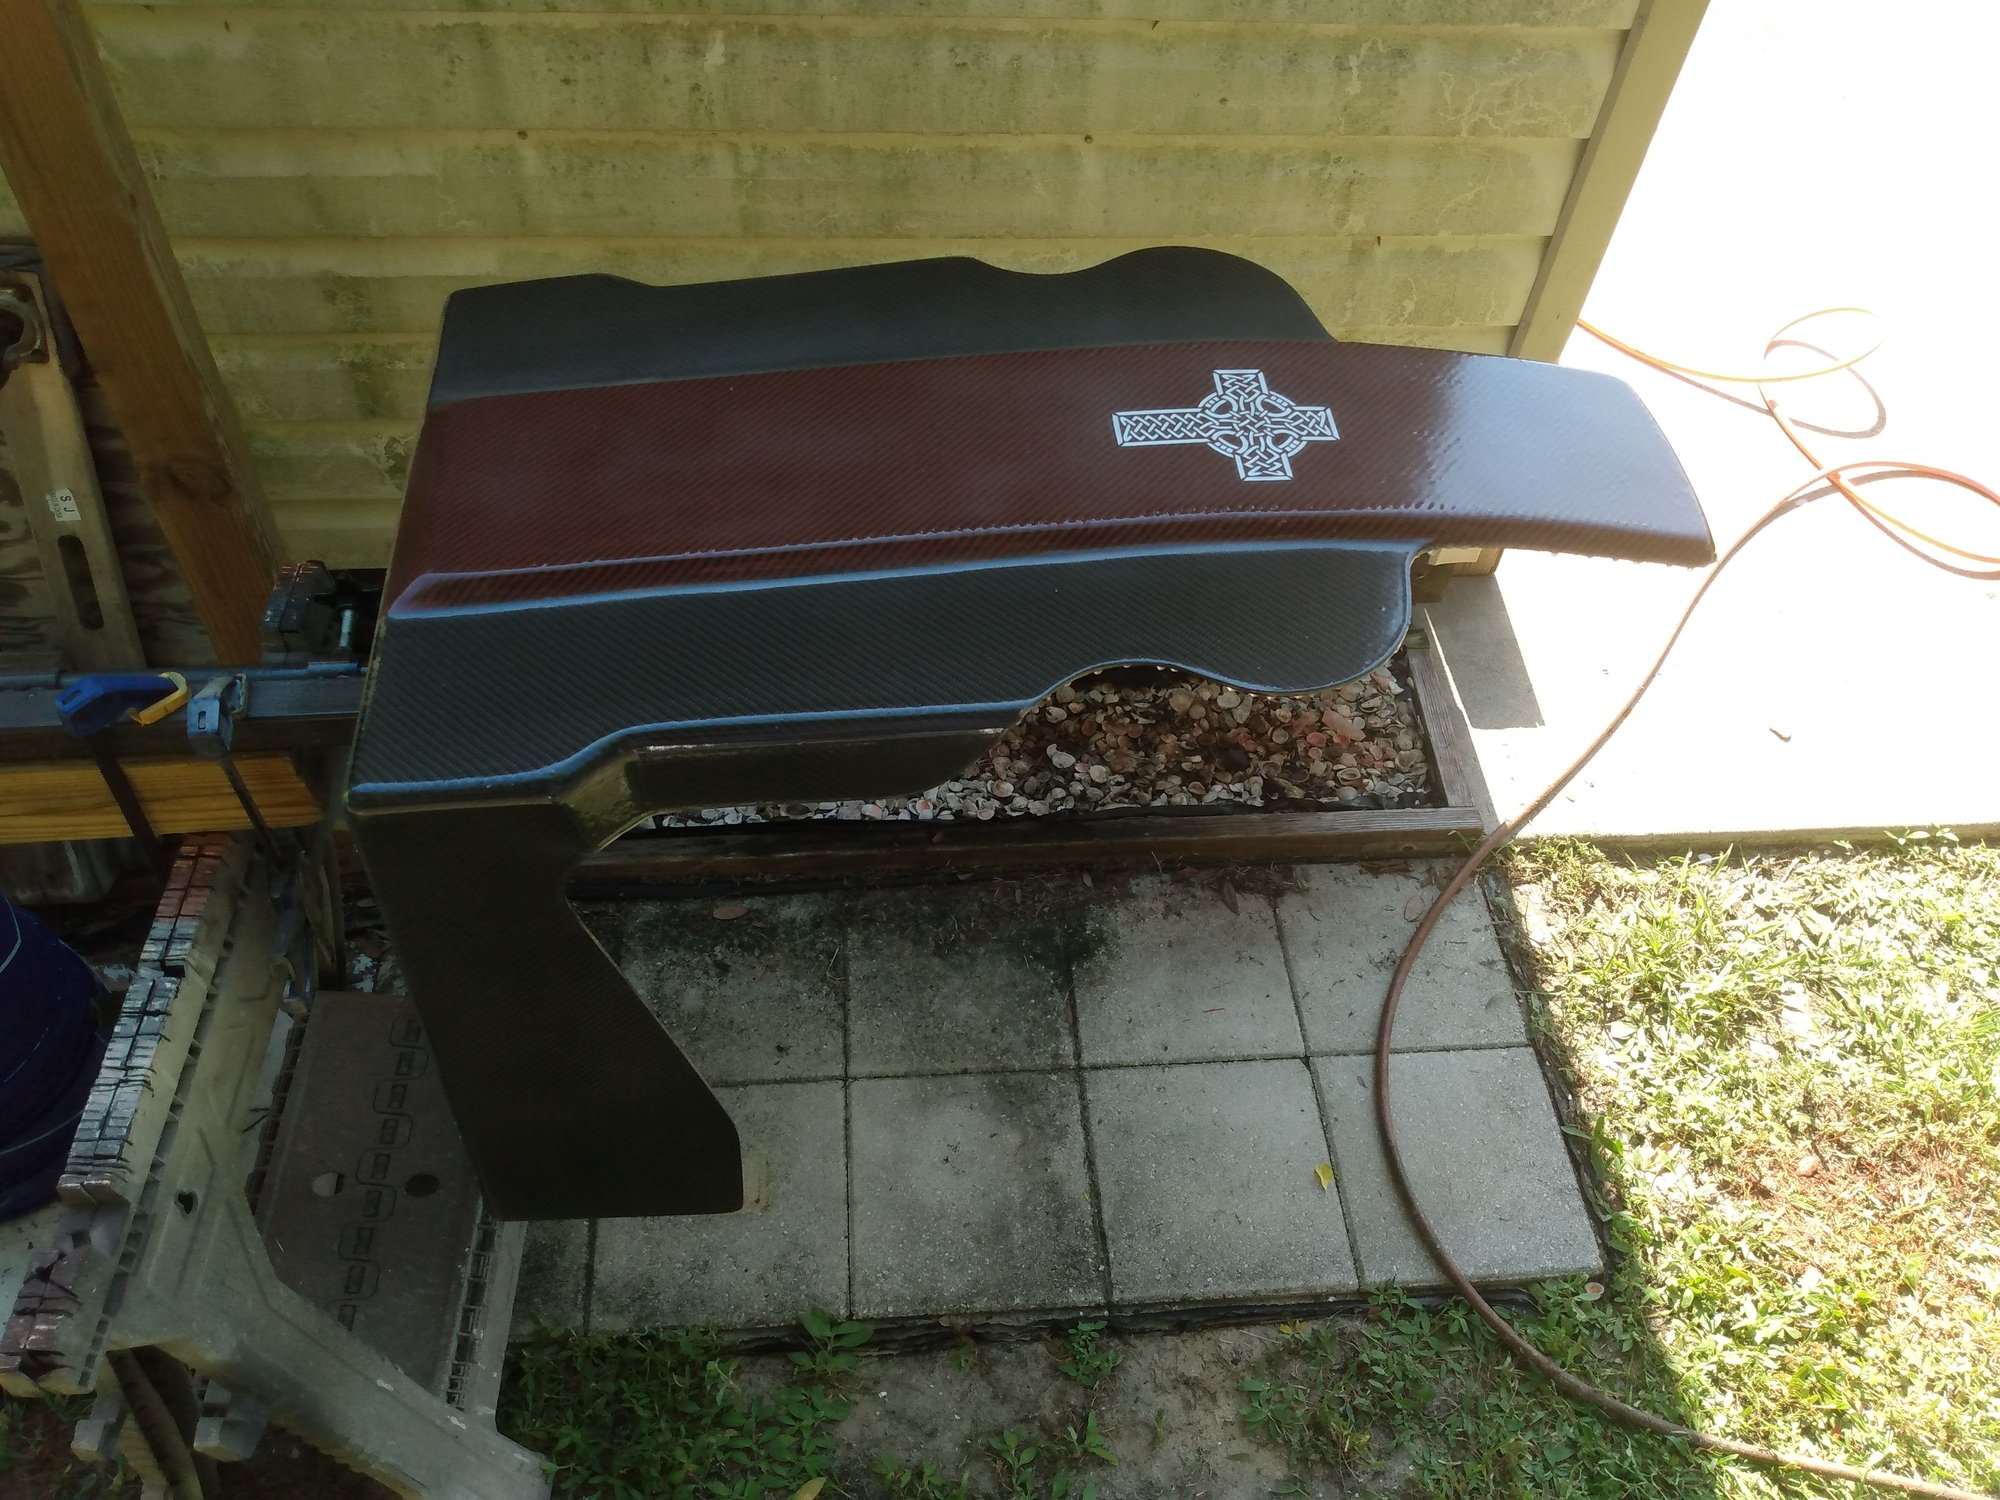
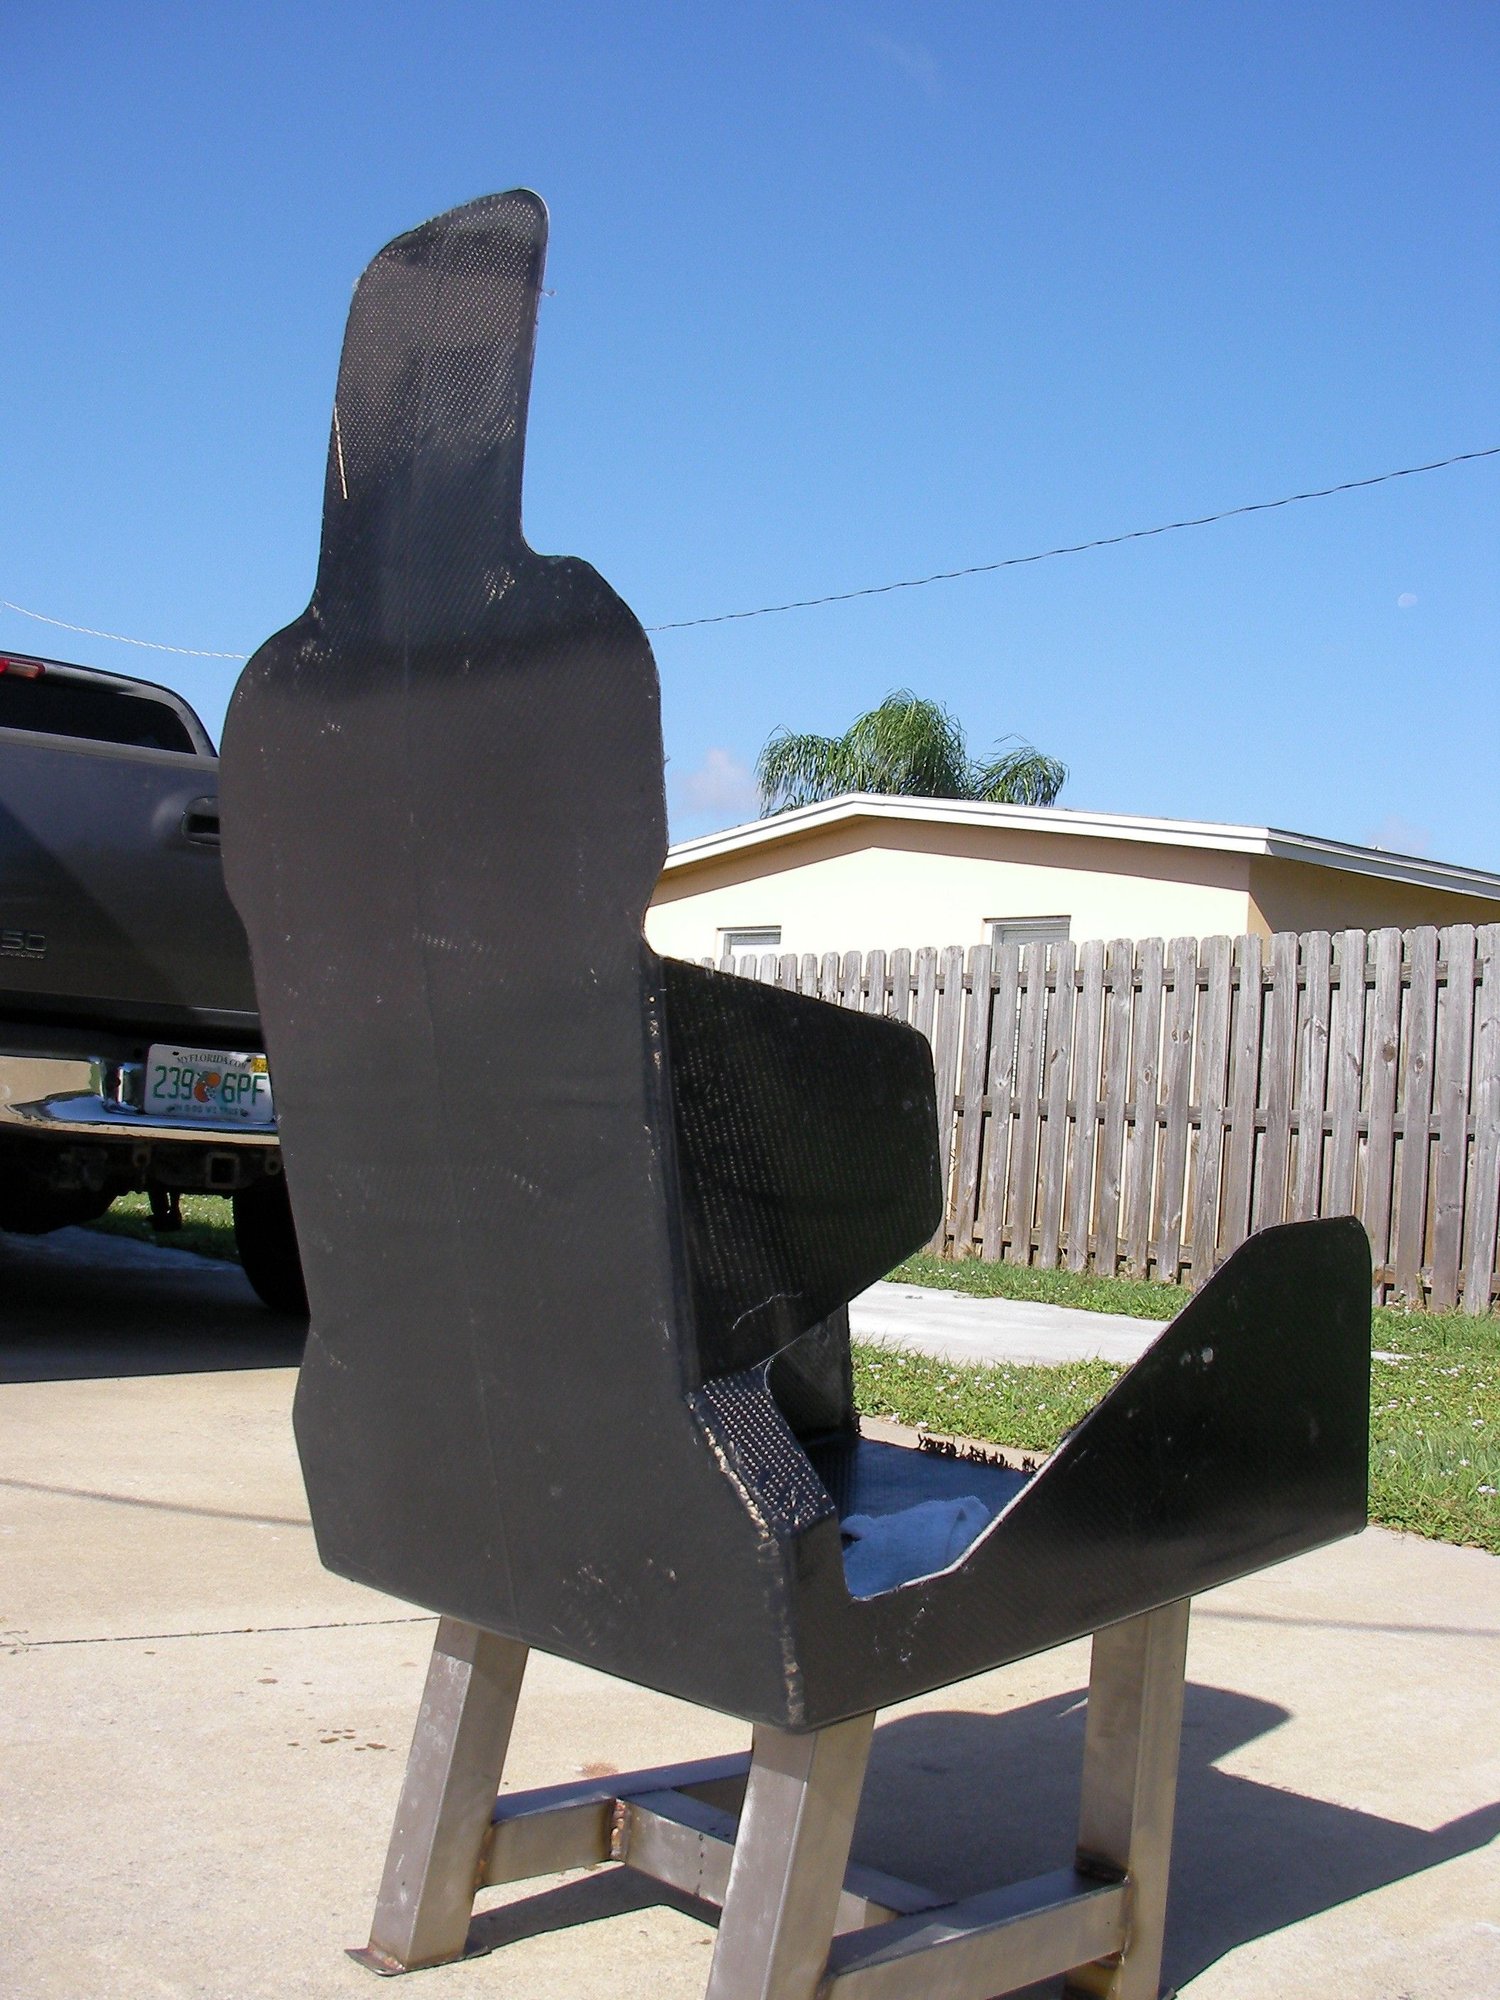
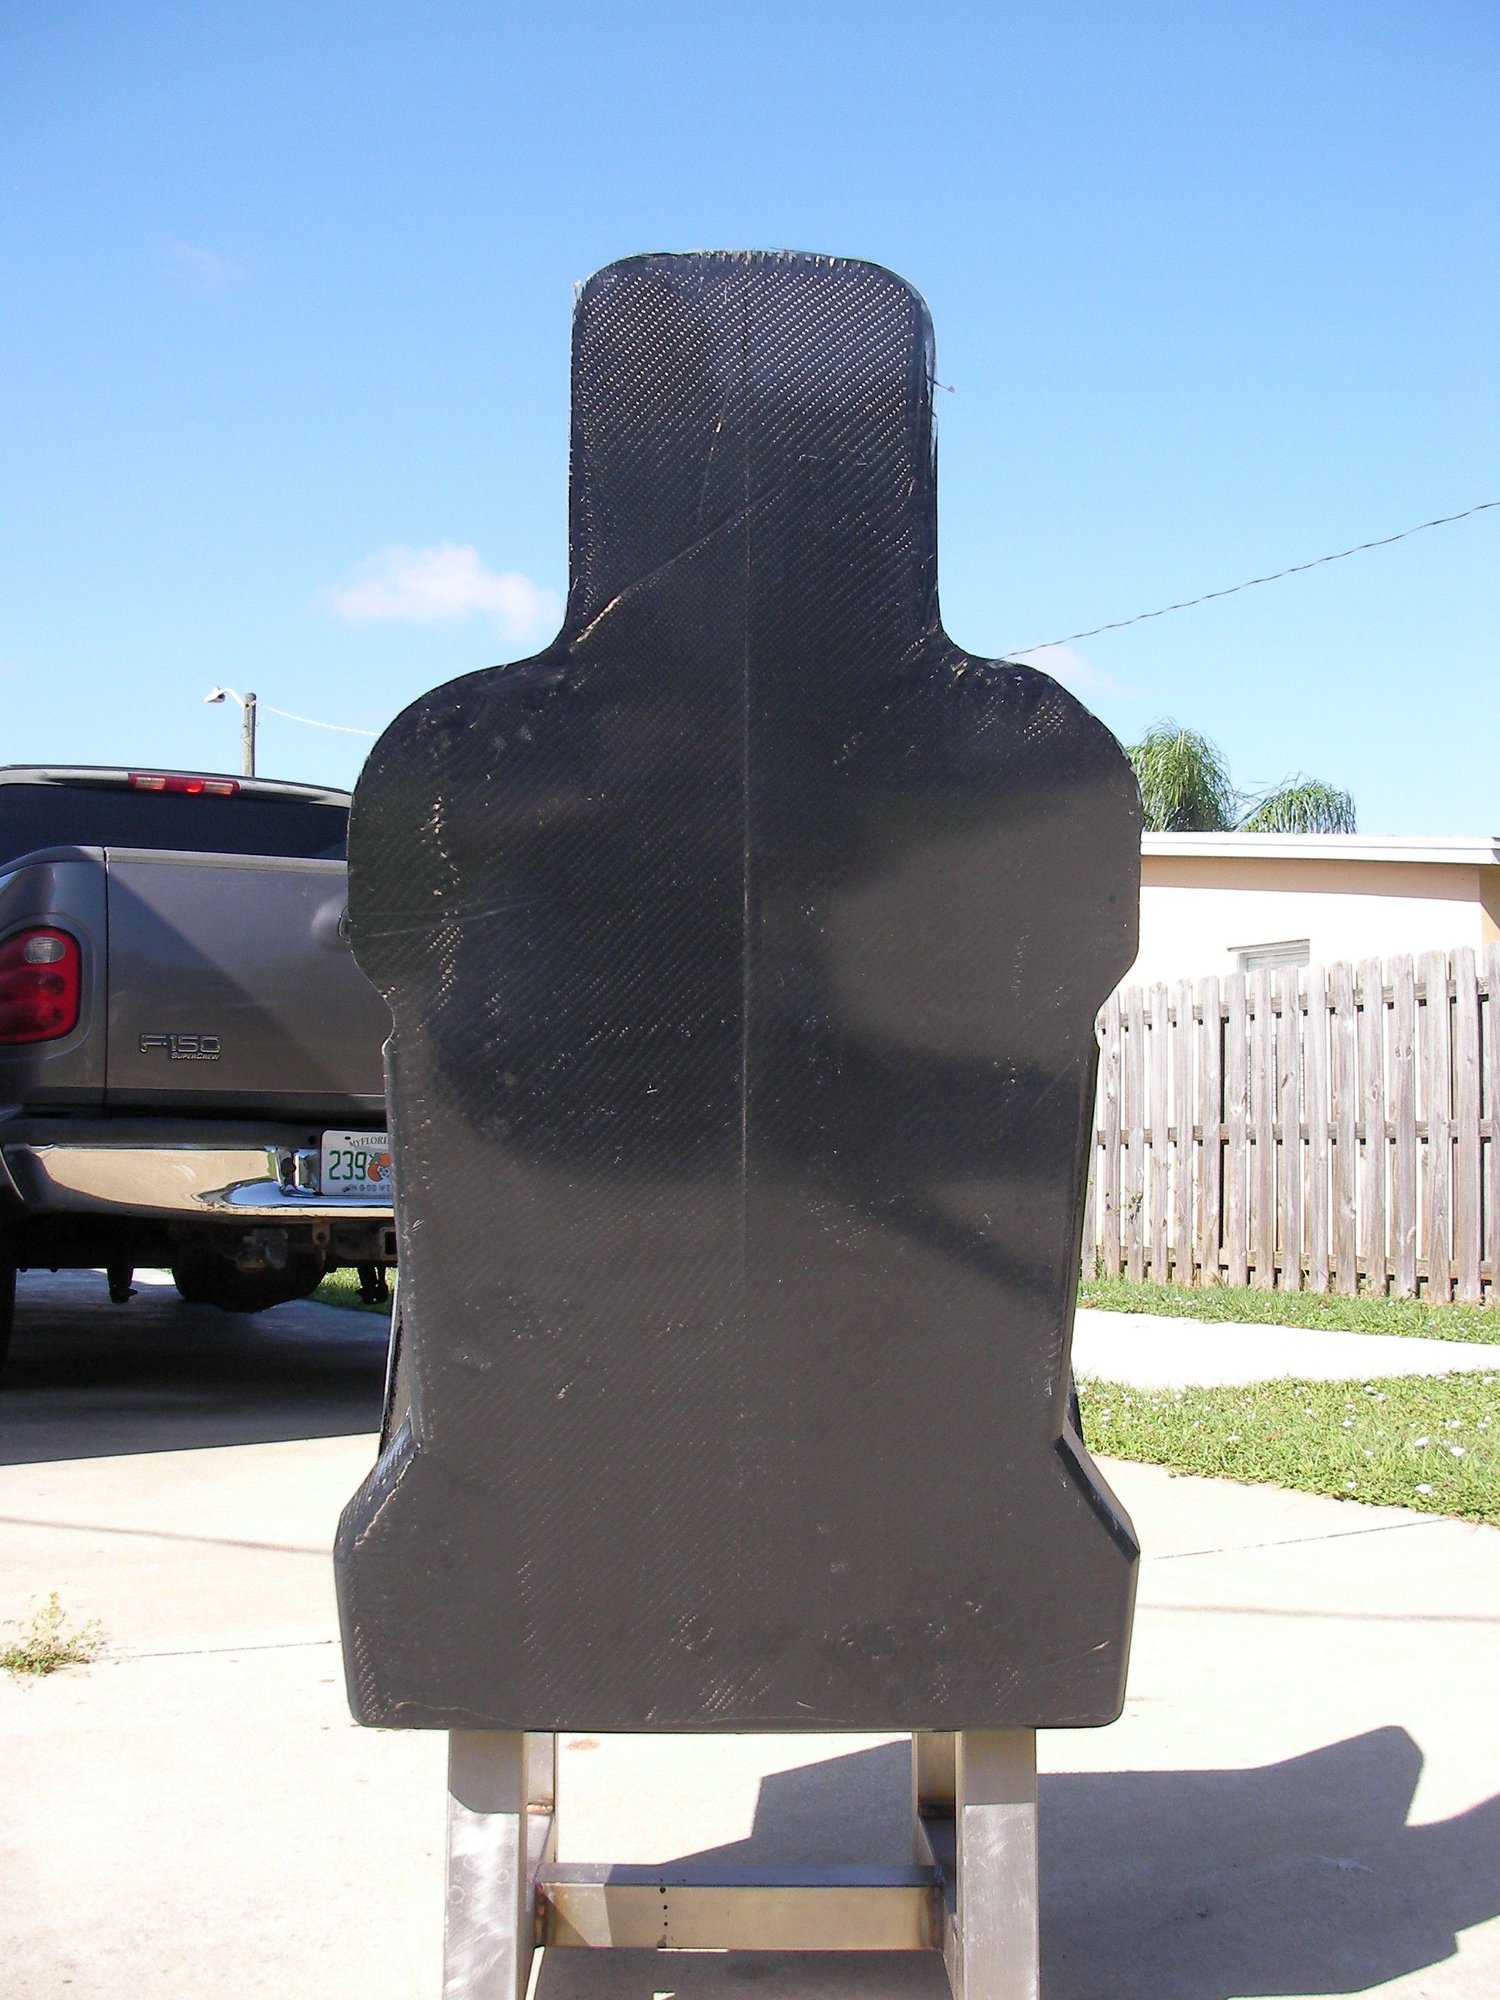
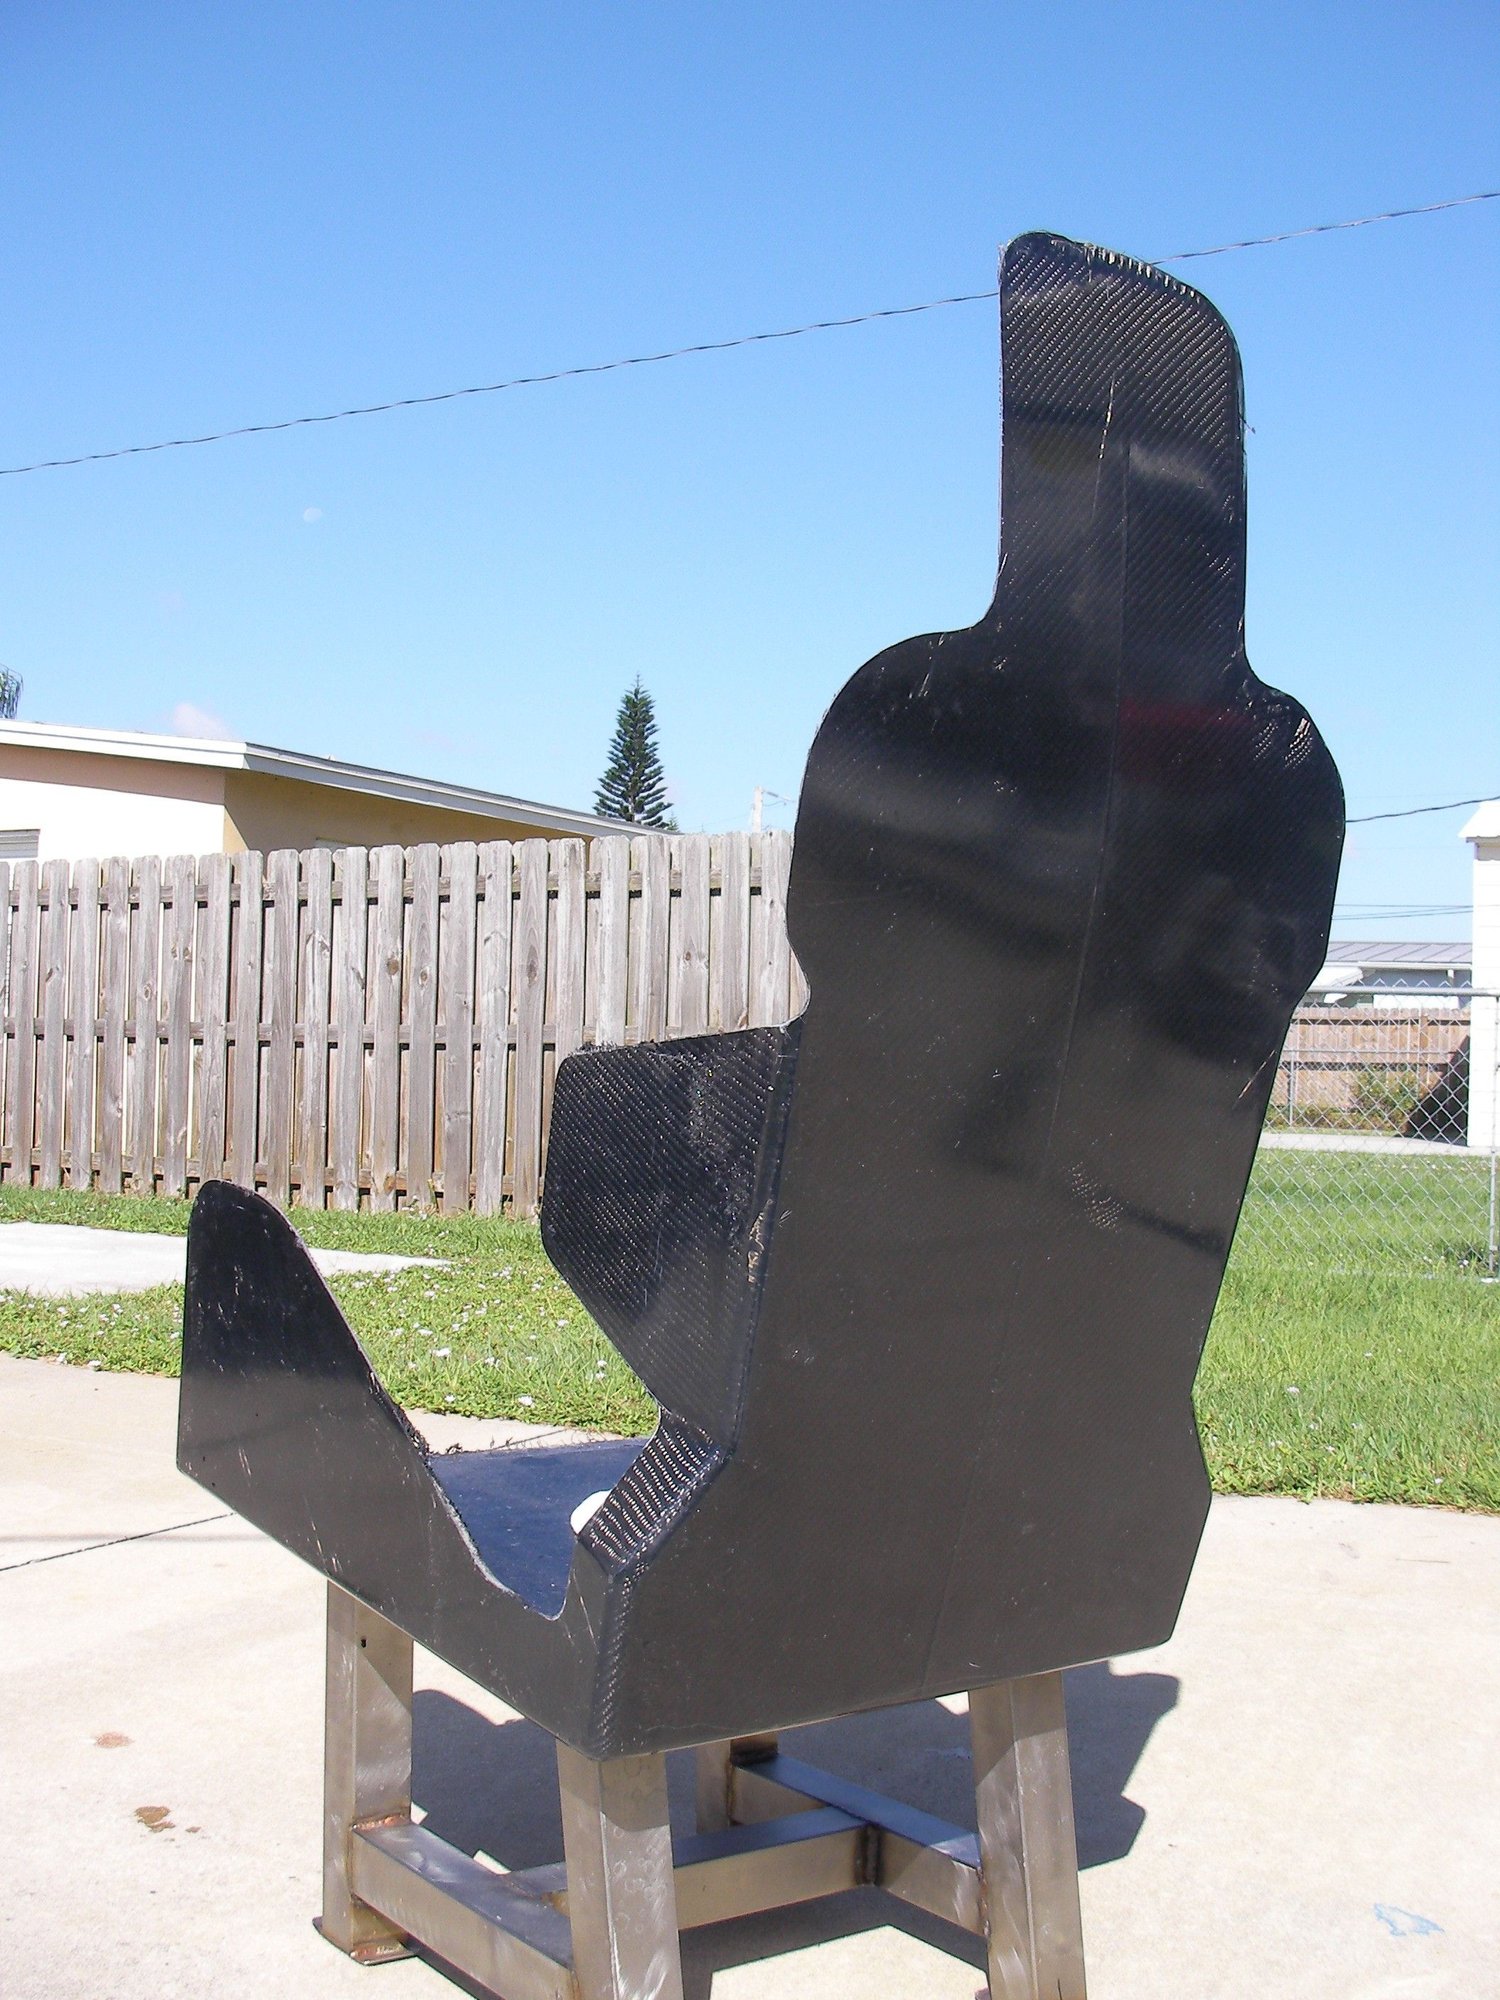
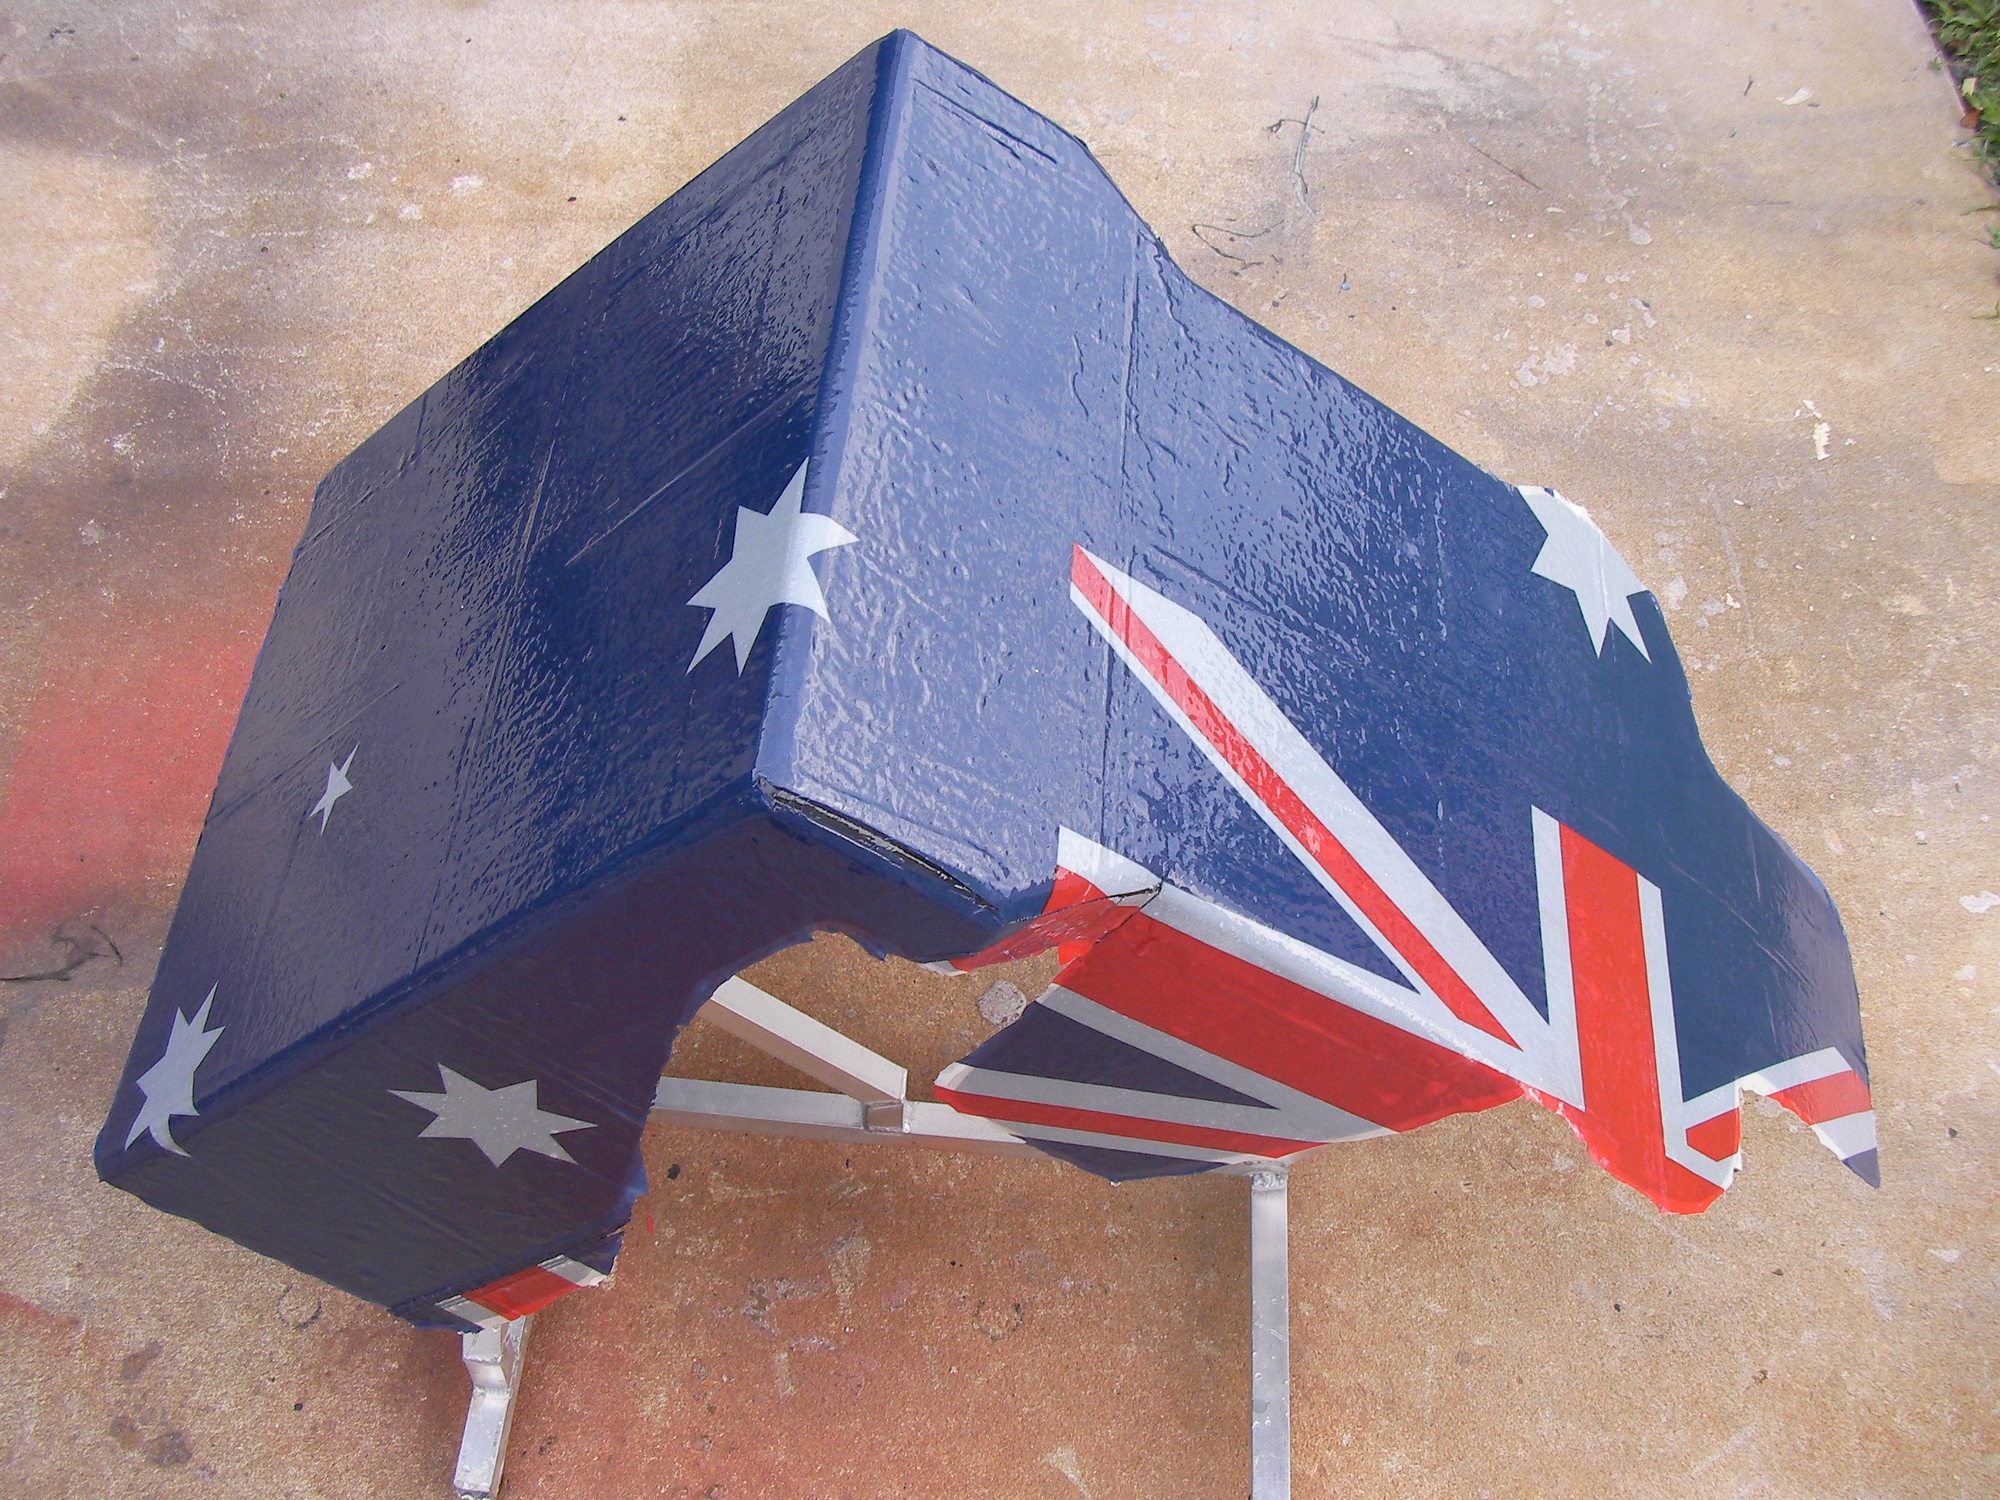
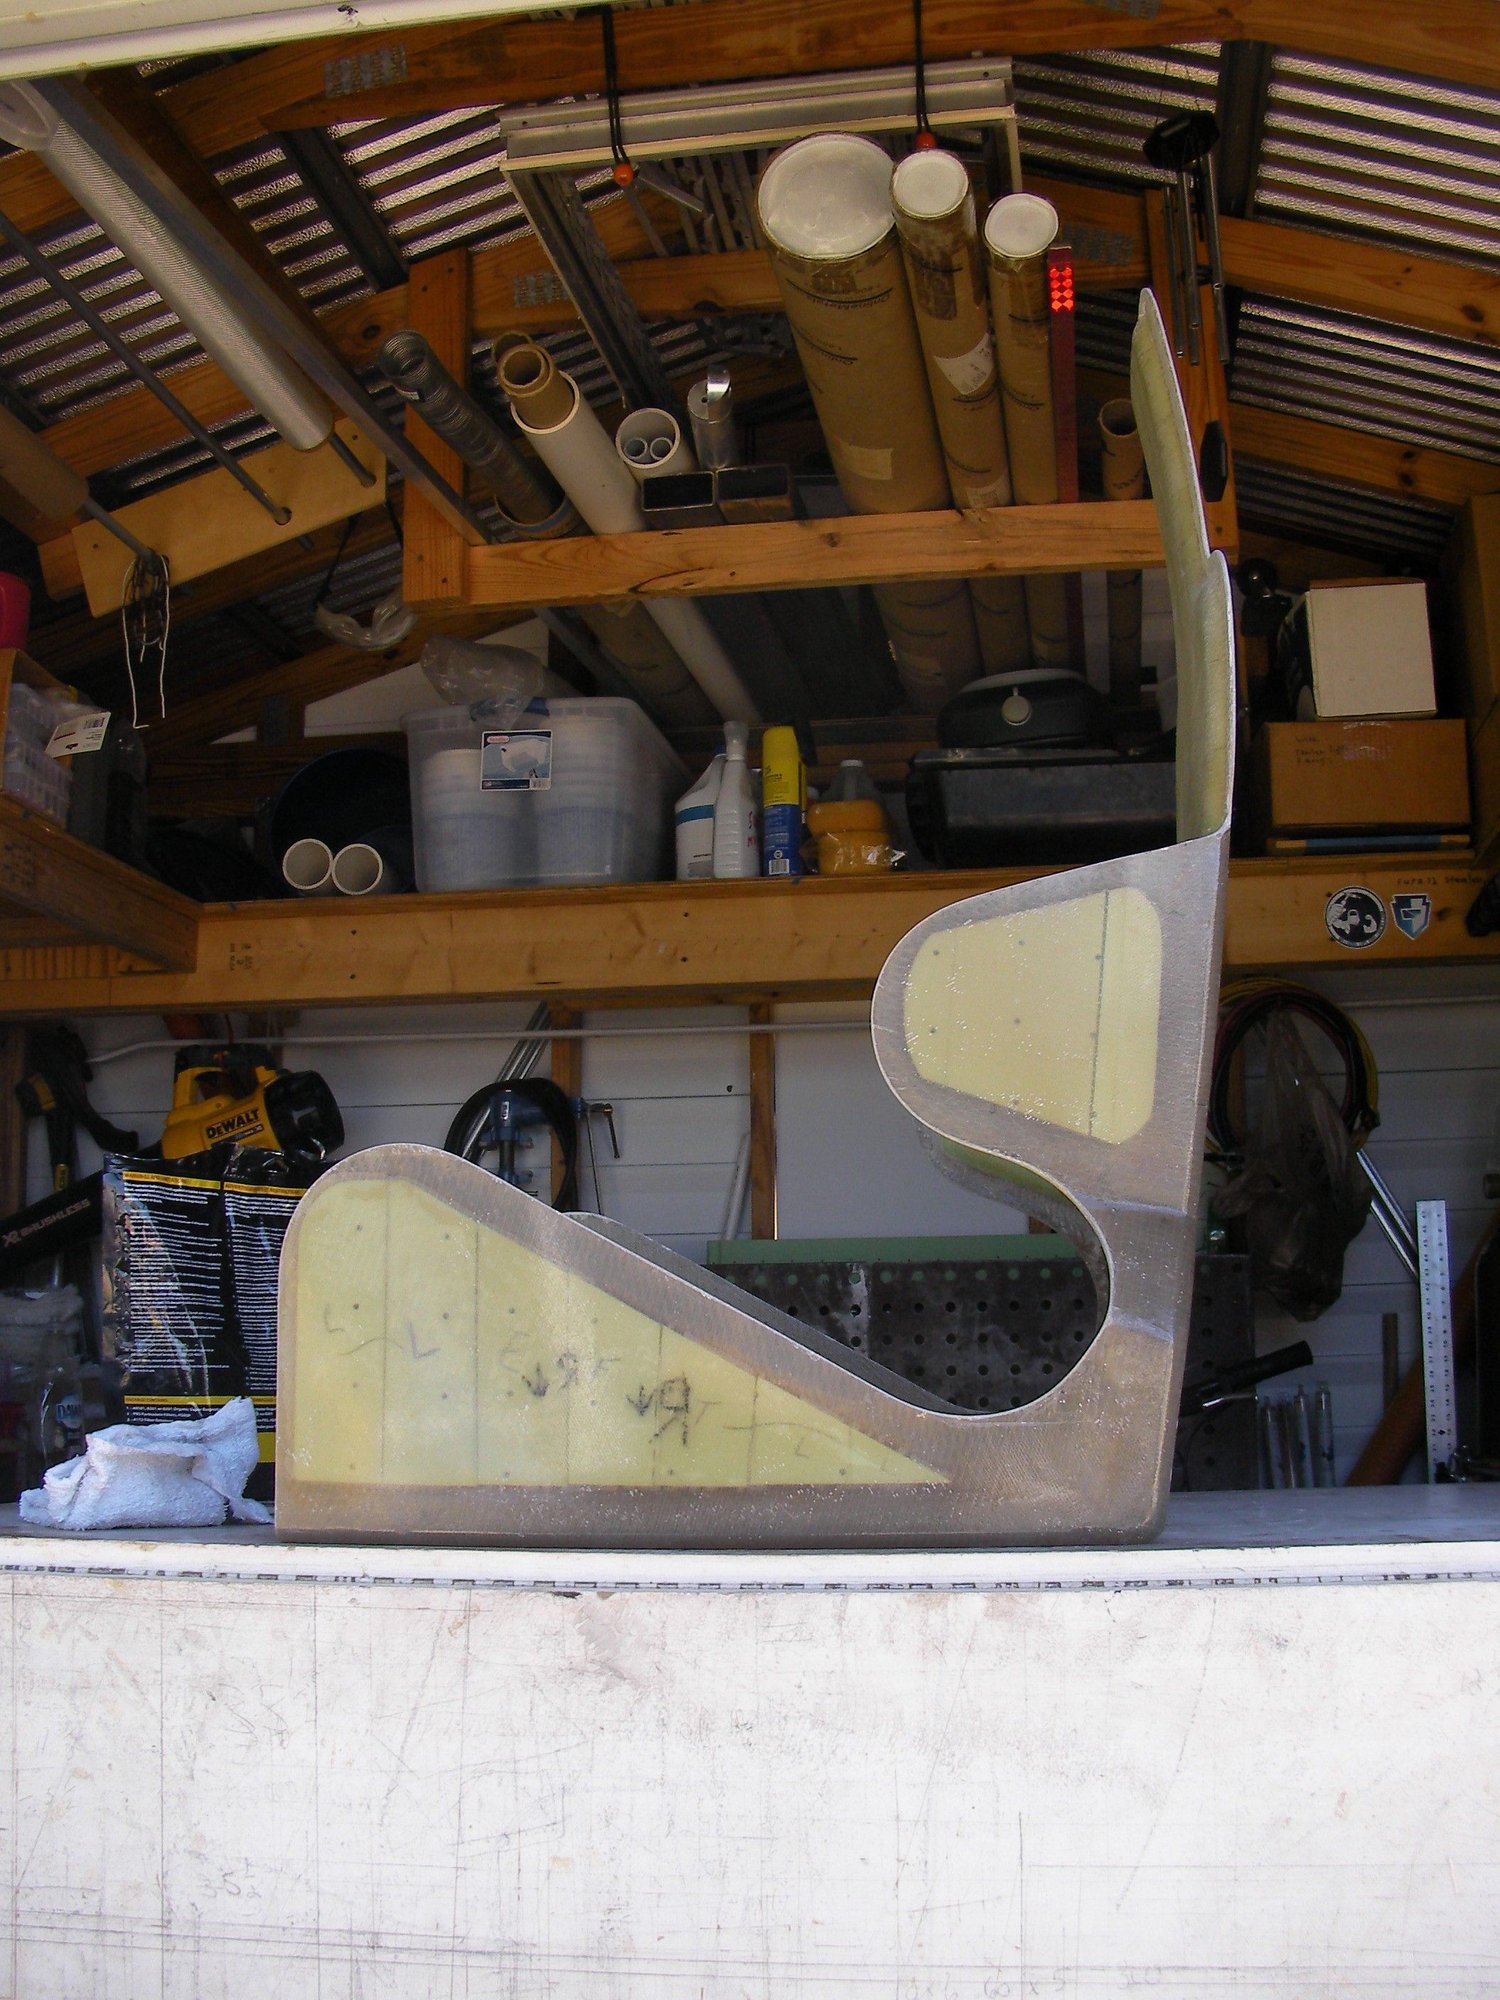
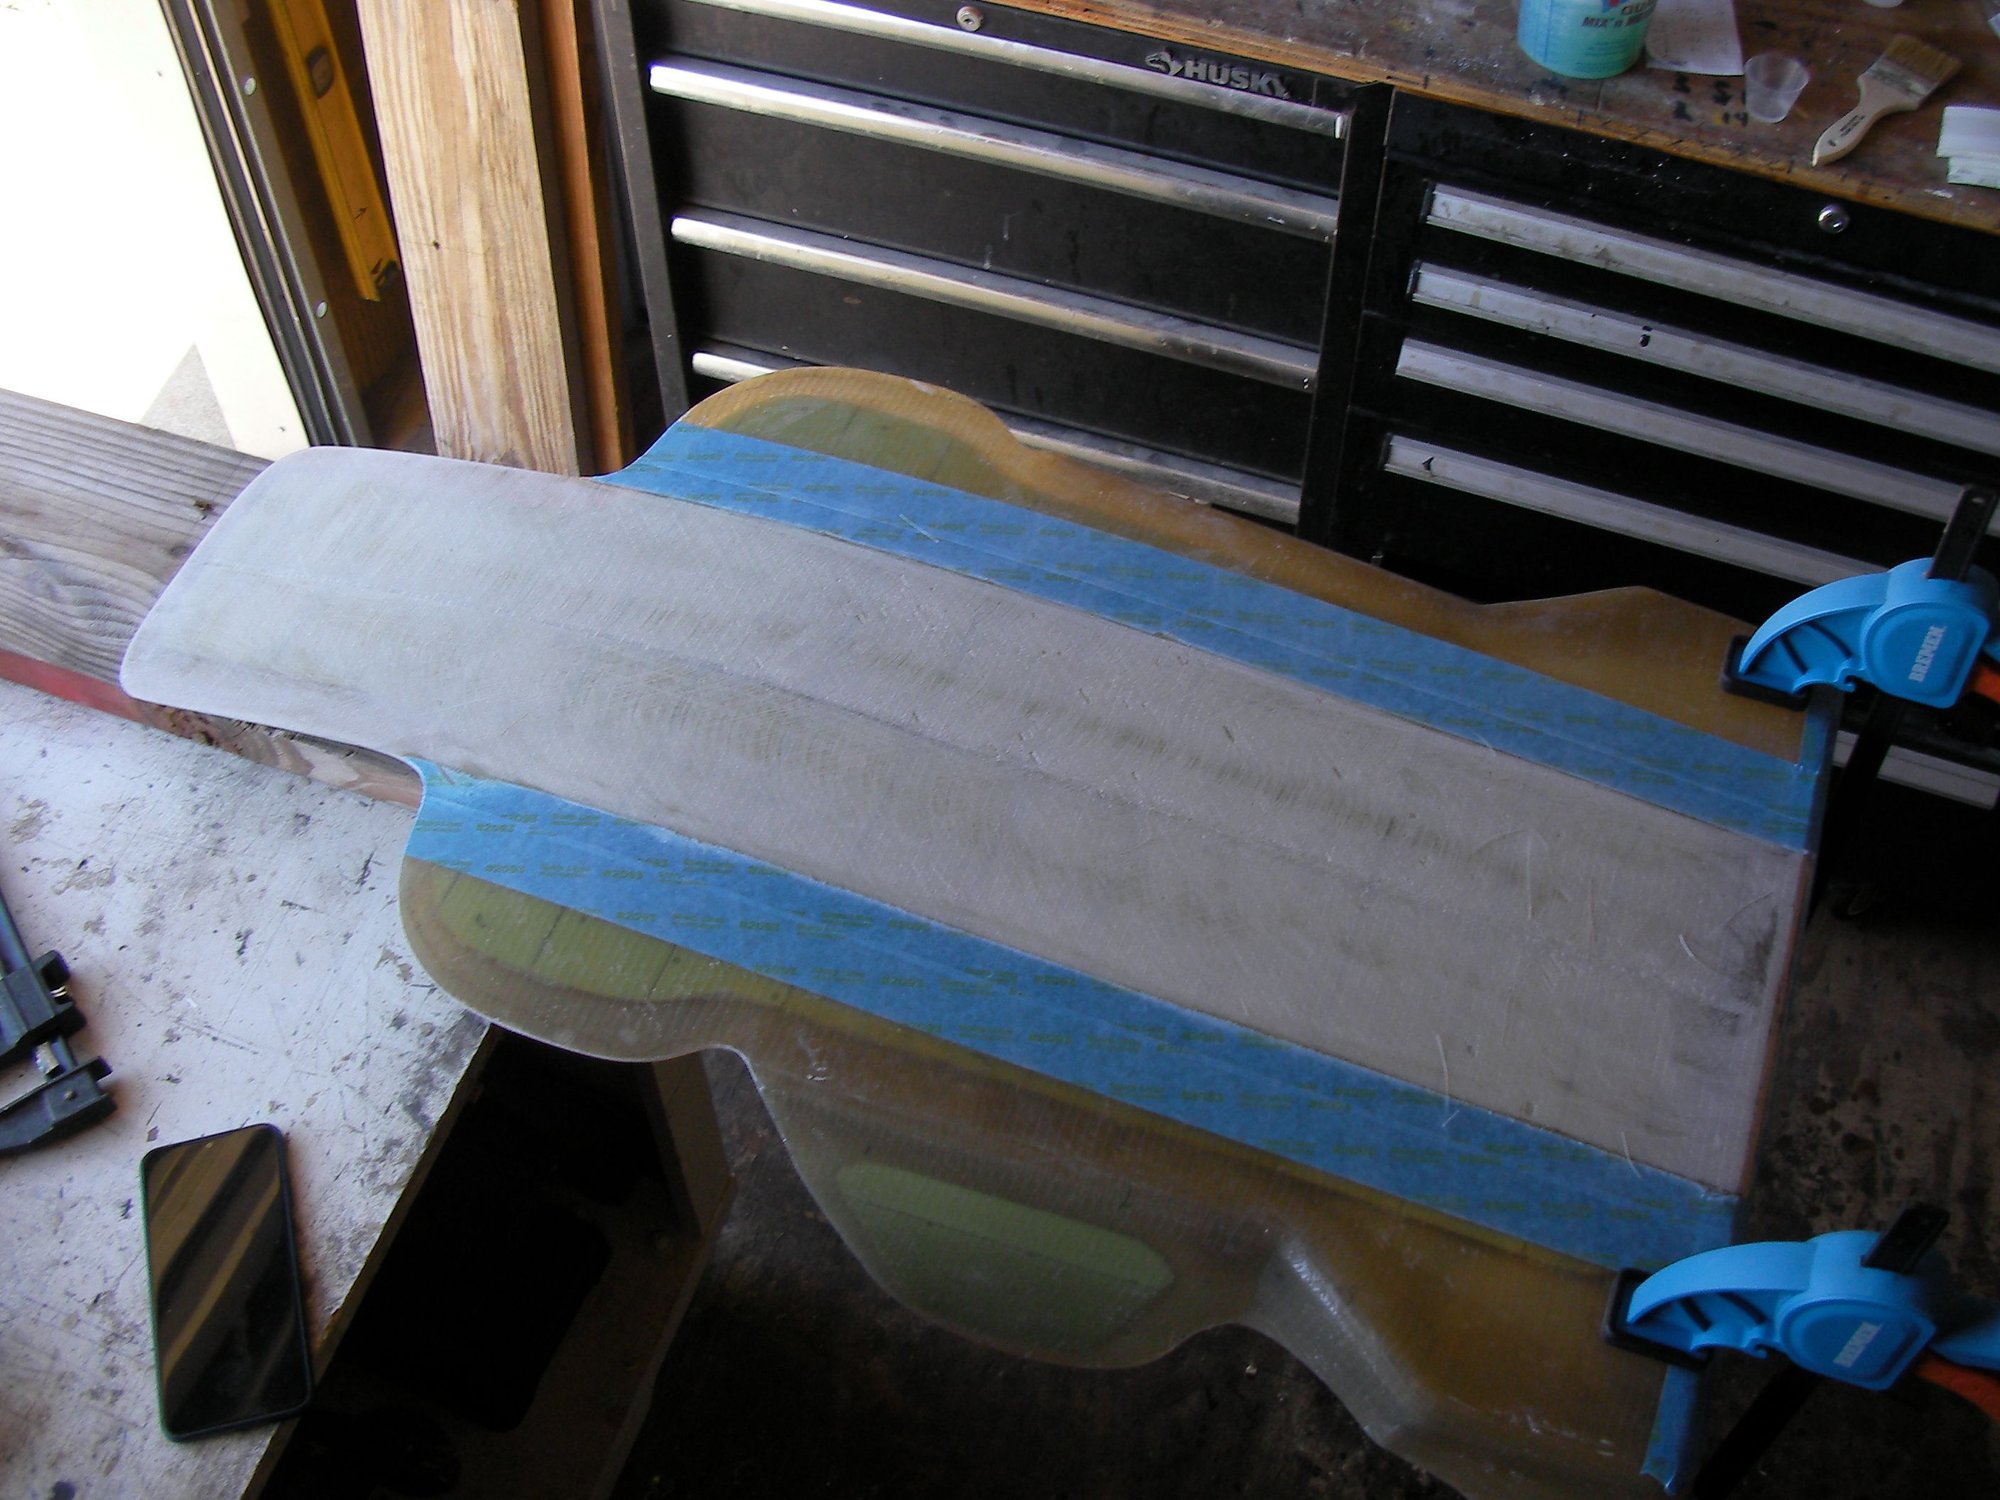
Mold 2, mod 3, Seat 2, aka good seat 1.
no more mods, this it.
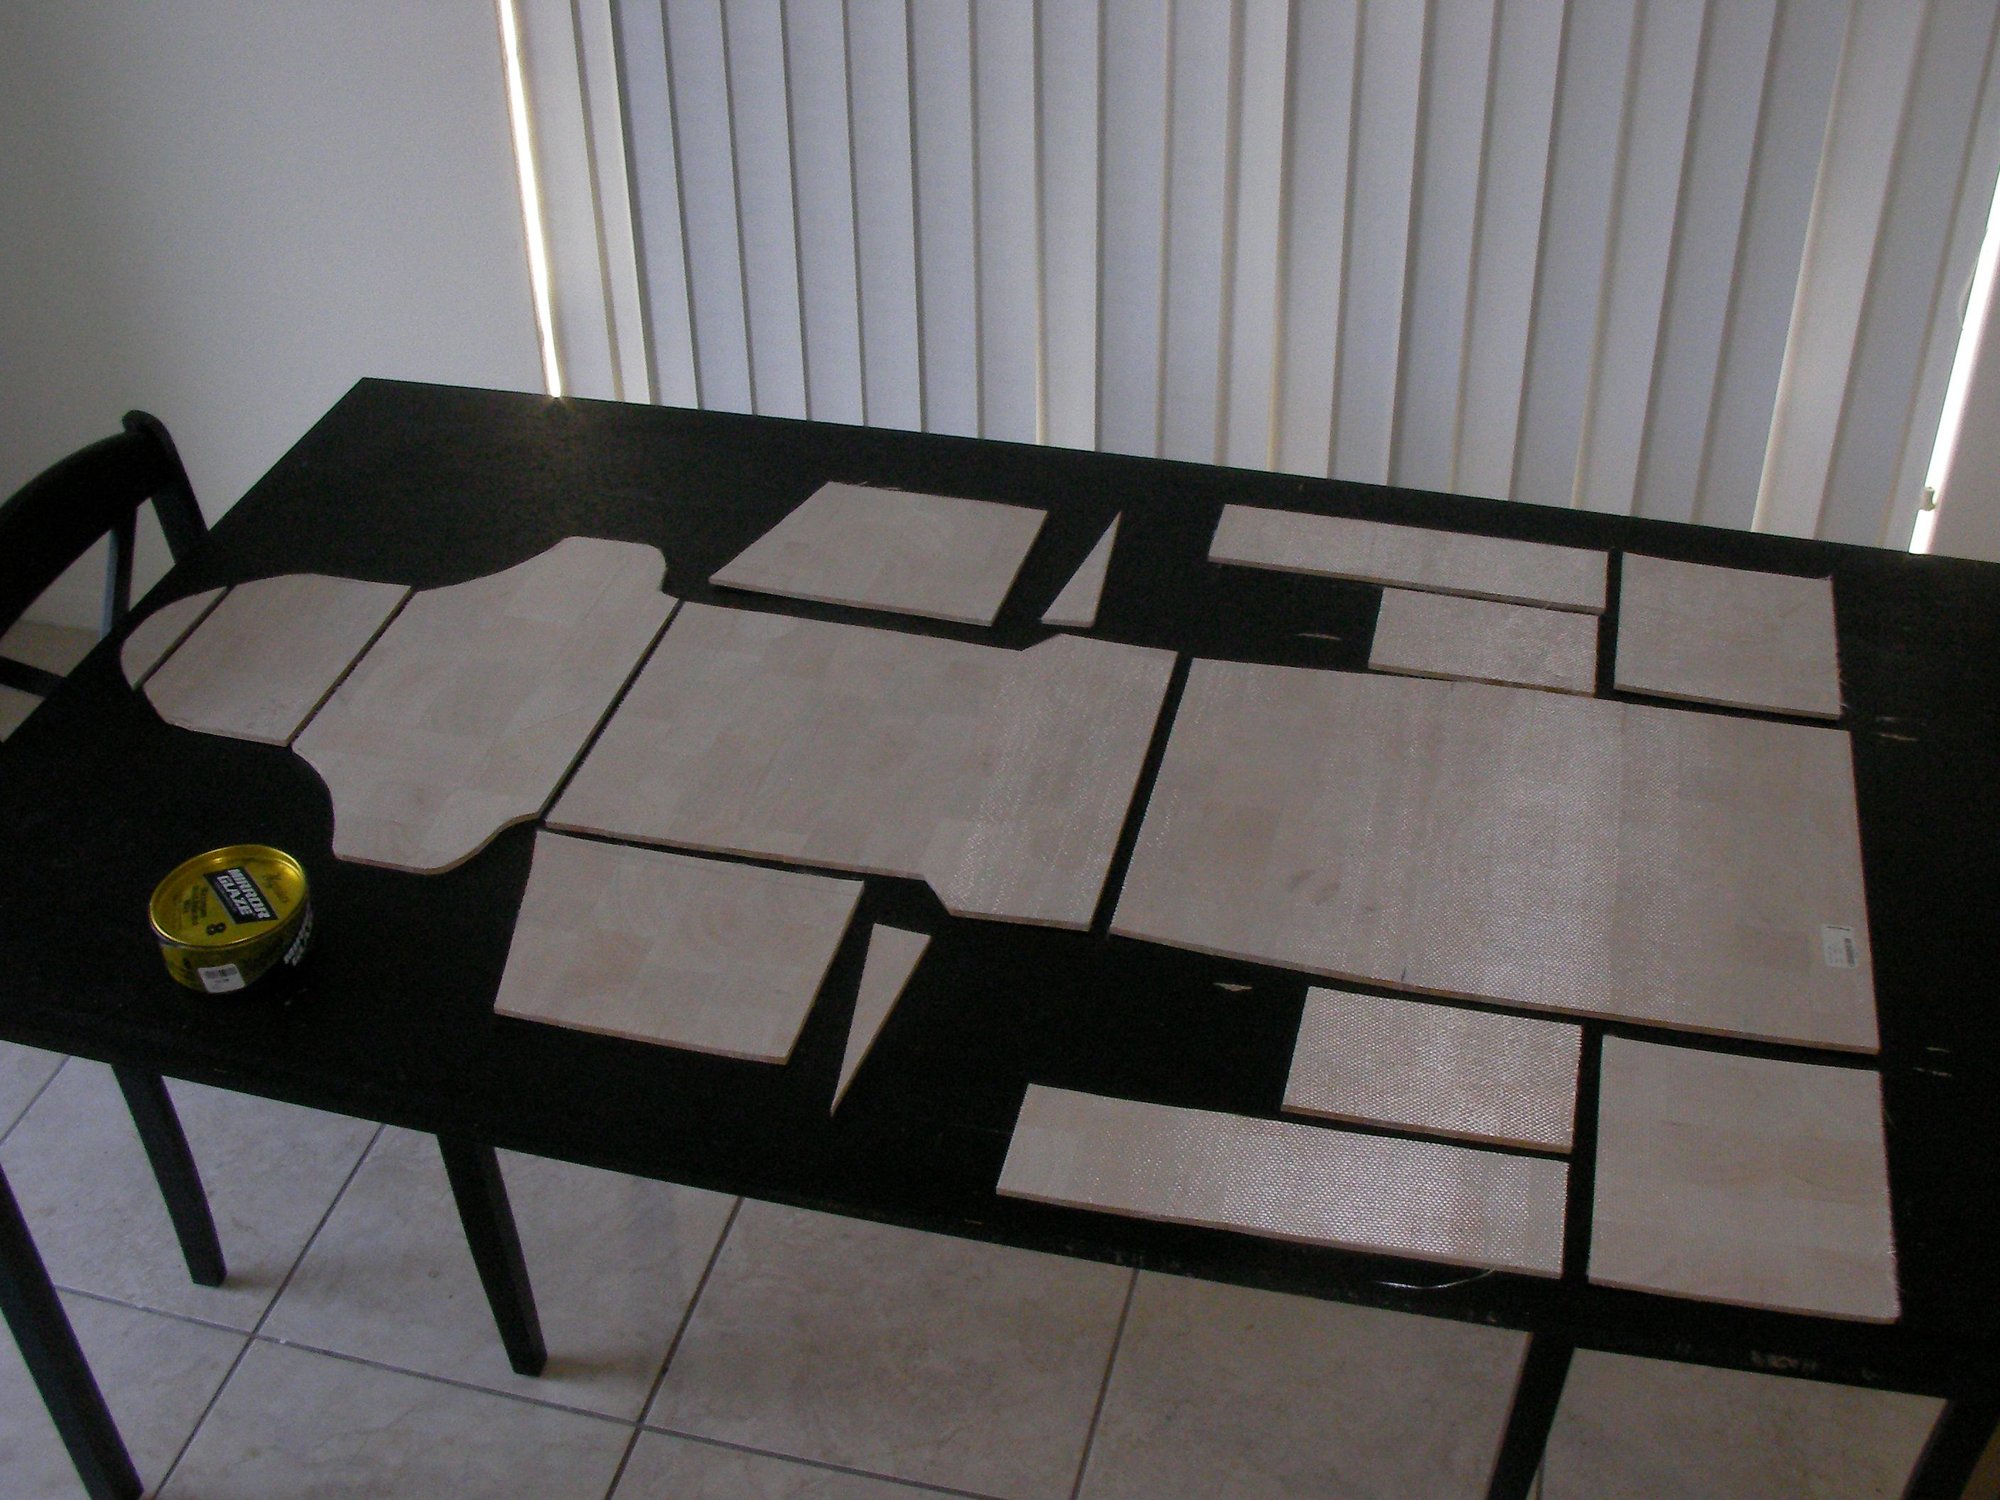
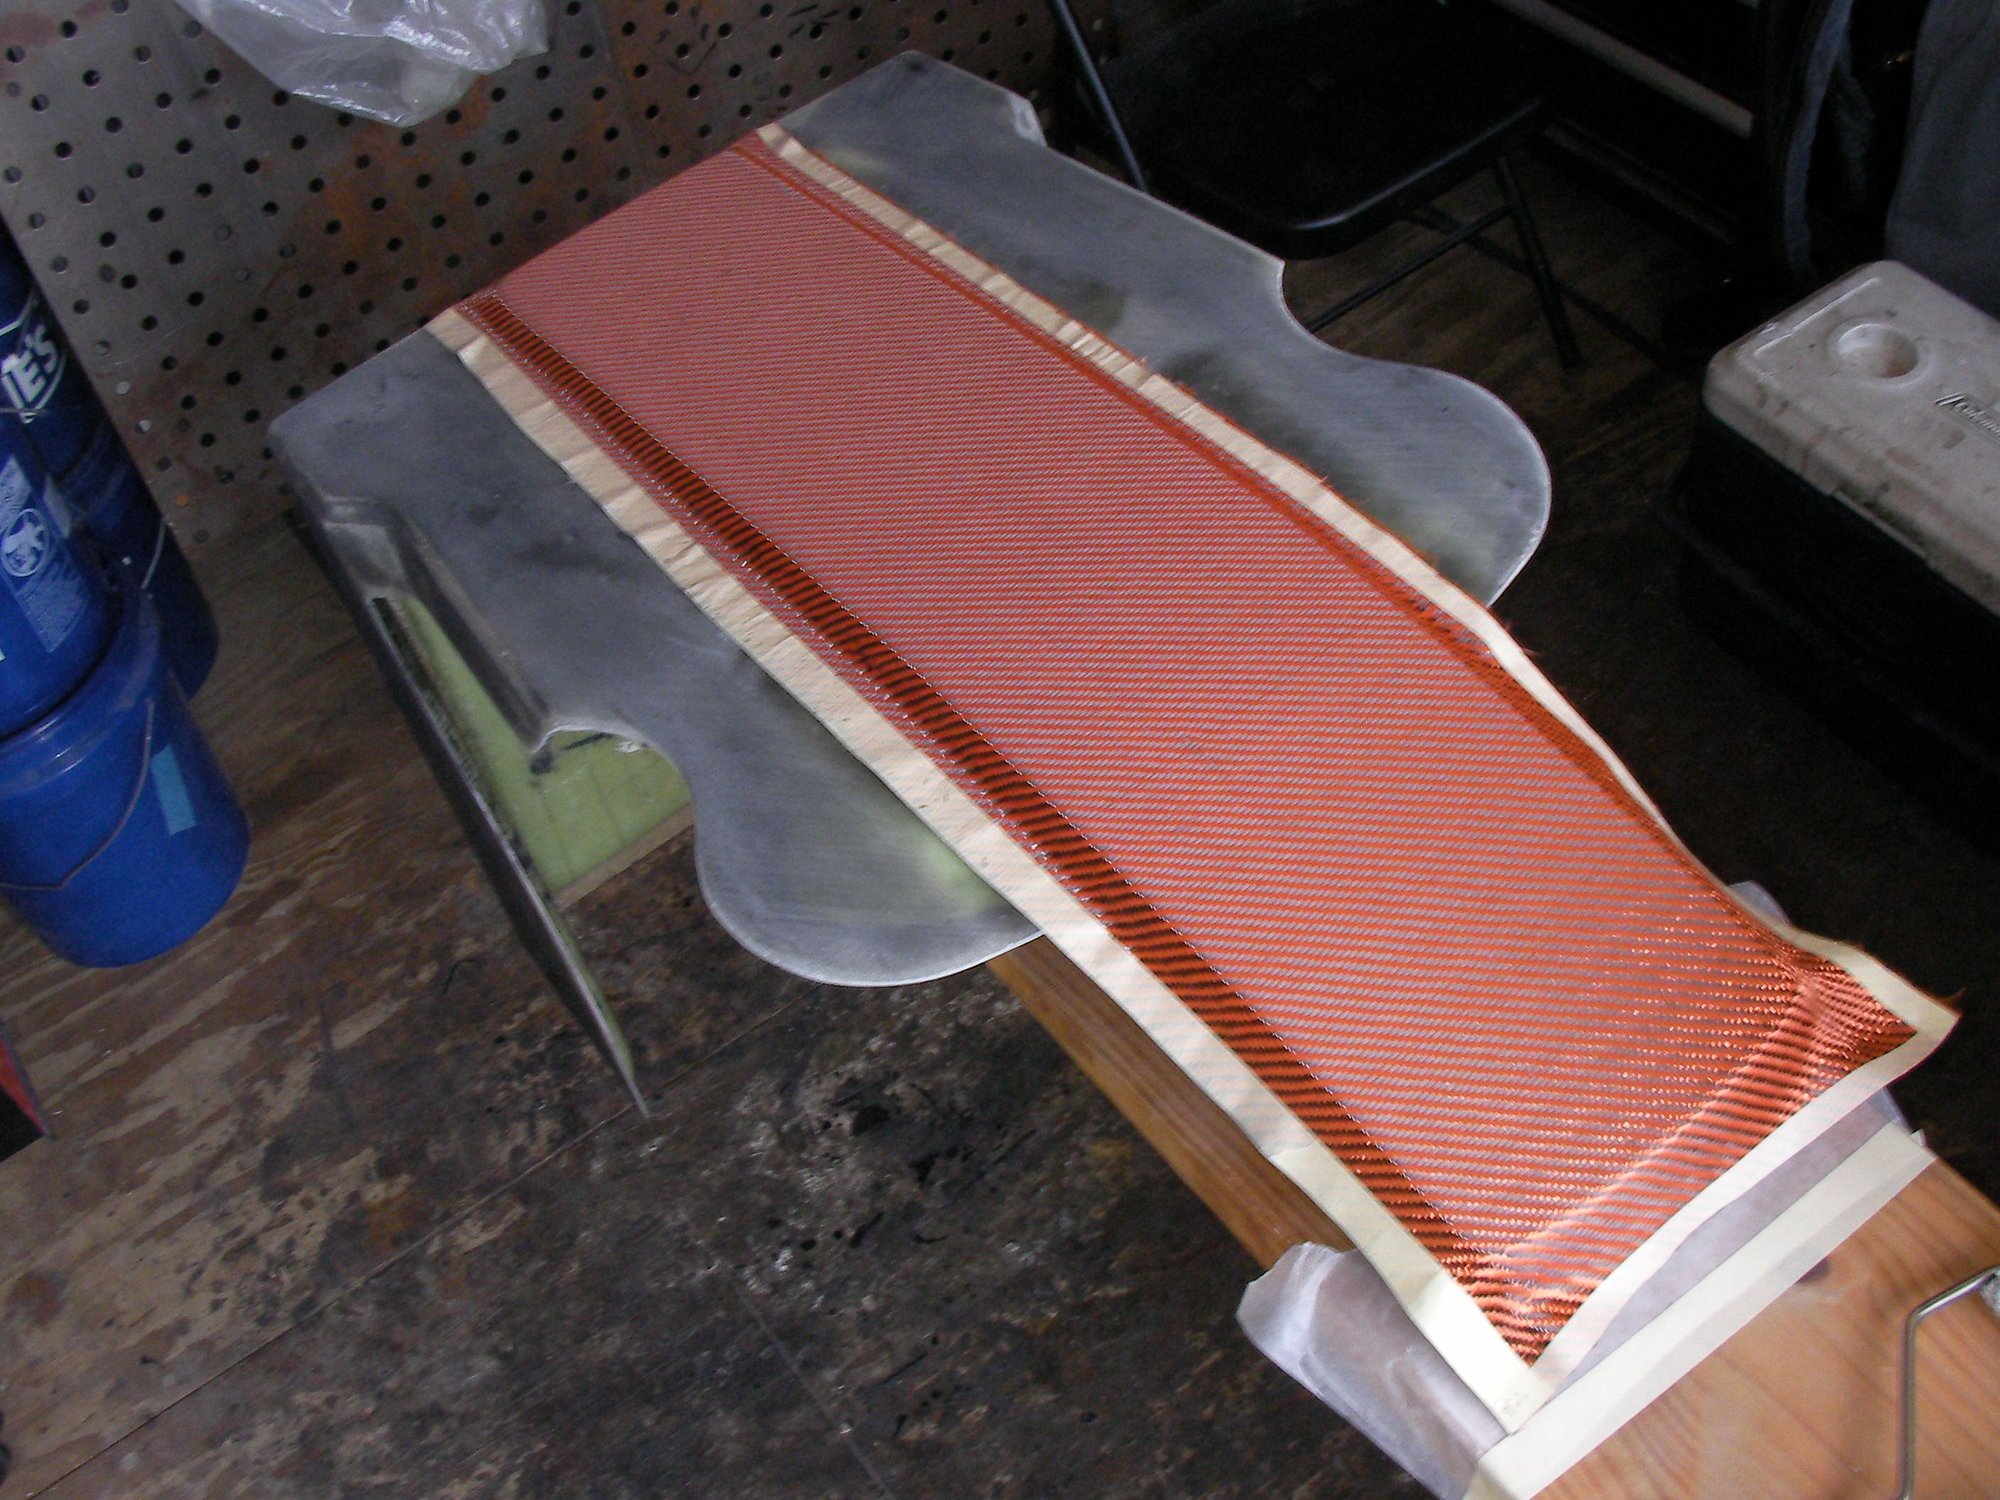
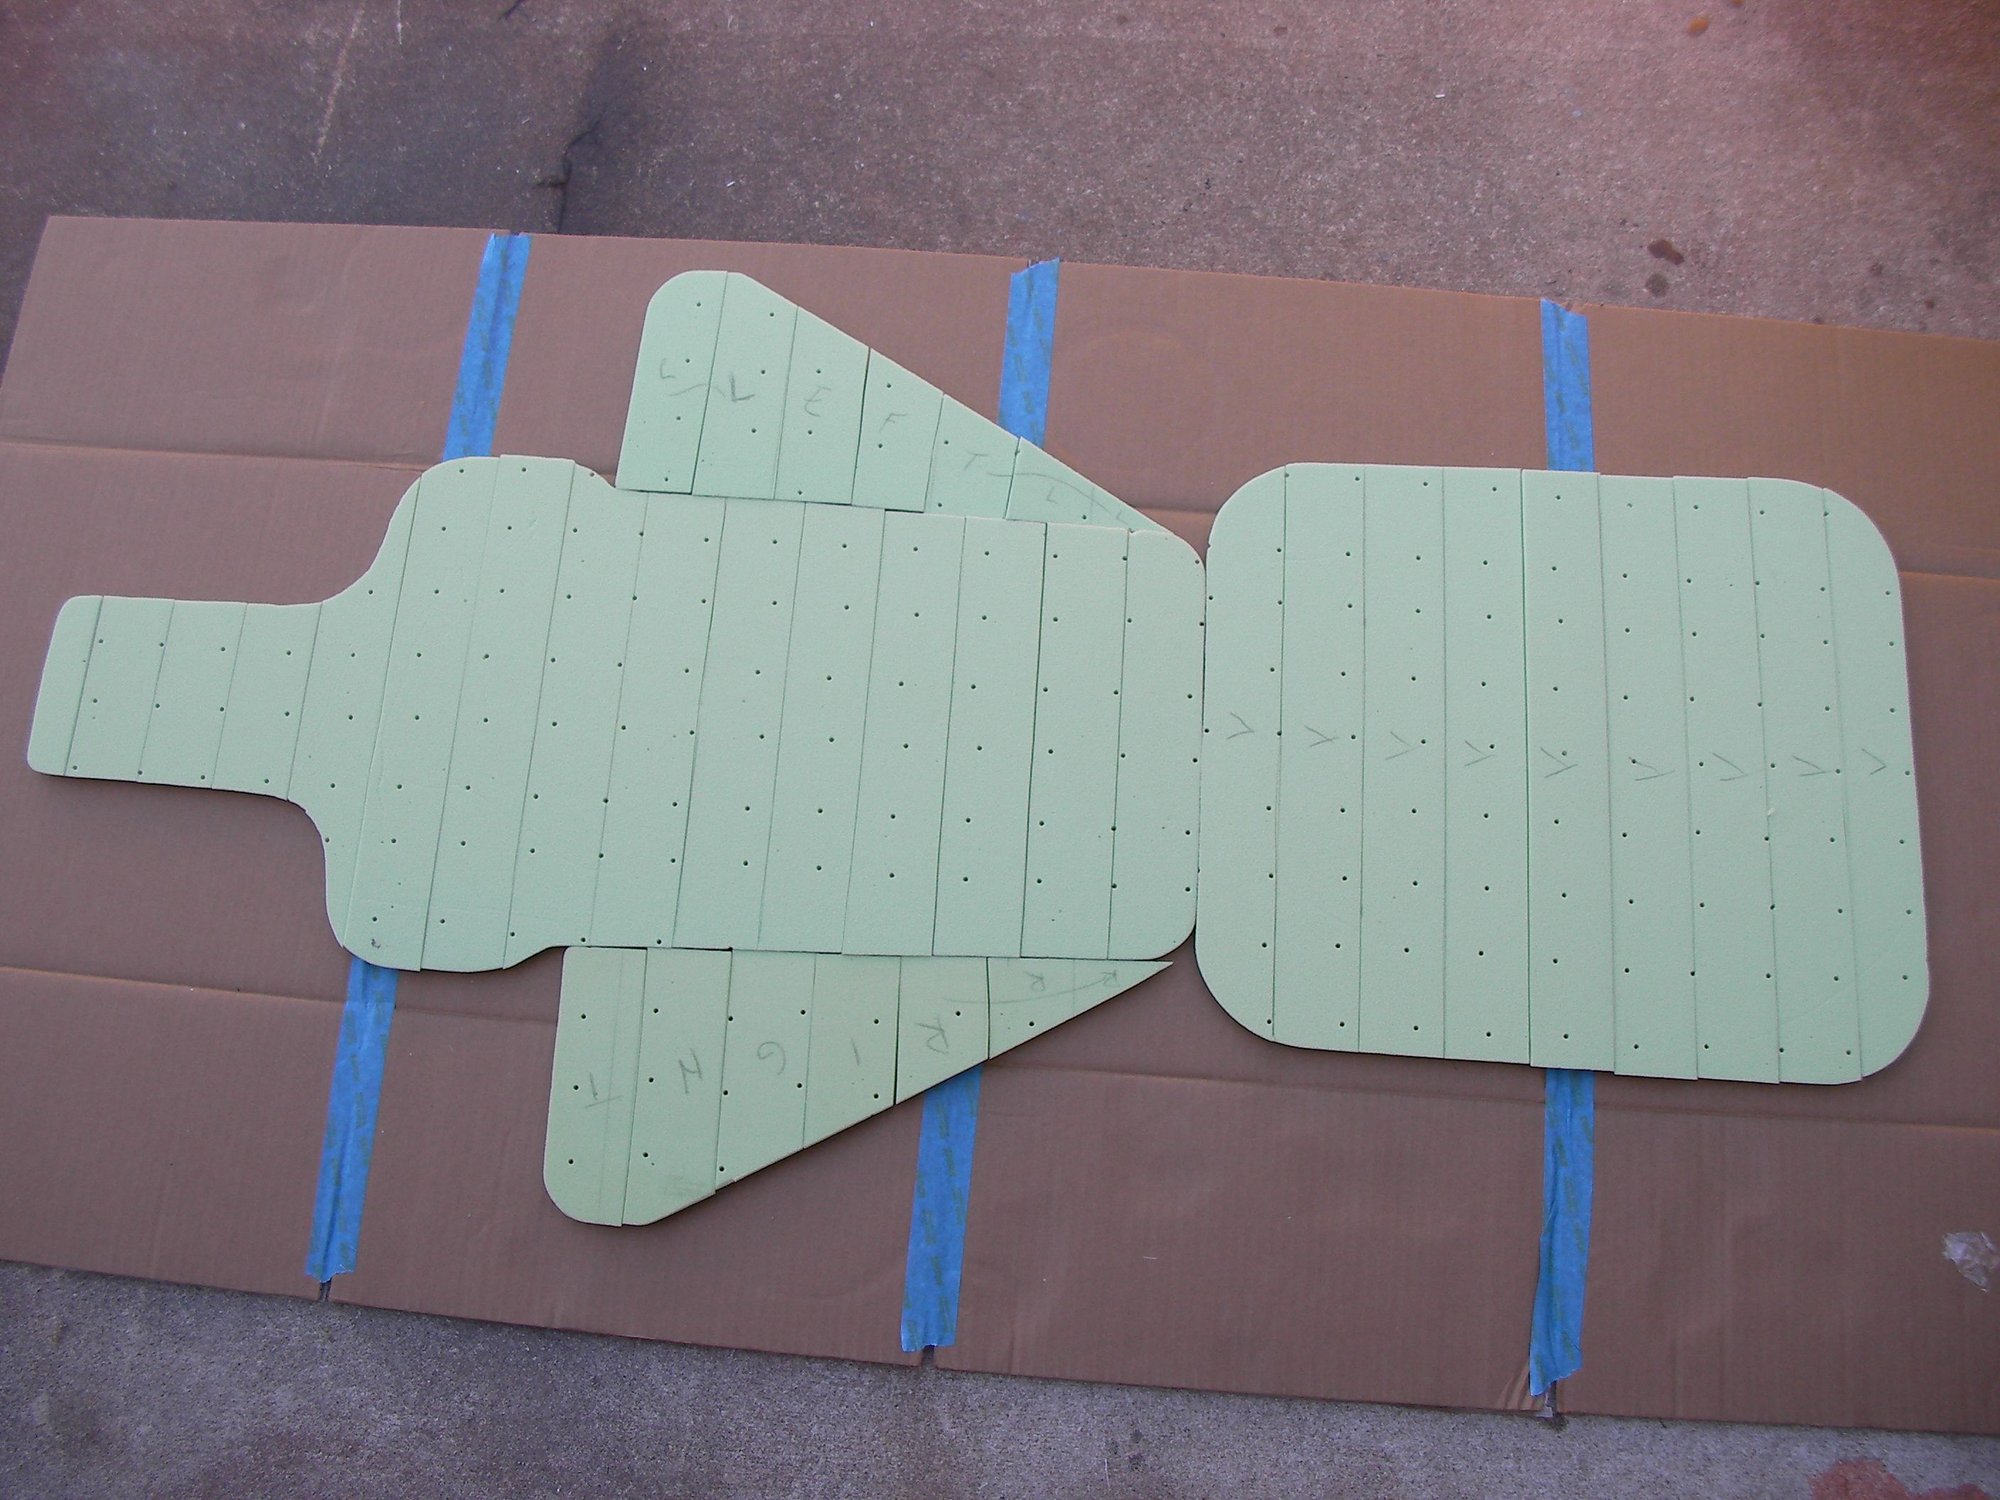
24 precisely cut pieces of glass for 4 layers
24 pieces of tape for 4 layers on the bevels,
4 layers of glass that overlap and a piece of tape equals 12 layers on the bevels, it's strong.
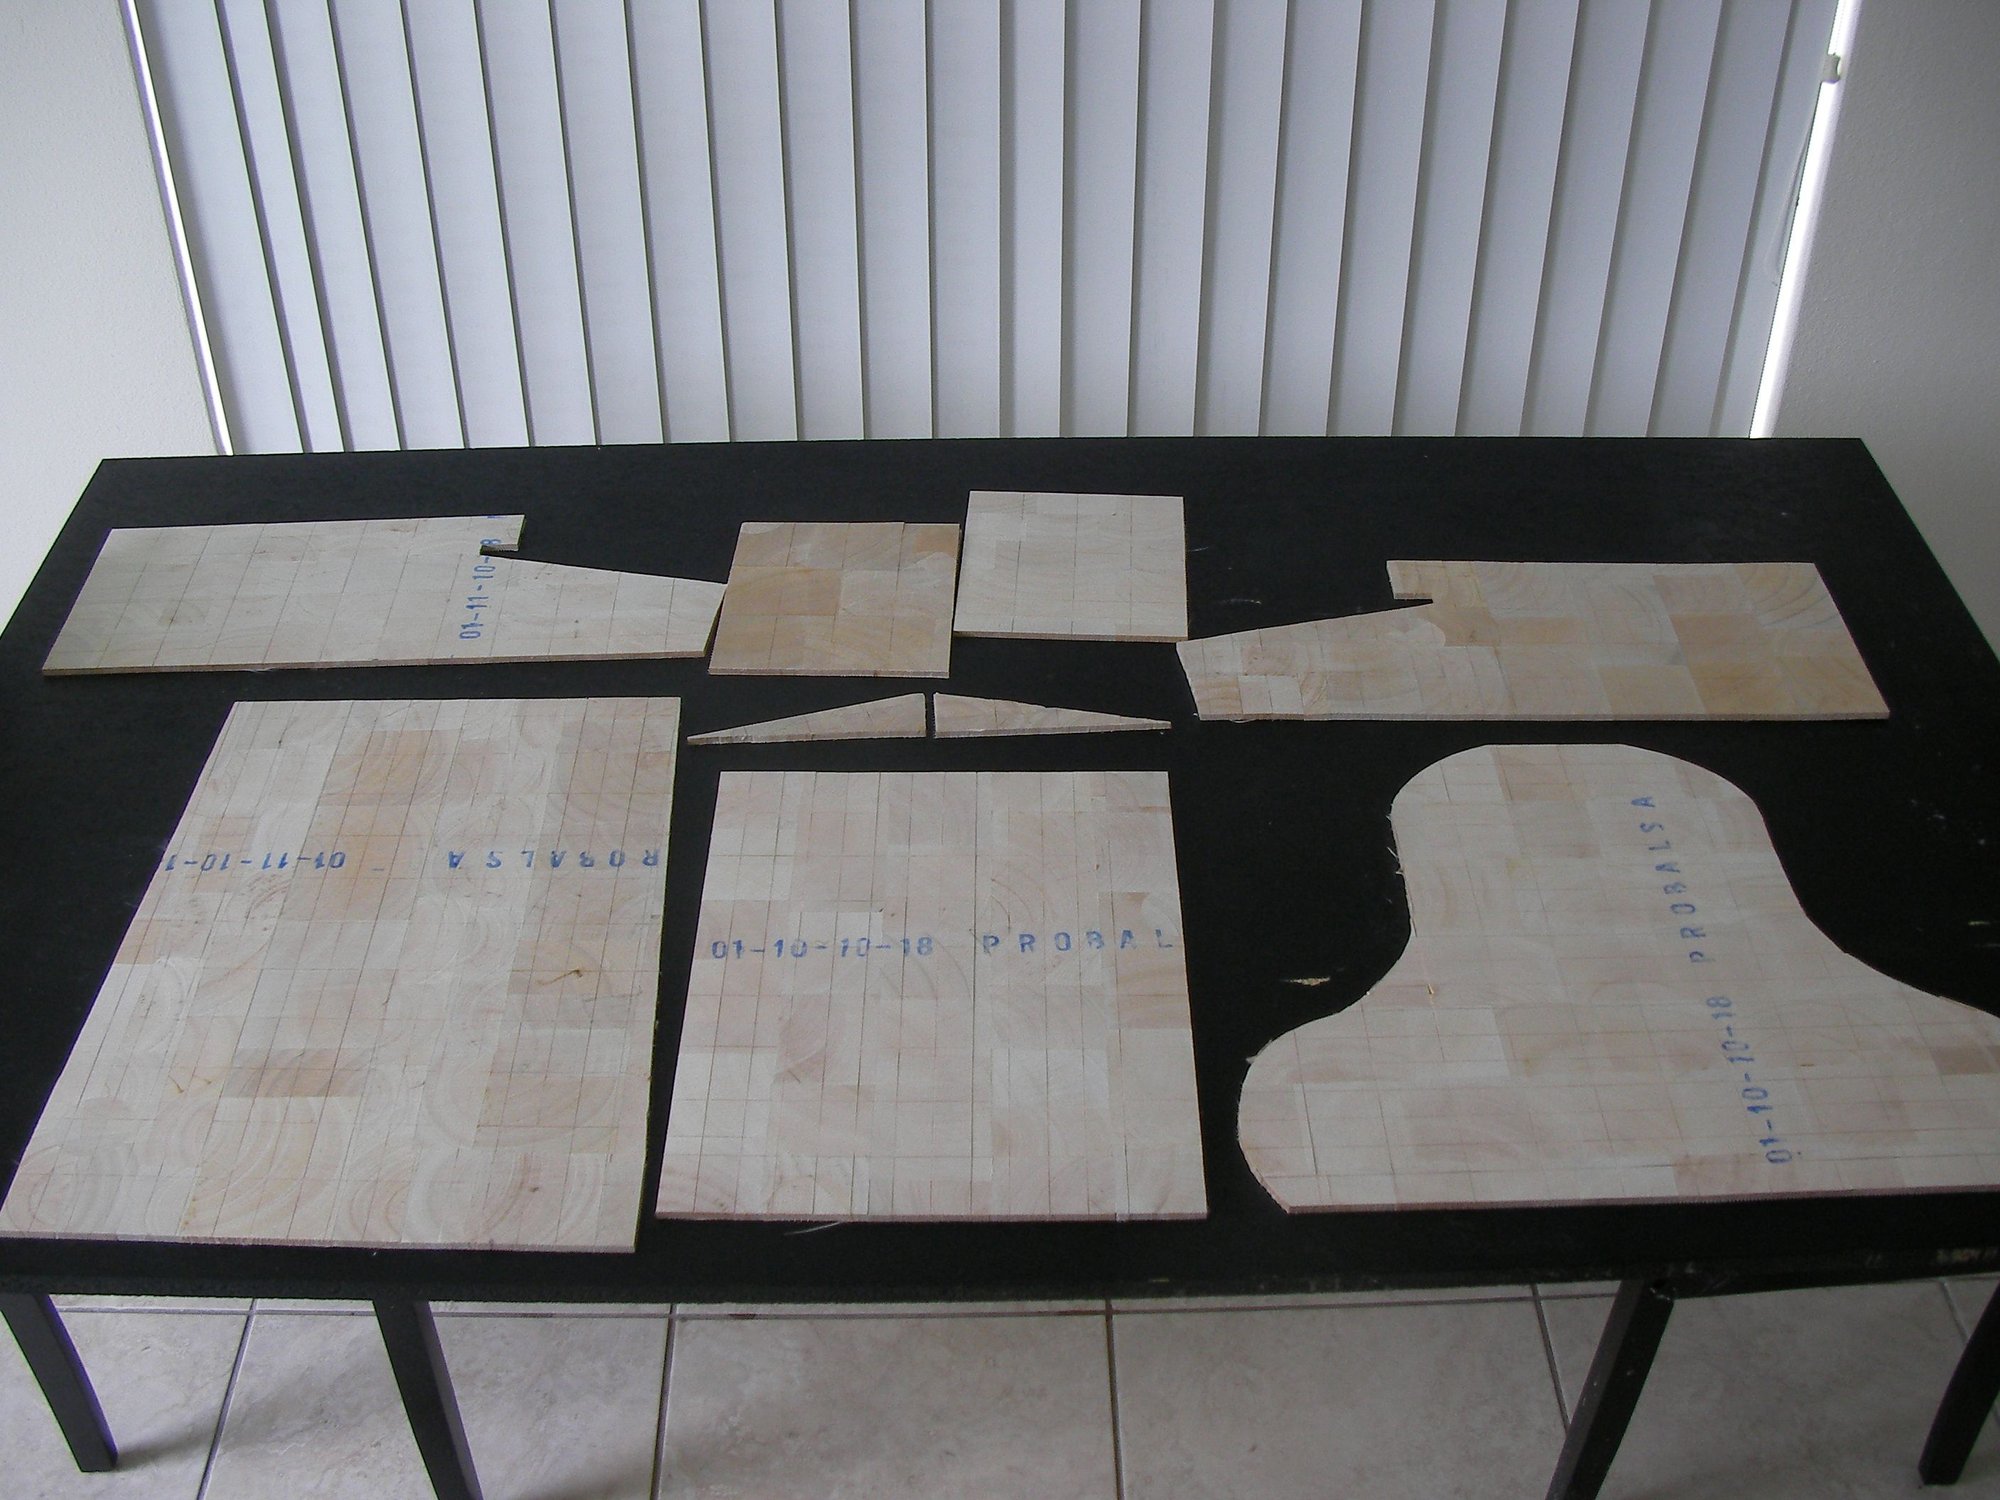
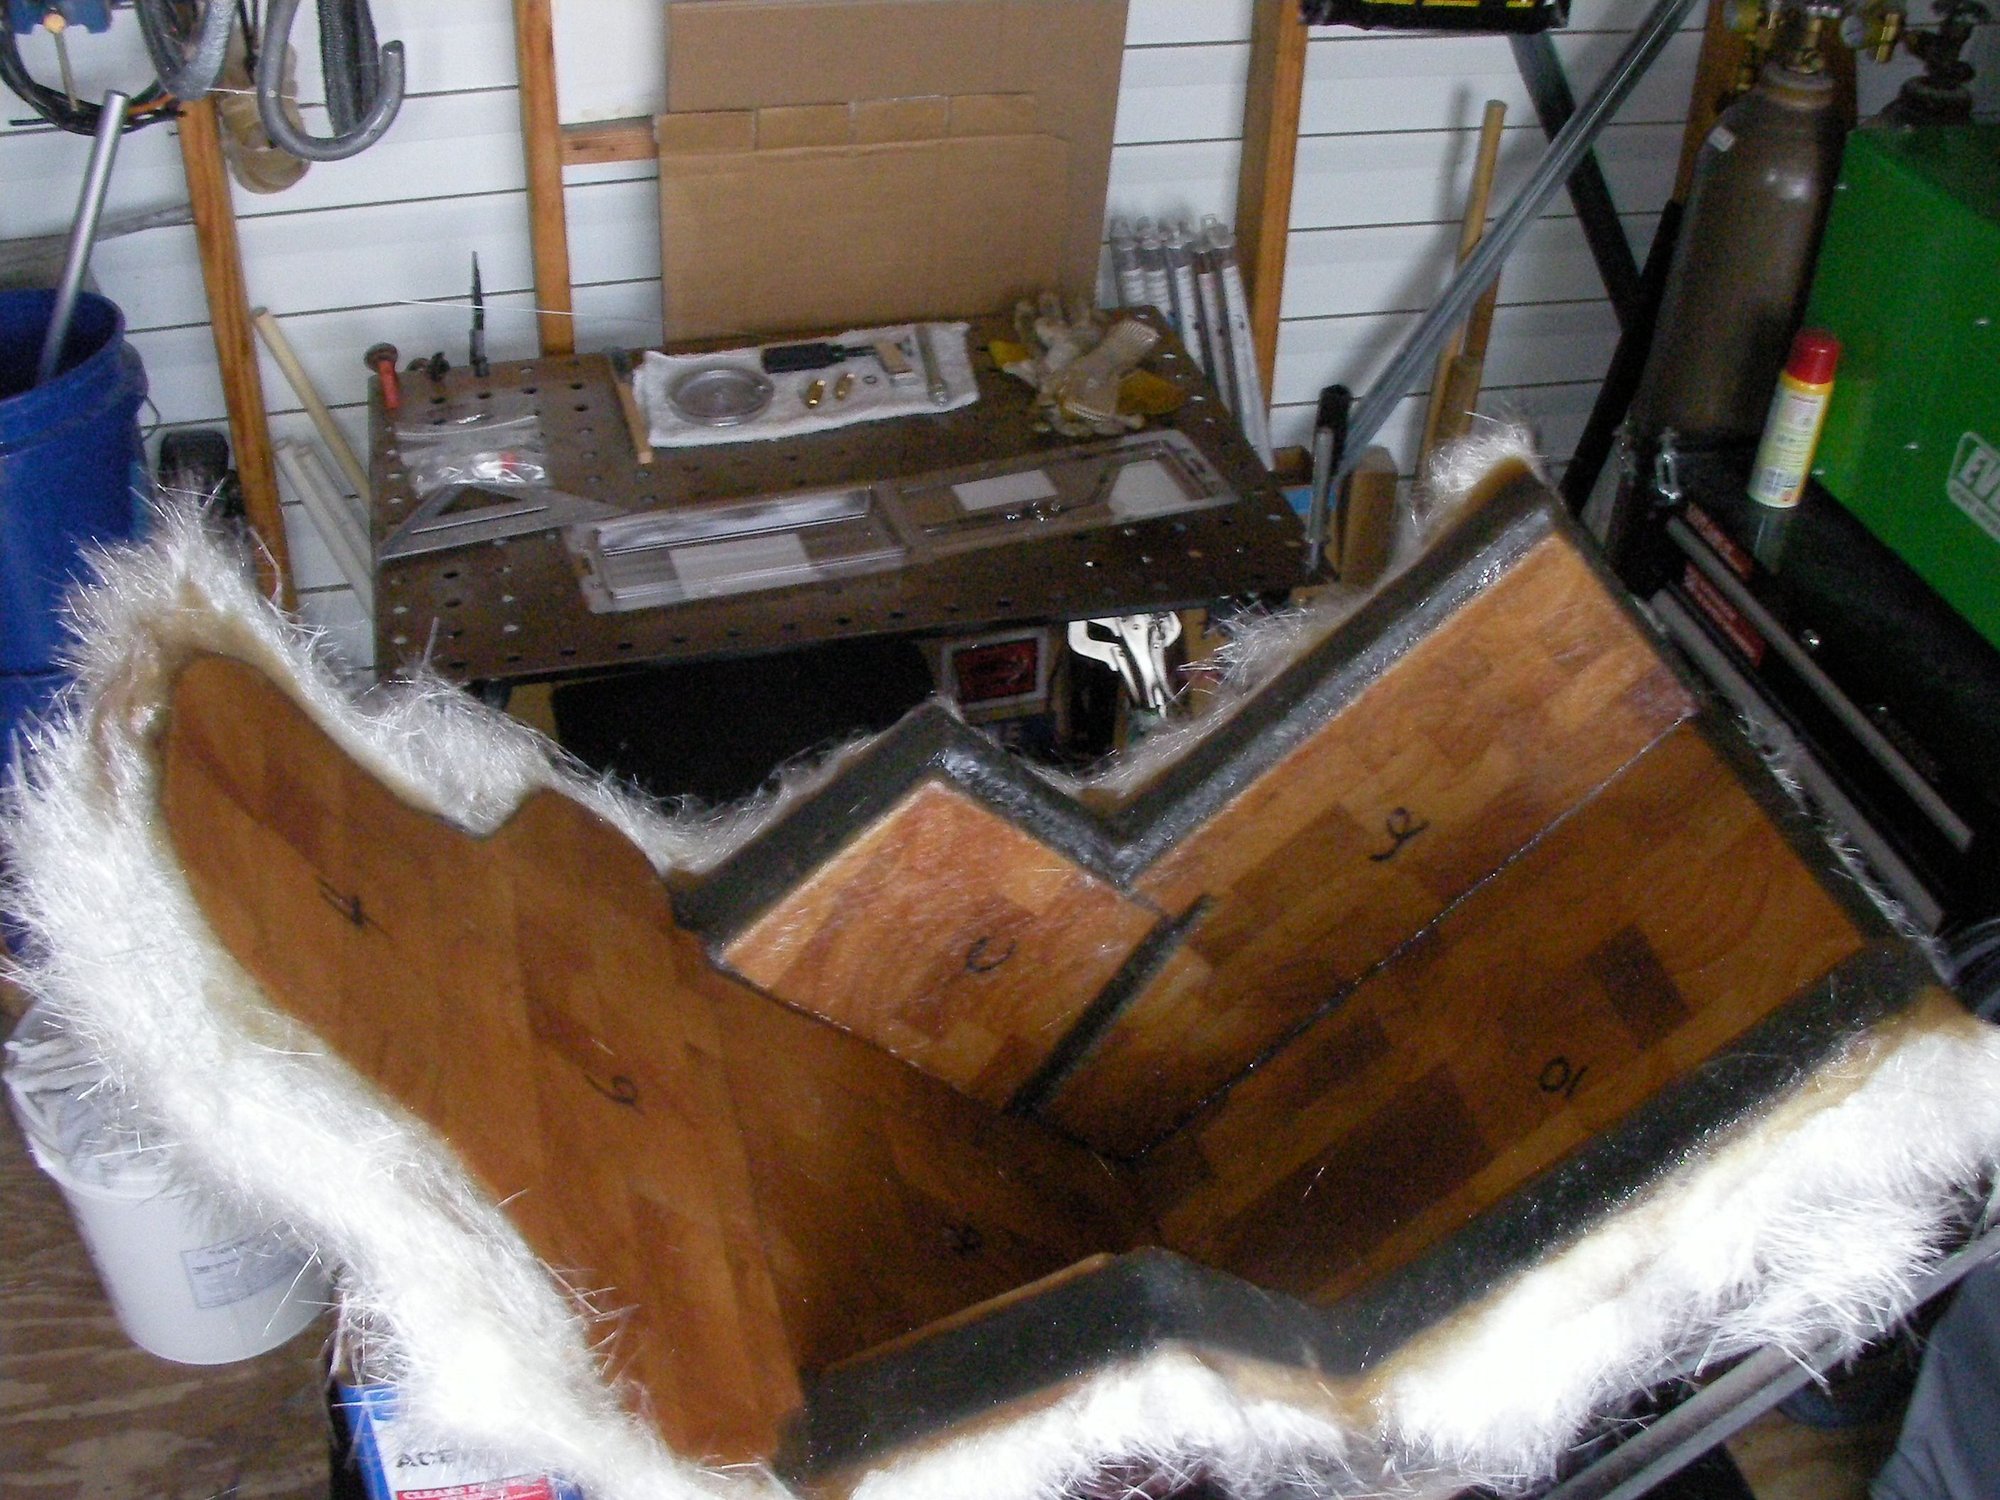
6 Pieces of core cut to fit and sanded on an angle to not need caboil (except for the slurry to bed them) then cut into 40 pieces.
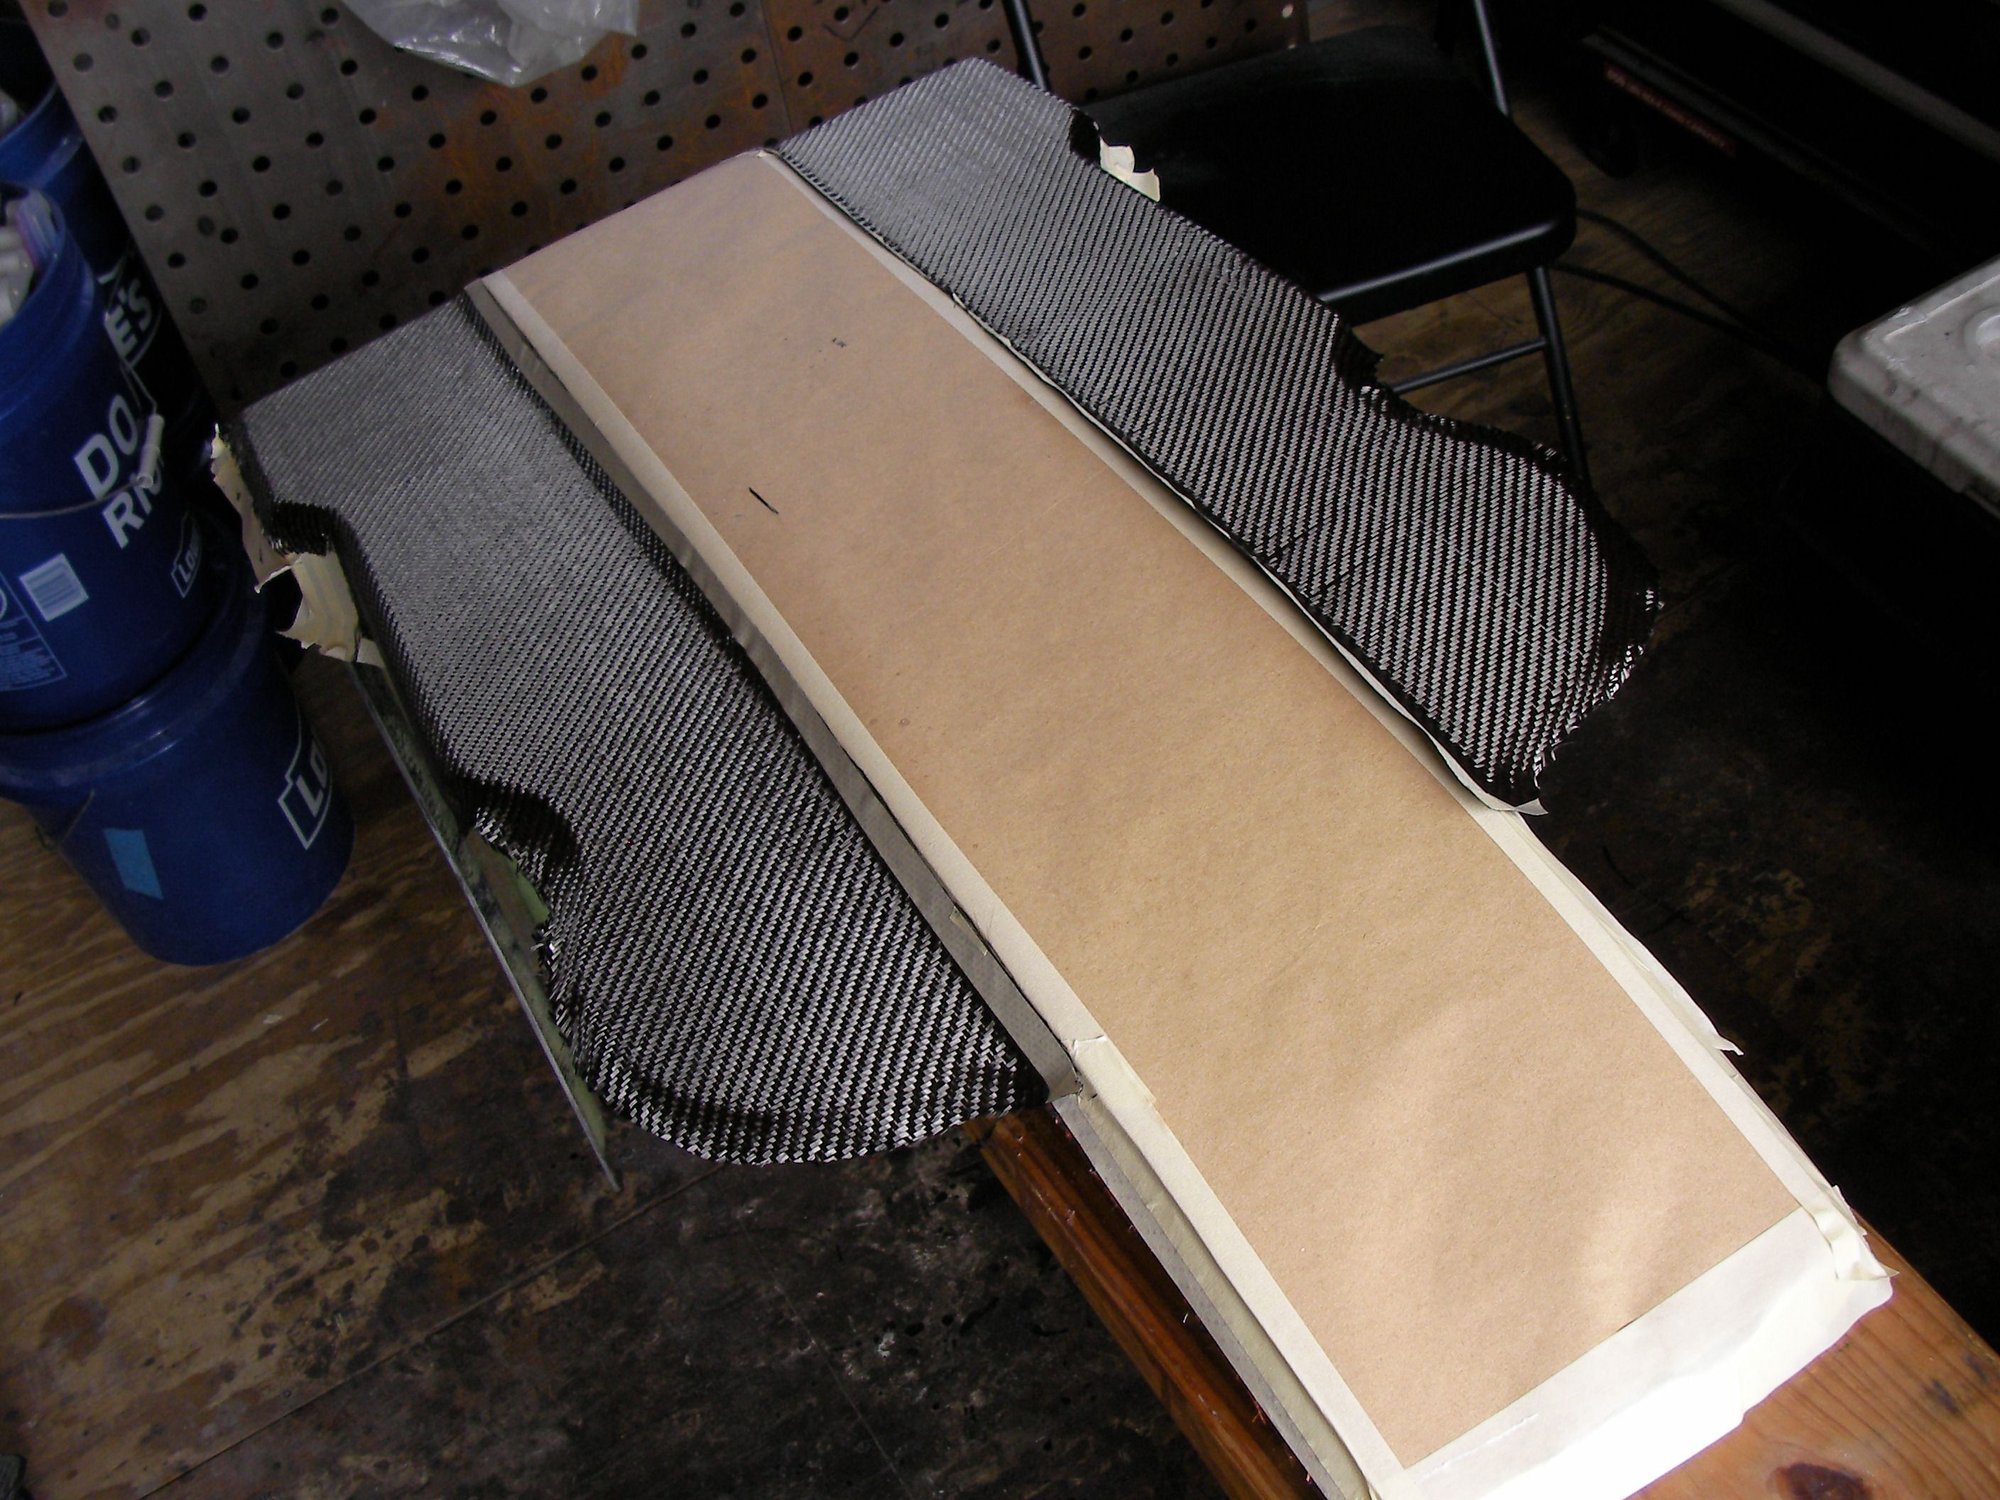
Pva, part falls outta the mold
The tape leaves a nice line to trim to with 1/4 inch +/- waste all around.
Last edited by outonsafari; 10-24-2022 at 10:08 PM.


 10-25-2022 | 06:35 AM
#9
Platinum Member

Joined: Jan 2005
Posts: 1,157
Likes: 519
From: Owen Sound Ont.
You are tenacious and do nice work! Well done!
Carbon is not easy to work with, extra hands and vacuum can get decent results, but for pinhole free should be resin infusion or better yet pre-preg and autoclave.
Carbon is not easy to work with, extra hands and vacuum can get decent results, but for pinhole free should be resin infusion or better yet pre-preg and autoclave.
10-27-2022 | 10:06 AM
#10
Thread Starter
Registered
Joined: May 2009
Posts: 1,942
Likes: 527
Vacuum assisted resin infusion was an idea when the plug was started, but the prices of resin has gone up so much it's out the window. Infusion resin is even more expensive, add on the consumables and learning curve, nah this is supposed to be a fun hobby.

