


Winter Project '80 233
 03-10-2013, 10:09 PM
#11
Registered
Thread Starter
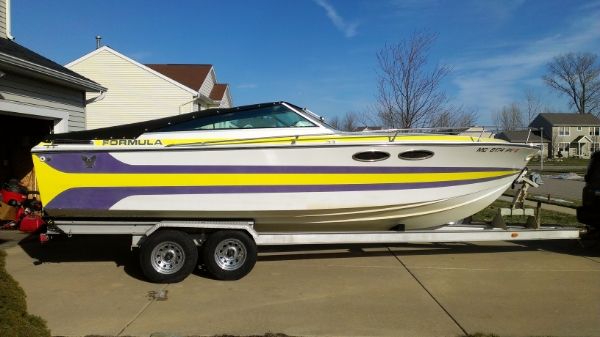
Got some work done on the project this weekend.
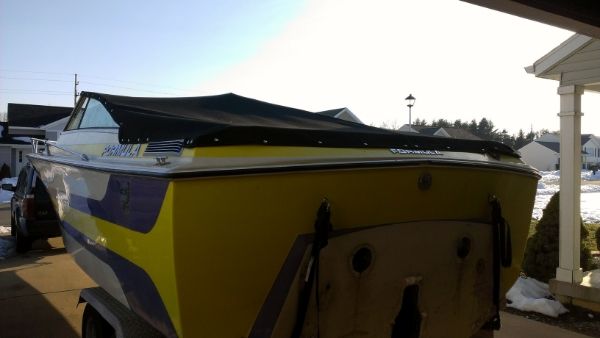
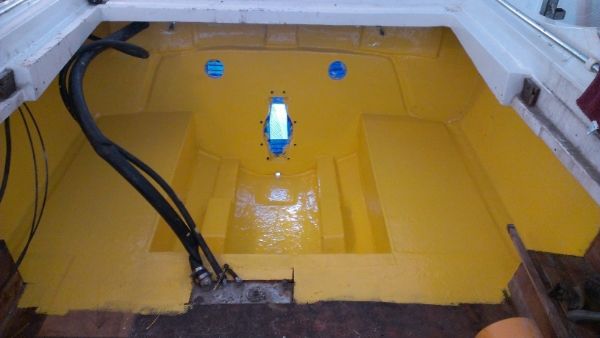
Had a snap on cover made and while it was at the shop rebuilt the outdrive rams, starter, water pump, and thermostat housing. Also painted the bilge and mounted the transom assembly.
Cover
Bilge painted with Rustolium/valspar hardener
Transom assembly
Had a snap on cover made and while it was at the shop rebuilt the outdrive rams, starter, water pump, and thermostat housing. Also painted the bilge and mounted the transom assembly.
Cover
Bilge painted with Rustolium/valspar hardener
Transom assembly
 03-11-2013, 06:29 AM
#12
Looks great, I spent 3 years redoing a 1973 wellcraft nova. Turned out beautiful. But was a lot of work. Best part though, you will know everything about that boat inside and out. Can work on them blind folded after this kind of rework......oh word of advice. When I did my nova I re worked my read seat so with just a a couple screws it would come right out and I could sit right next to the motor to work on.
Last edited by silent lucidity; 03-11-2013 at 06:32 AM. Reason: Adding
 03-15-2013, 07:44 AM
#14
Registered
Join Date: Aug 2012
Posts: 1
Likes: 0
Received 0 Likes
on
0 Posts
Nice looking bilge! I picked up an 81 233I this past fall I'm pulling the engines in a week or two in order to convert to through hub exhaust and then paint the bilge as well. In the pictures it looks like you have a single piece y-pipe. Are you running a newer drive unit? Mine appears that it uses the 3 piece y-pipes. As for the engine mounts mine are lagged directly to the supports. I dont know how hard the boat had been run in its past, but the mounts seem to have held up fine so far. Through bolting seems like a pretty sturdy method though.
03-15-2013, 08:20 AM
#15
Registered
Thread Starter
Thanks for the tips on the back seat, that is a great idea. I'm going to have to start thinking about that soon and I'll make sure I can get it out easy. Those are the little things that make working on it so much nicer.
Stiingray71 - I do have a single Y pipe which connects to silent choice. I'm powered with a 454 mag and bravo 1, so the drive is "newer" compared to the boat.
I'm about ready to put the motor back in. Got my new bilge pump setup so I wouldn't have to do it with the motor in the way. I have a smaller auto pump on the bottom and then a bigger pump 3" above it on a float switch. I'm going to wire the float switch to the buzzer/light so I know if i have 4" of water in there I think I'm also going to put in a removable plug in the cabin drain pipe and cap the drain in the cabin.
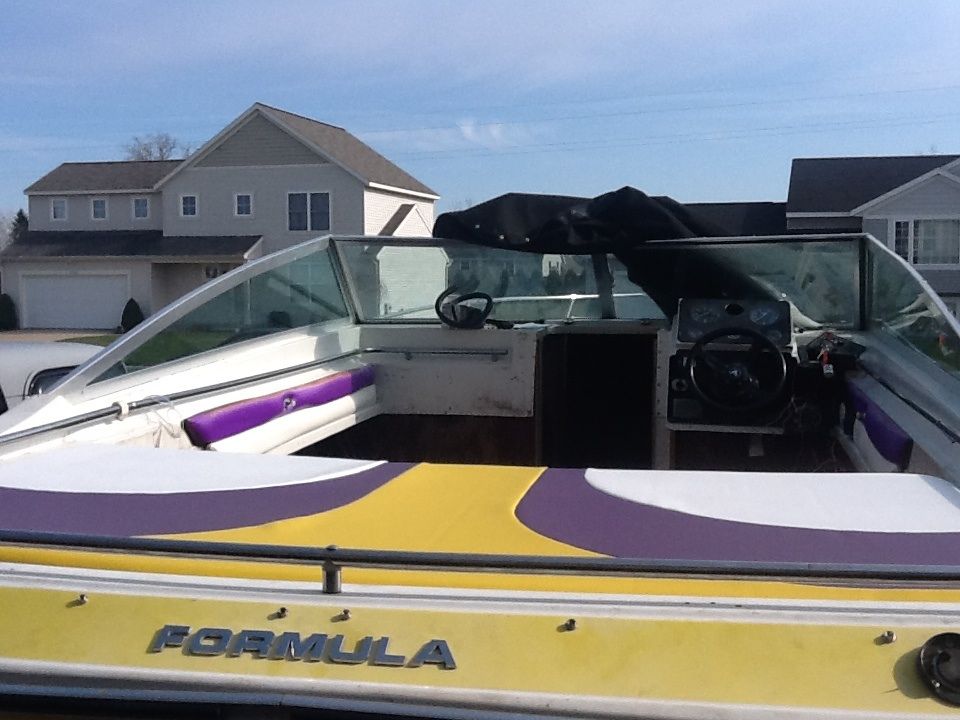
Also had glass cut and installed for the side windows. I converted it to one piece glass instead of the two that it was. I was missing one whole side and half of the other. I like the look better than the two piece.
Stiingray71 - I do have a single Y pipe which connects to silent choice. I'm powered with a 454 mag and bravo 1, so the drive is "newer" compared to the boat.
I'm about ready to put the motor back in. Got my new bilge pump setup so I wouldn't have to do it with the motor in the way. I have a smaller auto pump on the bottom and then a bigger pump 3" above it on a float switch. I'm going to wire the float switch to the buzzer/light so I know if i have 4" of water in there
I think I'm also going to put in a removable plug in the cabin drain pipe and cap the drain in the cabin.Also had glass cut and installed for the side windows. I converted it to one piece glass instead of the two that it was. I was missing one whole side and half of the other. I like the look better than the two piece.
03-18-2013, 08:10 PM
#18
Registered
Thread Starter
shekmark - the fiberglass took a lot of time to read and ask a ton of questions to figure out what to do. I learned a lot just from doing it and trying different things as I went along. I also did some "tests" to see how the material acted and how I can work with it. Small steps at a time and taking your time to make sure it is right.
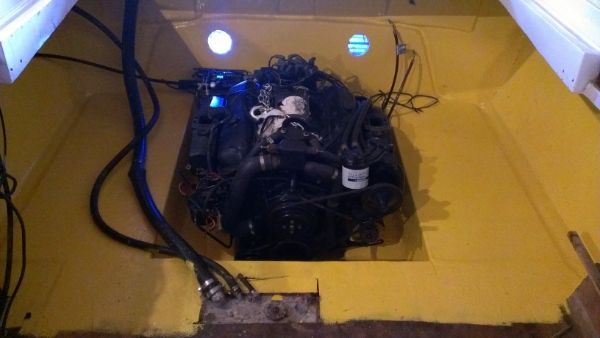
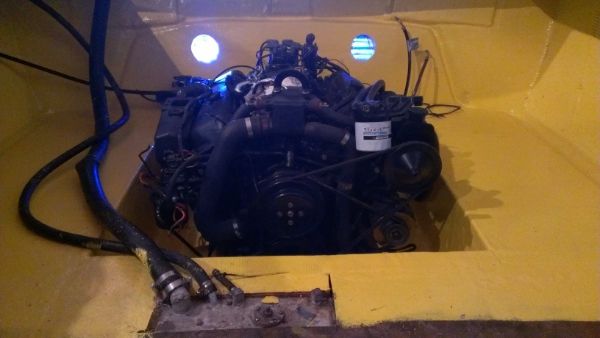
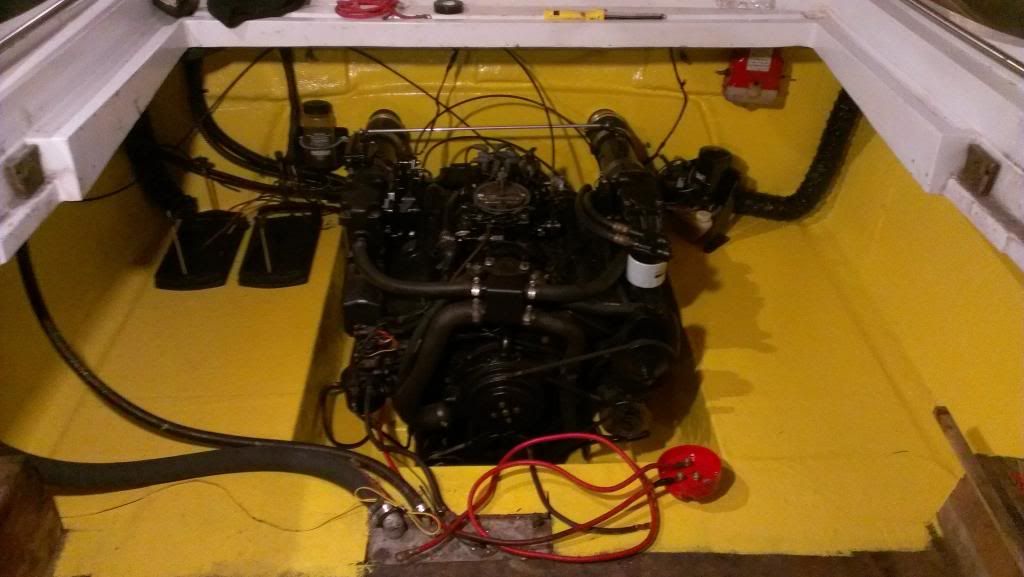
Got the motor in this weekend, bolted down and aligned. Aligning the motor is not that fun of a project, but not the worst thing I have done. I will let it settle and re check it before I put the out drive on in a couple months.
I didn't realize how low the motor sits in the boat...
Got the motor in this weekend, bolted down and aligned. Aligning the motor is not that fun of a project, but not the worst thing I have done. I will let it settle and re check it before I put the out drive on in a couple months.
I didn't realize how low the motor sits in the boat...
03-27-2013, 10:21 PM
#19
Registered
Thread Starter
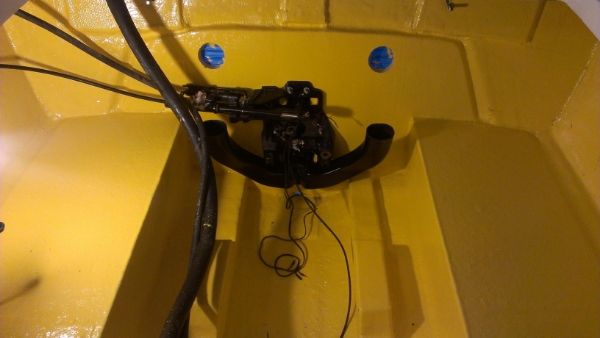
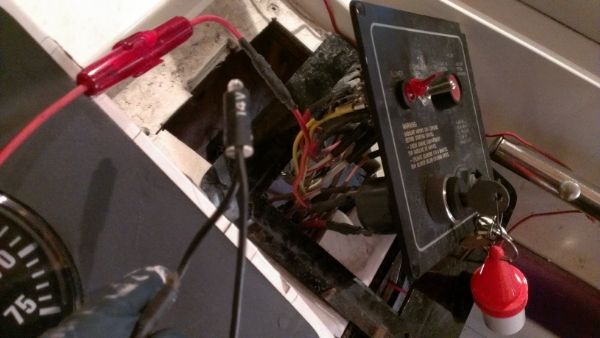
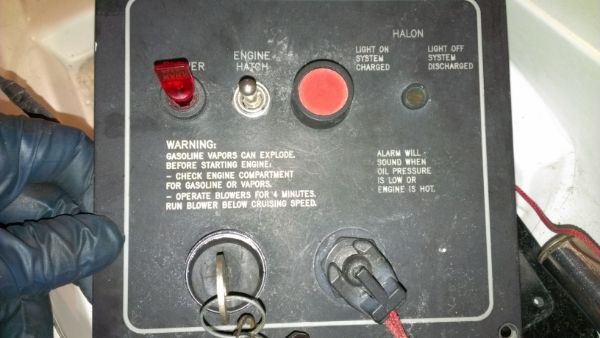
I have been working on re wiring a lot of the components and trying to clean up some old wiring. I can't figure out where this wire goes and was wondering if you guys could help.
The wire is tied into the key switch and has a fuse and a light bulb on it then a long wire. I had it tagged as coming from the bilge fire extinguisher when I took the motor out....which I don't understand. I'm wondering if this wire is supposed be used for the green light halon seen in the second pic. There is nothing in that spot right now.....
Any help would be appriciated...
Red wire connects to the black with the light on it then continues as a long piece of wire
Last edited by Deanrw3; 03-28-2013 at 08:21 AM.
04-24-2013, 01:52 PM
#20
Registered
Thread Starter
Haven't updated here lately, but I have been working on it a lot. Got the outdrive on and the motor running this weekend. Still need to get the plane boards, exhaust etc. sealed up on the back before the water test. I hope to have it on the water this weekend to iron out some kinks. Also did a carb rebuild which it really needed, run so much smoother now and starts right away. Still tons of work to due on the interior, but at least I will be able to get on the water...
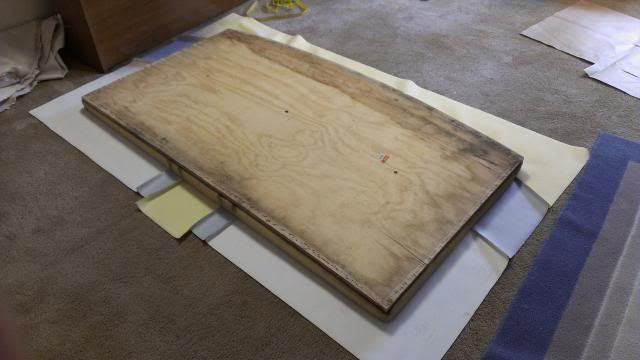
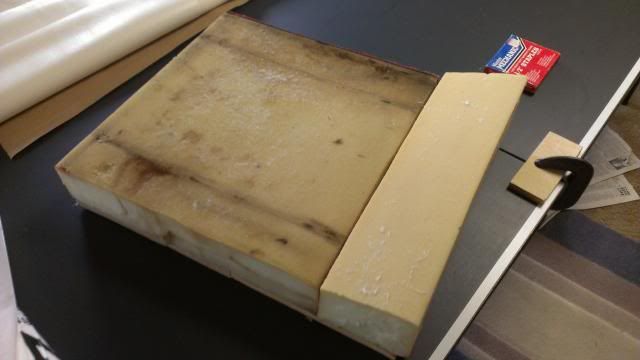
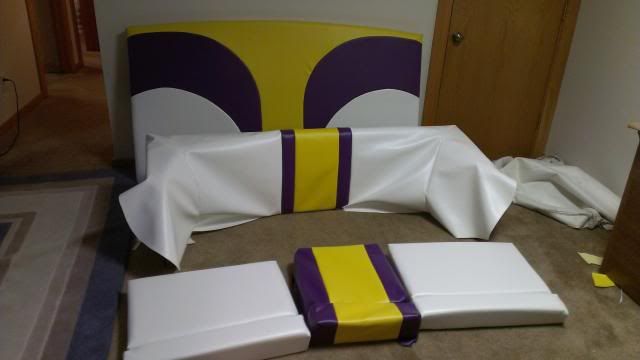
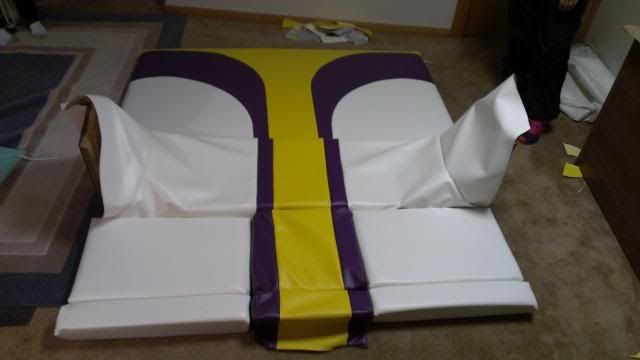
My mom and I have been working on the seats for a couple weeks now. We got our own material and did the sewing, wasn't as bad as I thought. I think the seats came out nice and will give it a fresh look. Before the bottom seat and engine cover were just white. When I pulled off the vinyl I found the pattern drawn on the foam, so I copied that for the new material!! Here are some pictures.
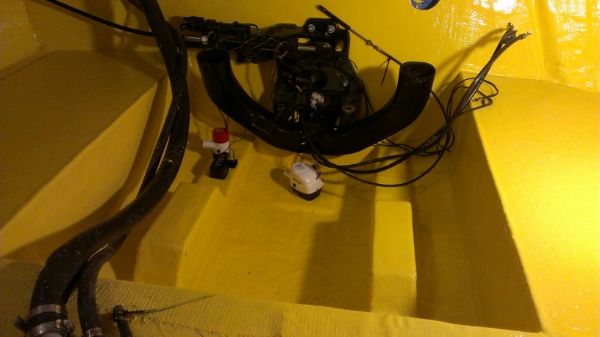
Most of the rigging/wiring done in the engine bay:
Engine cover in process:
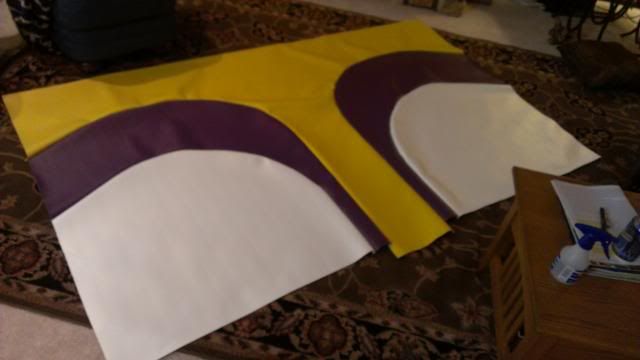
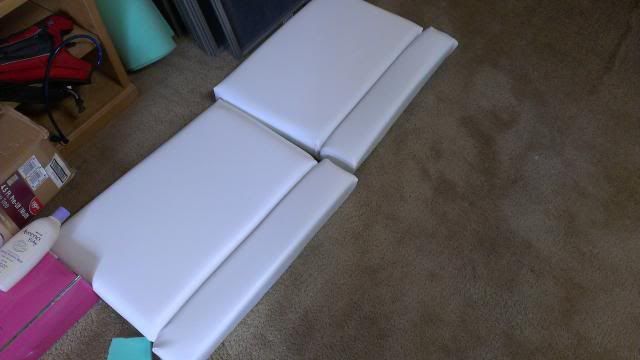
All together, back rest and center bottom seat not streached yet:
Engine cover on boat:
My mom and I have been working on the seats for a couple weeks now. We got our own material and did the sewing, wasn't as bad as I thought. I think the seats came out nice and will give it a fresh look. Before the bottom seat and engine cover were just white. When I pulled off the vinyl I found the pattern drawn on the foam, so I copied that for the new material!! Here are some pictures.
Most of the rigging/wiring done in the engine bay:

Engine cover in process:


All together, back rest and center bottom seat not streached yet:


Engine cover on boat:

Last edited by Deanrw3; 04-24-2013 at 02:02 PM.


