

So it begins...A rebuild thread
 02-08-2009 | 10:25 PM
#31

Thread Starter
Registered
Joined: Aug 2006
Posts: 2,460
Likes: 0
From: Ontario, OH
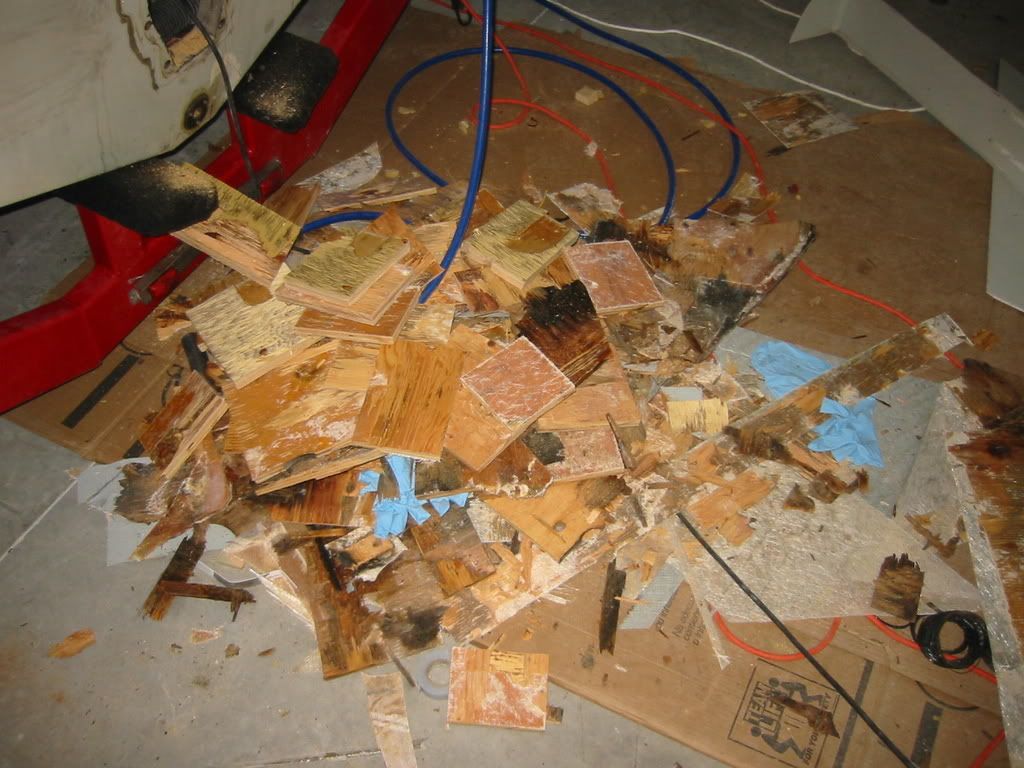
Made a little more progress this weekend. Spent all day Saturday chipping away at the transome. Got the first layer off and working on the second layer. Only the starboard side was bad, area around the gimble and port side were still rock solid and thus making removal difficult. I can't tell quite how many layers of ply are on there, looks like two layers 3/8 and two layers of 1/2 ply, overall it was 2 3/8" thick. And the staples keep mucking up my chisels!!! 
 02-10-2009 | 06:47 AM
#33
Registered
Joined: Dec 2007
Posts: 29
Likes: 0
That is a tedious project to say the least. Question for you. Why not focus on the section that includes all the rot and another 6" of good wood to be sure and then glass it back up? I ask this question because I have seen several posts where the x-dimension was changed or a drive was changed and the patch to the transom was never very large. I read somewhere that you want to overlap the plywood 6 times it's thickness, so if you are using 3/4" ply then make your joint overlap 4 1/2" outside the hole that you are trying to cover.
 02-10-2009 | 08:50 AM
#35
Thread Starter
Registered
Joined: Aug 2006
Posts: 2,460
Likes: 0
From: Ontario, OH
That is a tedious project to say the least. Question for you. Why not focus on the section that includes all the rot and another 6" of good wood to be sure and then glass it back up? I ask this question because I have seen several posts where the x-dimension was changed or a drive was changed and the patch to the transom was never very large. I read somewhere that you want to overlap the plywood 6 times it's thickness, so if you are using 3/4" ply then make your joint overlap 4 1/2" outside the hole that you are trying to cover.
02-10-2009 | 01:07 PM
#36
Registered
Joined: Feb 2004
Posts: 145
Likes: 0
From: Monclova, Ohio
You slacker, I can't believe you aren't done yet! 
Been busy getting the rental ready to rent. Give me a call if your out there this weekend. I'll stop by and bug you
Looks good and like alot of work!
Been busy getting the rental ready to rent. Give me a call if your out there this weekend. I'll stop by and bug you
Looks good and like alot of work!
02-10-2009 | 04:25 PM
#37
Registered

Joined: Dec 2000
Posts: 6,283
Likes: 1
From: EASTON MA.
looks good the snow has melted a little, I hope my transoms good, I know the side shelfs are chit I fixed one in a hurry") so it did last more than 2 yrs. the rails suck cause water can get in spread like in the hatches and thats all balsa
so it did last more than 2 yrs. the rails suck cause water can get in spread like in the hatches and thats all balsa .
.
so it did last more than 2 yrs. the rails suck cause water can get in spread like in the hatches and thats all balsa.
02-11-2009 | 07:52 PM
#38
Registered
Joined: Dec 2000
Posts: 6,283
Likes: 1
From: EASTON MA.
Oh I may have to shorten my gas tank, do you know how much room there was from the gas tank to the rear bulkhead was it a 1'' or a few , cause for us to put the blower in I need to move about 8'' wide of bulkhead back to pick up a couple of inches, I have seen it done on other boats just one 24ol which was for sale in the class under baja they had a 1471 blower motor out of penn I think and it was a 93 or 94. I tried to bend my knee to kneel on it no way, Iwas out lineing my stainless marine exhaust on card board to send to illos so they can see if they will work on a fountain 27, mine are dry and were made 4'' higher than stock so my tails are always out of the water so the transom won't have water trying to soak in. I resin my everyother yr and glue silicone on top of that so the pipes and gasket won't let water in. so you should change yours if you can.
no way, Iwas out lineing my stainless marine exhaust on card board to send to illos so they can see if they will work on a fountain 27, mine are dry and were made 4'' higher than stock so my tails are always out of the water so the transom won't have water trying to soak in. I resin my everyother yr and glue silicone on top of that so the pipes and gasket won't let water in. so you should change yours if you can.
02-15-2009 | 10:38 PM
#39
Thread Starter
Registered
Joined: Aug 2006
Posts: 2,460
Likes: 0
From: Ontario, OH
I'll check next weekend. From what I remember there was about 1 inch in front of the tank and 1 inch behind. I'm going to move the rear bulkhead forward a little bit, I haven't decided how much yet. At least two, maybe 4 inches.
02-15-2009 | 10:42 PM
#40
Thread Starter
Registered
Joined: Aug 2006
Posts: 2,460
Likes: 0
From: Ontario, OH
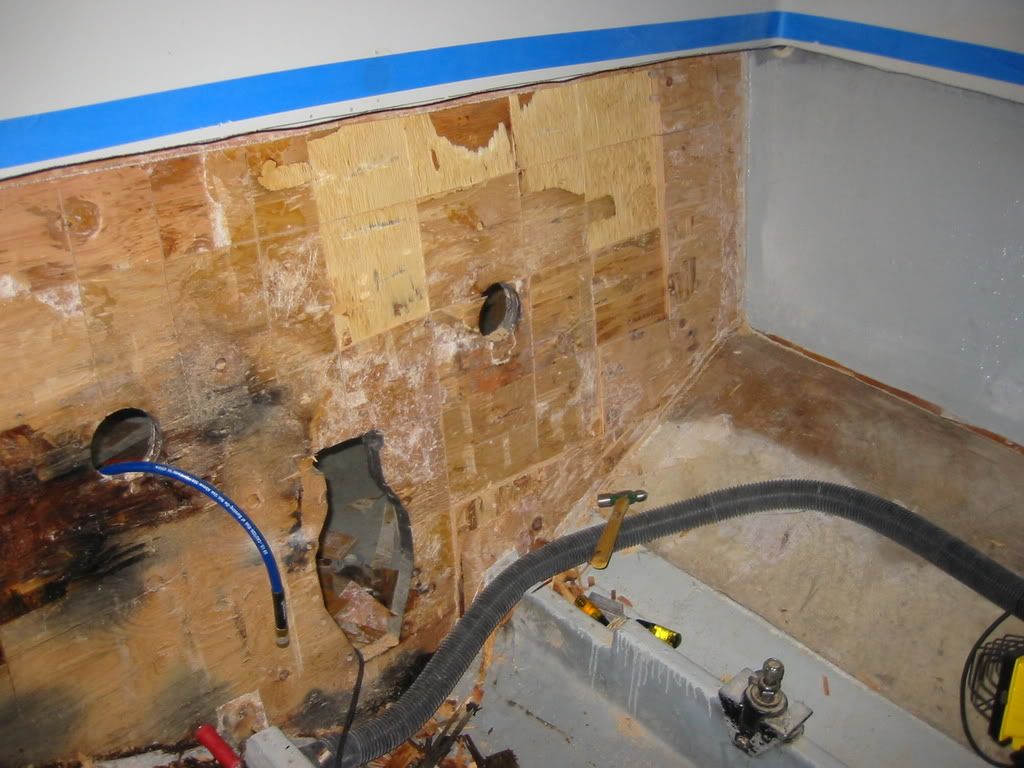
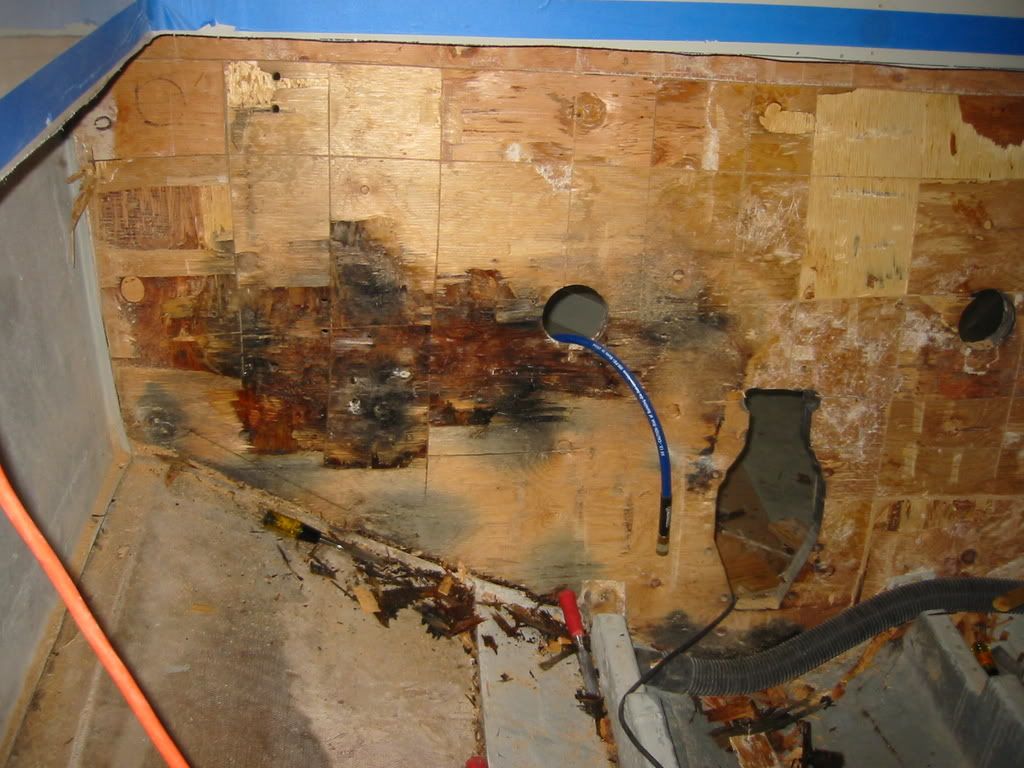
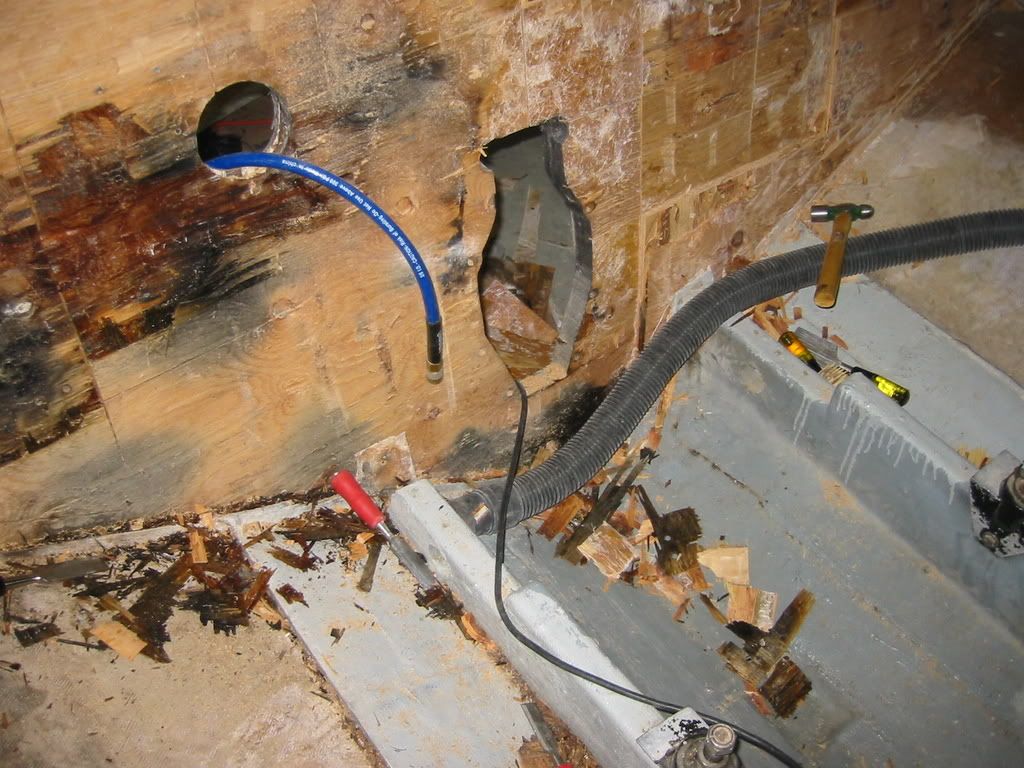
At it again, there was two layers of half inch and one layer of 3/8 inch and about a quarter inch of 'goop' between the skin and the first layer of ply. Looks like resin and low density filler used to bed the wood to the skin. I was a little disappointed that the skin was only about 3/16 of an inch thick, but I'll take care of that with a few layers of biax once I grind/chisel all the good off.
Second layer gone, only one layer left!


Second layer gone, only one layer left!

