

Dash Remodel on my Active Thunder 32
 03-31-2022 | 10:13 AM
#1
Thread Starter
Registered
Joined: Oct 2021
Posts: 30
Likes: 28
From: Flint Michigan
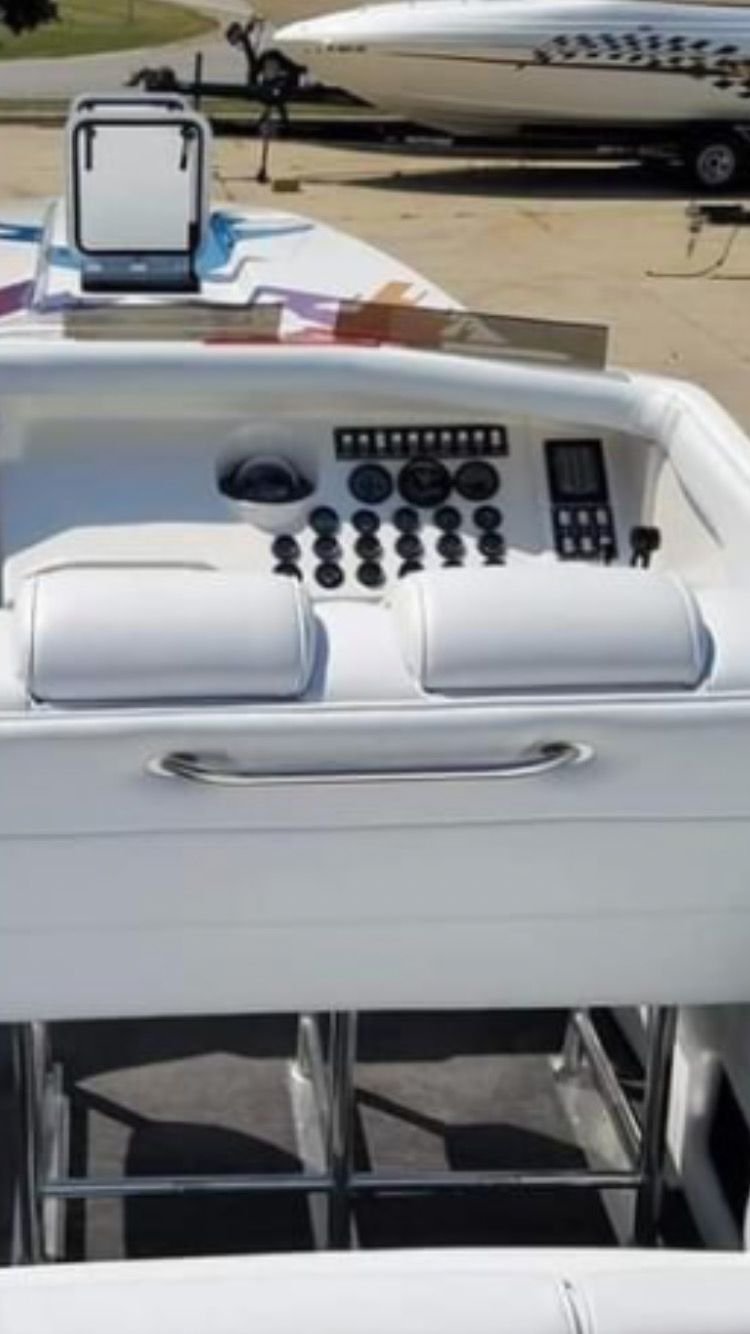


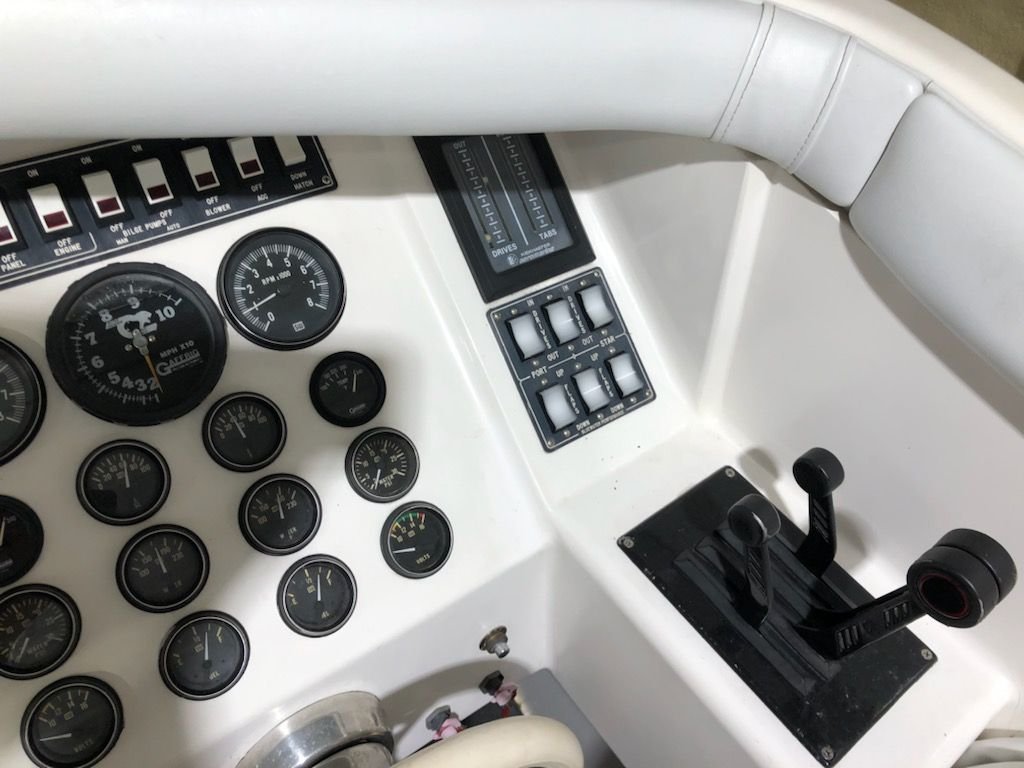
As you can see the boat had the basic gauge layout and dash set up of the Active Thunders of the time its had some gauges updated but not all and I was wanting to make it look similar to what the newer ATs look like.
 03-31-2022 | 10:18 AM
#2
Thread Starter
Registered
Joined: Oct 2021
Posts: 30
Likes: 28
From: Flint Michigan

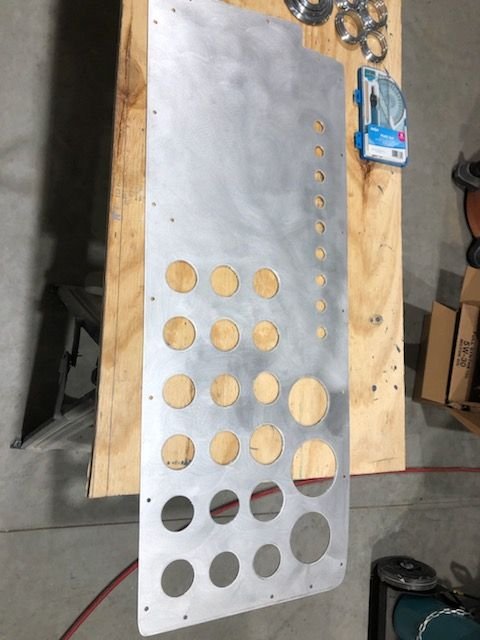
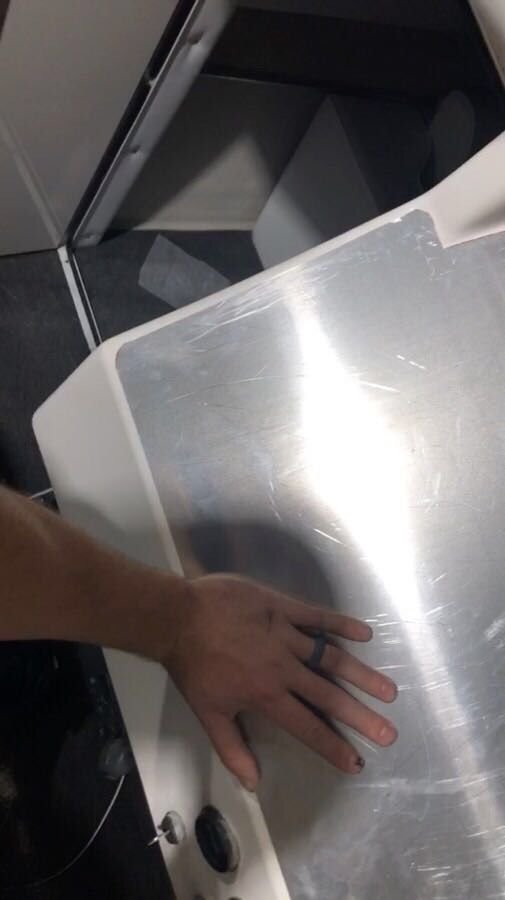
I removed the gauges and made a template out of poster board before I cut out the piece of aluminum I am using for the dash. I test fit the aluminum and cut holes for the new gauges and the buttons that will replace the old clunky switches. Whats not in these pictures is the hole I had to cut out for the nav unit I am adding. I'm not the best at taking pictures of each step I need to get better at that.
Last edited by Patrick Irish; 03-31-2022 at 10:59 AM.
03-31-2022 | 10:21 AM
#3
Thread Starter
Registered
Joined: Oct 2021
Posts: 30
Likes: 28
From: Flint Michigan

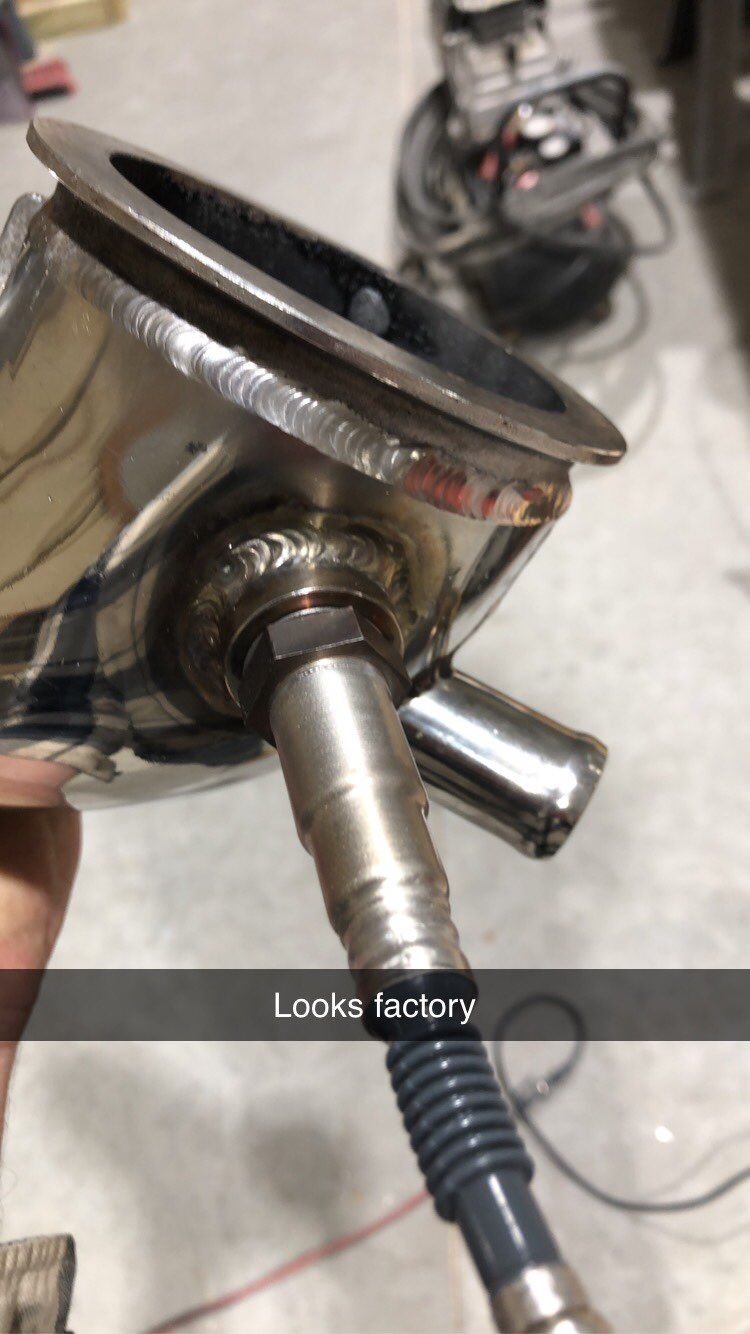
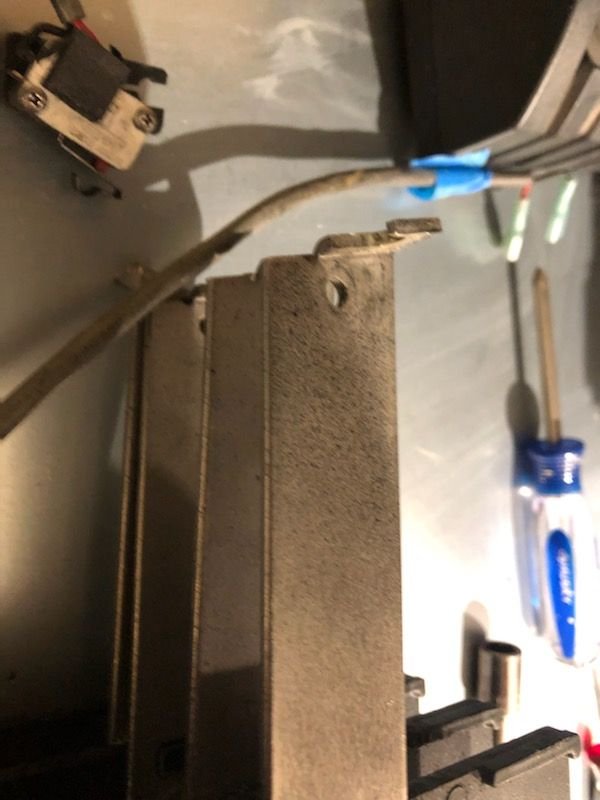
One of the new gauges that I am adding is an air fuel gauge for each engine so O2 sensor bungs had to be welded into the pipes. I know some people say not to leave them in the exhaust but some people do and have no issues so I'm going to give it a shot. The boat is pro charged so knowing afr at all times would be ideal.
03-31-2022 | 10:24 AM
#4
Thread Starter
Registered
Joined: Oct 2021
Posts: 30
Likes: 28
From: Flint Michigan
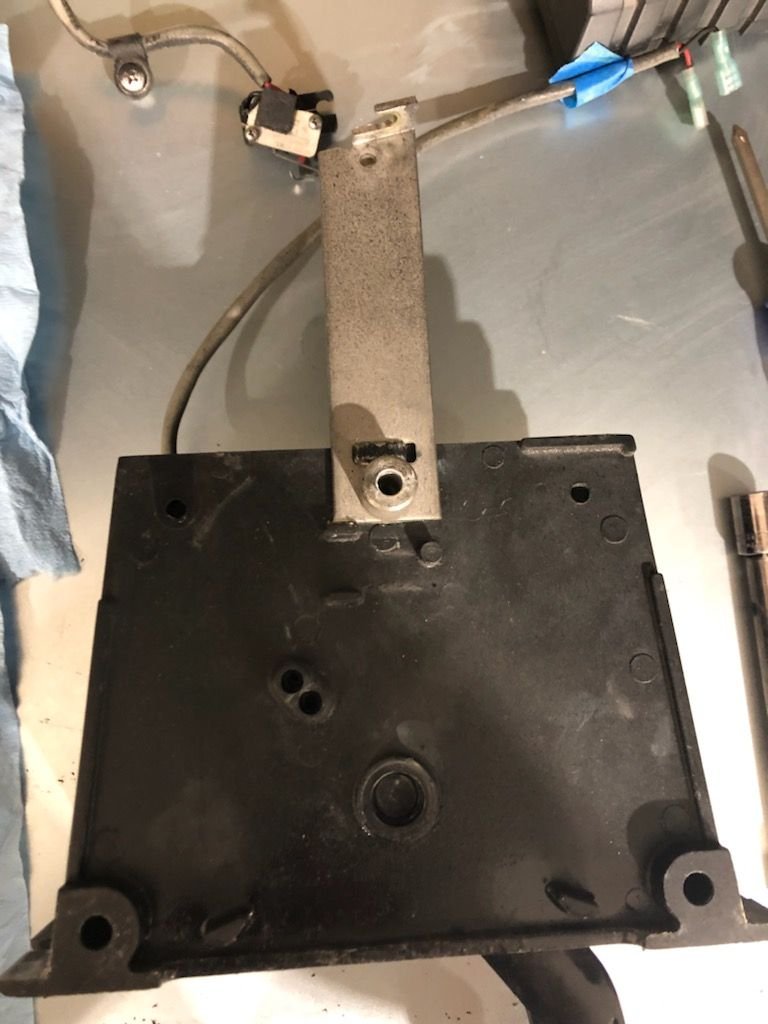

Me not being good at taking pictures again. I removed the throttles and sanded down the base plates starting at 400 grit and stepped up grits until I moved up to a buffing wheel to get the shine. I then blasted and had the throttles and gear levers powder coated. These are super easy to take apart and rebuild and it allowed me to lube up the linkages so thats a plus.
Last edited by Patrick Irish; 03-31-2022 at 11:00 AM.
 04-01-2022 | 06:12 AM
#7
Thread Starter
Registered
Joined: Oct 2021
Posts: 30
Likes: 28
From: Flint Michigan
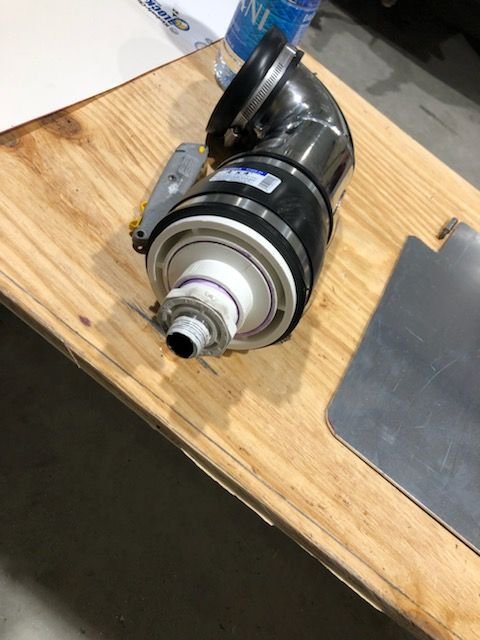
I'm using an AEM UEGO I am extending it a bit and I did a bunch of reading about it with mixed opinions mostly from people who have never done it. But speaking with people who have as long as you're using the correct gauge and type wire you should have little to no variance with the reading. AEM even makes extension harnesses exactly for this purpose but rather than buy their harness I just extended them myself. I'm not competing in formula 1 here I just want to have a good idea of where my AFR is.
04-01-2022 | 07:18 AM
#8
Registered

Joined: Jan 2010
Posts: 617
Likes: 144
From: syracuse ny
04-01-2022 | 03:28 PM
#9
Platinum Member

Joined: Jul 2013
Posts: 836
Likes: 640
From: Paducah,Ky
I like the idea of updating the dash, but I wouldn't use a panel under the gauges. I think just replacing the gauges and using a bezel under them would be a cleaner look. Also upgrade the 2 1/16 gauges to the 2 5/8 size while using 3 3/8 on the tachs. Remove your switch panel and have innotech make you a carbon fiber replacement with toggle switches used it it. You could also have them make a replacement for the trim switch panel as well. One more idea is remove the compass and use that hole for a cup holder. I had innotech make me a slotted card for the drive and tab bezel on mine. These are just a few suggestions you can use, but in the end its your to do as you please. Just thought i'd throw a few out to you.

