

Need info service bravo 3 special tool needed?
 04-26-2014 | 03:03 PM
#1
Thread Starter
Registered

Joined: Oct 2013
Posts: 291
Likes: 4
From: Miami, FL
Hello all,
I'm getting ready to service my bravo 3 for the following:
Inlet water hose - going to use the bravo blockage kit http://amarket.com/BRAVOBLOCK.HTM
While I am there I'm going to change
Change bellows
Change gimble bearing
Shifter boot
Do I need special tools ? How did ou remove the bearing with alternative tools
And should I change anything else?
 04-26-2014 | 04:33 PM
#2
Thread Starter
Registered
Joined: Oct 2013
Posts: 291
Likes: 4
From: Miami, FL
Here is a list of tools that I am looking to purchase. I already have the hinge pins socket
Sleeve install tool 91-818162
Tapered tool for water hose 91-43579
Gimbal bearing
Driver head - 91-32325T
Collar - 91-30366T1
Rod 91-37323
Alignment 91-805475A1
I am looking for alternatives to save some money rather than purchasing this tools
Any help will be appriciated
Sleeve install tool 91-818162
Tapered tool for water hose 91-43579
Gimbal bearing
Driver head - 91-32325T
Collar - 91-30366T1
Rod 91-37323
Alignment 91-805475A1
I am looking for alternatives to save some money rather than purchasing this tools
Any help will be appriciated
04-27-2014 | 11:11 AM
#3
Registered
Joined: Mar 2012
Posts: 1,230
Likes: 27
From: Clearwater, Mn
The only special tool i "used" when I R&R my drive was the hing pin socket and the alignment tool.
Sleeve install tool 91-818162, I bought one and didn't use it. I just took my mine and tapped in place top, bottom, side, side, top, bottom, ect till it was in. Round and round.
The gimble bearing, I used a slide hammer to remove my old one. Ya it is a special tool but I already had one. To install the bearing I used the old outer race way and notched a 2x4 to fit it on the end and pounded the new bearing in. I cant remember where I saw that trick, but it worked great.
You can also make you own, something like this to pull the old one.
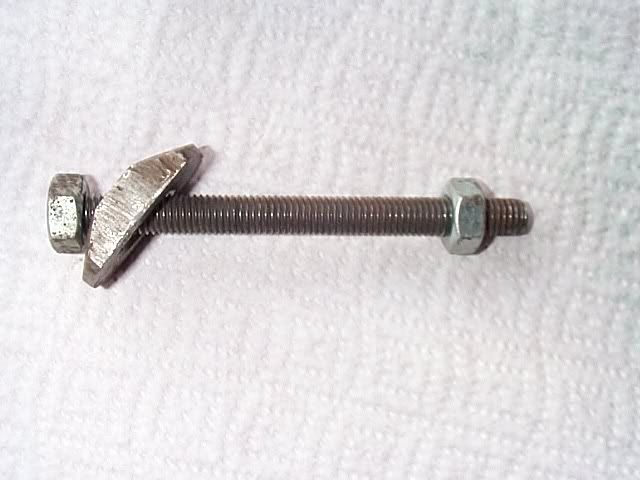
Home made gimble bearing puller. Google that and you will find lots of good info, and maybe give you a new idea
http://forums.iboats.com/mercruiser-...er-343060.html
Sleeve install tool 91-818162, I bought one and didn't use it. I just took my mine and tapped in place top, bottom, side, side, top, bottom, ect till it was in. Round and round.
The gimble bearing, I used a slide hammer to remove my old one. Ya it is a special tool but I already had one. To install the bearing I used the old outer race way and notched a 2x4 to fit it on the end and pounded the new bearing in. I cant remember where I saw that trick, but it worked great.
You can also make you own, something like this to pull the old one.
Home made gimble bearing puller. Google that and you will find lots of good info, and maybe give you a new idea
http://forums.iboats.com/mercruiser-...er-343060.html
04-28-2014 | 05:35 AM
#5
Registered
Joined: Feb 2012
Posts: 4,031
Likes: 10
From: westville, NJ
look at face of gimball bearing cage. if you can see 2 slots top and bottom, knock bearing sideways and pull out of slots leaving cage installed. then remove cage from new bearing and install new bearing the same way, making sure grease holes line up with grease slot. if you press cage out and in every time you change bearing, eventually cage will be a loose fit in the transom housing.
04-28-2014 | 05:42 AM
#6
Thread Starter
Registered
Joined: Oct 2013
Posts: 291
Likes: 4
From: Miami, FL
So should even change the gimbal bearing ? I am only going into this to fix a inlet water hose that is being crushed.
I figured while I am there I should replace the gimbal bearing and drive lube hose since it is cracking.
The boat is new to me and I don't know / believe the last time owner replaced items.
I figured while I am there I should replace the gimbal bearing and drive lube hose since it is cracking.
The boat is new to me and I don't know / believe the last time owner replaced items.
04-28-2014 | 05:55 AM
#7
Ginger or Mary Ann?

Joined: Oct 2000
Posts: 11,030
Likes: 9
From: L
I changed my bearings a few yes ago with the new sealed bearings when I did bellows. I wish I had just left the greasable ones in as they were fine.
__________________
Some people are like Slinkies - Not really good for anything, but they
bring a smile to your face when pushed down the stairs.
Some people are like Slinkies - Not really good for anything, but they
bring a smile to your face when pushed down the stairs.
04-28-2014 | 06:23 AM
#8
Registered
Joined: Jul 2009
Posts: 8,527
Likes: 706
From: Taunton Ma
look at face of gimball bearing cage. if you can see 2 slots top and bottom, knock bearing sideways and pull out of slots leaving cage installed. then remove cage from new bearing and install new bearing the same way, making sure grease holes line up with grease slot. if you press cage out and in every time you change bearing, eventually cage will be a loose fit in the transom housing.


