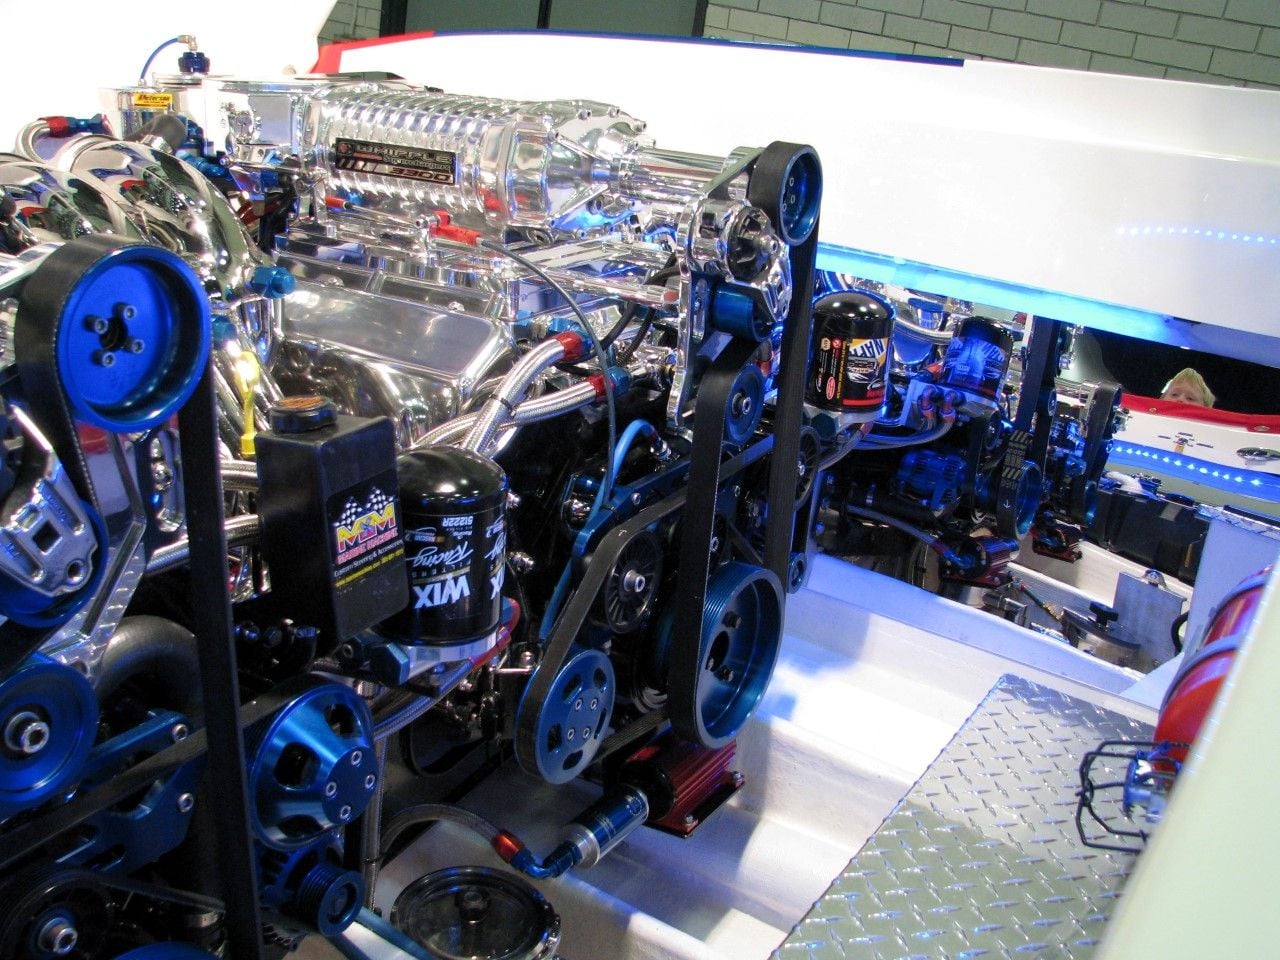
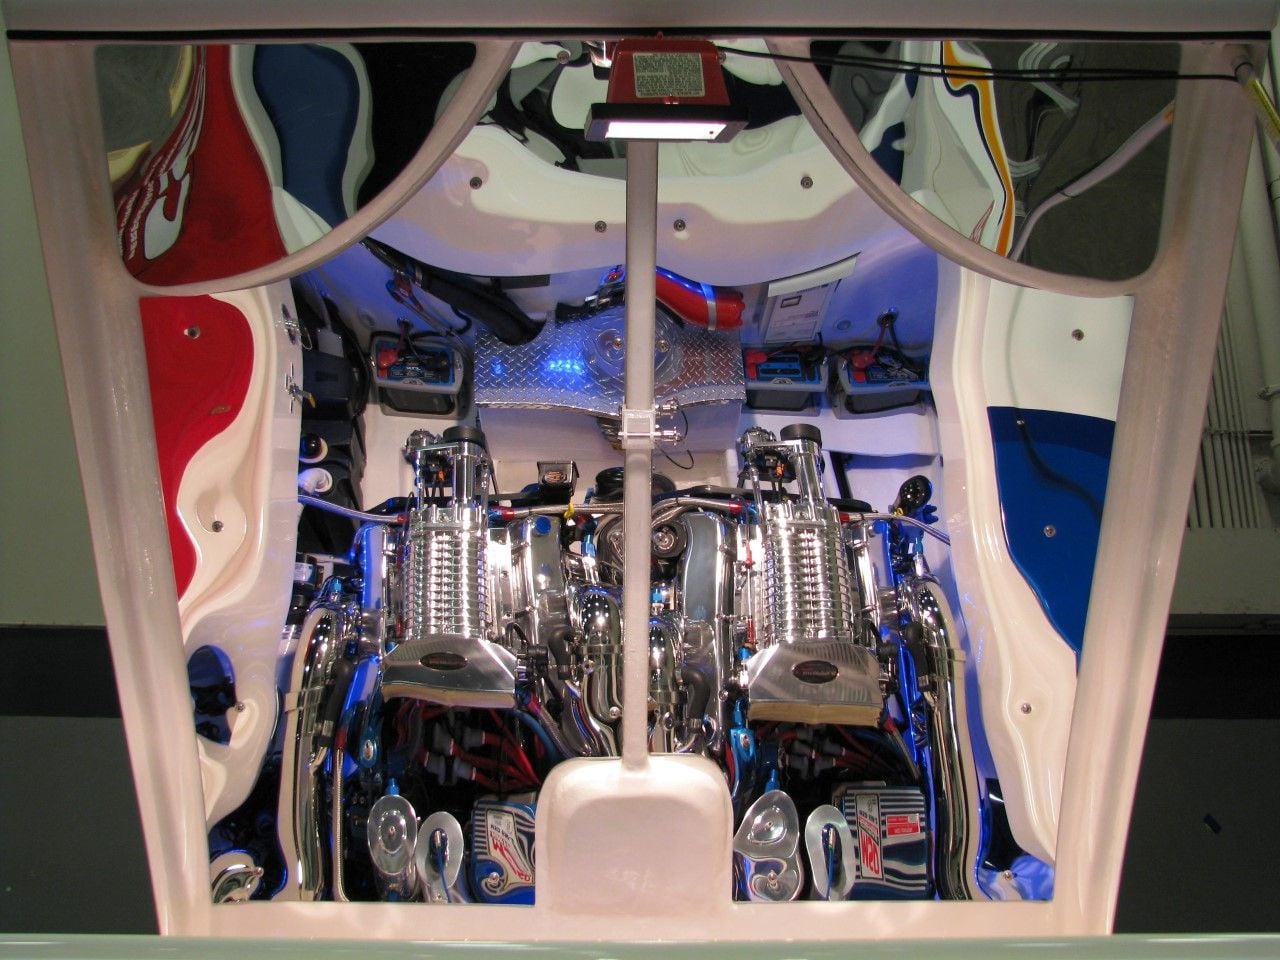
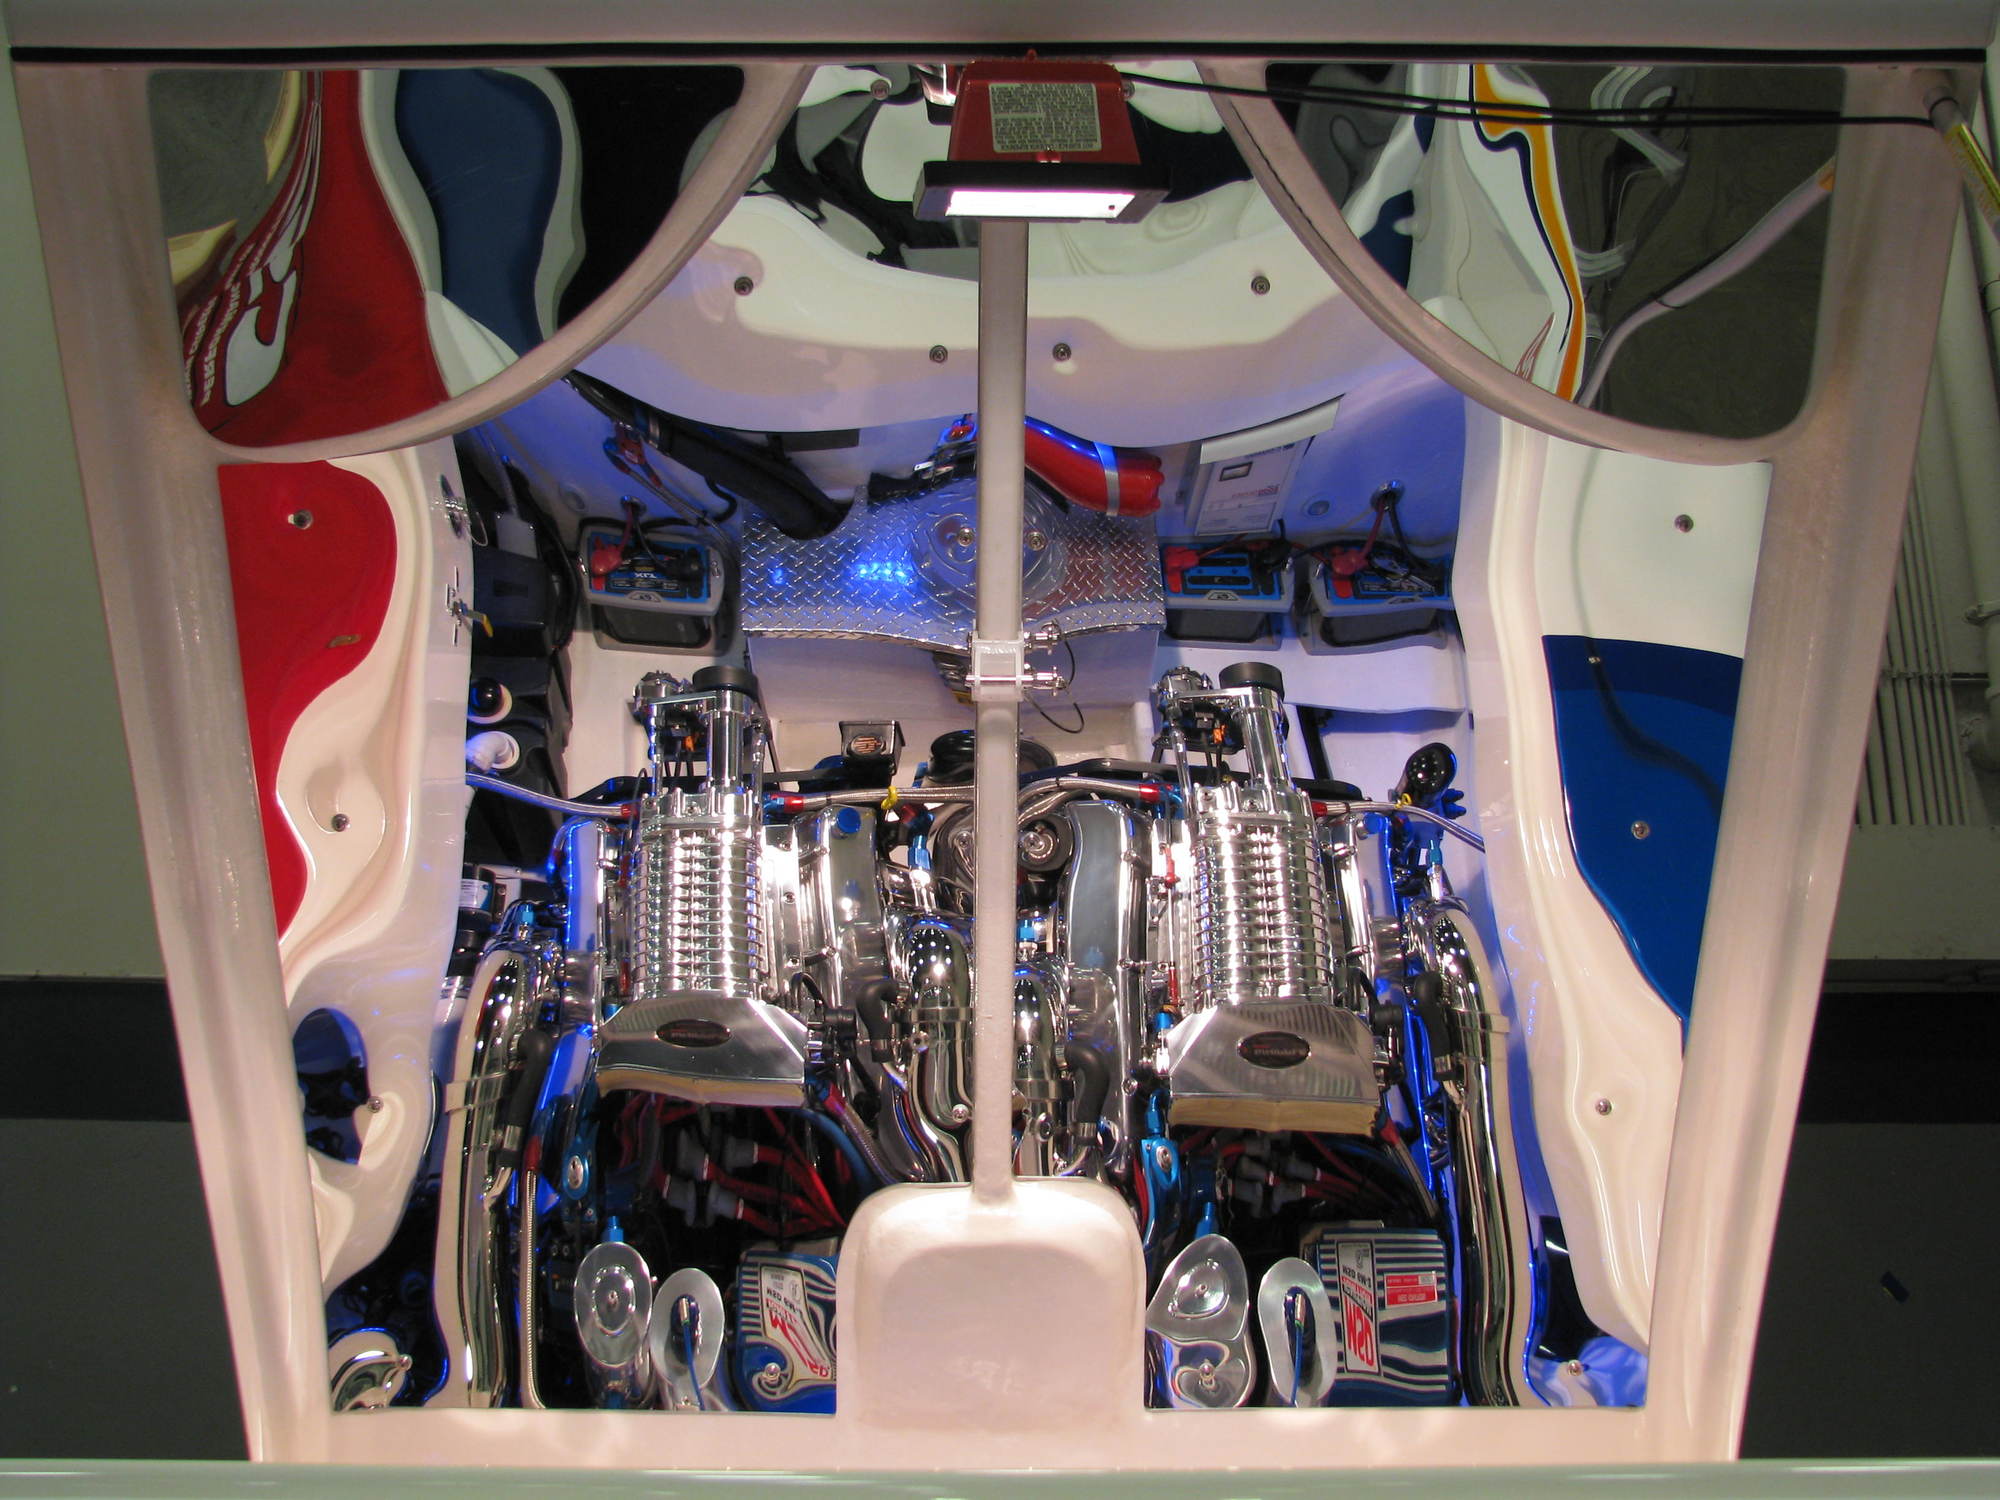
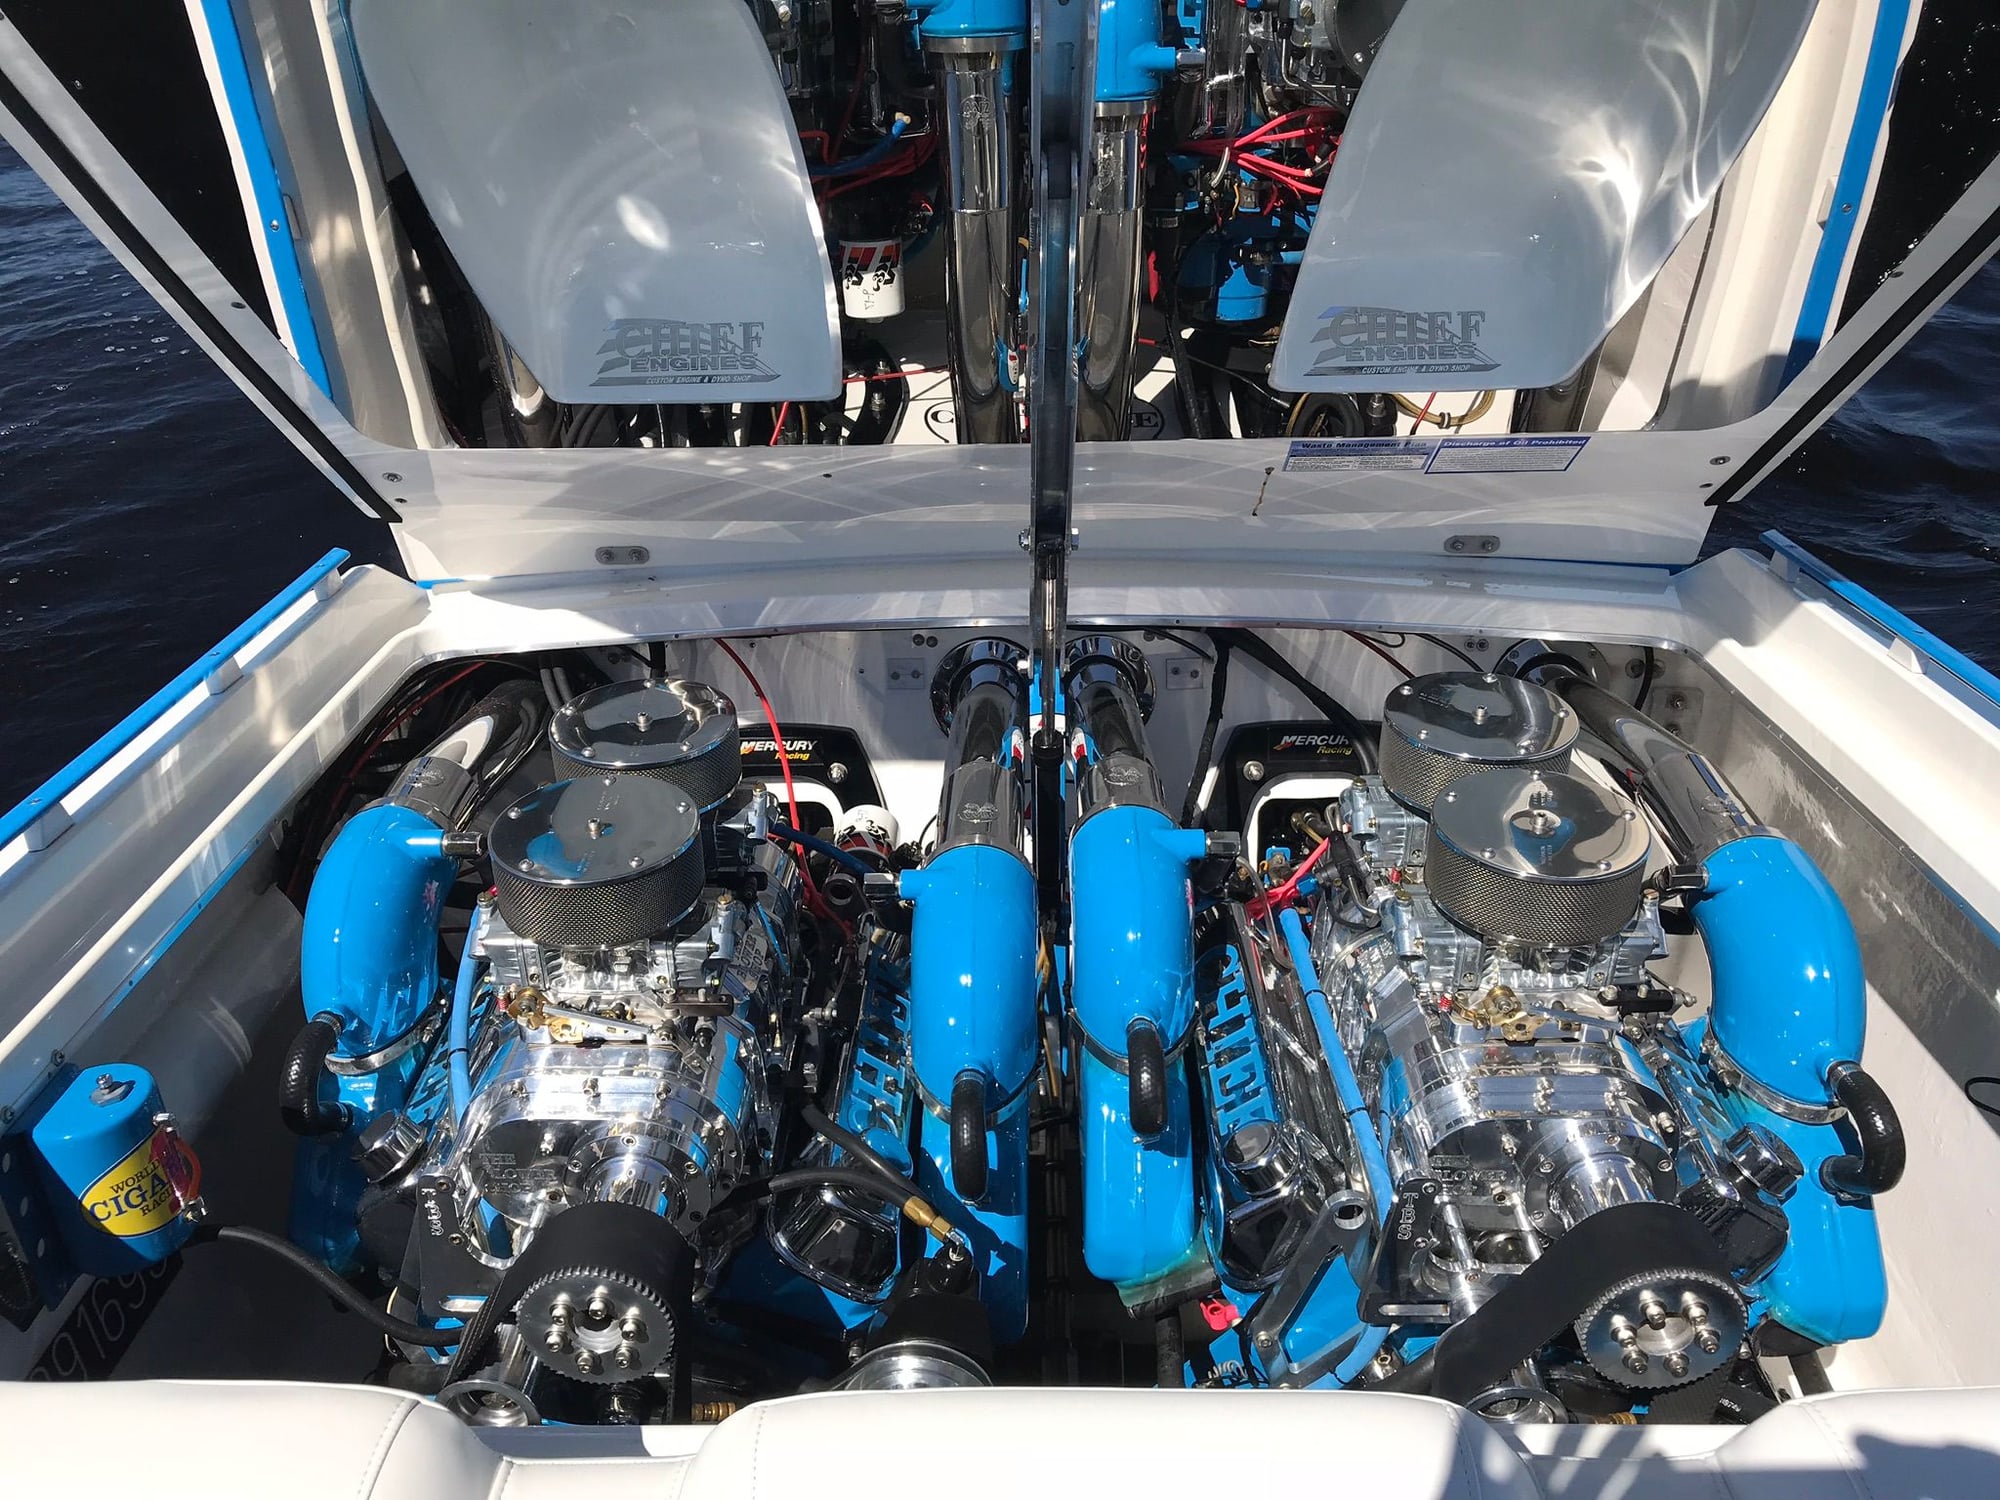
Engine Hatch Mirror Options / Tips
#71


Good info.,,,I looked at the stainless when i did mine it was real bad expensive. I did mine in the acrylic mirror, On my hatch its not flat, I used the bolts that hold the hatch sun pad. and some 3m tape, in the middle. Not using the hatch cover bolts I would of had to protect the back side of the mirror from them and it would of made the mirror distorted, One thing about the acrylic the silver on the back that makes it a mirror will rub off, silver deteriorates on the edges , like a old mirror in your home bathroom, I was going to cover the back side of the mirror w/ vinyl to help with the wearing off of the silver but after cracking 3 of them,didn't want keep throwing $ at it, Also I was having to buy hole sheets to do just one mirror,7ft long, over 2 ft wide, I ended up keeping all the drops since he was charge me for the hole sheet any way, and used them in on the sides and other places. I think I was paying around 140 for a sheet plus some labor cutting it, For the bolt holes I made them bigger and put a rubber sleeve over the bolt to keep it from touch the mirror and cracking it, also I did the counter sunk washer and made some teflon washers so the chrome washer would not touch the glass,being these bolt were hold the hatch cove on it was easy to over tighten them and crack the mirror. It looked great for a while until it cracked at some of the bolt on places,
I made a cover for my ac on my Chevelle and it help up great and still like a mirror, I did a pc to cover my firewall behind the engine and its seen some wear,but both prob 20+ years old, Not sure what grade/# of stainless it was, had a sheetmetal buddy that did the hole front of a office building and had some left over pc's
Thanks for the info above on the Stainless, I try it next time for sure.
Rob
__________________
.
The Only Time You Have To Much Ammo Is When Your Swimming Or On Fire.
.
The Only Time You Have To Much Ammo Is When Your Swimming Or On Fire.
Last edited by Strip Poker 388; 04-15-2018 at 09:16 AM.
#75
Banned
iTrader: (9)
Total cost for project: 2 Custom cut stainless sheets, 100' 3M VHB Tape, 2 Custom logos $380 all in. Starboard graphic is smaller to allow for fender holders.
[ATTACH=CONFIG]564679[/ATTACH][ATTACH=CONFIG]564680[/ATTACH]
While I was at it, had some deck and misc vinyl graphics made
[ATTACH=CONFIG]564681[/ATTACH][ATTACH=CONFIG]564682[/ATTACH][ATTACH=CONFIG]564683[/ATTACH]
[ATTACH=CONFIG]564679[/ATTACH][ATTACH=CONFIG]564680[/ATTACH]
While I was at it, had some deck and misc vinyl graphics made
[ATTACH=CONFIG]564681[/ATTACH][ATTACH=CONFIG]564682[/ATTACH][ATTACH=CONFIG]564683[/ATTACH]
Asking ----- thats graphics (FOUNTAIN) on the mirror ? and the 3 m VHB tape to hole it in place against the bottom of the hatch ? What prep work did you do for the bottom side of the hatch ? Im sure first was making sure it was completely level all way across so the 3 m tape would stick at all points. Thanks and very nice as well.
#76
VIP Member
Thread Starter


Good info.,,,I looked at the stainless when i did mine it was real bad expensive. I did mine in the acrylic mirror, On my hatch its not flat, I used the bolts that hold the hatch sun pad. and some 3m tape, in the middle. Not using the hatch cover bolts I would of had to protect the back side of the mirror from them and it would of made the mirror distorted, One thing about the acrylic the silver on the back that makes it a mirror will rub off, silver deteriorates on the edges , like a old mirror in your home bathroom, I was going to cover the back side of the mirror w/ vinyl to help with the wearing off of the silver but after cracking 3 of them,didn't want keep throwing $ at it, Also I was having to buy hole sheets to do just one mirror,7ft long, over 2 ft wide, I ended up keeping all the drops since he was charge me for the hole sheet any way, and used them in on the sides and other places. I think I was paying around 140 for a sheet plus some labor cutting it, For the bolt holes I made them bigger and put a rubber sleeve over the bolt to keep it from touch the mirror and cracking it, also I did the counter sunk washer and made some teflon washers so the chrome washer would not touch the glass,being these bolt were hold the hatch cove on it was easy to over tighten them and crack the mirror. It looked great for a while until it cracked at some of the bolt on places,
I made a cover for my ac on my Chevelle and it help up great and still like a mirror, I did a pc to cover my firewall behind the engine and its seen some wear,but both prob 20+ years old, Not sure what grade/# of stainless it was, had a sheetmetal buddy that did the hole front of a office building and had some left over pc's
Thanks for the info above on the Stainless, I try it next time for sure.
Rob
#77
VIP Member
Thread Starter
Just checking
Asking ----- thats graphics (FOUNTAIN) on the mirror ? and the 3 m VHB tape to hole it in place against the bottom of the hatch ? What prep work did you do for the bottom side of the hatch ? I'm sure first was making sure it was completely level all way across so the 3 m tape would stick at all points. Thanks and very nice as well.
Asking ----- thats graphics (FOUNTAIN) on the mirror ? and the 3 m VHB tape to hole it in place against the bottom of the hatch ? What prep work did you do for the bottom side of the hatch ? I'm sure first was making sure it was completely level all way across so the 3 m tape would stick at all points. Thanks and very nice as well.
#79
Banned
iTrader: (9)
Graphics are 3M Vinyl. The vinyl is transparent silver so it looks like the logo is etched on the stainless. I prepped the hatch surface and stainless mounting side first by stripping any cleaners, oils with de-natured alcohol. Then I used 3M accelerator pads, that are designed specific for bonding the 3M tape to the surfaces, to leave a layer of accelerant on both surfaces. Let it all tack up and assemble.There is some give in the 3M tape so the surface being bonded to does not have to be perfectly level.
#80
Banned
iTrader: (9)
I hear you loud and clear. But will add for a V hull side by side the 386 Sonic is really not bad at all to work on. Actually easier than some singles believe it or not. Just had to throw that out. Cause I know what a pita many side by sides can be. A real PITA that I have been in.


