

Doing a Donzi differently - out with the 502MPIs in with the LSA blown 6.0s


 05-07-2018 | 11:31 AM
#54
Registered

Joined: Nov 2009
Posts: 4,198
Likes: 500
From: KY
Sure, the rubber hose and plastic fitting which is screwed into the hose to seal, is where the deposits start to build. The fix removes the soft rubber hose and replaces it with plastic and seal bushing. This usually only happens with salt water drives. I replaced my 95 Rinker (100% fresh water) with the fix during new bellows time and mine was fine.
https://forums.iboats.com/forum/engi...bravo-itis-fix
Search brovoits and many items come up
https://forums.iboats.com/forum/engi...bravo-itis-fix
Search brovoits and many items come up
05-08-2018 | 09:56 AM
#55
Thread Starter
Registered
Joined: May 2016
Posts: 209
Likes: 0
Sure, the rubber hose and plastic fitting which is screwed into the hose to seal, is where the deposits start to build. The fix removes the soft rubber hose and replaces it with plastic and seal bushing. This usually only happens with salt water drives. I replaced my 95 Rinker (100% fresh water) with the fix during new bellows time and mine was fine.
https://forums.iboats.com/forum/engi...bravo-itis-fix
Search brovoits and many items come up
https://forums.iboats.com/forum/engi...bravo-itis-fix
Search brovoits and many items come up
I thought using the aluminum housing and gasket in that link I posted up, you arent using ANY of that any more??
 05-08-2018 | 10:29 AM
#57
Registered
Joined: Nov 2009
Posts: 4,198
Likes: 500
From: KY
Well the pic wiped out what I said
The housing and fitting from CP looks nice but does not fix the issue anymore then using the plastic original one with a new gasket. The plastic tube is what fixes the issue by keeping deposits from collecting
You use the same top fitting just different hose
The housing and fitting from CP looks nice but does not fix the issue anymore then using the plastic original one with a new gasket. The plastic tube is what fixes the issue by keeping deposits from collecting
You use the same top fitting just different hose
05-08-2018 | 03:41 PM
#58
Registered
Joined: Mar 2002
Posts: 2,142
Likes: 3
From: Miami Beach
Stripped the bilge out bit, ditching the silent choice and blocked off the exhaust ports on the Bravos, replacing the bilge pump, float switch, power washing the thing out from 28 years of sludge and repainting it while Im this deep in the thing
Pulled the trim pumps out because one solenoid wasnt working, replaced all the solenoids and decided to strip brackets up repaint and clean everything up on them
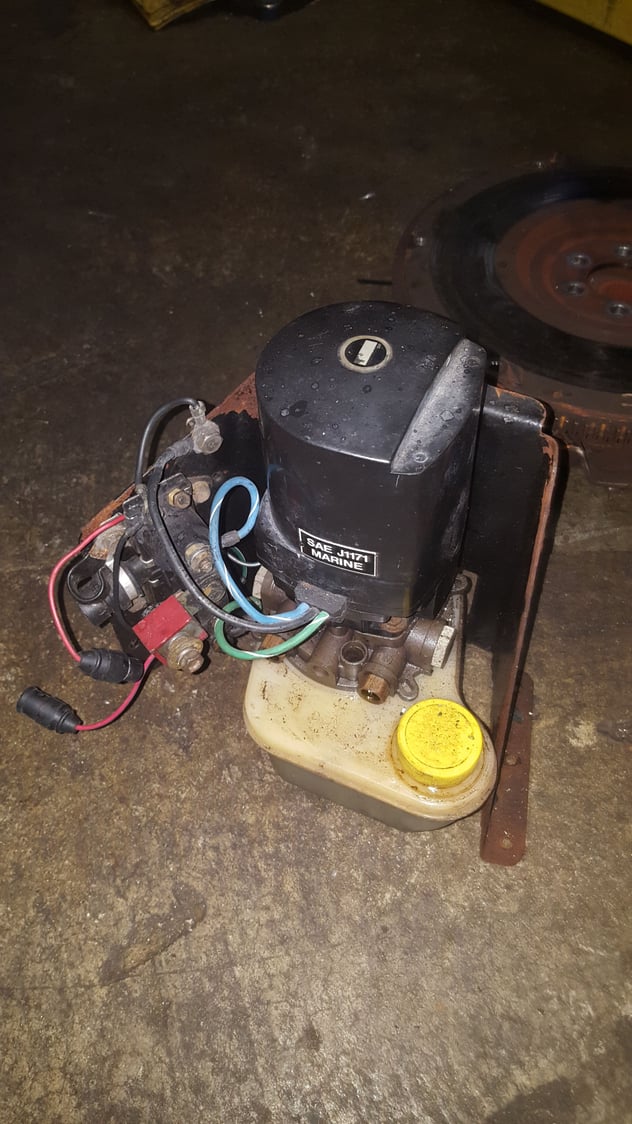
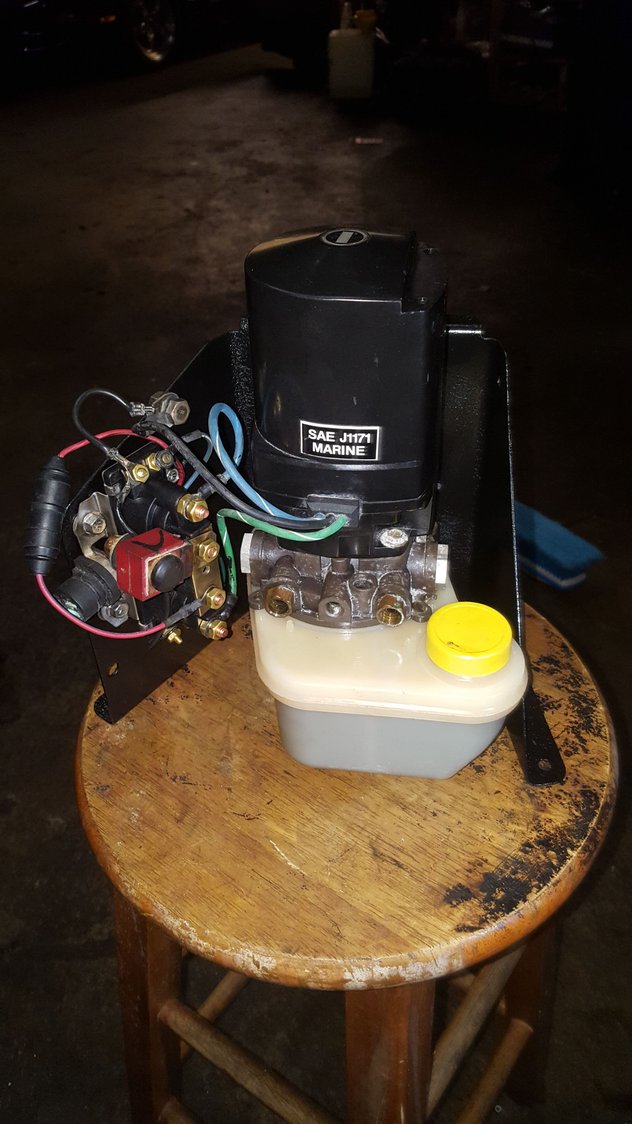
Pulled the trim pumps out because one solenoid wasnt working, replaced all the solenoids and decided to strip brackets up repaint and clean everything up on them
05-08-2018 | 10:48 PM
#59
Thread Starter
Registered
Joined: May 2016
Posts: 209
Likes: 0
Well the pic wiped out what I said
The housing and fitting from CP looks nice but does not fix the issue anymore then using the plastic original one with a new gasket. The plastic tube is what fixes the issue by keeping deposits from collecting
You use the same top fitting just different hose
The housing and fitting from CP looks nice but does not fix the issue anymore then using the plastic original one with a new gasket. The plastic tube is what fixes the issue by keeping deposits from collecting
You use the same top fitting just different hose
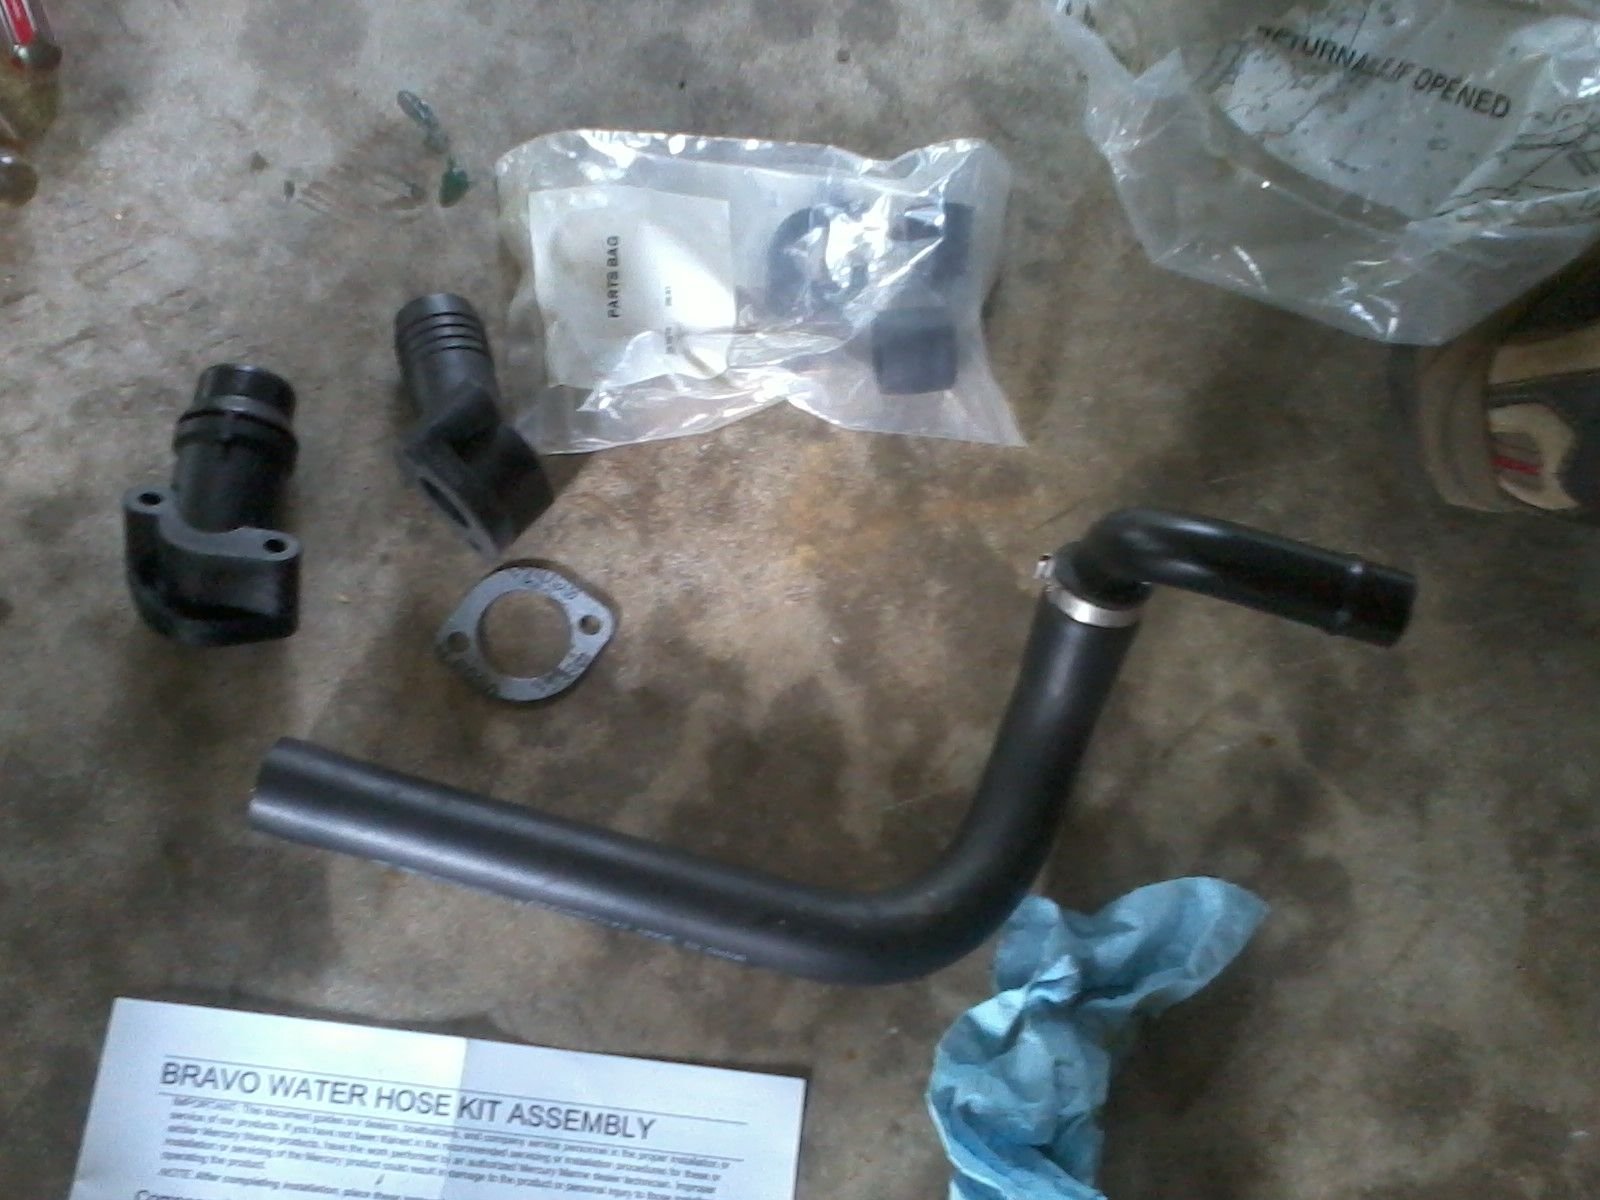
From the sea pump to the drive pickup itself how does it go then? Pump, then hose that goes on the factory plastic housing with a barb? (one i was going to replace with CP housing) then that wierd 4 groove ferrule you need tool to screw in out? Is that length of hose pictured for the run after that, through the transom and into the drive?
Also found this repair kit - CP Performance - Bravo Water Inlet Repair Kit
05-08-2018 | 10:50 PM
#60
Thread Starter
Registered
Joined: May 2016
Posts: 209
Likes: 0

