

350 MPI Horizon Base Timing
 05-09-2022 | 08:55 AM
#1
Thread Starter
Registered
Joined: Feb 2022
Posts: 54
Likes: 10
I'm trying to wrap my head around the information I'm finding online. I realize it is rare, but sometimes things you find online aren't accurate. lol.
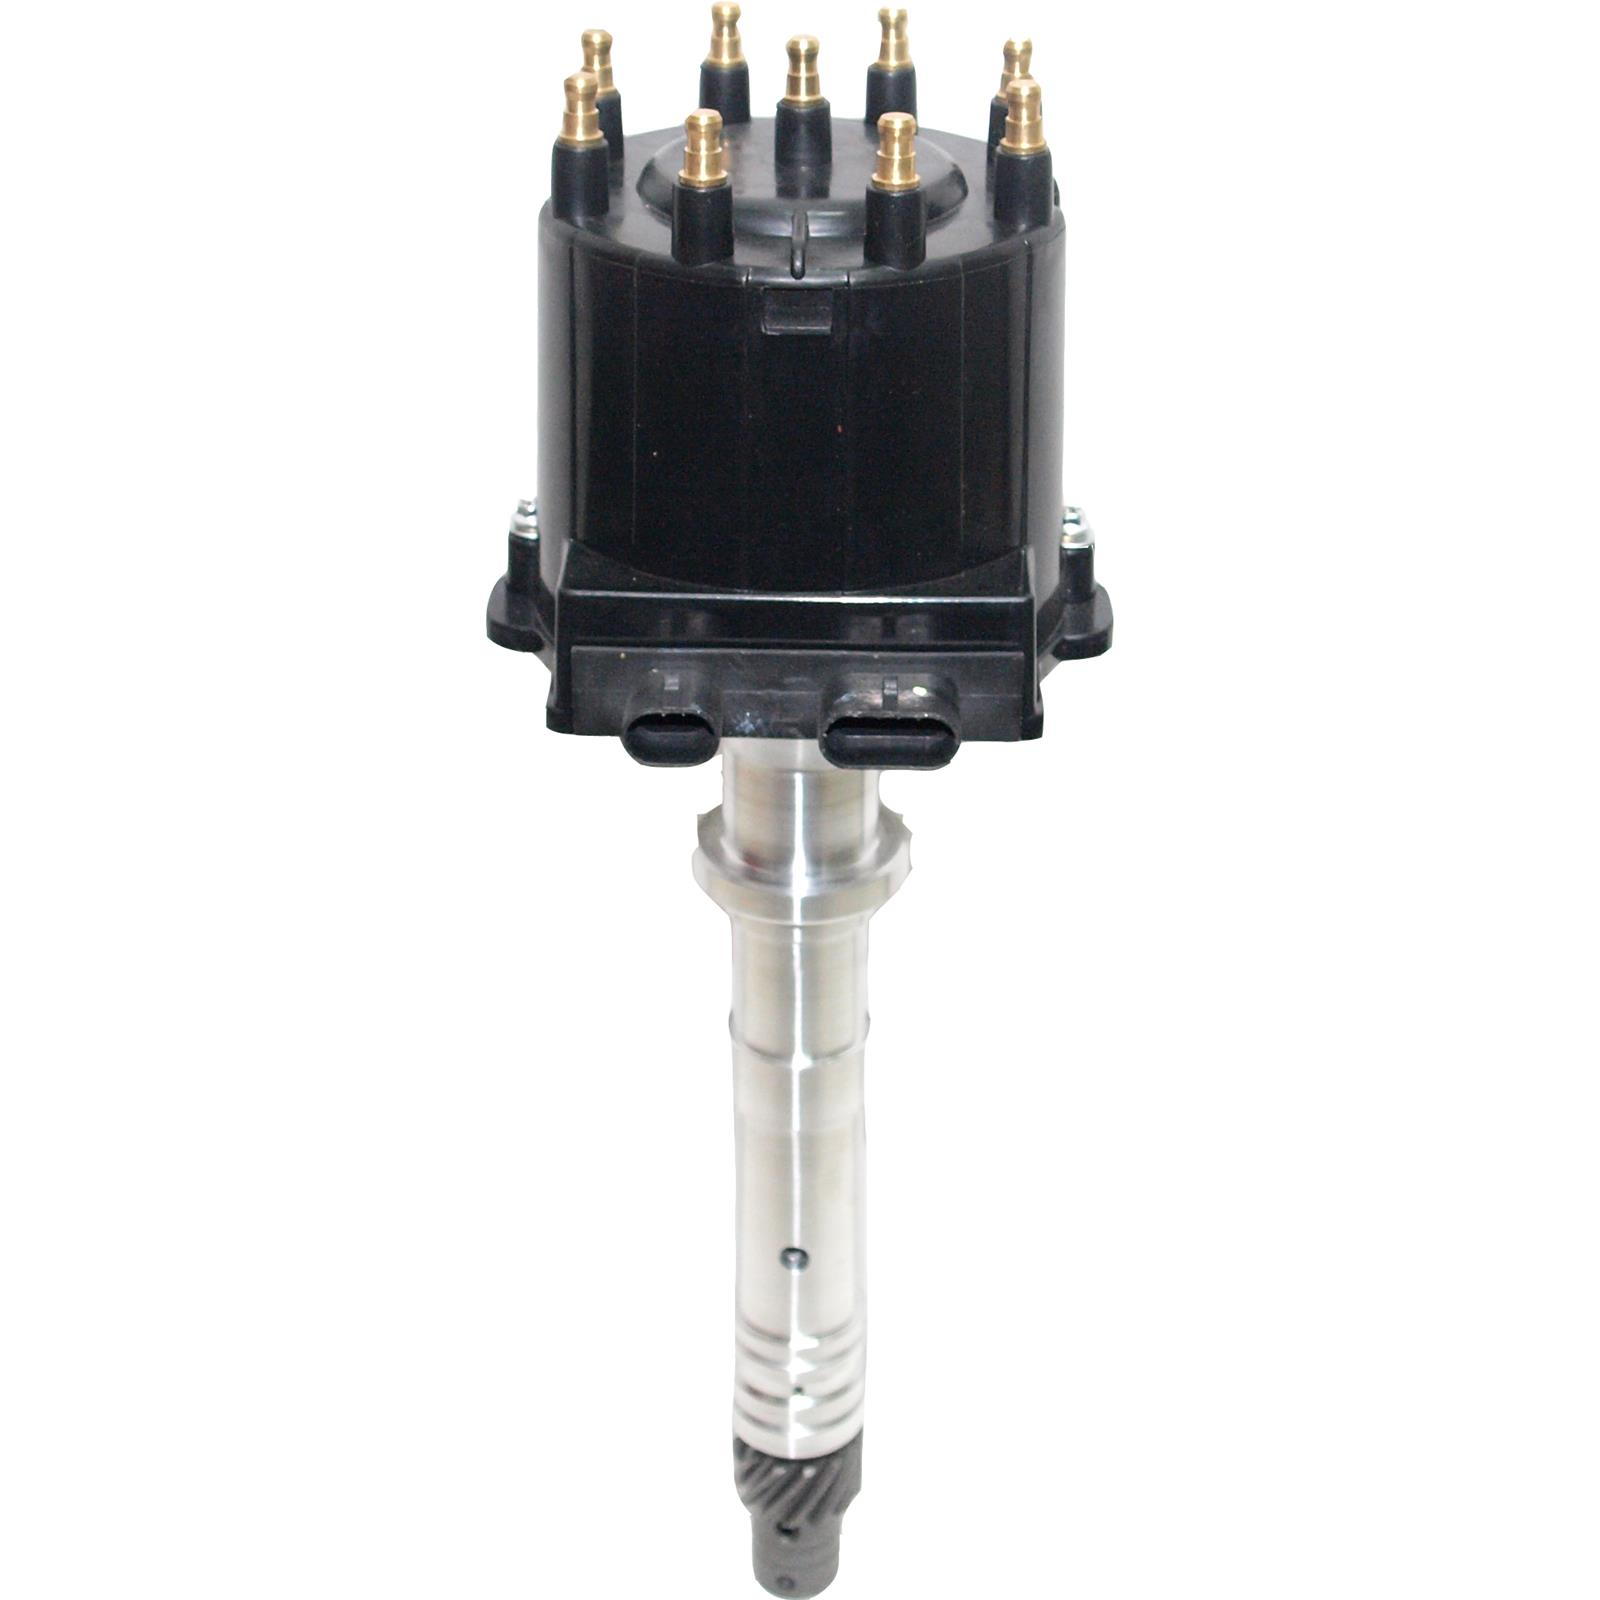
My engine is a 2002 model I believe. 0M634400. It appears that this engine does not utilize the hall sensor in the distributor. There is nothing plugged into mine, and the OEM manual says "no connection". I also read that there is no timing adjustment allowed or needed on these motors. That the ECU does it all. That's fine, but I would think that without a hall sensor to tell the ECU what the timing actually is, that we would need to set base timing. Some people say yes, some people say no. WTF. The manual makes no mention of it at all, but the distributor certainly has the ability to be rotated. I found the below information on Performance Product Technologies website. Is this something I need to verify? Do these motors need base timing or does the ECU really just handle it all without ANY input. If it used the hall sensor, then I could understand that the ECU now knows the position of the rotor and can make those adjustments but theoretically I could rotate this distributor and the ECU would have no clue I did anything. I would love to hear some input from smart people. I do have the diacom software if that will help me out. V6 and V8 EFI Models (EFI Ignition)
Two items of test equipment are required: an inductive pickup timing light and one of either a Scan Tool, Marine Diagnostic Code Tool or MerCruiser Special Timing Tool (Quicksilver 91-805747A1).
1. Connect timing light (91-99379 or similar) to No. 1 spark plug wire. Connect power supply leads, if applicable, on light to 12 volt battery. Refer to Specifications � �Engine Rotation and Firing Order,� for cylinder numbering and location.
2. Connect a shop tachometer to engine.
NOTE: Before starting engine make sure the timing tab and mark, or marks, on crankshaft damper are clean. Chalk or white paint on timing marks may help visibility.
NOTE: If NOT Using MerCruiser Timing Tool: With engine running, set the scan tool or Marine Diagnostic Code Tool to the SERVICE MODE and follow manufacturer�s instructions. On 350 Mag MPI Model, engine RPM will automatically increase to a higher RPM. You do not have to increase it manually, as stated in the following steps.
3. Connect the Timing Tool (or appropriate tool, as listed above) to the DLC connector (in the electrical box or on the electrical bracket) of the wiring harness.
4. Start the engine. Allow it to reach normal operating temperature.
5. On all models except 350 Mag MPI: Manually adjust the engine throttle to 1800 RPM.
6. Aim timing light at timing tab, located on the timing gear cover and crankshaft torsional damper. Check the timing. Refer to �Specifications.�
7. Loosen the distributor clamp bolt enough to just be able to rotate the distributor with some resistance.
8. Aim timing light at timing tab and recheck location of timing mark. Slowly rotate the distributor clockwise or counterclockwise to adjust the timing to specified degrees.
9. Aim timing light at timing tab and recheck location of timing mark. Repeat Step 8 until timing is correct. Torque distributor hold down bolt to 30 lb. ft. (40 N.m).
10. Manually close the throttle to bring engine RPM back to idle.
IMPORTANT: Be sure to disconnect MerCruiser Special Timing Tool from the DLC connector, or set the tool to NORMAL MODE if using the Scan Tool or Marine Diagnostic Code Tool, before attempting to resume normal operations. If the MerCruiser Special Timing Tool is left in pace or the setting of the tool remains in SERVICE MODE, the ignition system will operate only in the �Service Mode�. This means that the additional timing advance features would not function.
11. Disconnect the MerCruiser Special Timing Tool from the DLC connector. If using the Scan Tool or Marine Diagnostic Code Tool, set the tool to NORMAL MODE. Disconnect the tool.
12. Stop the engine. Turn ignition key to OFF position.
13. Remove timing light.


 05-09-2022 | 09:12 AM
#4
Thread Starter
Registered
Joined: Feb 2022
Posts: 54
Likes: 10
Basically, yes. I have "the crab" and I did read that term as being "high voltage switch". I'll look specifically for that info.
05-09-2022 | 12:19 PM
#5
Thread Starter
Registered
Joined: Feb 2022
Posts: 54
Likes: 10
So I'm fairly certain I've discovered what I need to do, and in the same time have come up with another question.
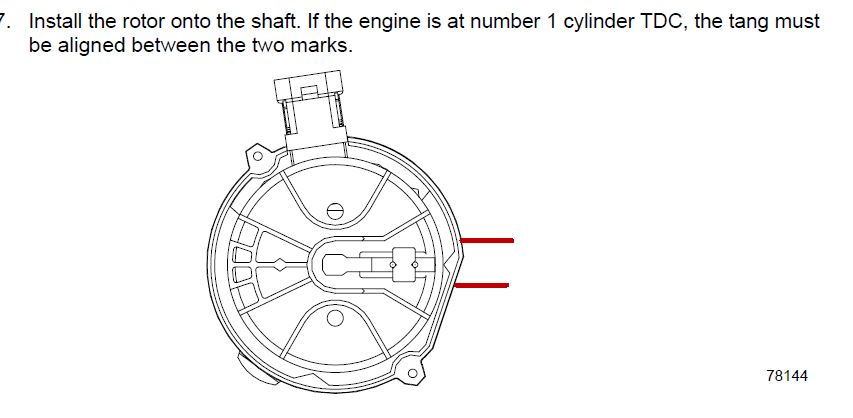
To index the rotor, I set the motor to #1 TDC using the marks on the balancer. Then rotate the base of the "distributor" until the pointer lines up with the rotor. Per pic below. Correct?
The additional question now comes about plugs and their gap. I replaced plugs in the fall with NGK ITR4A15 with a gap of .060. I've read that with the crab cap I should not be above .038 gap. Is that good information?
05-09-2022 | 12:42 PM
#6
Registered

Joined: Nov 2004
Posts: 14,148
Likes: 3,710
From: On A Dirt Floor
Yes. Great info. My honest belief is the dumb .060� gaps are responsible for the crab cap issues. Causes too much voltage demand.
We don�t have to deal with the emission police. Keep your gaps to .035� - .040�. No more than that.
You understand now why the HVS distributors don�t effect timing ? Sounds like you may.
Rotor to cap phasing is not �timing.�
We don�t have to deal with the emission police. Keep your gaps to .035� - .040�. No more than that.
You understand now why the HVS distributors don�t effect timing ? Sounds like you may.
Rotor to cap phasing is not �timing.�
05-09-2022 | 12:52 PM
#7
Thread Starter
Registered
Joined: Feb 2022
Posts: 54
Likes: 10
Yes. Great info. My honest belief is the dumb .060� gaps are responsible for the crab cap issues. Causes too much voltage demand.
We don�t have to deal with the emission police. Keep your gaps to .035� - .040�. No more than that.
You understand now why the HVS distributors don�t effect timing ? Sounds like you may.
Rotor to cap phasing is not �timing.�
We don�t have to deal with the emission police. Keep your gaps to .035� - .040�. No more than that.
You understand now why the HVS distributors don�t effect timing ? Sounds like you may.
Rotor to cap phasing is not �timing.�
I really appreciate your input on this.
05-10-2022 | 07:18 AM
#8
Thread Starter
Registered
Joined: Feb 2022
Posts: 54
Likes: 10
I do understand, but I guess you could argue that it's a fine line between base timing and phasing. To me, setting "base timing" is giving the ECU a benchmark from which to determine timing. It seems like phasing also does this, but differently. Essentially the ECU has no idea what the actual timing is. It knows what it wants it to be and assumes that we set the distributor properly to give it that benchmark.
I really appreciate your input on this.
I really appreciate your input on this.
 05-10-2022 | 07:34 AM
#10
Registered
Joined: Nov 2004
Posts: 14,148
Likes: 3,710
From: On A Dirt Floor
As far as plugs, merc uses the platinum plugs because that�s what gm installs in them before shipping to merc.
The copper MR43LTS (you have vortec heads riight) are cheaper, last long in time because who drives there boat 30k miles anyway ? Platinum good for 70k and higher. Lol.
The LTS come gapped at .044�, therefore not far to bend (close) to .035�-.040�. Less current going thru the cap/rotor will give beter chance of not running into cap problems.

