air conditioning install in Avenger 38


 03-09-2012 | 08:36 PM
#3
Thread Starter
Registered
Joined: Nov 2006
Posts: 80
Likes: 0
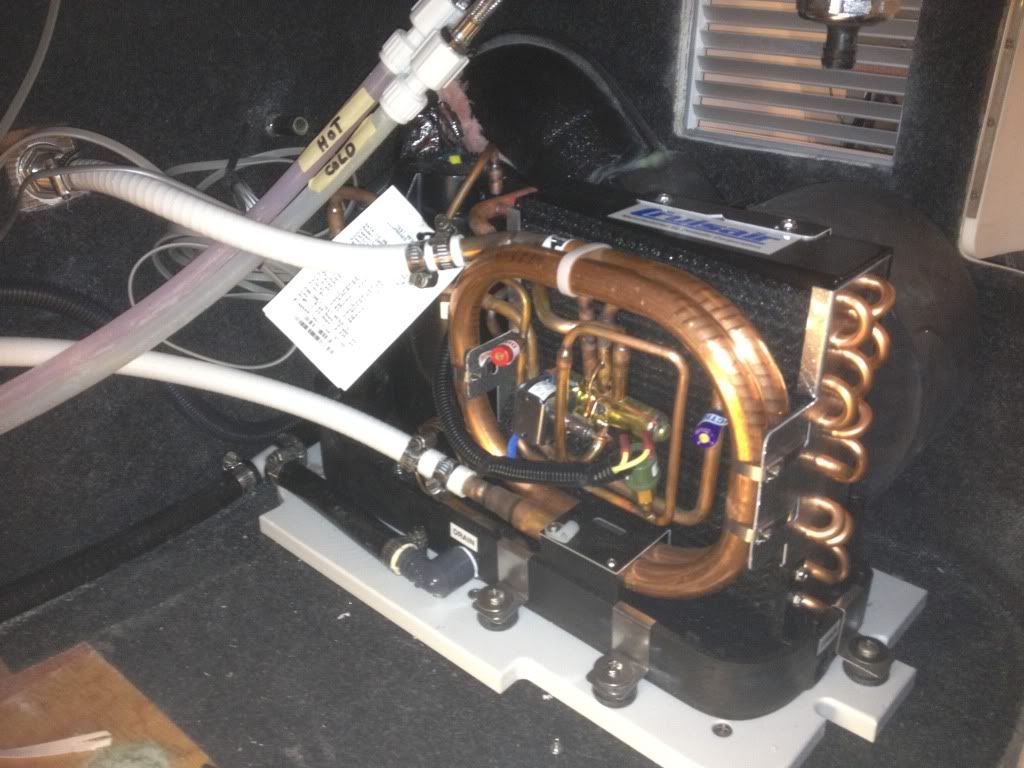
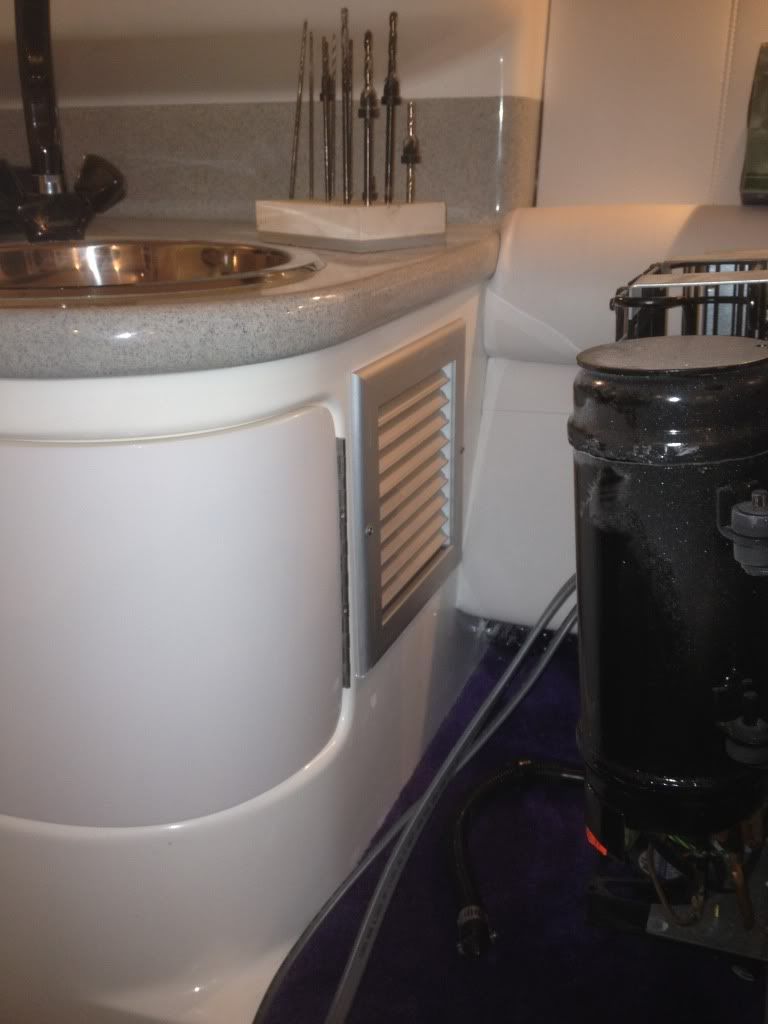
We mounted it on a starboard platform that allowed us to rubber mount the unit to minimize vibrations. The condensation pan drains directly to the shower sump. You also can see the vent we cut into the side of the compartment for make up air.
03-09-2012 | 08:41 PM
#4
Thread Starter
Registered
Joined: Nov 2006
Posts: 80
Likes: 0
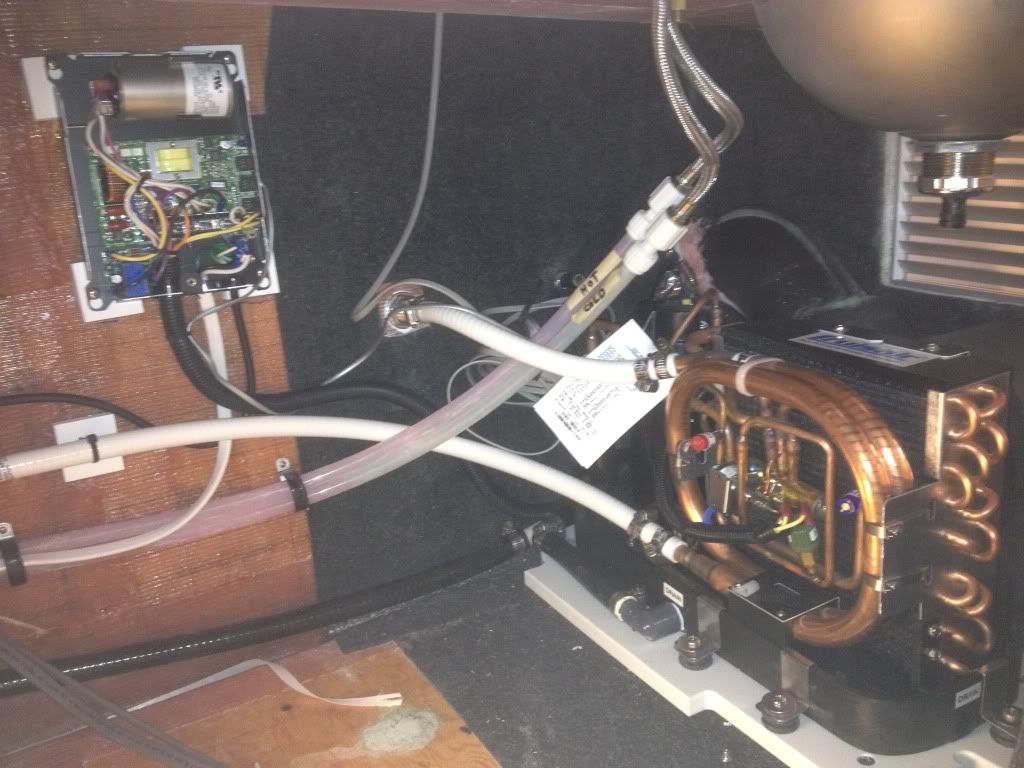
In this picture you can see where we mounted the control panel. Notice the blocks that my guy epoxied to the side of the boat to hold wires and tubing so that we did not have to screw into the core.Don't worry about the sump drain in this picture, is was not yet fastened in place and does all run down hill!
 03-09-2012 | 08:52 PM
#7
Thread Starter
Registered
Joined: Nov 2006
Posts: 80
Likes: 0
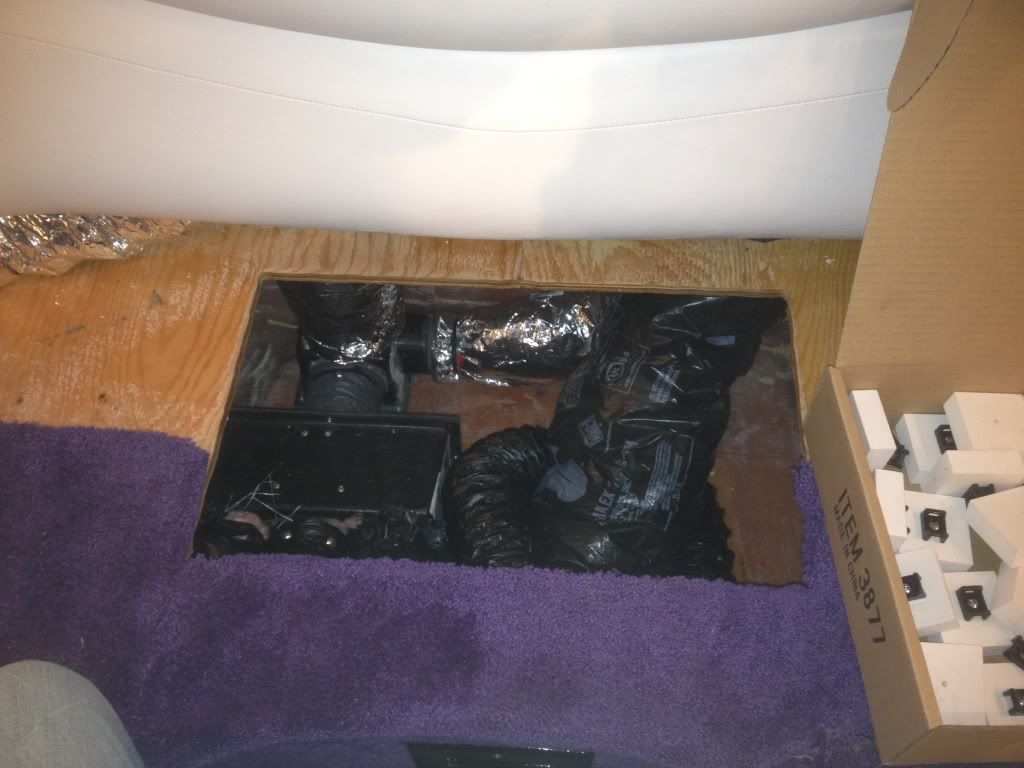
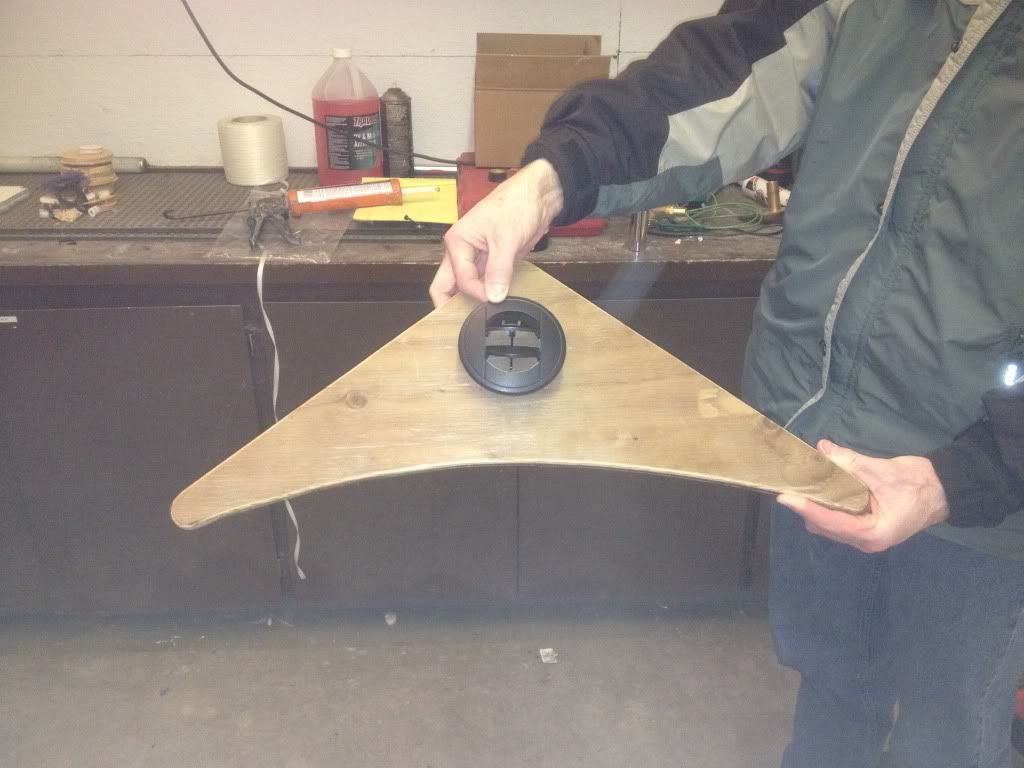
A main 4 inch insulated line was run to the front of the U shaped seating area. There is a large area under this part of the seat that is open, but you never see it because the seat is screwed in here. Some factory installs put the unit here, but we wanted it away from the main sleeping area and also felt the location we selected was better for venting and wiring needs. The 4 inch line goes into a diverter box where three -3inch and one two inch line come out of. We were very pleased with the balanced air flow to each vent that this creates!
03-09-2012 | 08:59 PM
#8
Thread Starter
Registered
Joined: Nov 2006
Posts: 80
Likes: 0
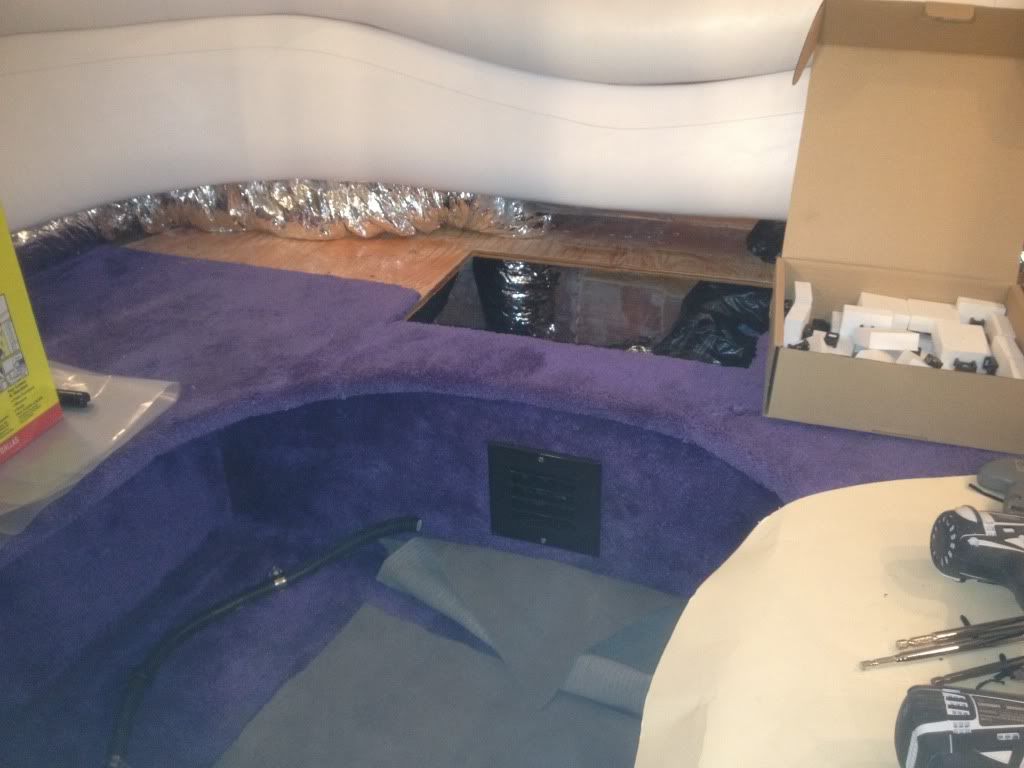
Here is another view of the front area. One of the three inchers dumps straight out, the other two go up to where the cup holders USED to be and the two inch then runs to the head. I also had enough room in the compartment where the diverter box is located to section a part of it off and cut a door in the front area to create a new storage area. I don't have a pic of that yet...
03-09-2012 | 09:05 PM
#9
Thread Starter
Registered
Joined: Nov 2006
Posts: 80
Likes: 0

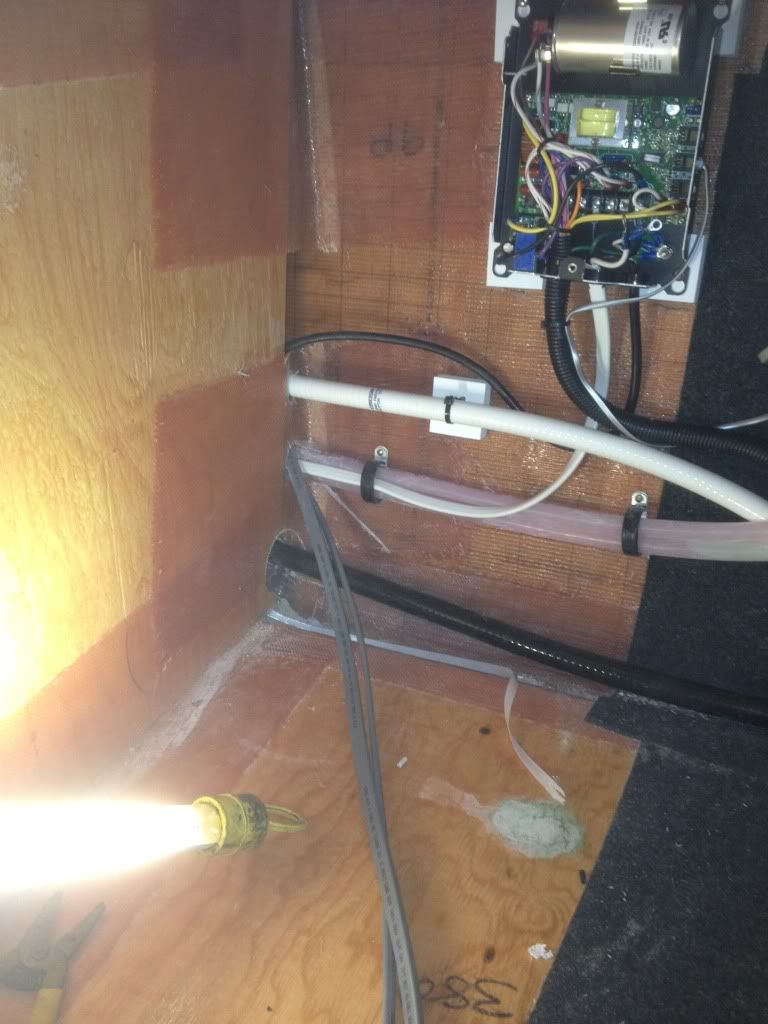
This is where we will put two of the three inchers. The cup holders were here and we cut them out and will re-cover this area with new vinyl. We also are going to go with black covers. One point of caution. If you route the main line behind the seats like we did, you will have to cut the front U pad down about an inch and a half to get it to slide fully back in. We opted to go this route so that we did not have to cut any of the structural bulkheads that are below the seat pans.