

26 Outlaw Upgrades
 06-02-2010 | 12:20 PM
#1
Thread Starter
Registered User
Joined: Aug 2009
Posts: 153
Likes: 0
From: Wichita Falls, Texas
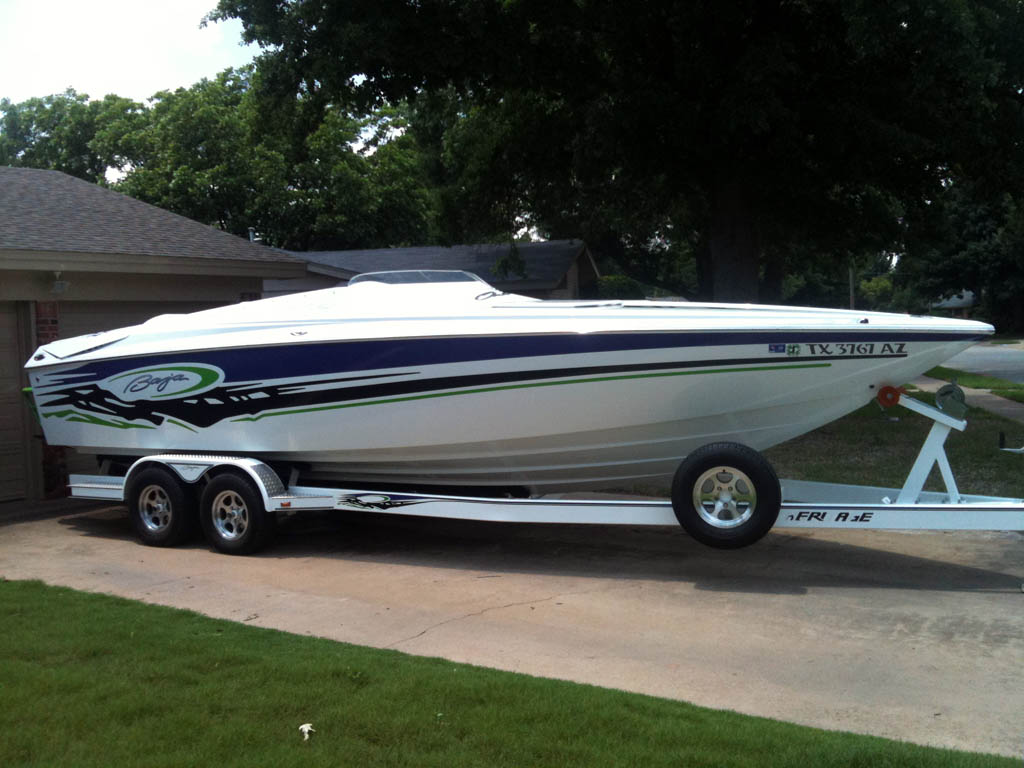
I figured I would share some of my upgrade experiences since I enjoy reading about some of the others posted here on OSO. This is my '08 that I bought new last August. It runs 59 mph gps using a 26 B1 prop on a 1.65 Bravos X. I weighed the boat on certified scales at 6200 lbs full of fuel and ready for the lake. The first upgrades are LED navigation lights, red LED courtesy lights, IMCO hydraulic steering, Raylar aluminum heads, and Dana exhaust.


 06-02-2010 | 12:29 PM
#3
Thread Starter
Registered User
Joined: Aug 2009
Posts: 153
Likes: 0
From: Wichita Falls, Texas
The first thing I did was replace the very unreliable navigation lights on the front of the boat. They worked when they wanted to and the dealer was unable to fix them so I took matters into my own hands. The stock lights relied on the two piece housing to compress the bulb between contacts which was the cause of the problem. Sometimes they would only work when I would press down on the top. I replaced them with a set of Attwoods 2 nautical mile units I bought from Overton’s. Since they are sealed LED they work very reliably, use less battery power, and fit perfectly 


06-02-2010 | 12:30 PM
#4
Thread Starter
Registered User
Joined: Aug 2009
Posts: 153
Likes: 0
From: Wichita Falls, Texas
06-02-2010 | 12:37 PM
#5
Thread Starter
Registered User
Joined: Aug 2009
Posts: 153
Likes: 0
From: Wichita Falls, Texas
While I was on the LED bandwagon I had a friend machine a billet piece of aluminum into the same shape of the bezel for the courtesy lights. He drilled and tapped the new piece to accept a sealed LED cluster that I bought so now I have nice red lights with little battery drain. I painted the bezel white to match the boat, although I was tempted to leave it raw aluminum.

06-02-2010 | 12:44 PM
#6
Thread Starter
Registered User
Joined: Aug 2009
Posts: 153
Likes: 0
From: Wichita Falls, Texas
After being highly recommended by the OSO crew I decided on IMCO hydraulic steering. The kit is very well thought out and the quality appears to be top notch. Also the people at IMCO are very knowledgeable and super helpful…great customer service. Here are a couple of “before” shots.


06-02-2010 | 12:49 PM
#7
Thread Starter
Registered User
Joined: Aug 2009
Posts: 153
Likes: 0
From: Wichita Falls, Texas
The biggest issue I ran across was the placement of the holes trough the transom. As you can see it was very close. This being a stringer boat I guess is why there is a gap between the transom and the flange. I sealed the crap out of it with 100% silicone and everything worked out fine.


06-02-2010 | 12:52 PM
#8
Thread Starter
Registered User
Joined: Aug 2009
Posts: 153
Likes: 0
From: Wichita Falls, Texas
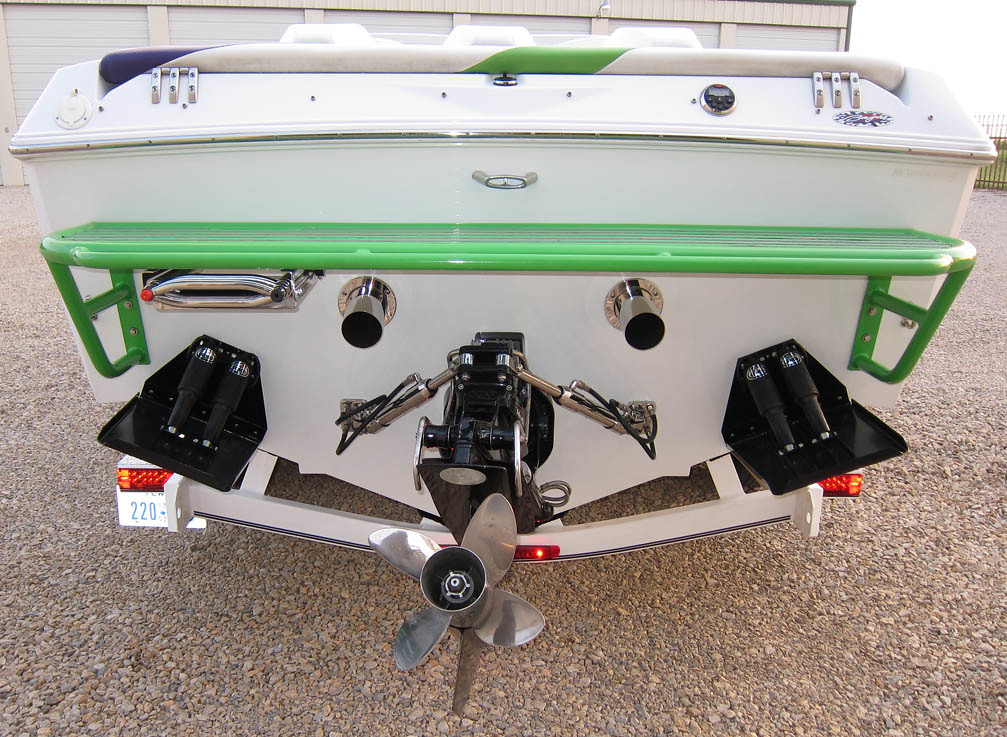
This is the finished outside. The steering is much more responsive than before with zero play. I am so impressed with it I plan to install the full system up to the helm this winter.
06-02-2010 | 12:57 PM
#9
Thread Starter
Registered User
Joined: Aug 2009
Posts: 153
Likes: 0
From: Wichita Falls, Texas
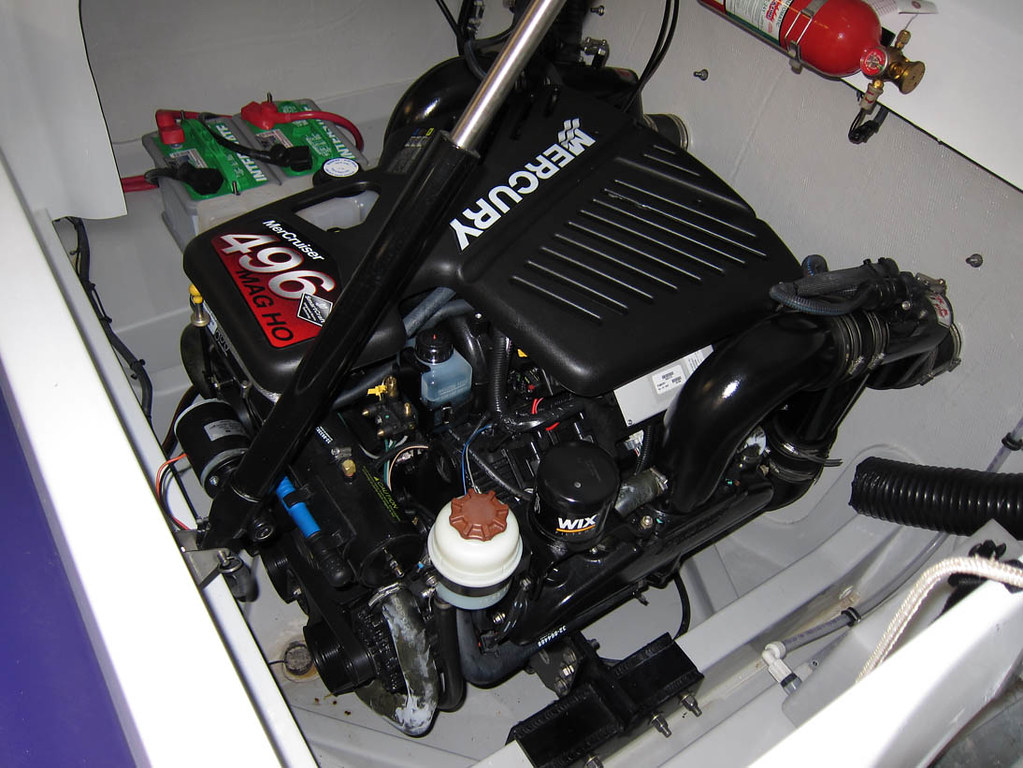
This is the bone stock engine compartment before I started. The second image shows what a freaking mess the 496 is when you take the cover off. I took pictures of every angle and connection before I took it apart so that I would have some chance of getting it back together again.

06-02-2010 | 01:07 PM
#10
Thread Starter
Registered User
Joined: Aug 2009
Posts: 153
Likes: 0
From: Wichita Falls, Texas
Here the motor is stripped down and waiting on the new parts. The second image is with the Raylar heads. BTW I cant say enough good things about Raylar customer service. He was very knowledgeable and patient with me when I was trying to decide on which direction to go….even when it was possibly Whipple in the beginning.


