

Powerquest 290 Transom and Stringer Project
 03-27-2023 | 11:41 AM
#11
Thread Starter
Registered
Joined: Jul 2018
Posts: 36
Likes: 17
From: Evansville, Indiana
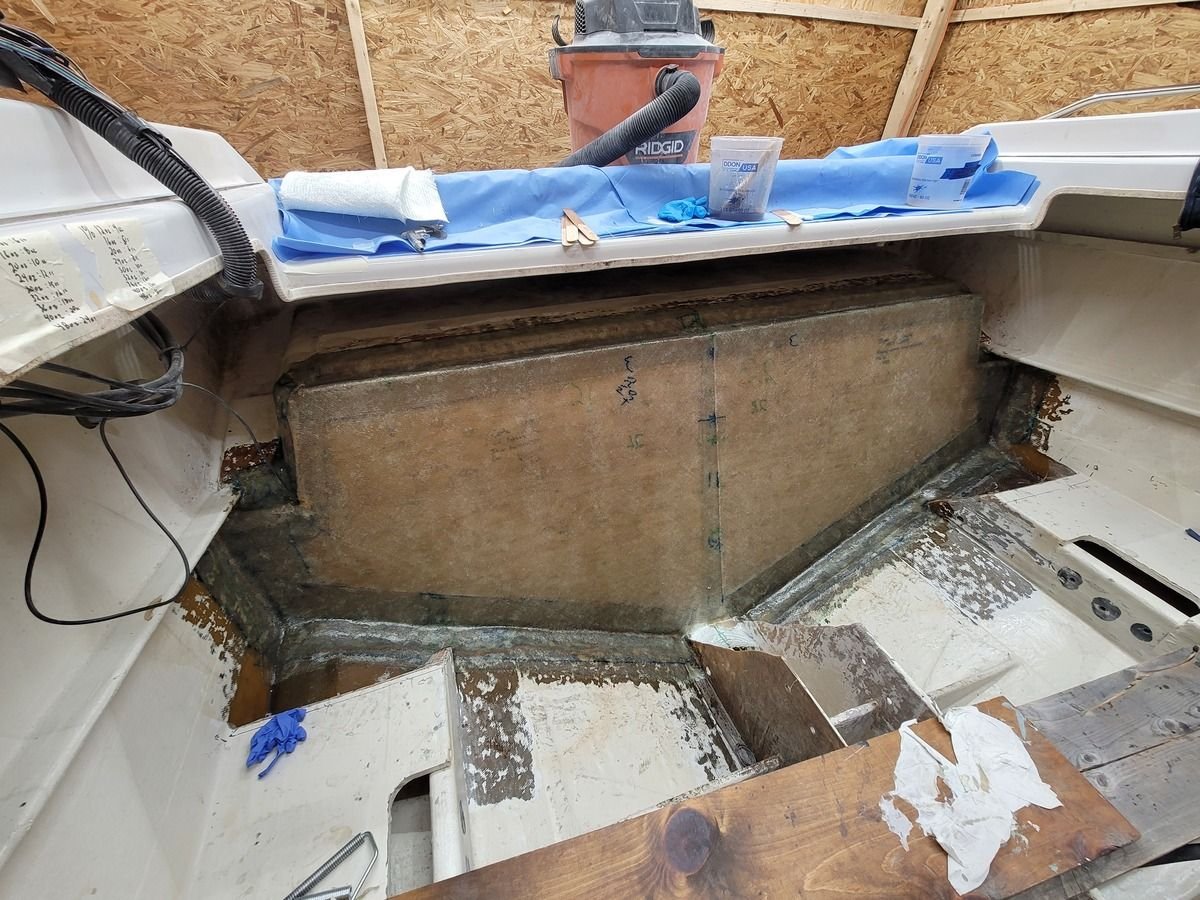
The transom is glassed in, 2 layers of 1708 tabbing between 3 layers of 1708 using vinyl ester resin. I did my best to get the air out. I noticed some discoloration in the fabric where it wasn't due to an air pocket or undersaturation, but almost like the discoloration was the fabric itself. All-in-all I am pretty pleased with how it turned out. That was a LOT more work than fixing a fiberglass body panel on a car.

 04-02-2023 | 02:24 PM
#12
Thread Starter
Registered
Joined: Jul 2018
Posts: 36
Likes: 17
From: Evansville, Indiana
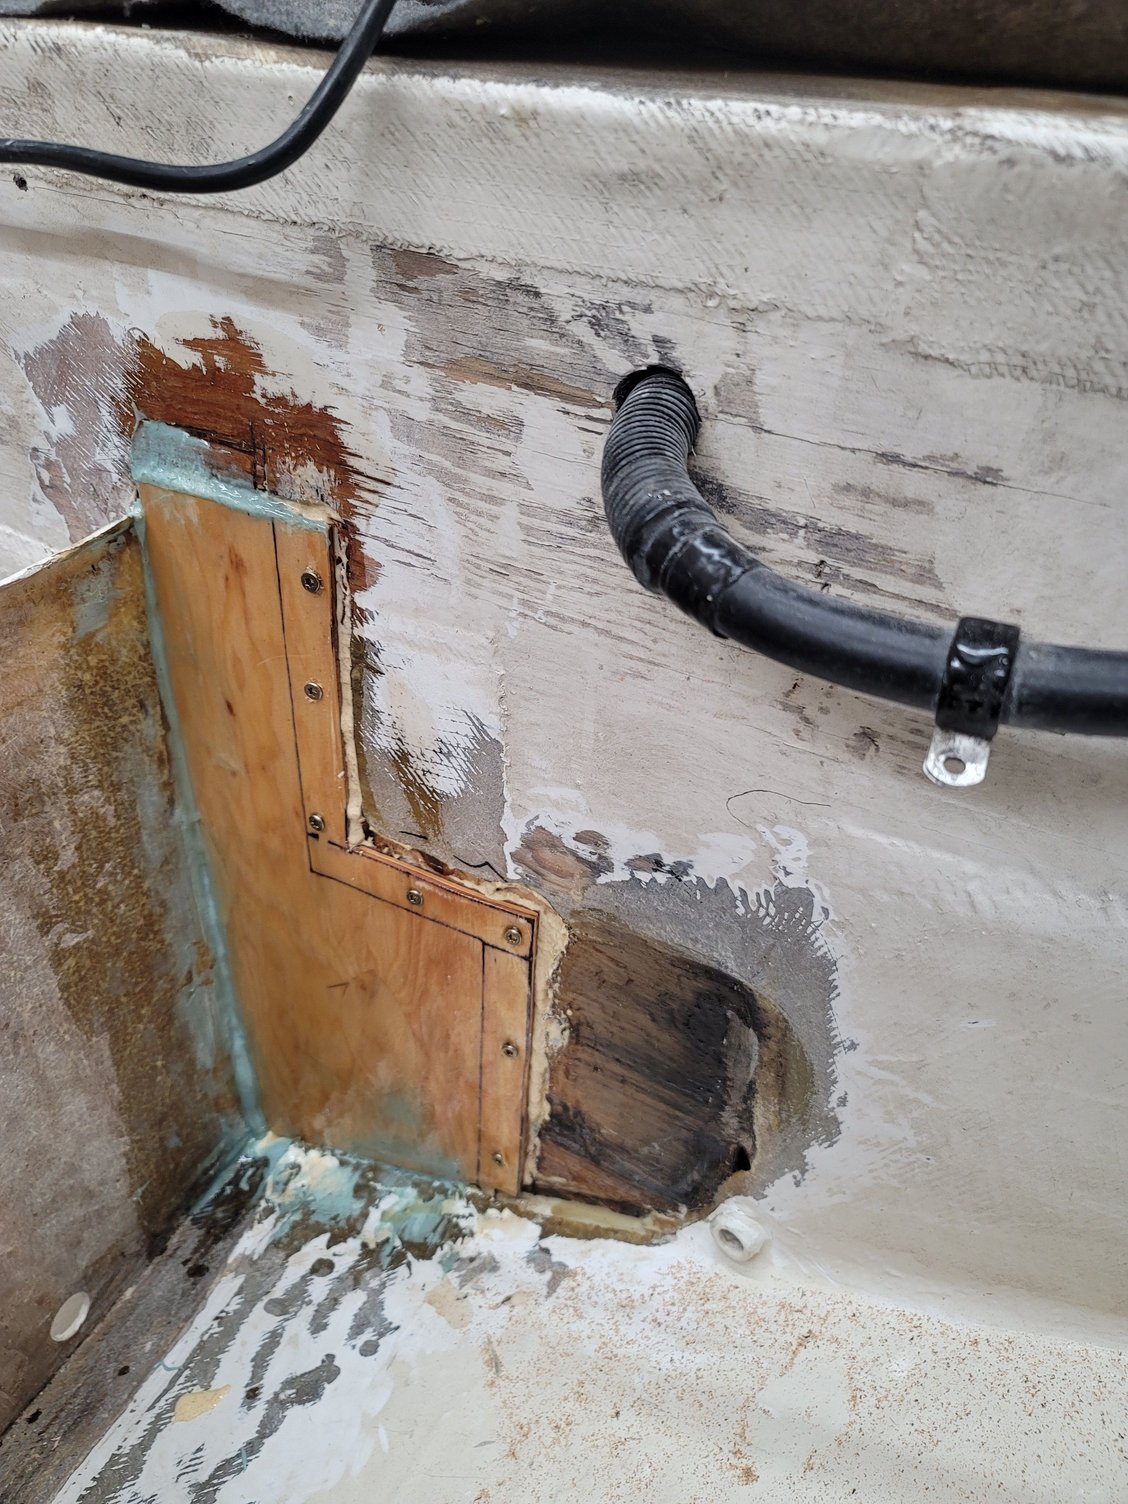
Bulkhead patch Did a half lap joint, glued in

CSM and bedding compound
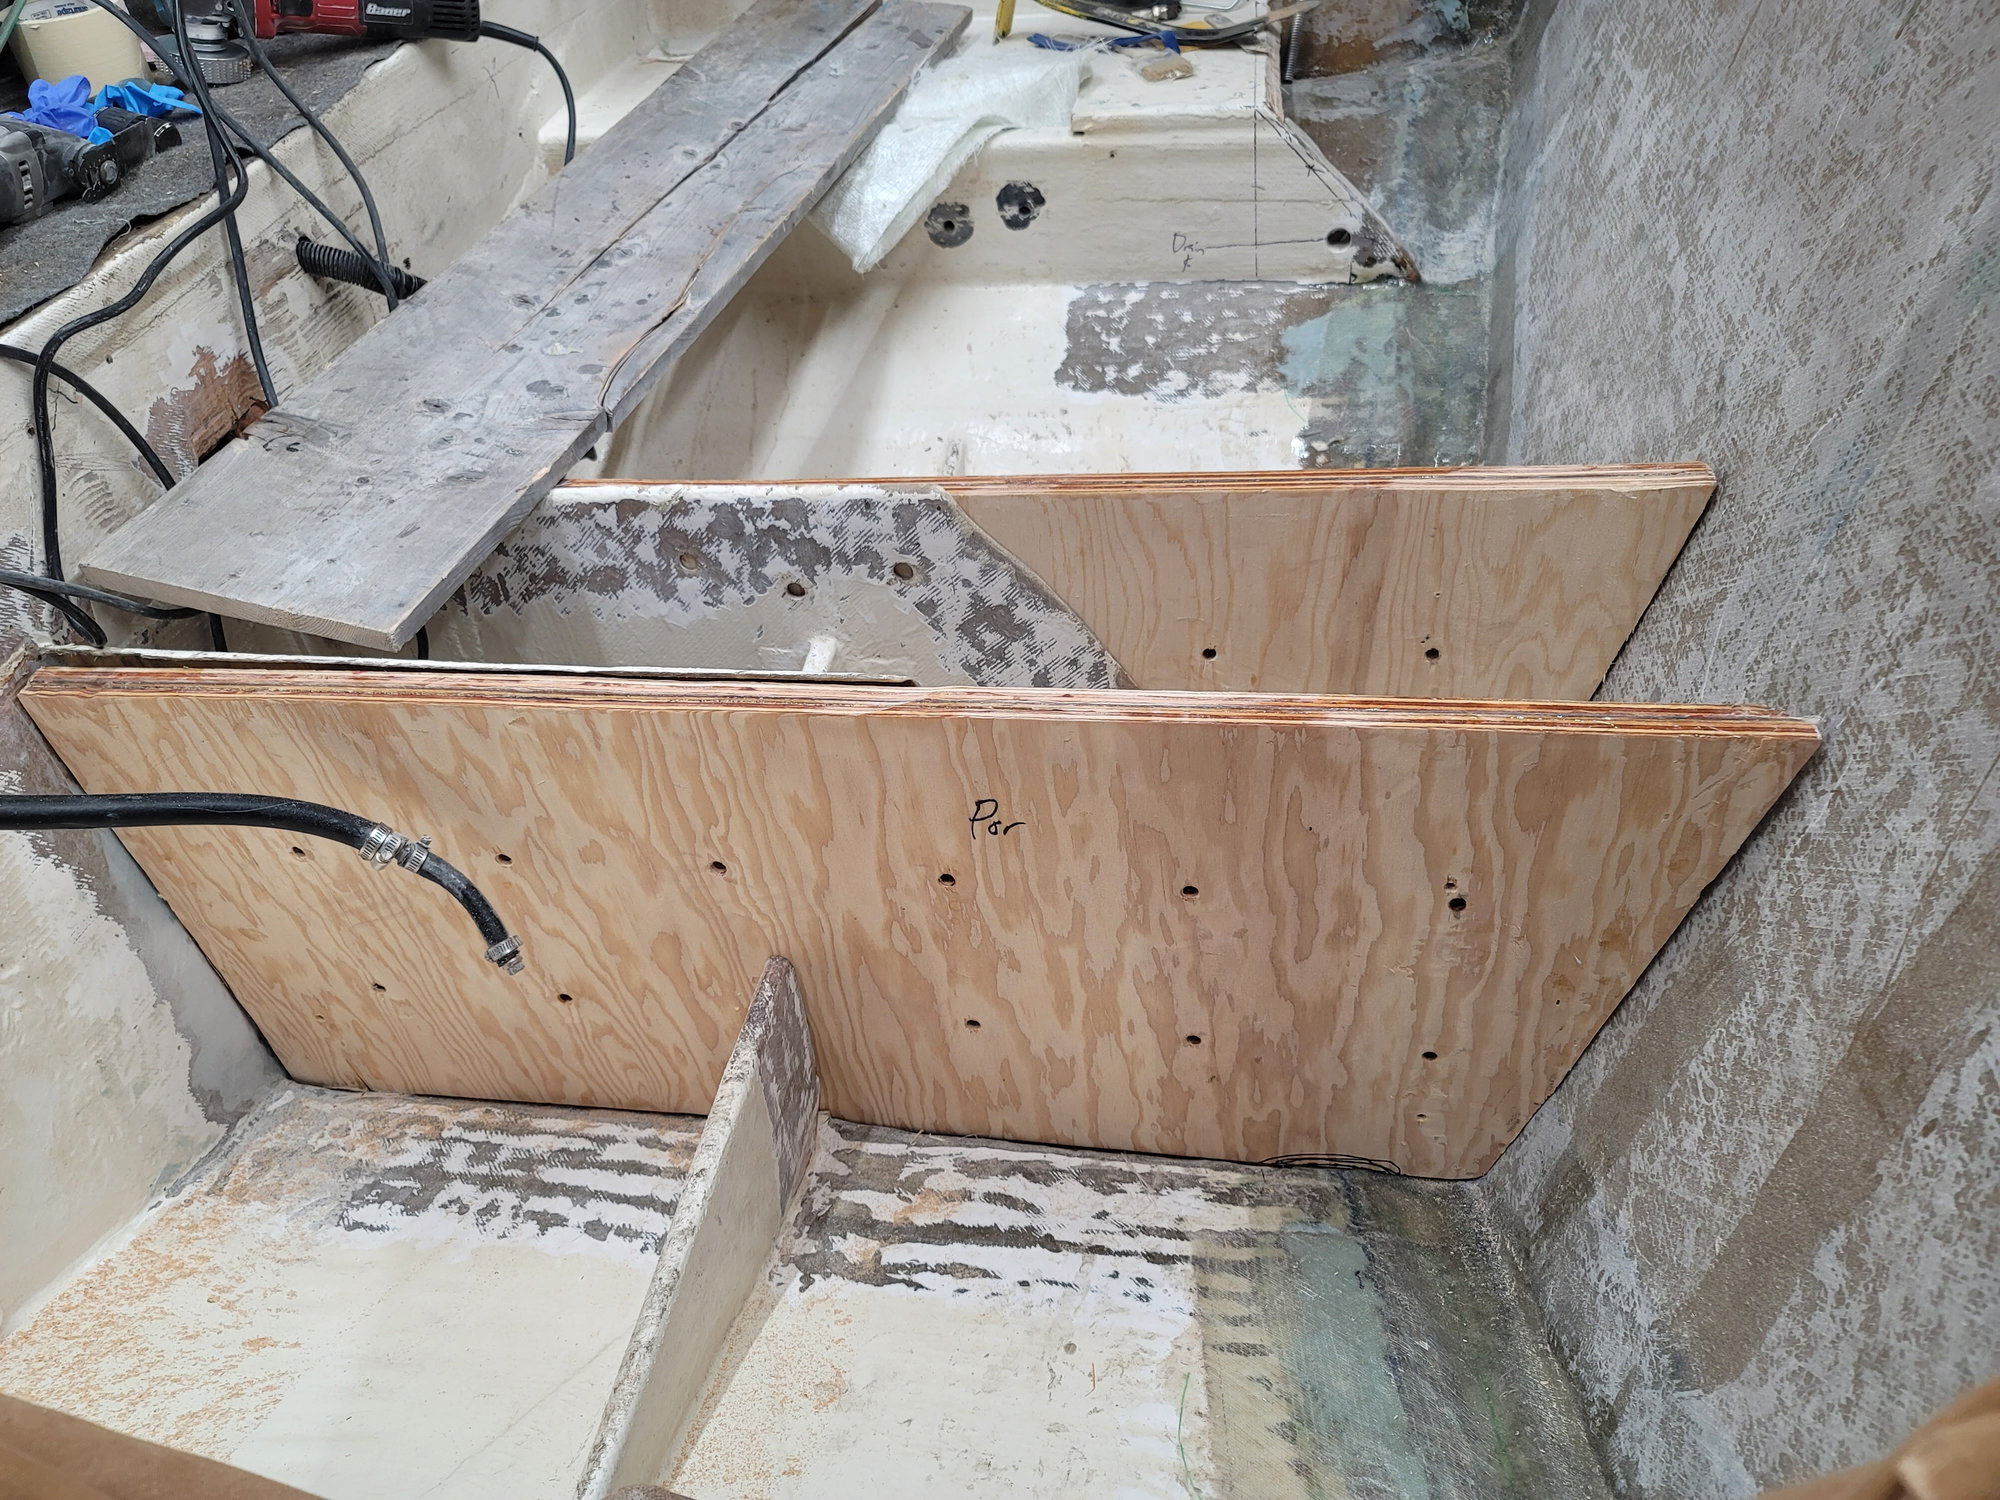
Dry fitting the stringers
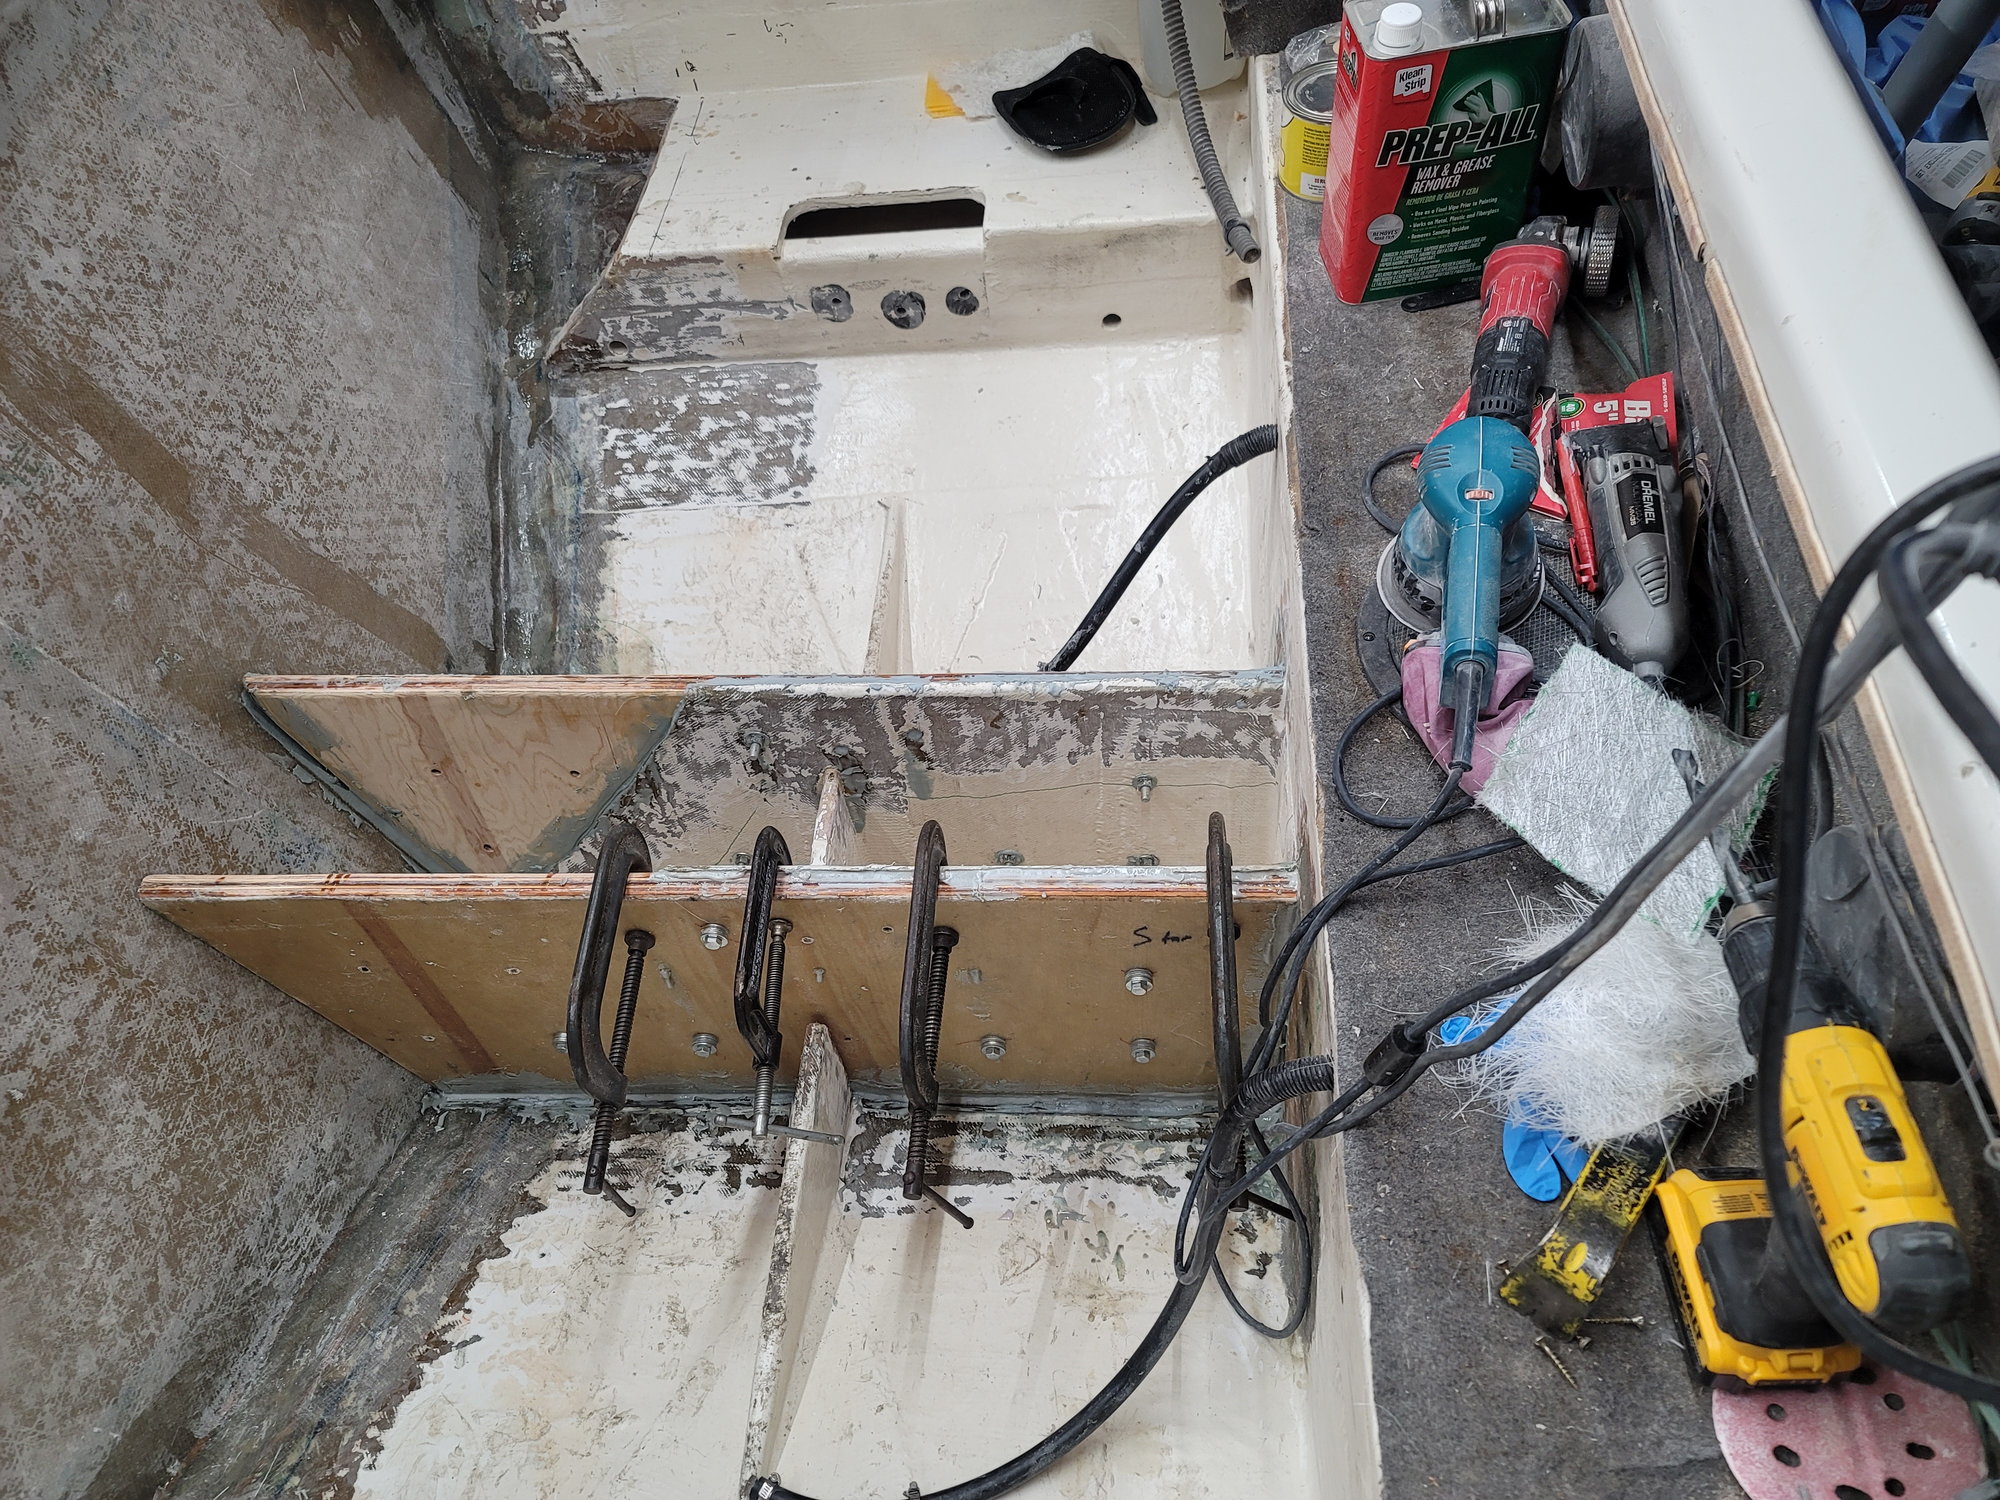
Stringers are in with healthy amount of bedding/bonding compound, they are rock solid
 04-06-2023 | 11:16 AM
#14
Thread Starter
Registered
Joined: Jul 2018
Posts: 36
Likes: 17
From: Evansville, Indiana
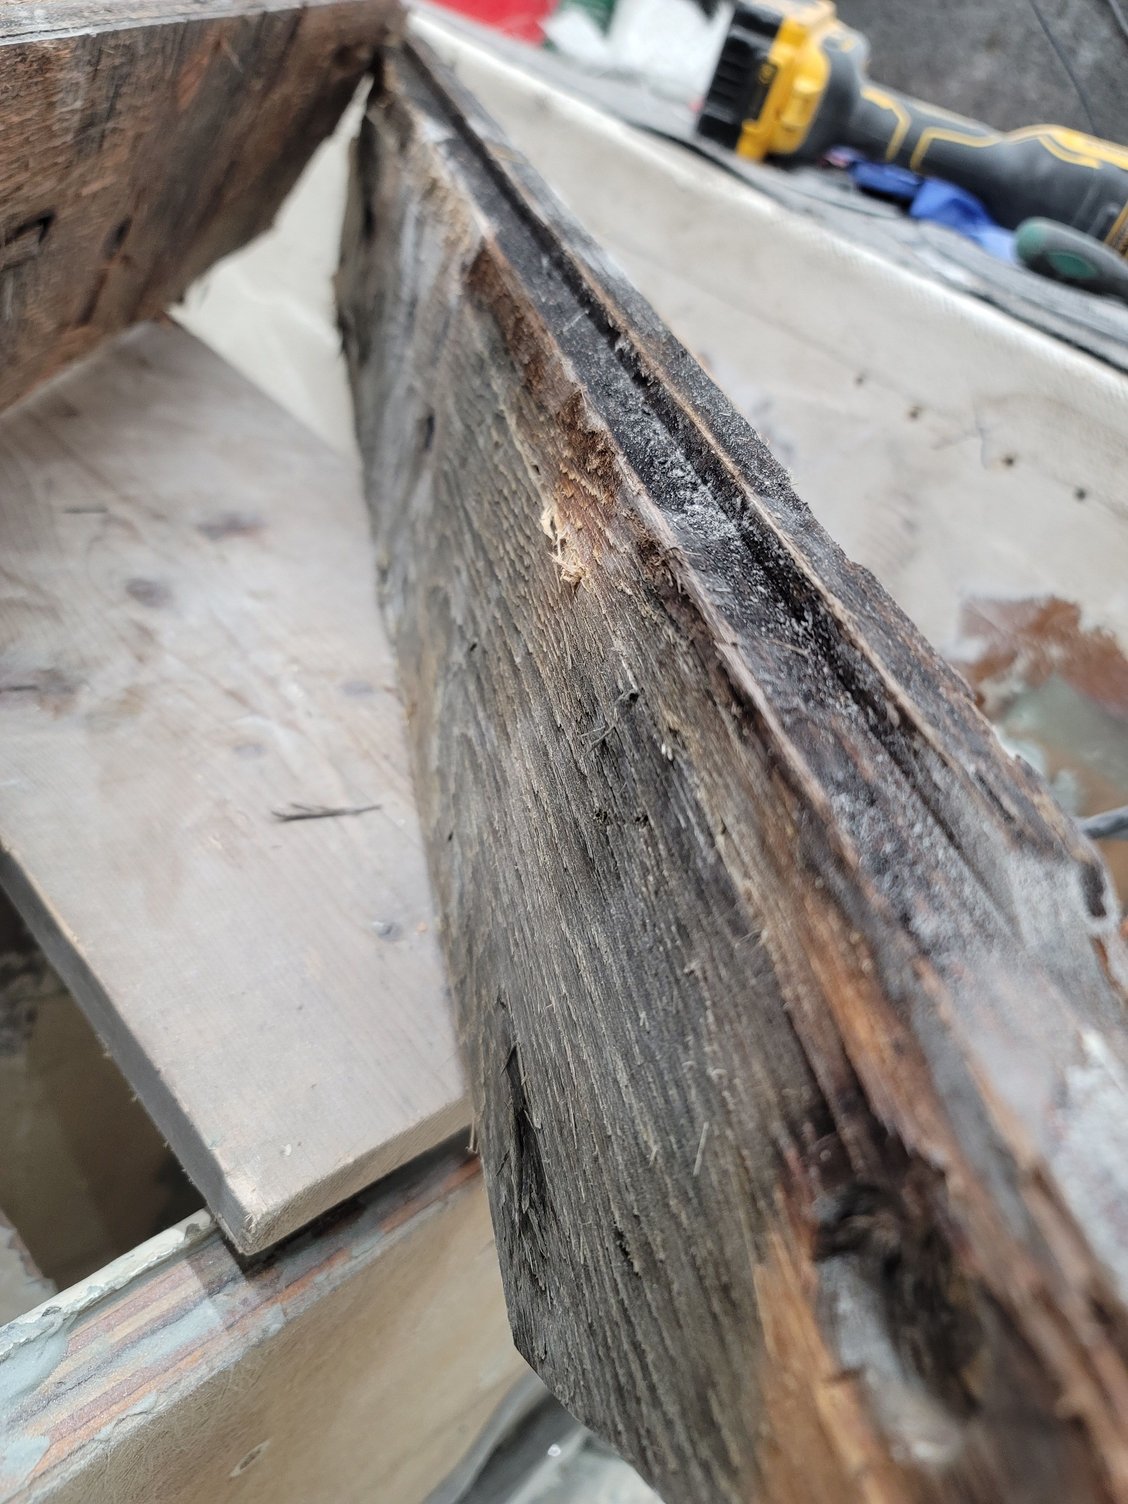
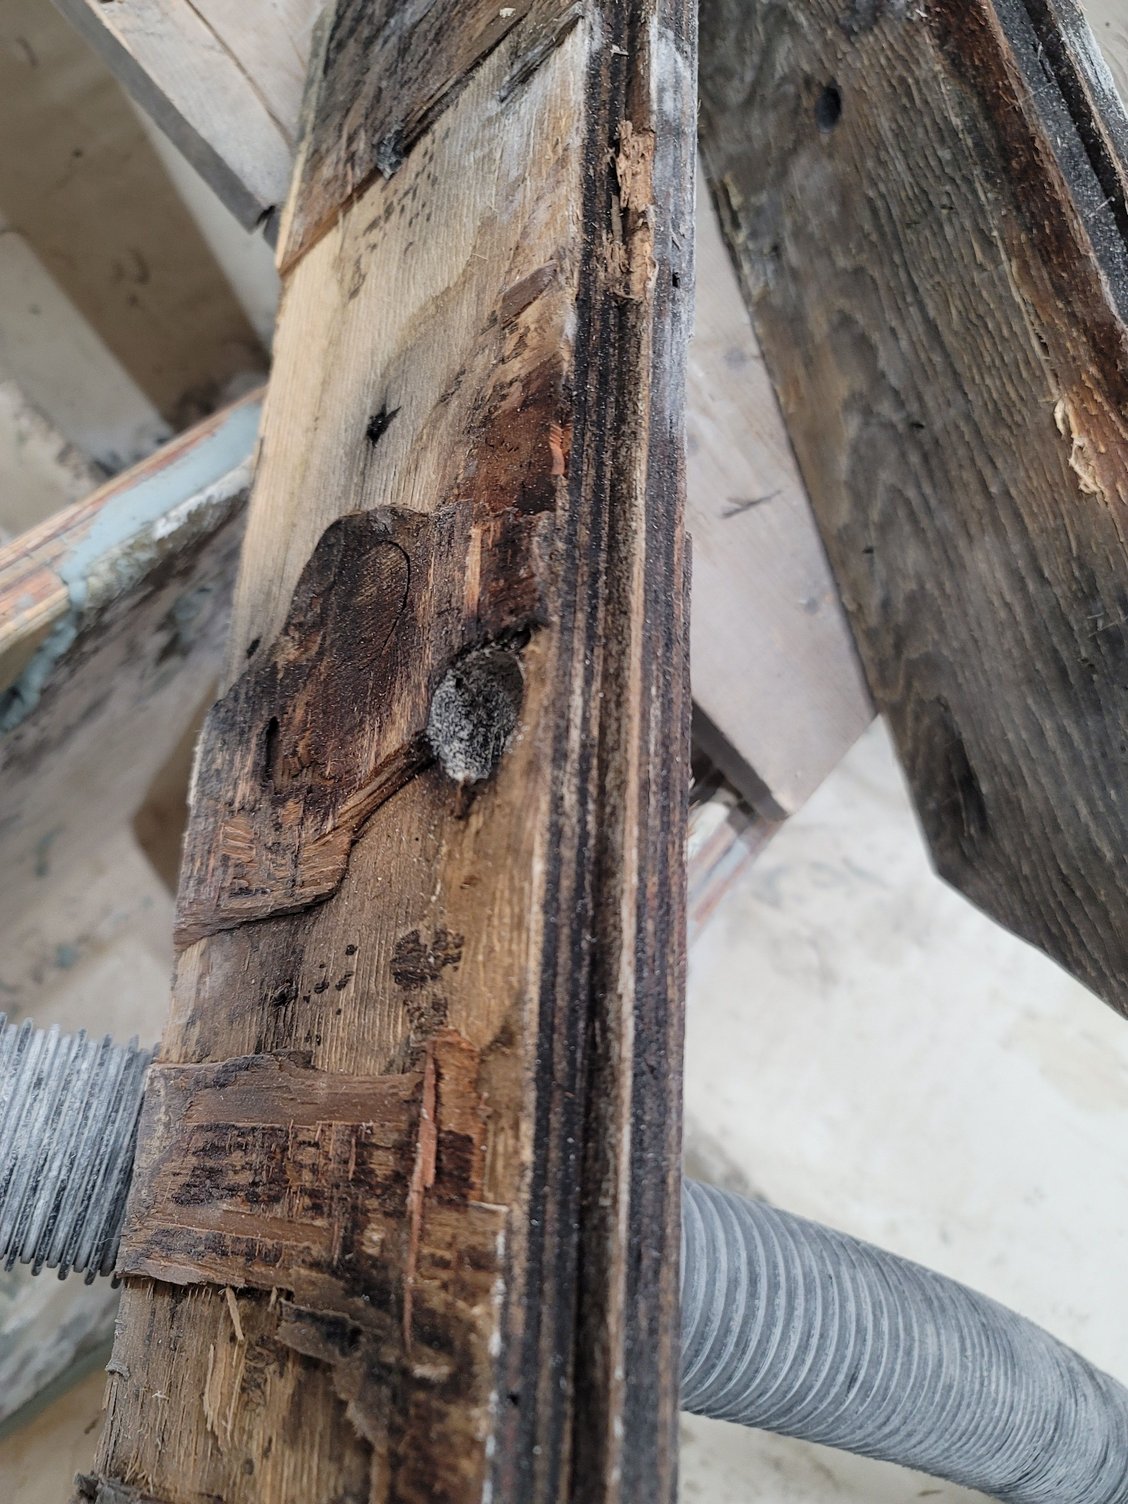
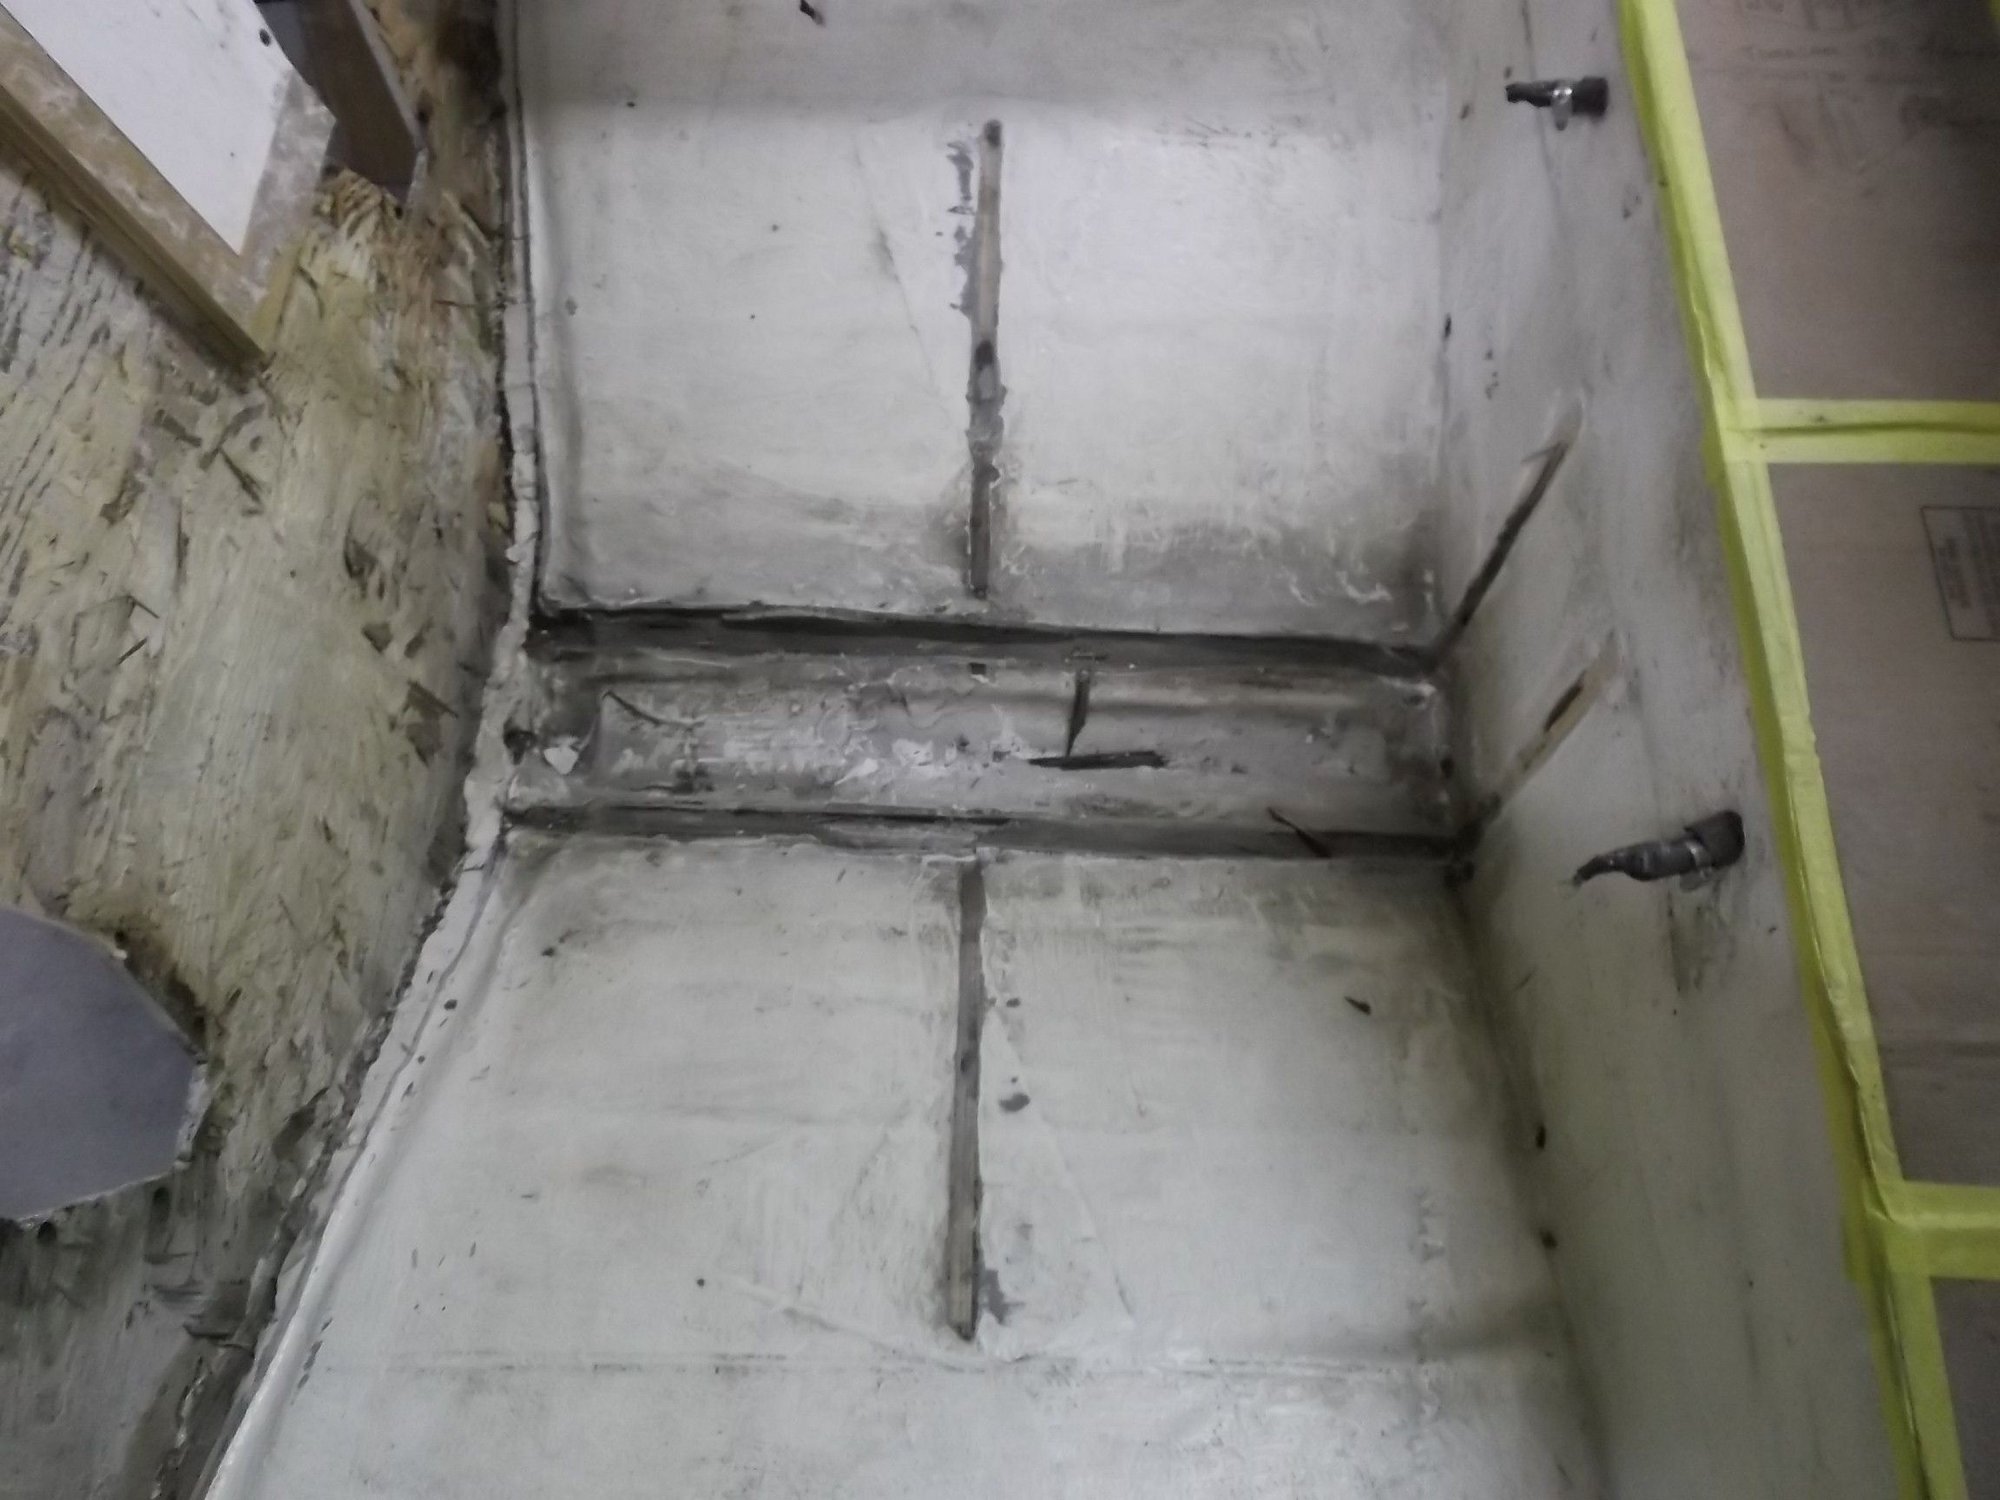
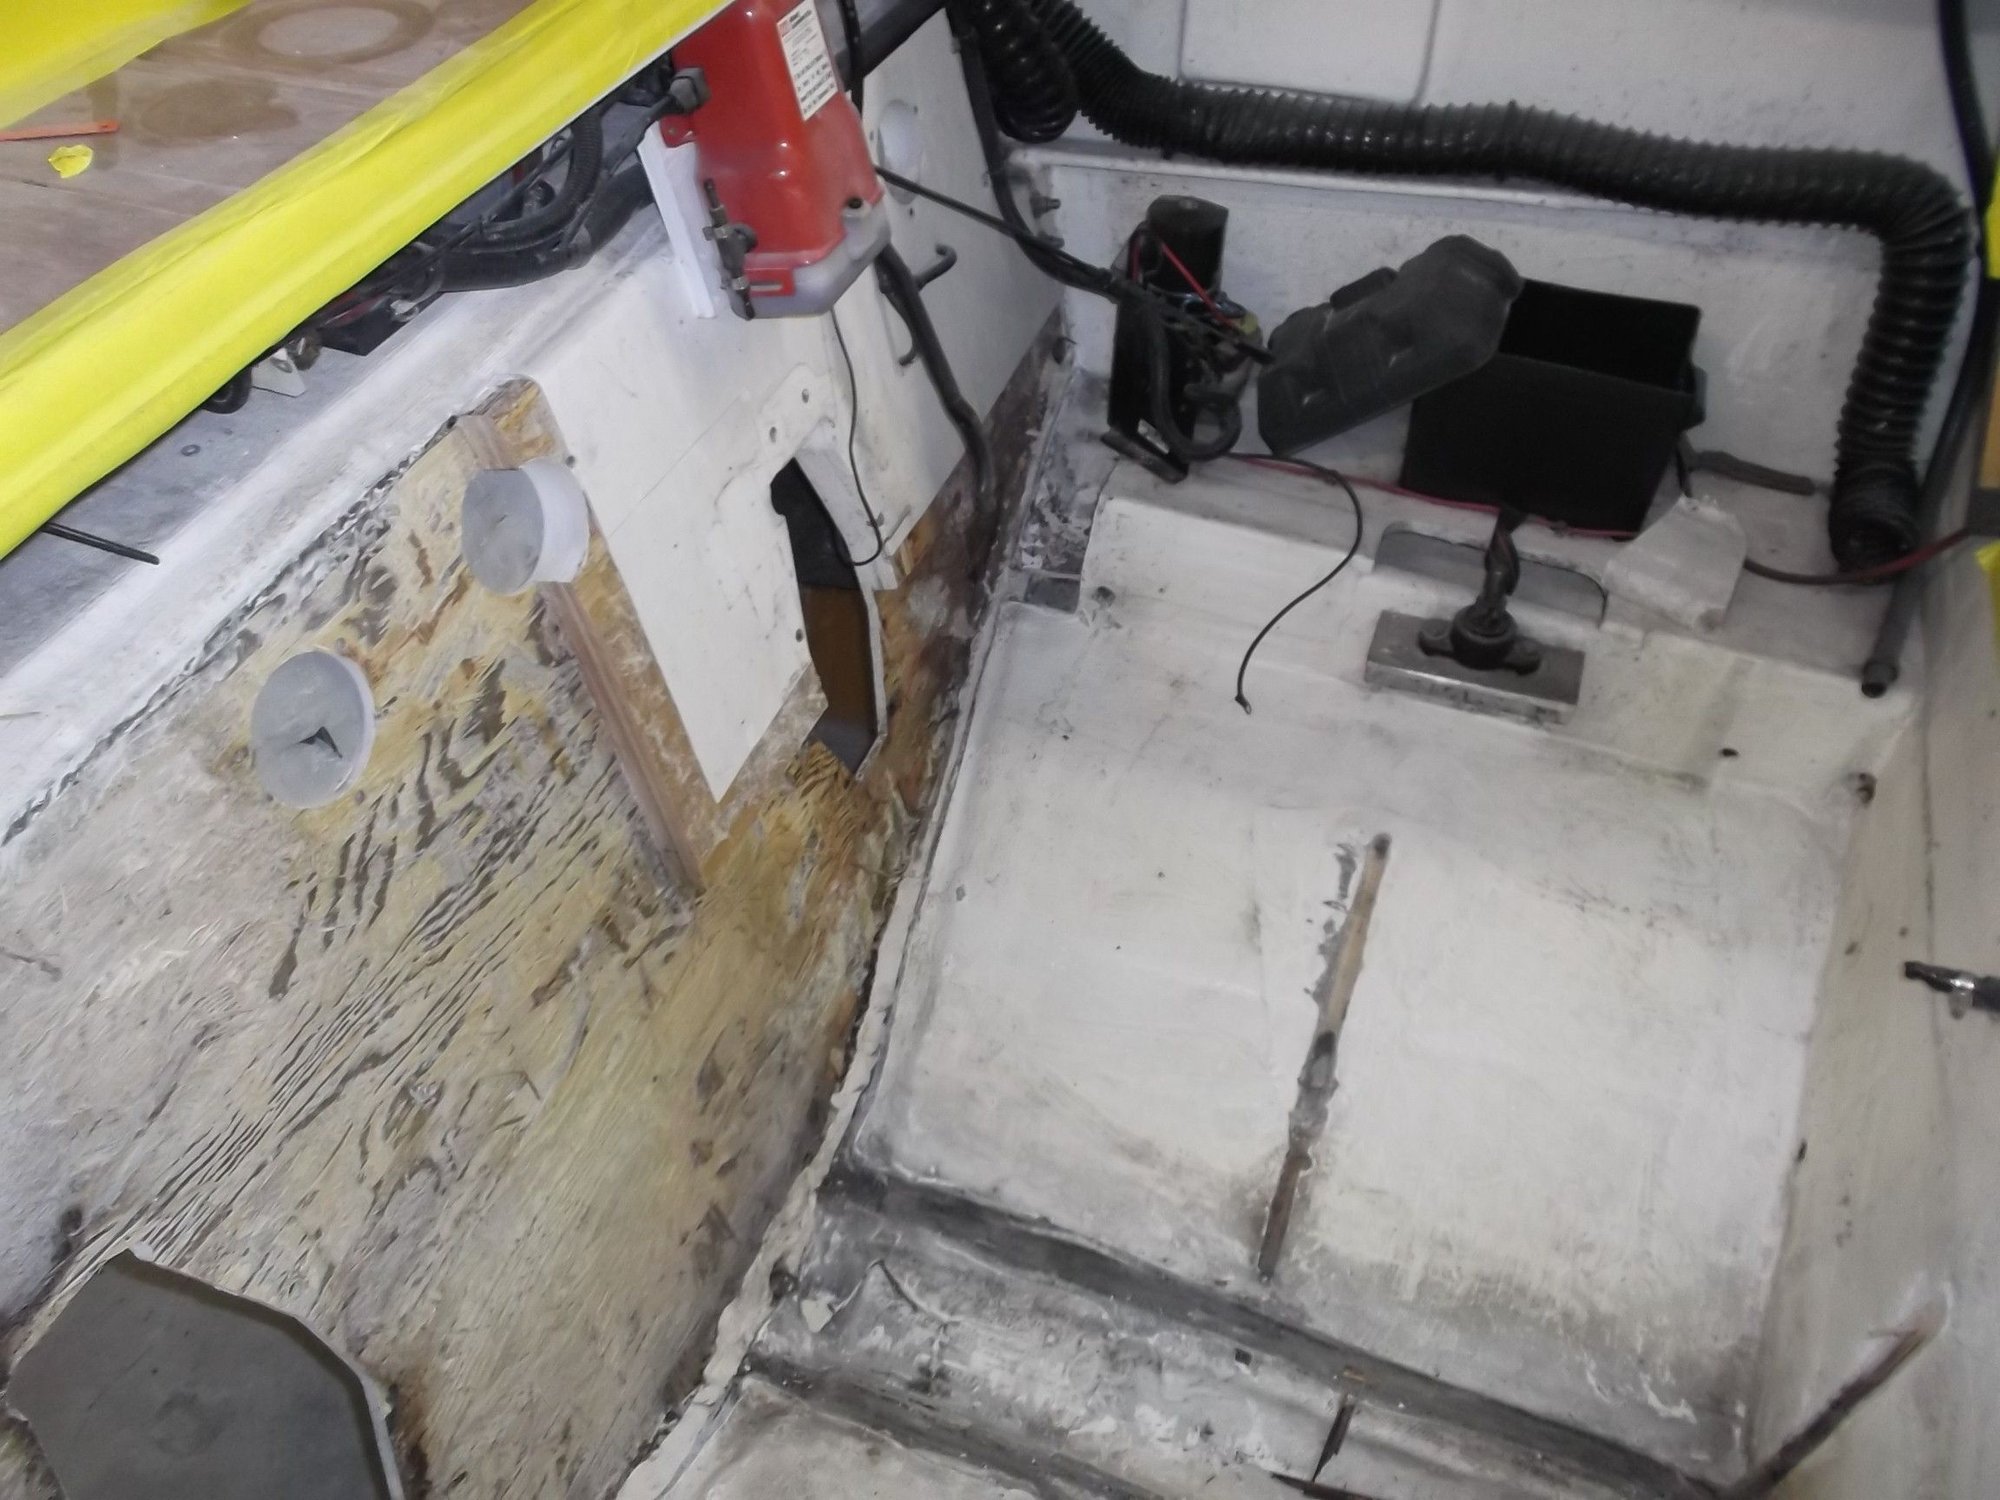
As I felt the end was near and I could wrap up the rebuilding part of this project phase, I came across some splitting in the exposed part of my outer stringers. I decided to drill into some areas and see how far the moisture has wicked up through. It turns out that the rear portion of the stringers was the good part and that there was significant rot and mold up to the bulkhead,
I figured I might as well cut them out and rebuild them while the engines are out and I have the materials.
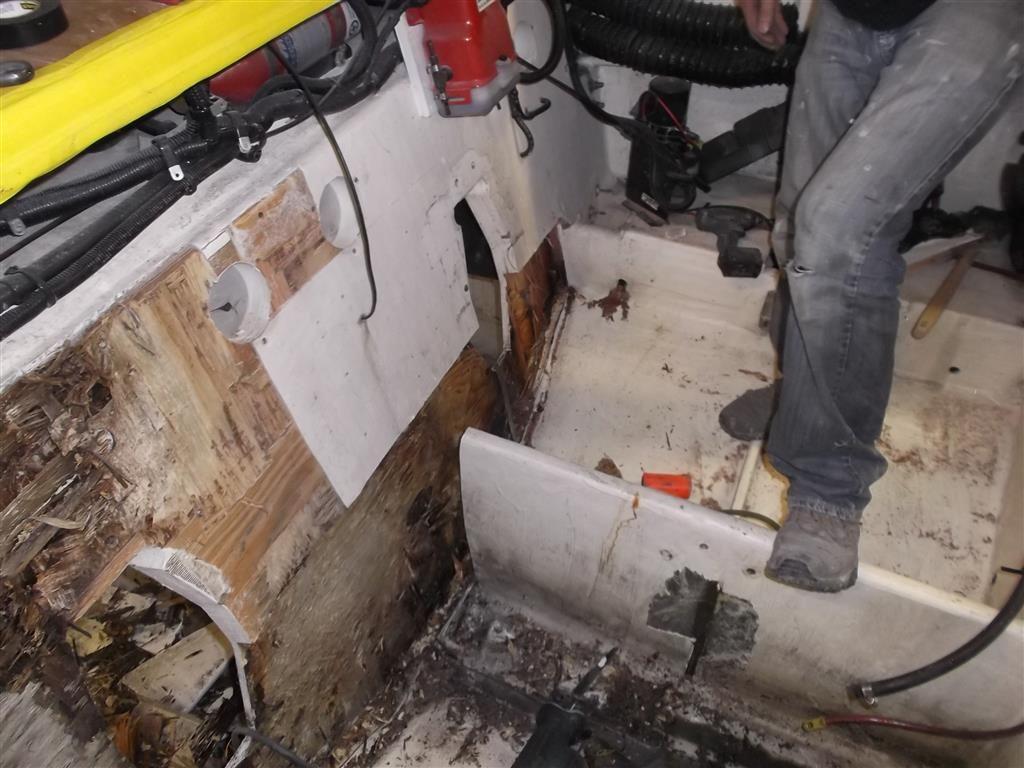
When I managed to get the stringers out, I noticed that the manufacturer didn't bevel the bottom of the stringers; they simply glued 2 pieces of 1/2" plywood together of different heights, sort of a staggered cut. In addition, the only part bedded to the hull was the rear of the stringer for about 3 inches.
Does this seem right to you? Why didn't they build these boats with encapsulated sections to avoid the moisture wicking through all the lumber? I can only assume it's a cost-based decision, and building it in sections would take too much time and money to pull off.

As you can see, there was no contact from the bottom of the stringer to the hull itself.
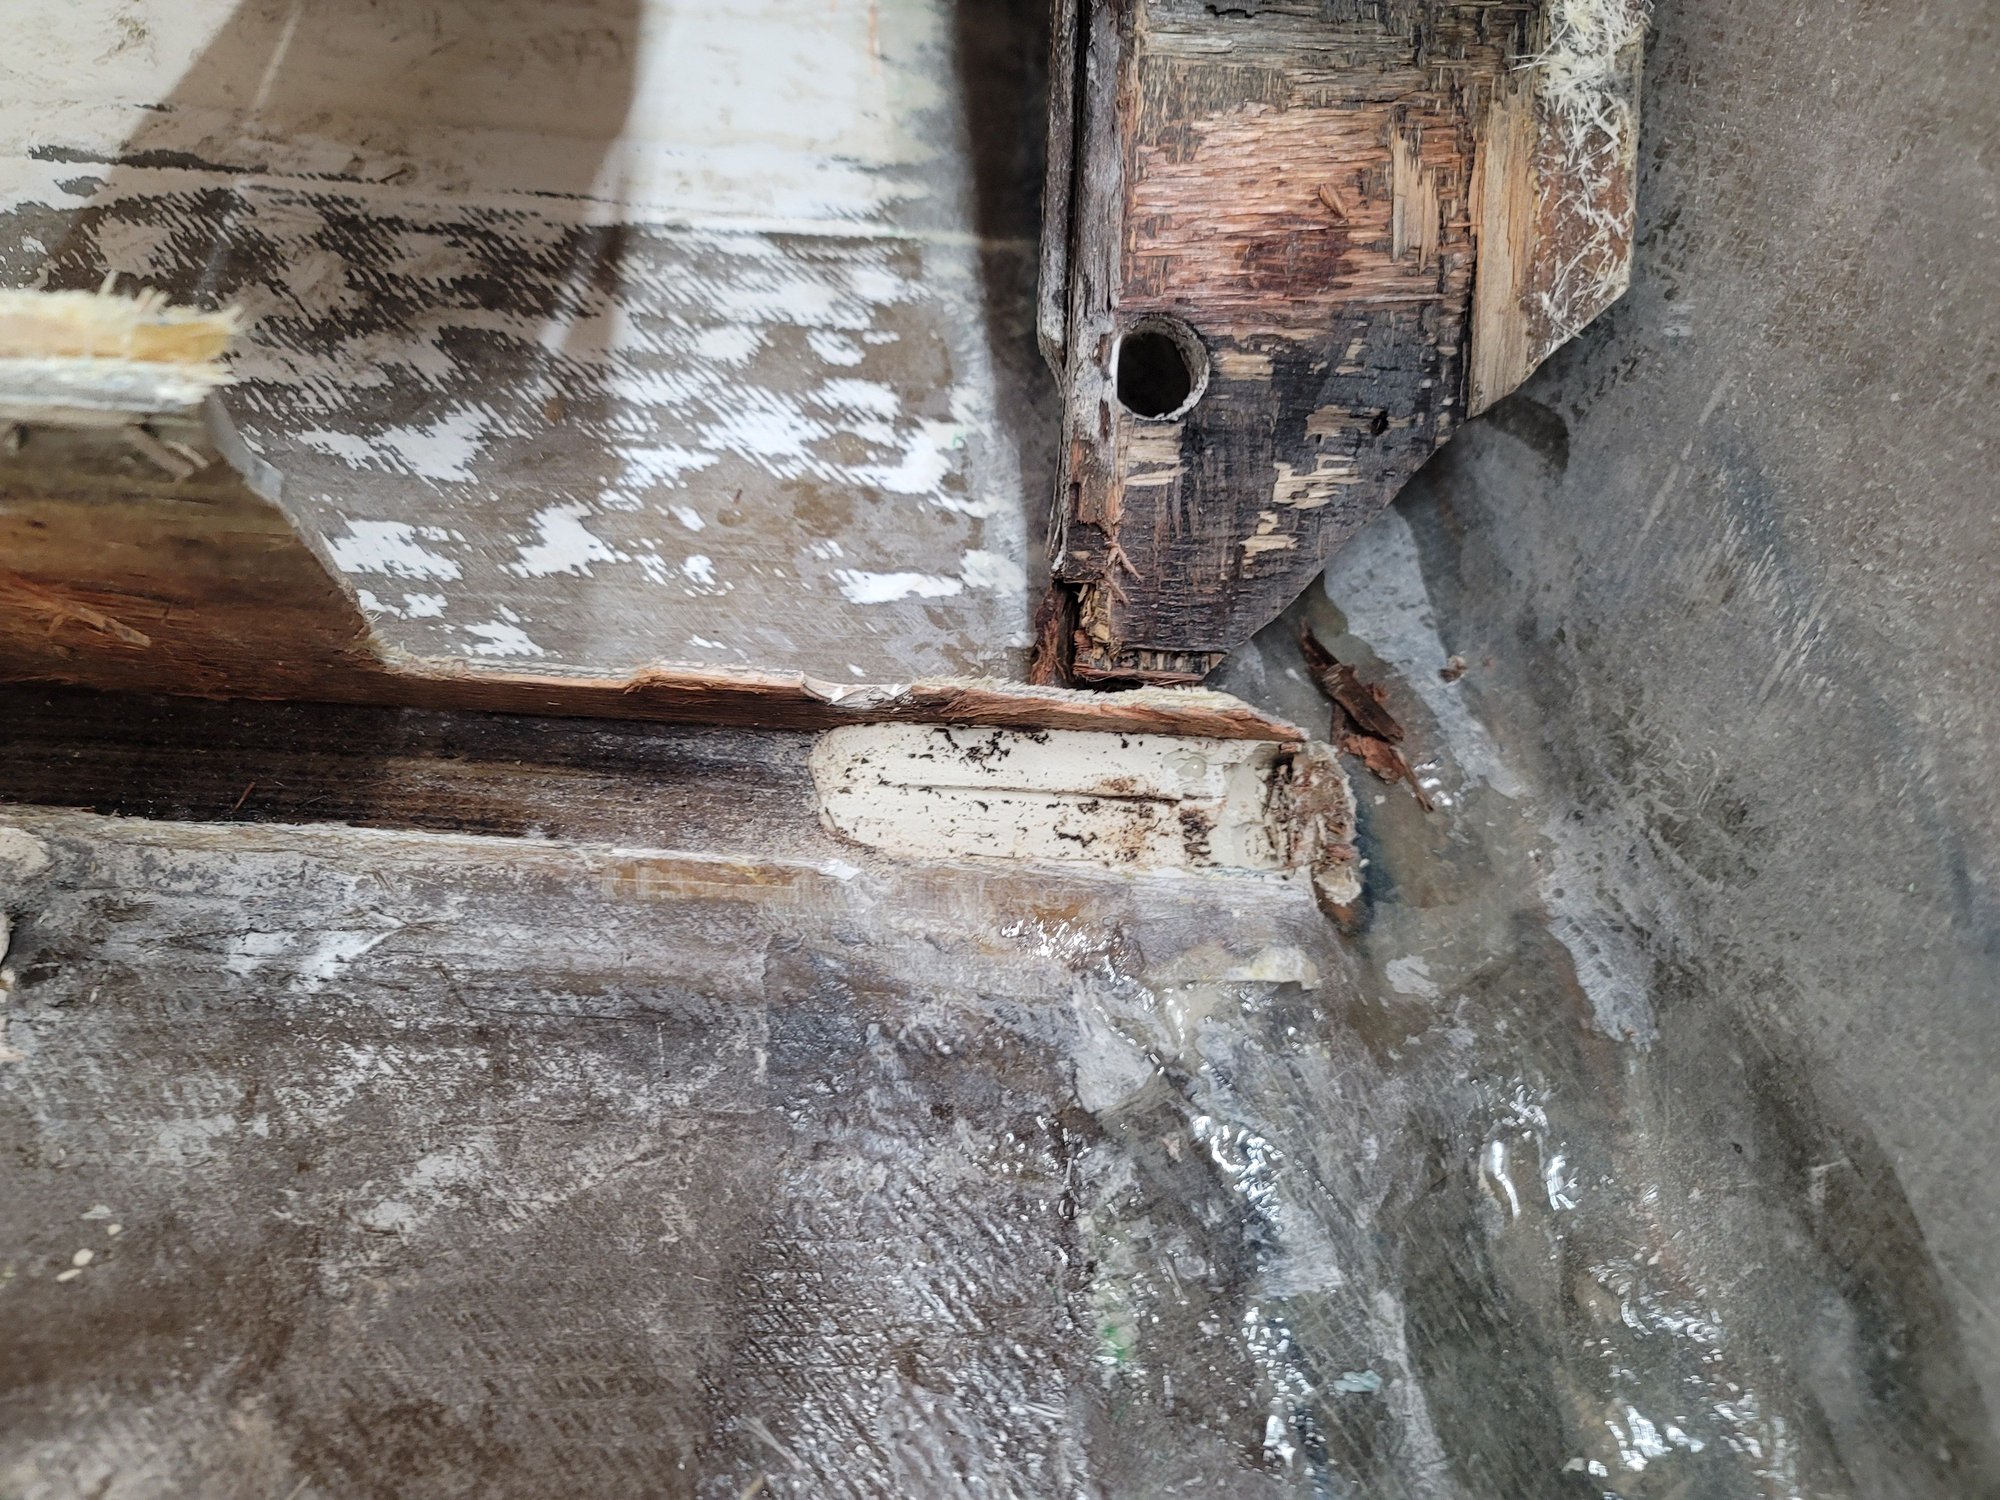
This was the only part of the stringer bedded to the hull.
"staggered cut"
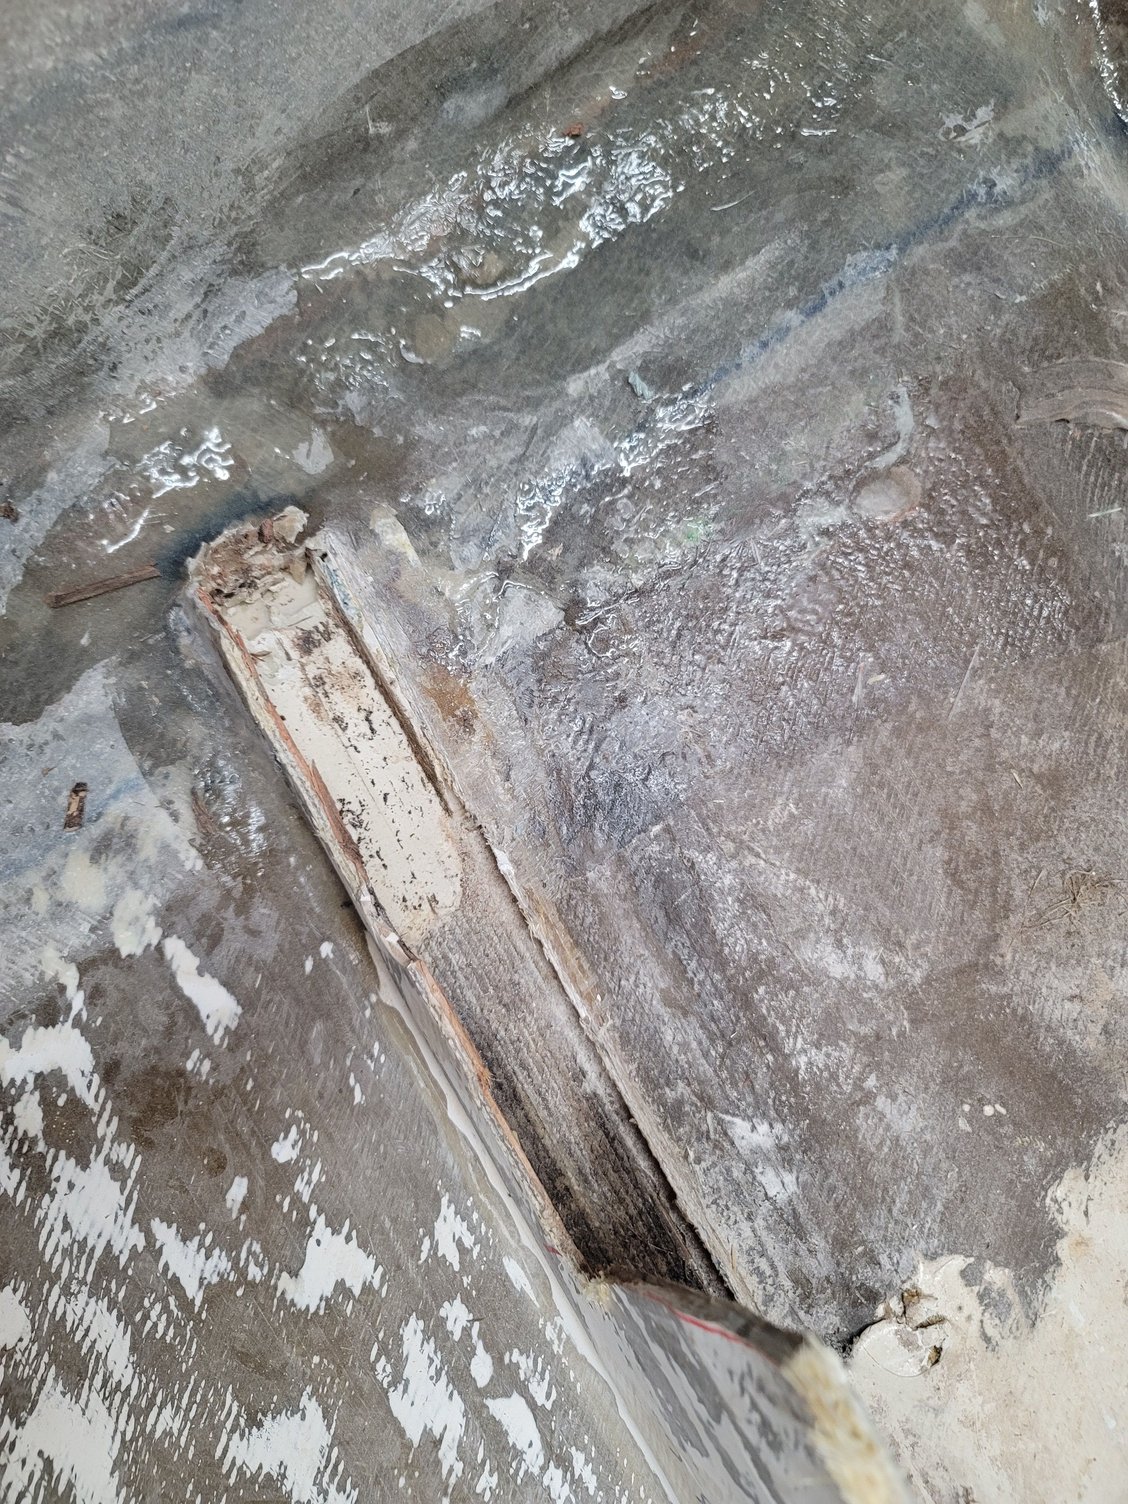
The only bedding of the stringer to the hull
I figured I might as well cut them out and rebuild them while the engines are out and I have the materials.
When I managed to get the stringers out, I noticed that the manufacturer didn't bevel the bottom of the stringers; they simply glued 2 pieces of 1/2" plywood together of different heights, sort of a staggered cut. In addition, the only part bedded to the hull was the rear of the stringer for about 3 inches.
Does this seem right to you? Why didn't they build these boats with encapsulated sections to avoid the moisture wicking through all the lumber? I can only assume it's a cost-based decision, and building it in sections would take too much time and money to pull off.
As you can see, there was no contact from the bottom of the stringer to the hull itself.
This was the only part of the stringer bedded to the hull.
"staggered cut"
The only bedding of the stringer to the hull
04-07-2023 | 11:39 AM
#15
Registered
Joined: Jan 2022
Posts: 714
Likes: 209
From: West Michigan
They gutted my 290 at the time. Sometime between my 1995 and 1999 they switched over to a single stringer in the middle. Cost cutting is what I was told. I don't know if this is too late for you or not, but Bowkers installed a flat panel between the two center stringers instead of down in between. This has been VERY nice while working to reinstall the engines. Nice surface to stand on. Just FYI.
04-07-2023 | 04:24 PM
#16
Thread Starter
Registered
Joined: Jul 2018
Posts: 36
Likes: 17
From: Evansville, Indiana
They gutted my 290 at the time. Sometime between my 1995 and 1999 they switched over to a single stringer in the middle. Cost cutting is what I was told. I don't know if this is too late for you or not, but Bowkers installed a flat panel between the two center stringers instead of down in between. This has been VERY nice while working to reinstall the engines. Nice surface to stand on. Just FYI.
can you post a pic of your outer stringers as well when they did those? A before & after if you have it
 05-01-2023 | 02:41 PM
#19
Thread Starter
Registered
Joined: Jul 2018
Posts: 36
Likes: 17
From: Evansville, Indiana
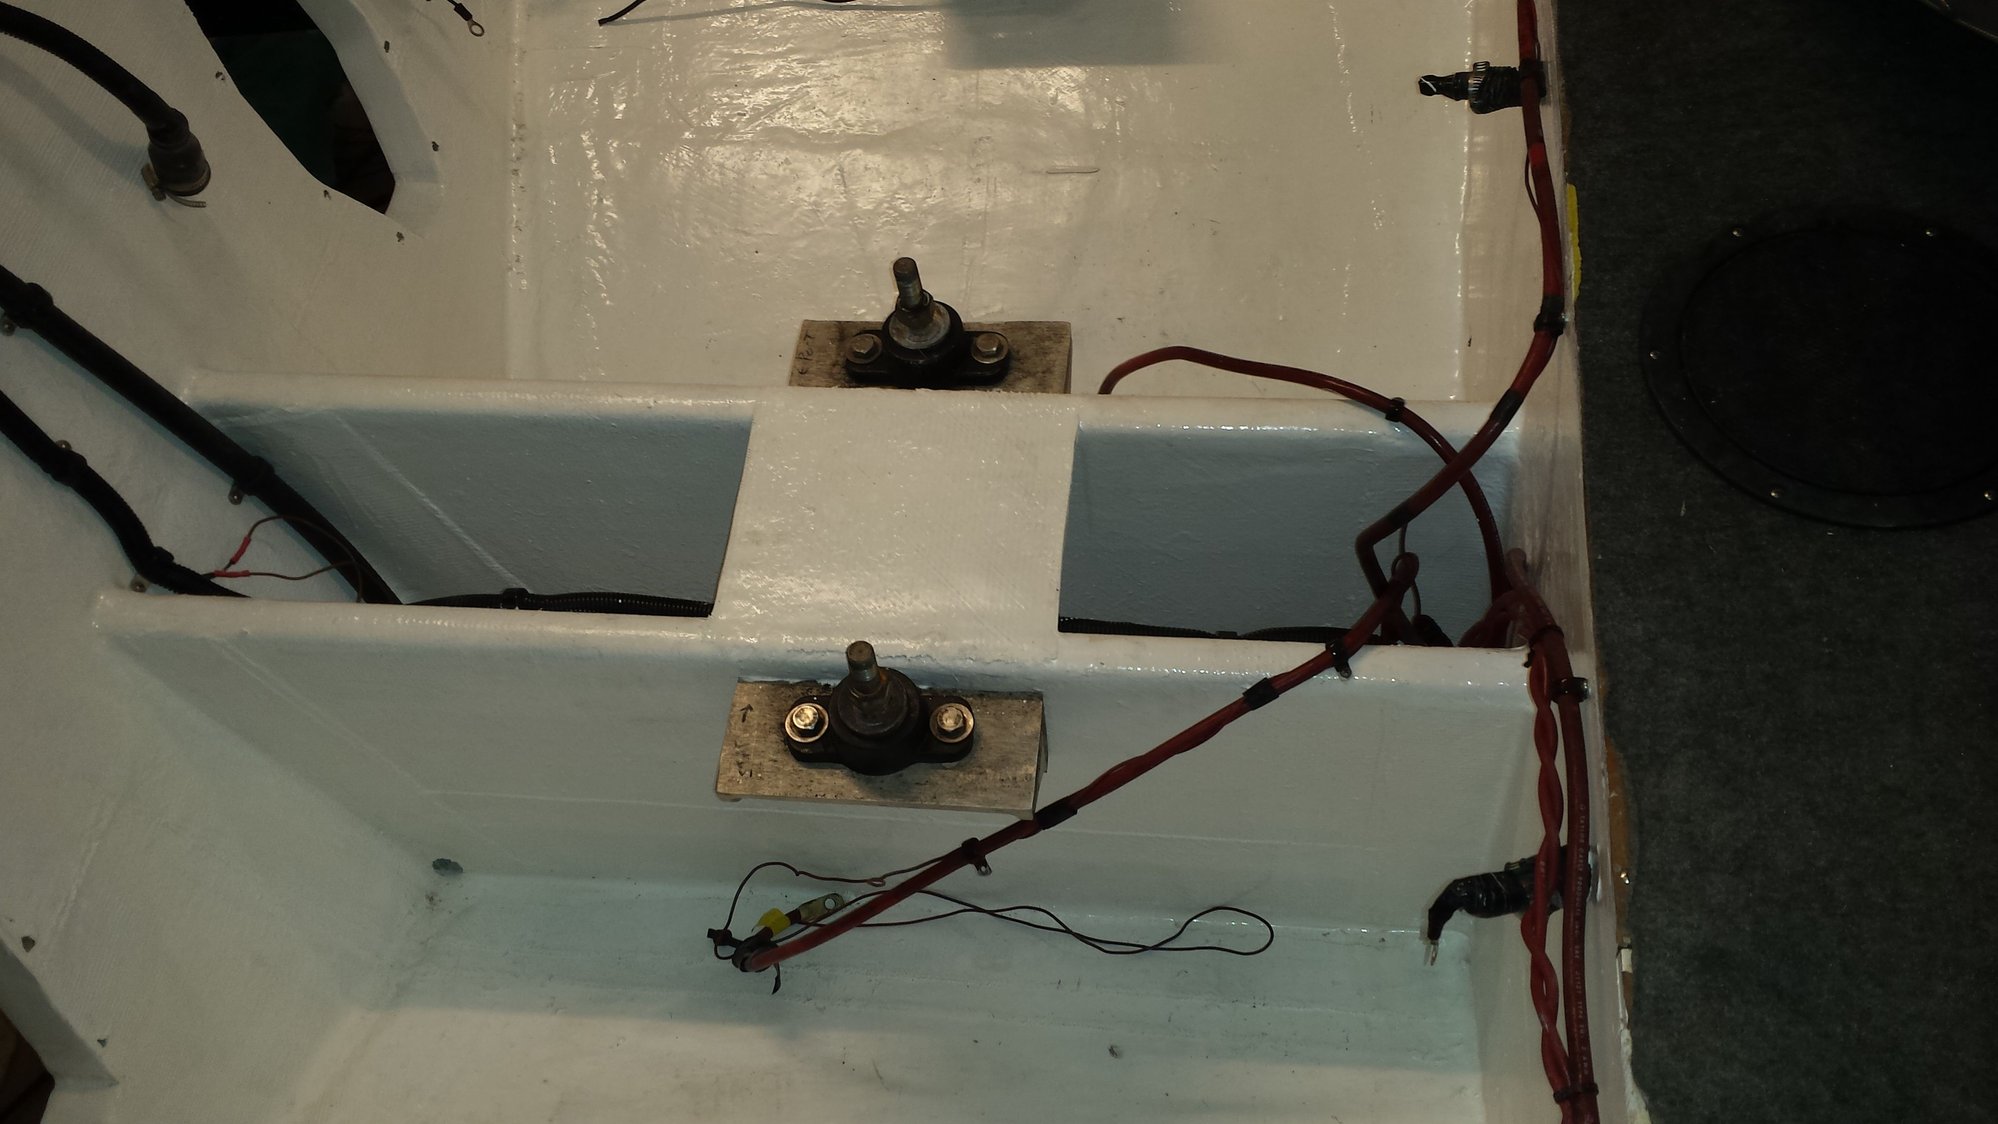
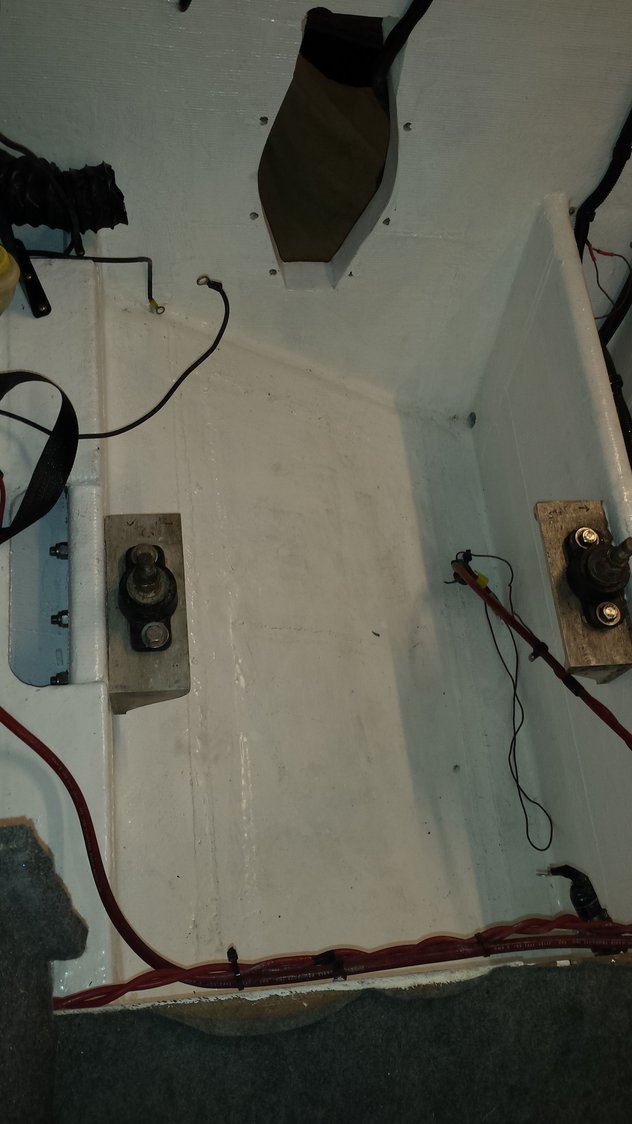
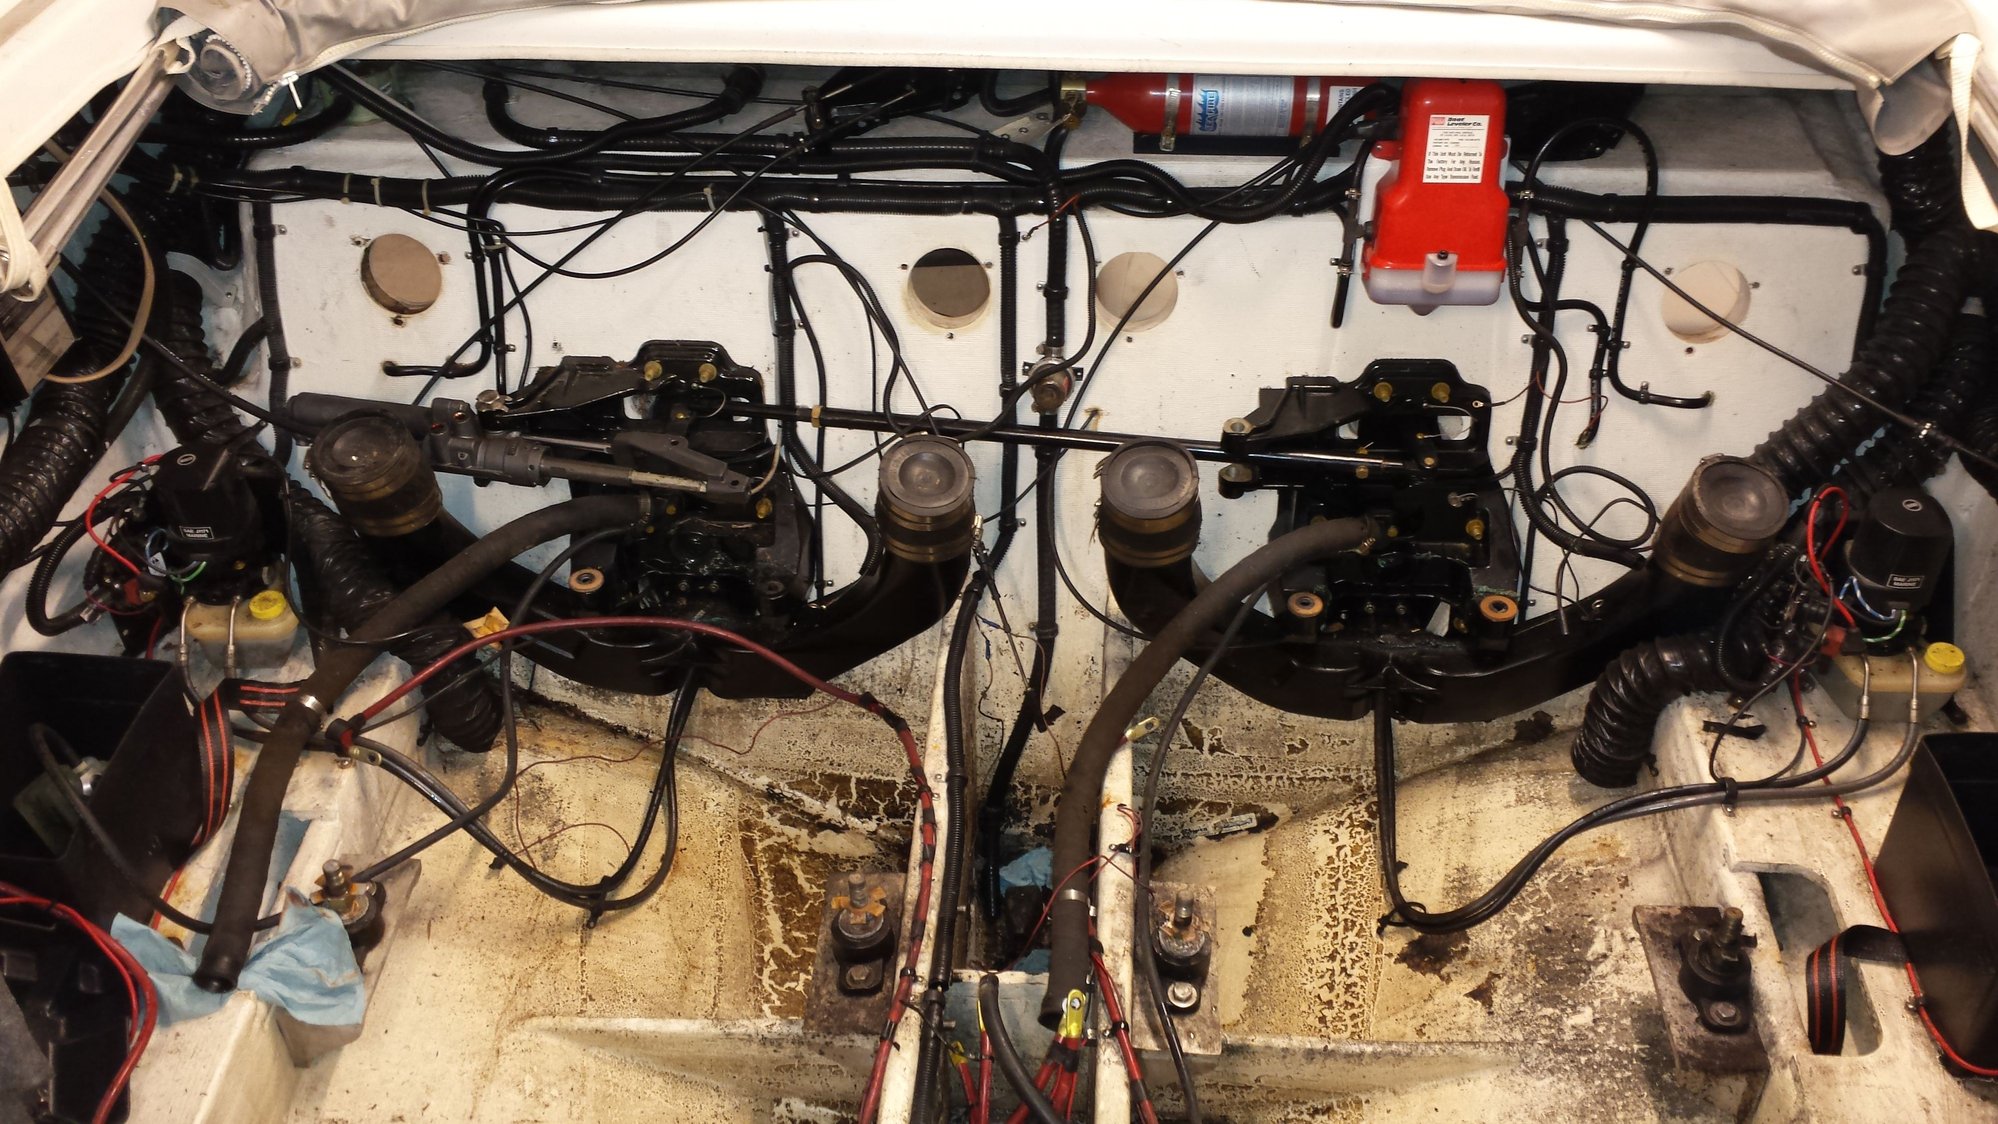
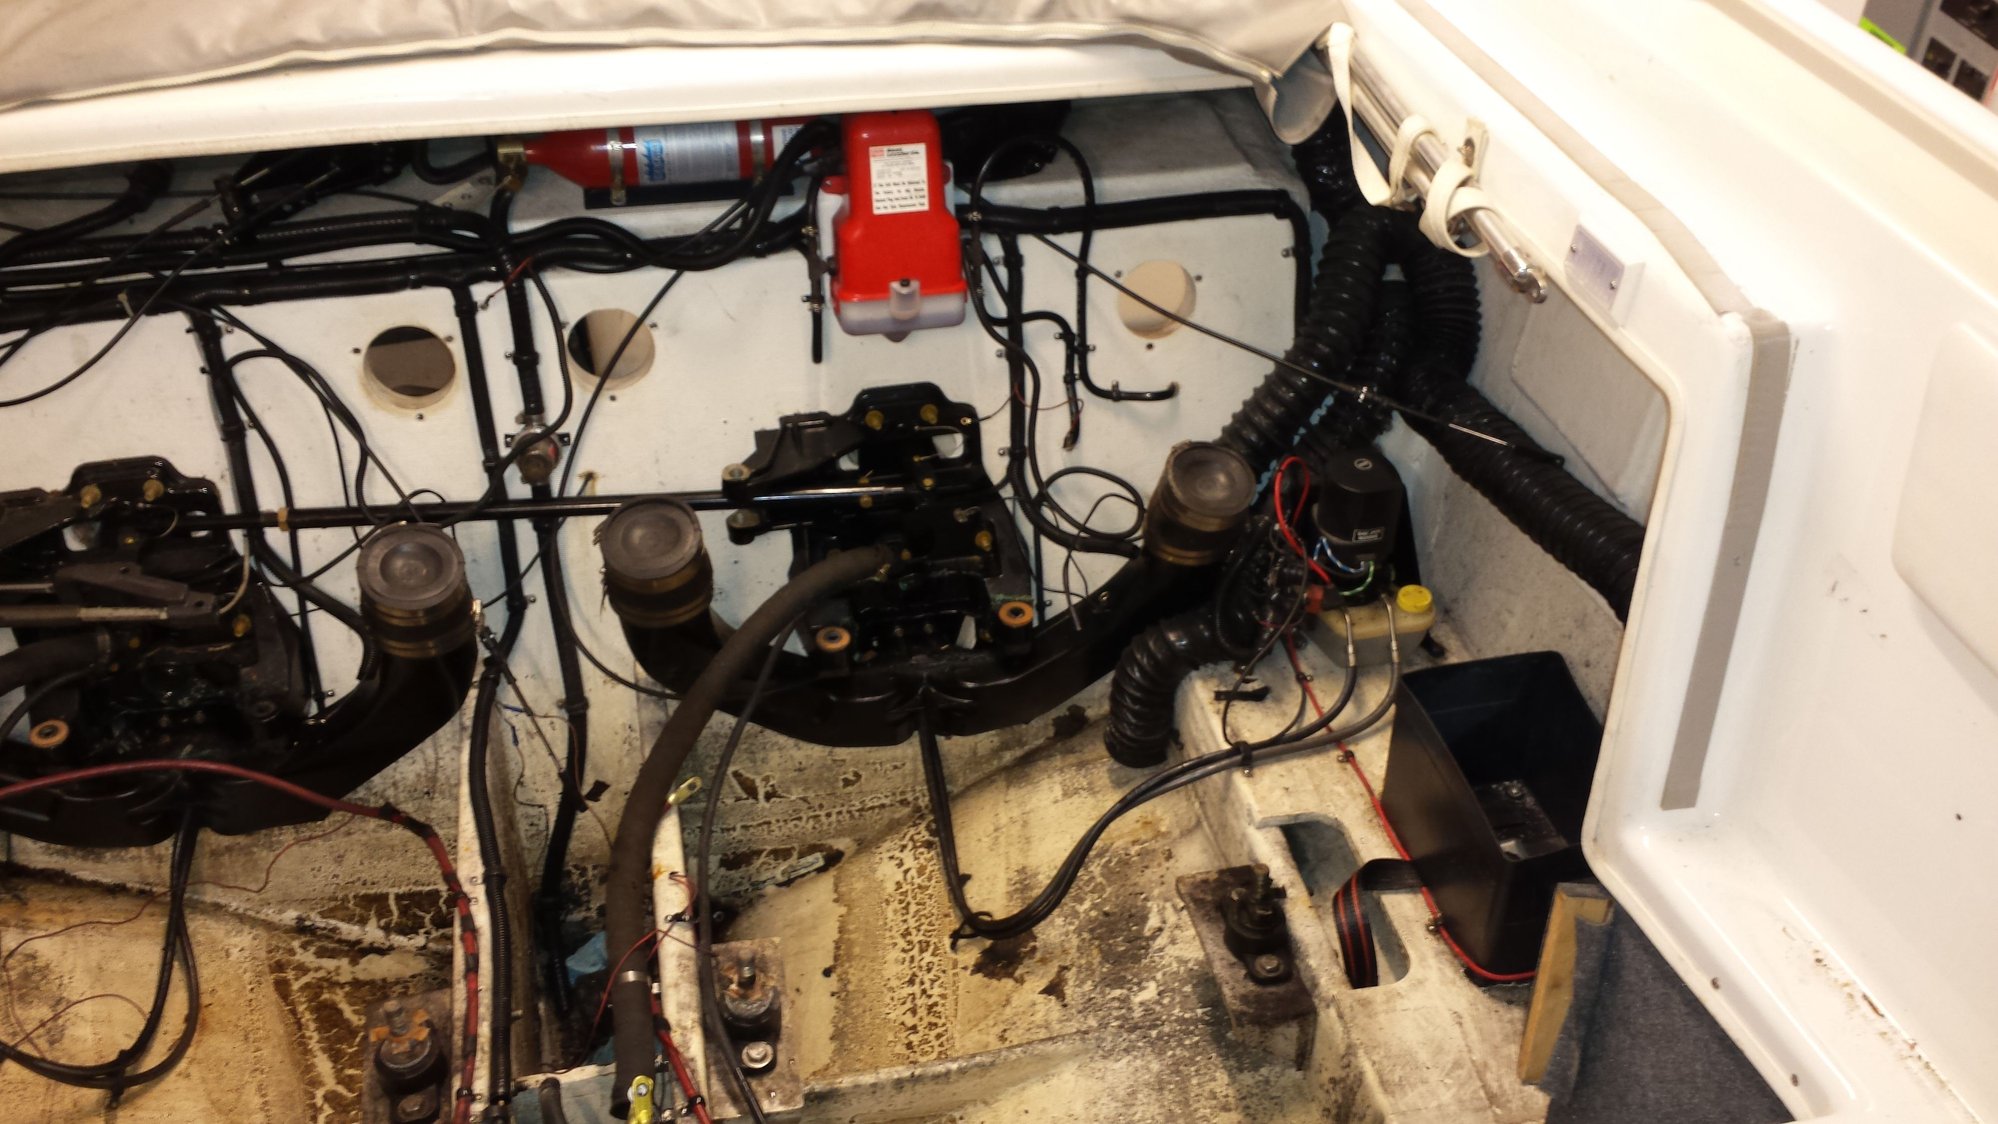
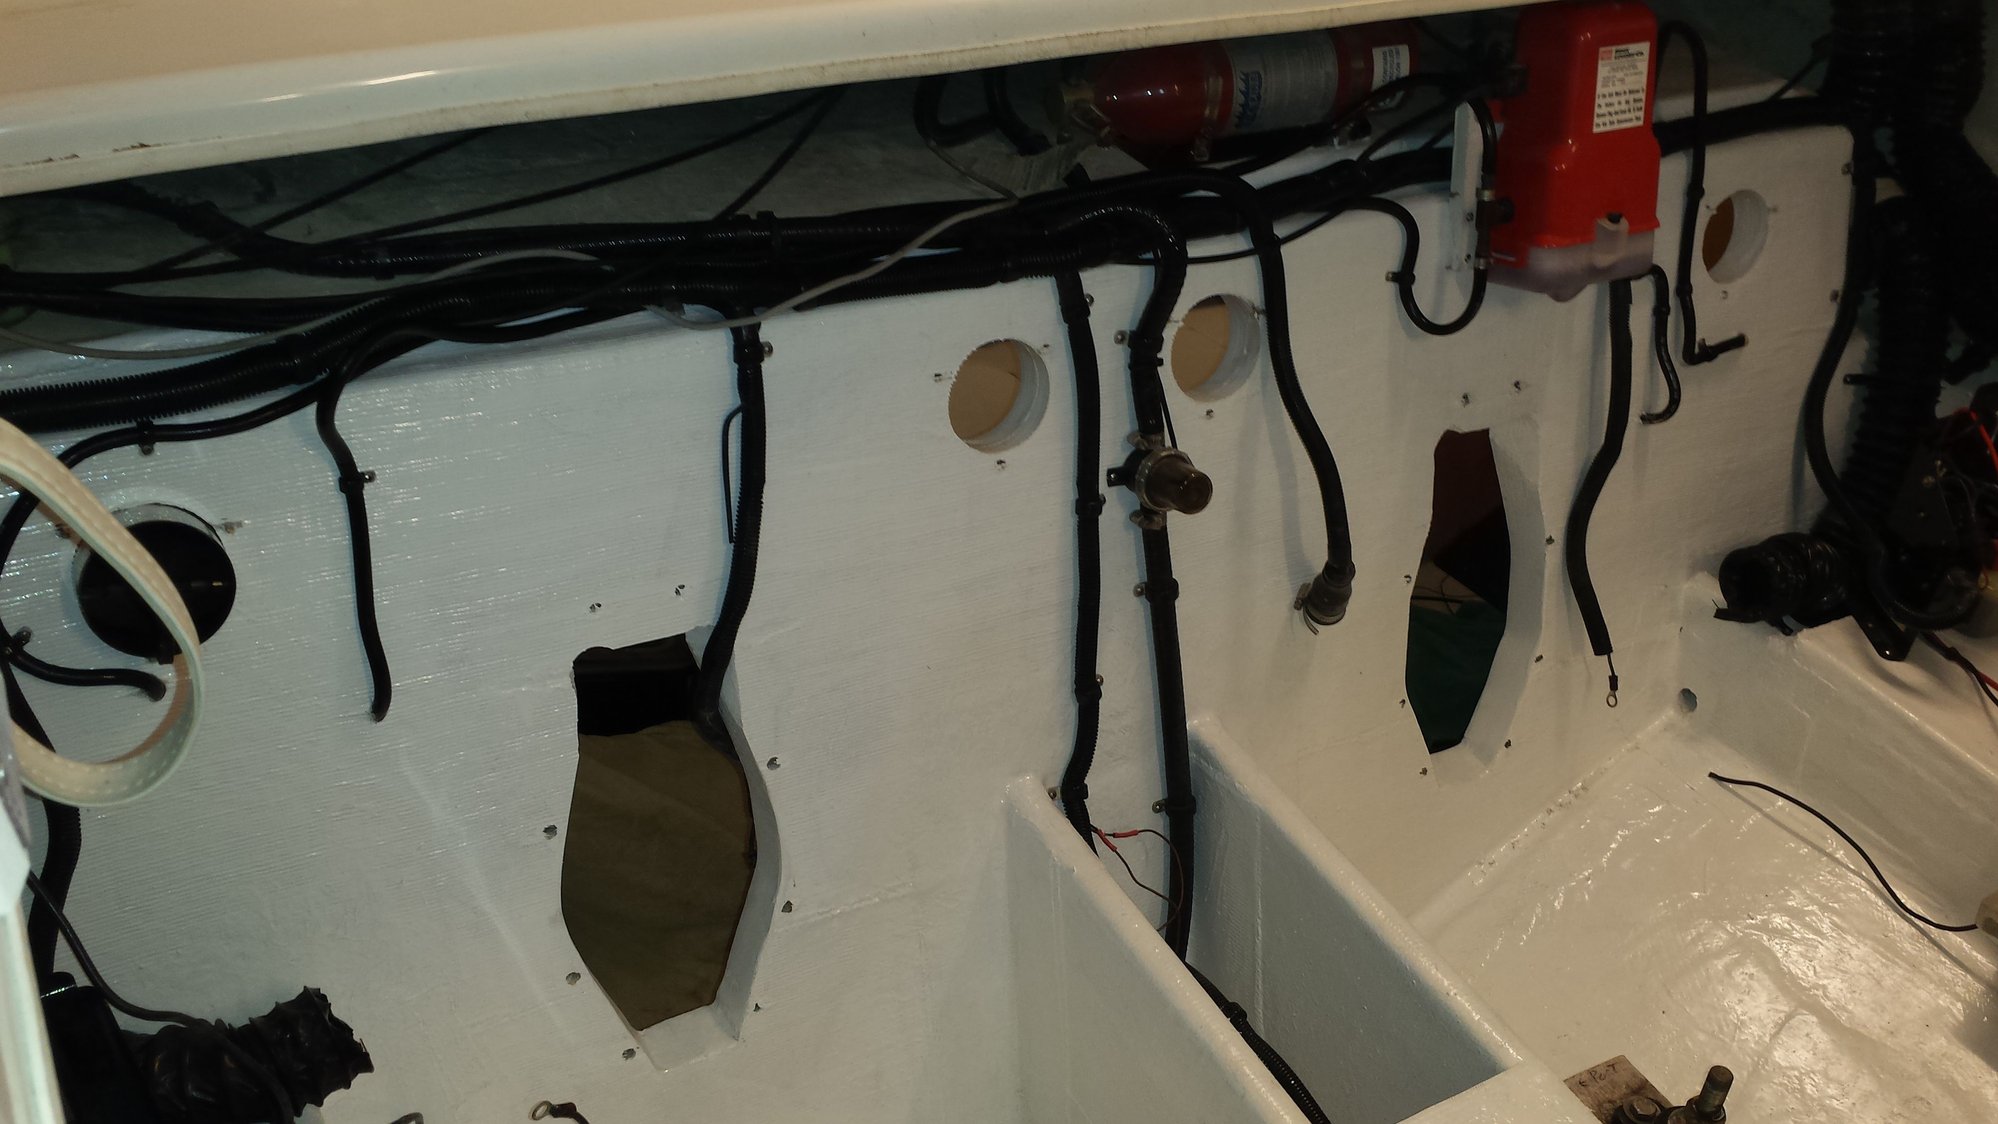
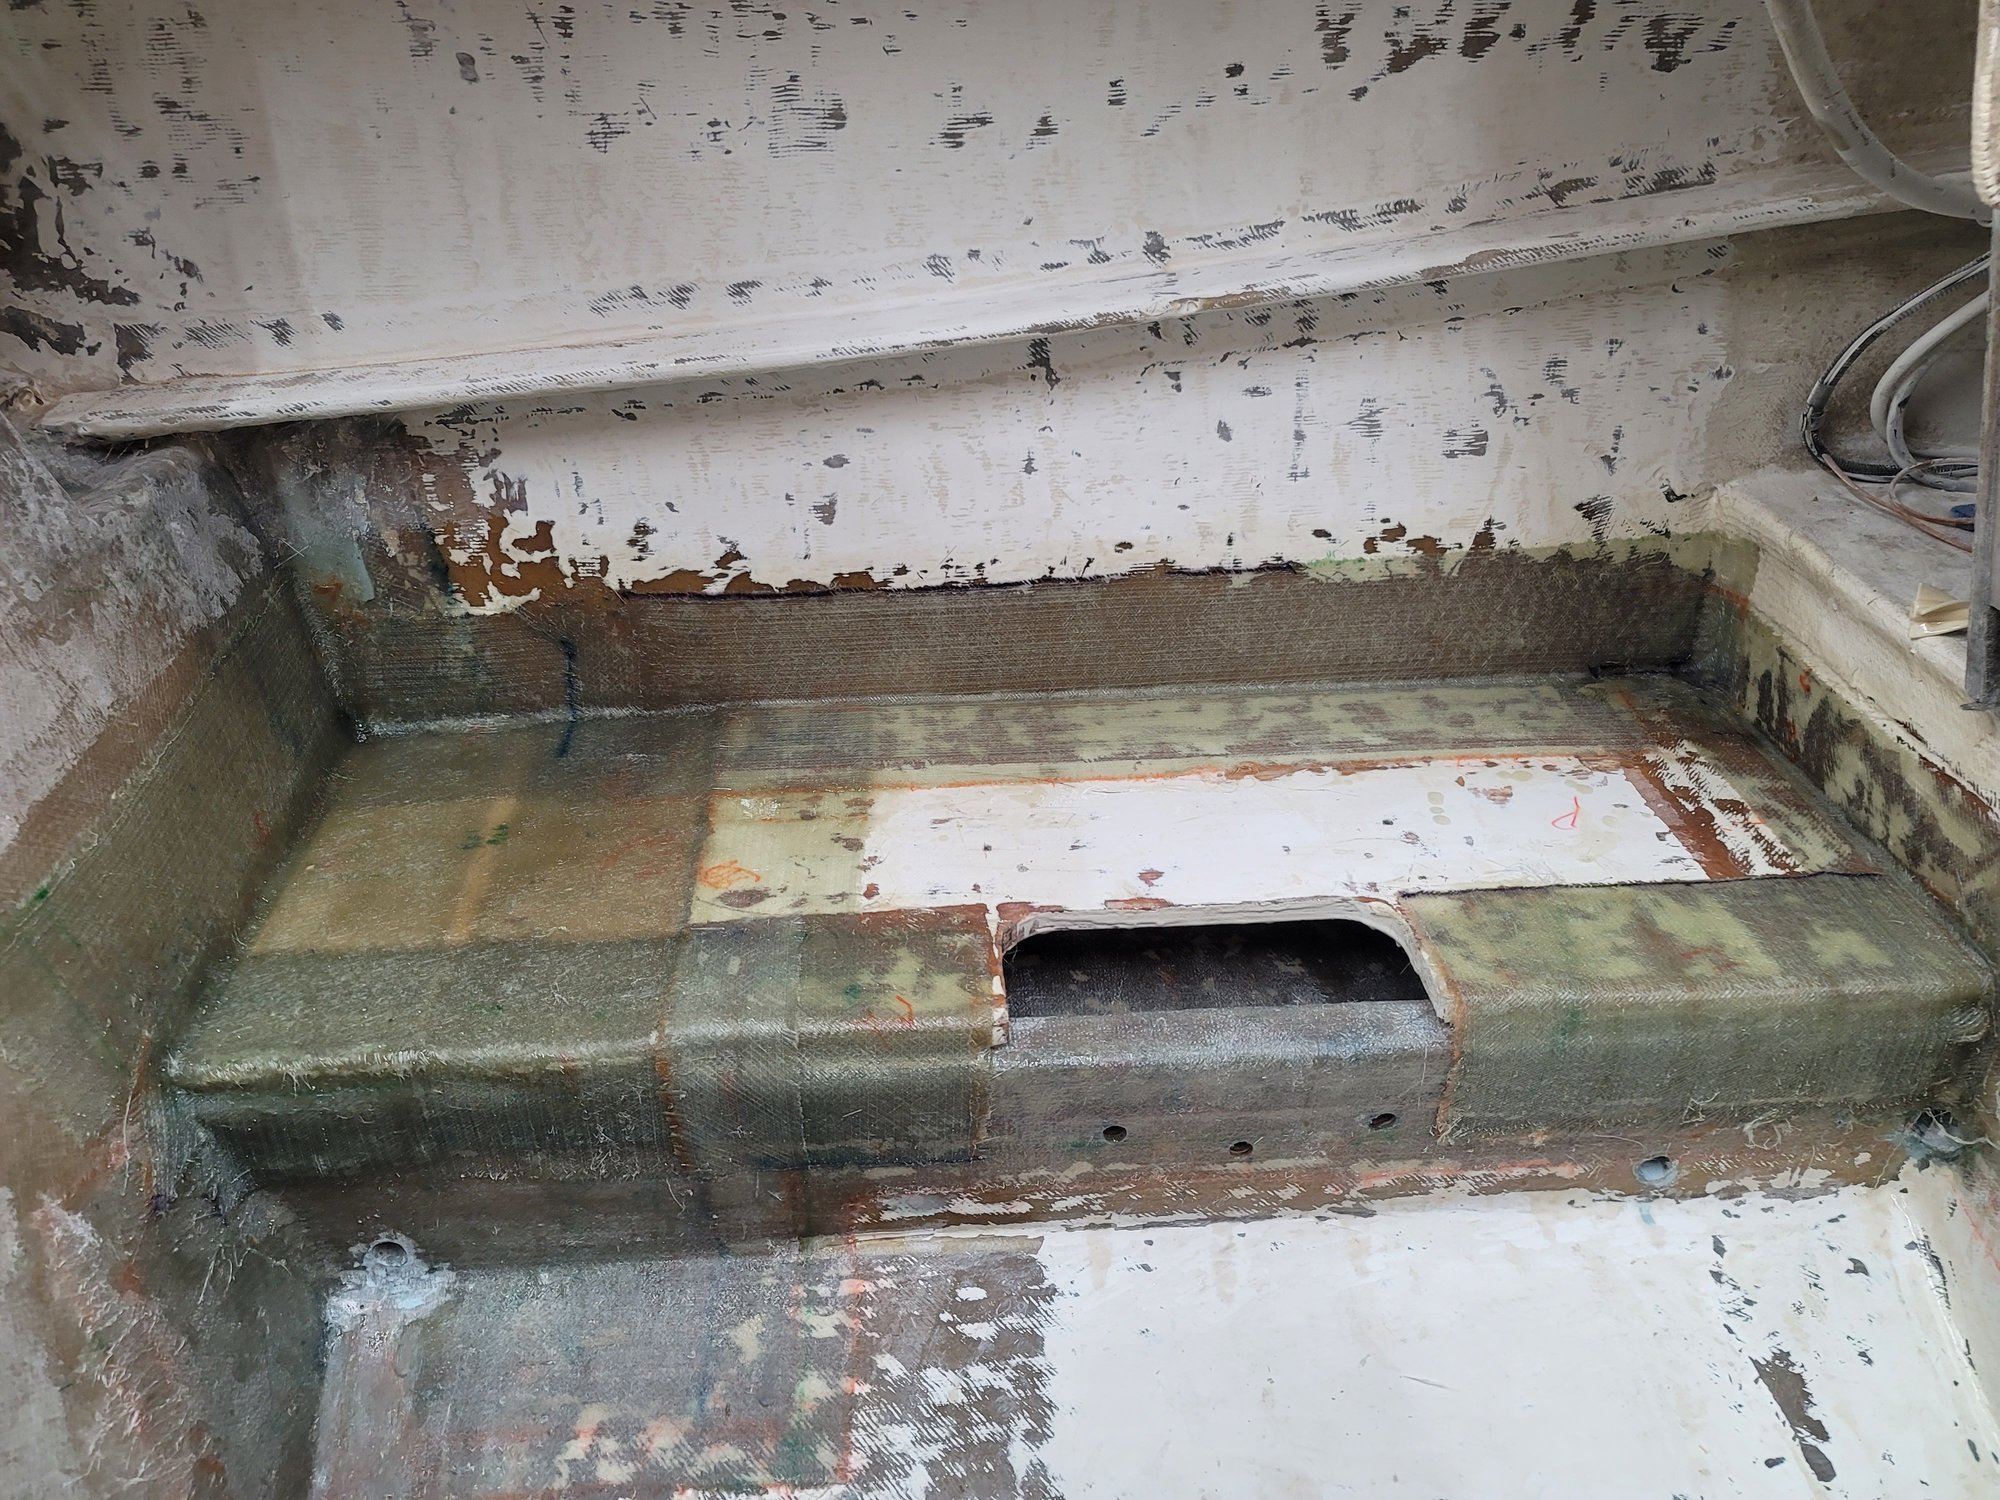
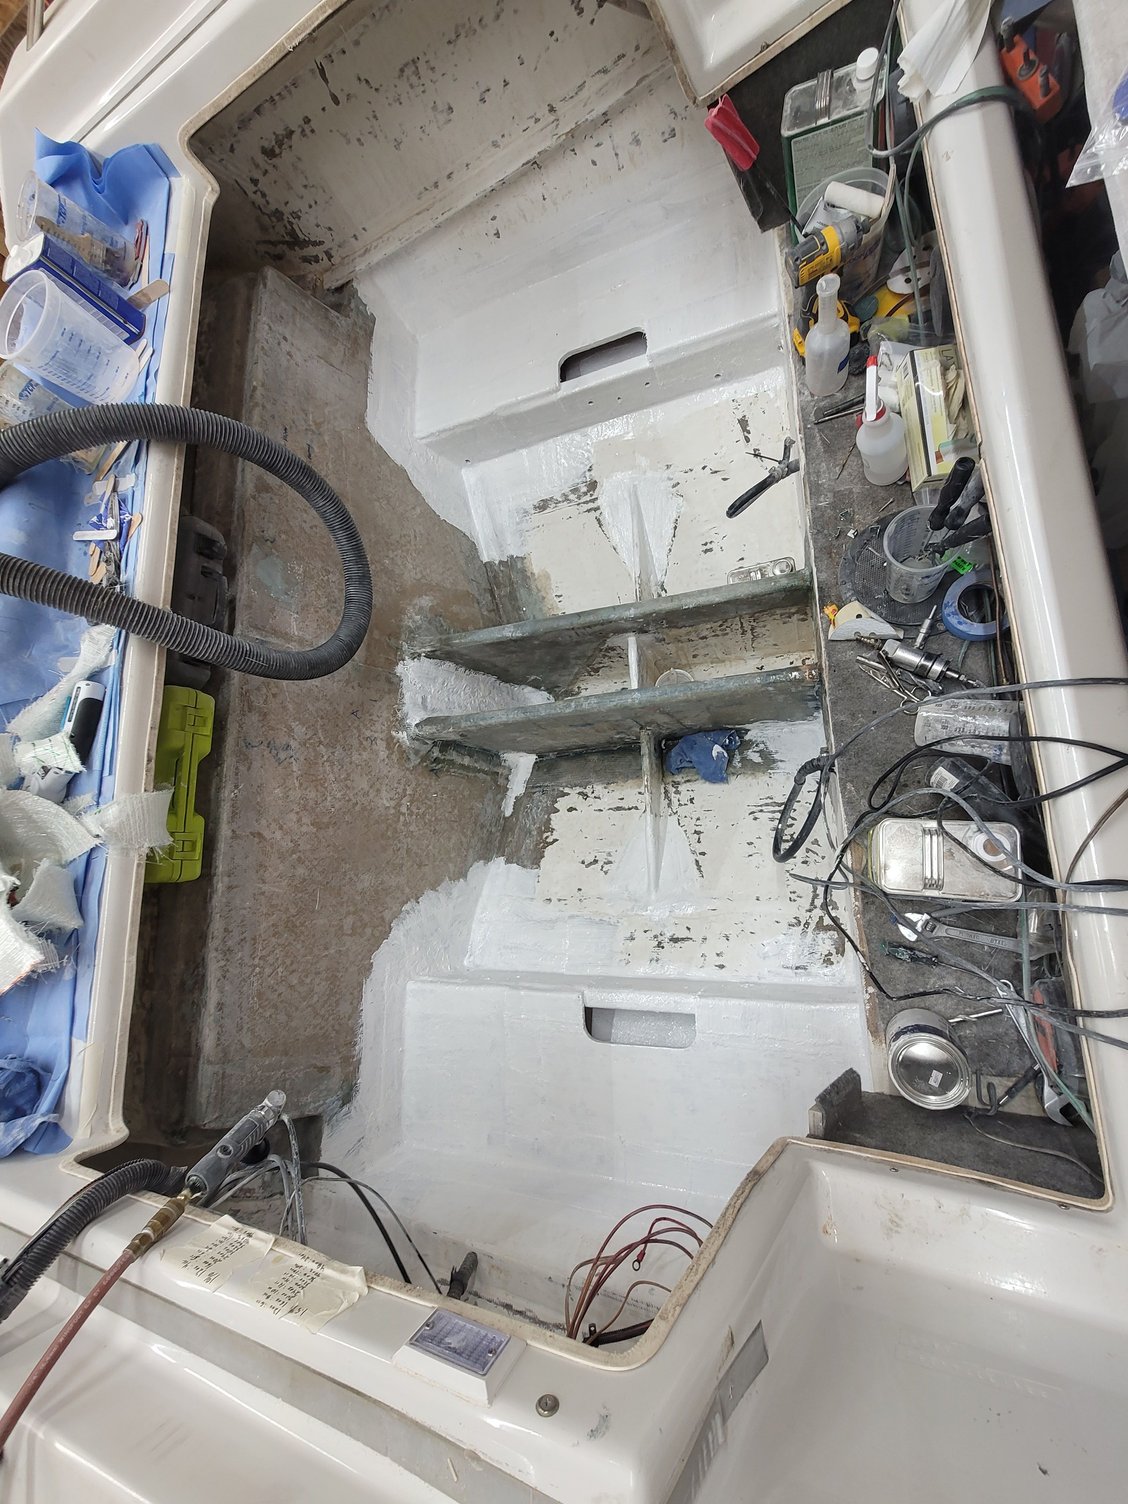
New outer stringers are in, plywood tops are in, tabbed, glassed, and a base coat of gel coat to cure it all as well as fill in low spots and print through.
Also, drilled the motor mount holes and drain holes, sealed with resin, then gelcoat

Also, drilled the motor mount holes and drain holes, sealed with resin, then gelcoat
05-02-2023 | 05:16 AM
#20
Registered
Joined: Jan 2022
Posts: 714
Likes: 209
From: West Michigan
Sorry for not seeing this earlier. I do believe that they replaced all or some of the starboard side but unfortunately I don' have any direct pics of it. What I have posted is all I have. Keep up the good work.

