

FantaSea 1999 DONZI 35ZF Refurb
 07-08-2020 | 02:20 PM
#11
Thread Starter
Registered

Joined: Feb 2011
Posts: 375
Likes: 124
From: North Liberty, IA
More deconstruction pics:
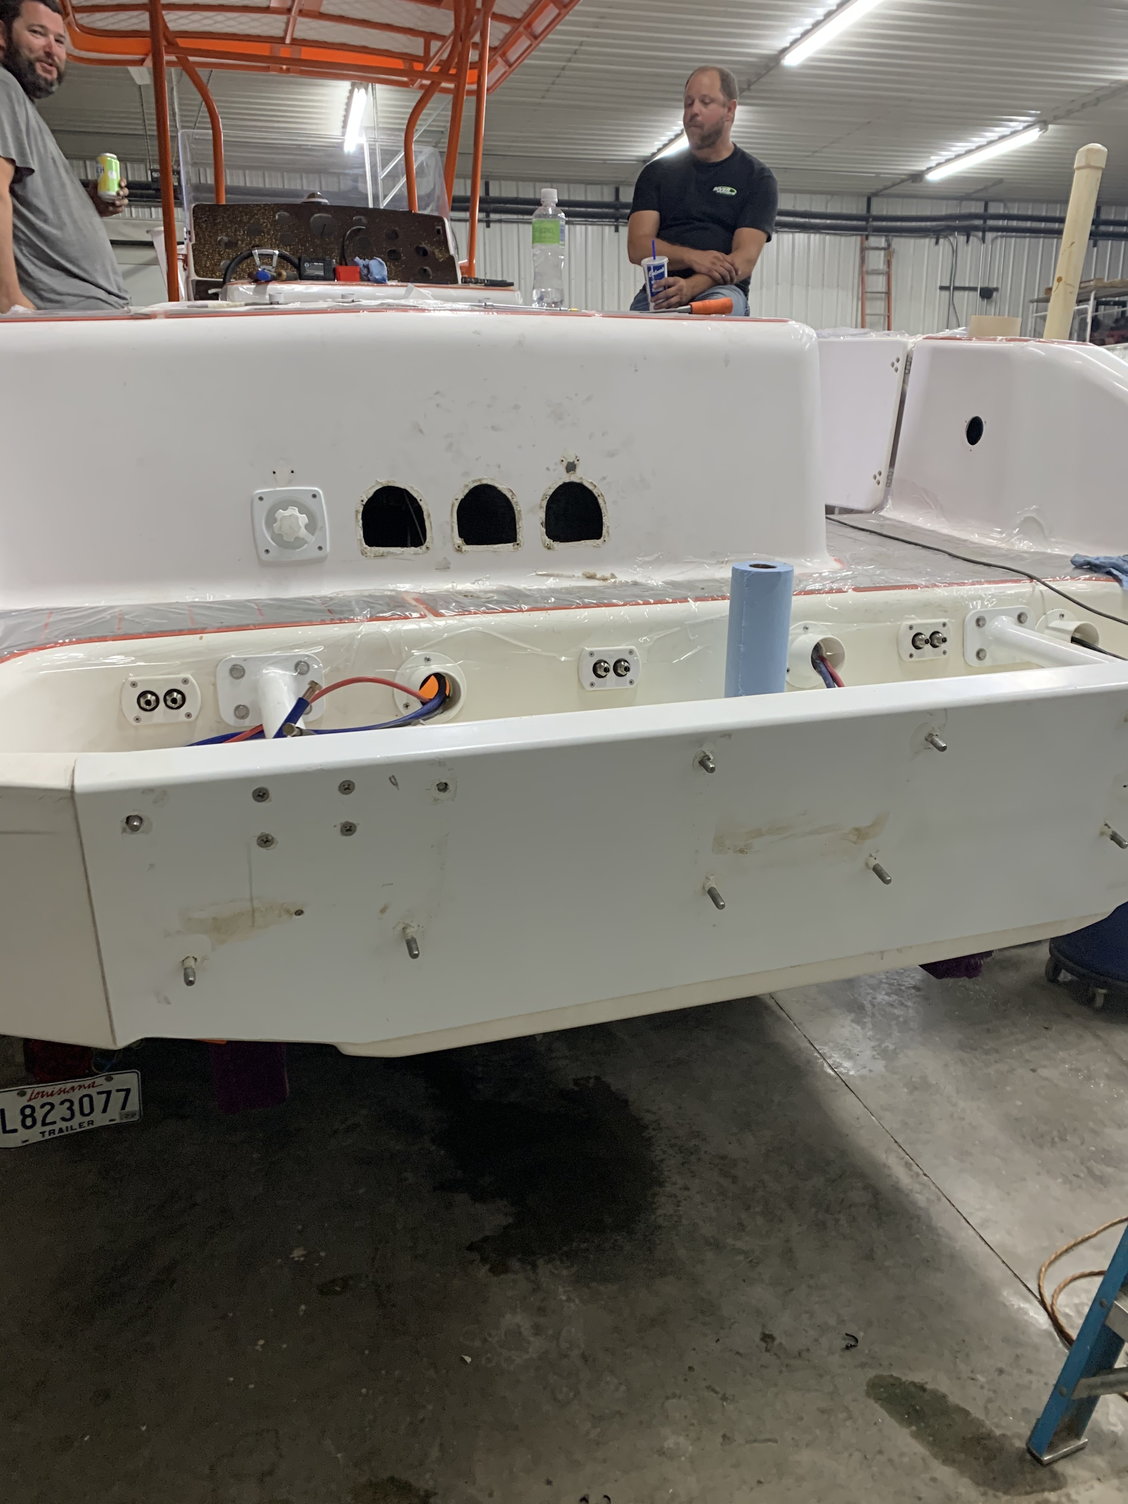
Old oil fills are out waiting for the holes to get glasses and gelcoated shut.
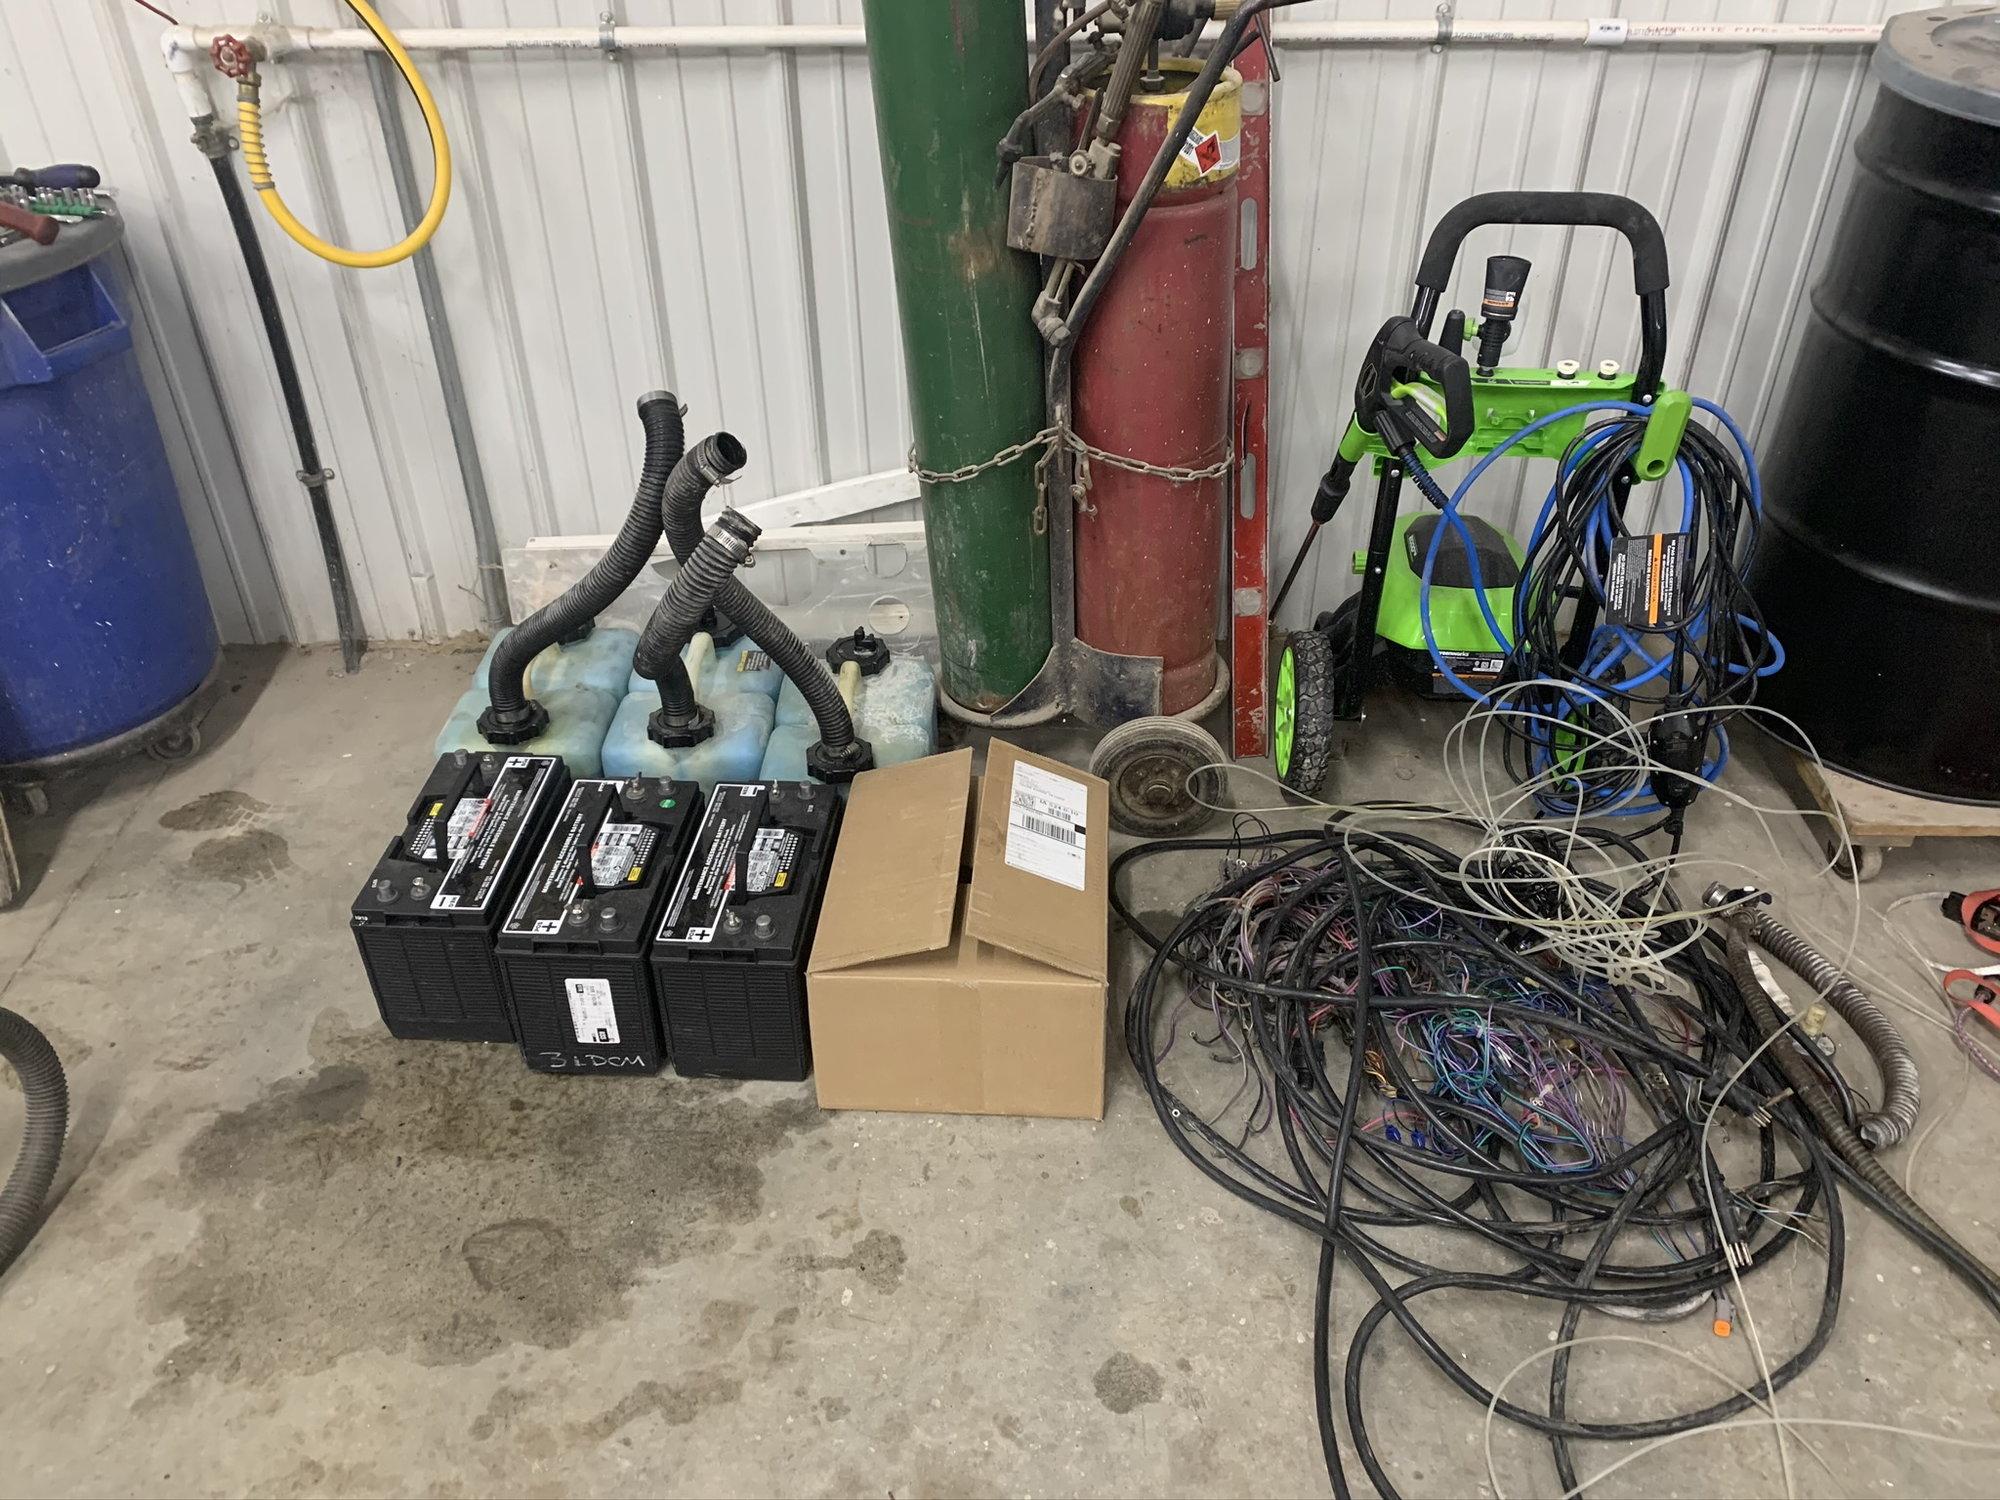
Old oil tanks, old batteries, old engine harness, and a brand new vesselview.
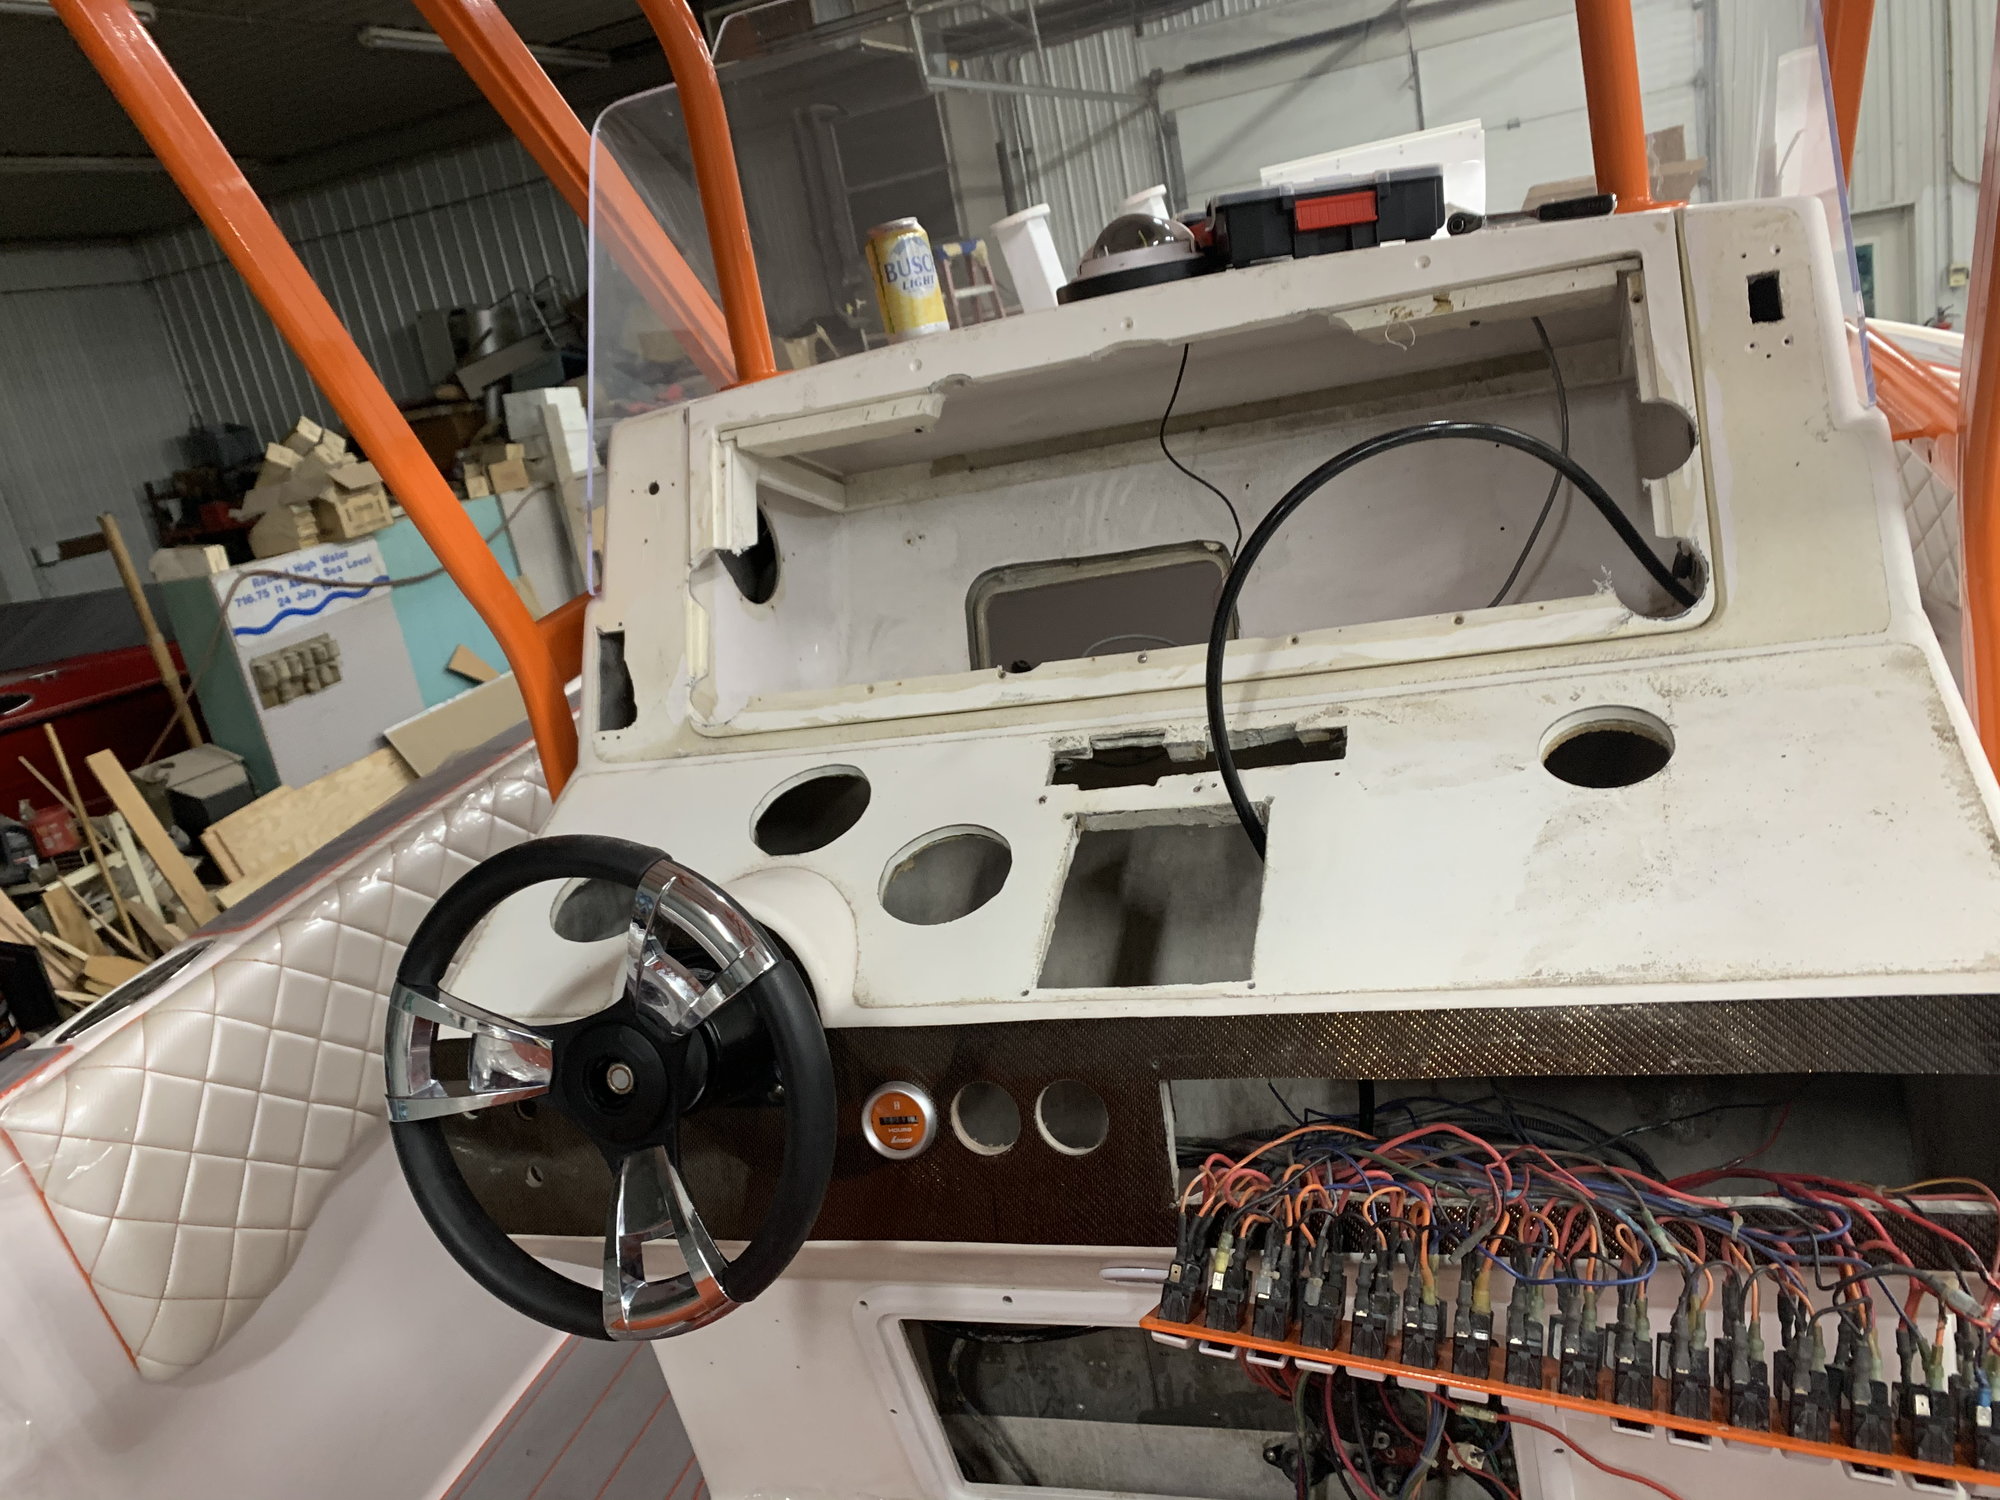
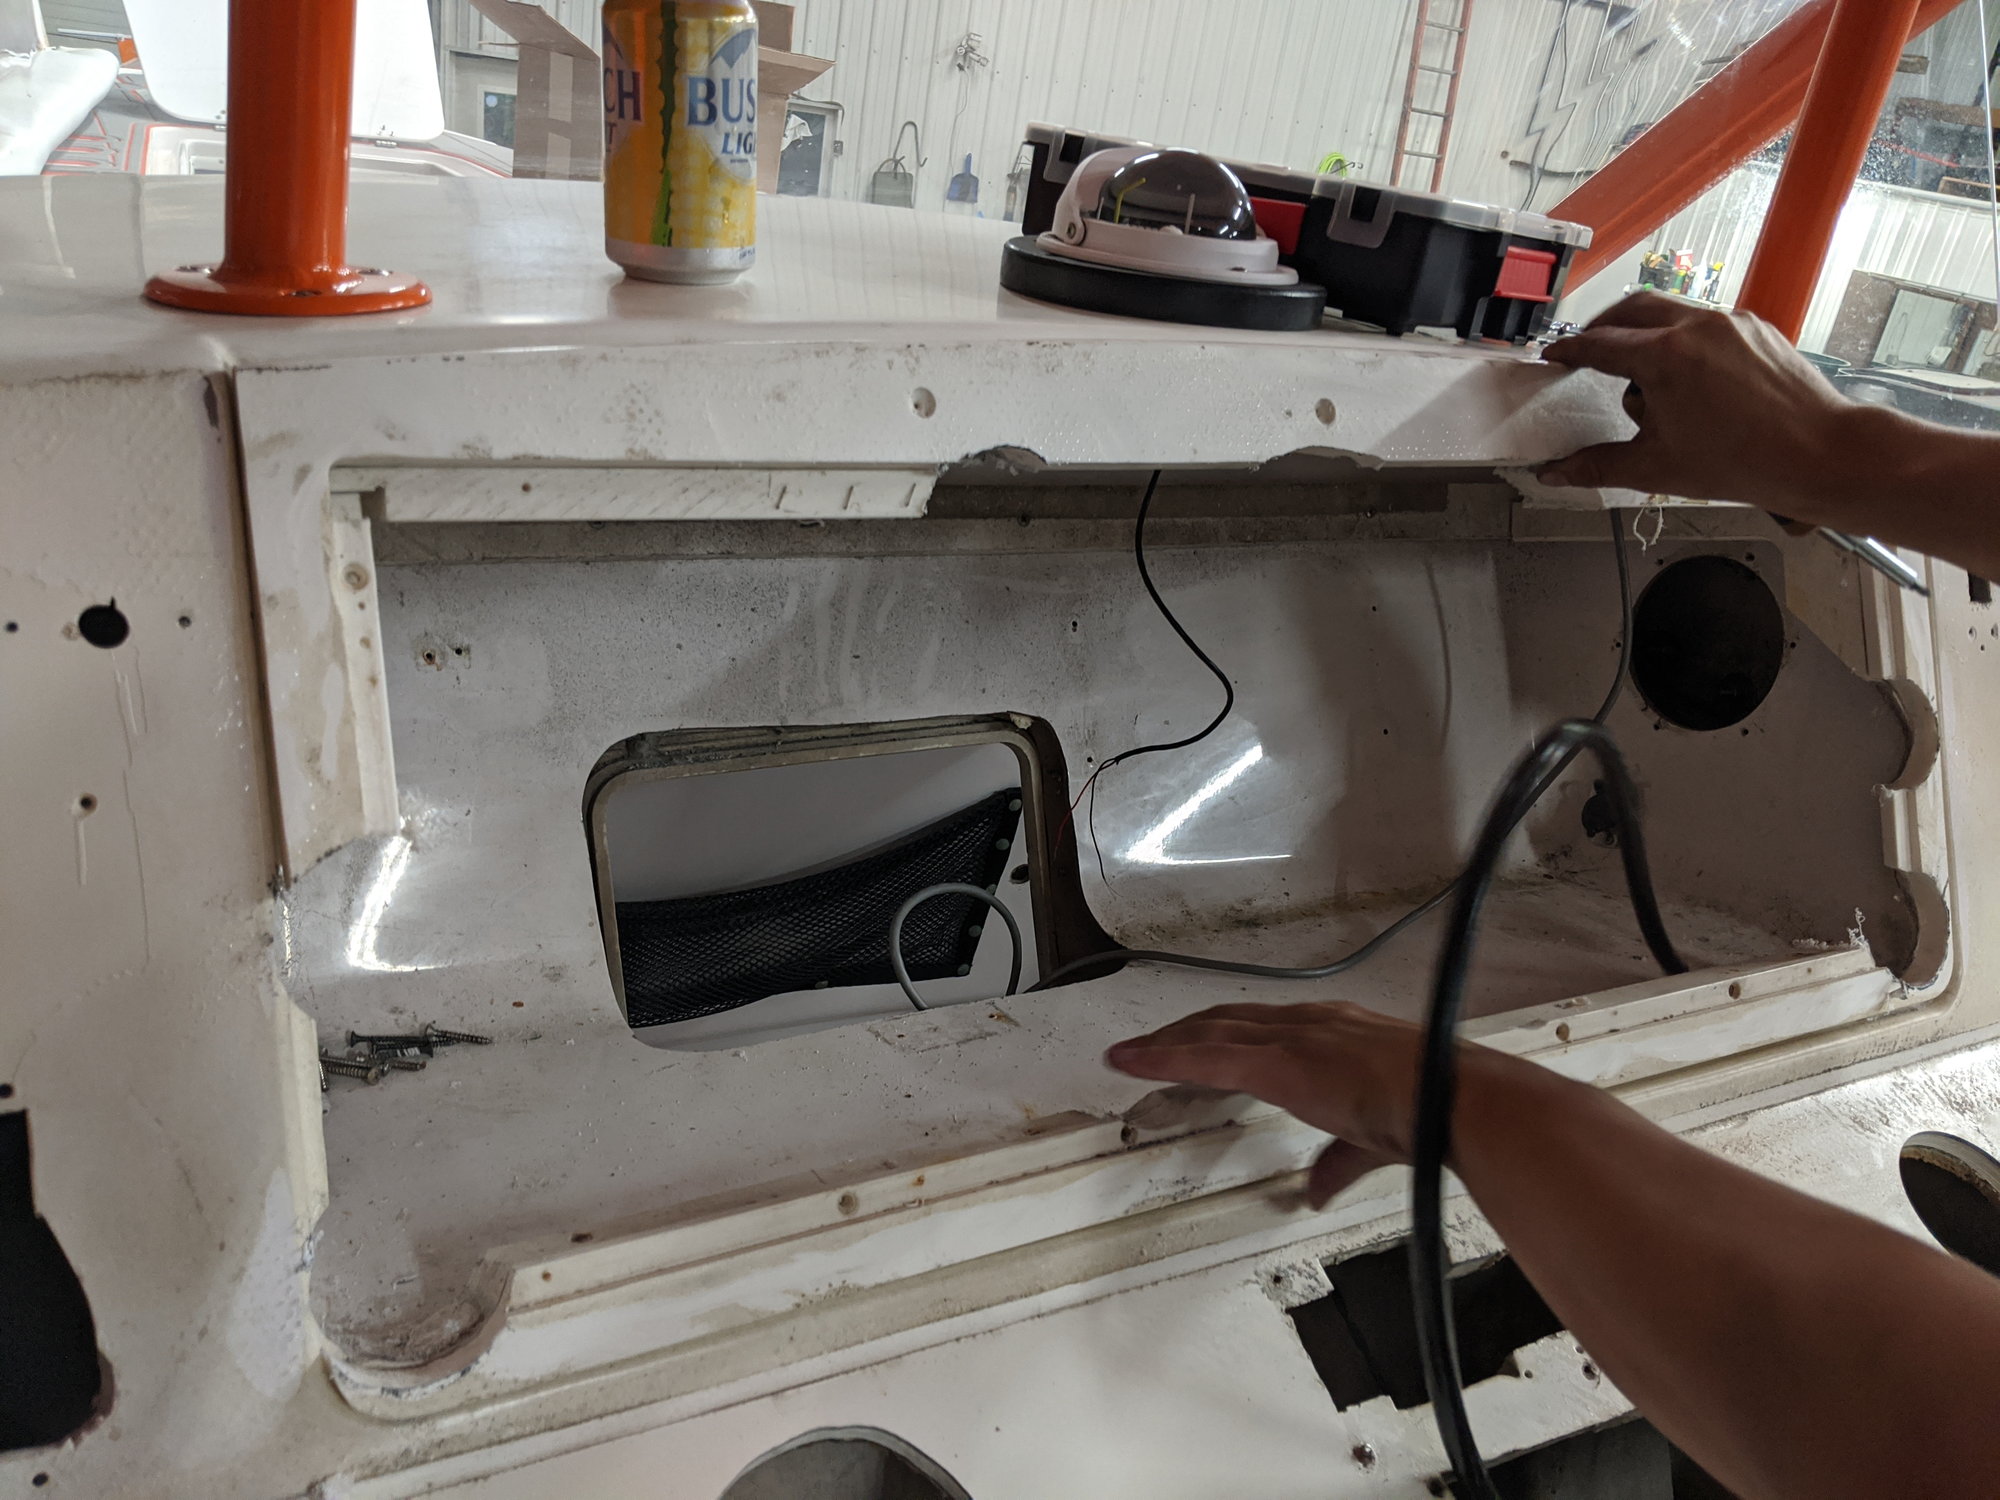
At this point it still looks pretty good so we thought just cut new dash panels hook up a few wires and were done with the dash. We couldn�t have been more wrong.
I guess it worked but man was it a hack Job. Might be hard to see but the only thing that was structurally holding the old glove box together was 2 screws.
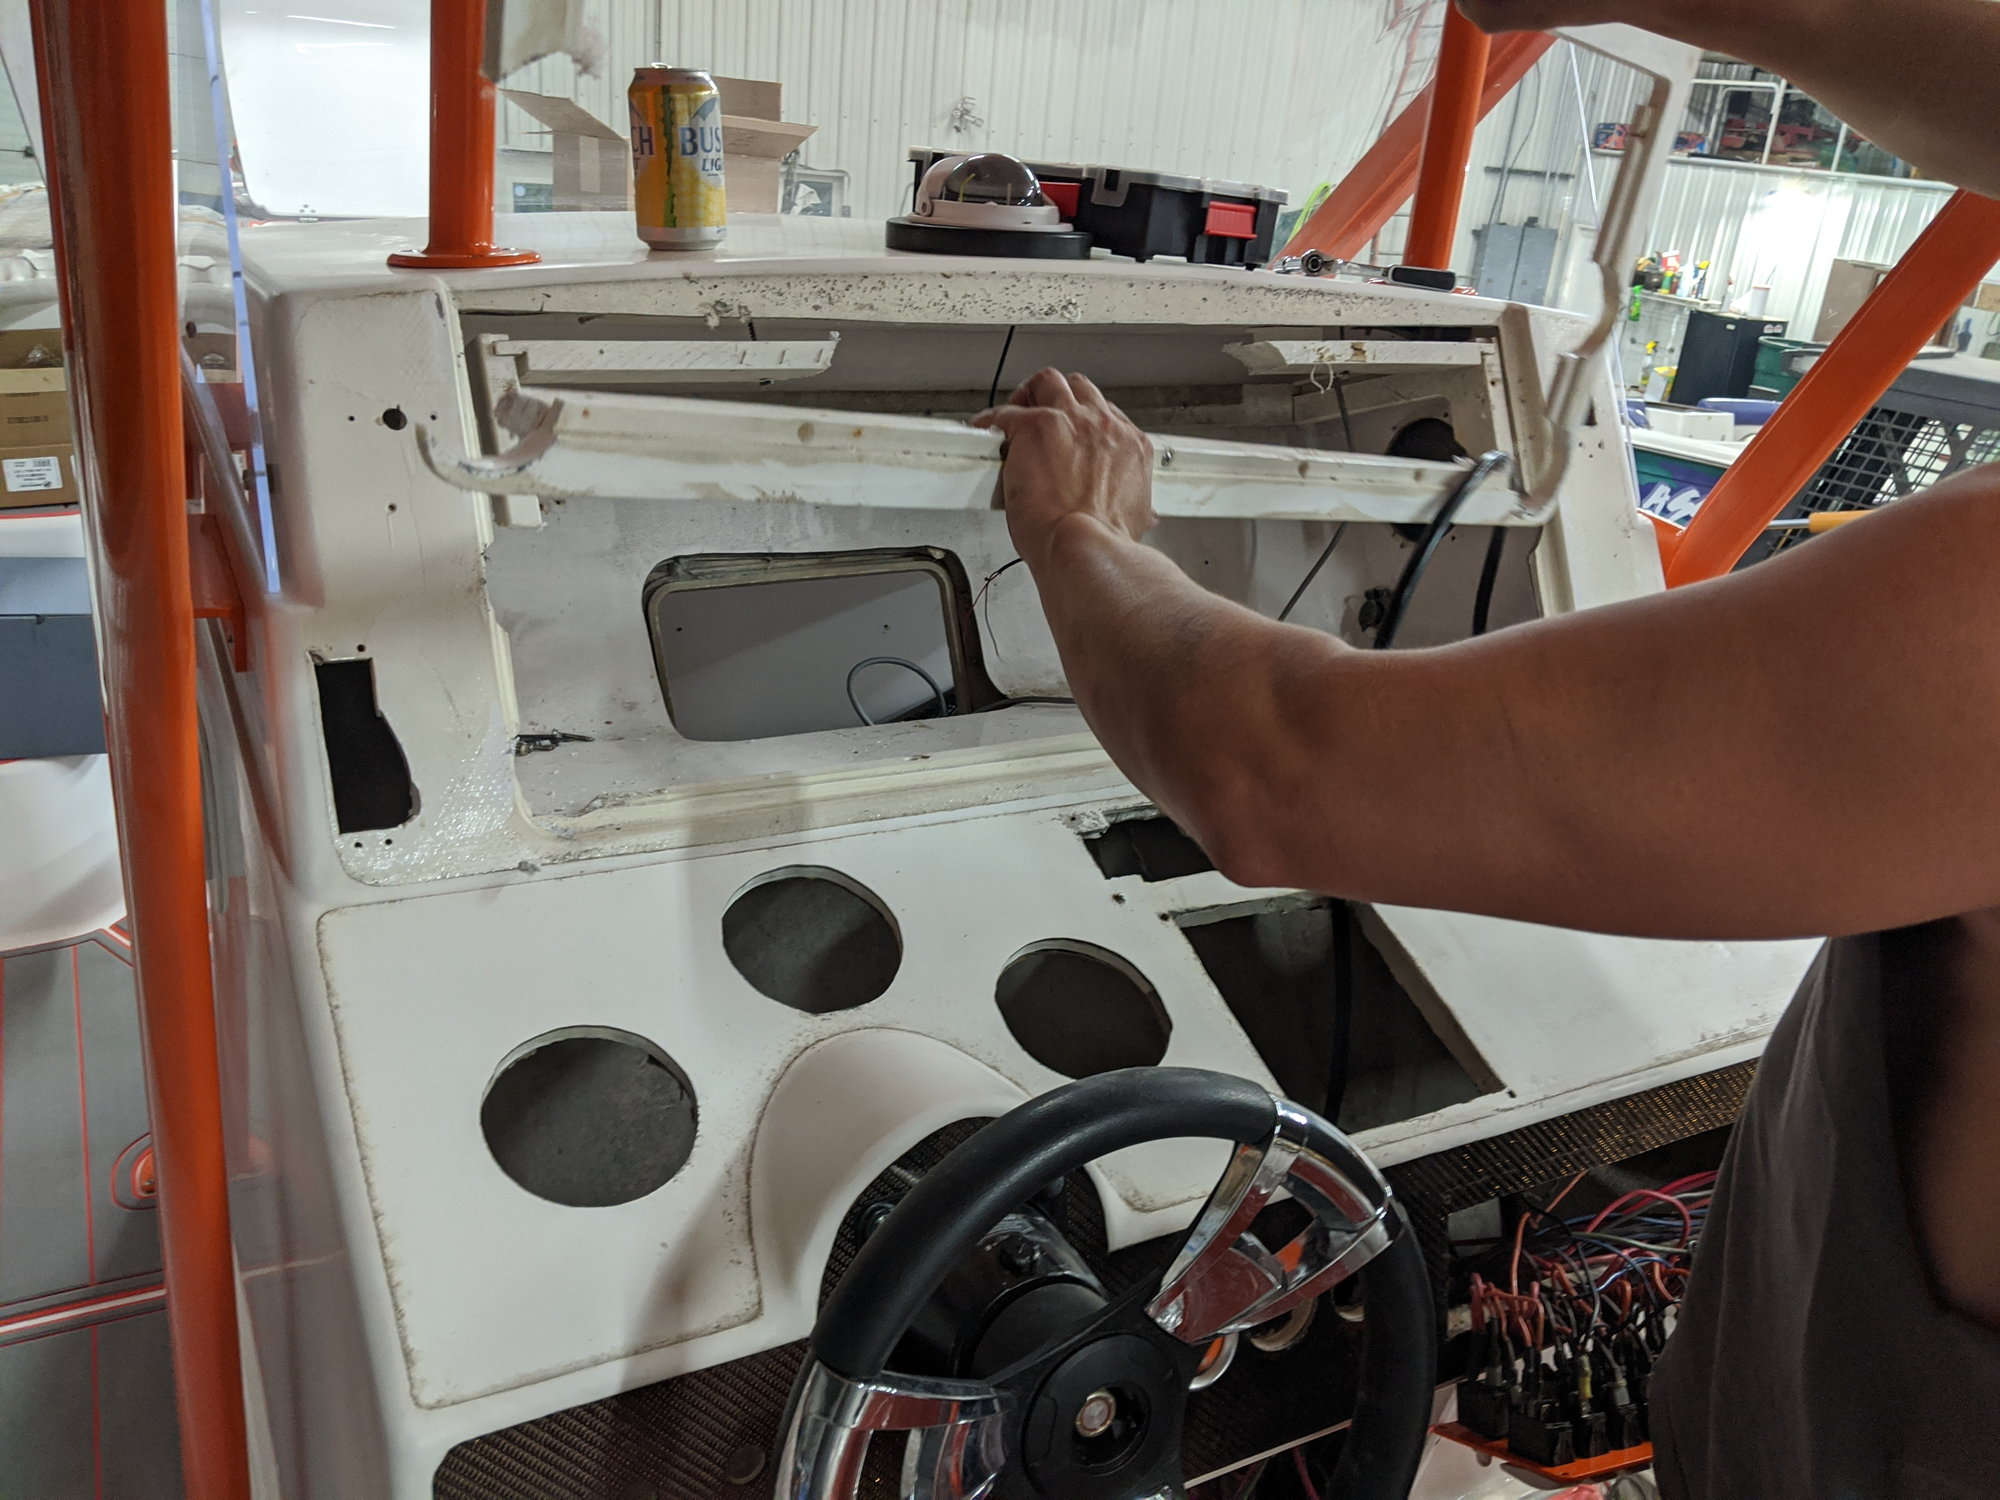
Coming out piece by piece
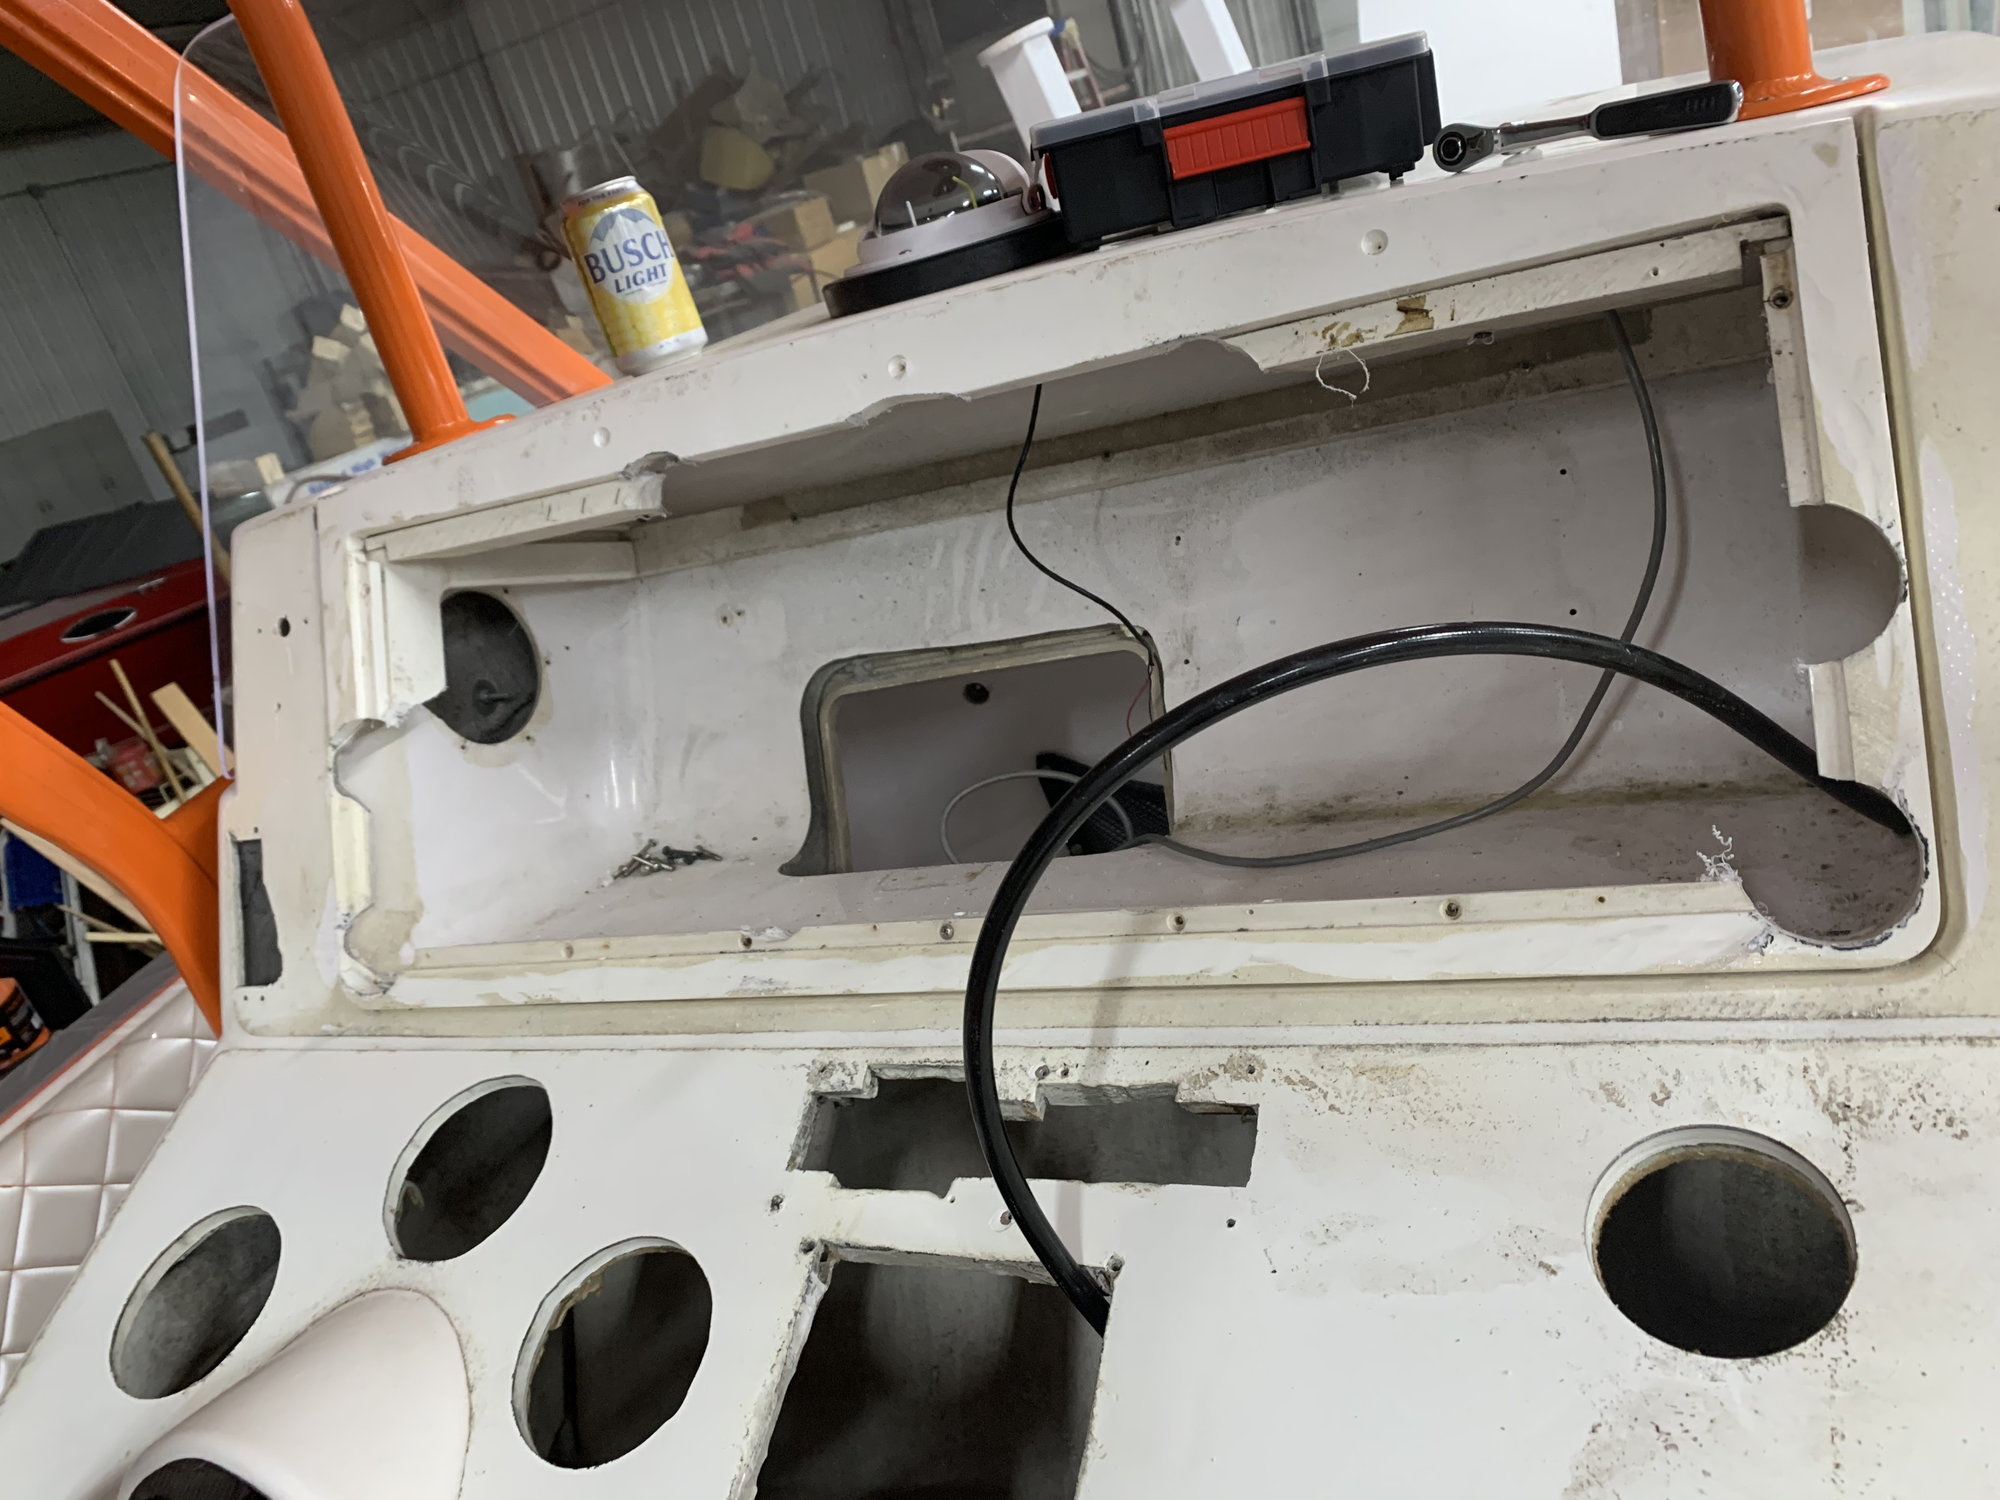
Old glove box is gone
Steering wheel and helm are off
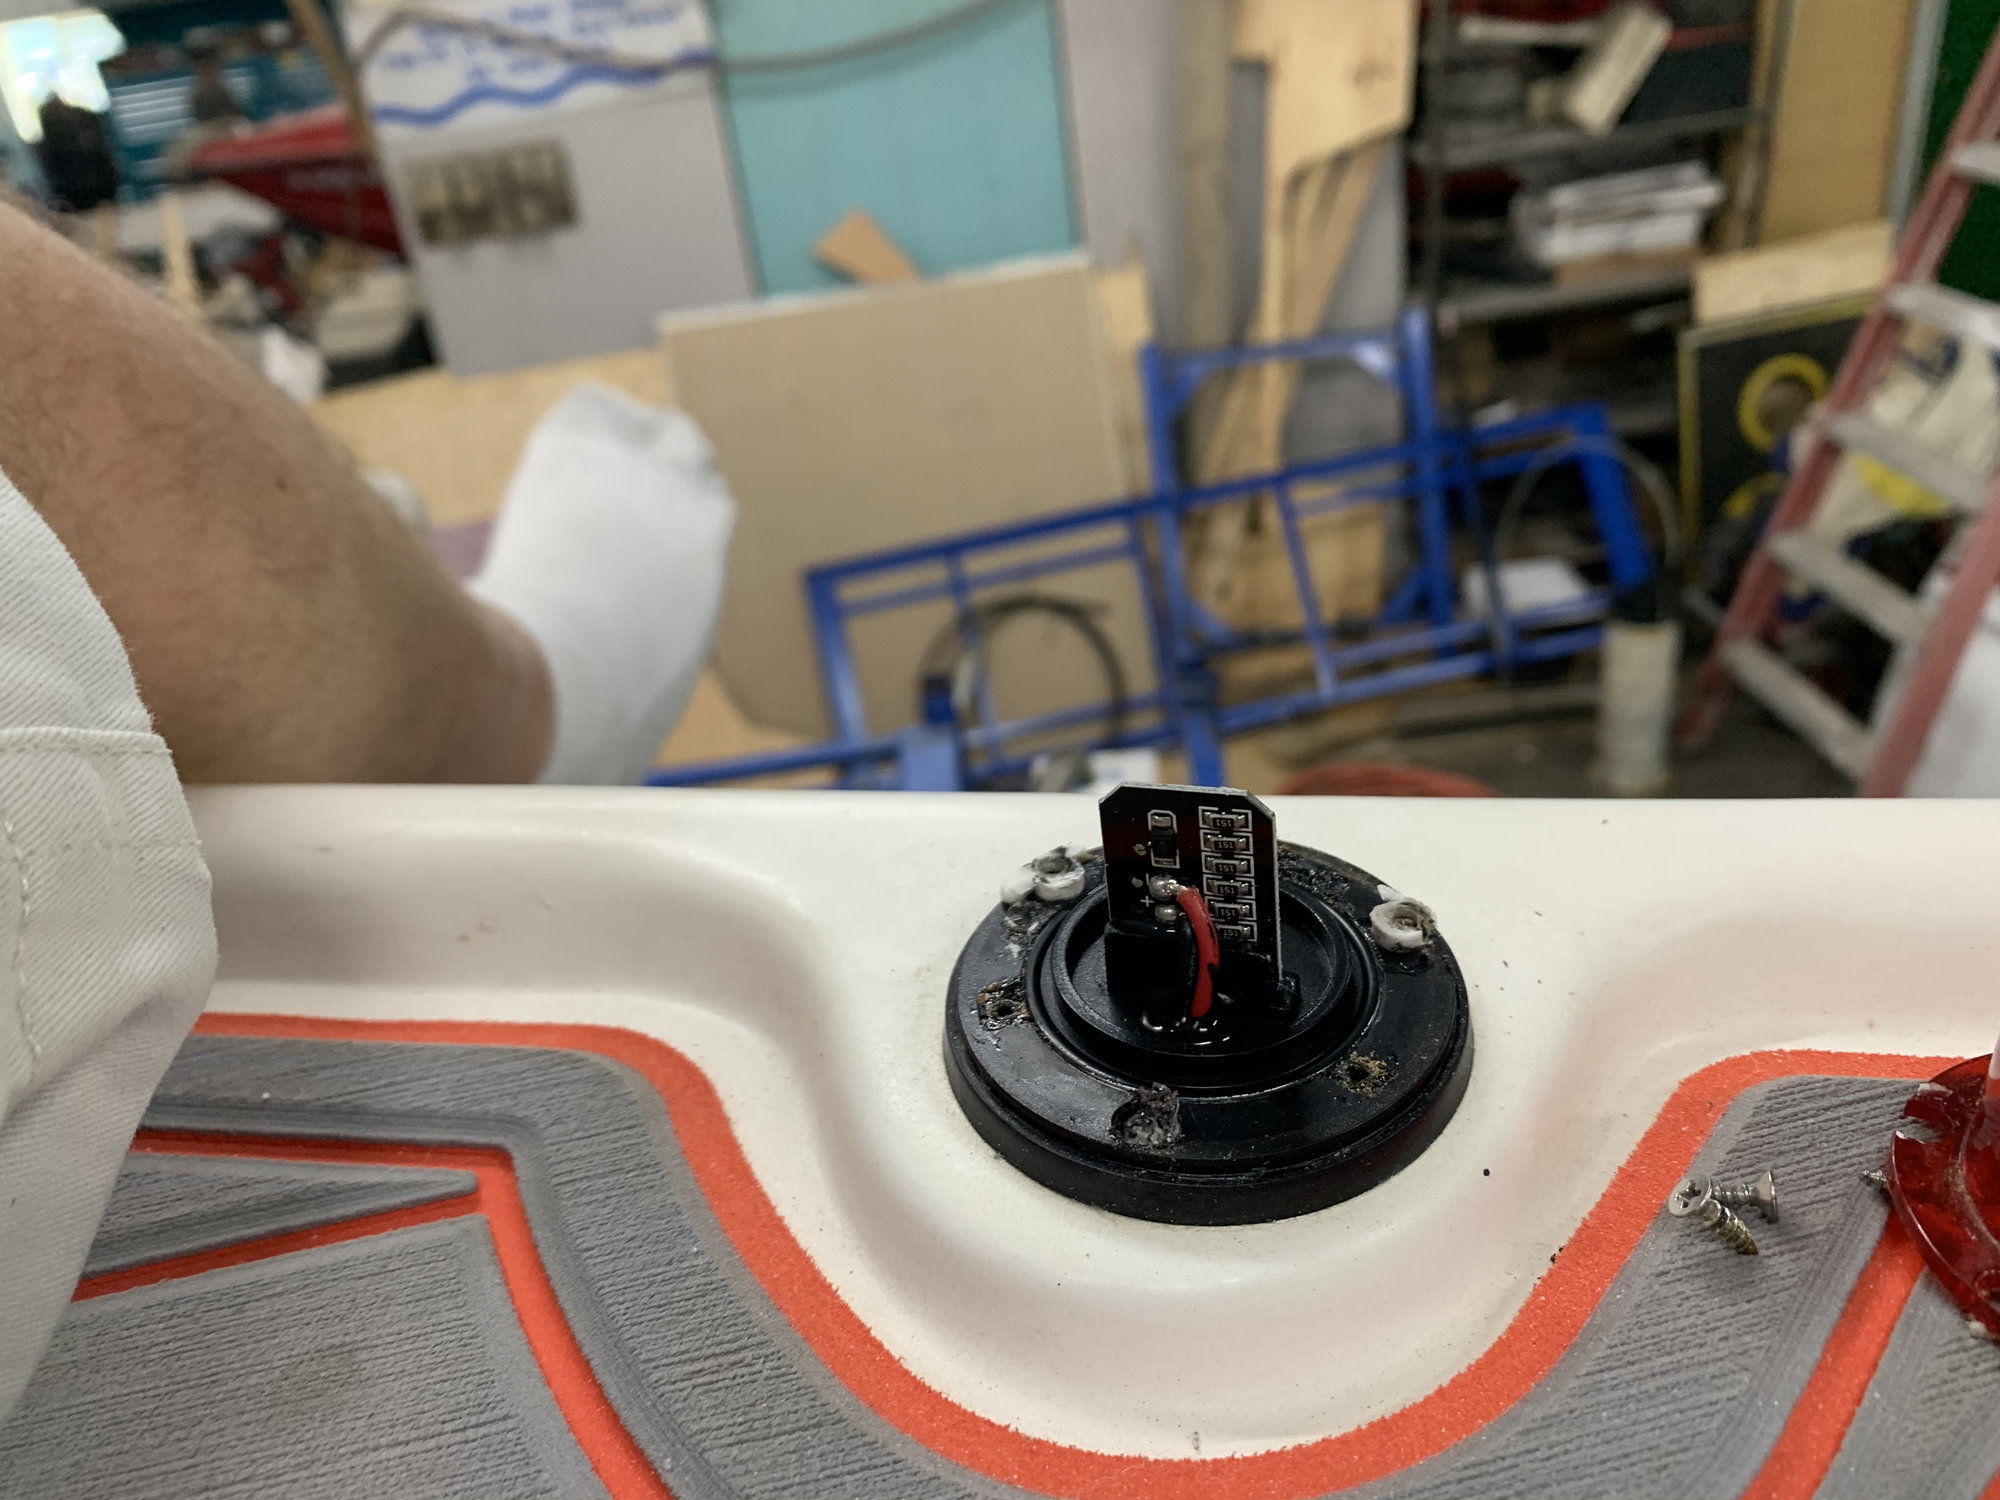
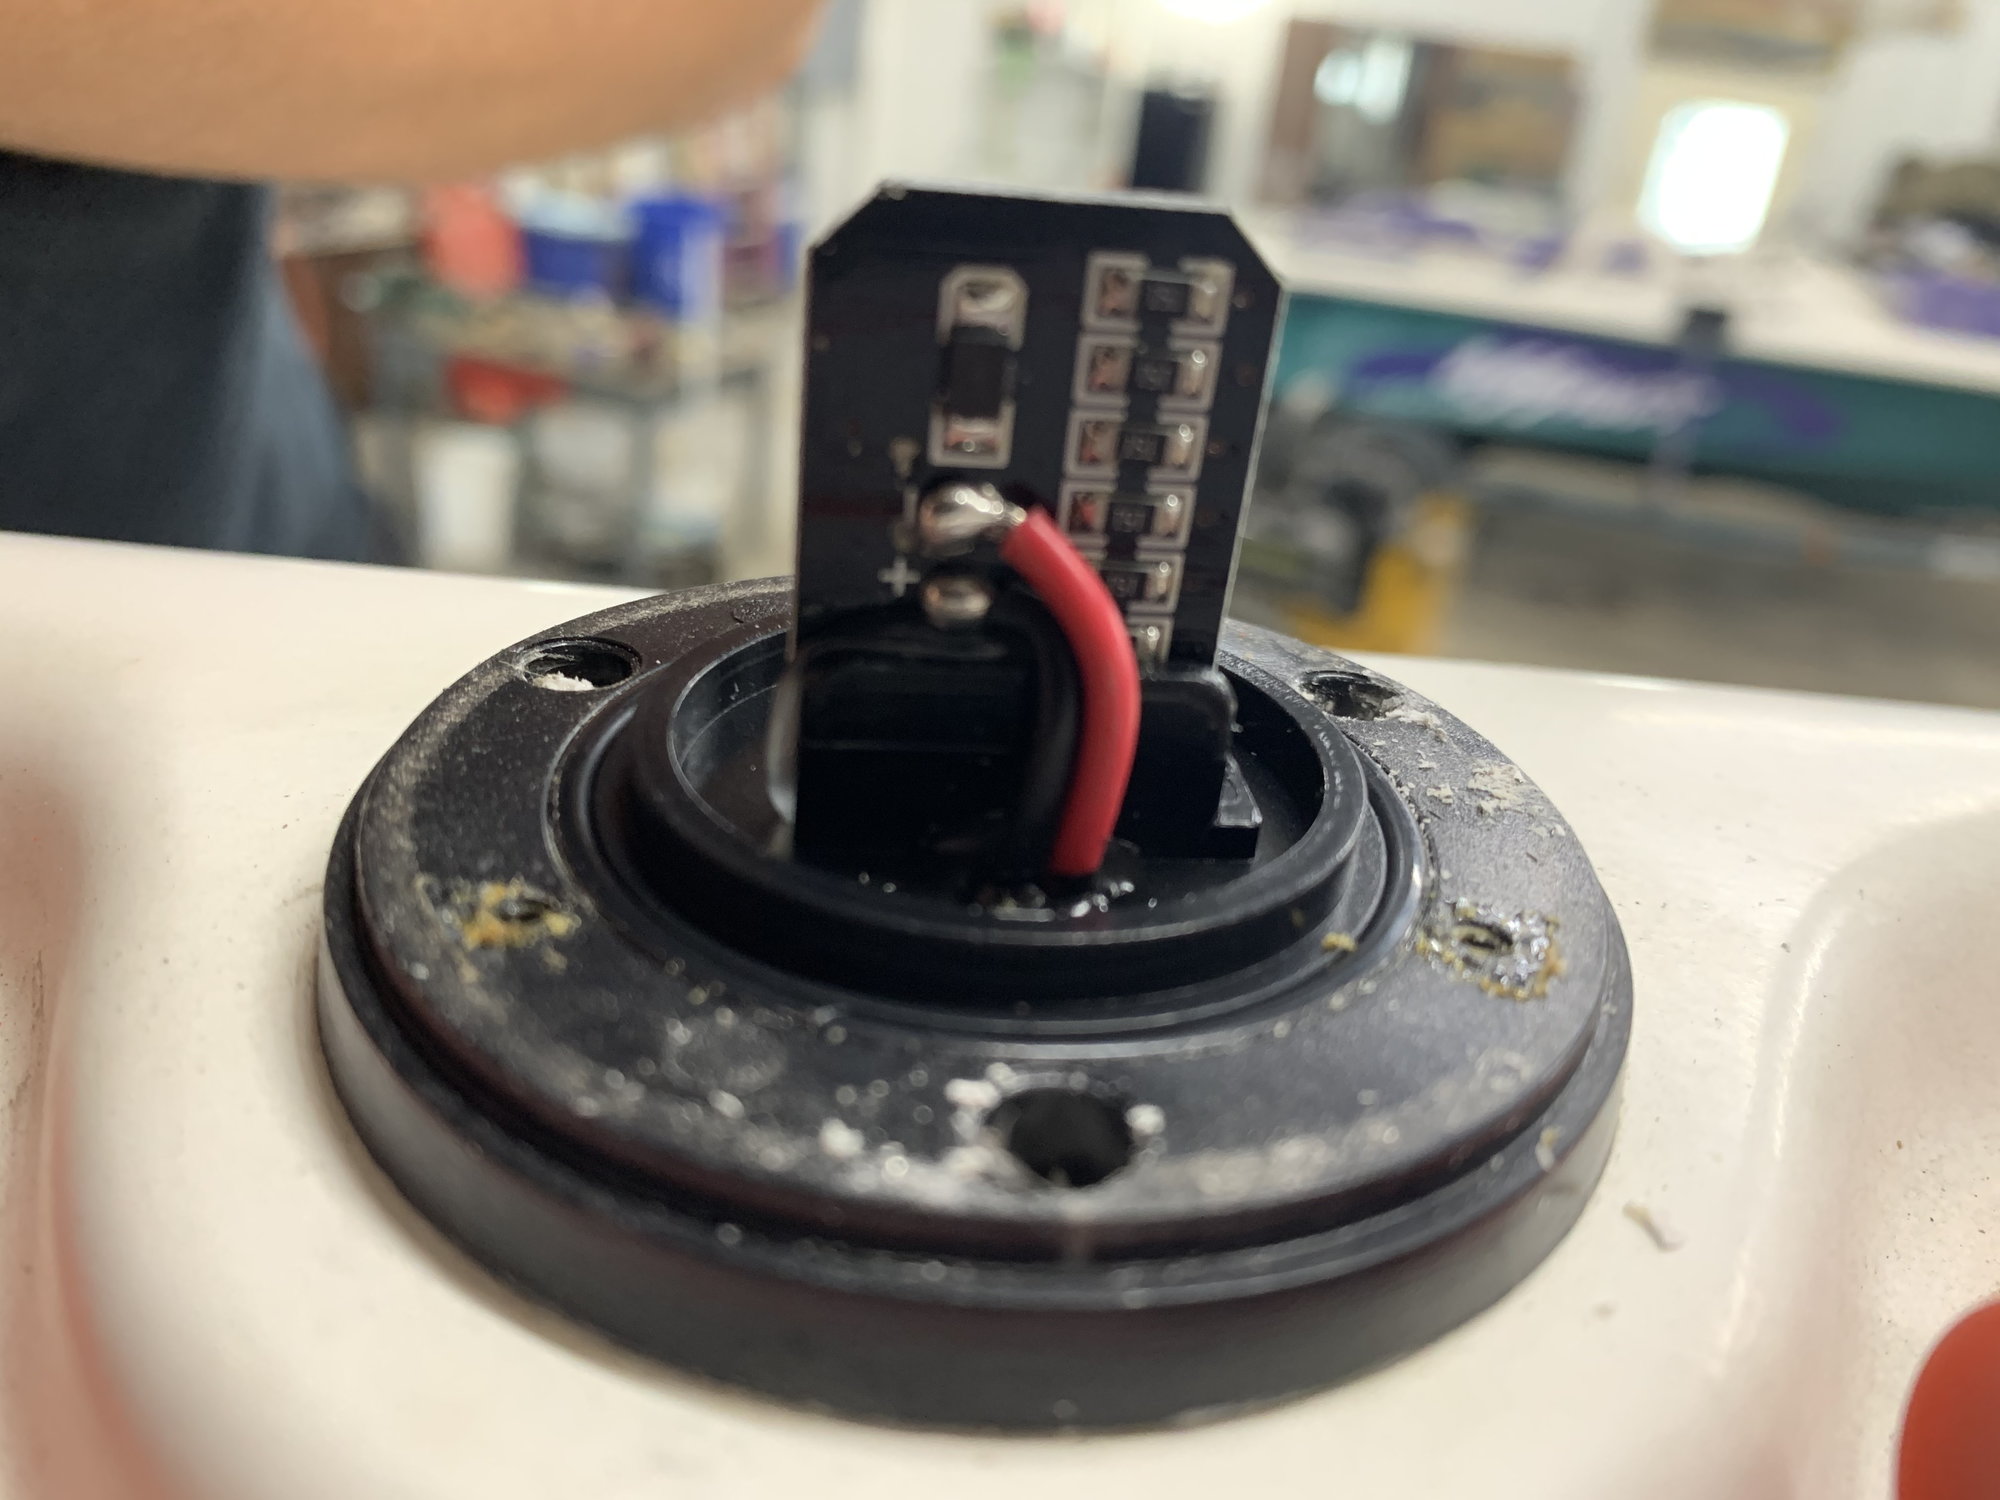
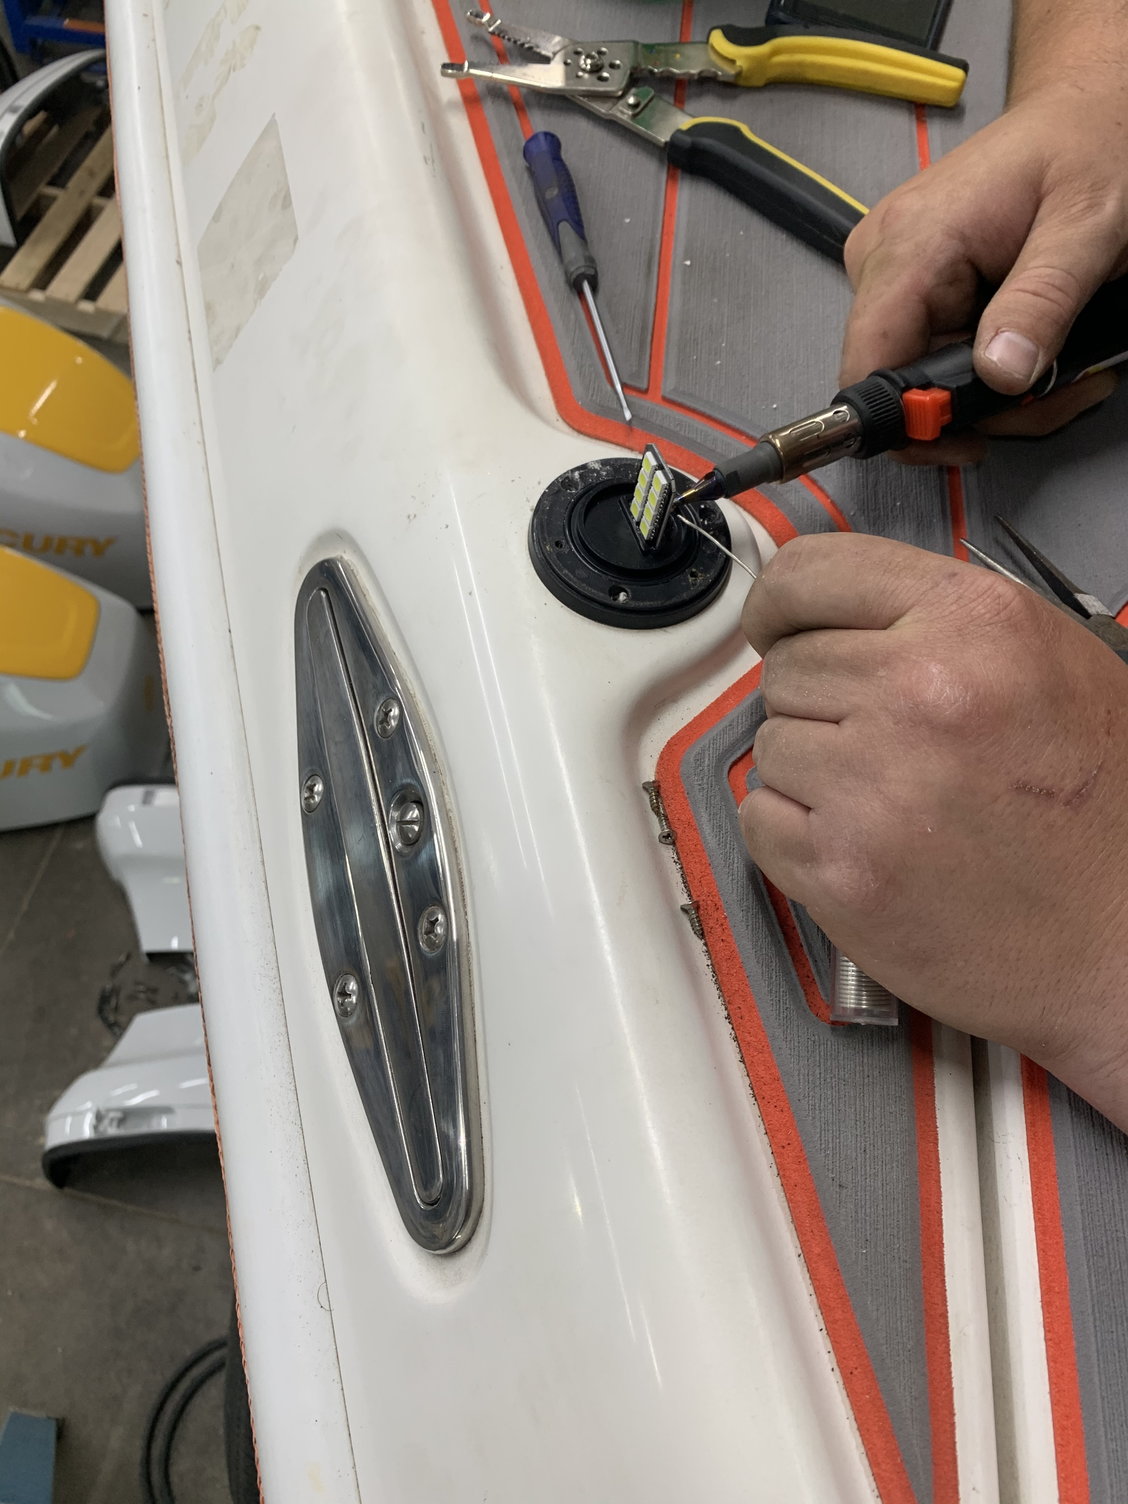
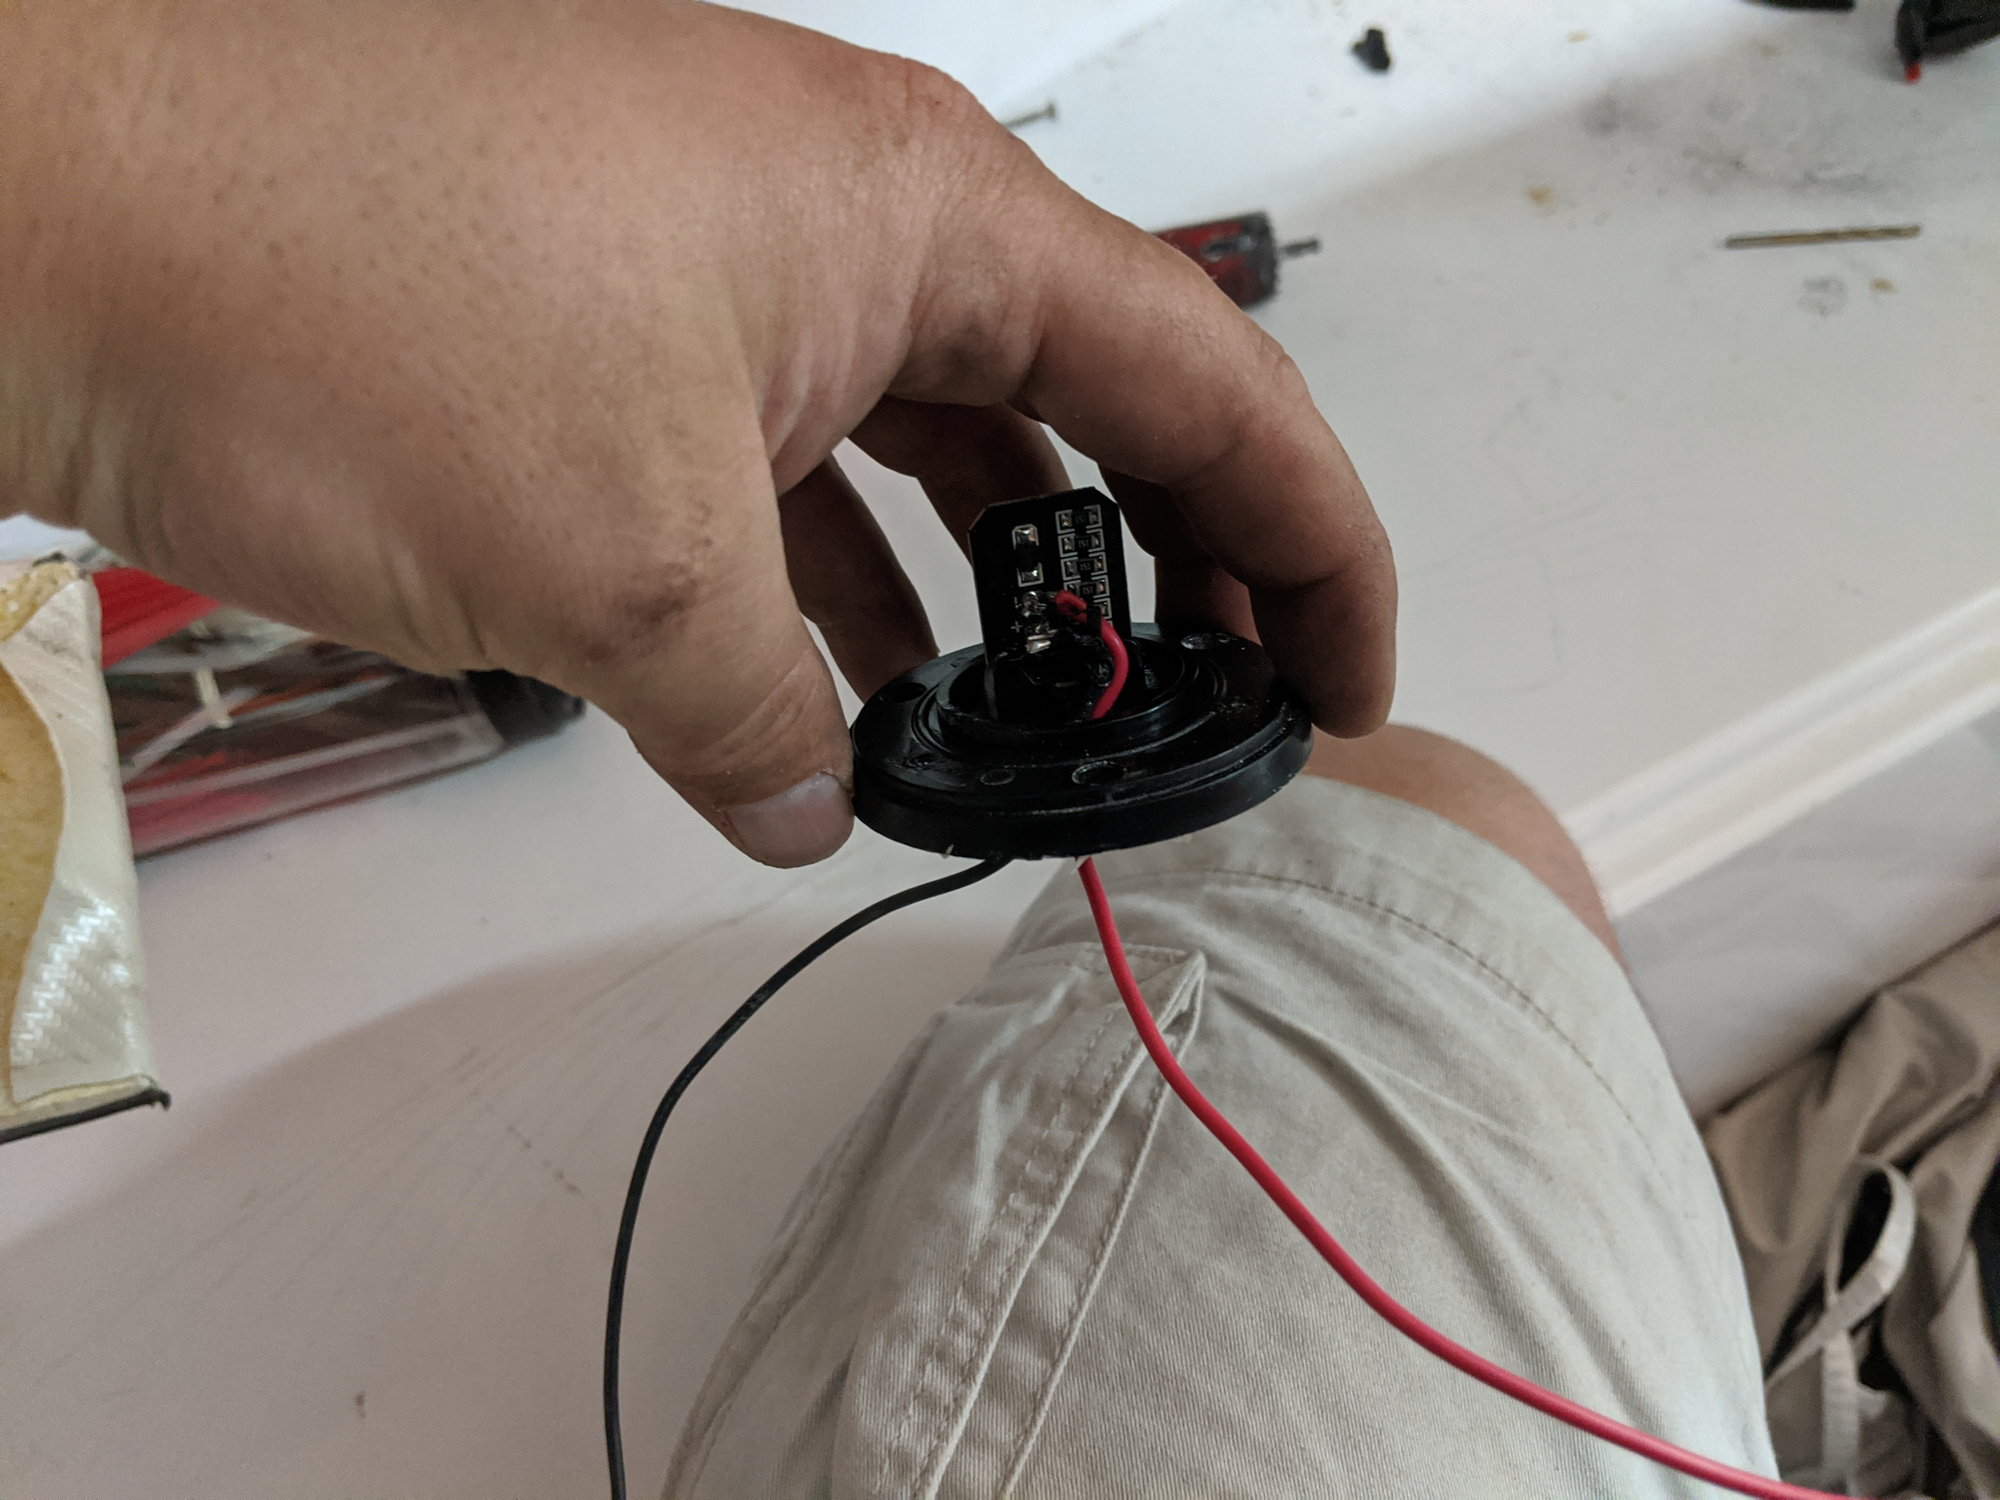
Starboard nav lights.. Houston we have a problem.
Port nav lights. At least the wires are twisted together. (No they don�t work future post on this topic)

Head and shower demolition
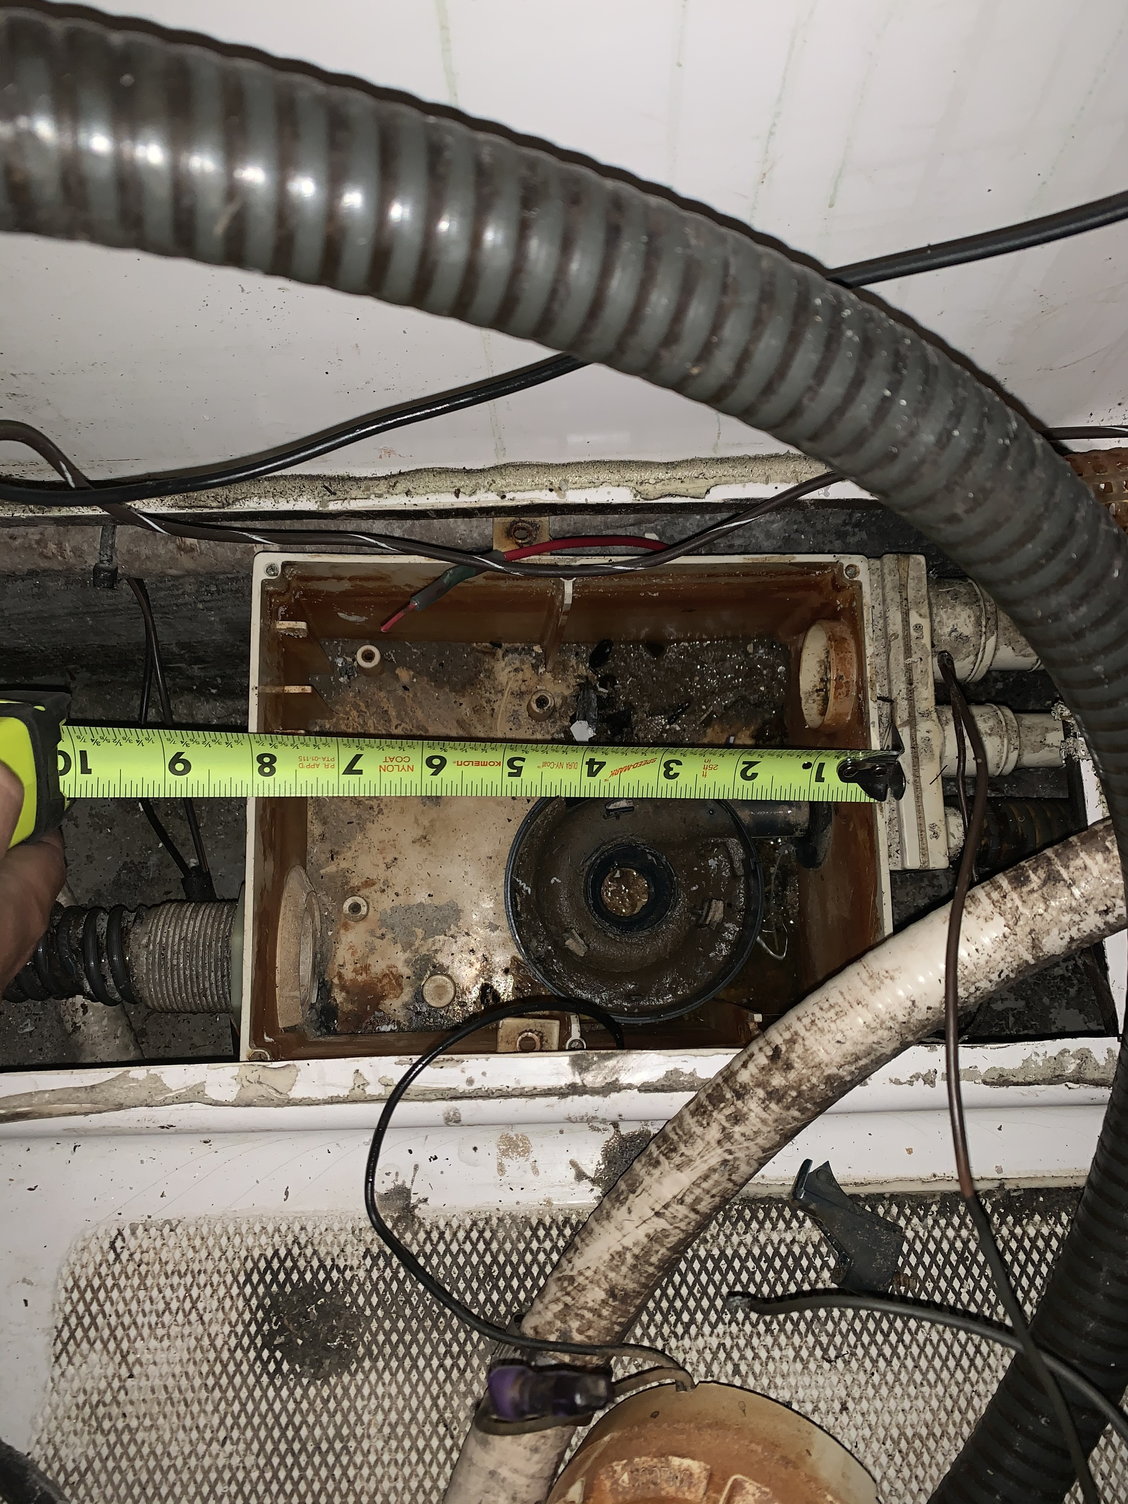
Old shower bilge pump box
Old oil fills are out waiting for the holes to get glasses and gelcoated shut.
Old oil tanks, old batteries, old engine harness, and a brand new vesselview.
At this point it still looks pretty good so we thought just cut new dash panels hook up a few wires and were done with the dash. We couldn�t have been more wrong.
I guess it worked but man was it a hack Job. Might be hard to see but the only thing that was structurally holding the old glove box together was 2 screws.
Coming out piece by piece
Old glove box is gone
Steering wheel and helm are off
Starboard nav lights.. Houston we have a problem.
Port nav lights. At least the wires are twisted together. (No they don�t work future post on this topic)
Head and shower demolition
Old shower bilge pump box

 07-09-2020 | 09:04 AM
#15
Thread Starter
Registered
Joined: Feb 2011
Posts: 375
Likes: 124
From: North Liberty, IA
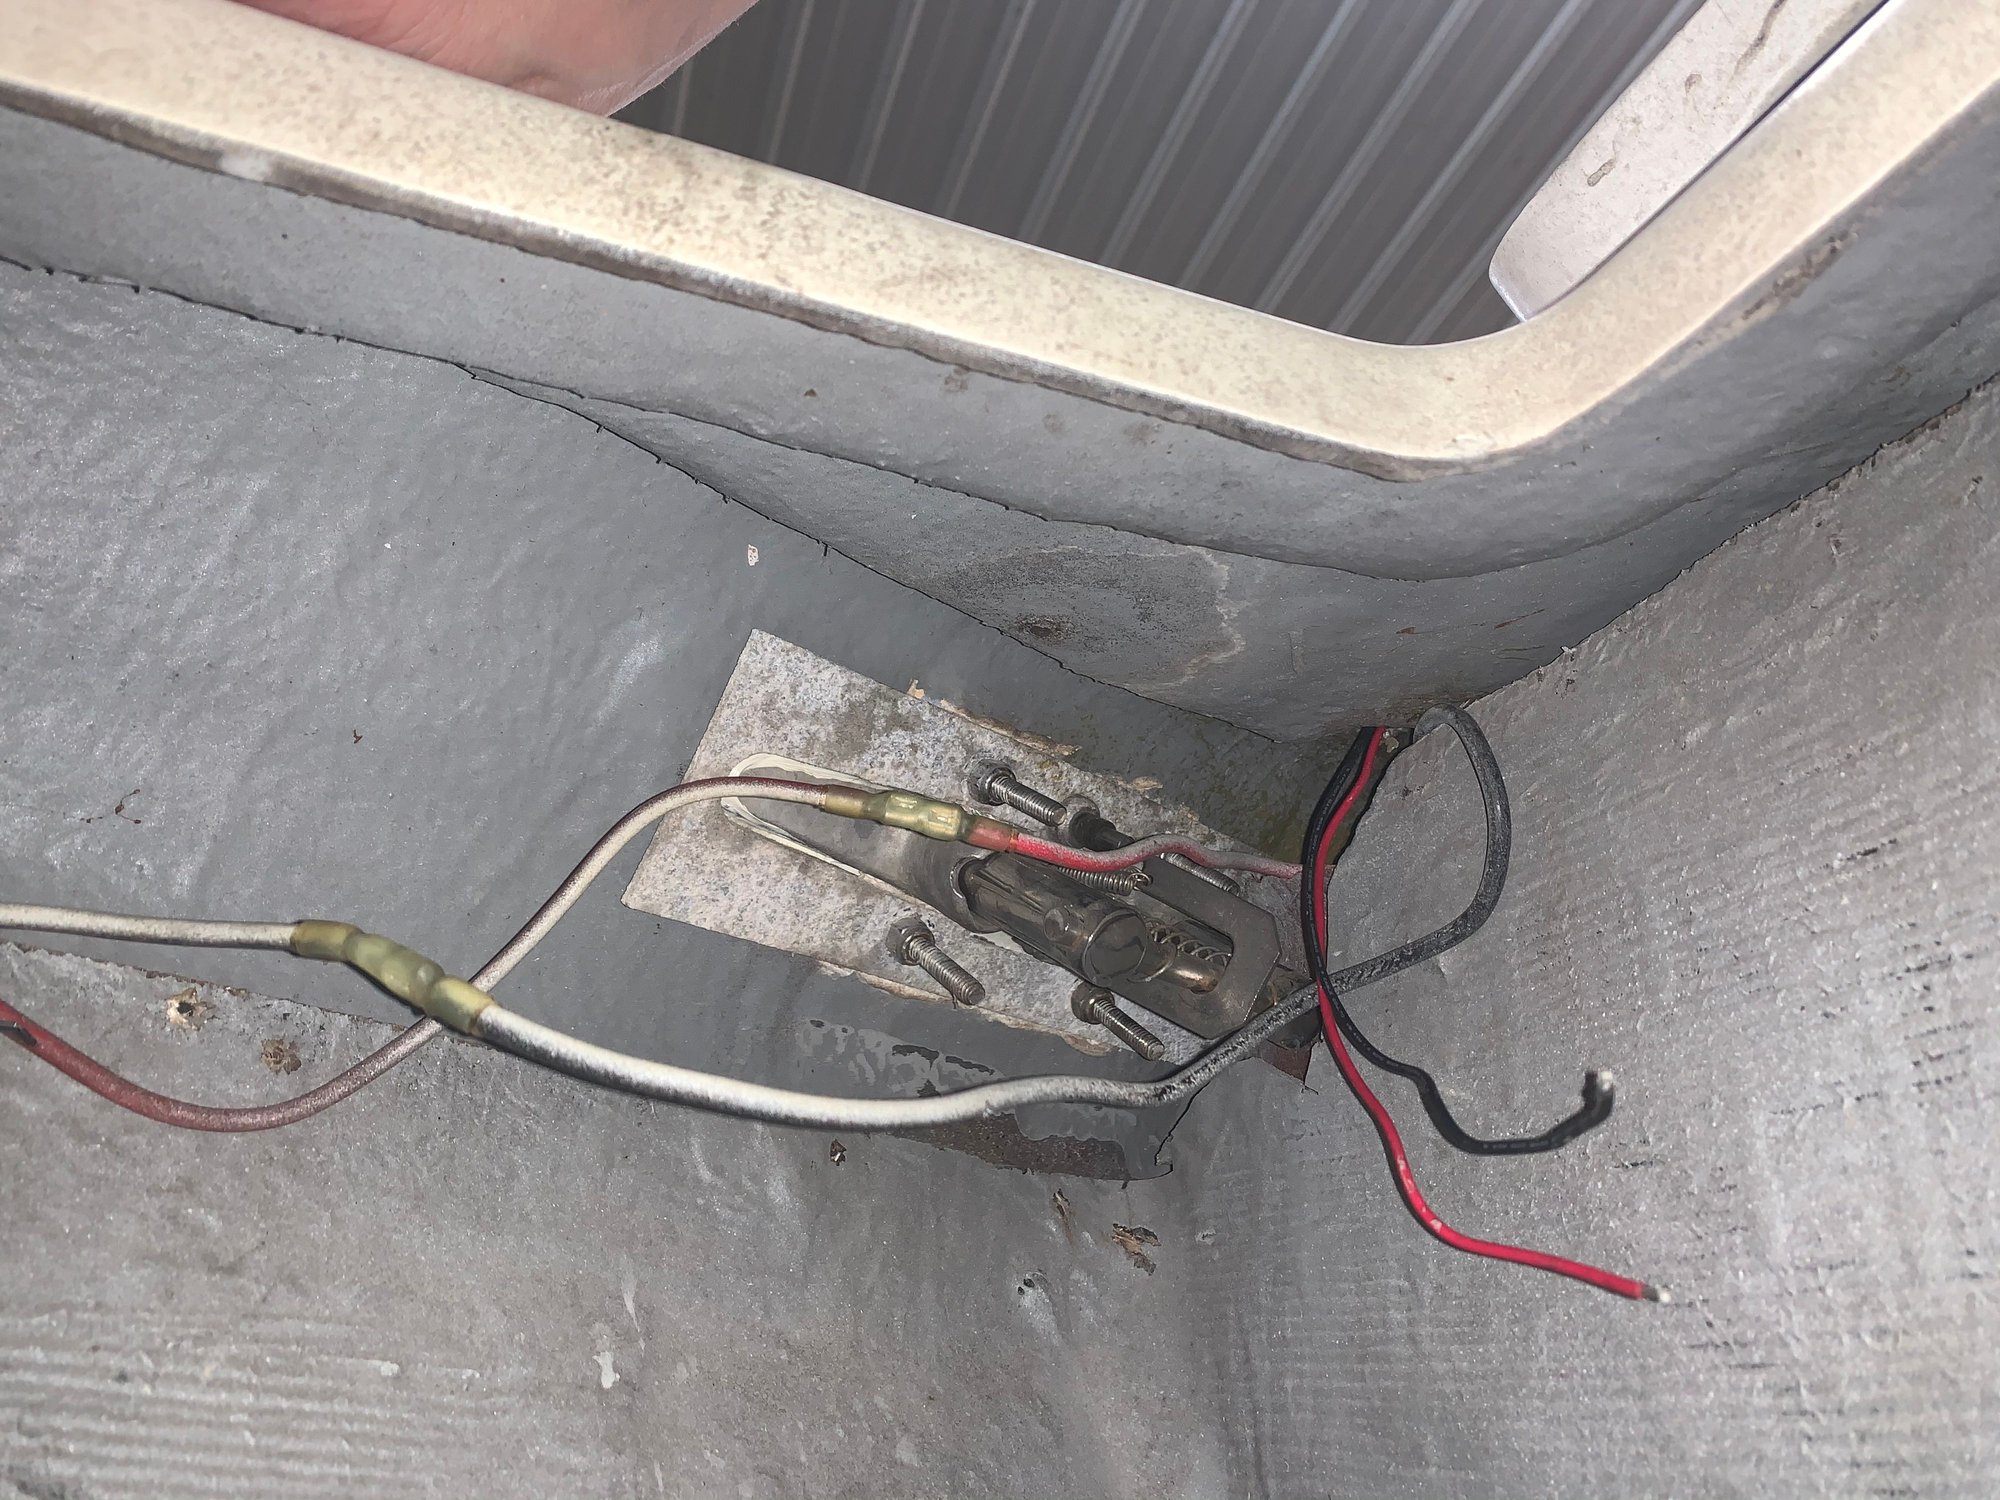
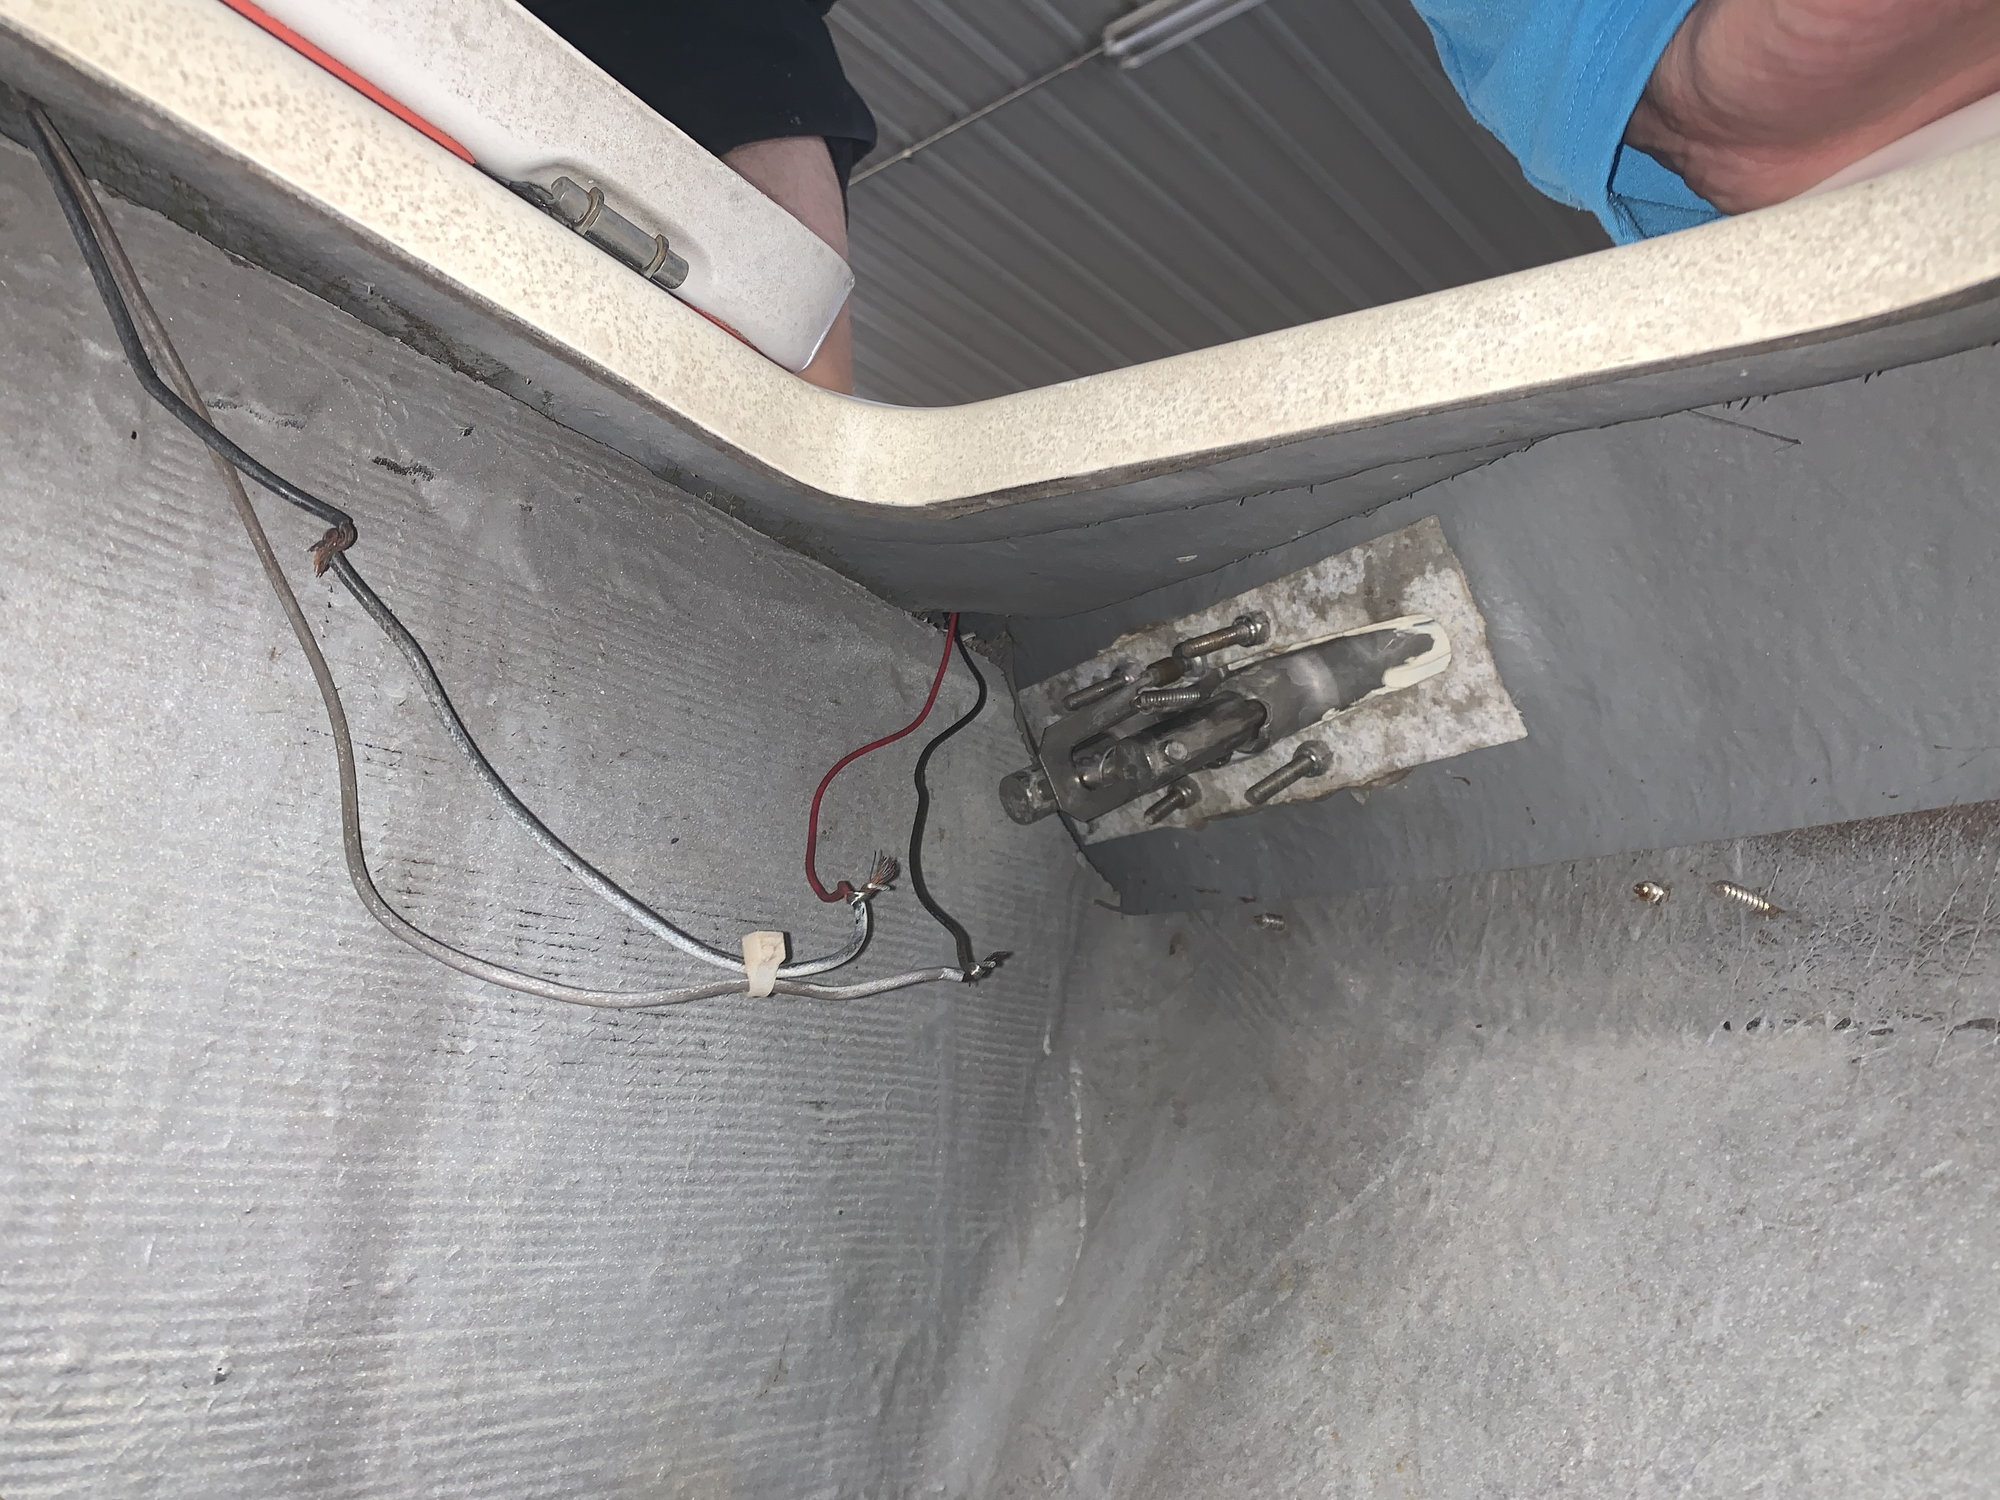
No joke there rak rua. As shown in the previous post the nav lights weren't hooked up so we thought it'd be an easy fix. Not so much. we tested the line and there was voltage there so we went ahead and hooked the lights up but they wouldn't turn on. so we thought that the lights might be bad lets test for voltage at the LED's. When we took the caps off we noticed that the red wire was connected to the negative terminal on the pcb and the back was connected to the positive terminal on the pcb so we unsoldered them switched the wires and soldered them back on and still no light (LED's have to be wired correctly to work). Next step clip the wires and test the light on a battery. Turns out the lights work off the battery so pcb was marked wrong so we had to undo all our work. Next we ran new wire installed and hooked everything back up and Finally we have navigation lights!! once that was done we tried to pull the old wire and it was so corroded that it just snapped every time we tried so we just left it. During this whole ordeal we discovered a hose with a fitting on the end of it just dangling between the inner and outer hull. After we got the nav lights figured out we discovered that it was the vent tube for the forward gas tank. Again the boat is 20 years old stuff is worn out I'm ok with that. What I'm not ok with is that the thru hull vent had been replaced to make it look pretty from the outside but they just left the vent hose connected to the old thru hull. Everytime you filled that tank all the fumes were spilling into the bilge. One spark from a bad wire(Take your pick every wire in this boat has to be replaced) and the entire boat explodes.
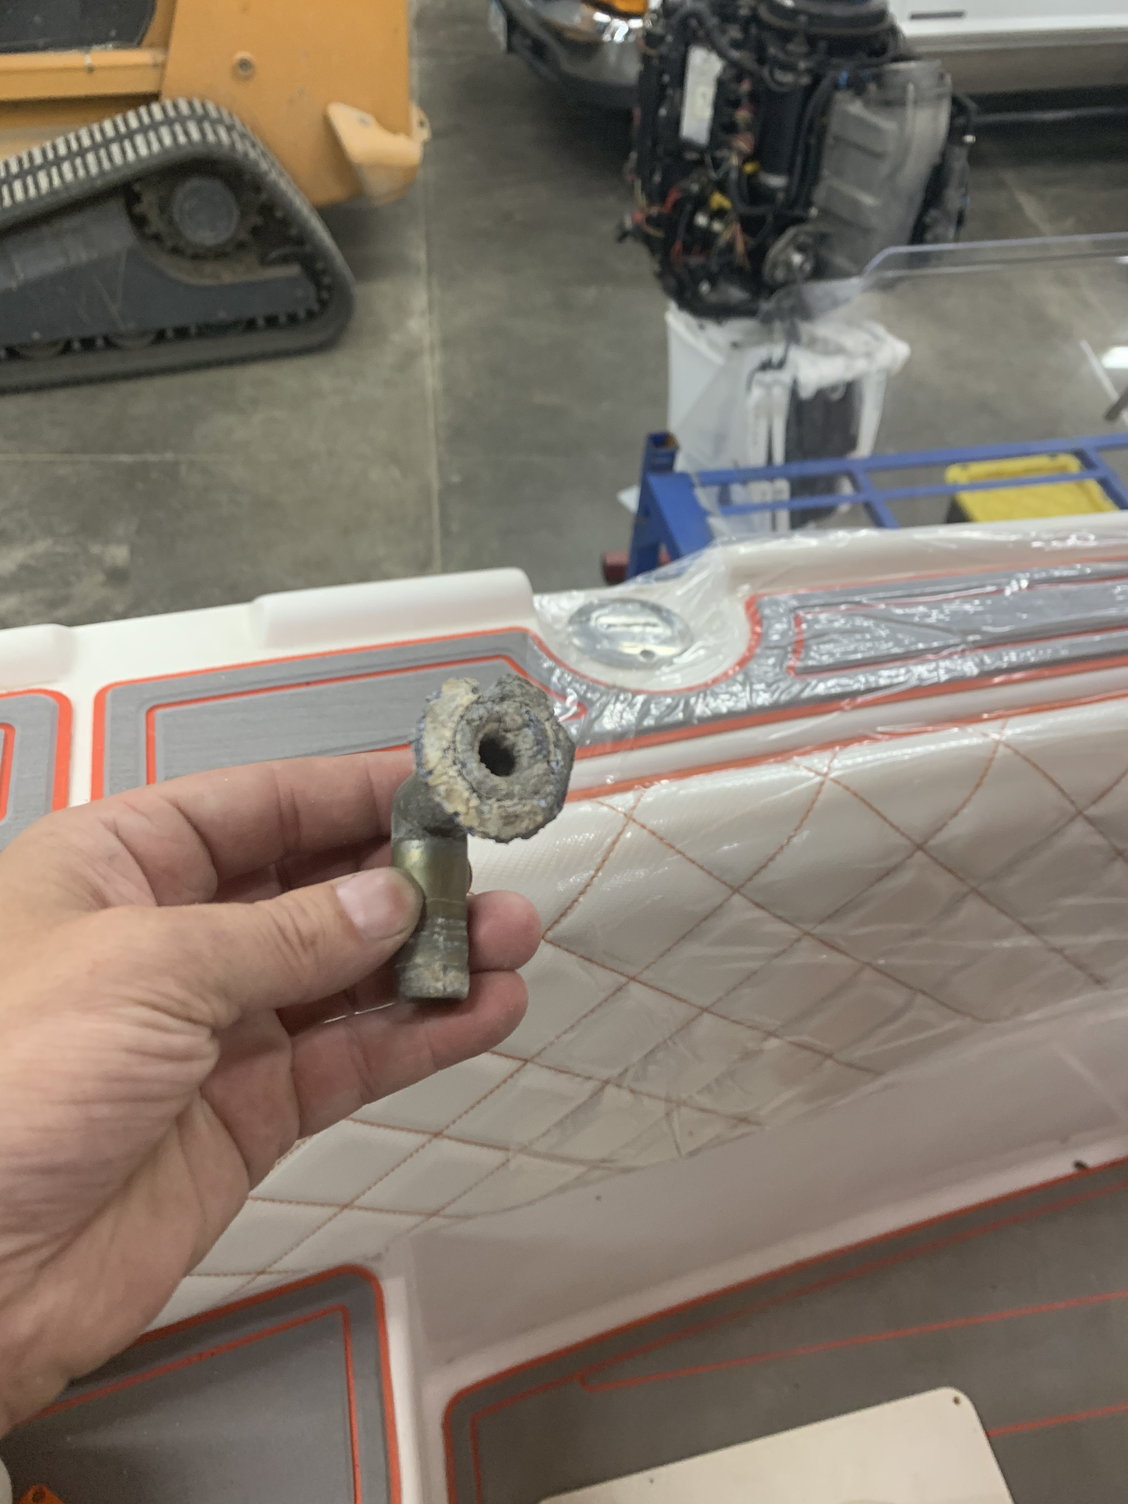
What was left of the old thru hull vent

What was left of the old thru hull vent
Last edited by iaoutlaw; 07-09-2020 at 09:22 AM.
 07-09-2020 | 12:21 PM
#17
Registered


Joined: Oct 2000
Posts: 1,495
Likes: 574
From: Lake Ozark, MO USA
Would it be worth trying Salt Away wash on the wiring and the tidy up the bad connections. Rewiring that will take some time and effort. I see a lot of green corrosion on some of the water fitting. Every indication of galvanic corrosion. Ugh.... It will be nice when done though. Good luck.
07-10-2020 | 11:52 AM
#18
Thread Starter
Registered
Joined: Feb 2011
Posts: 375
Likes: 124
From: North Liberty, IA
Helmwurst- we did try cleaning up the connections a bit but since we are planning on keeping the boat for quite awhile and it will live on a lift at LOTO it makes sense to just go ahead and replace everything while we have the ability to do so. I am ready for it to be done and actually enjoy this thing.
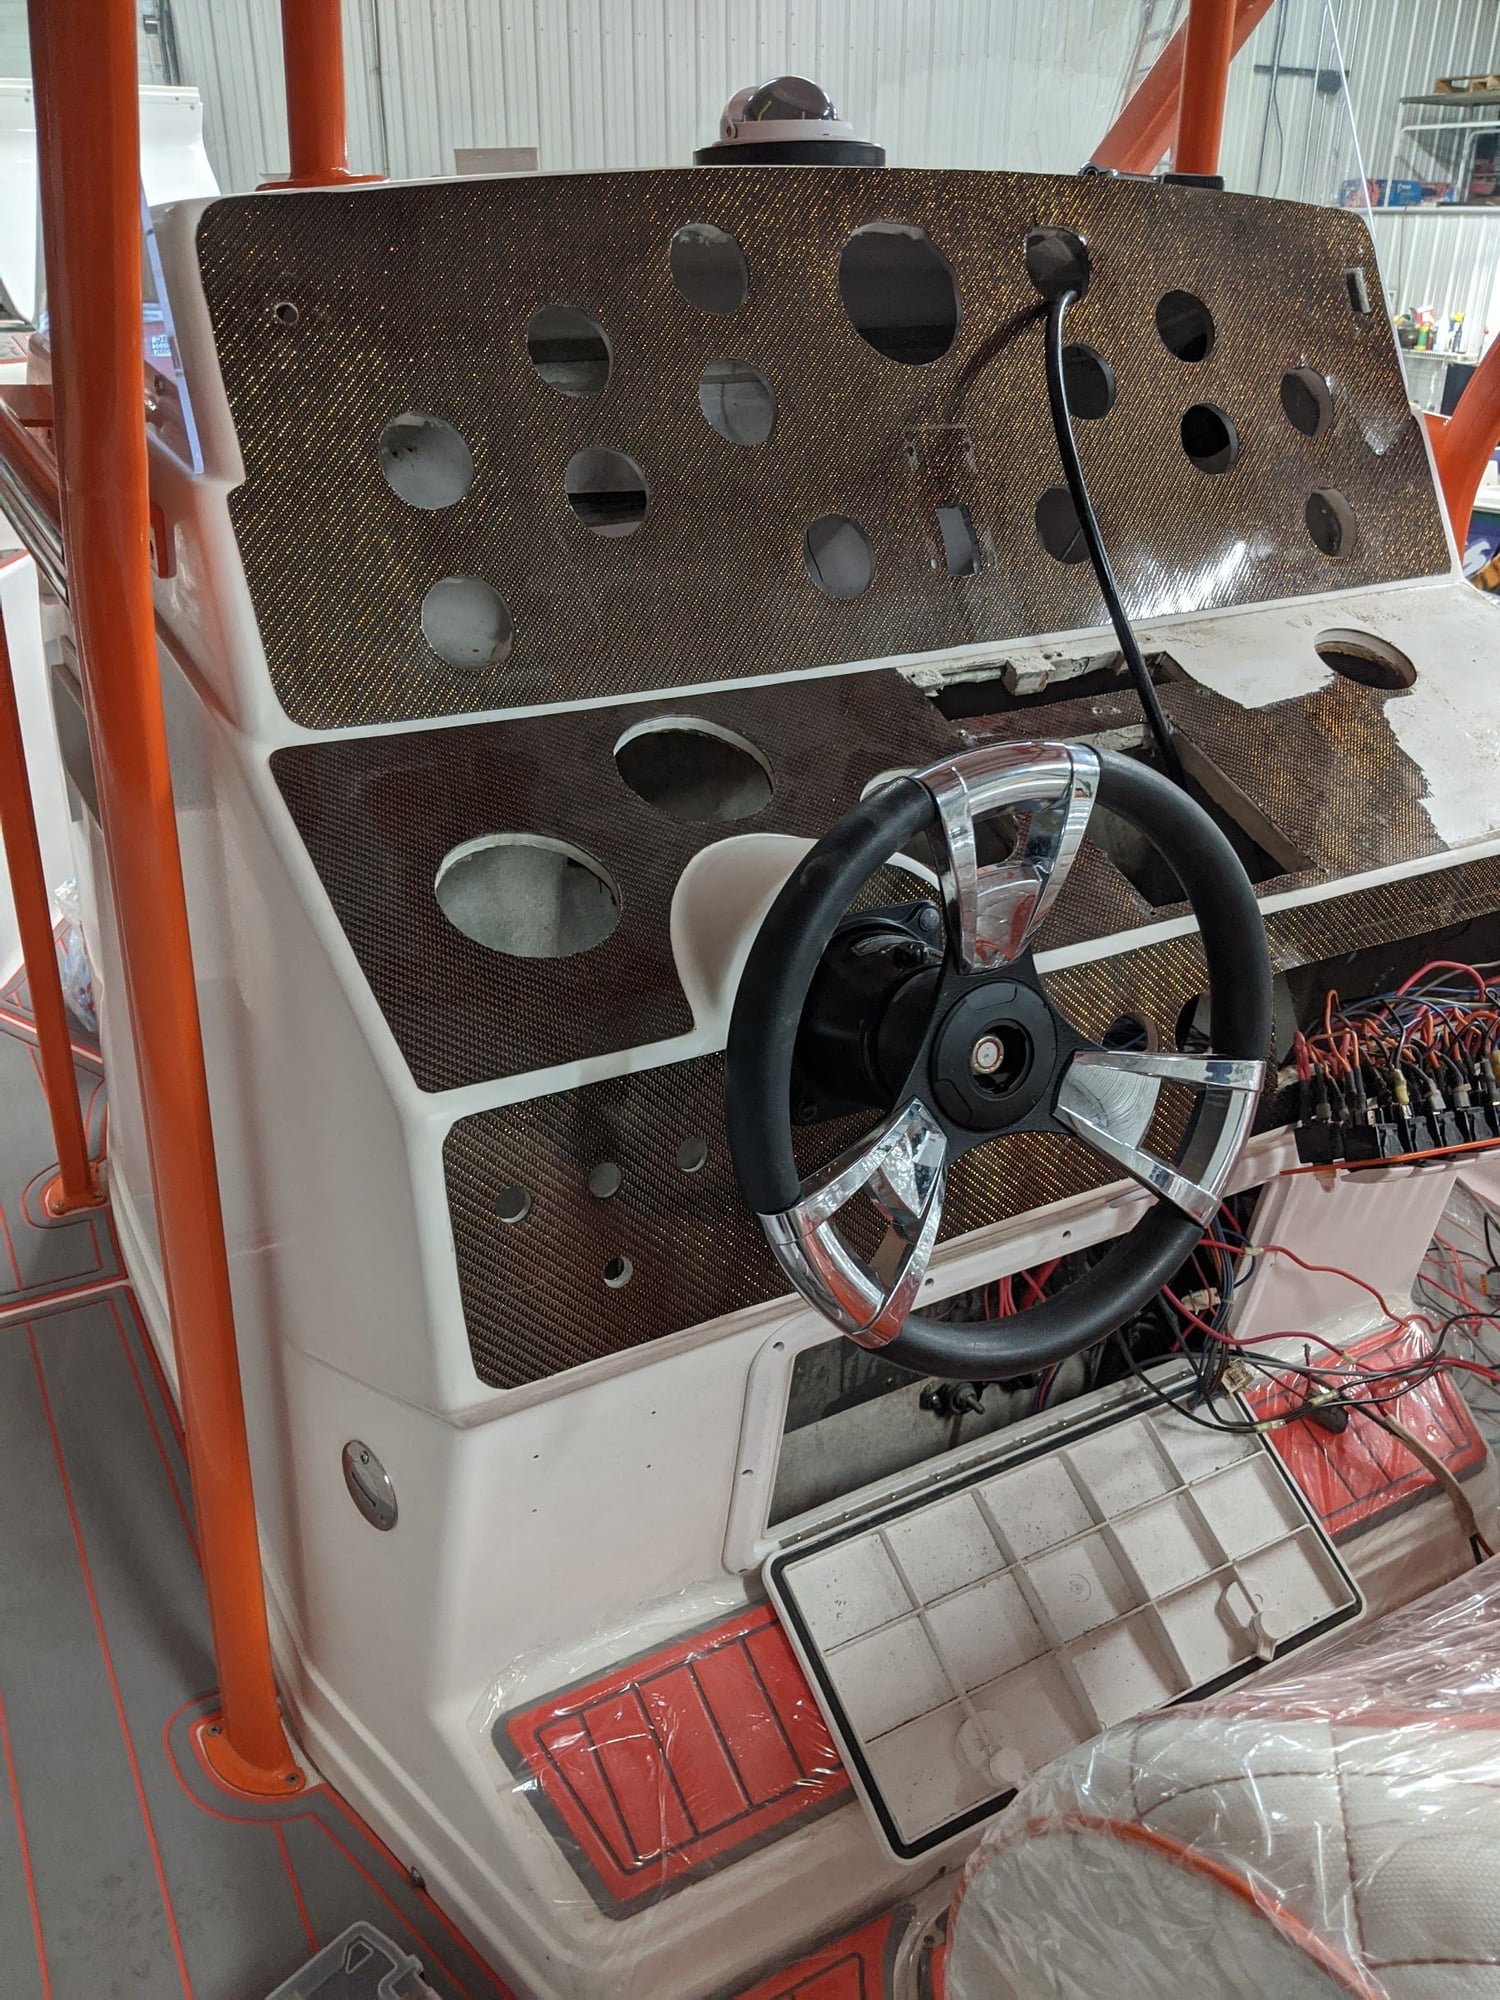
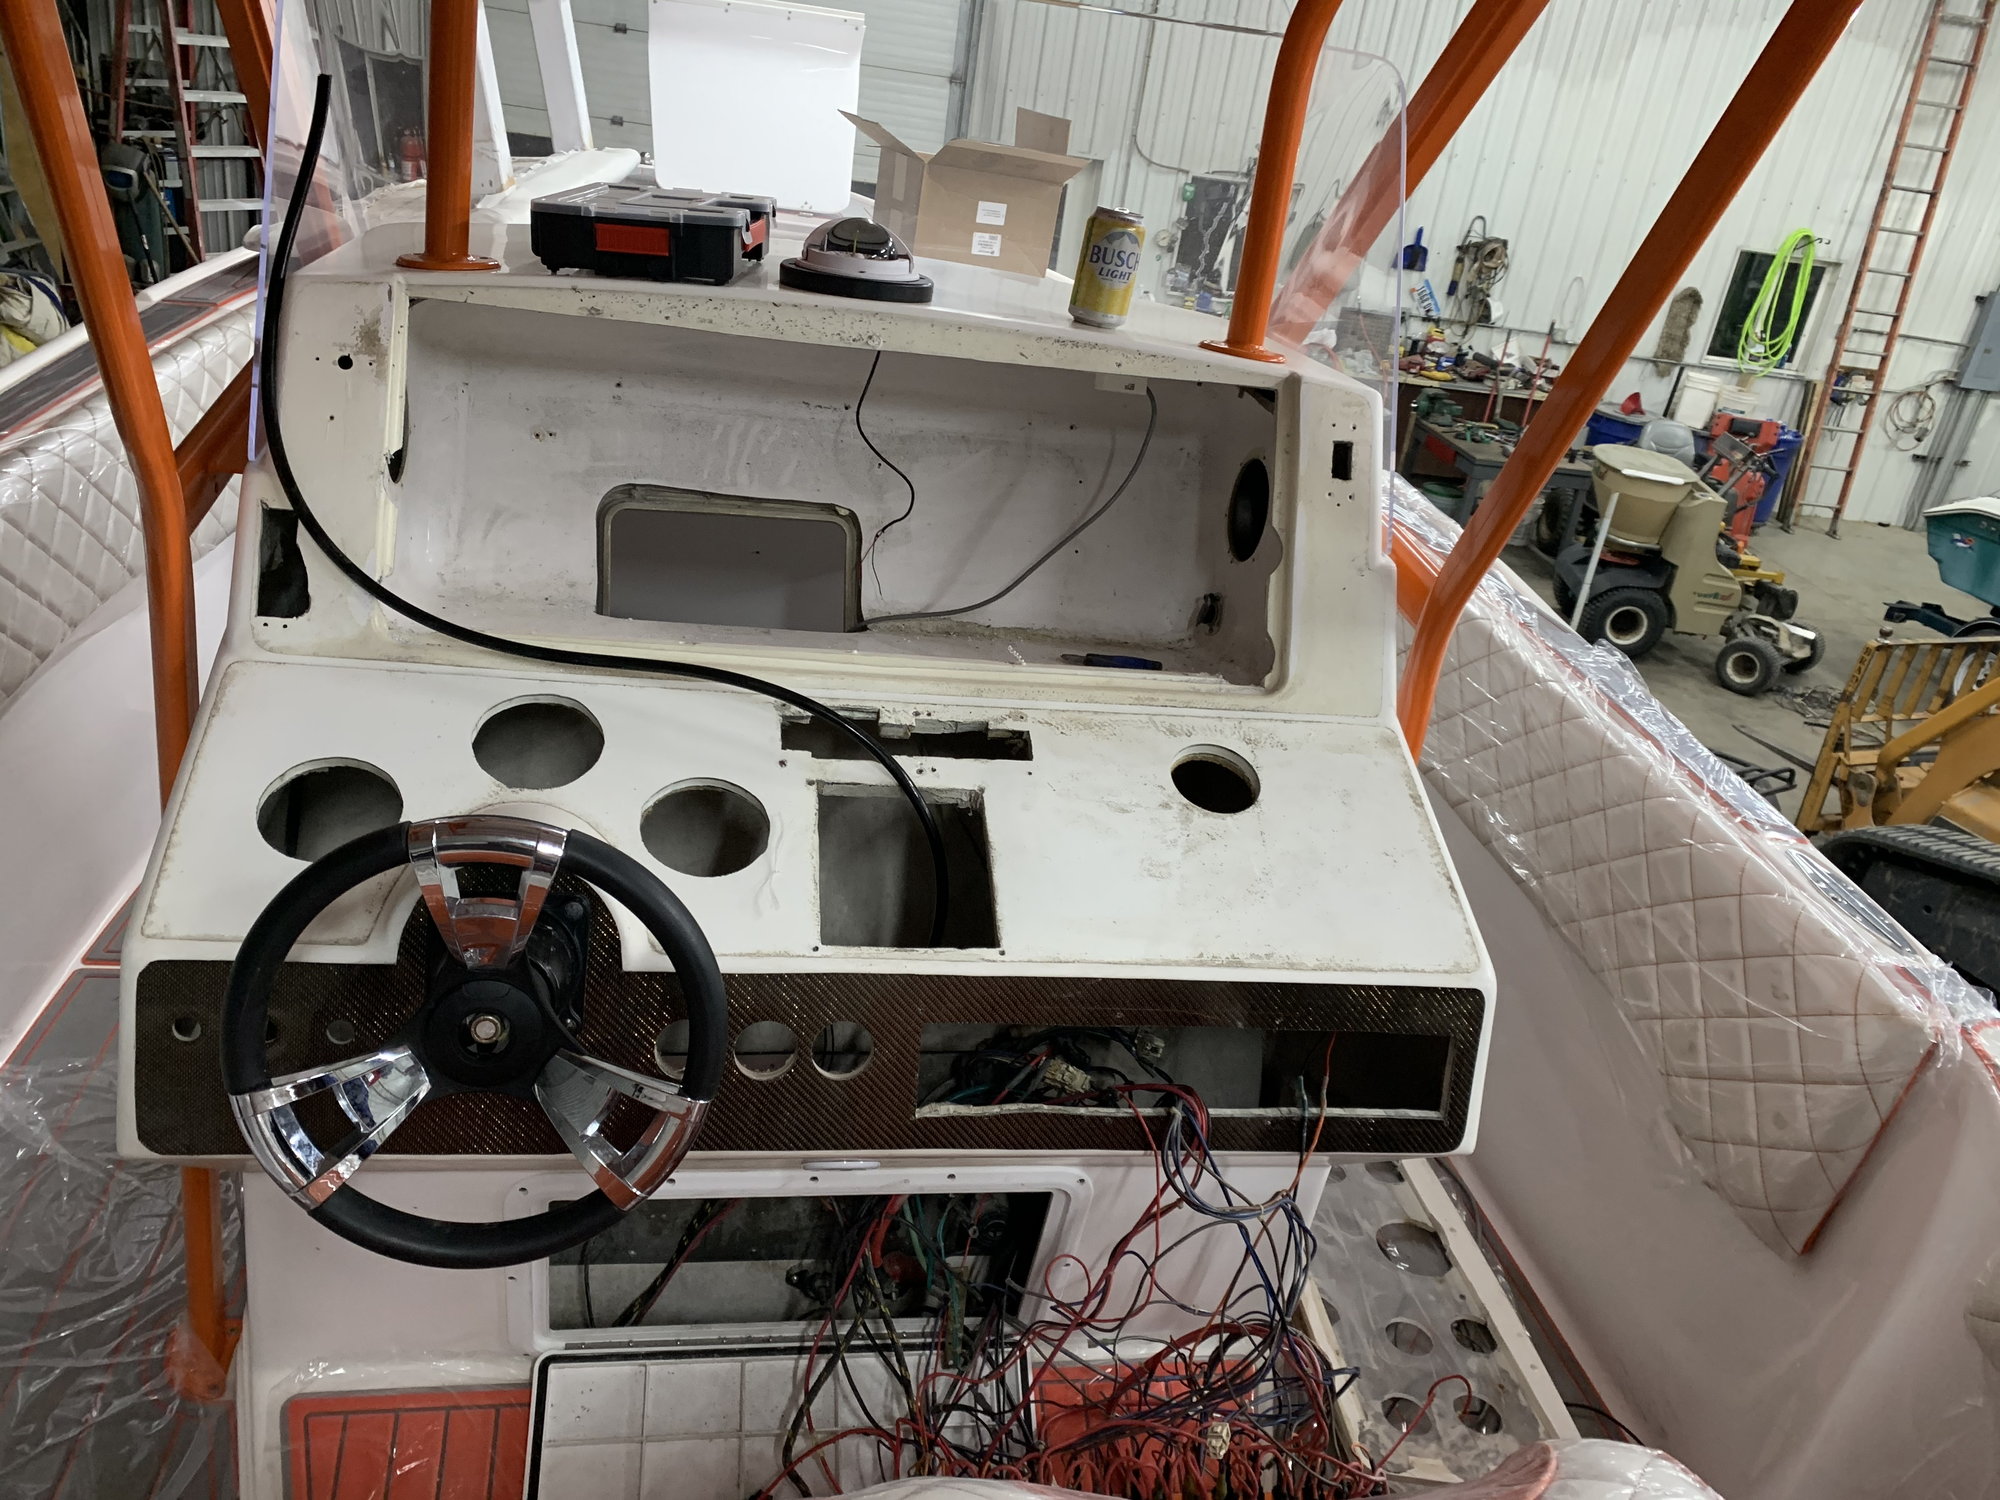
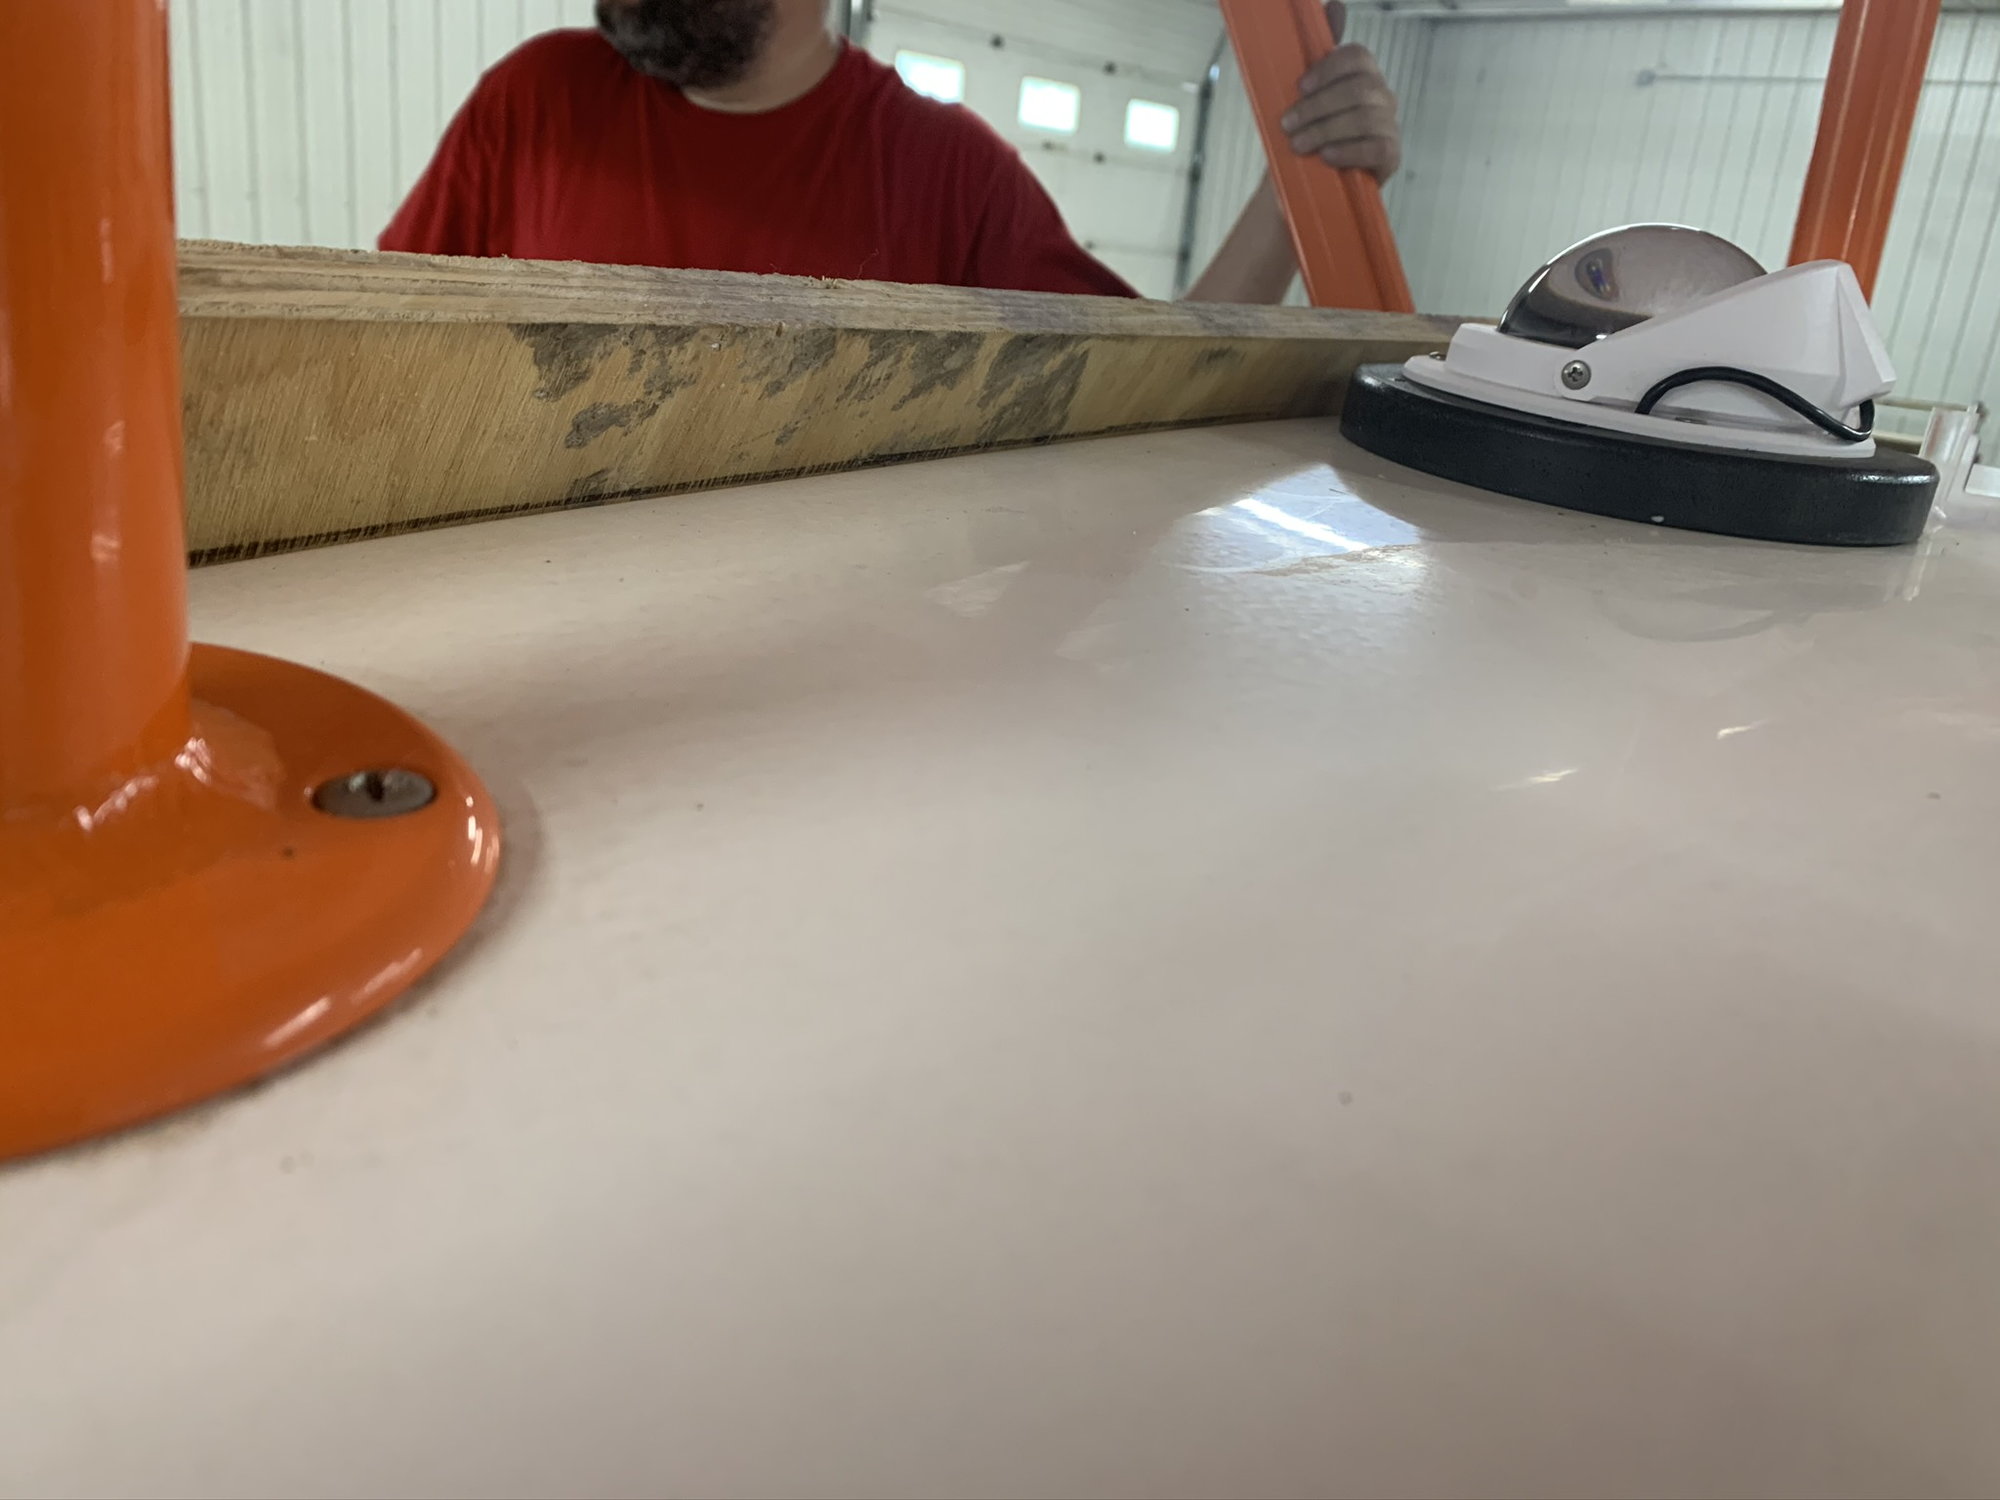
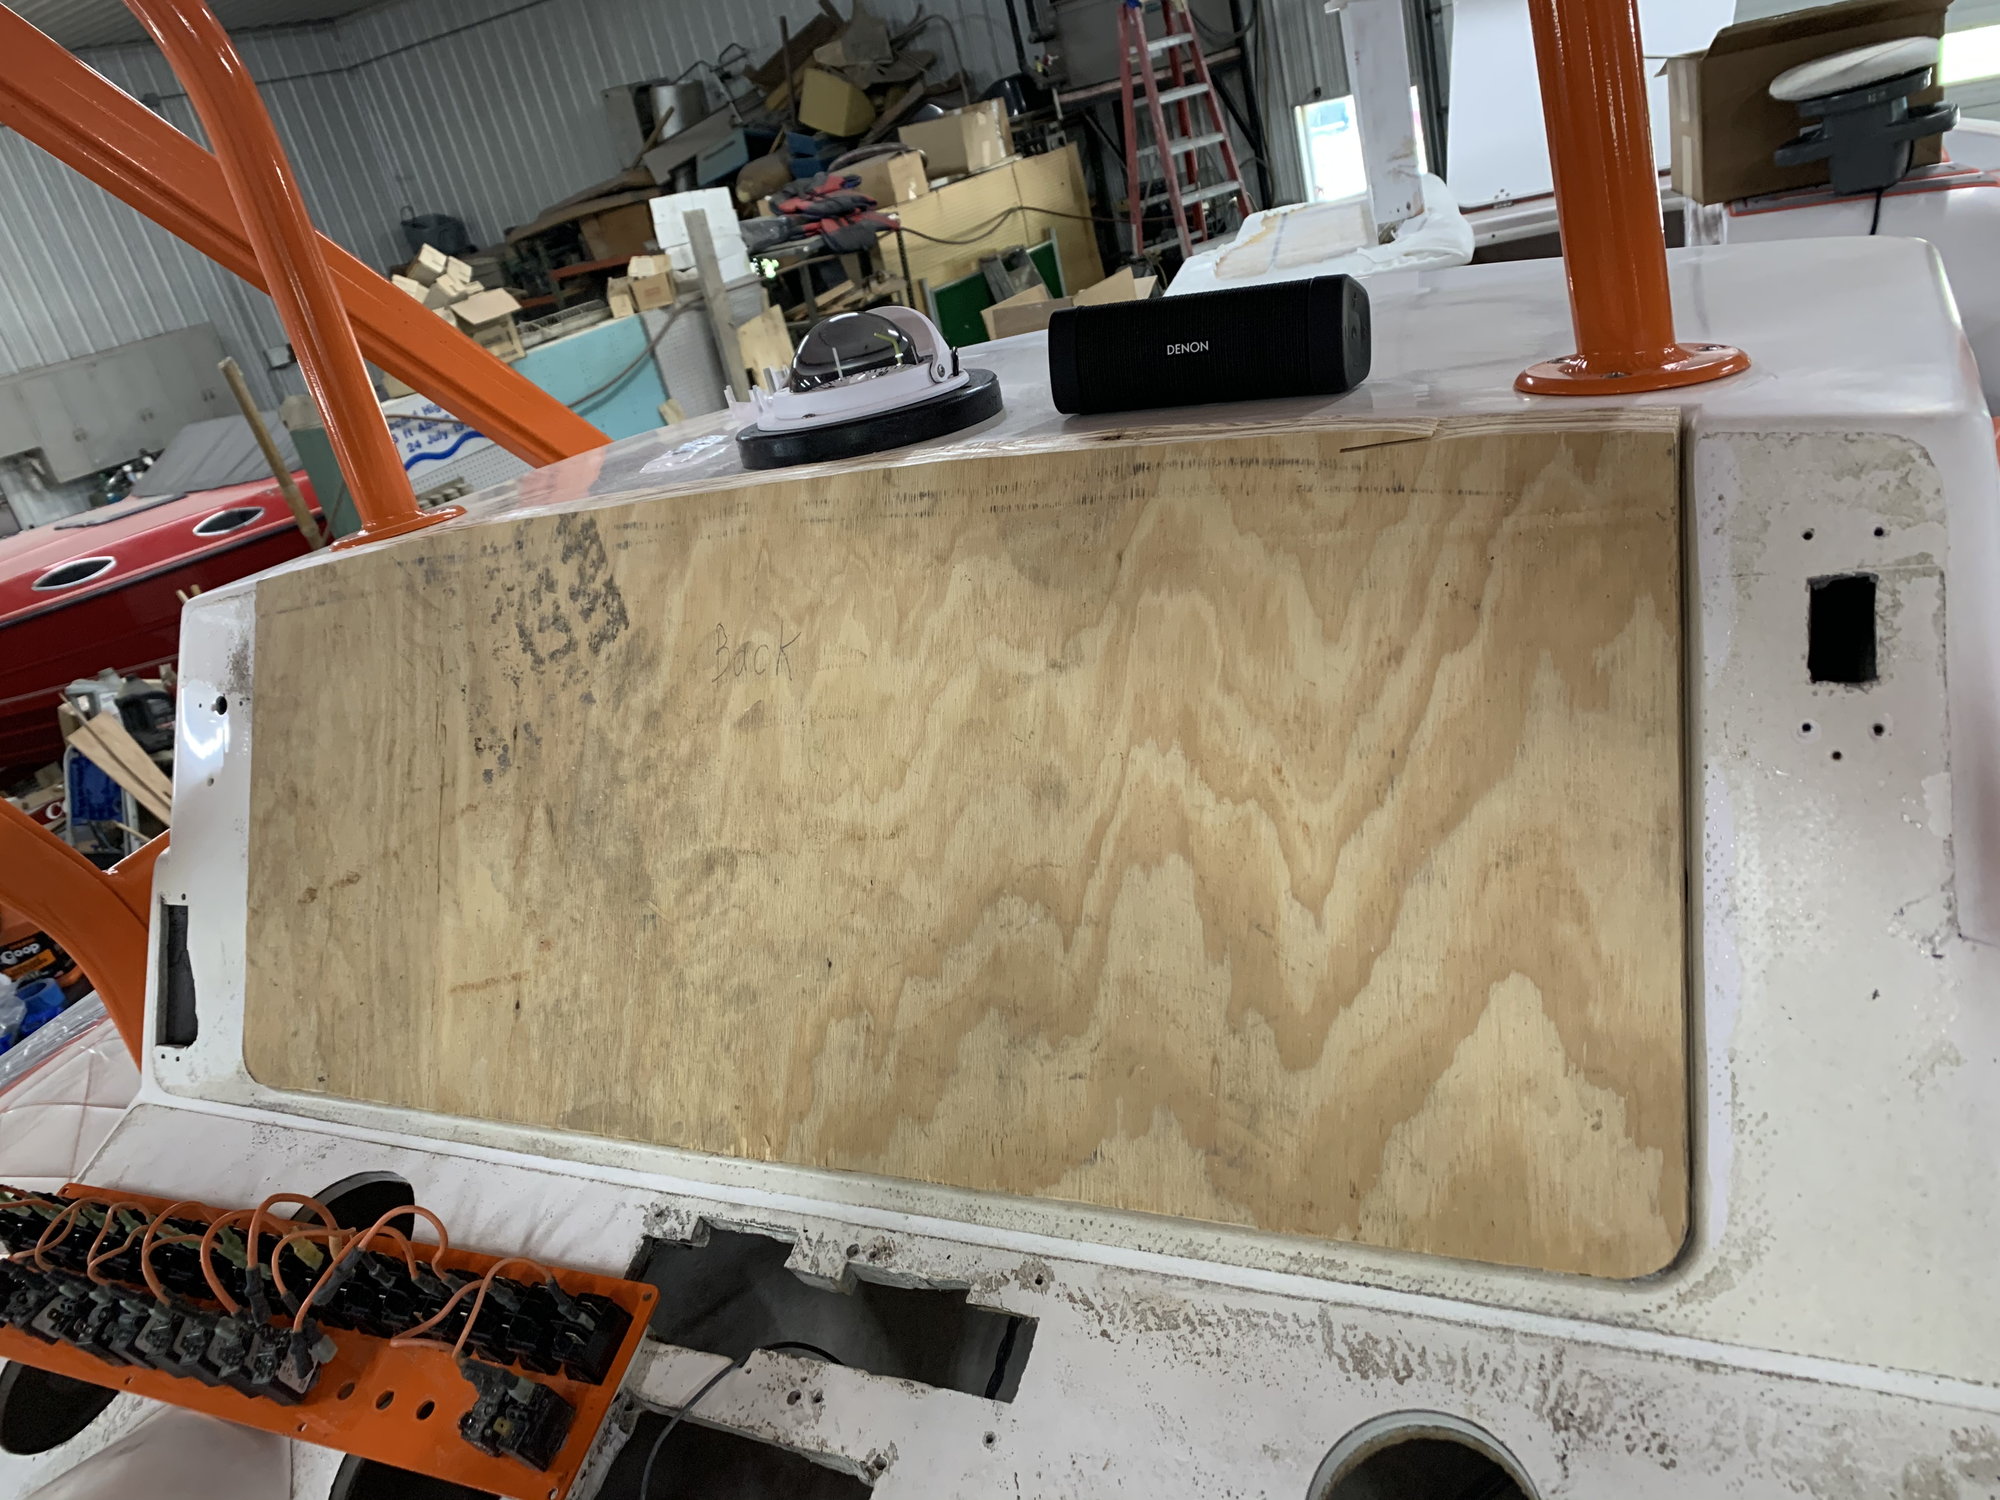
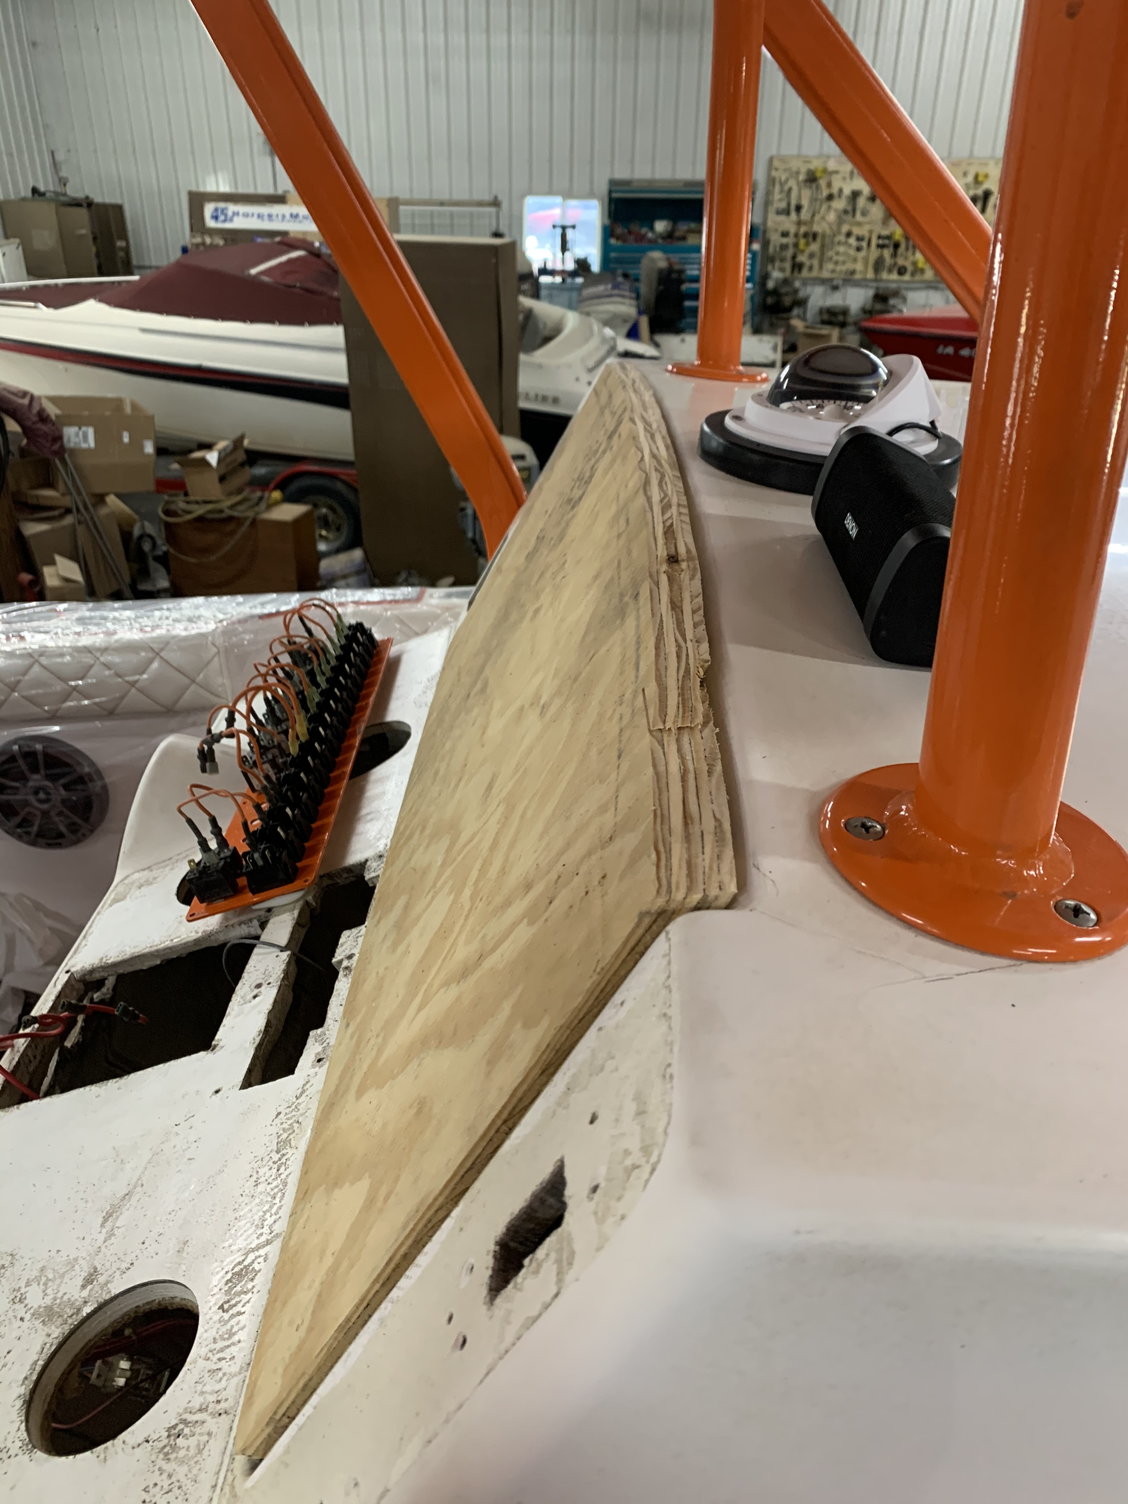
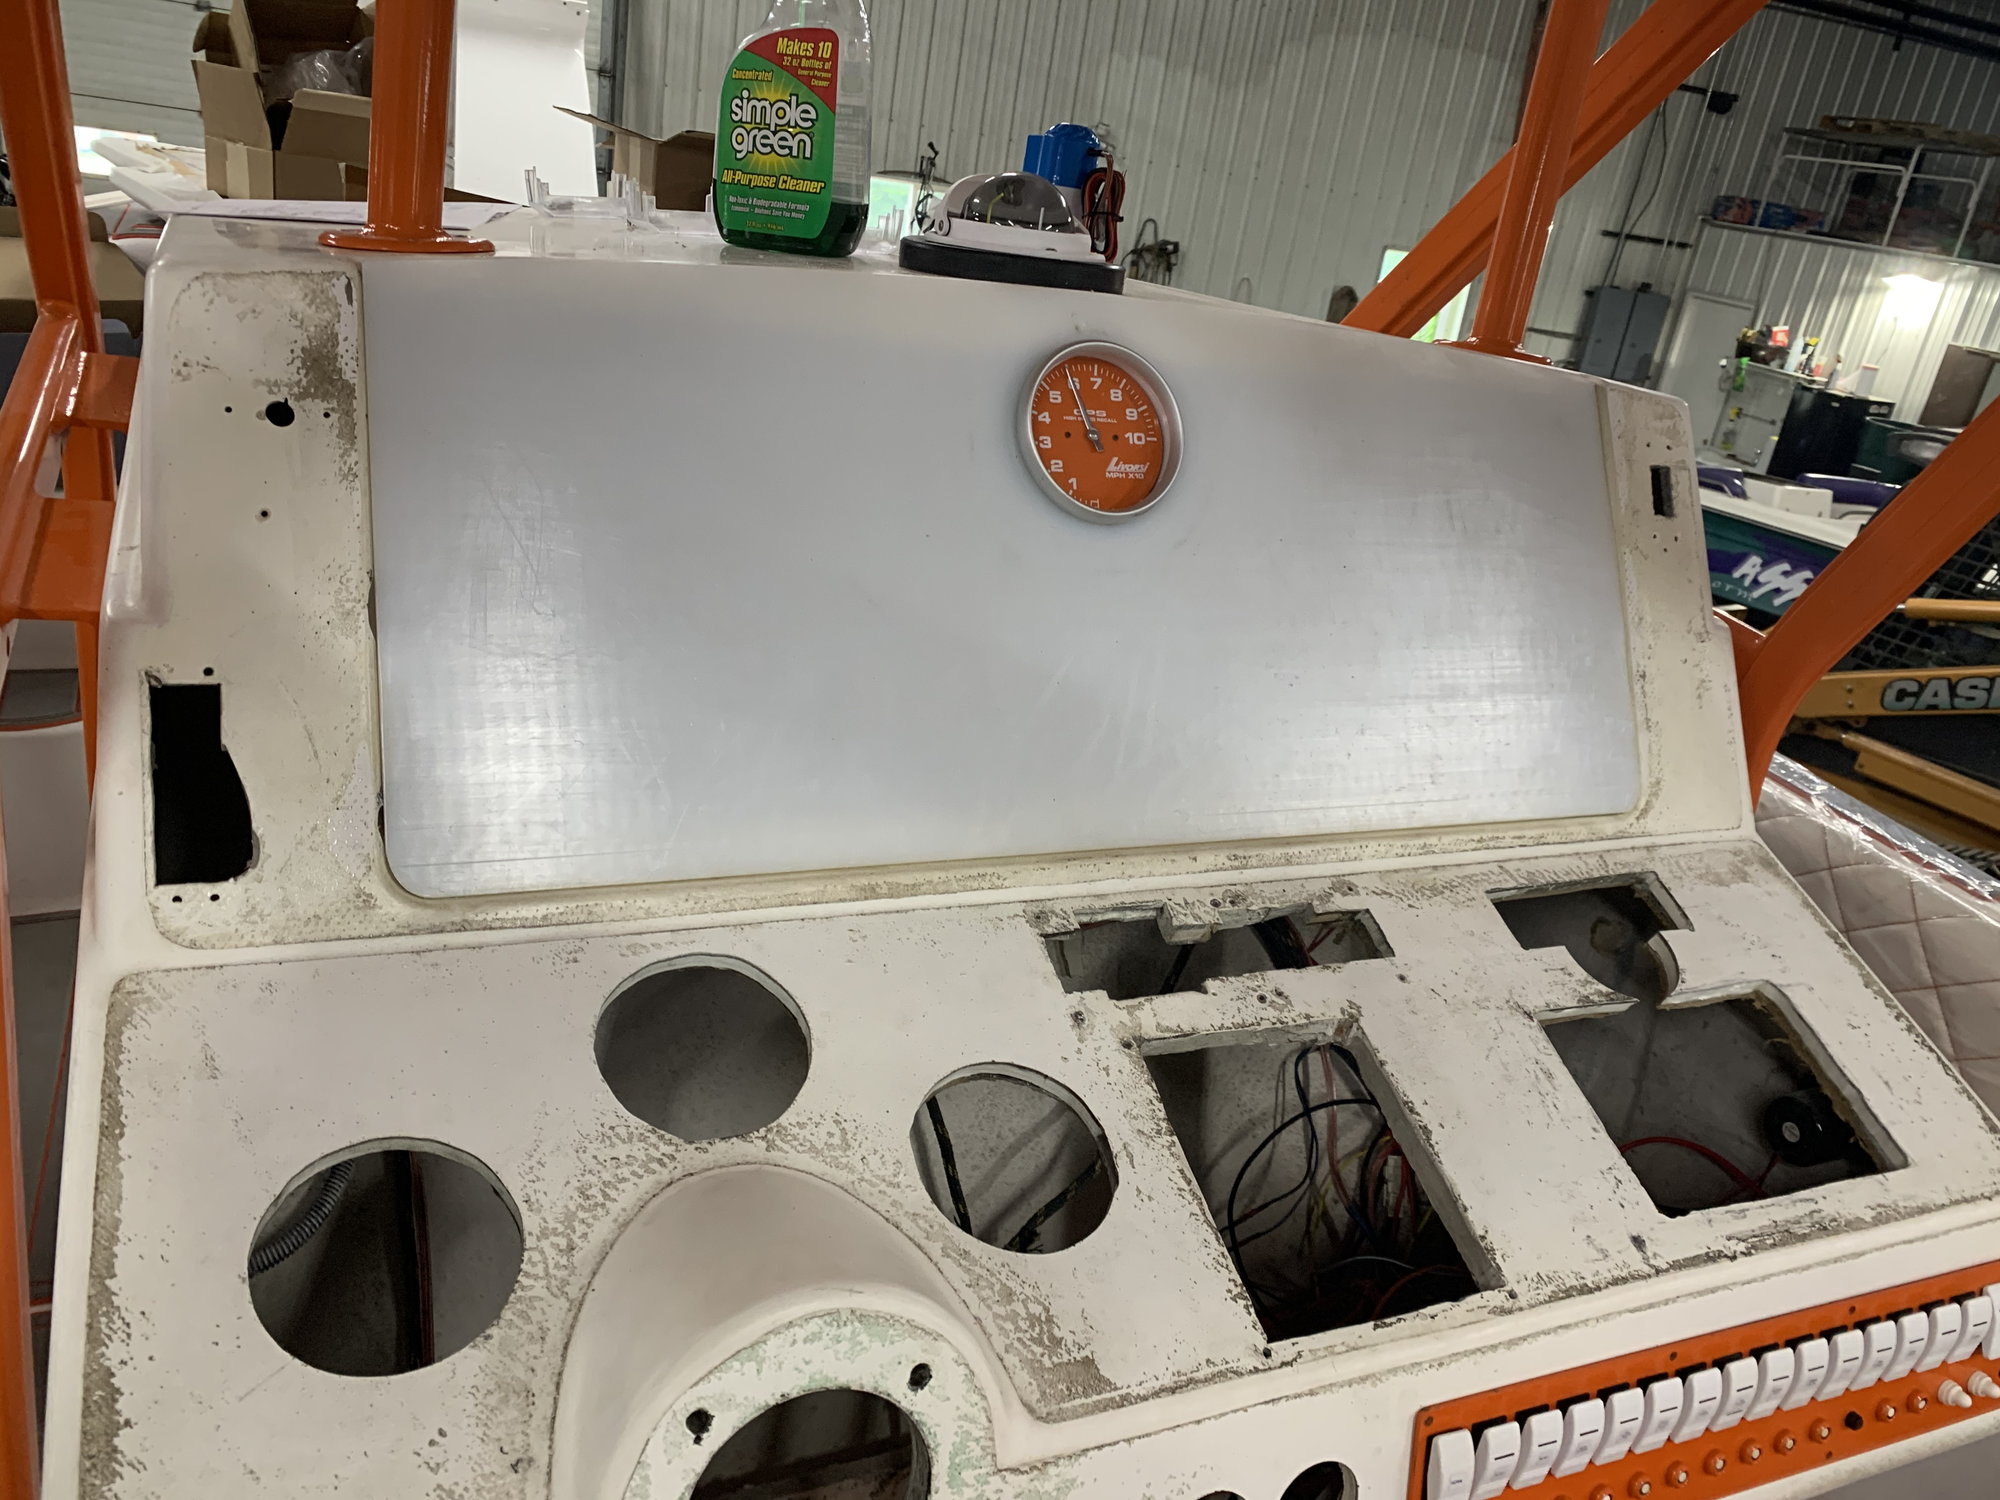
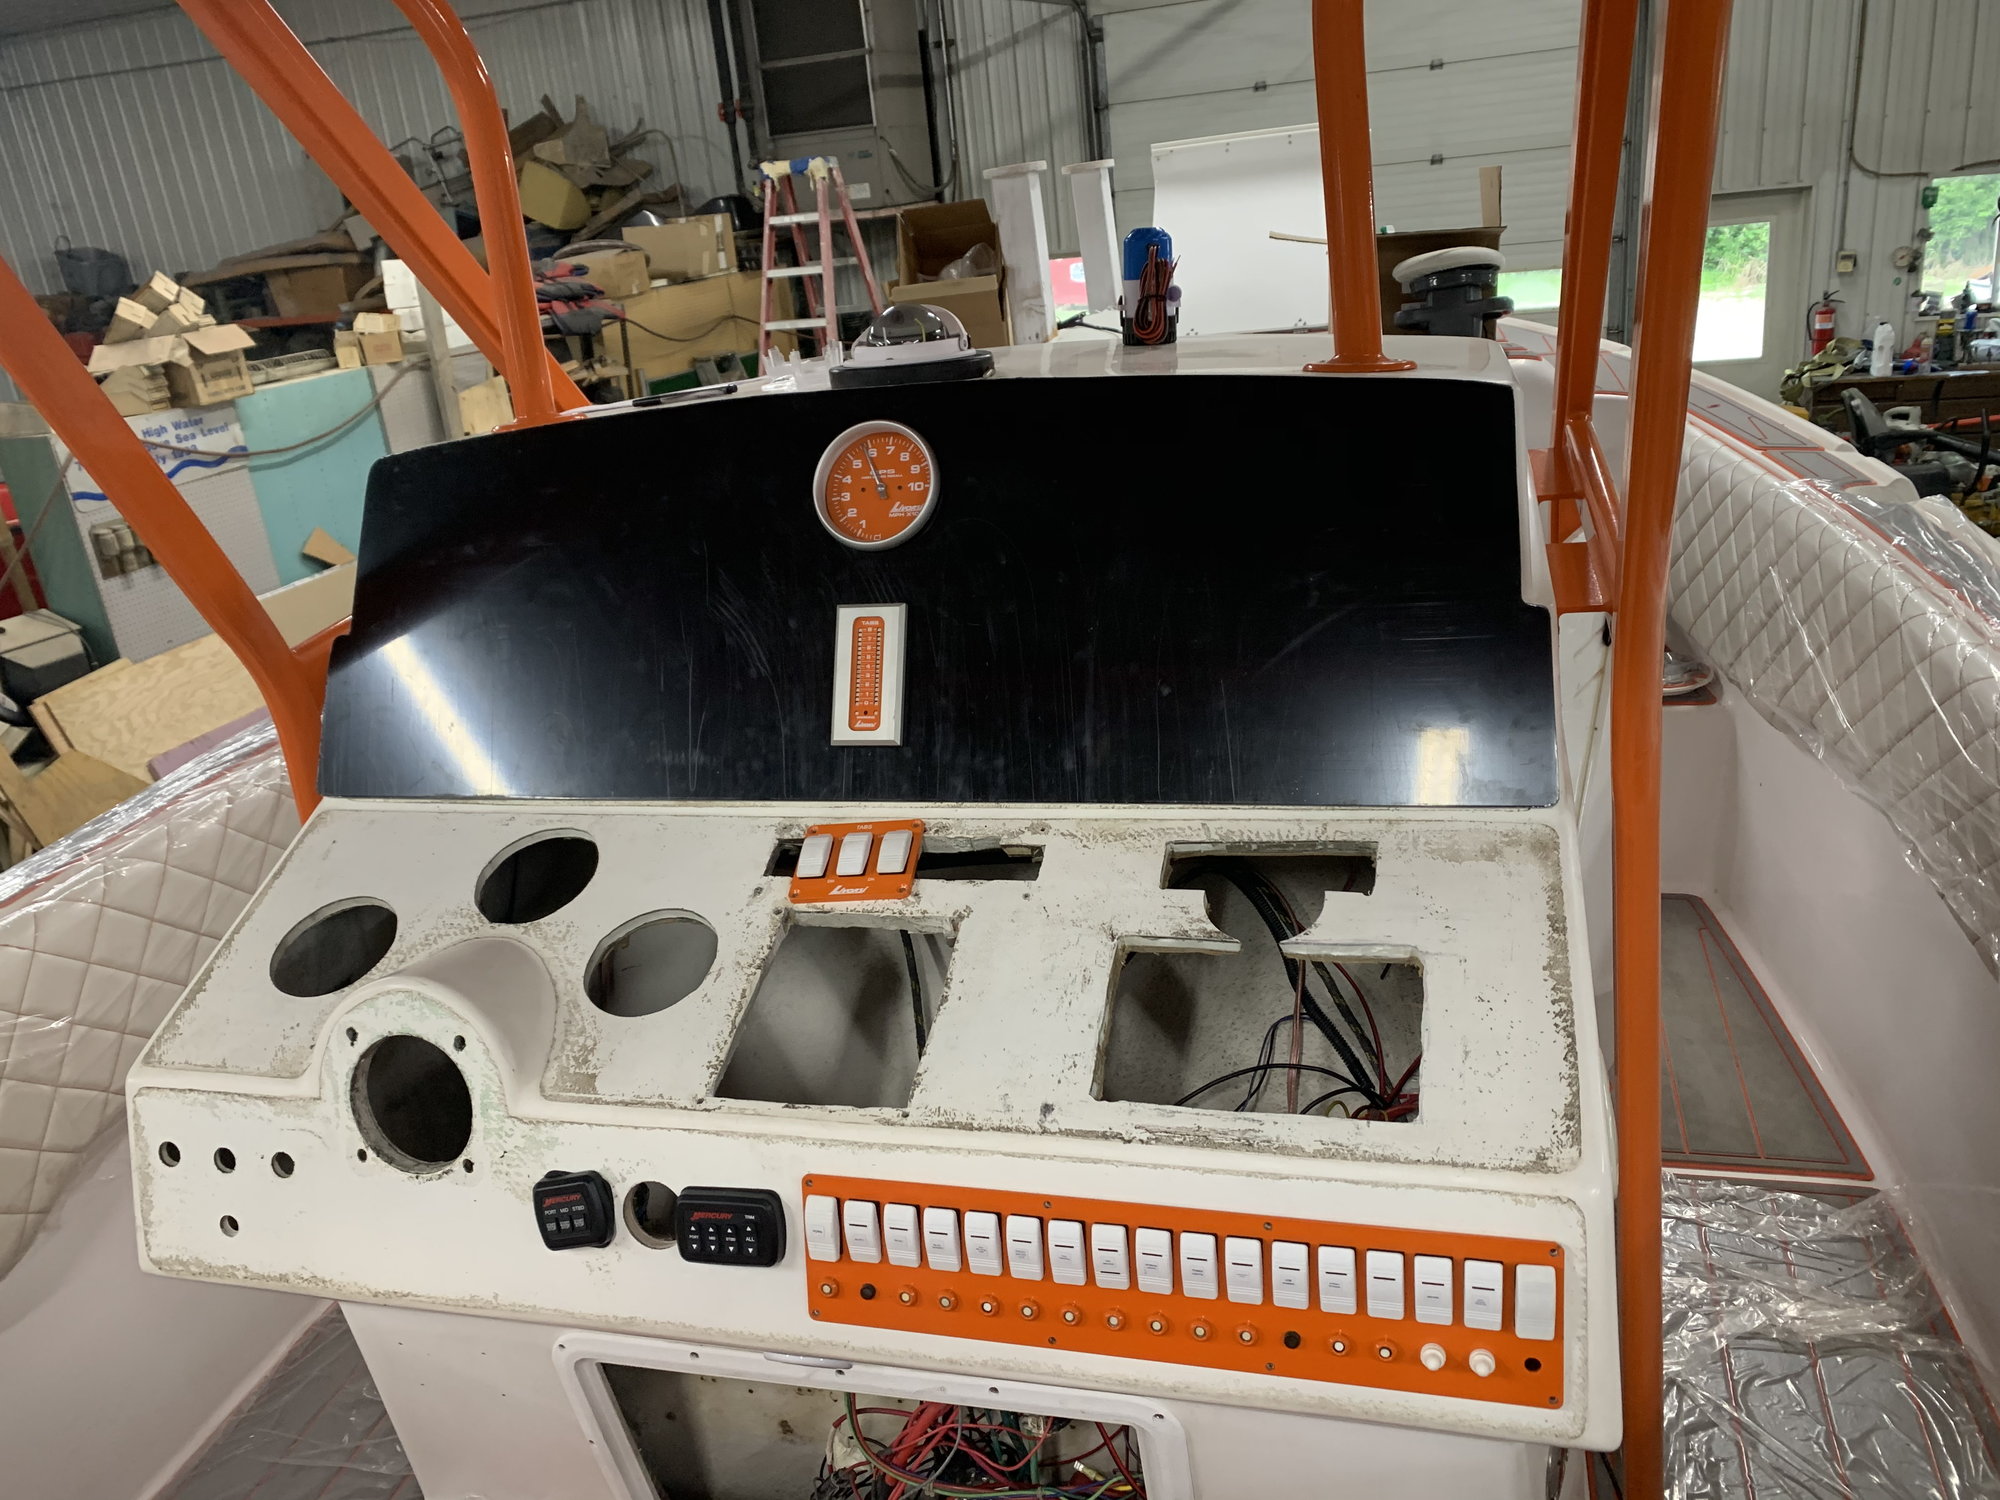
Taking a break from all the wiring issues I started to work on the dash. With the old glove box in pieces we decided to cut a new backing plate that would support new MFD displays and give us a clean sheet to work with. I used a scrap piece of 3/4" plywood to mock up the backing plate and get all the coners and angles close before we cut the plastic backing board. This process worked pretty well and gave us a nice flat surface to mount the metal face plate to.
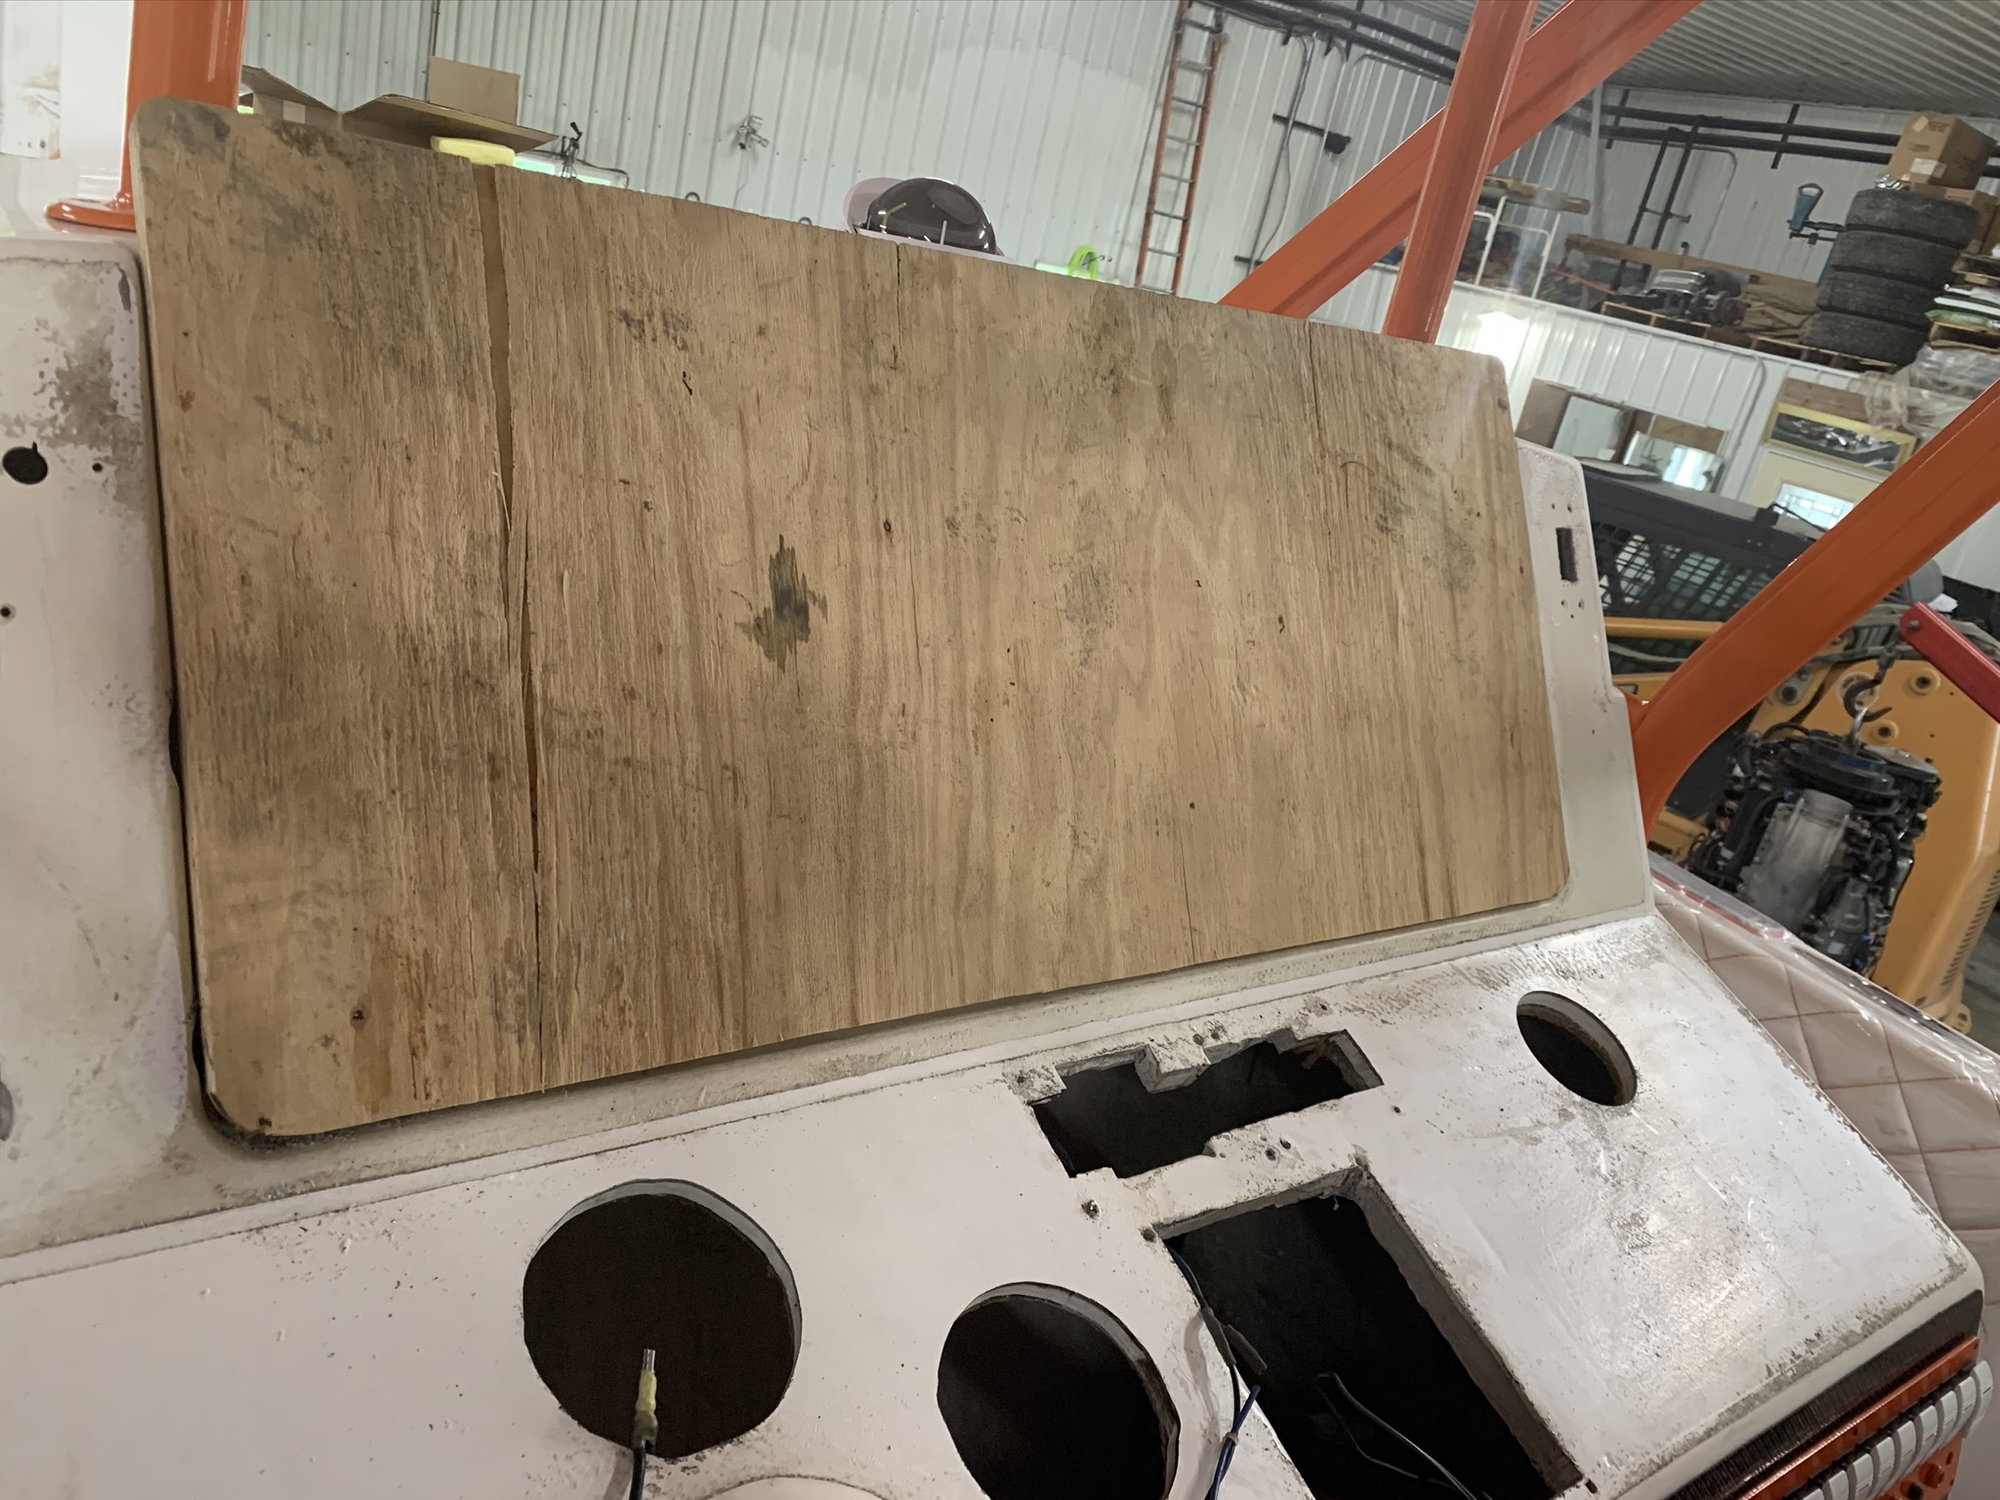
First rough cut
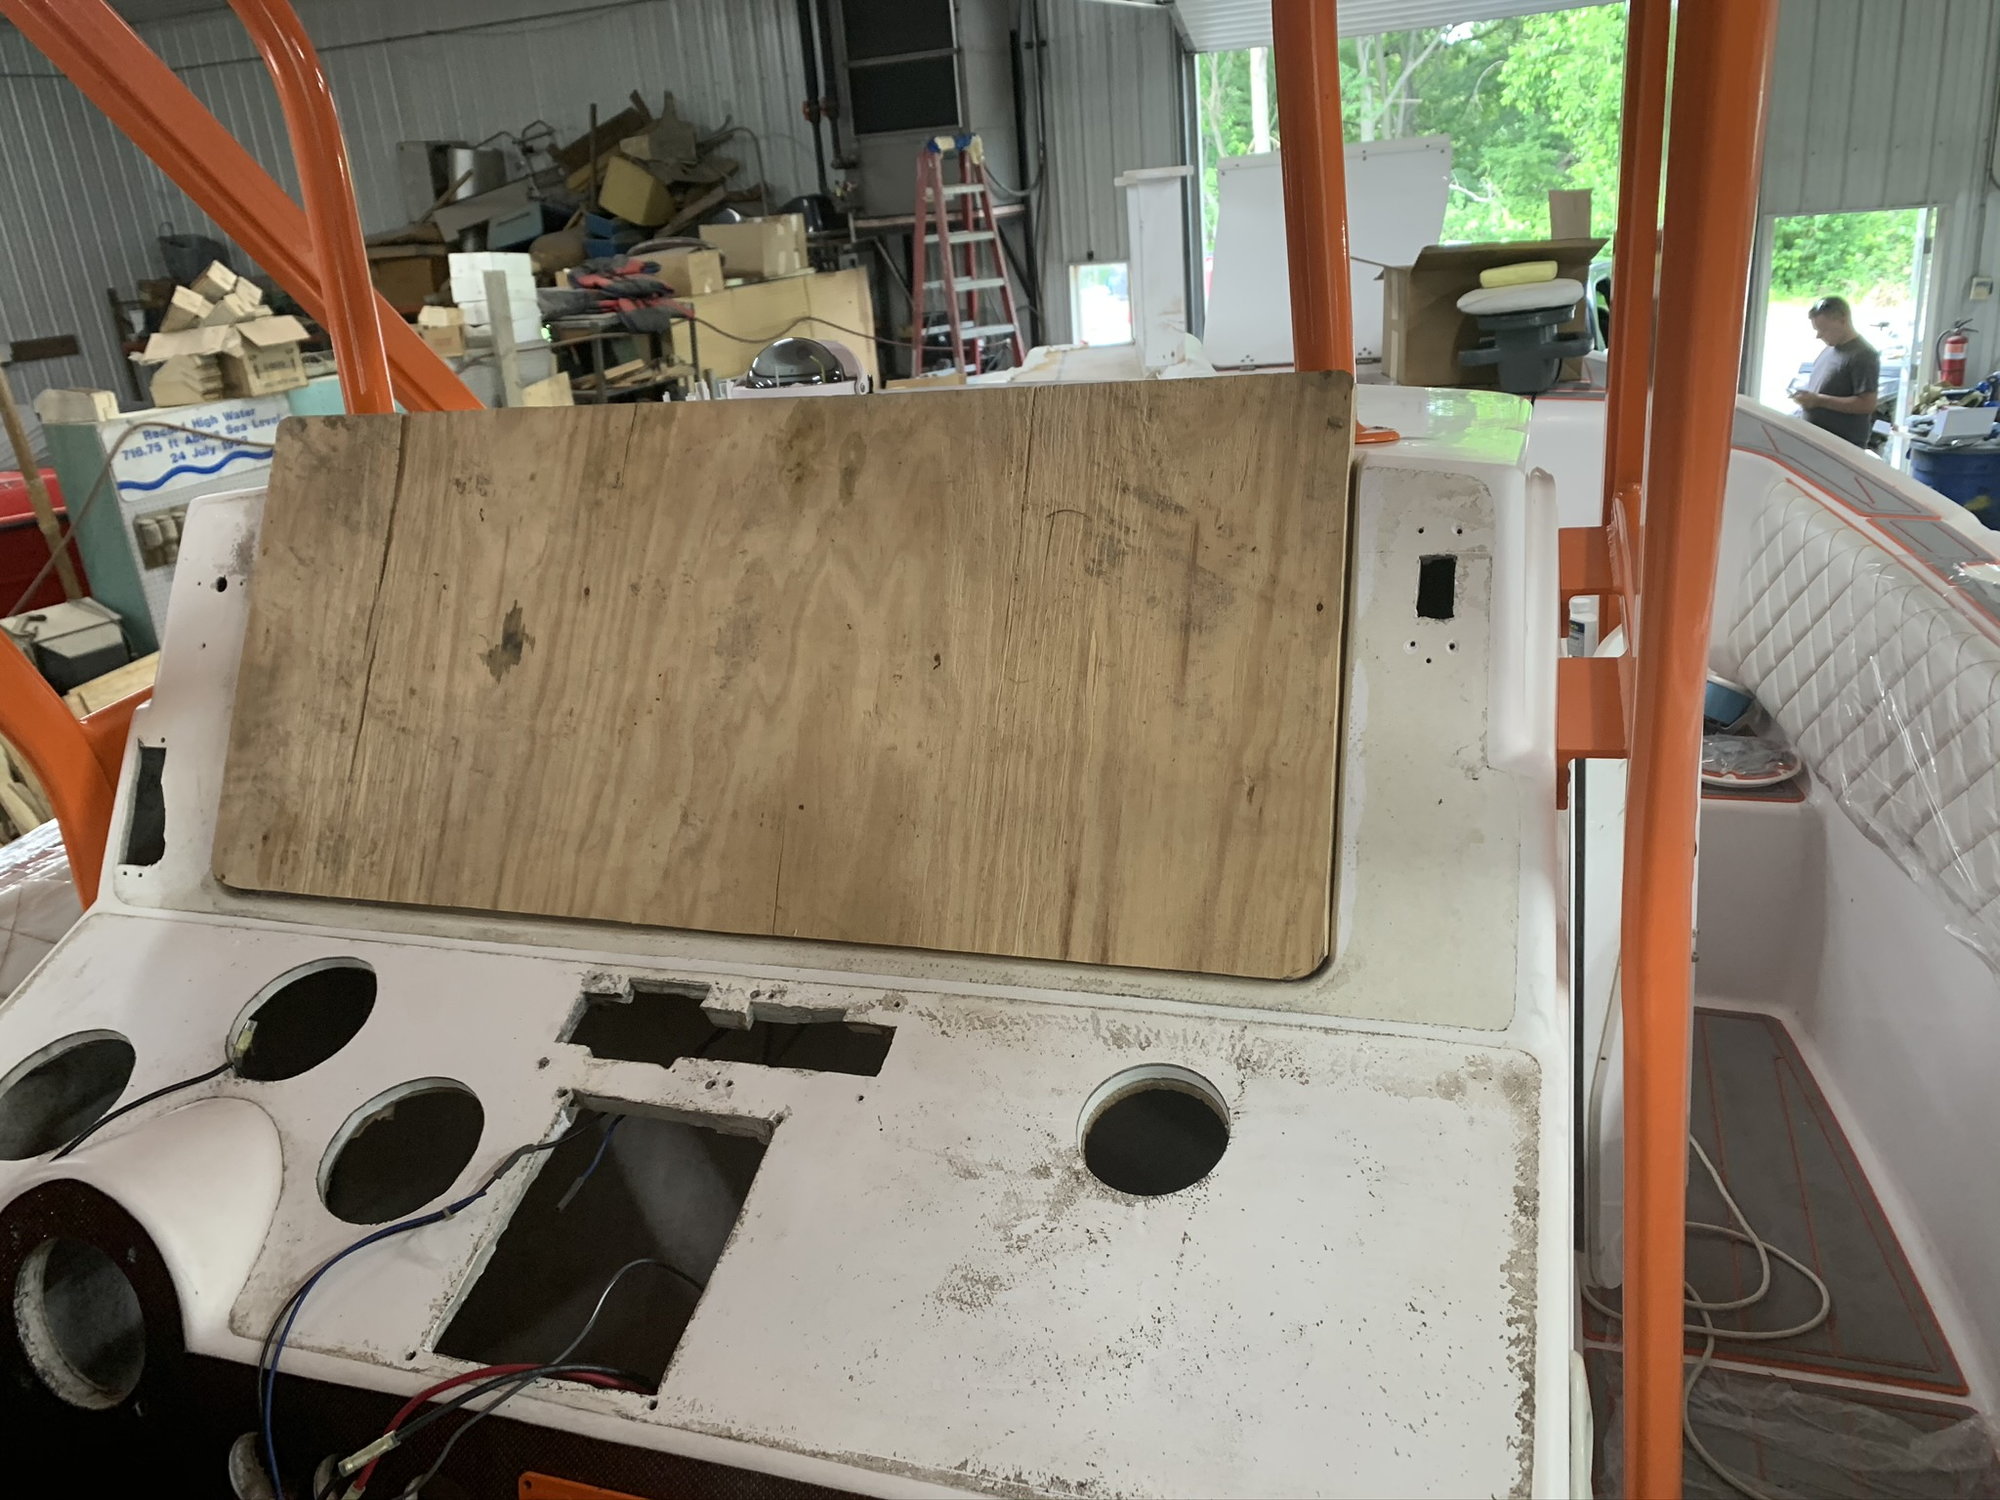
Traced the curve of the dash on the backside to get a perfect fit
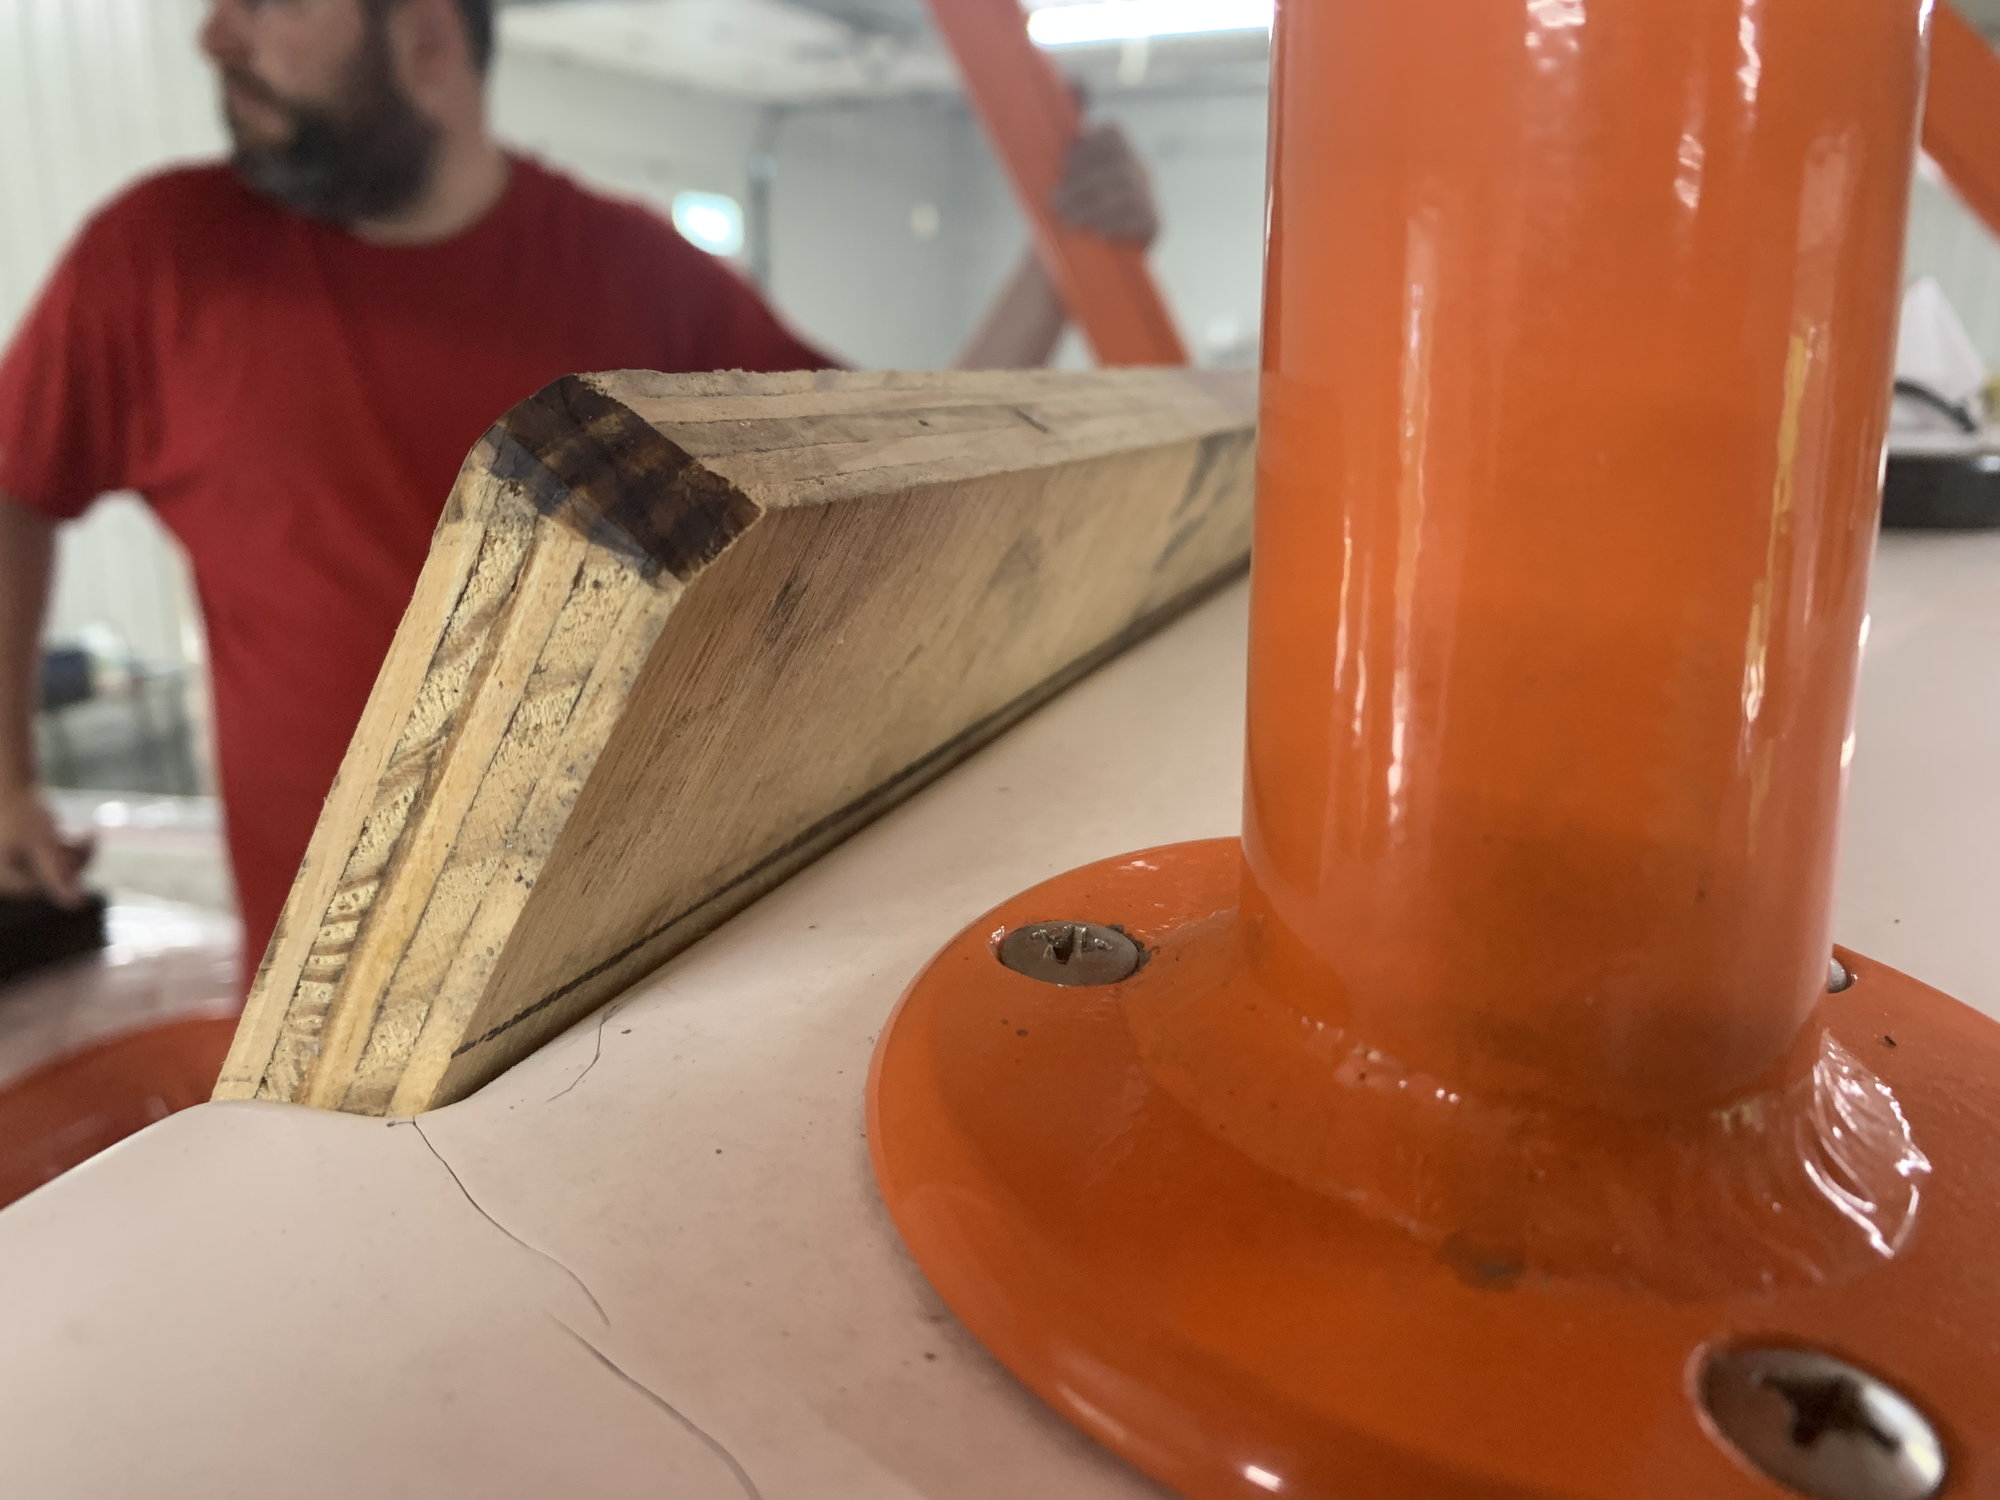
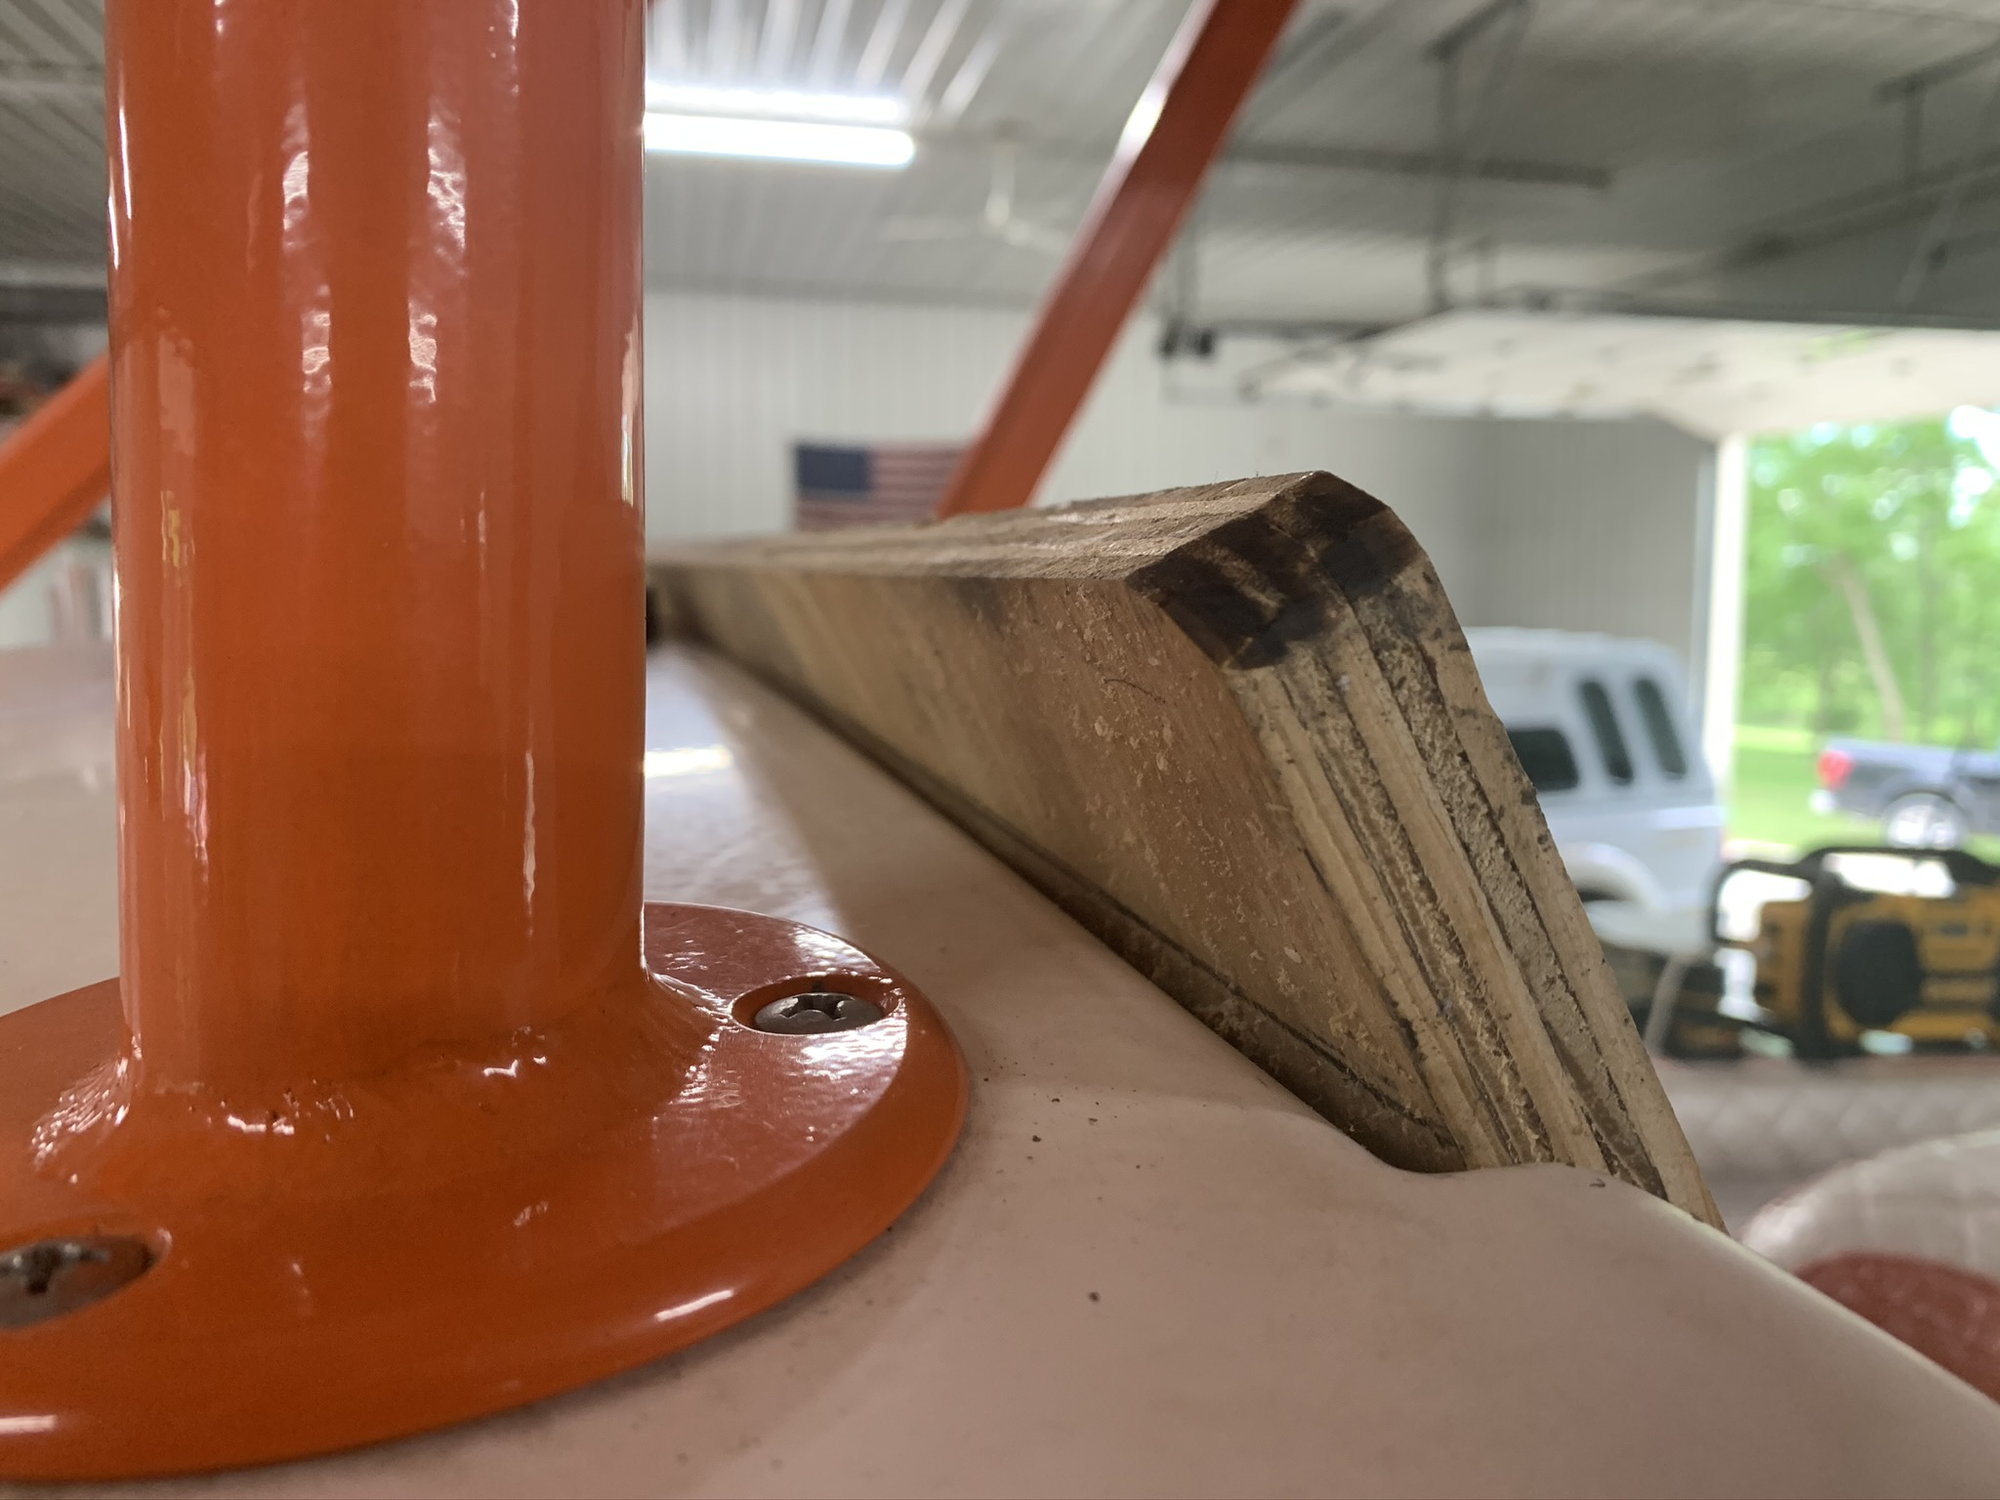
Cut along the traced line with the blade angle at -45 degrees so the top edge was flush with the top of the dash
You can see the 45 degree angle better in this picture
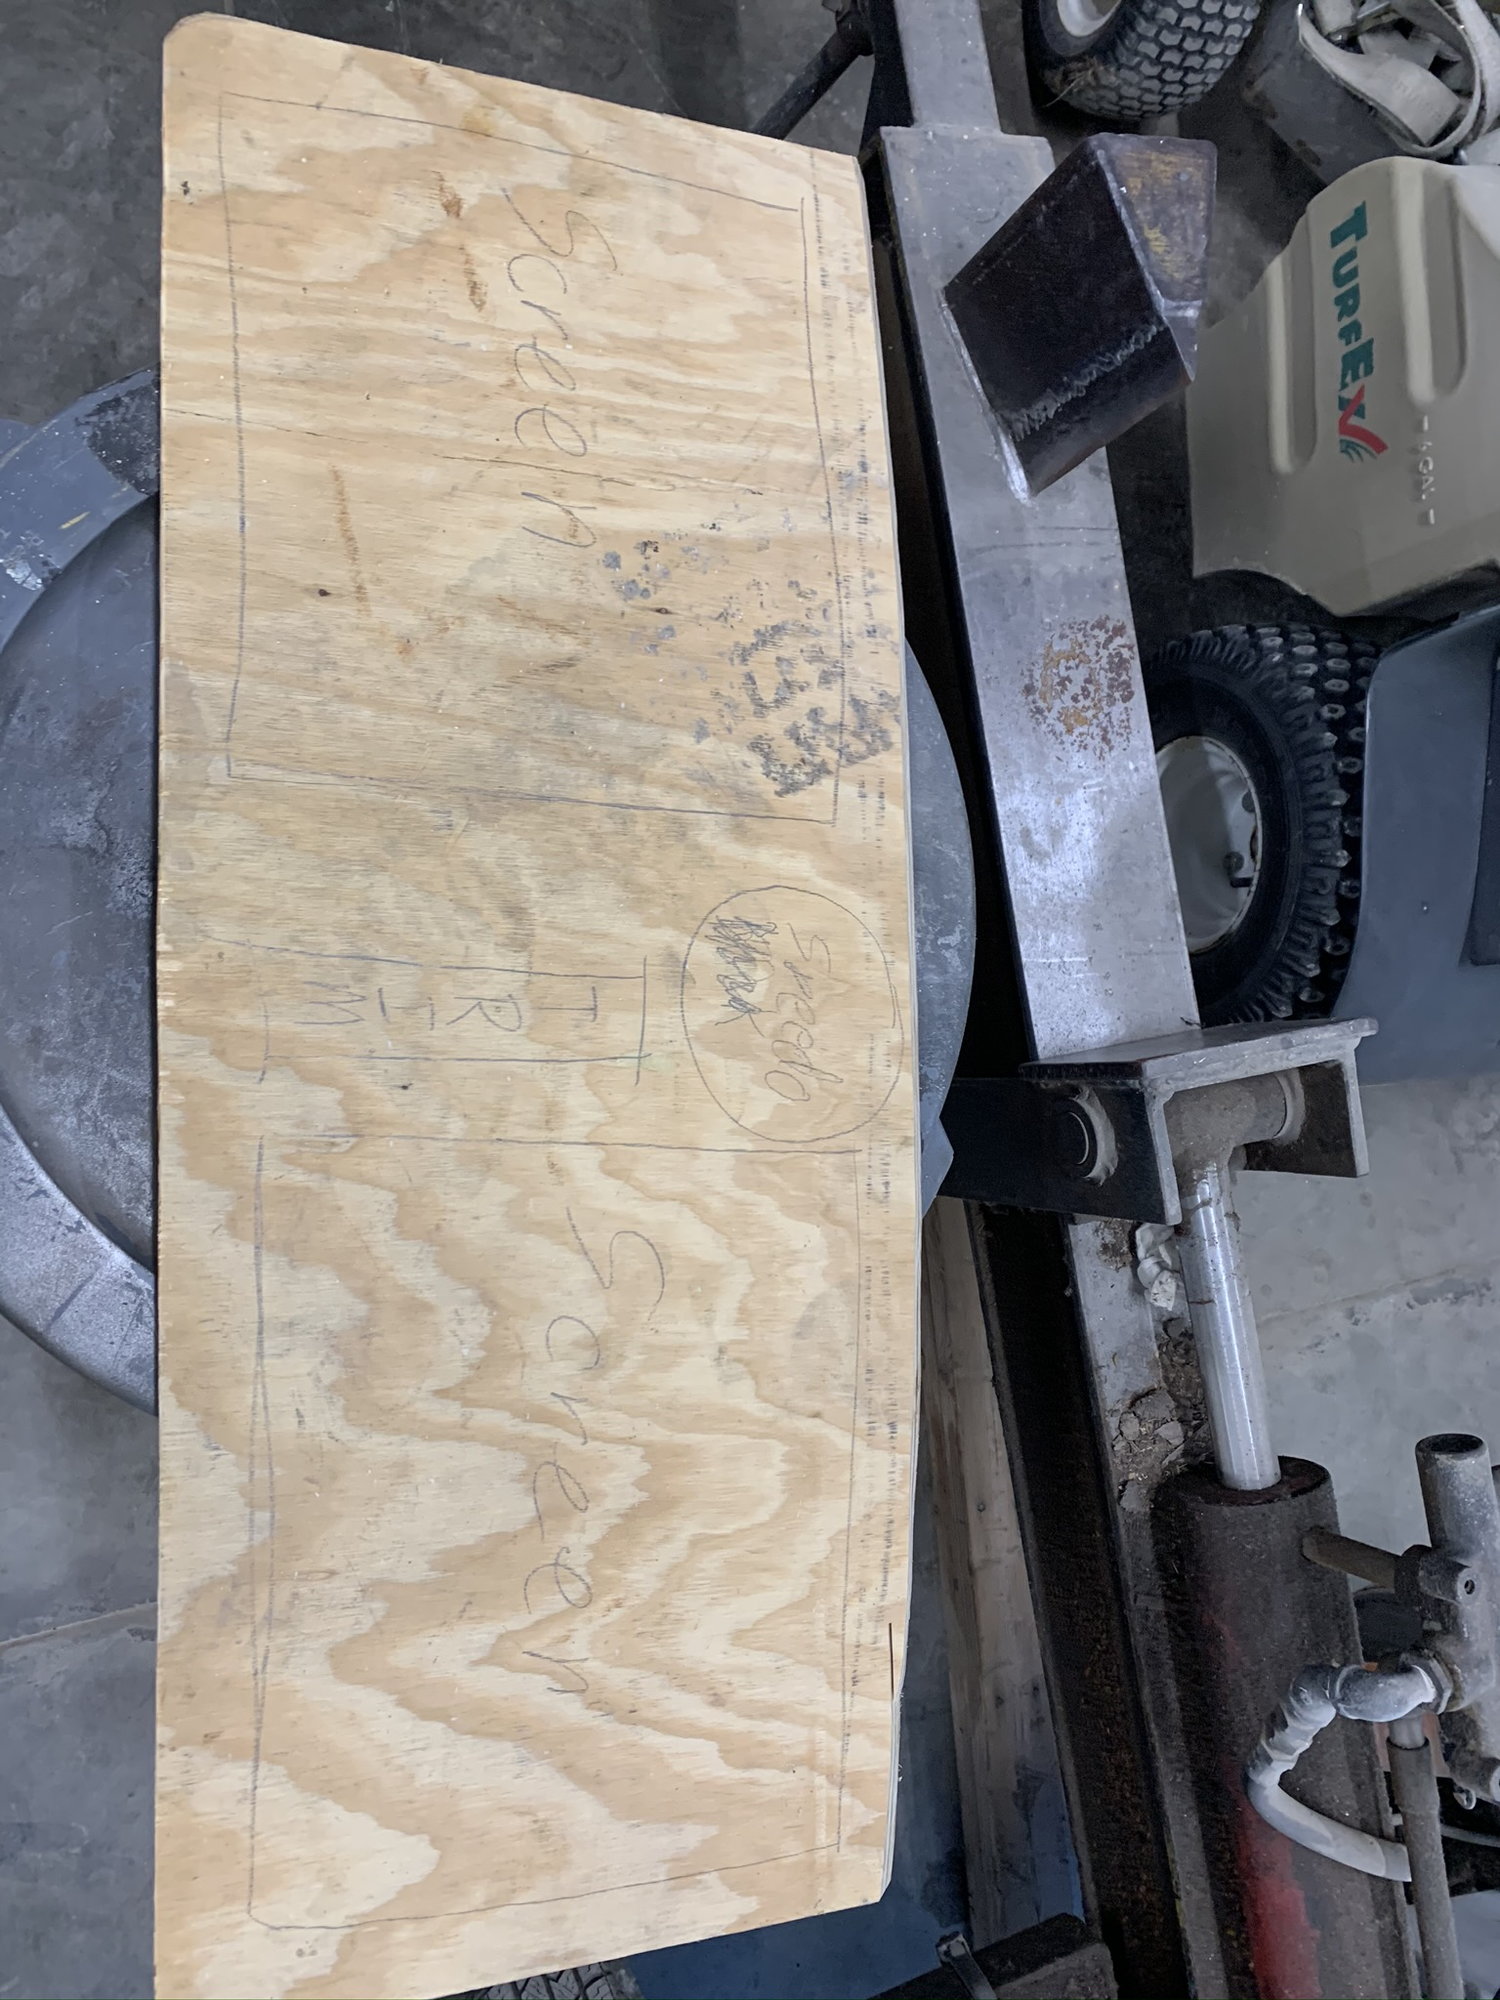
Drew the rough dash layout in pencil.

Plastic backing plate cut out
Hole for the speedo cut into the backing plate
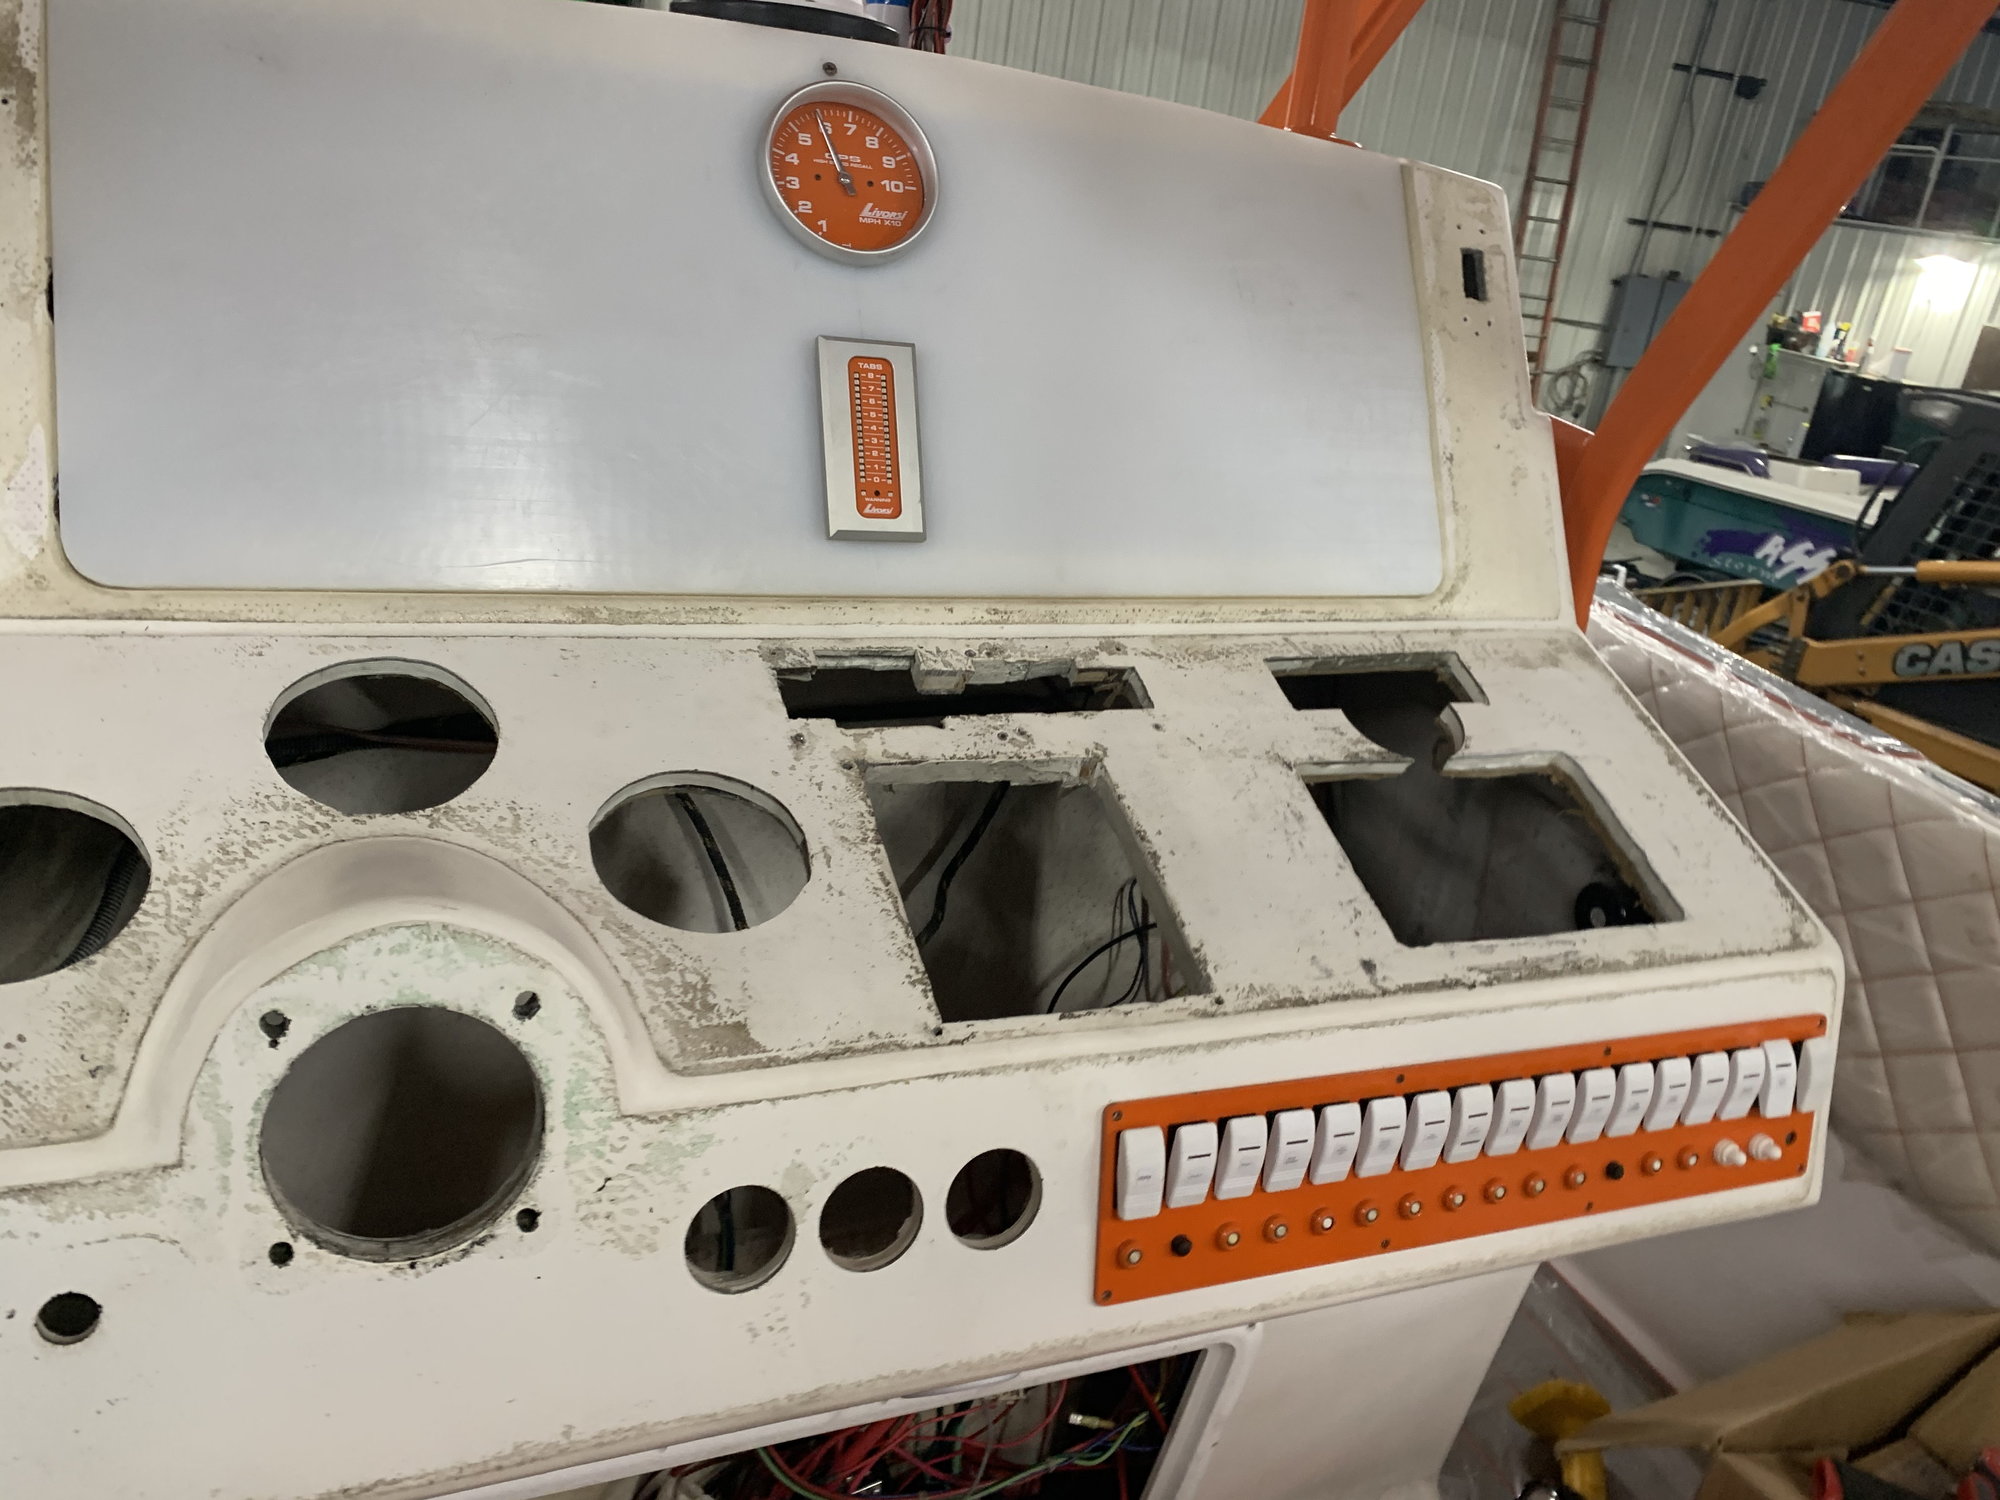
Trim indicator in the backing plate
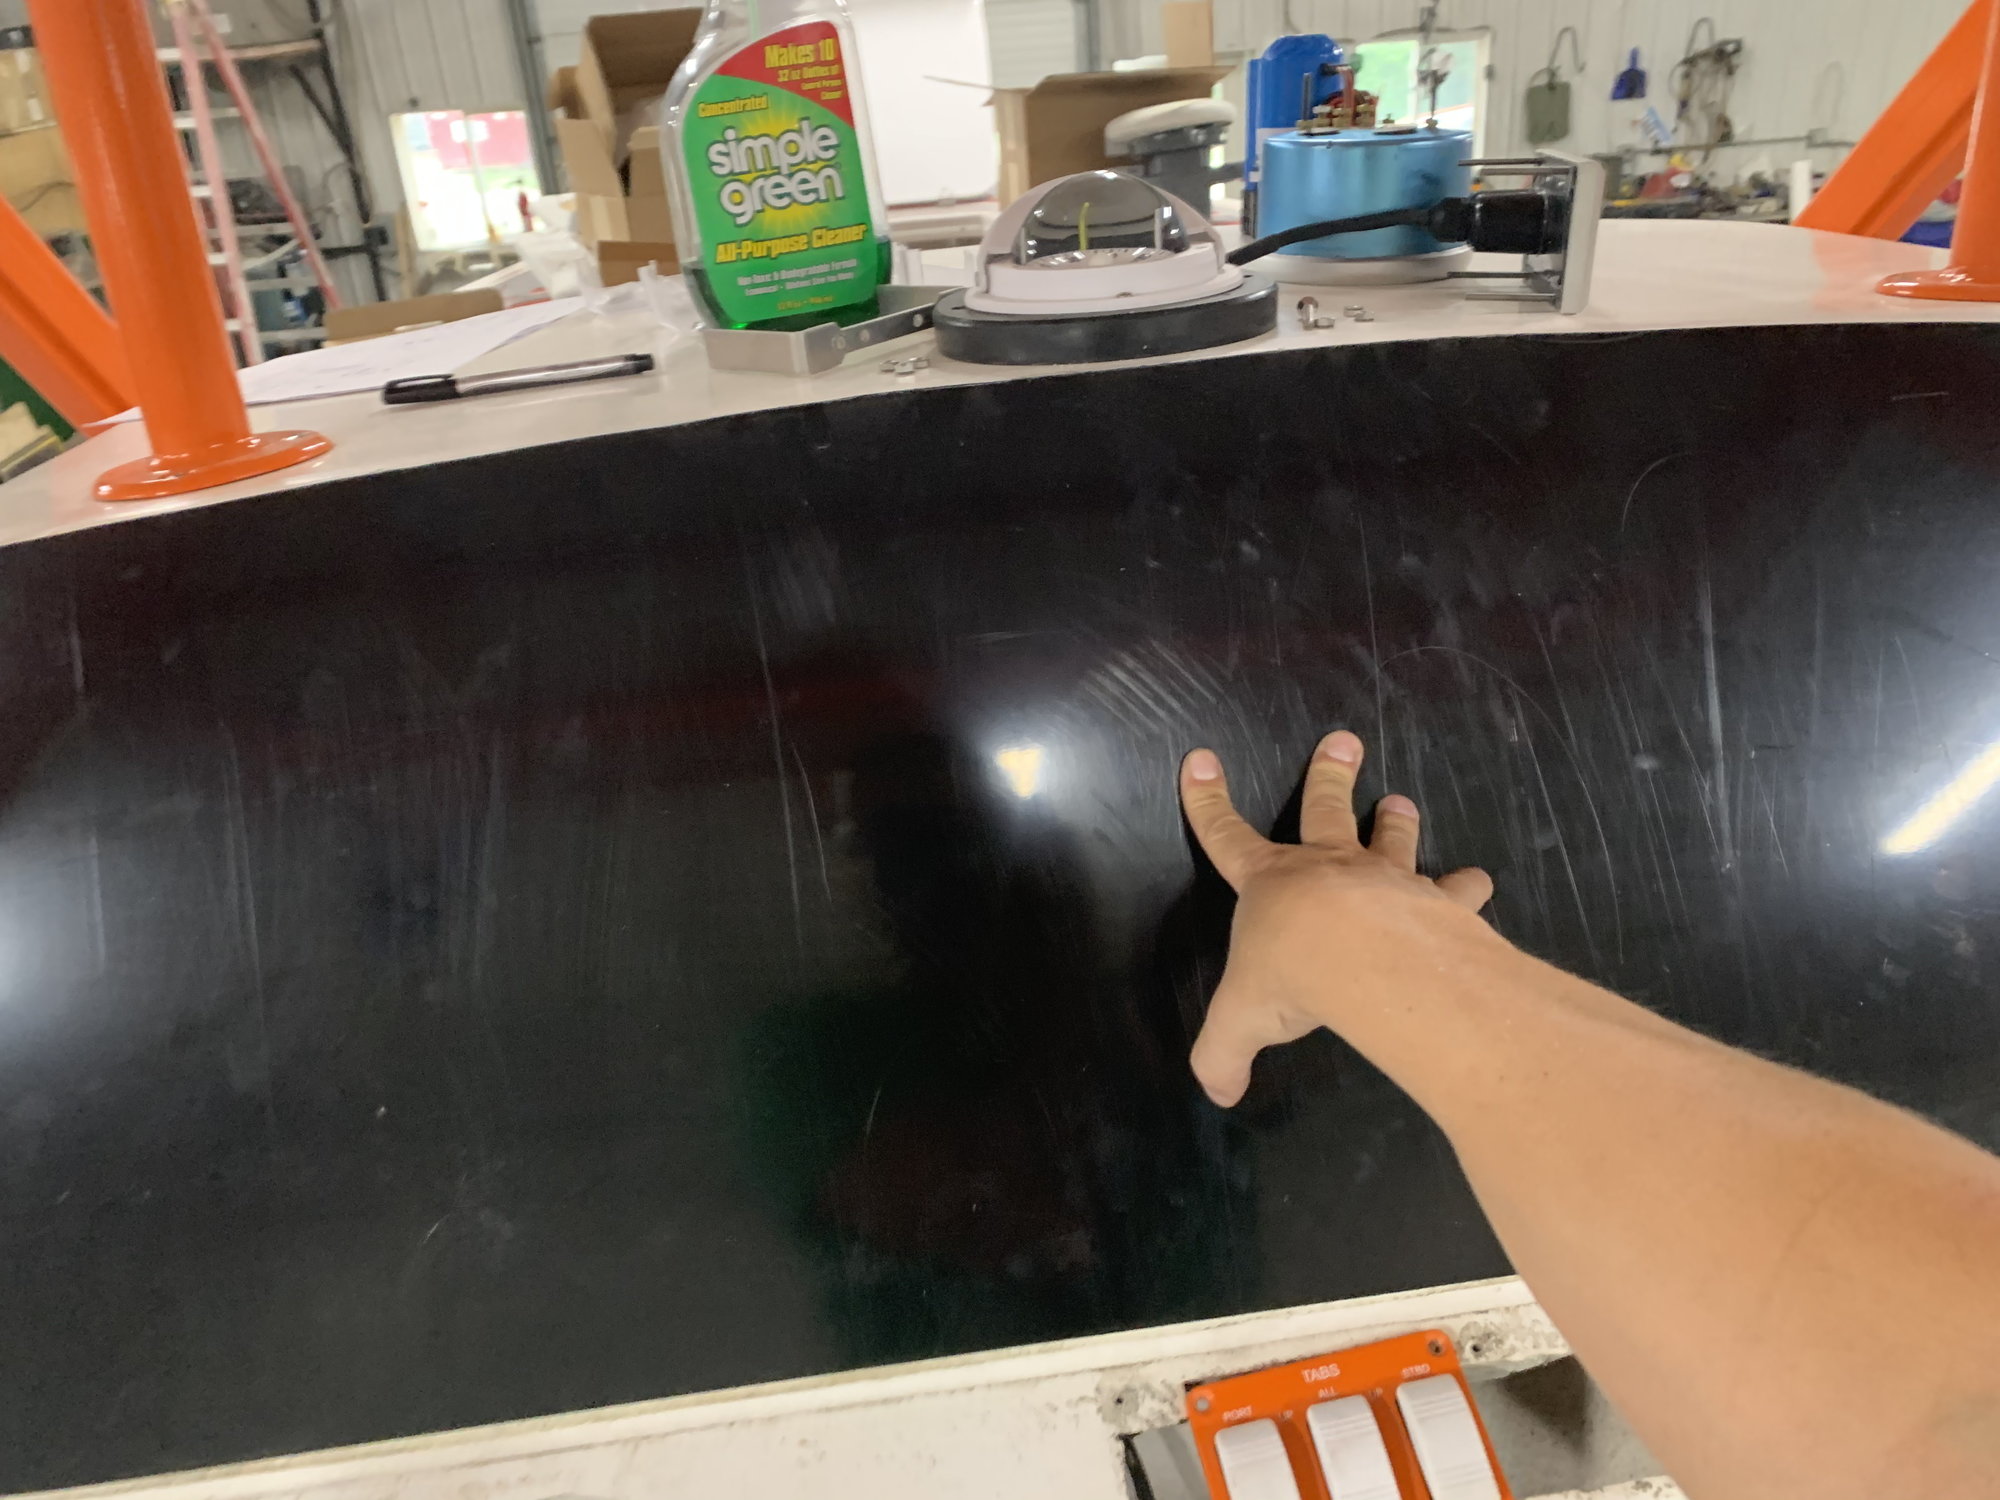
Used similar process to cut the metal face plate.. held it up to the dash and traced the outline on the backside.
First test fit with gauges in
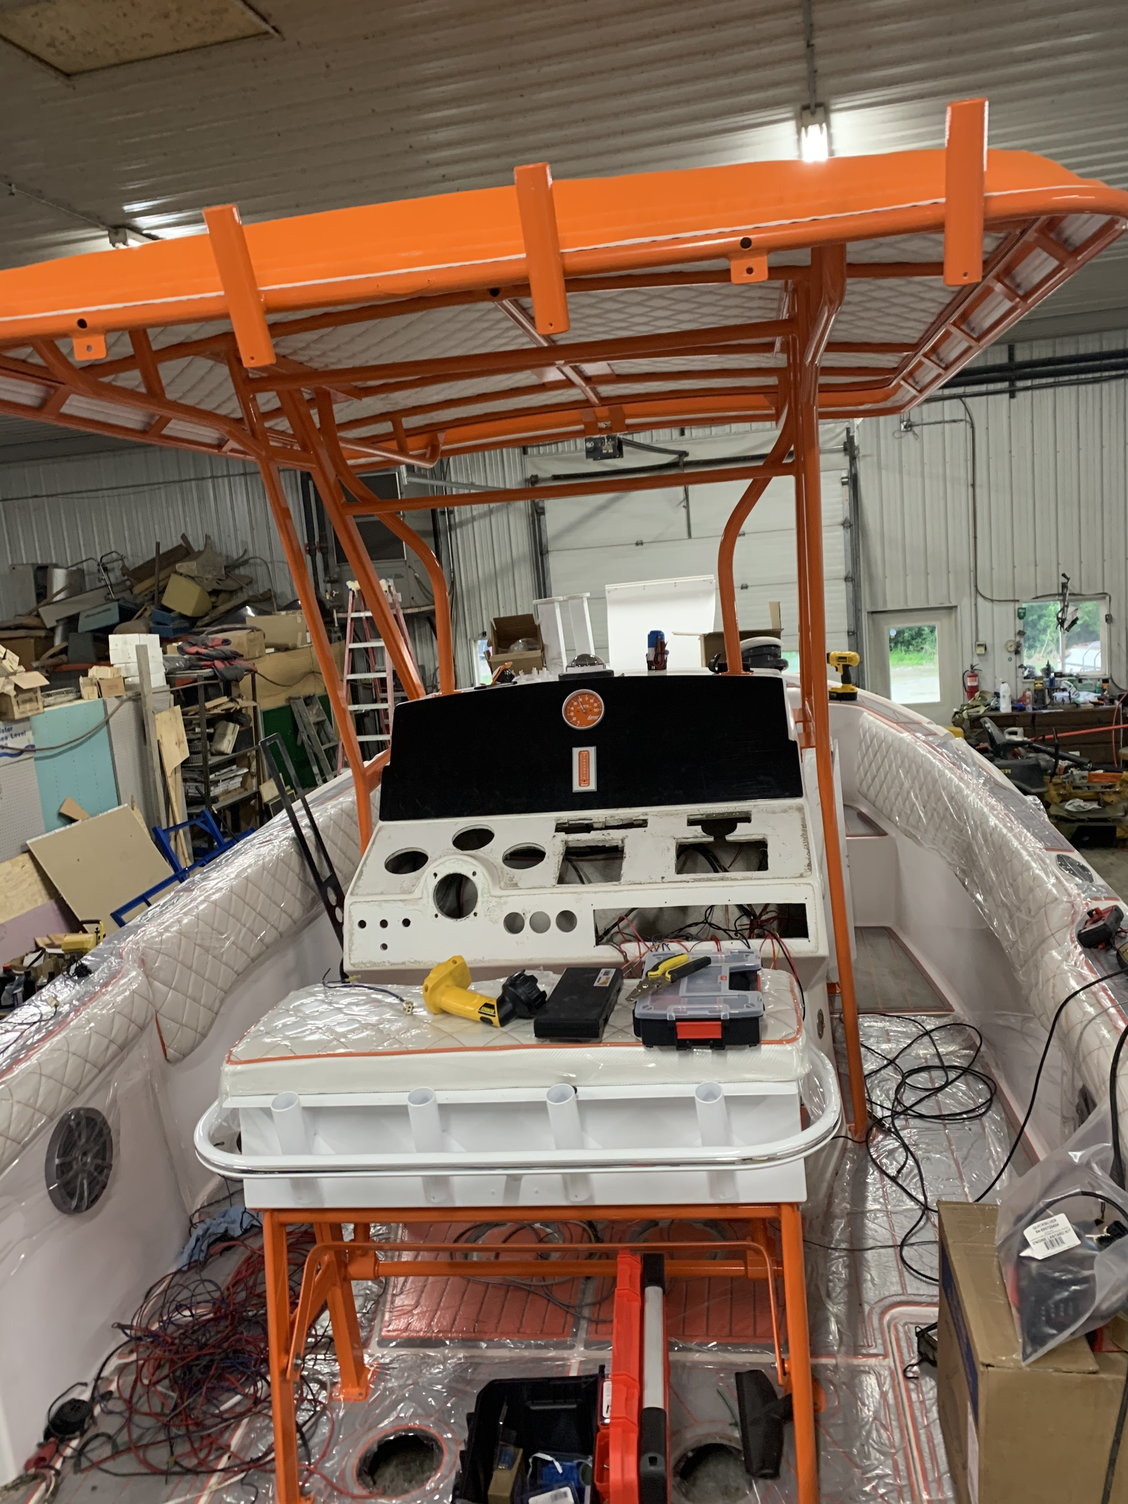
Top dash is done for now.. the MFD displays will come later this year or next spring.
Taking a break from all the wiring issues I started to work on the dash. With the old glove box in pieces we decided to cut a new backing plate that would support new MFD displays and give us a clean sheet to work with. I used a scrap piece of 3/4" plywood to mock up the backing plate and get all the coners and angles close before we cut the plastic backing board. This process worked pretty well and gave us a nice flat surface to mount the metal face plate to.
First rough cut
Traced the curve of the dash on the backside to get a perfect fit
Cut along the traced line with the blade angle at -45 degrees so the top edge was flush with the top of the dash
You can see the 45 degree angle better in this picture
Drew the rough dash layout in pencil.
Plastic backing plate cut out
Hole for the speedo cut into the backing plate
Trim indicator in the backing plate
Used similar process to cut the metal face plate.. held it up to the dash and traced the outline on the backside.
First test fit with gauges in
Top dash is done for now.. the MFD displays will come later this year or next spring.
Last edited by iaoutlaw; 07-10-2020 at 12:03 PM.
07-14-2020 | 10:53 AM
#20
Thread Starter
Registered
Joined: Feb 2011
Posts: 375
Likes: 124
From: North Liberty, IA
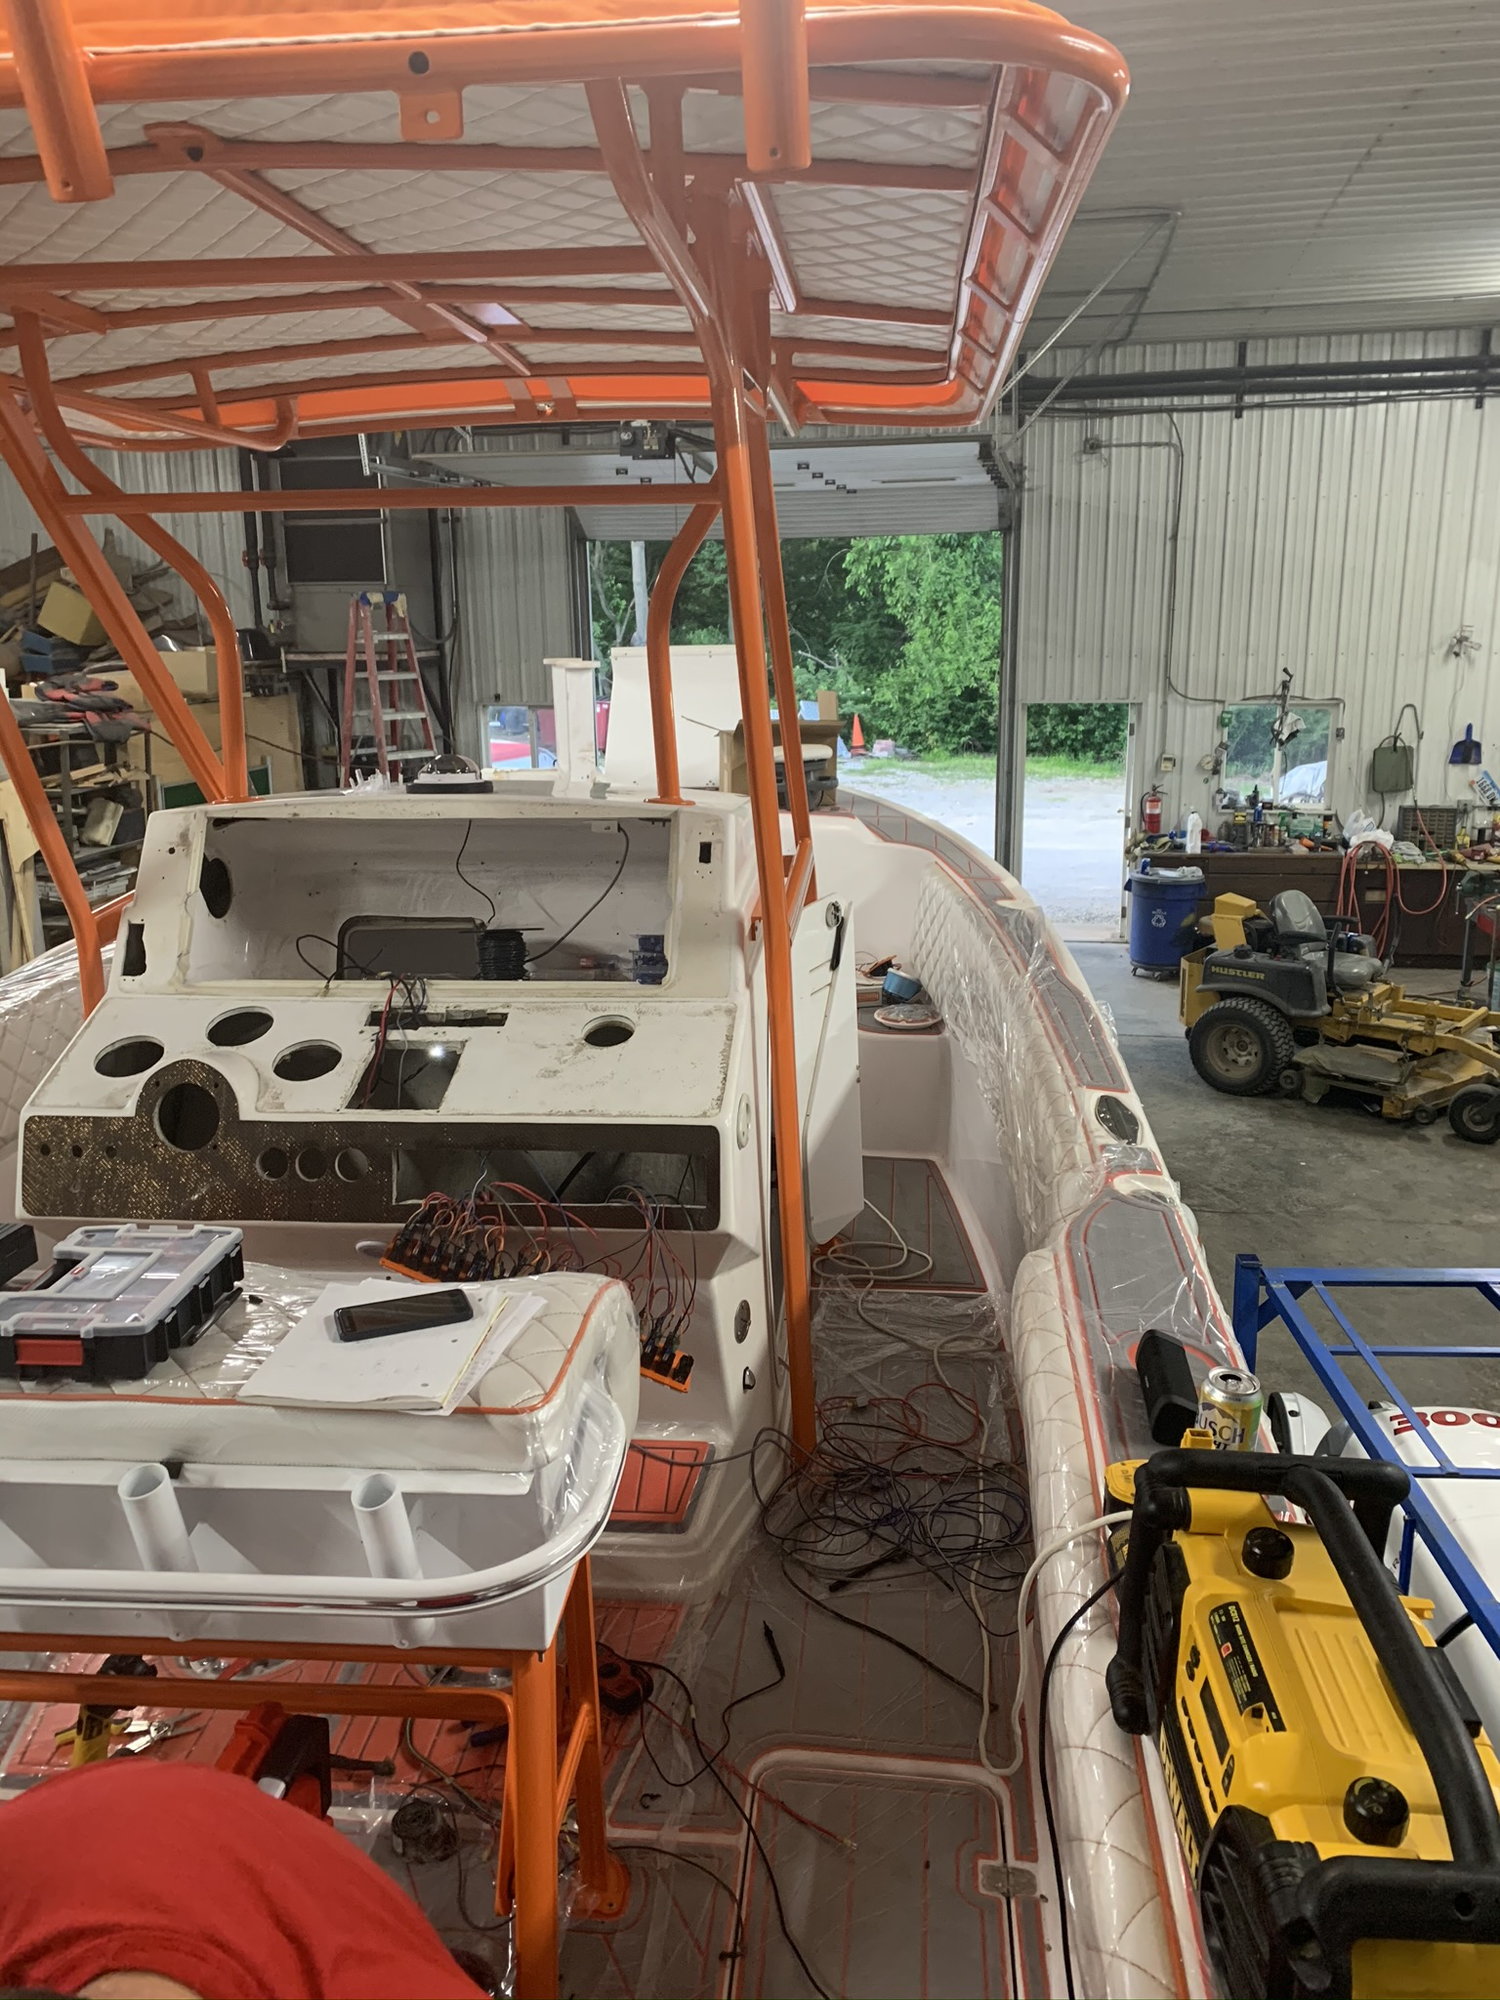
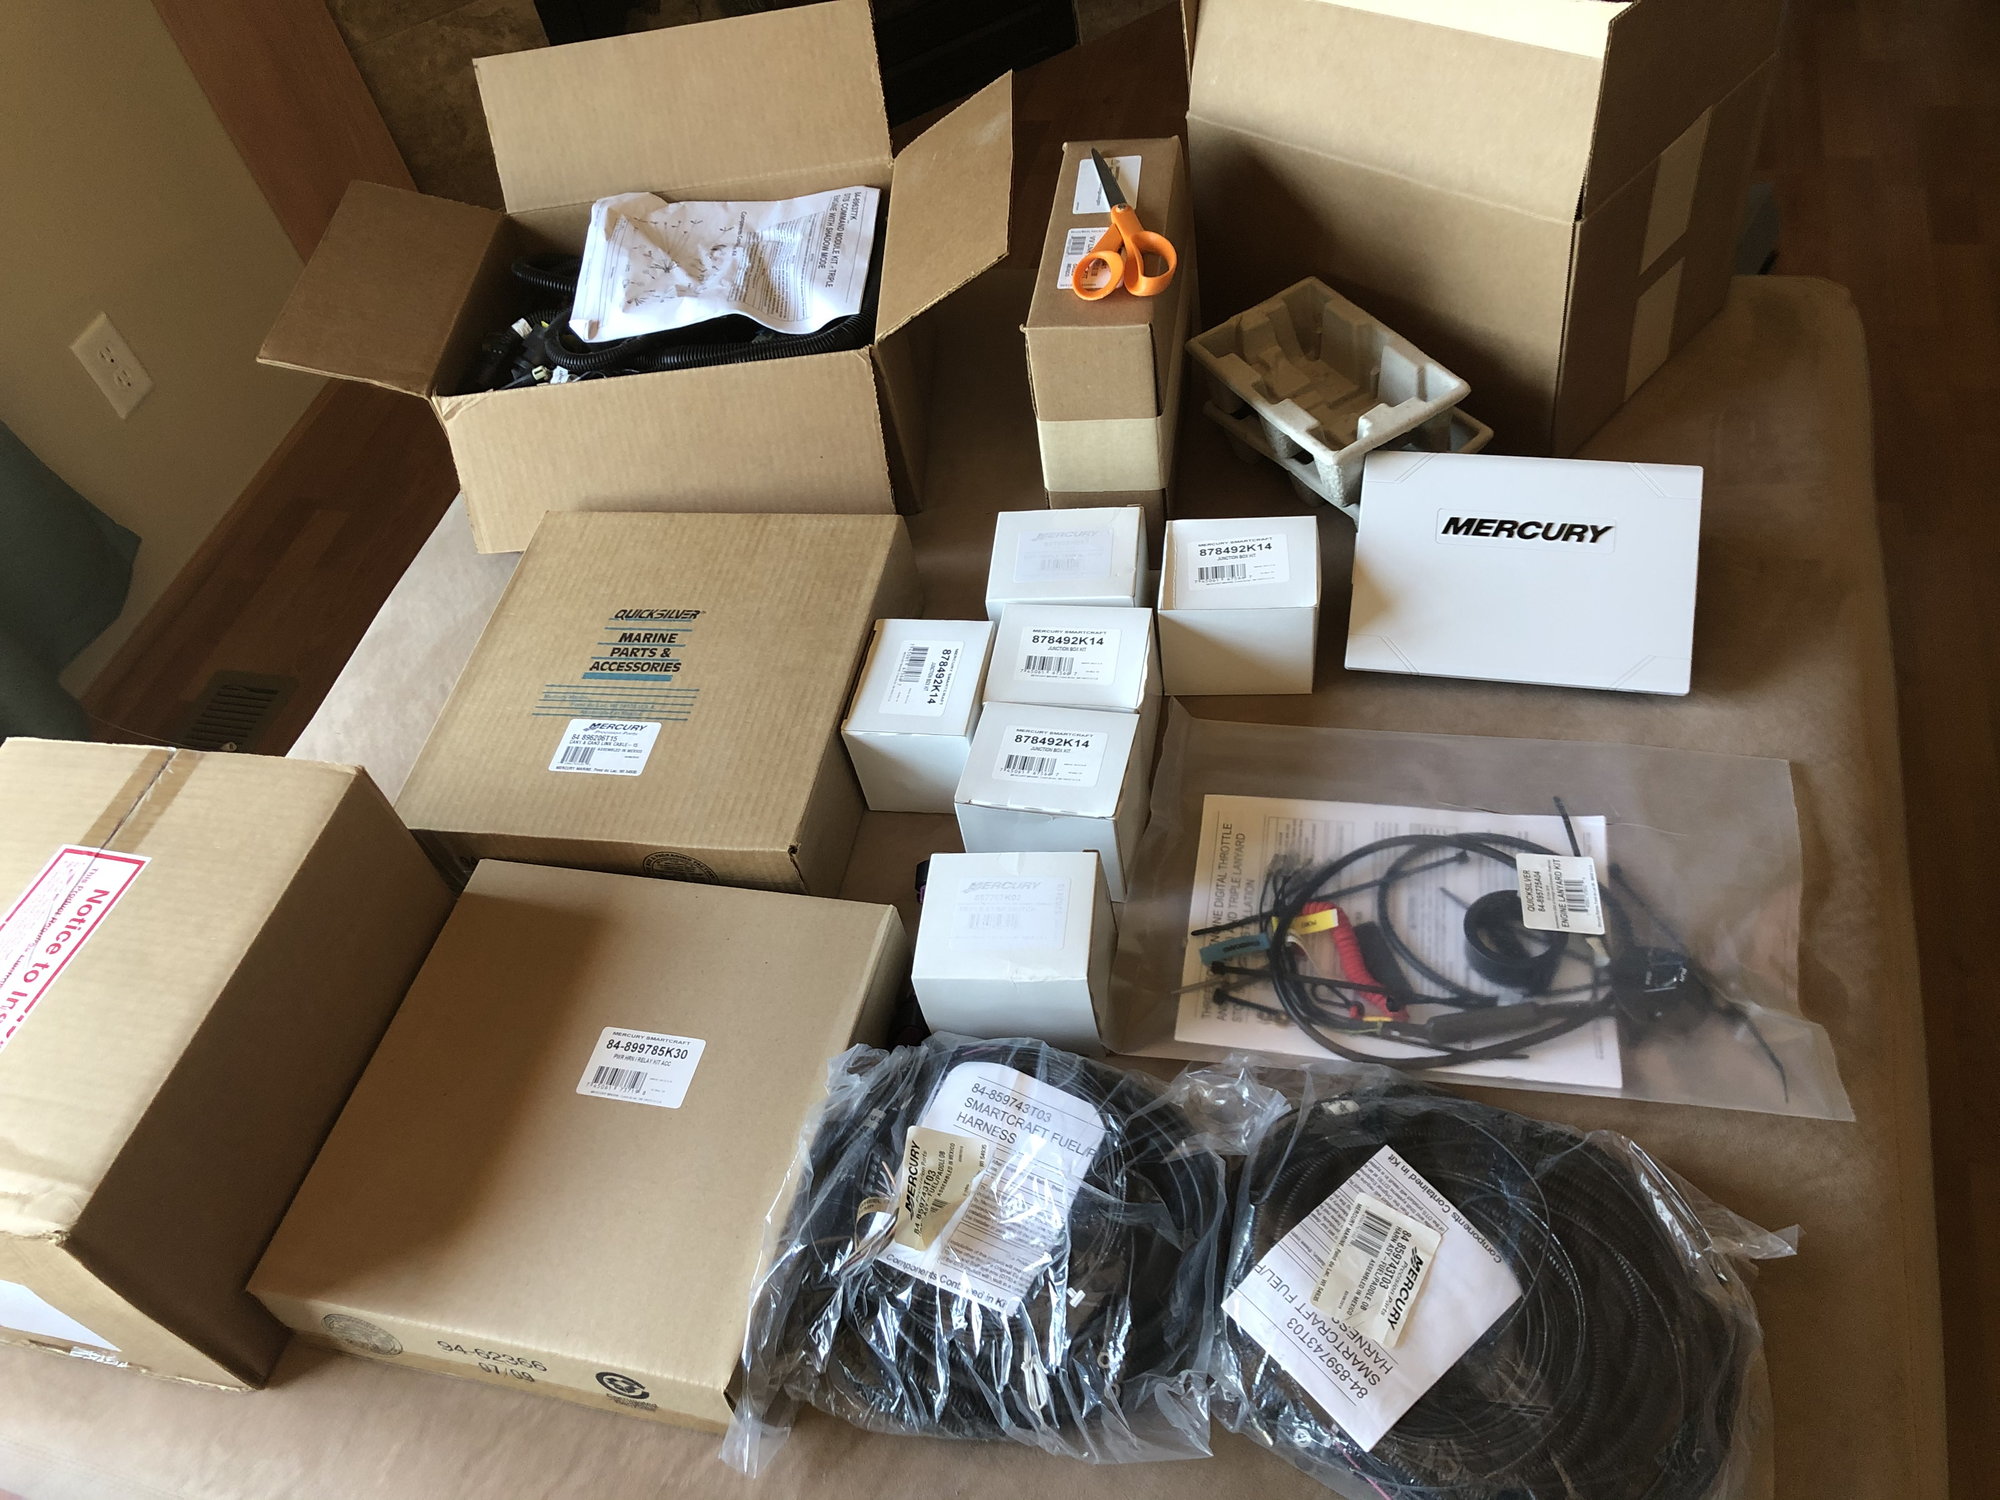
More boxes!! Vessel View, Vessel View Link, Can bus, Engine harness, Controls, Fuel Sender cables, Power steering actuators, on and on and on. Basically we're going to have all brand new rigging in this boat which is nice considering the condition of the original equipment. The downside of going all brand new is dimensions of the new stuff is much smaller than original so some glass work will be needed for support.
Lots of shiny new parts
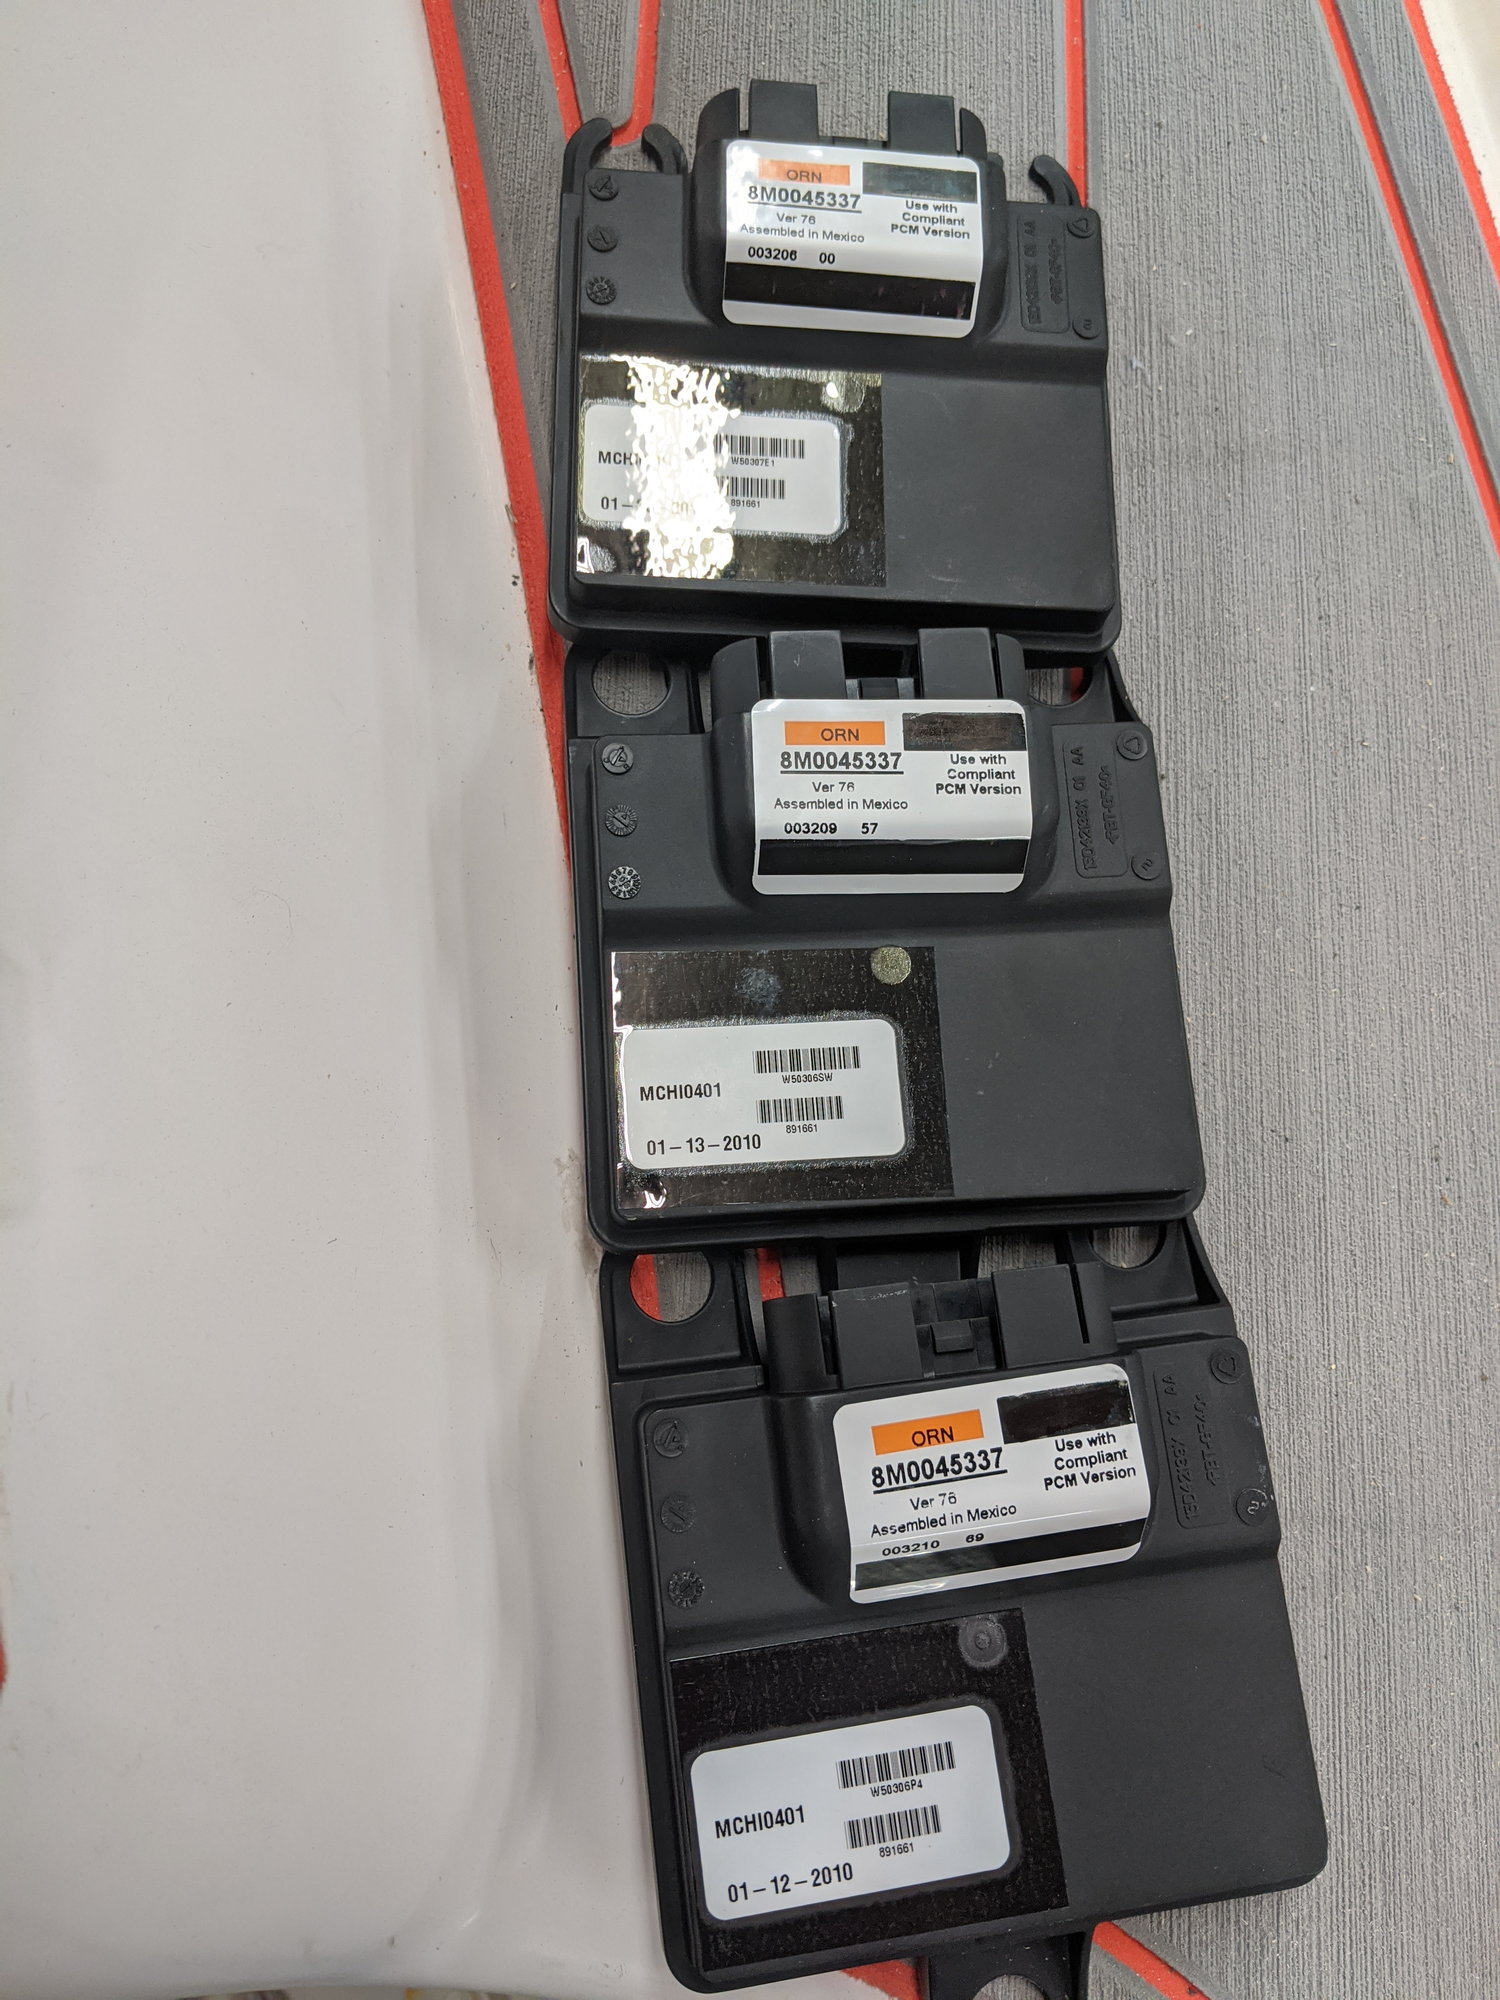
Control Command Modules
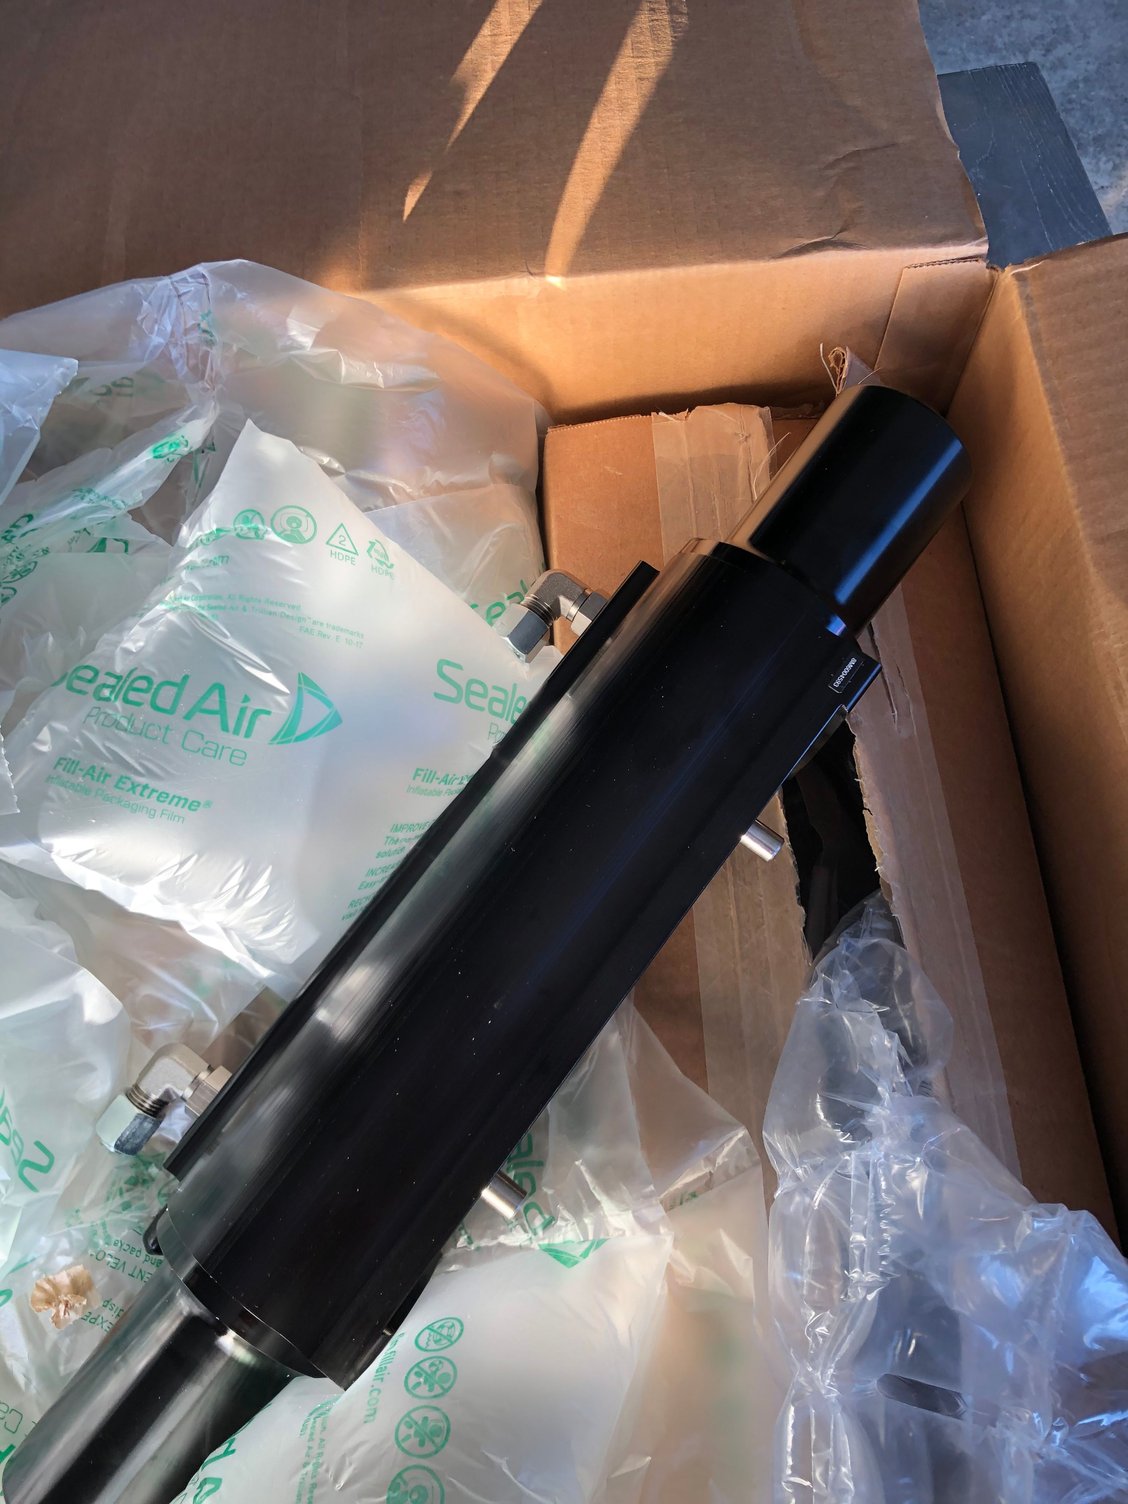
Steering actuators
Lots of shiny new parts
Control Command Modules
Steering actuators
Last edited by iaoutlaw; 07-14-2020 at 11:04 AM.

