

FantaSea 1999 DONZI 35ZF Refurb
 07-29-2020 | 01:35 PM
#31
Thread Starter
Registered

Joined: Feb 2011
Posts: 375
Likes: 125
From: North Liberty, IA
Today’s update: Gelcoat
Corner is almost done just needs a good buffing.
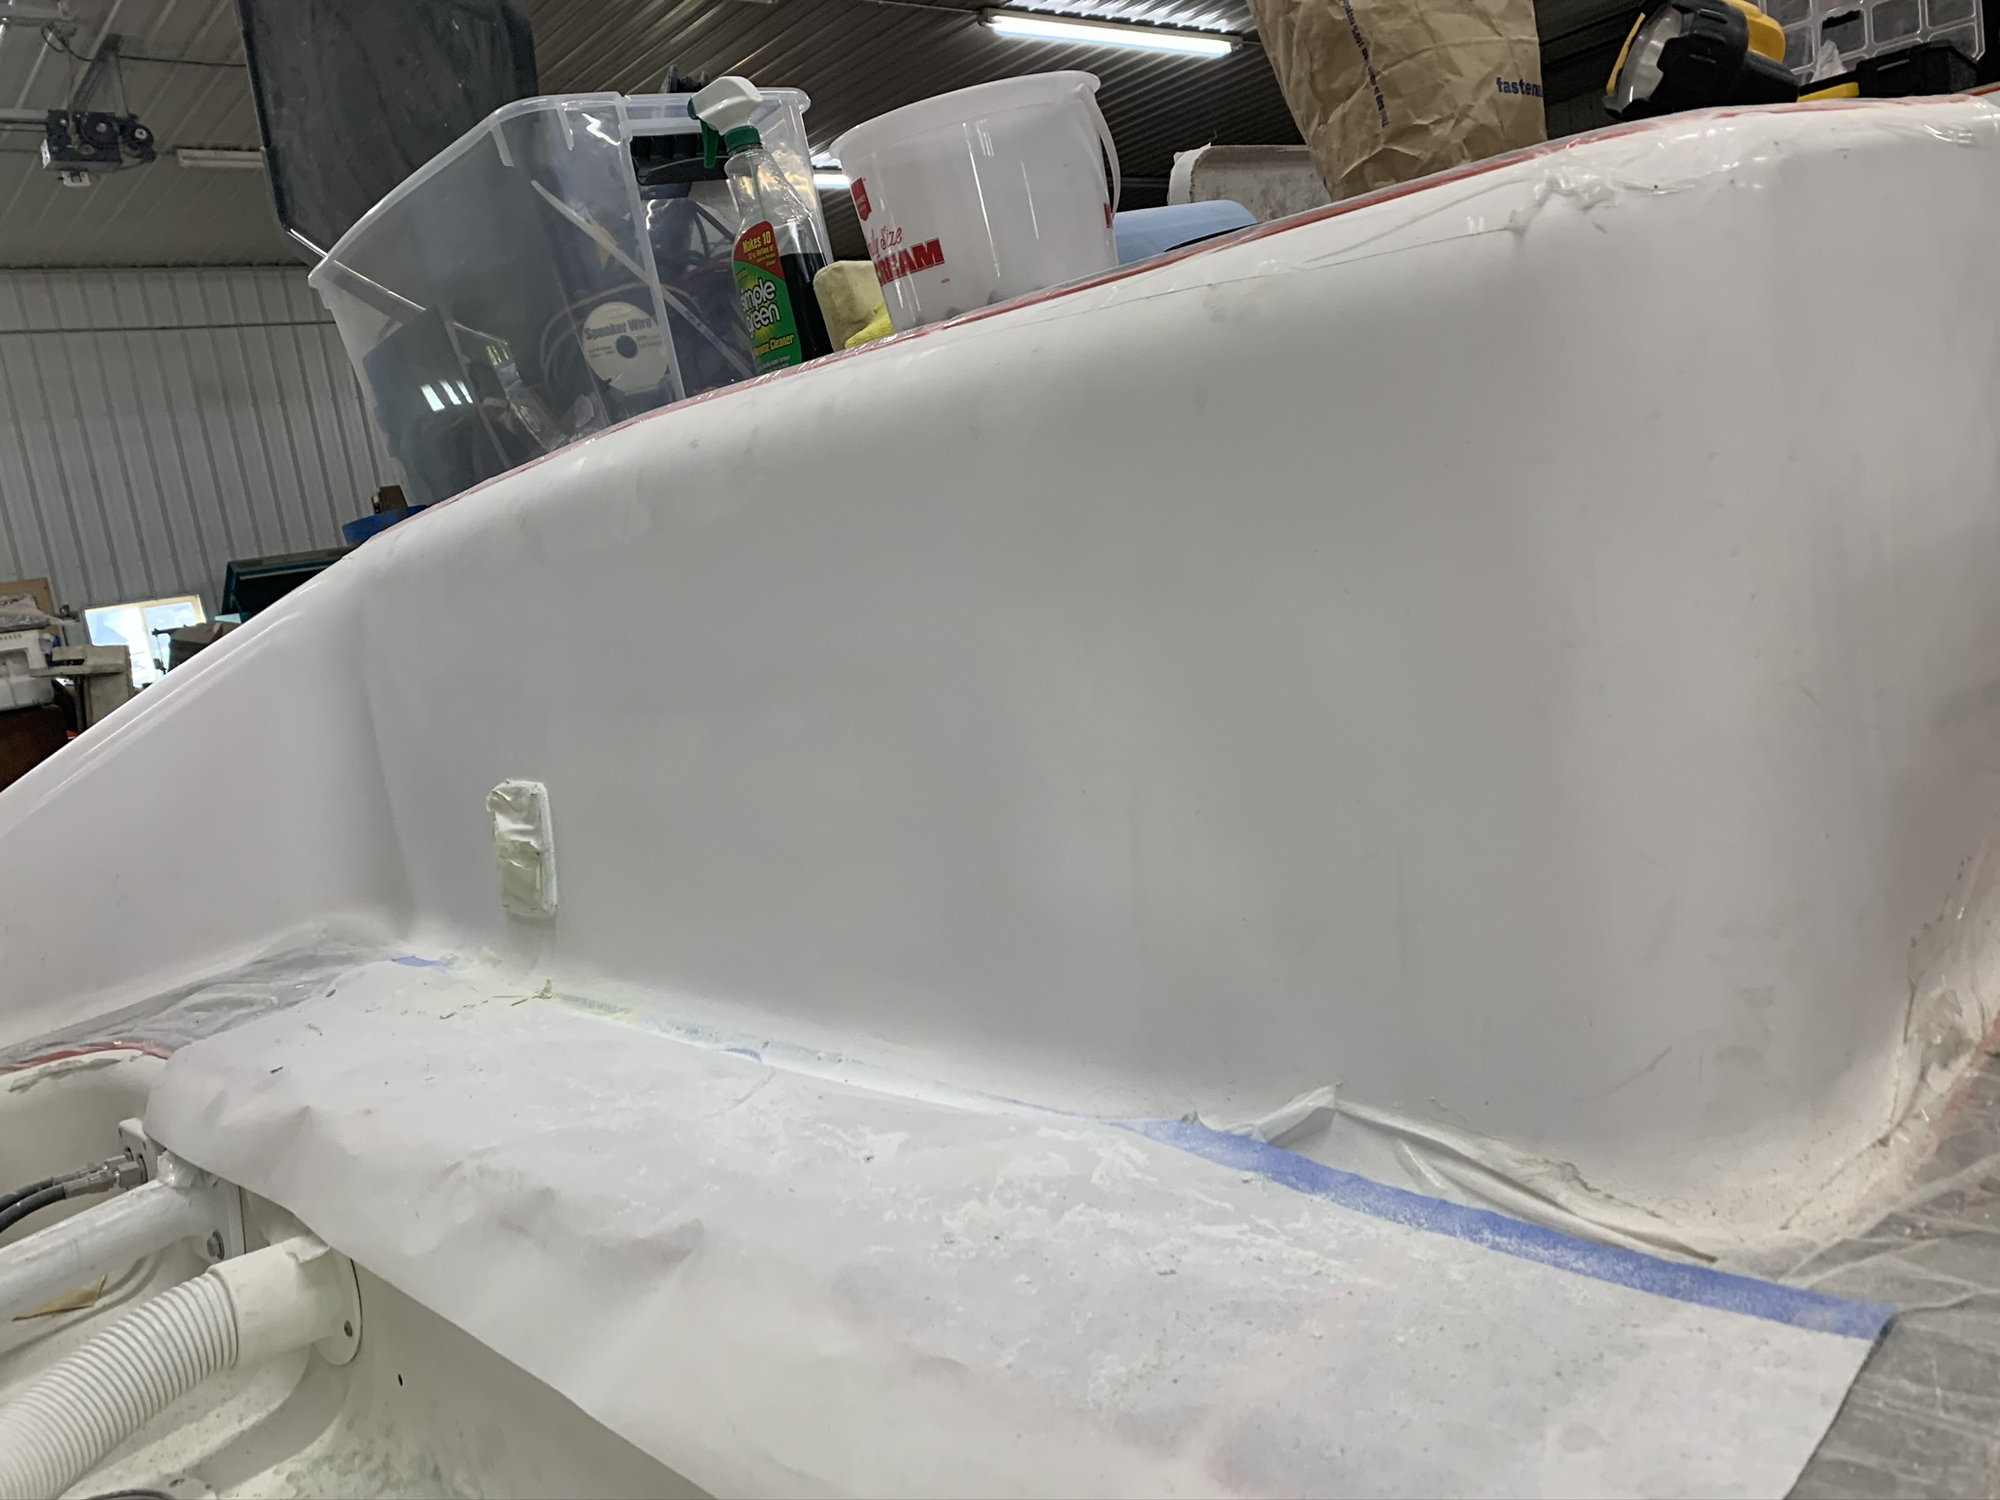
Backside of the seat needs 1 more layer of gel and a good polishing
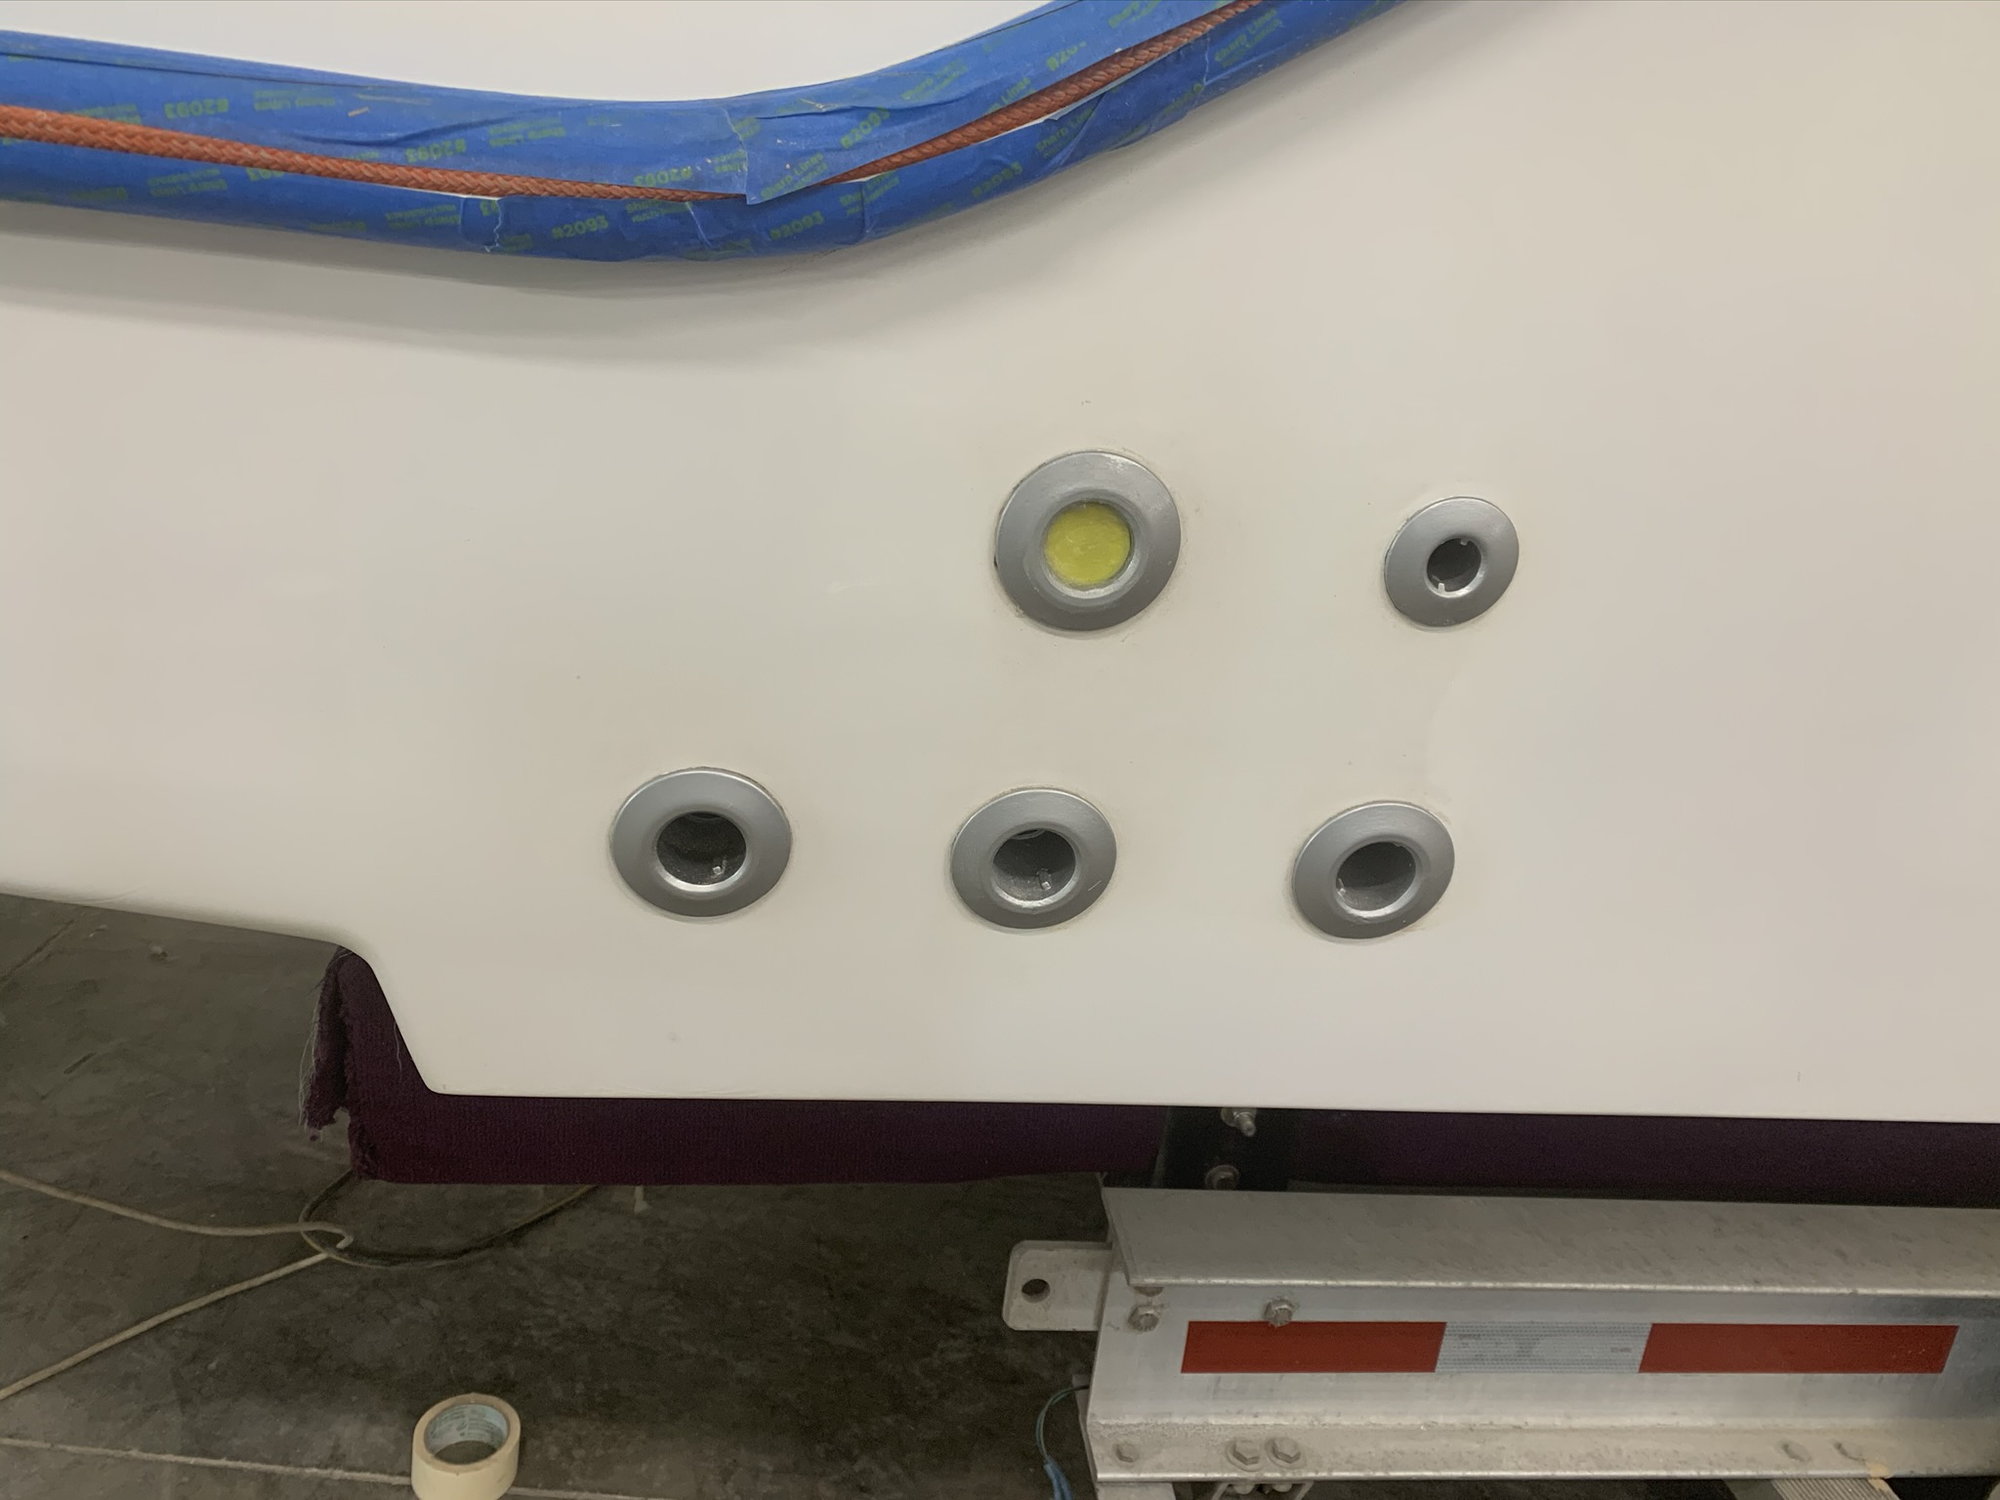
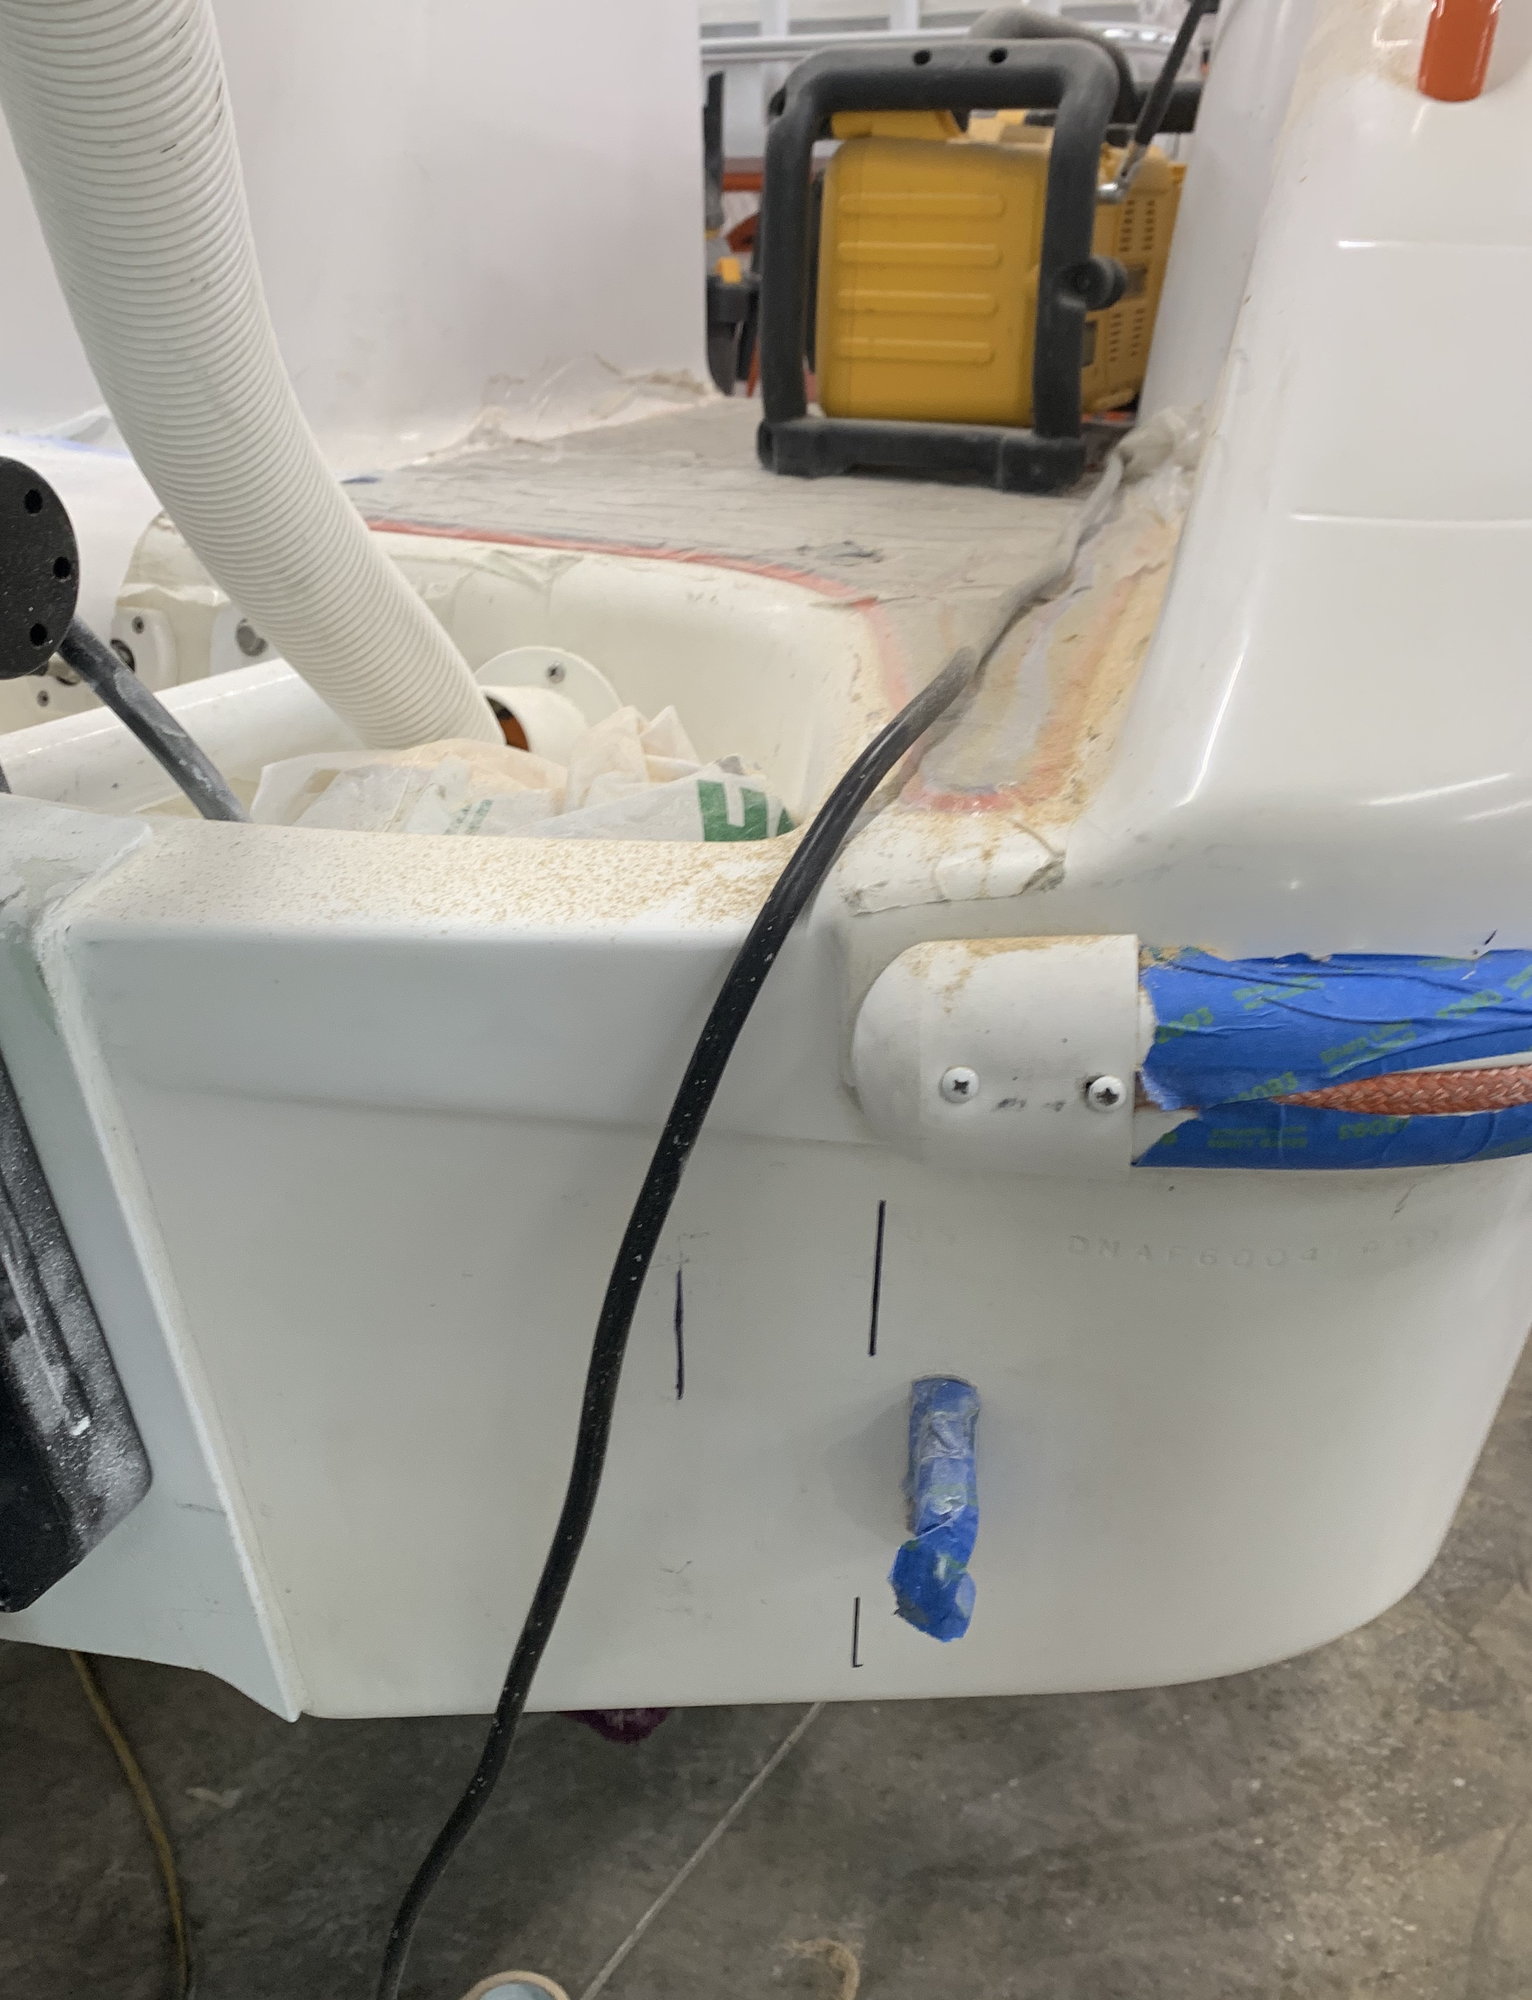
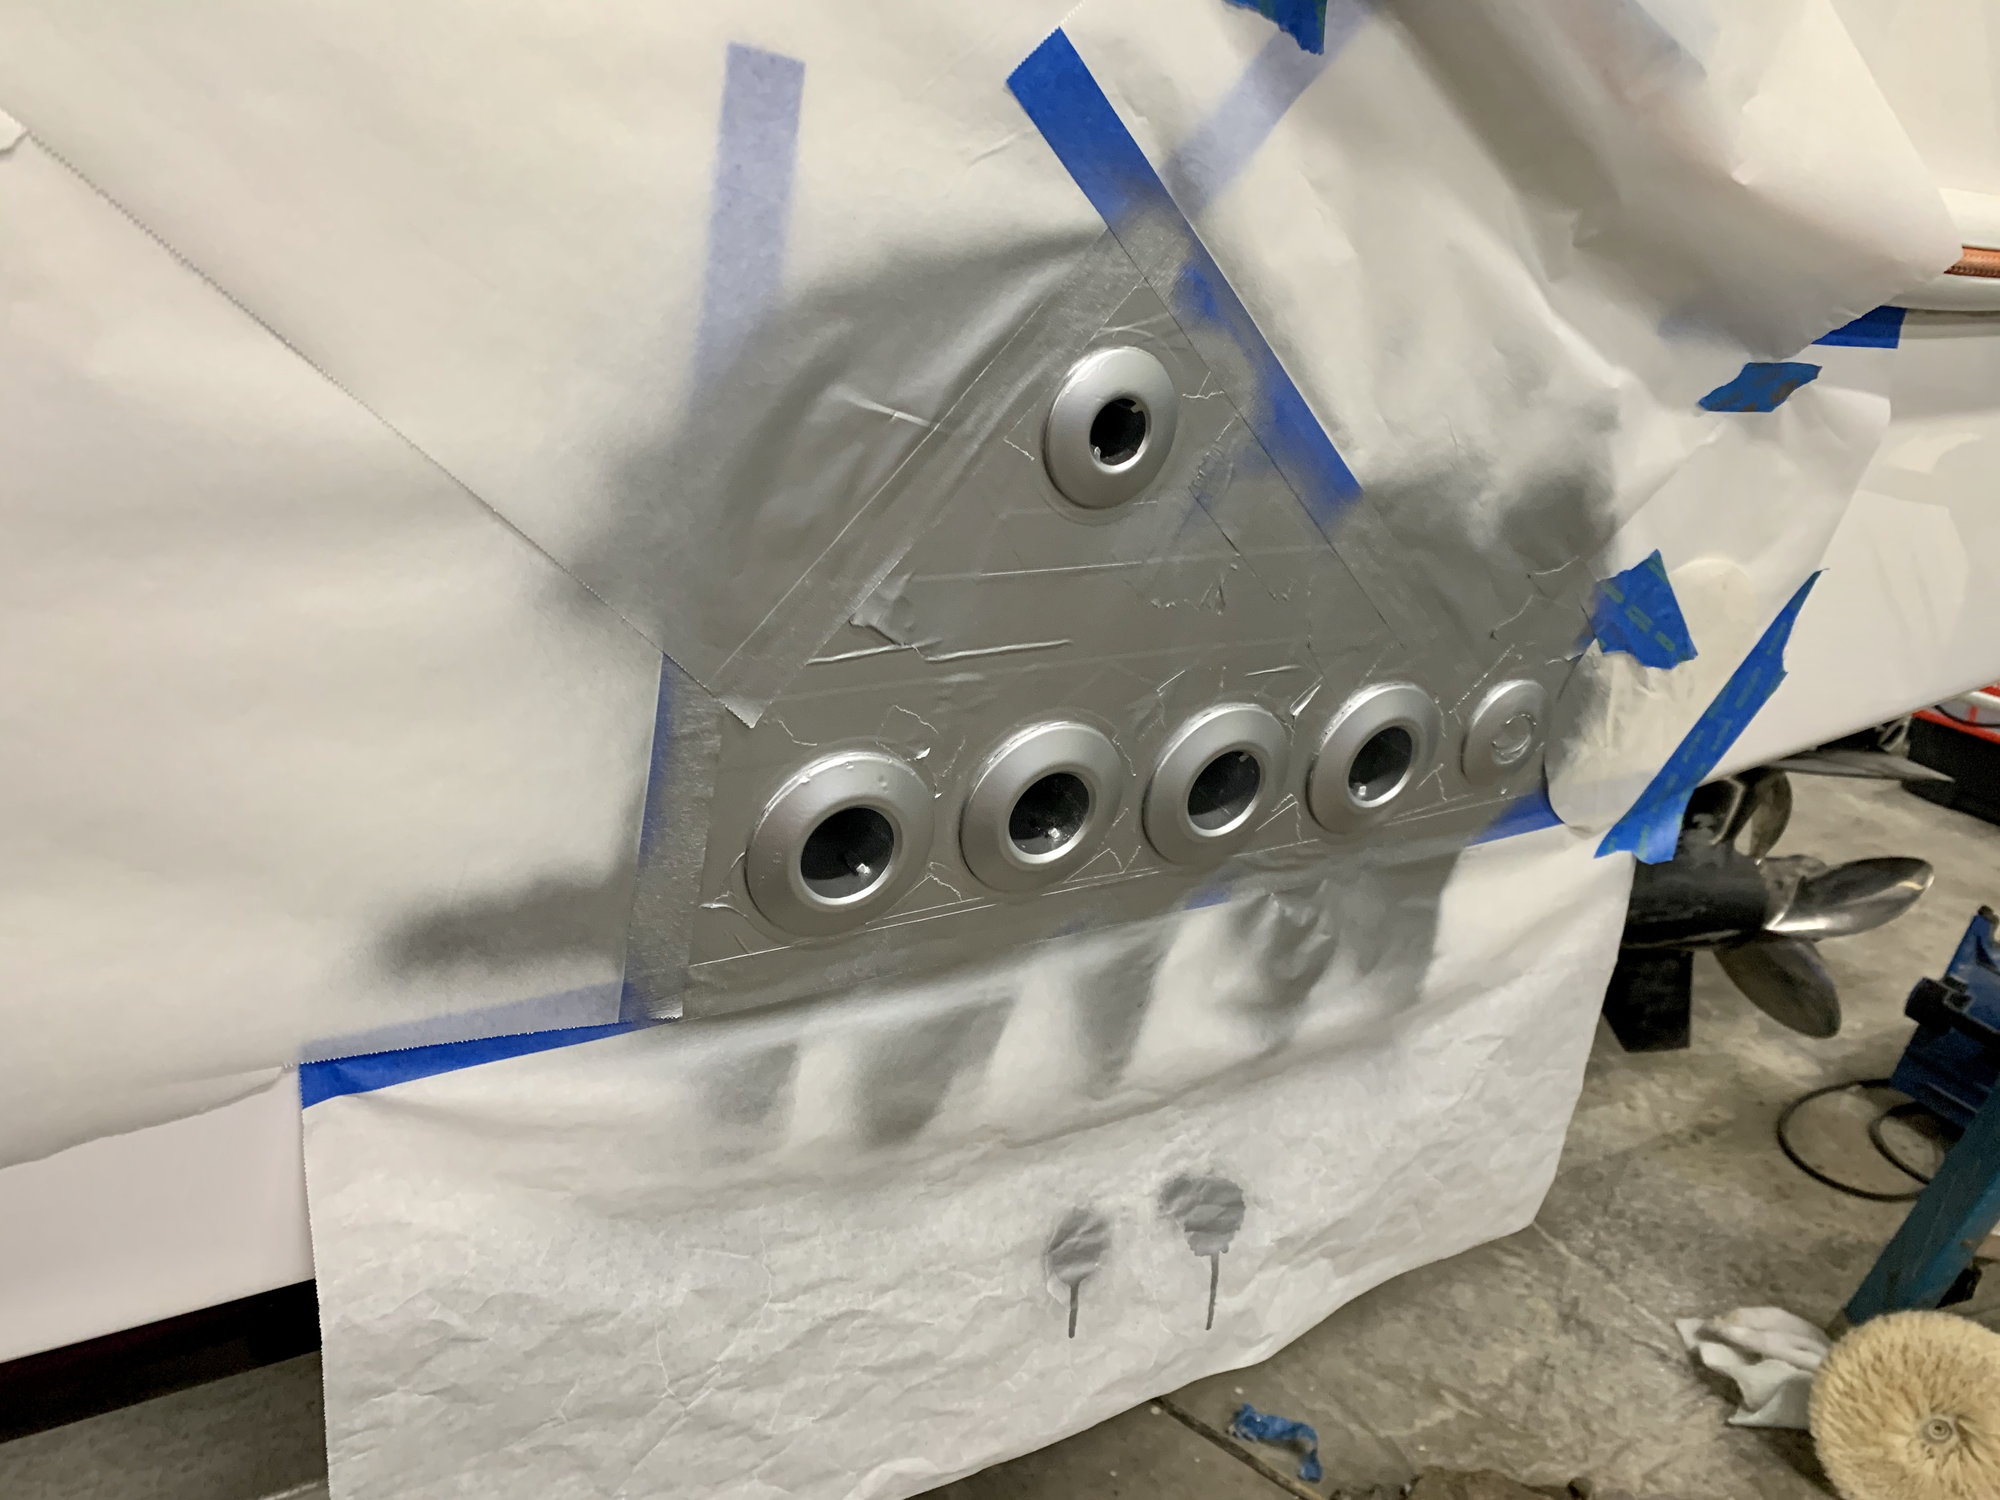
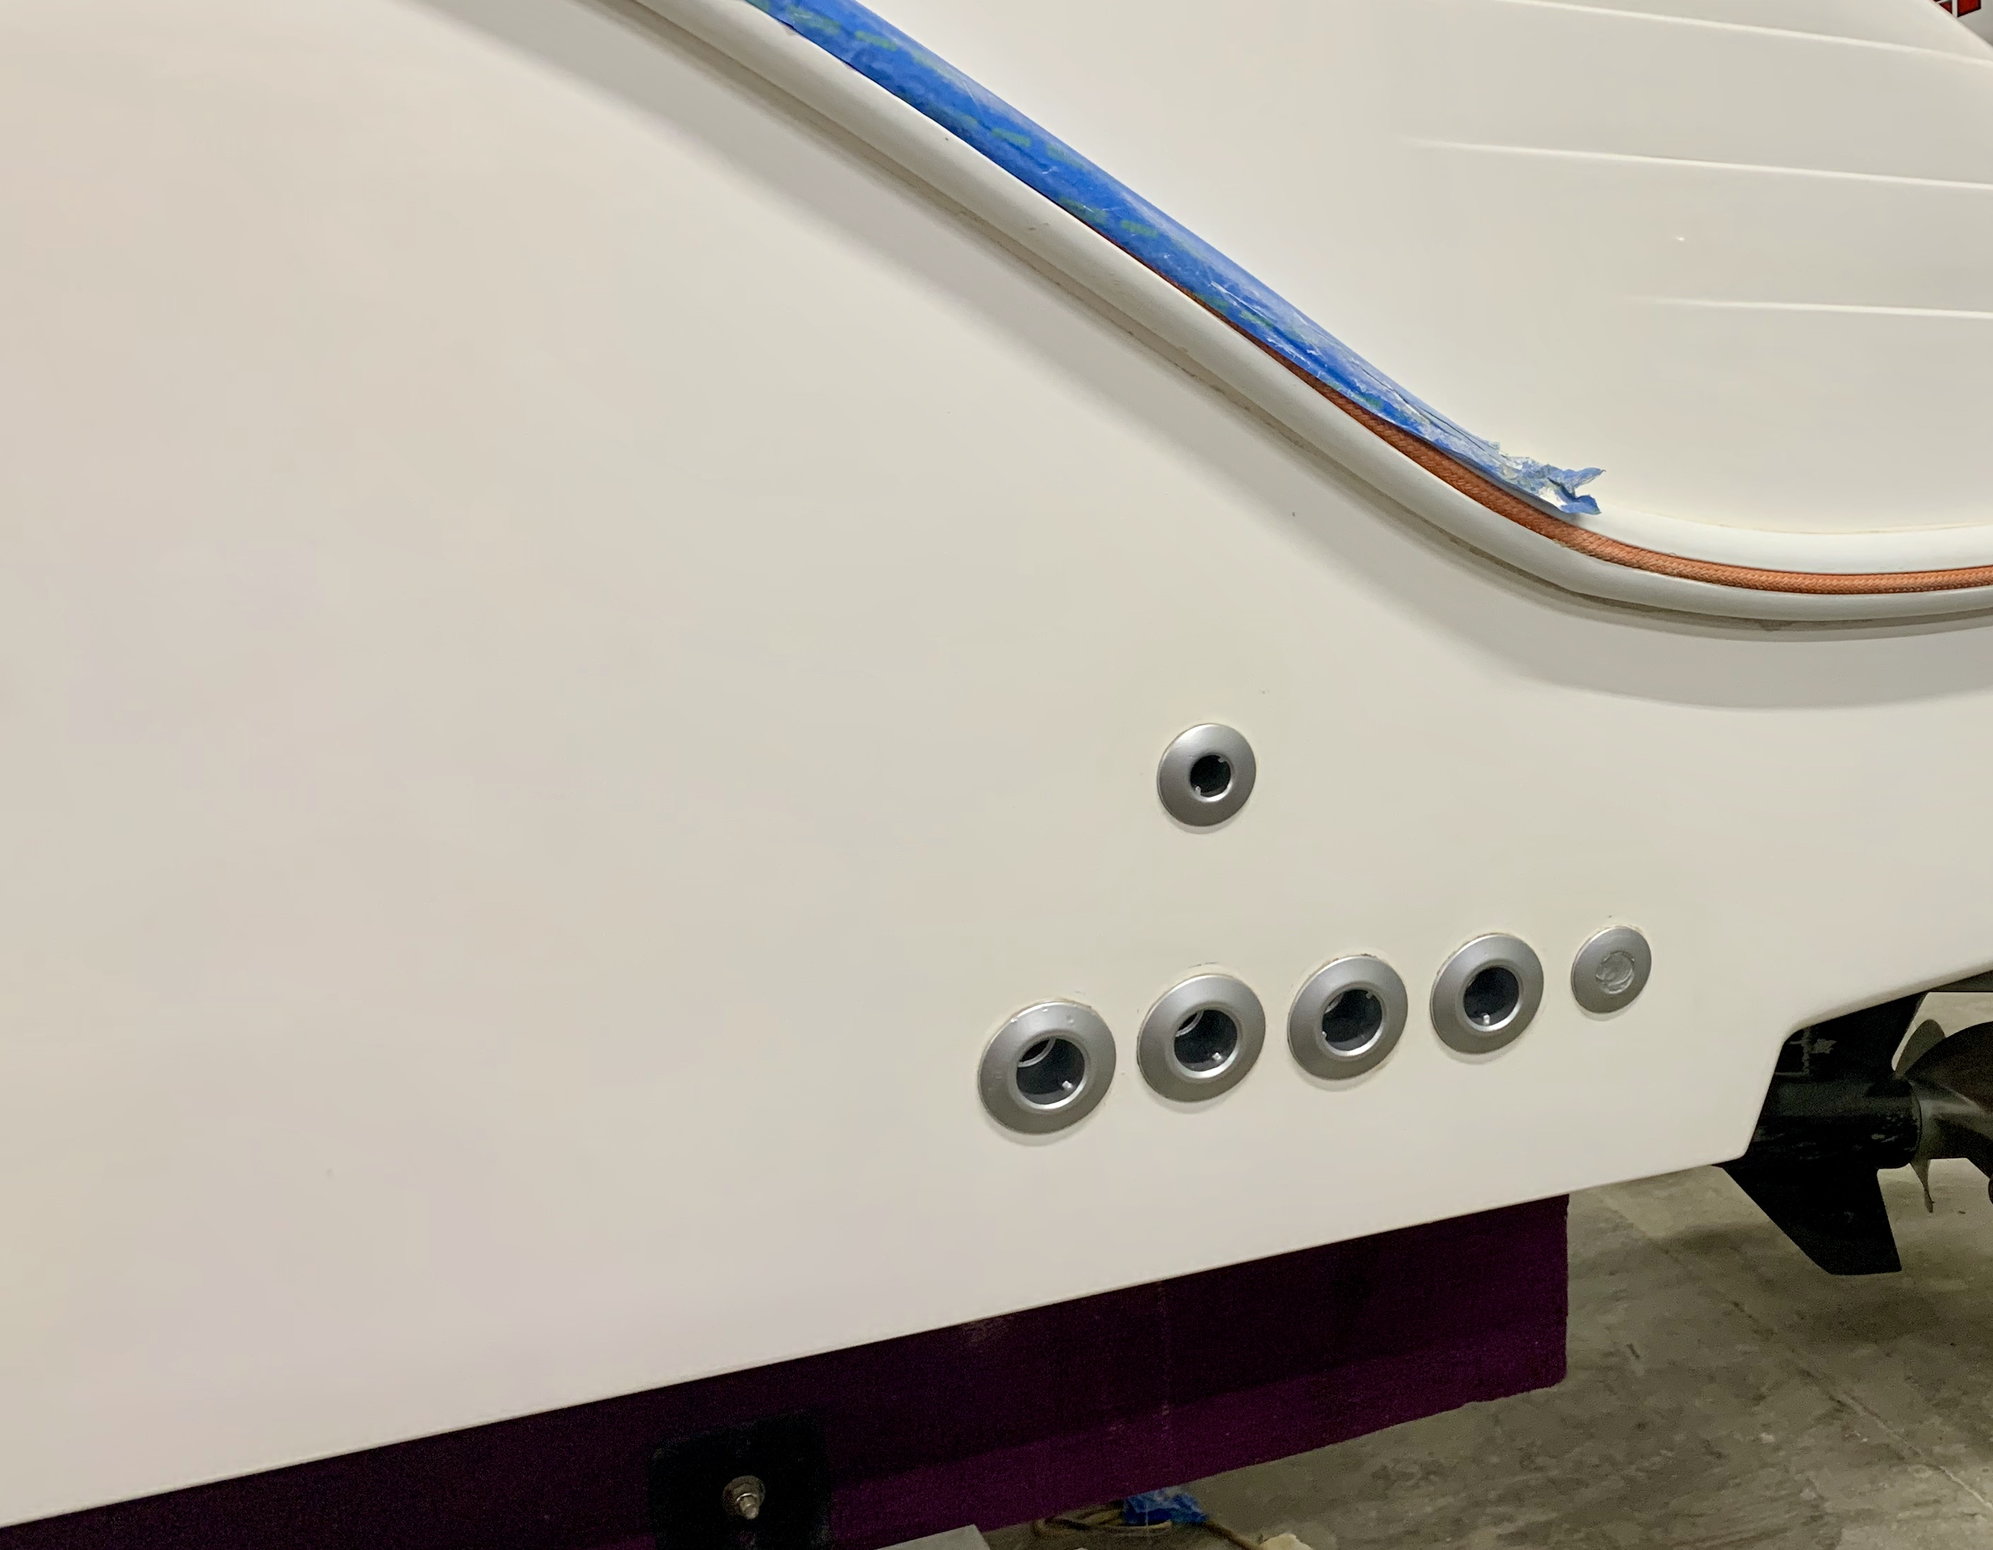
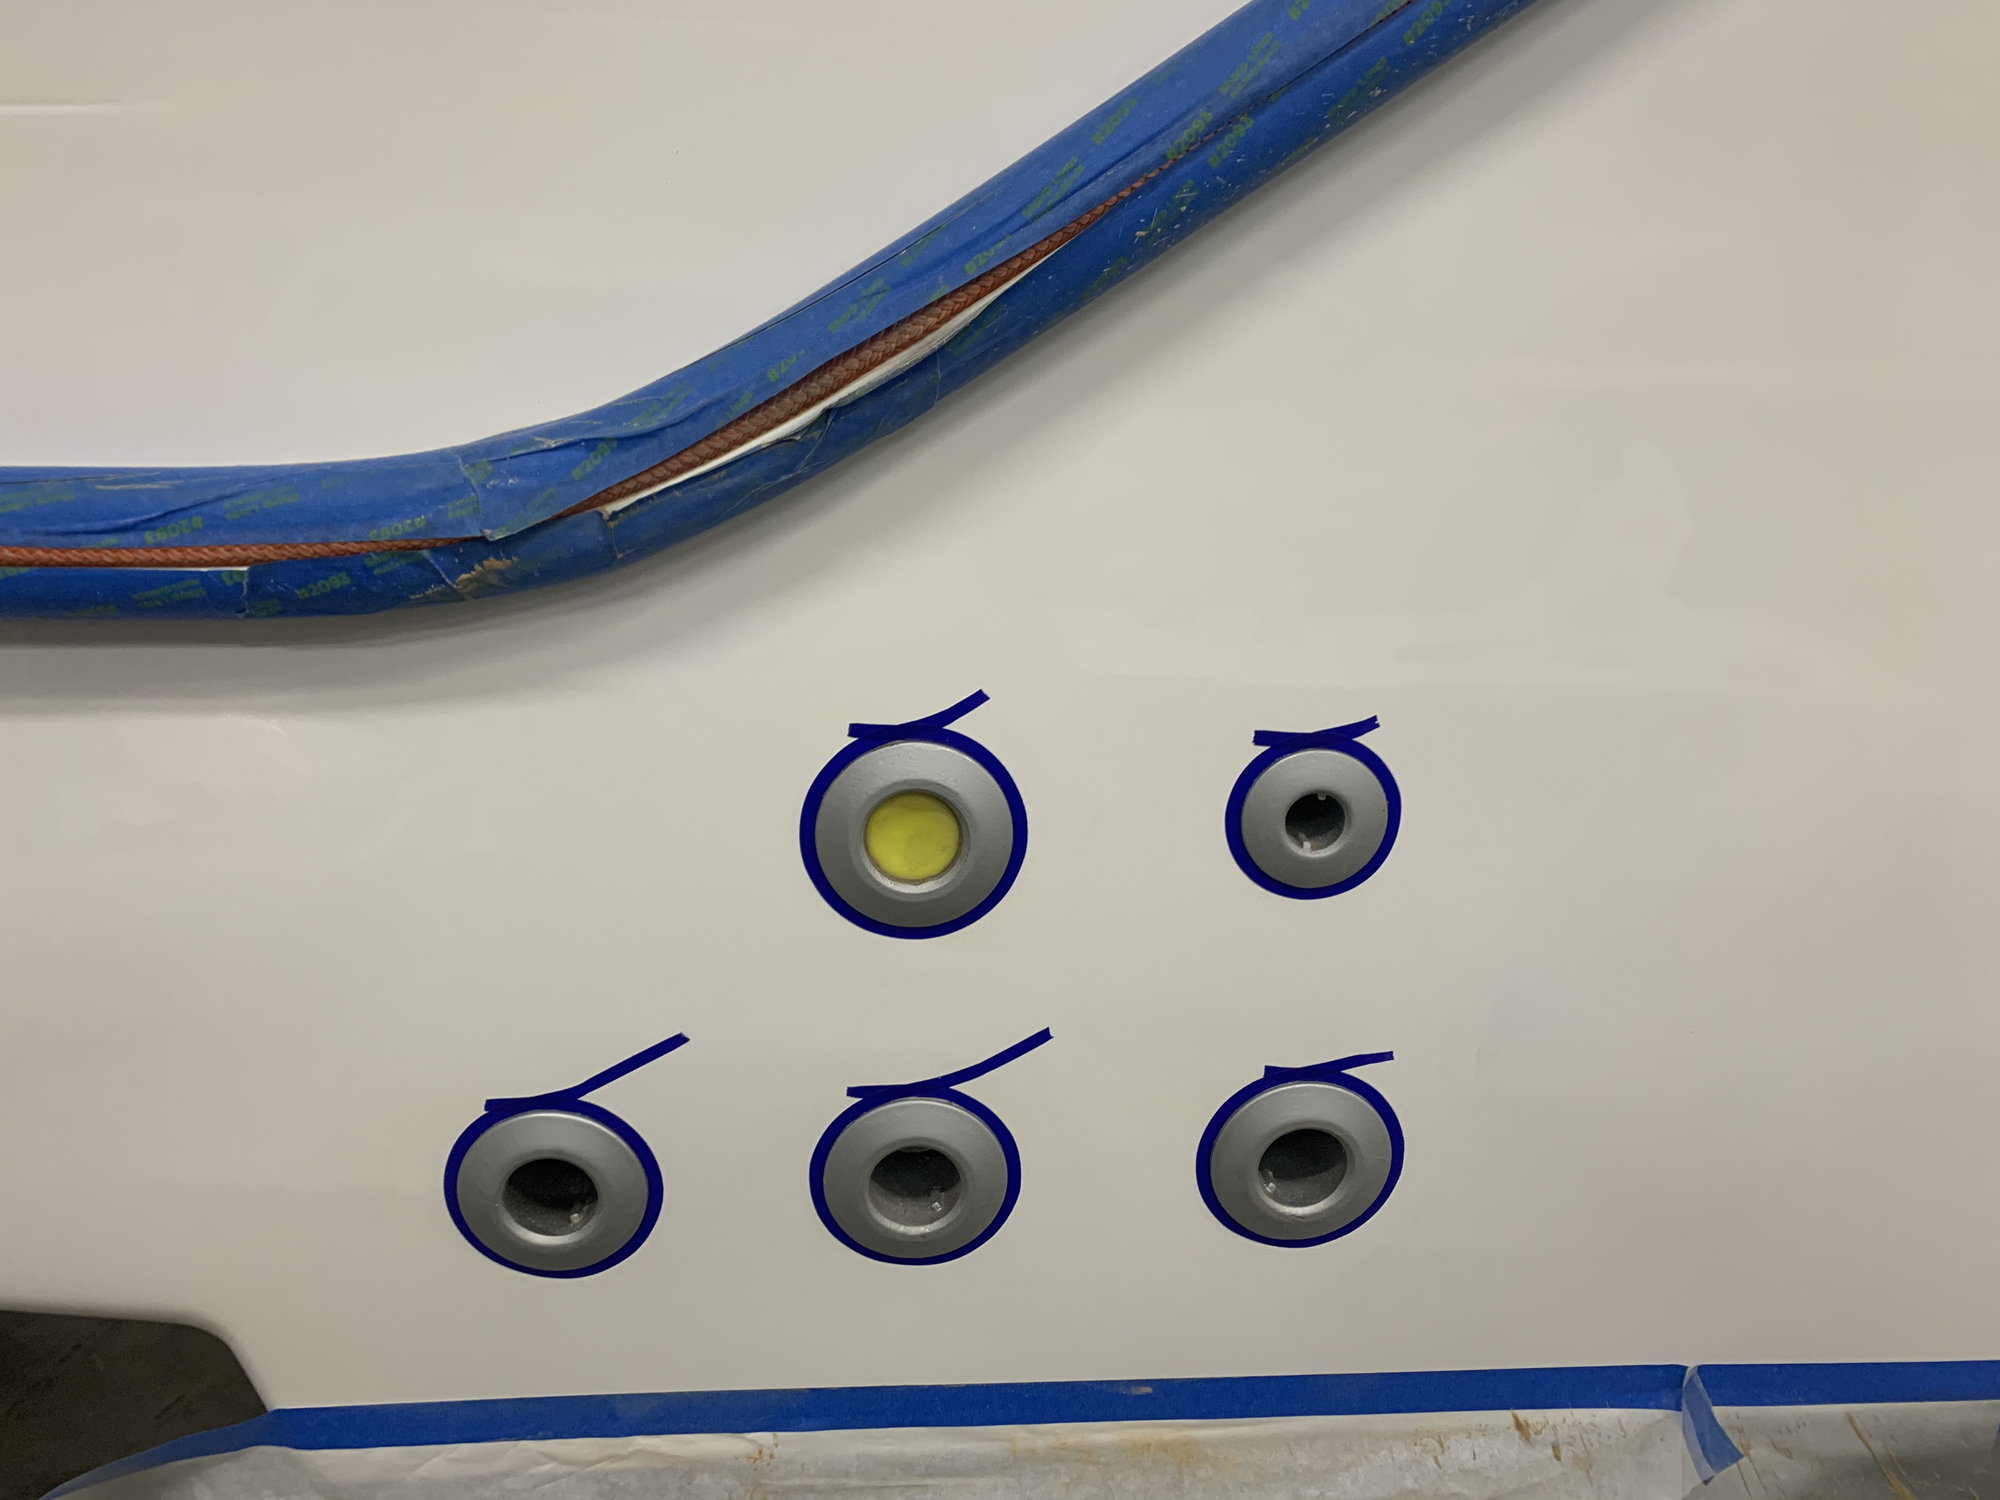
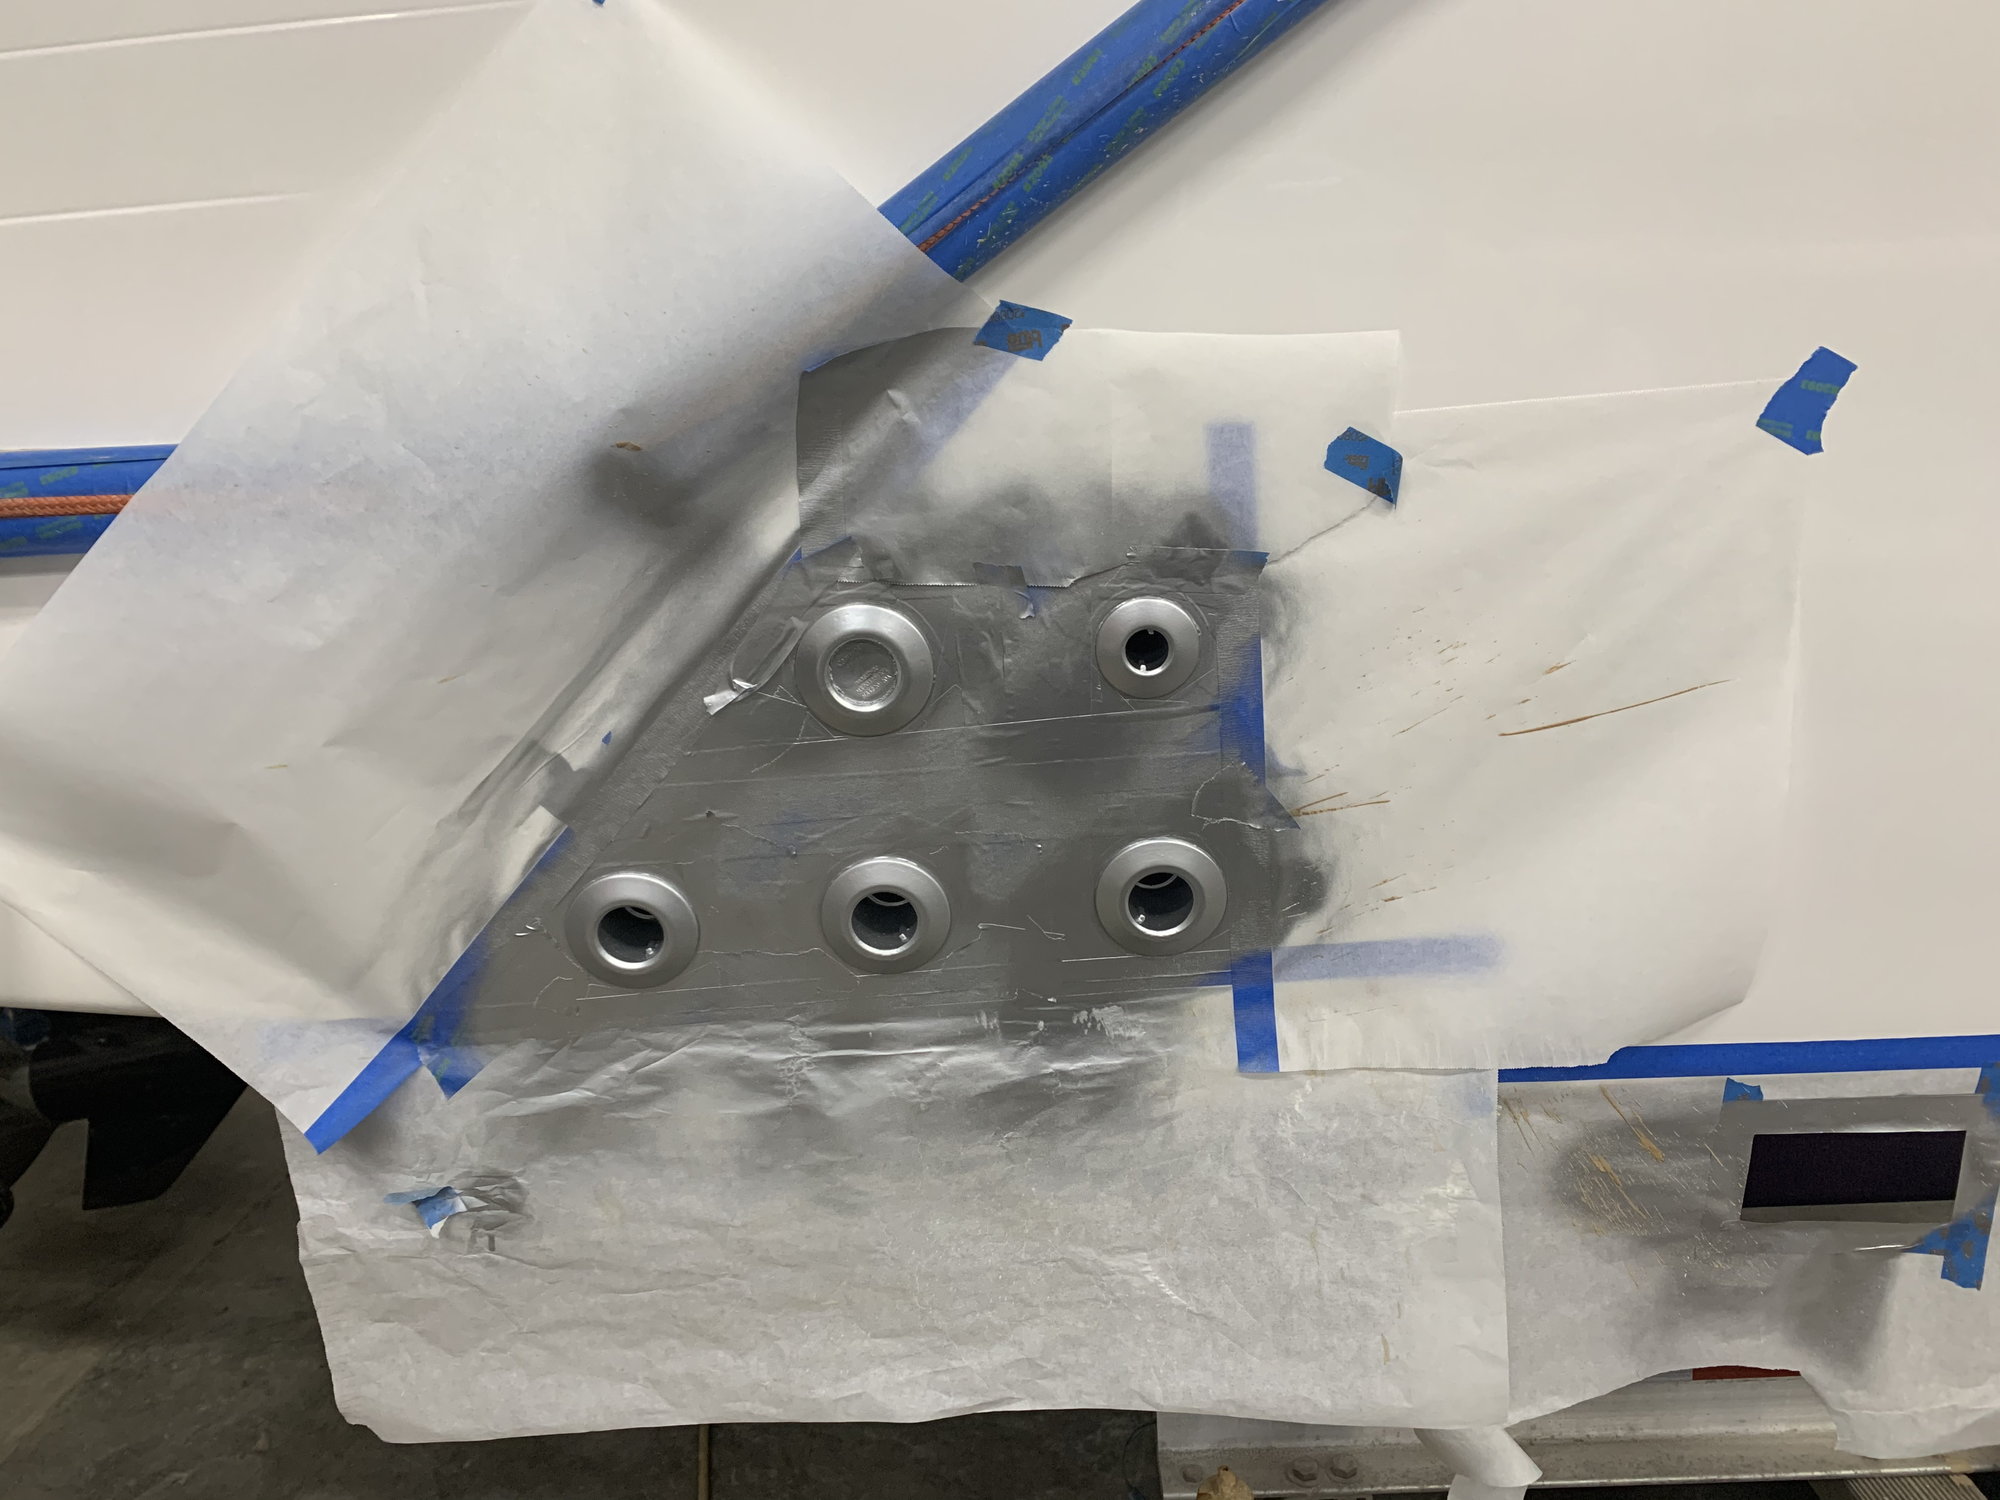
Thru hulls have been scuffed and the one thru hull has been filled.
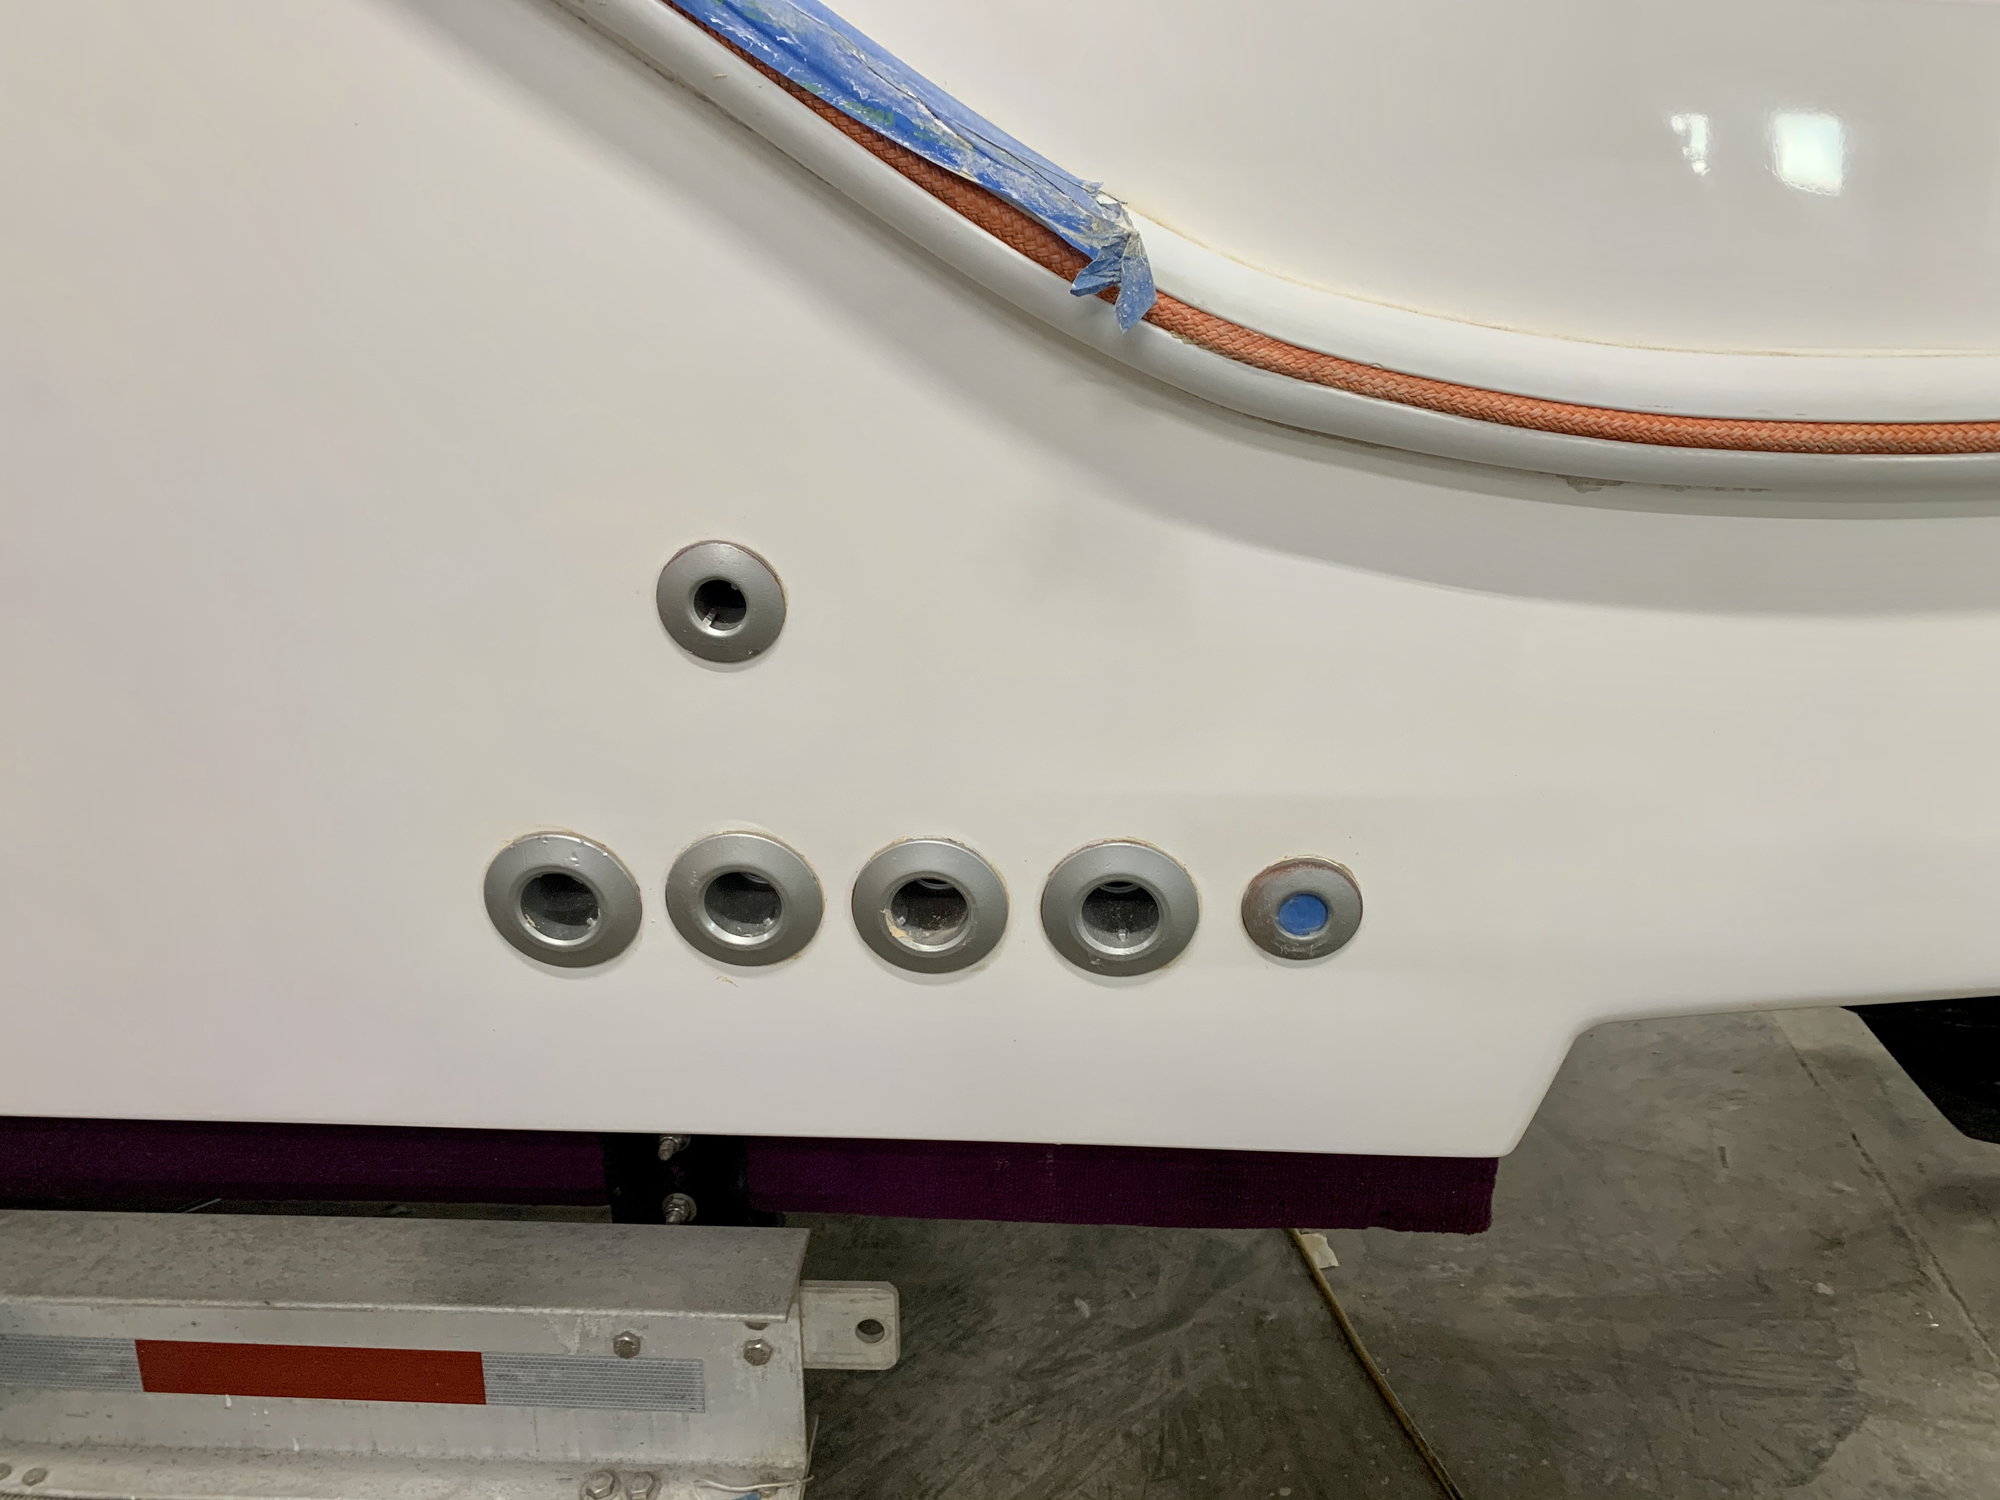
Same goes for the port side thru hull vents.
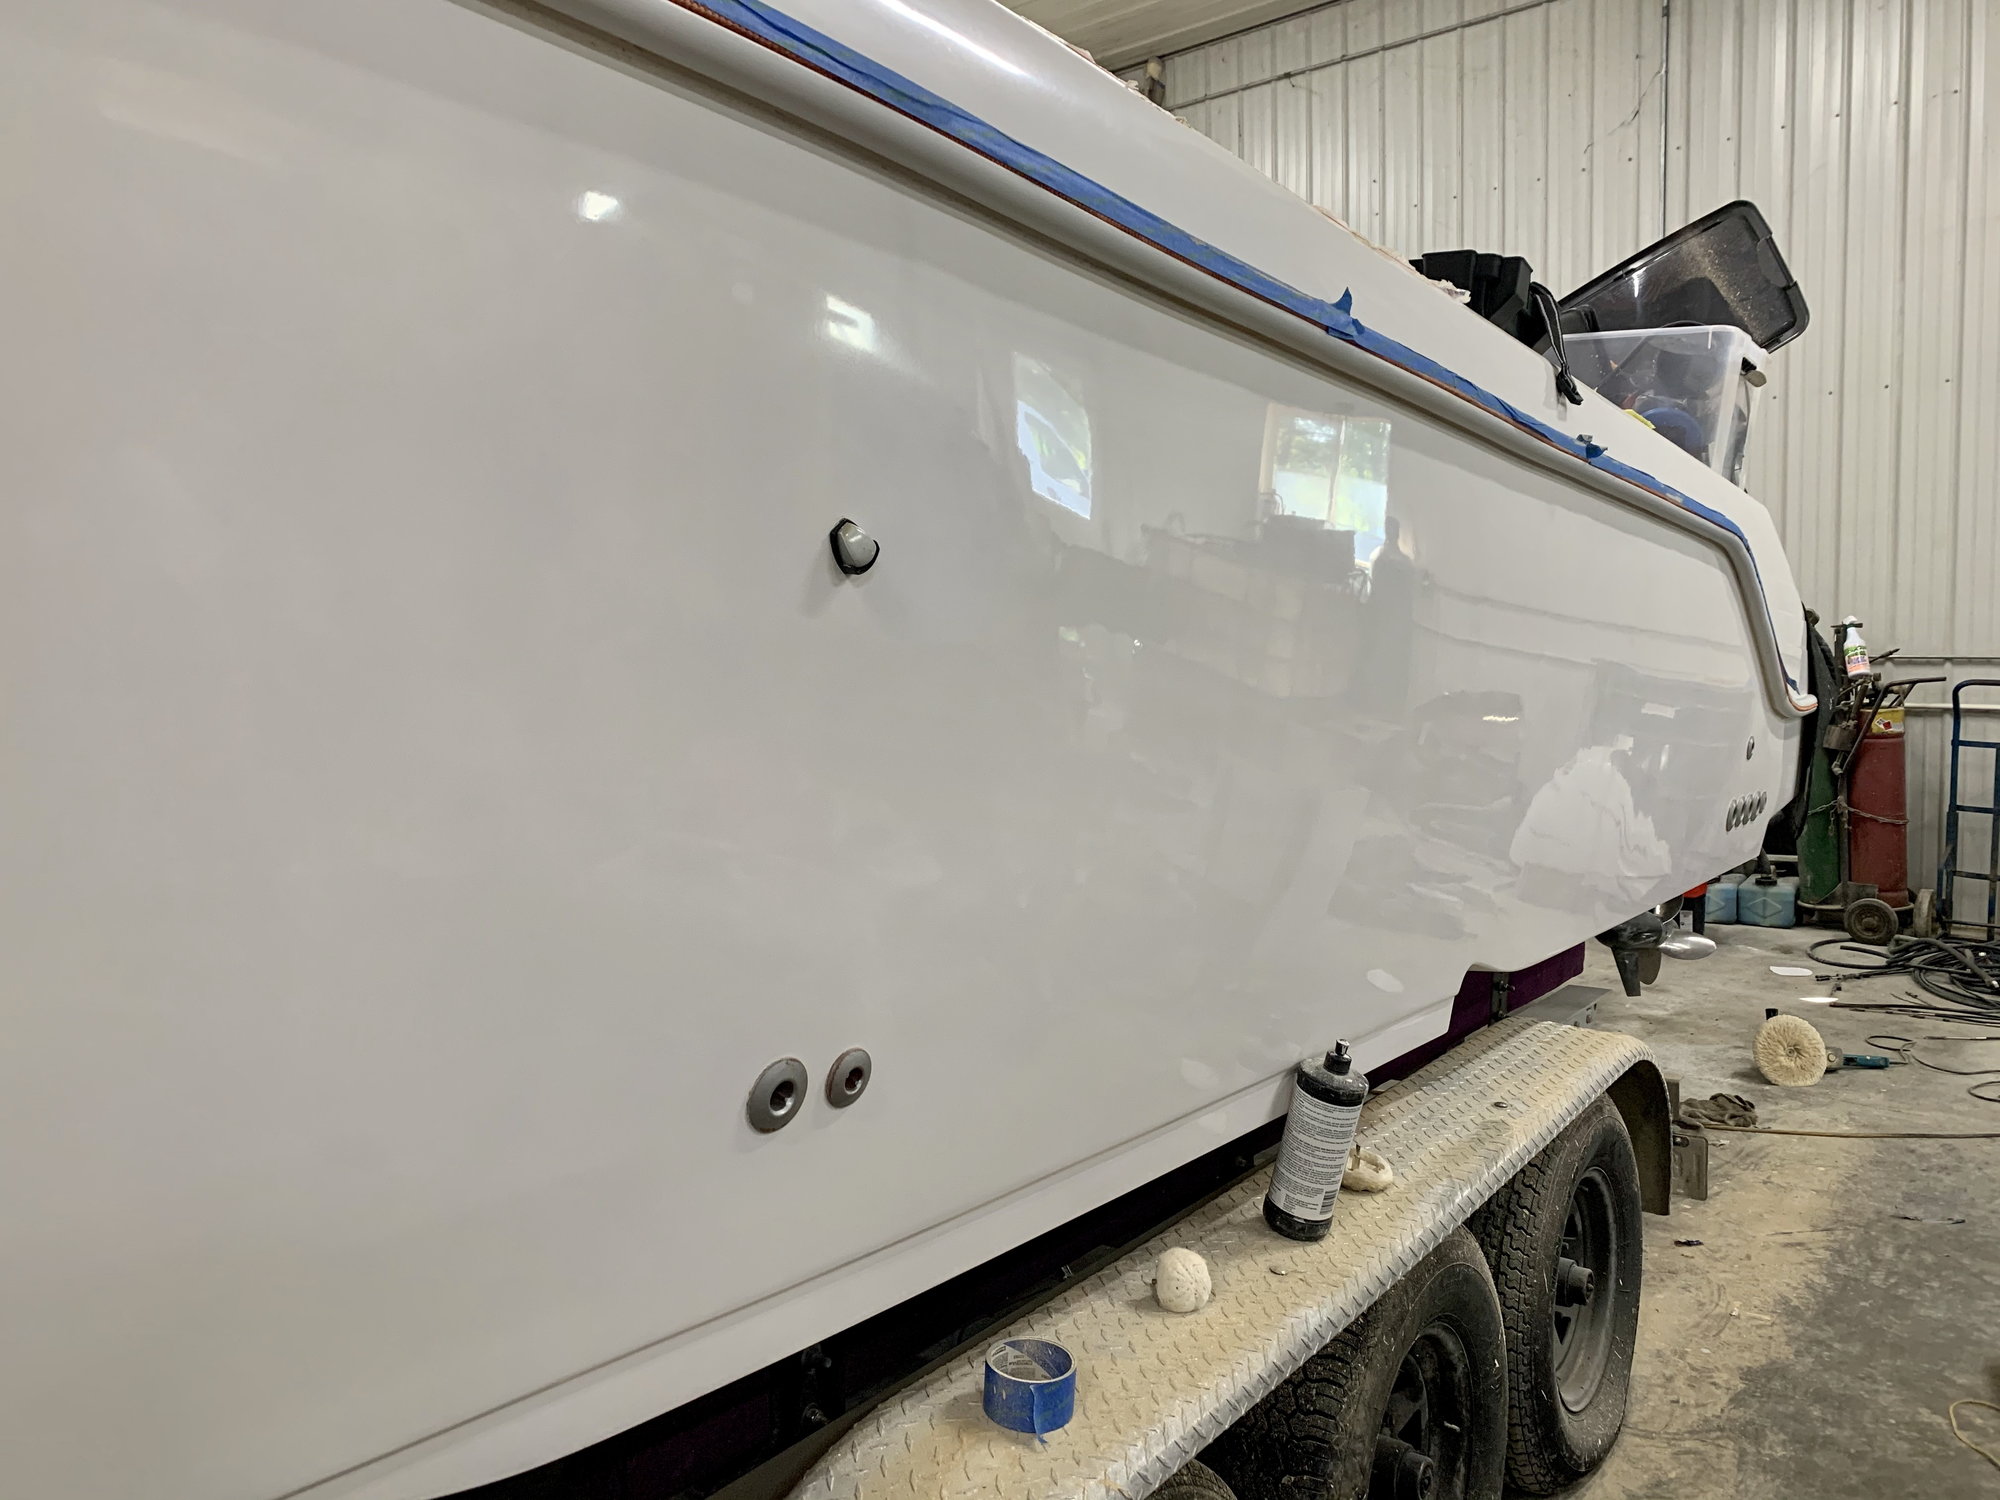
Sides are finally shiny!!!
Hardest part of painting is the prep work.. spent a good hour taping everything off and 15 mins to spray a primer and 2 coats of paint.
Nice to finally start checking things off on our todo list.
Corner is almost done just needs a good buffing.
Backside of the seat needs 1 more layer of gel and a good polishing
Thru hulls have been scuffed and the one thru hull has been filled.
Same goes for the port side thru hull vents.
Sides are finally shiny!!!
Hardest part of painting is the prep work.. spent a good hour taping everything off and 15 mins to spray a primer and 2 coats of paint.
Nice to finally start checking things off on our todo list.

 07-31-2020 | 09:38 AM
#33
Thread Starter
Registered
Joined: Feb 2011
Posts: 375
Likes: 125
From: North Liberty, IA
Two things this boat is lacking is plenty of seating and cup holders. The cup holders we’re going to have to get creative on but the rear seat has a fairly simple solution. In my earlier post I showed a cardboard cutout of a bench seat(First Pic below). There are existing brackets for 2 jump seats on the back wall but those didn’t come with the boat so we decided to make our own seat that slides into those brackets. It’s only a temporary solution to get us thru this year but it adds 3 seats and was cheap to make.
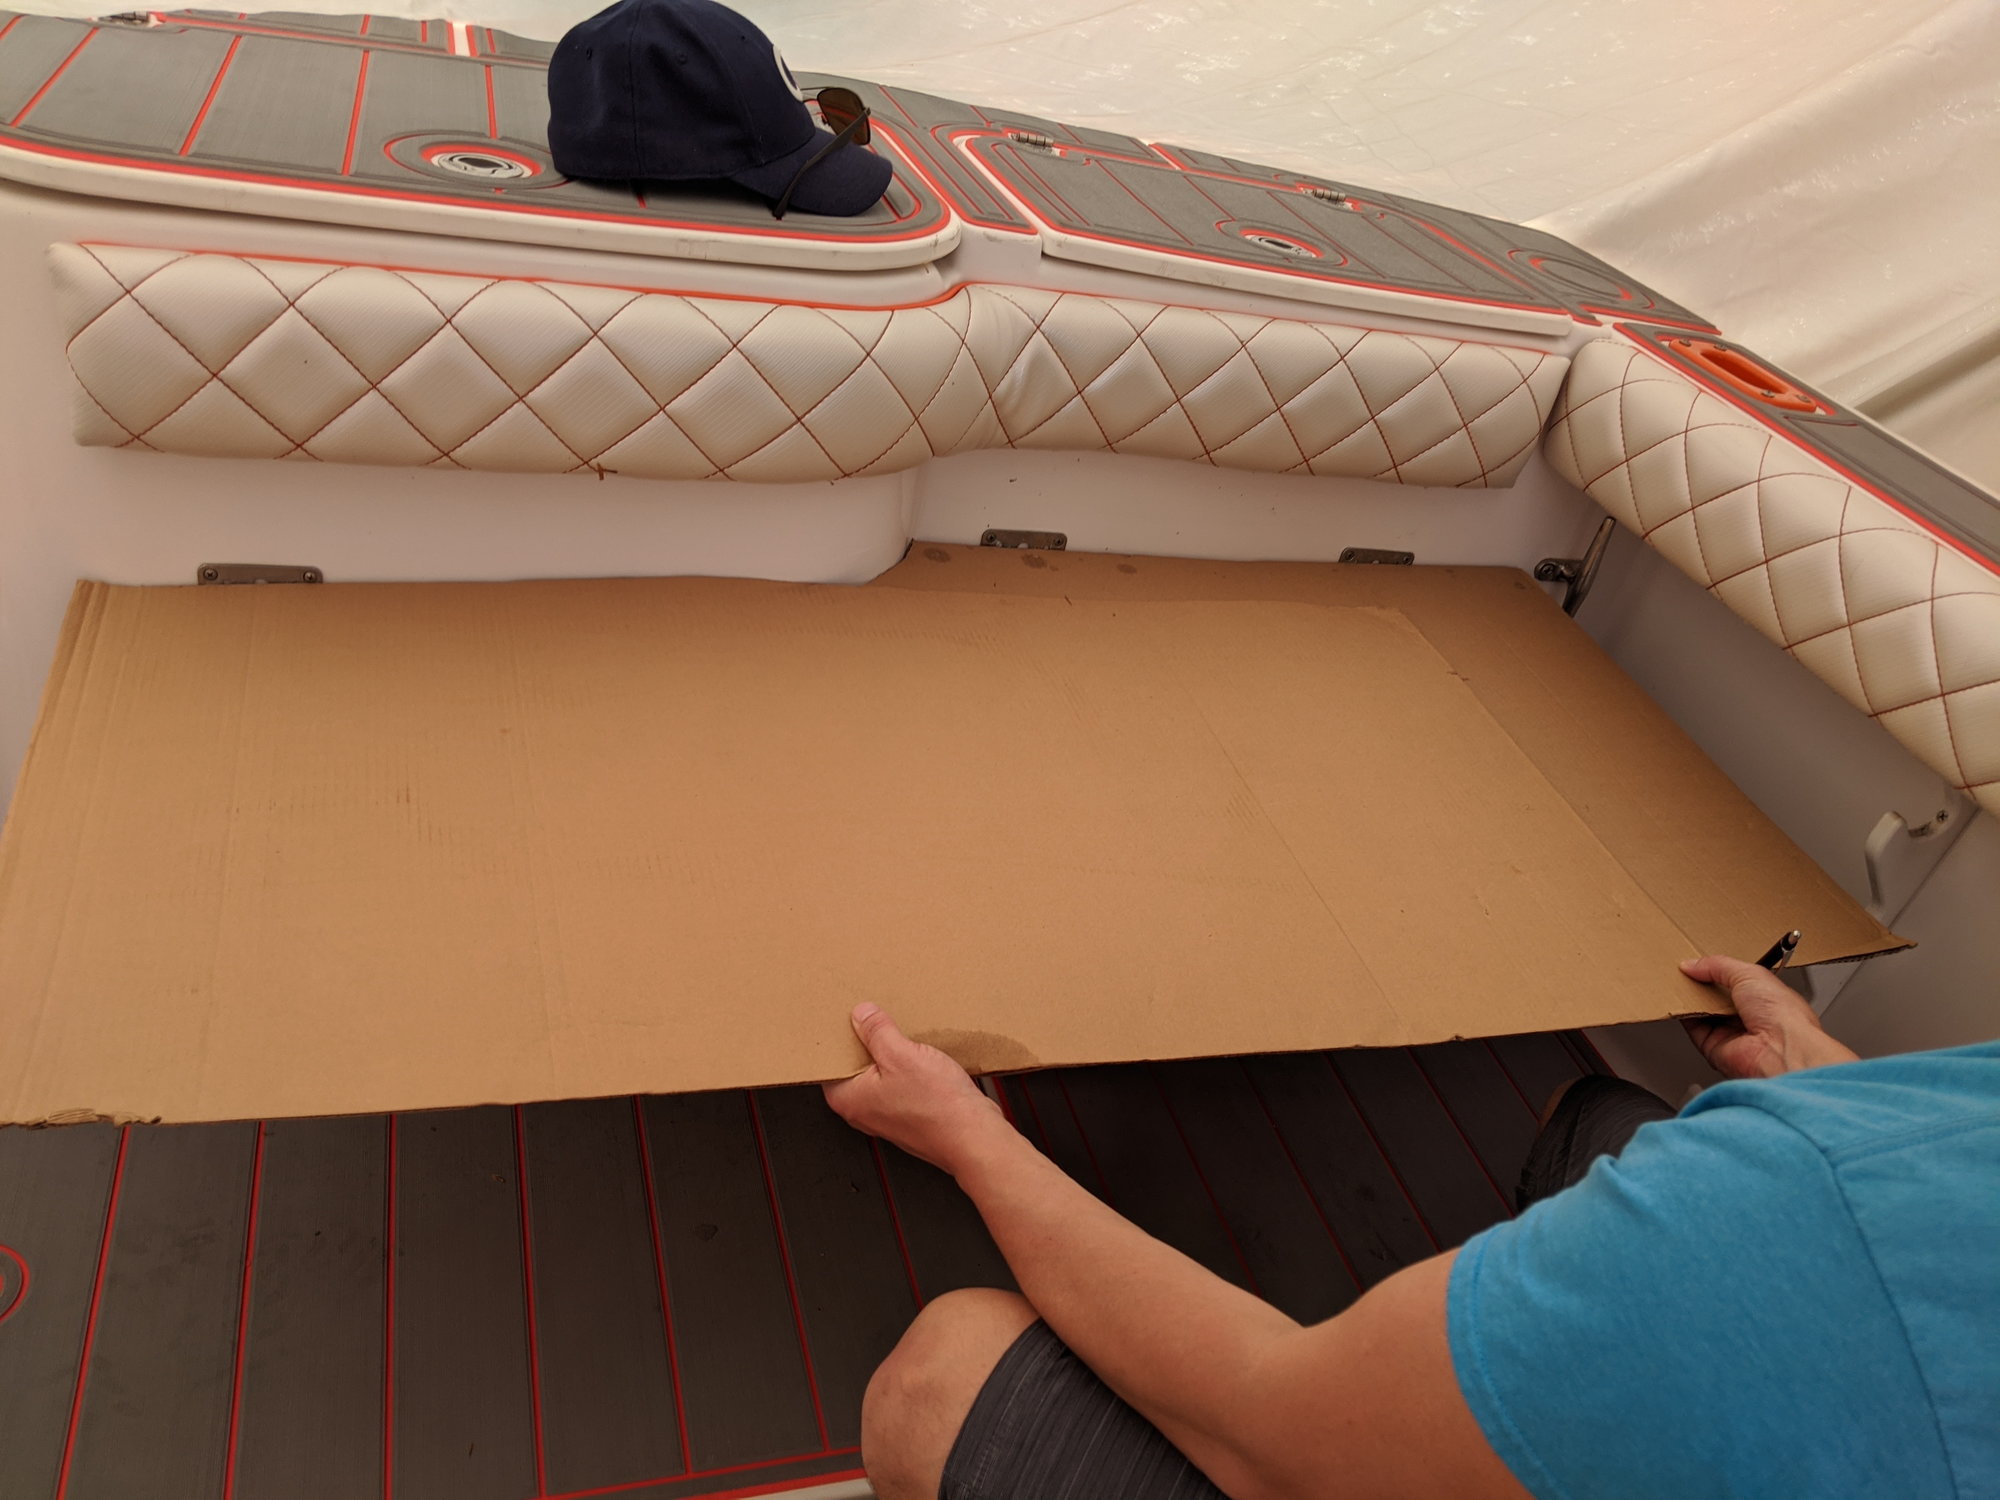
Concept out of cardboard
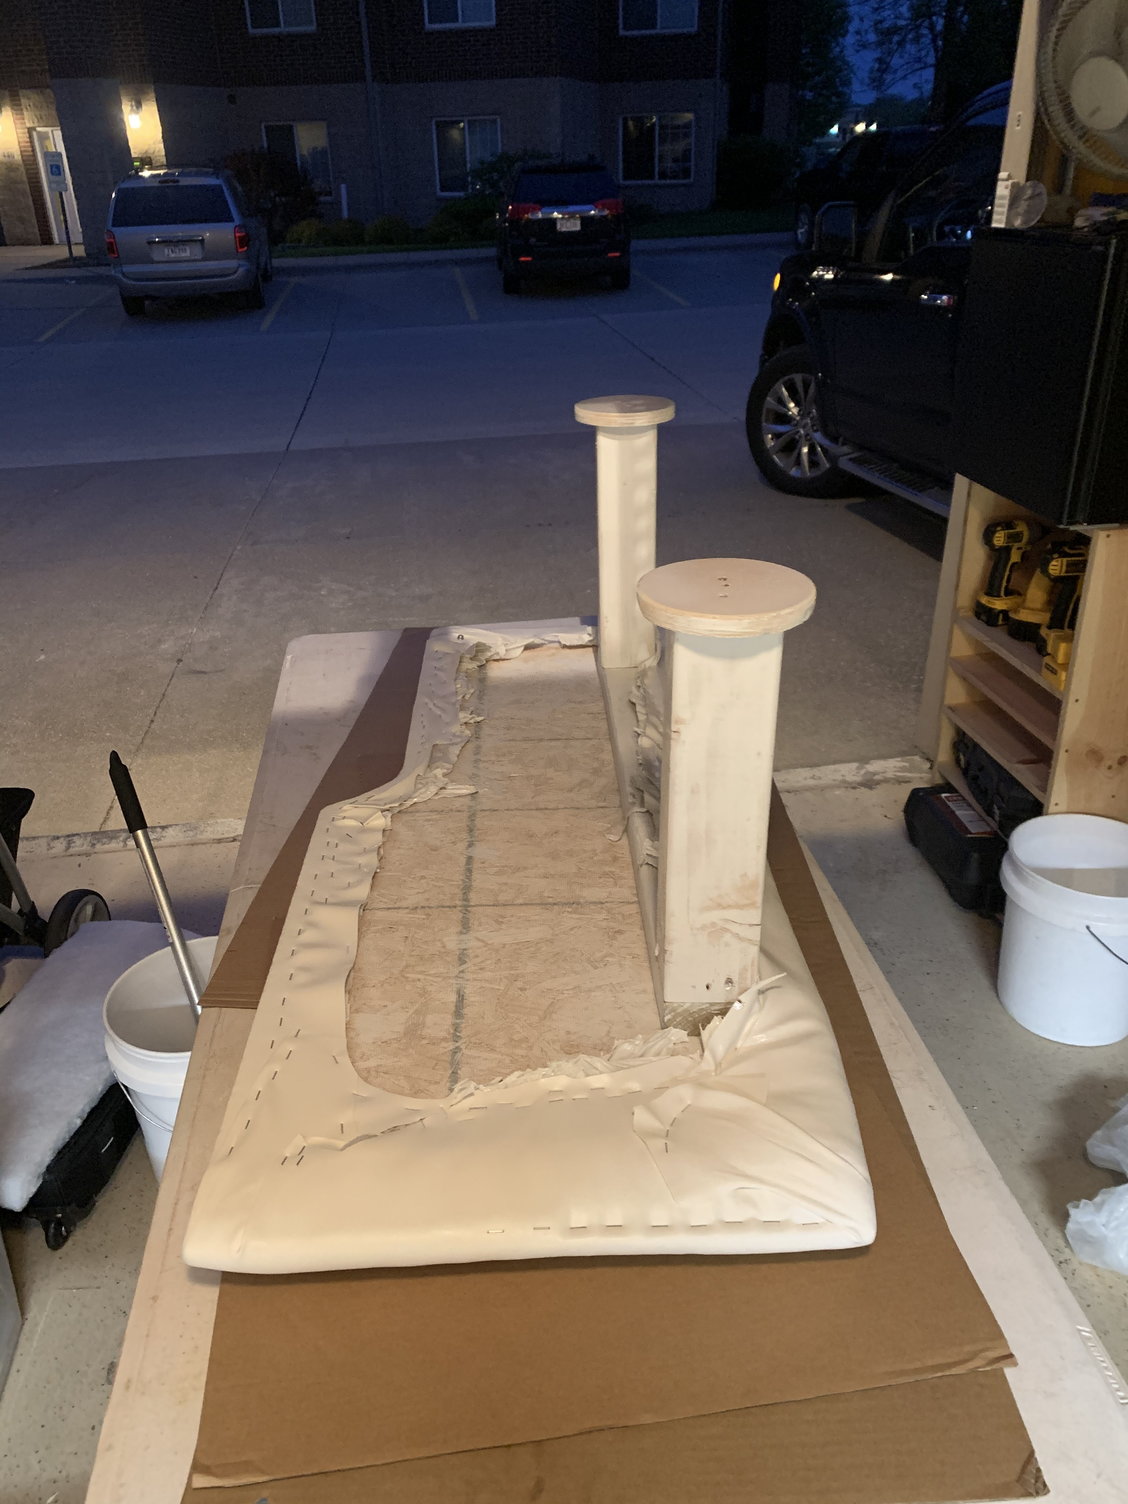
Not the prettiest by far but it was cheap. Had to buy the vinyl and the foam batting which was about $90 but the wood and paint was all stuff I had laying around
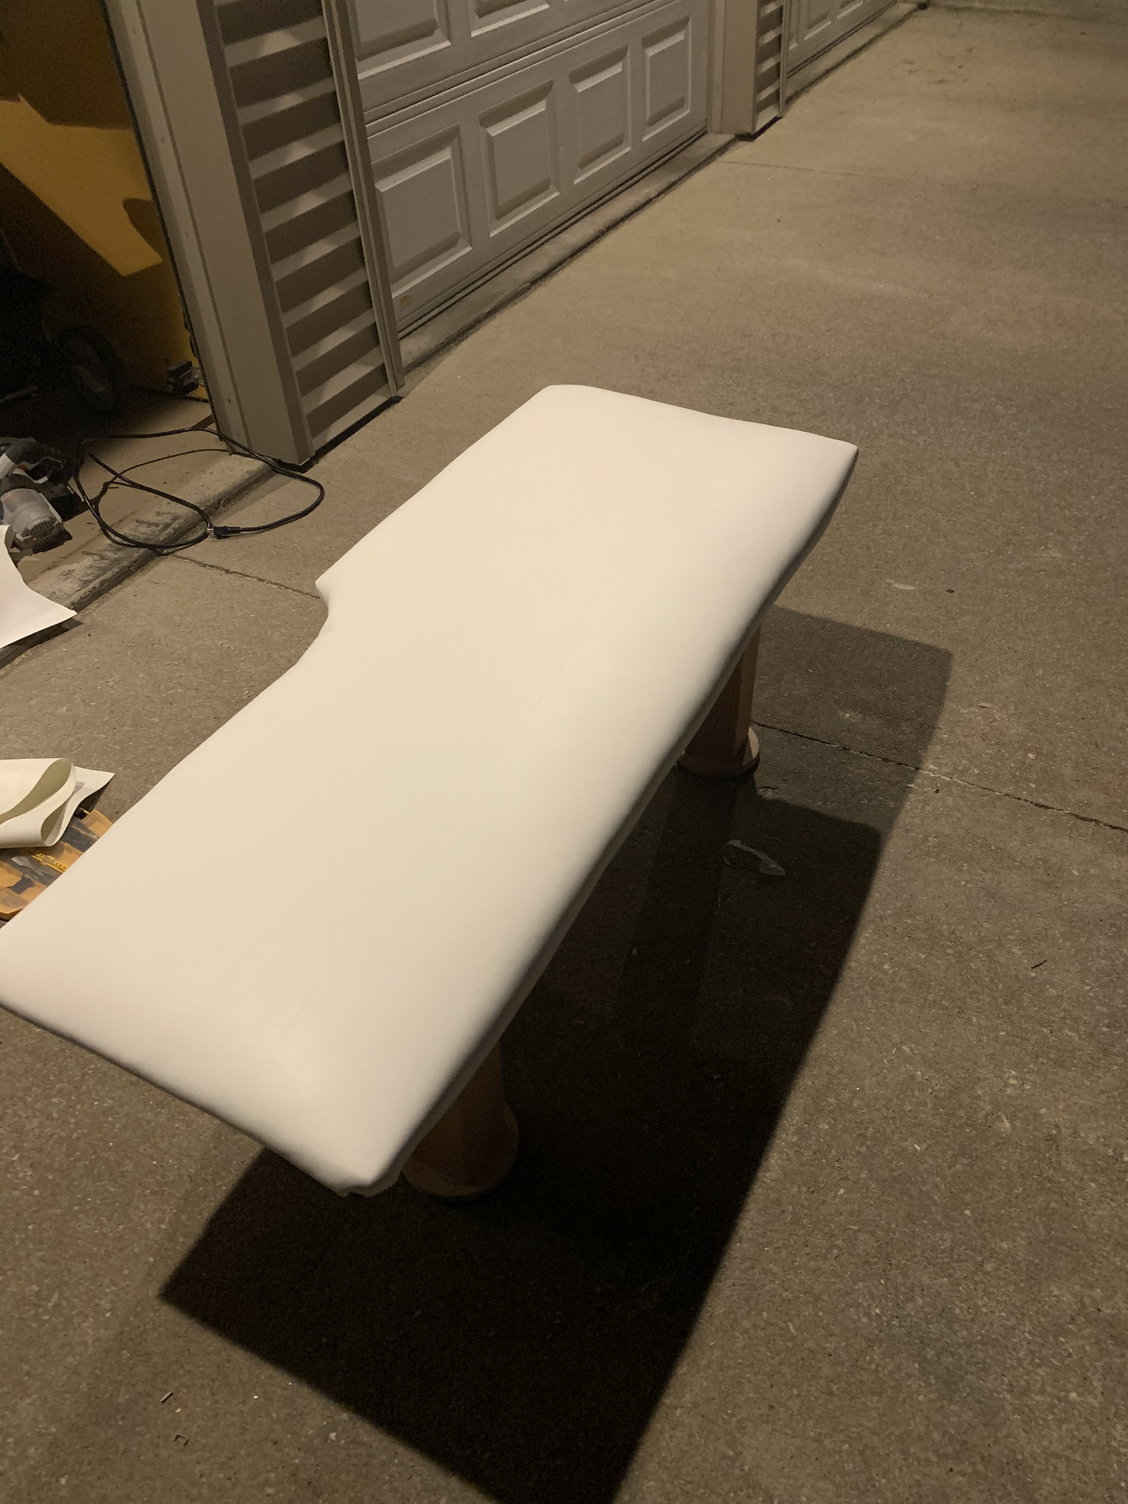
The top actually looks fairly good.. Not bad in my opinion for my first attempt at upholstery anyway.
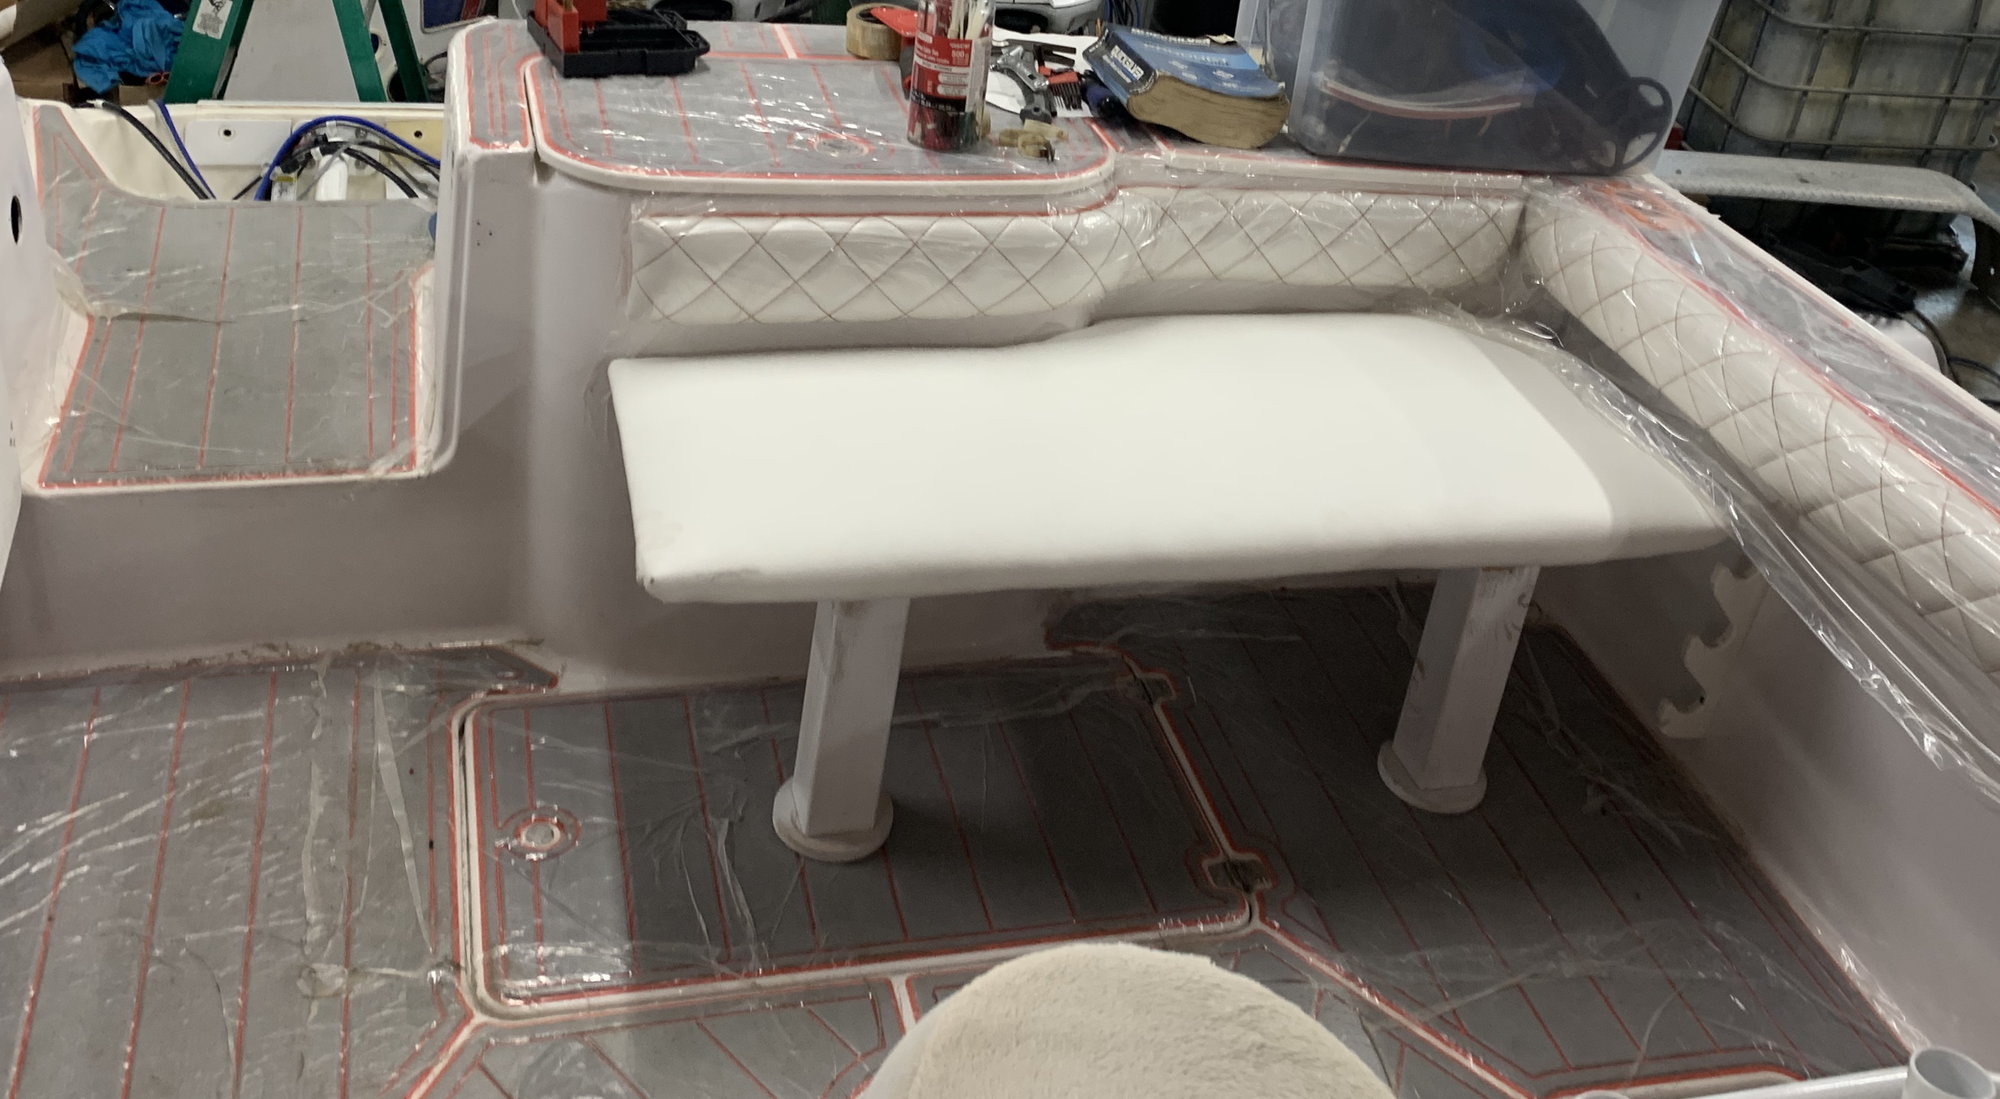
It doesn’t look great compared to the nicely stitched upholstery that’s in the boat but it adds 3 seats to get us thru this boating season. There are big plans for this area but that won’t come until early next year.
Concept out of cardboard
Not the prettiest by far but it was cheap. Had to buy the vinyl and the foam batting which was about $90 but the wood and paint was all stuff I had laying around
The top actually looks fairly good.. Not bad in my opinion for my first attempt at upholstery anyway.
It doesn’t look great compared to the nicely stitched upholstery that’s in the boat but it adds 3 seats to get us thru this boating season. There are big plans for this area but that won’t come until early next year.
08-03-2020 | 12:52 PM
#34
Thread Starter
Registered
Joined: Feb 2011
Posts: 375
Likes: 125
From: North Liberty, IA
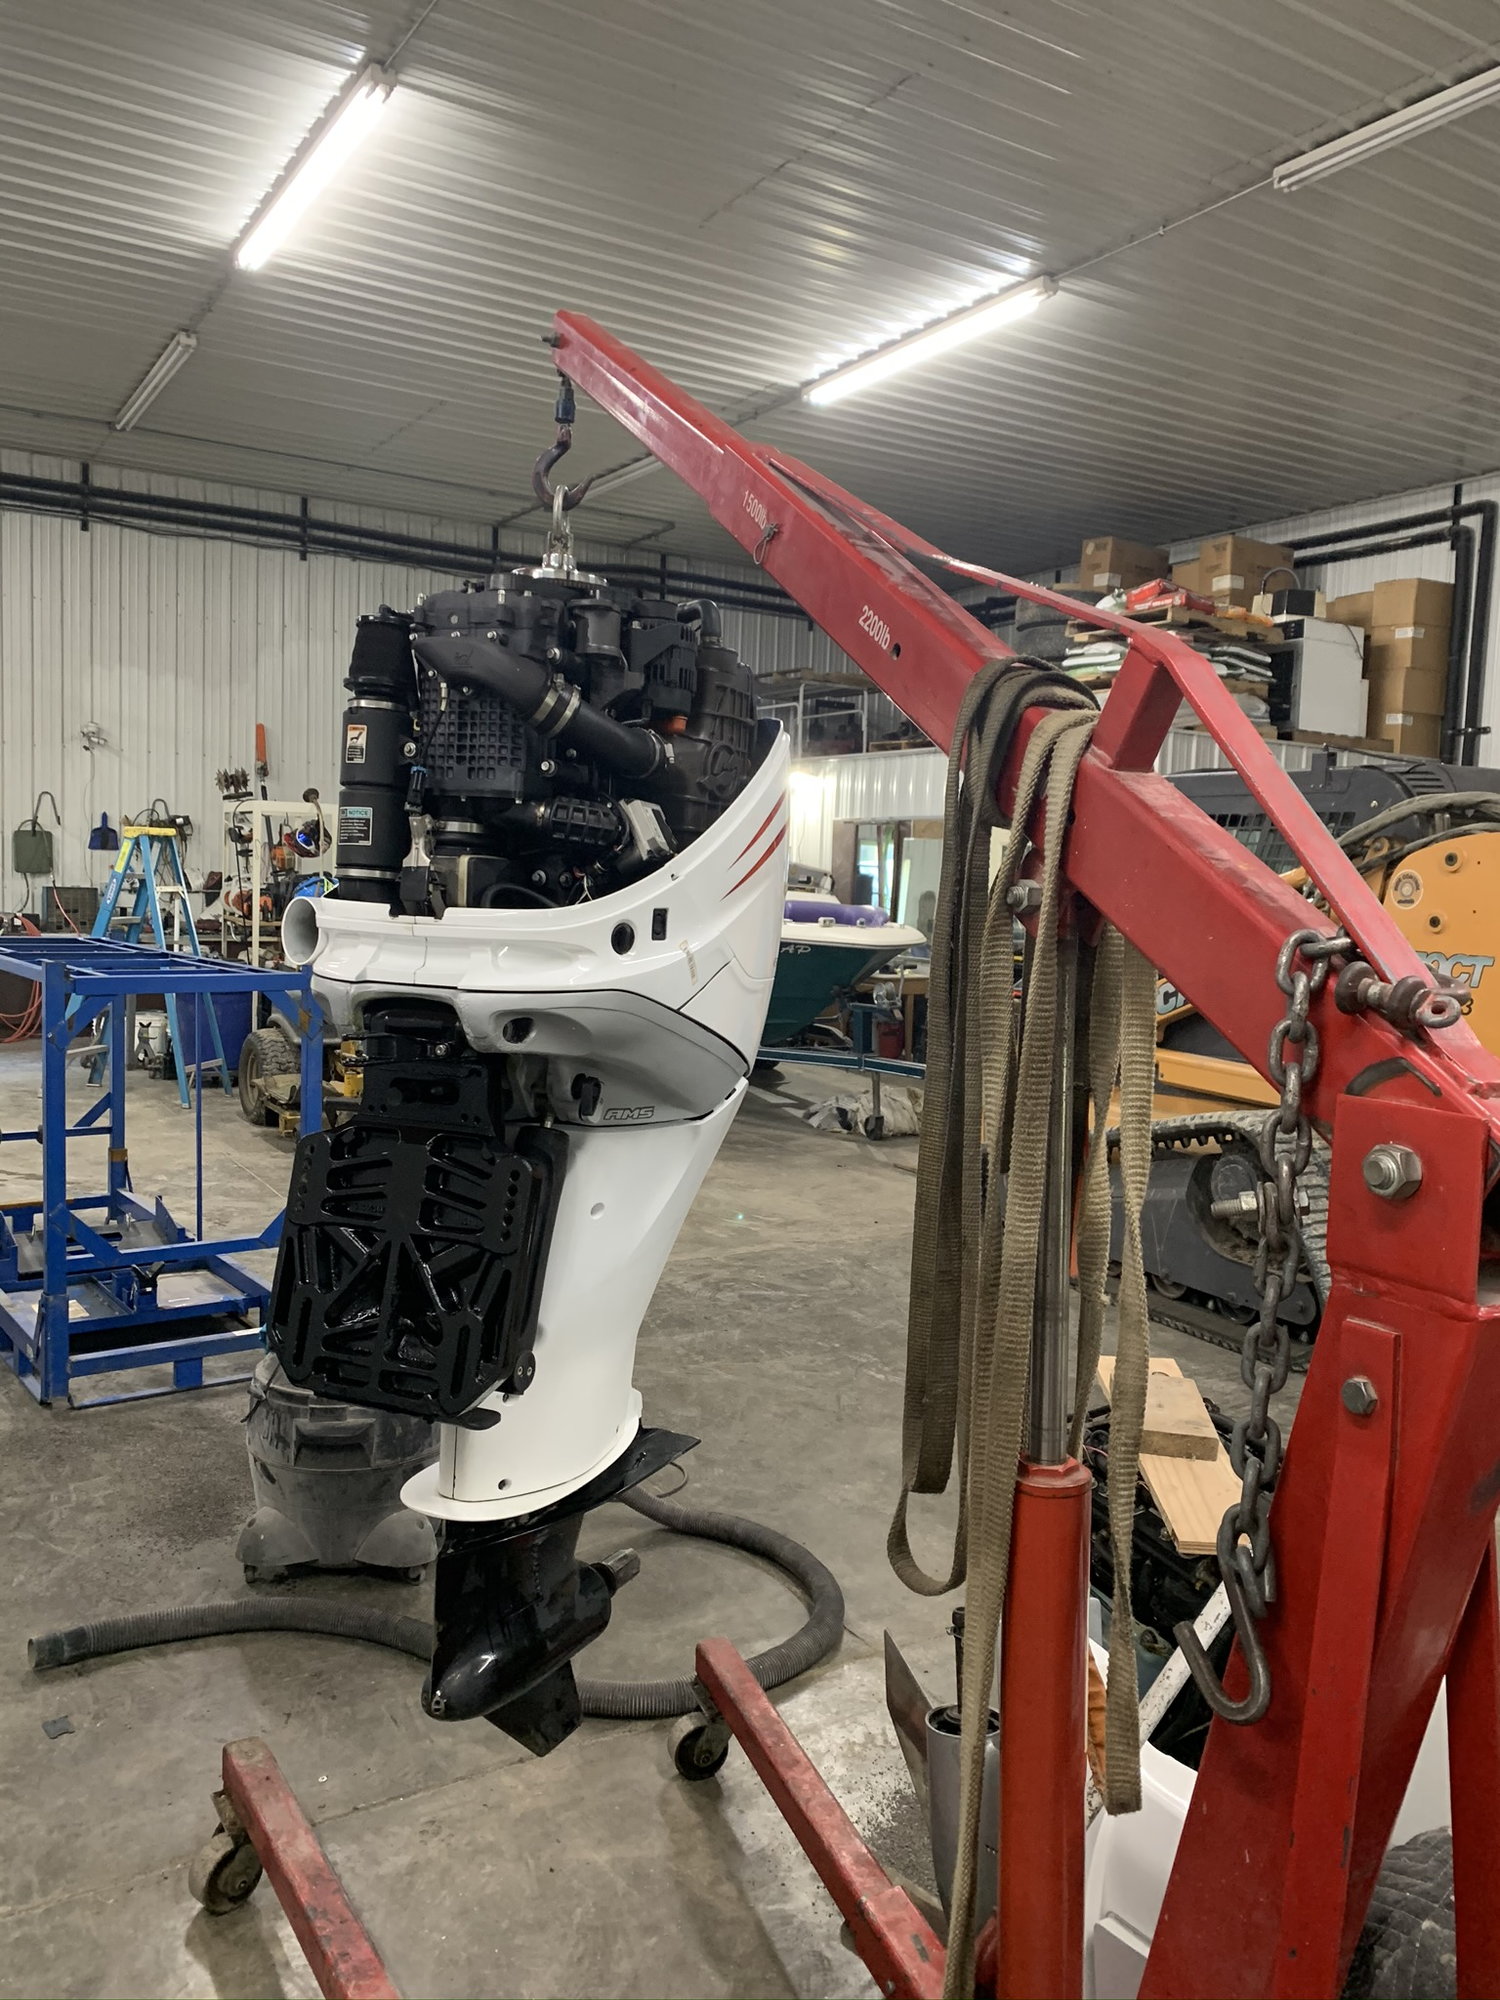
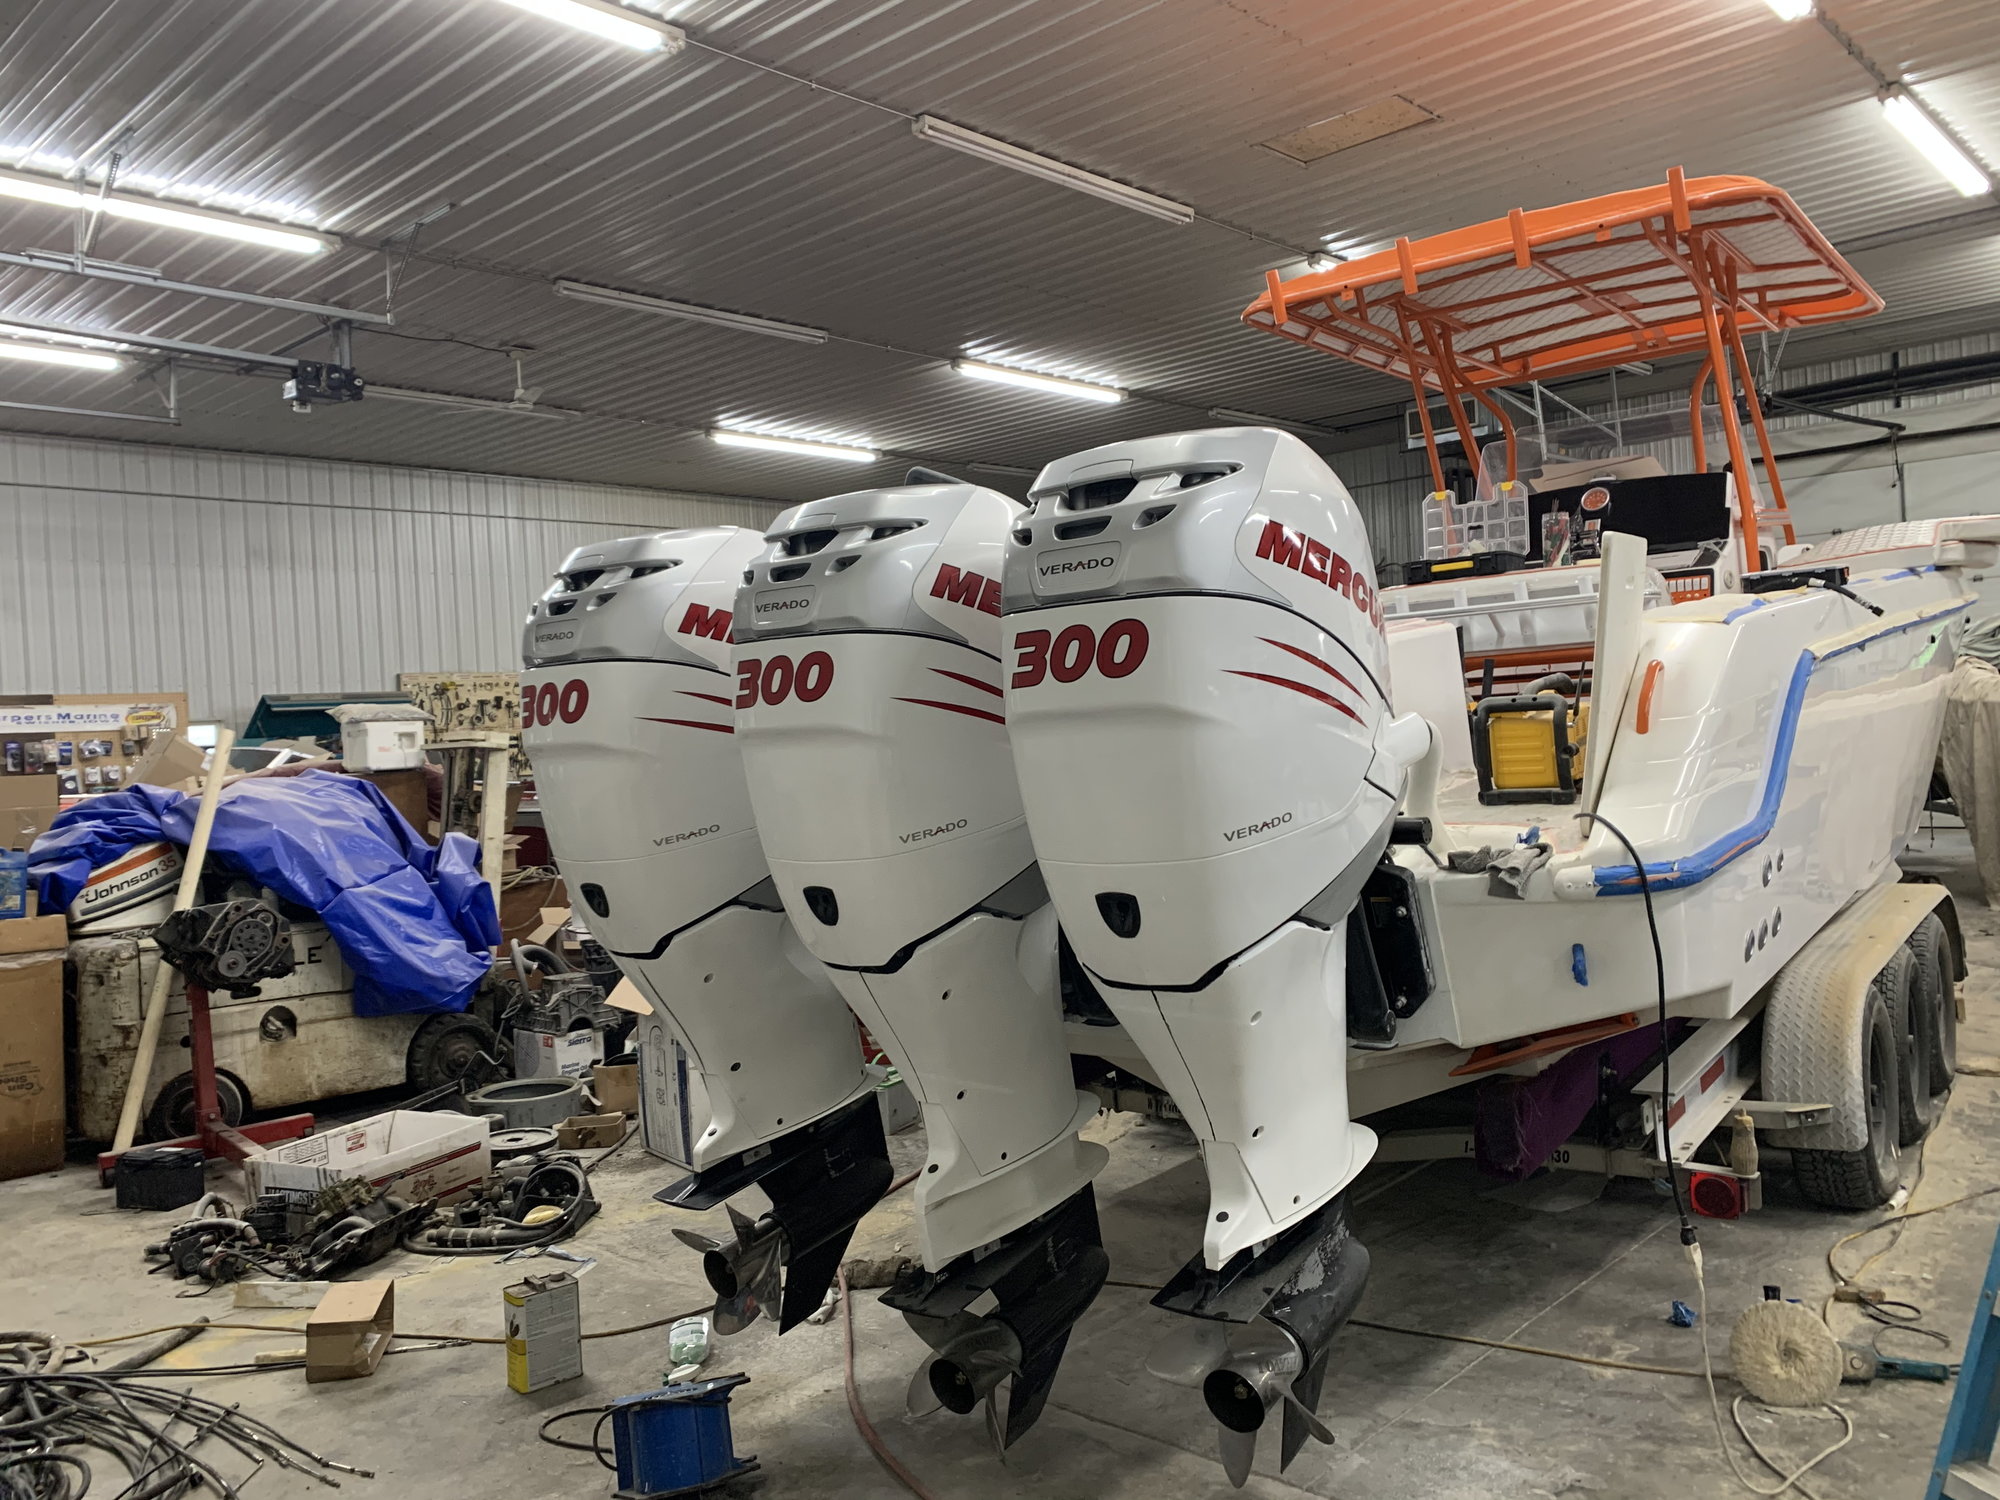
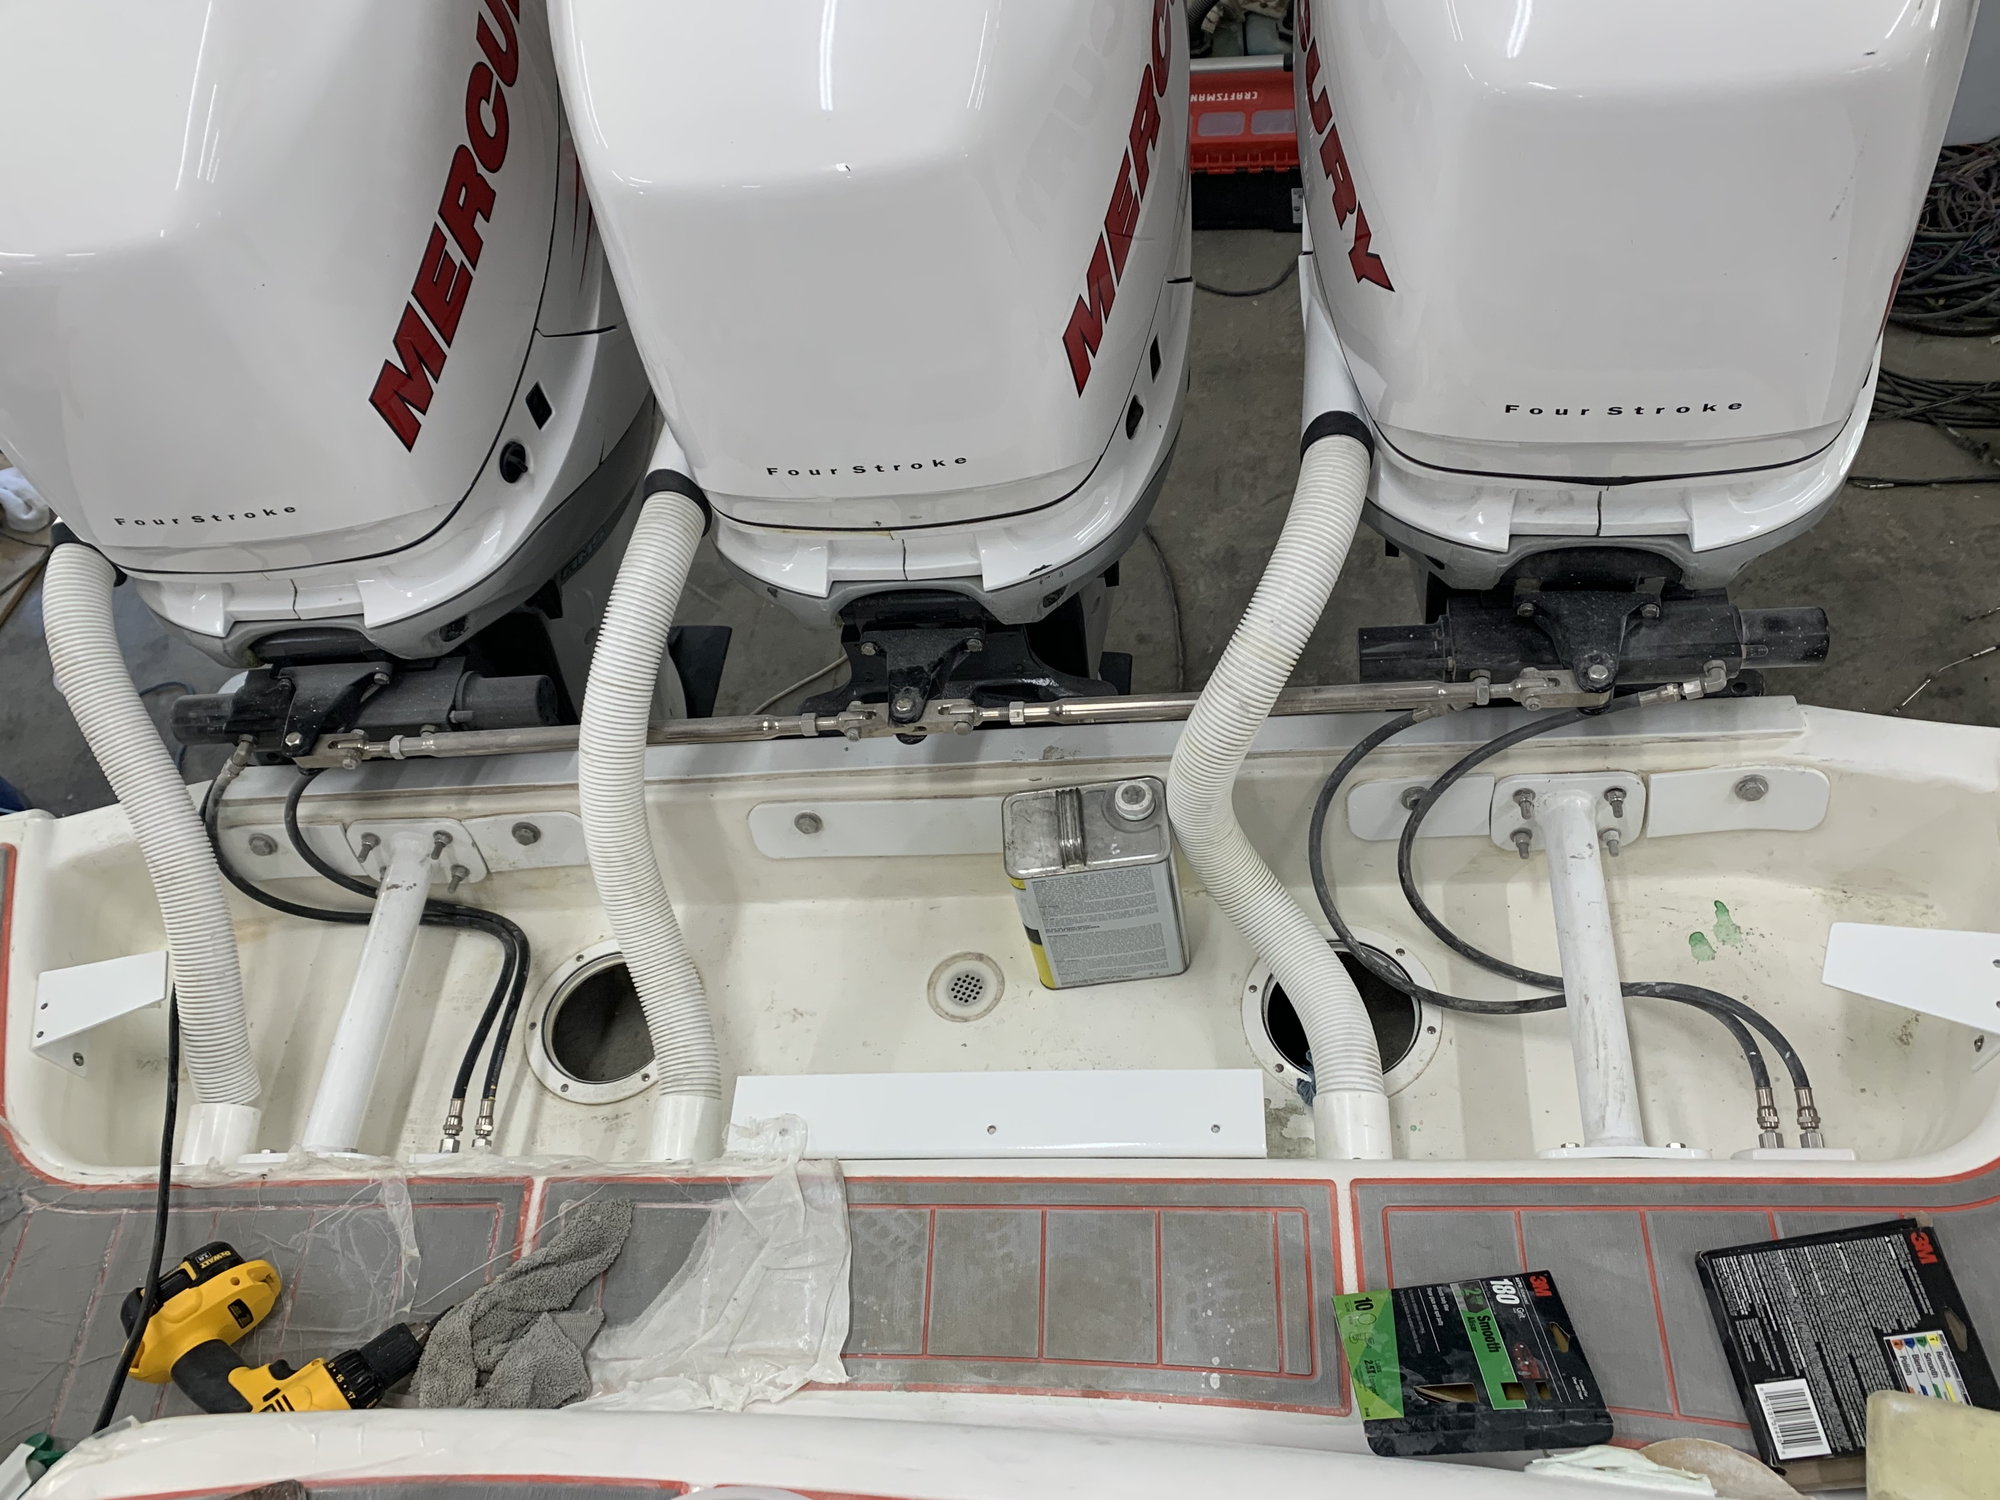
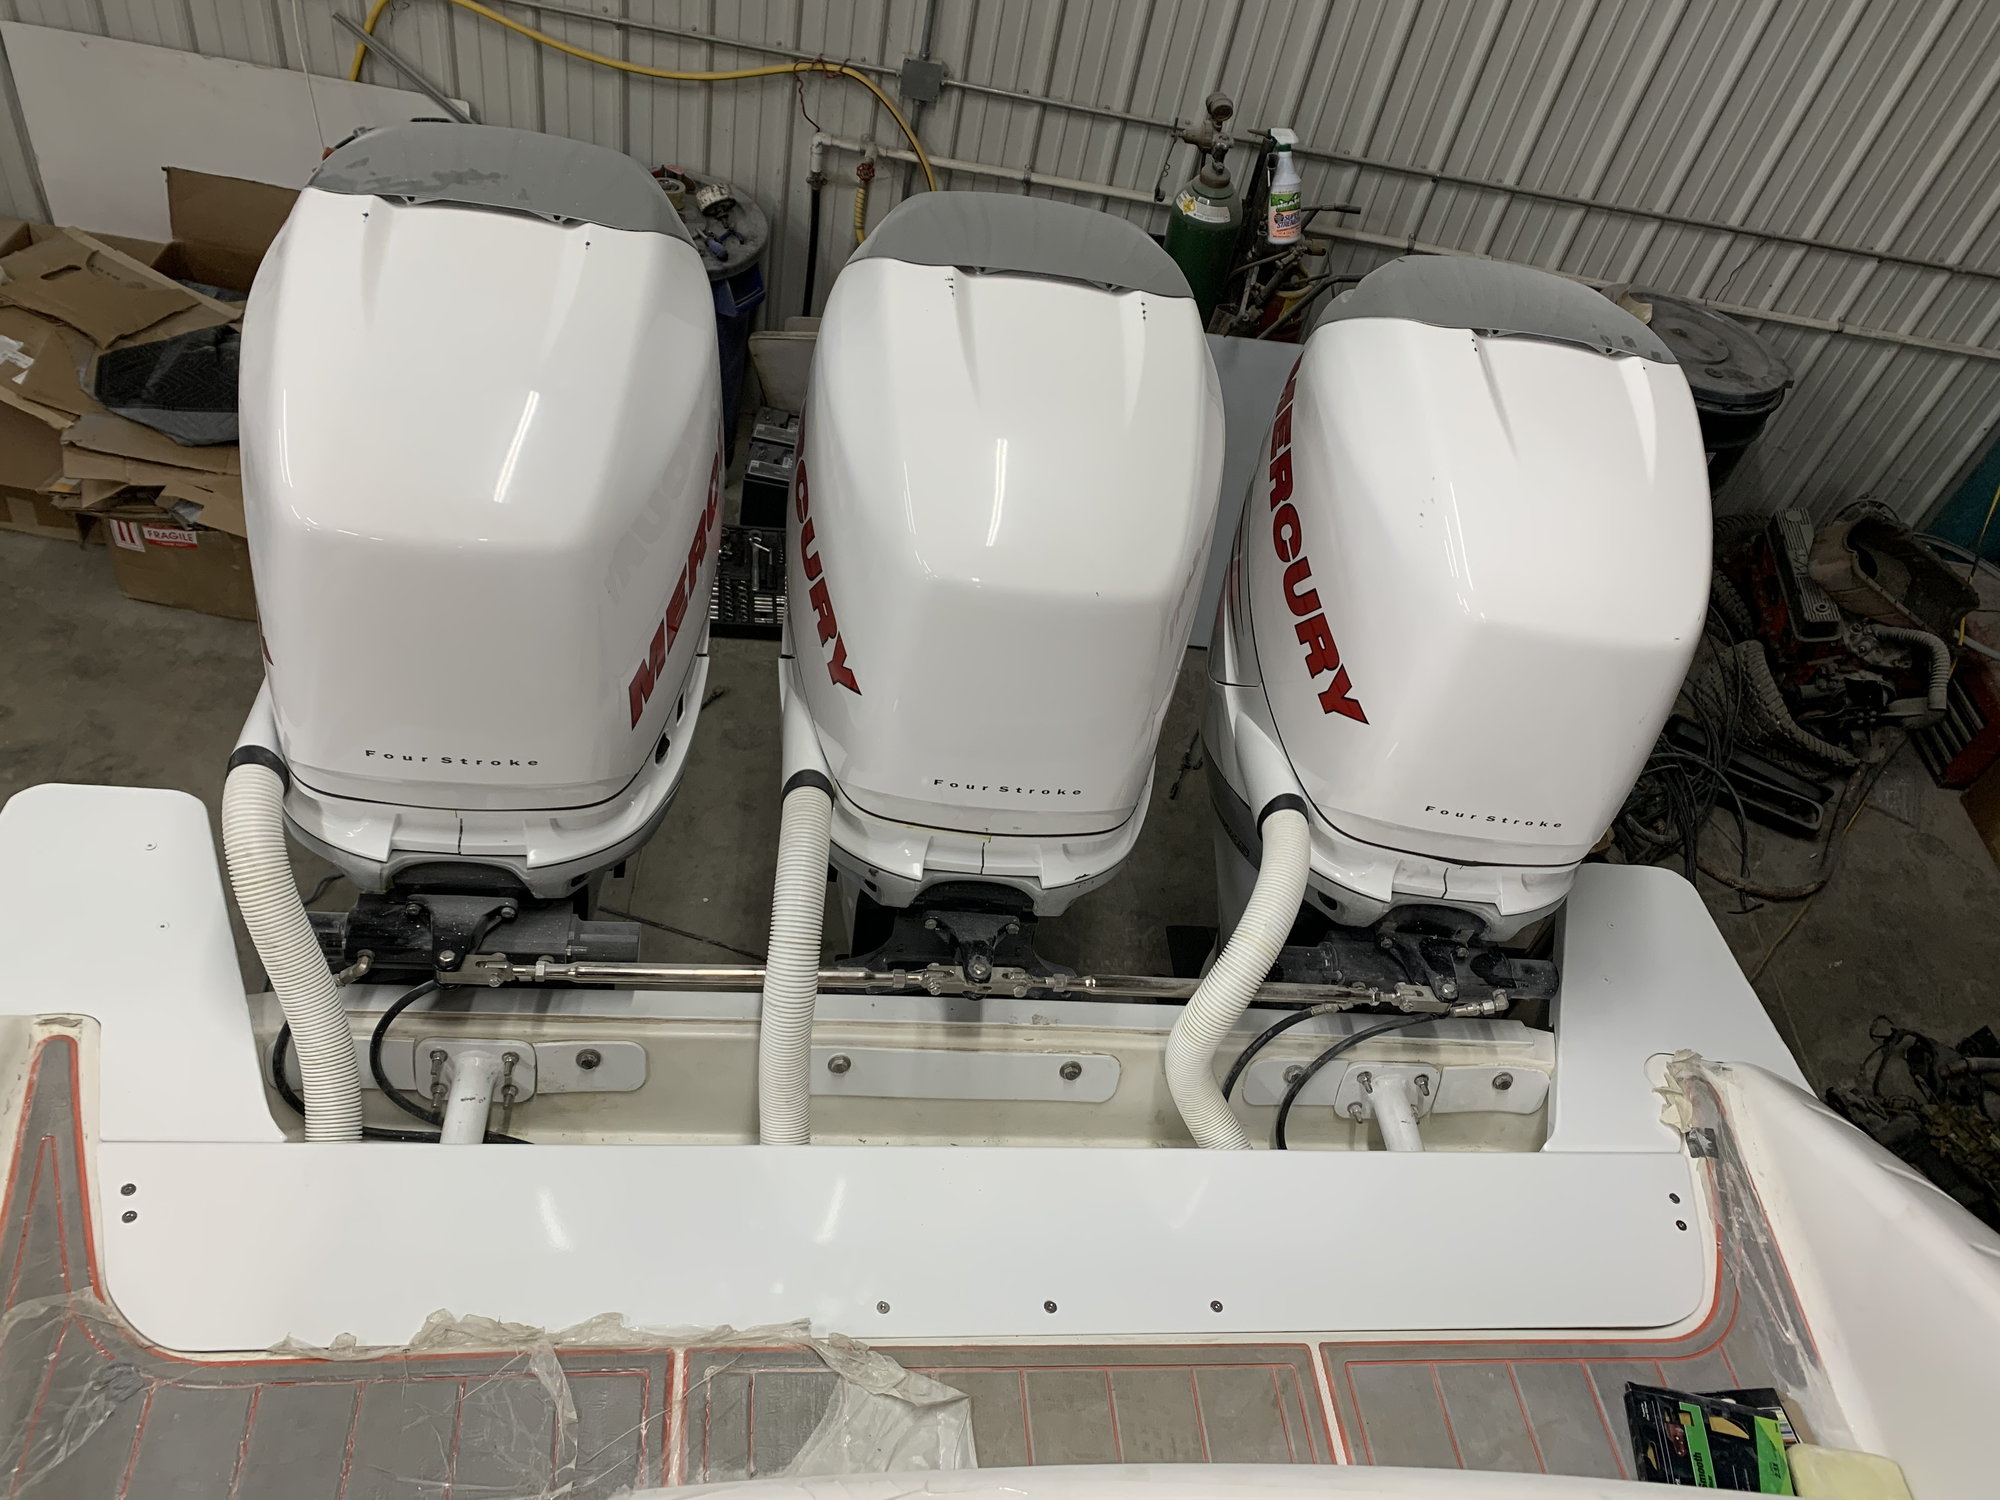
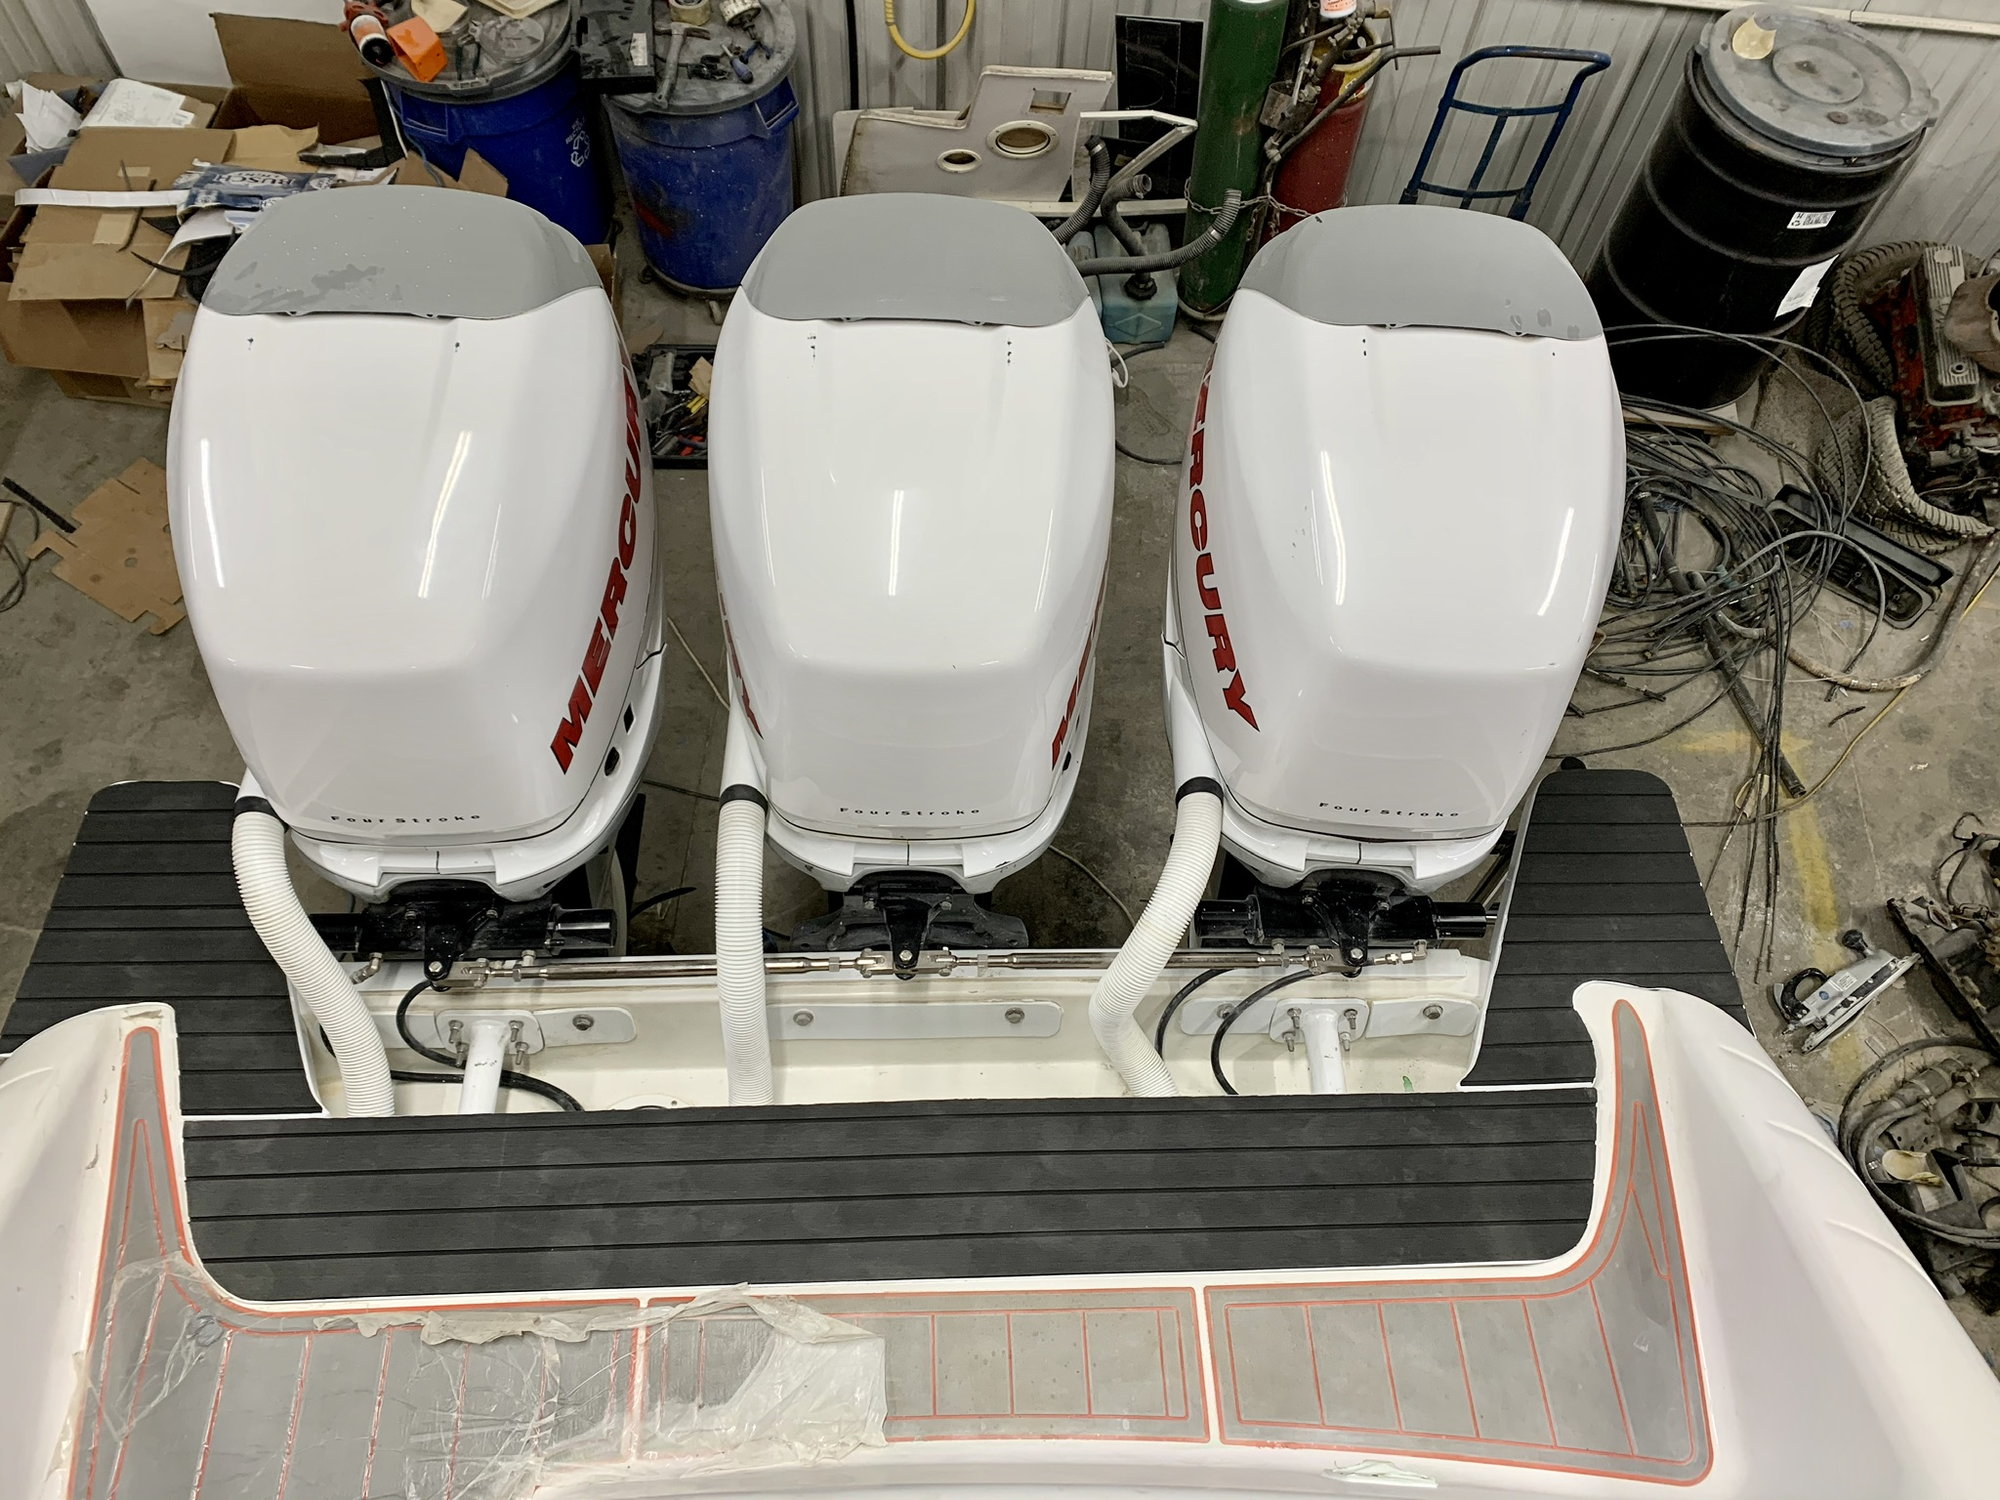
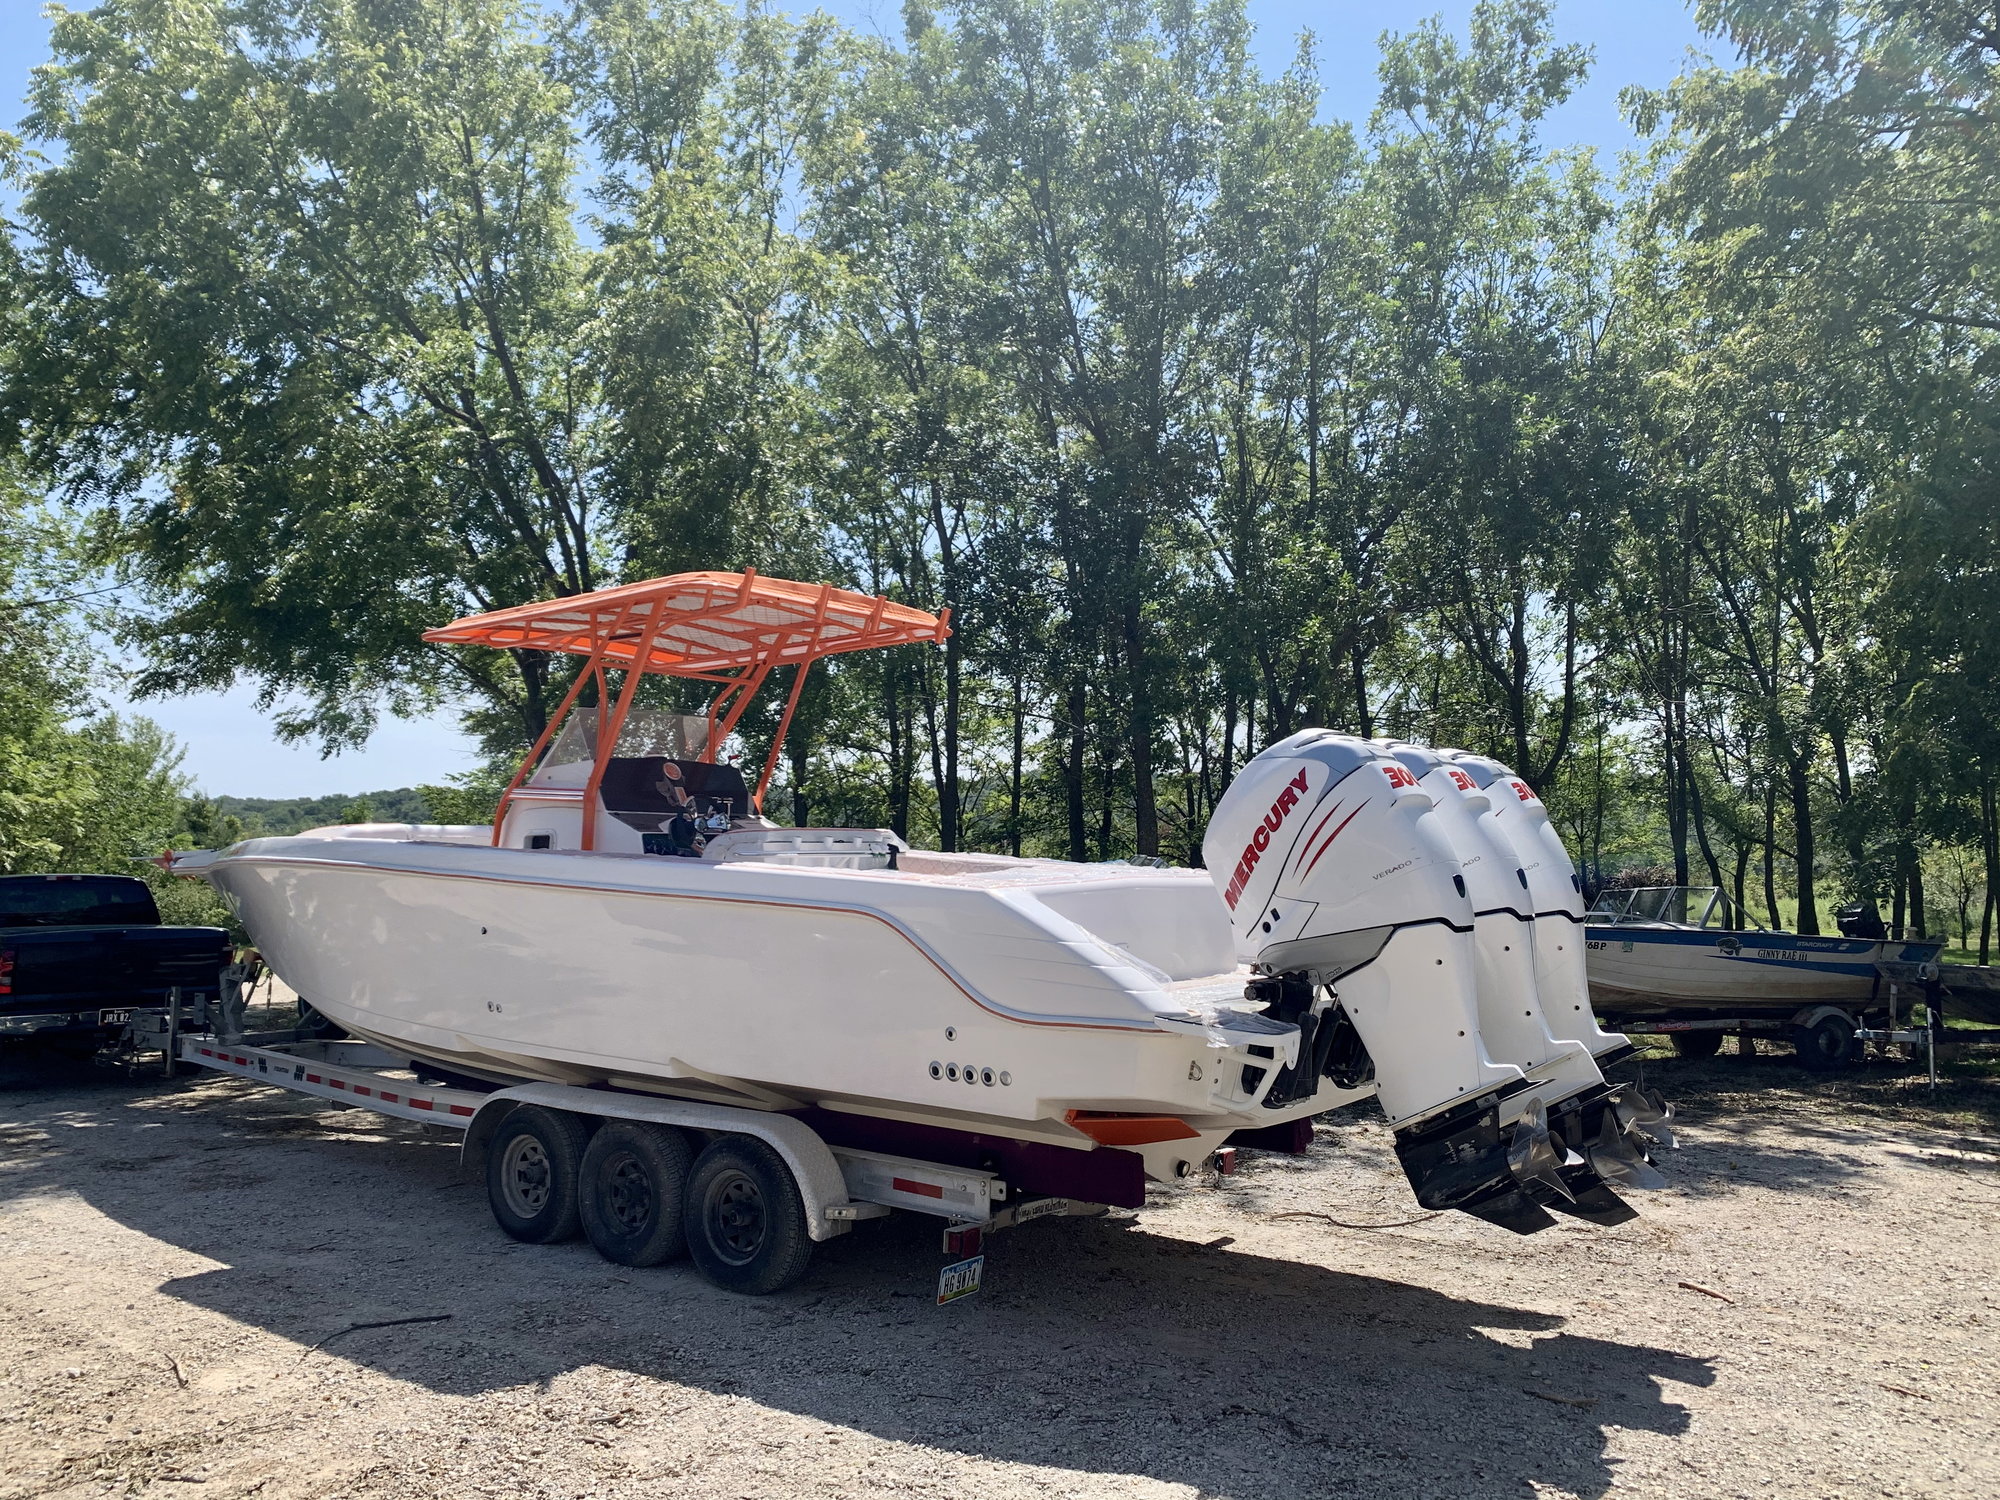
The post I know I’ve been waiting for and probably everyone else as well. What this beauty looks like with trip verado’s hanging off the back.
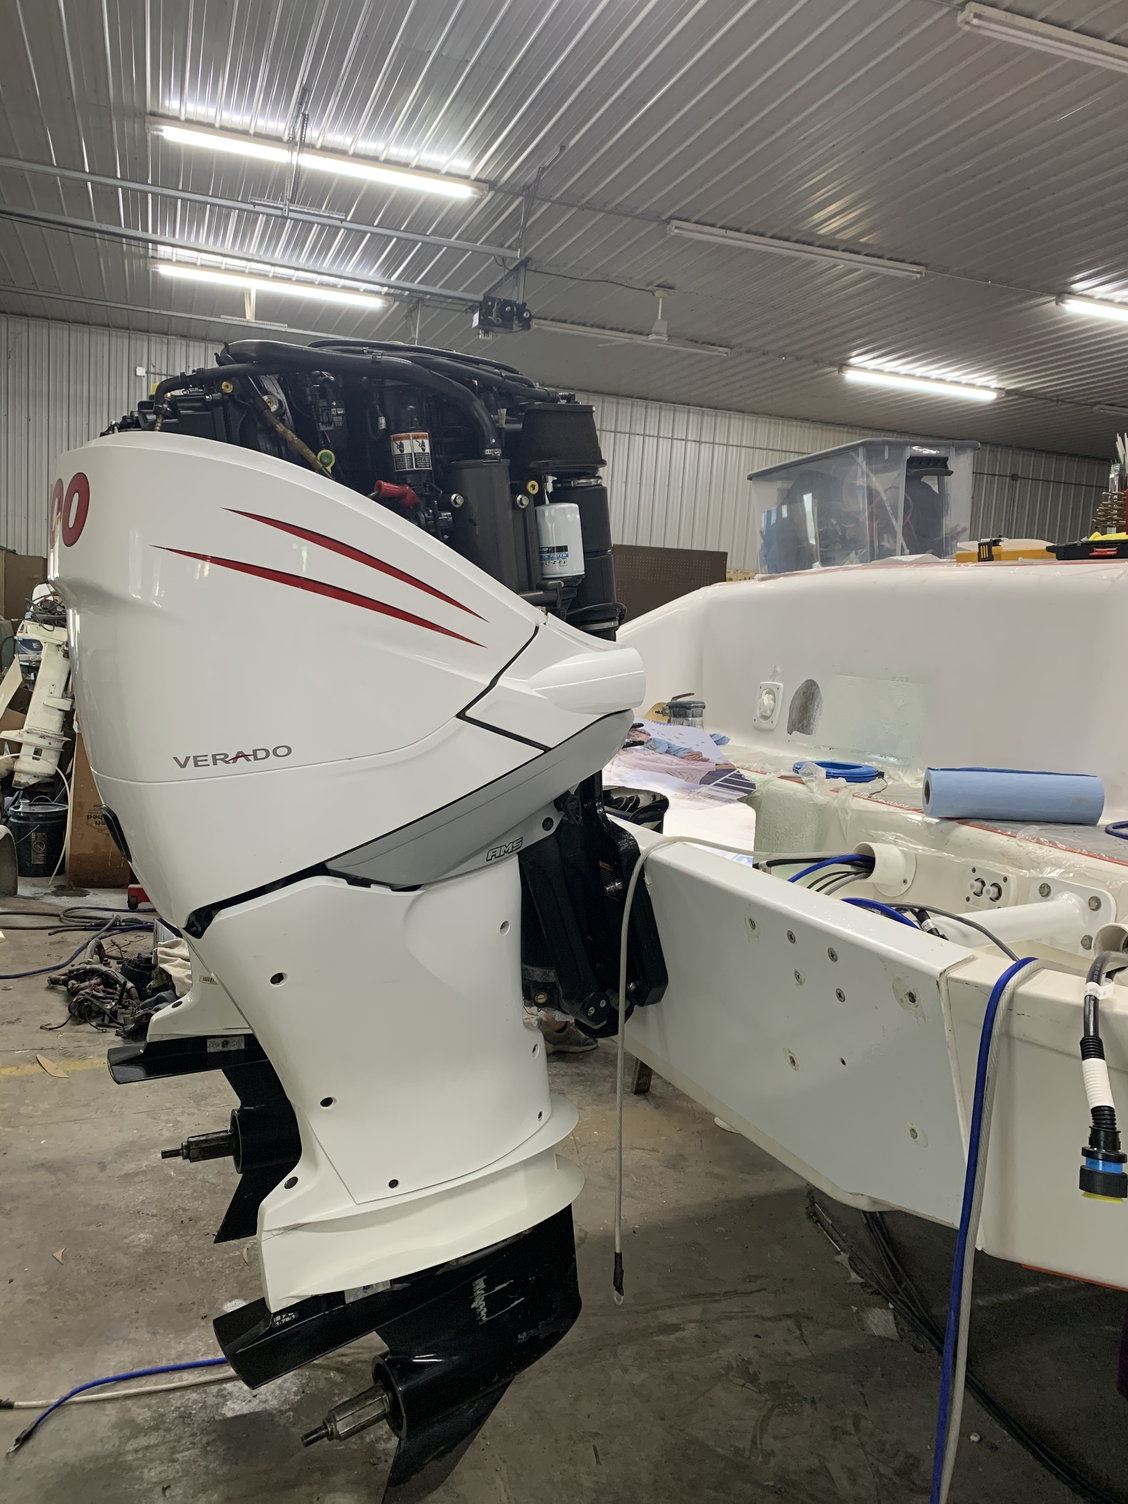
2 down 1 togo
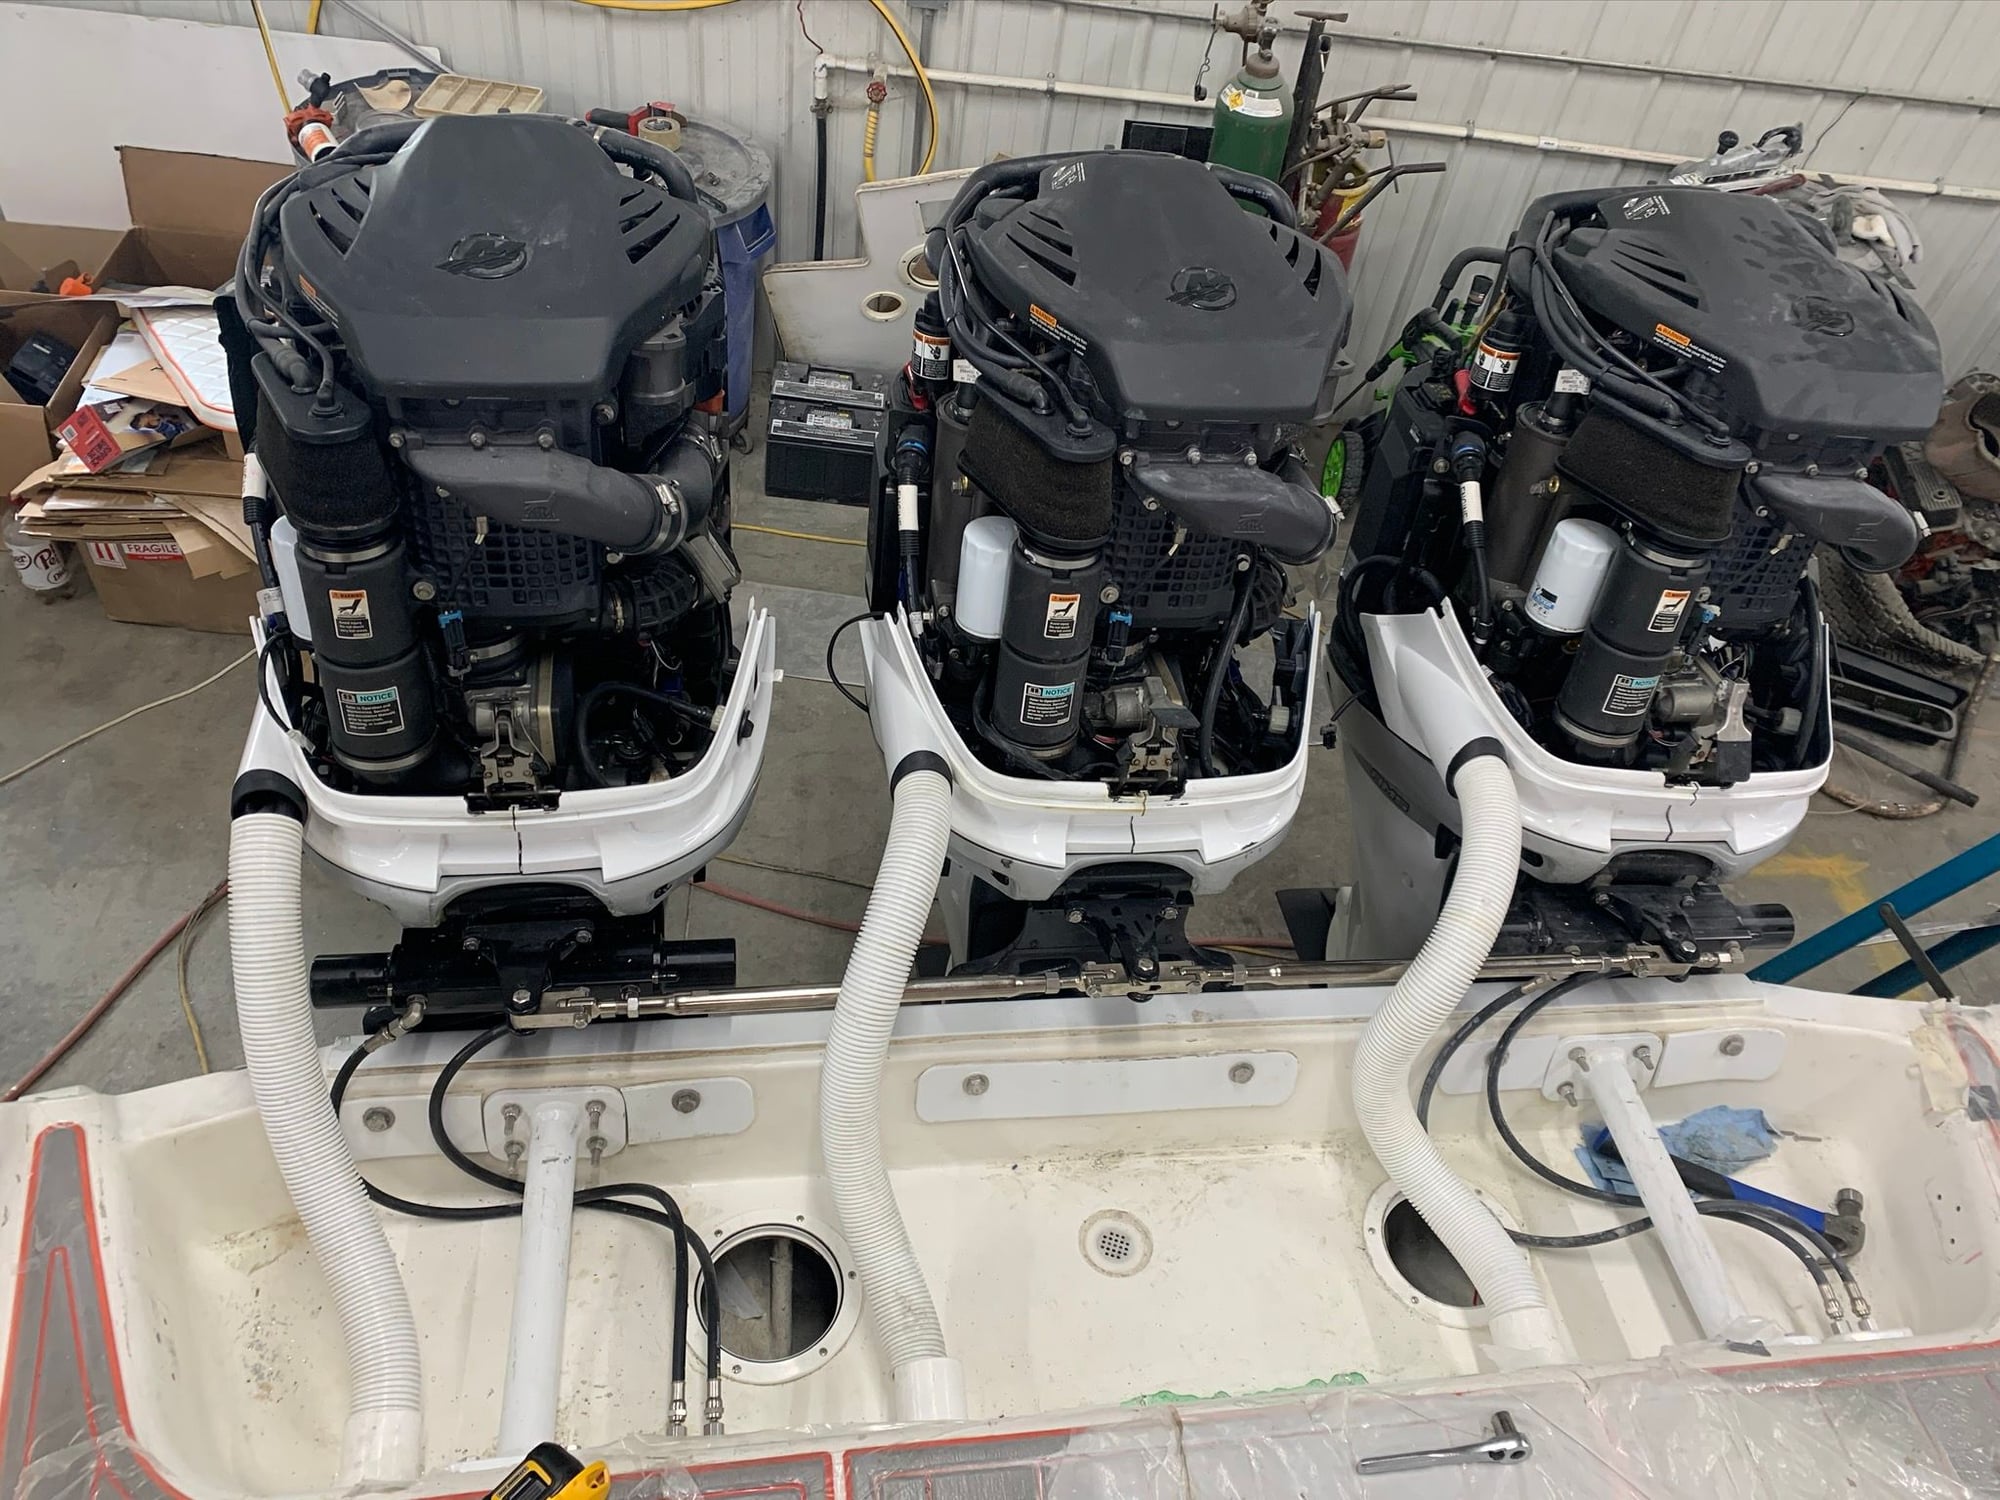
All 3 hanging off the transom!!
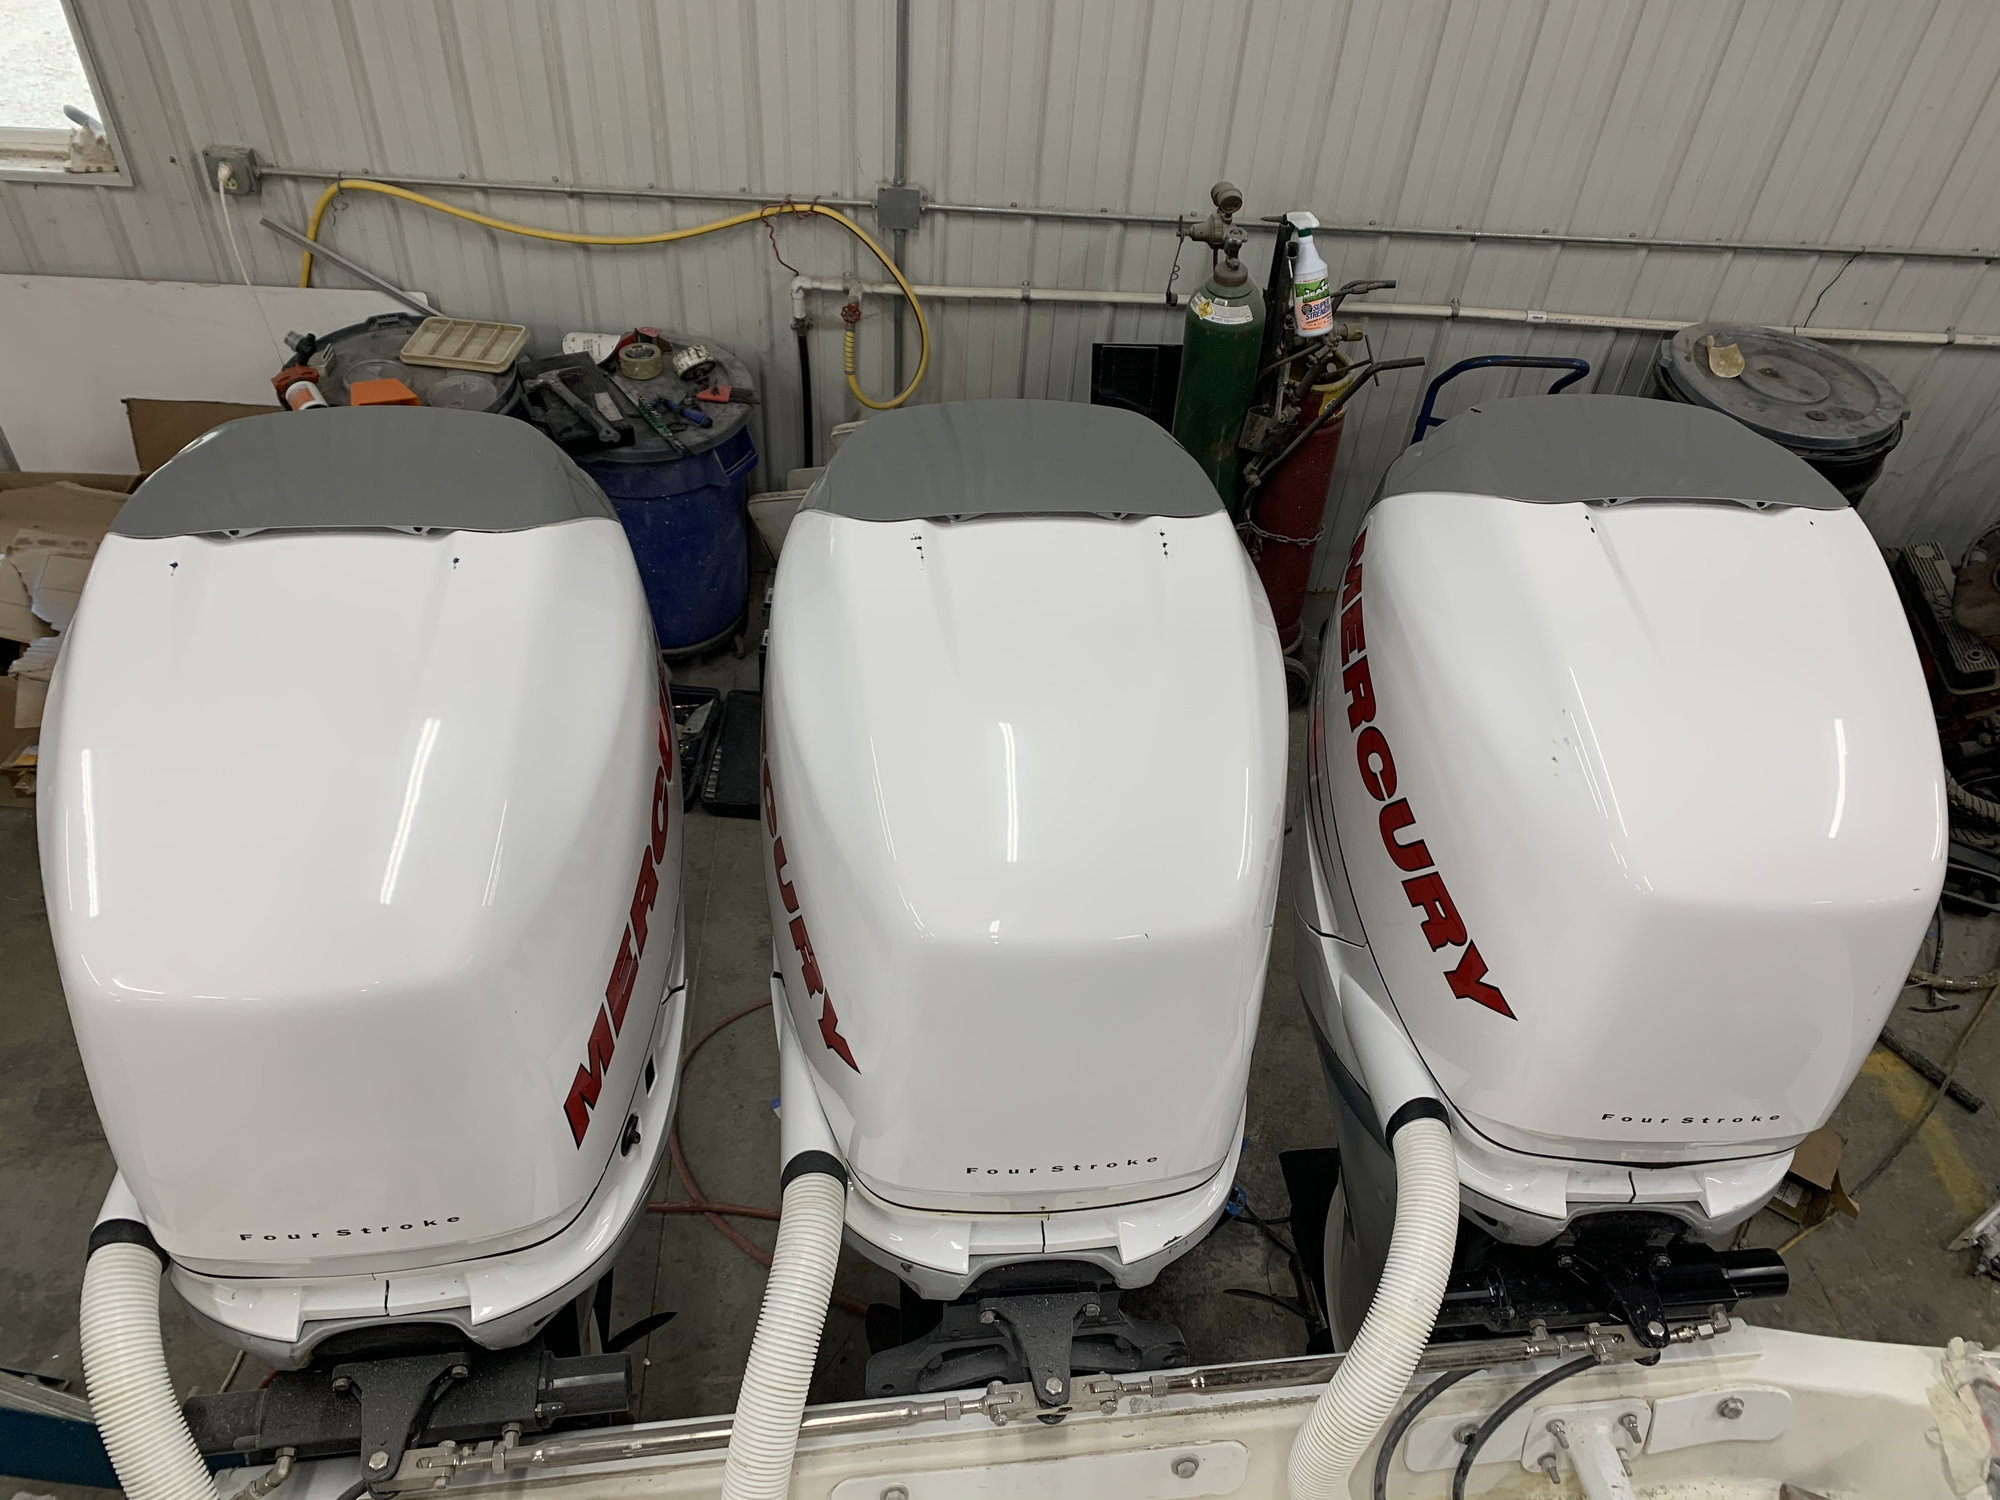
Cowlings are on. Now we just need to have them sent to the paint shop to repair the damage during shipping
2 down 1 togo
All 3 hanging off the transom!!
Cowlings are on. Now we just need to have them sent to the paint shop to repair the damage during shipping
08-05-2020 | 08:47 AM
#35
Thread Starter
Registered
Joined: Feb 2011
Posts: 375
Likes: 125
From: North Liberty, IA
Today's update is a little different. I got a few requests to make a video so I thought I'd give it a shot. I was a little tired when I recorded it so forgive my rambling. Also forgot to shoot in landscape mode. It looked good when I was recording it but as soon as I uploaded I realized I should have flipped the phone.
 08-10-2020 | 10:31 AM
#37
Thread Starter
Registered
Joined: Feb 2011
Posts: 375
Likes: 125
From: North Liberty, IA
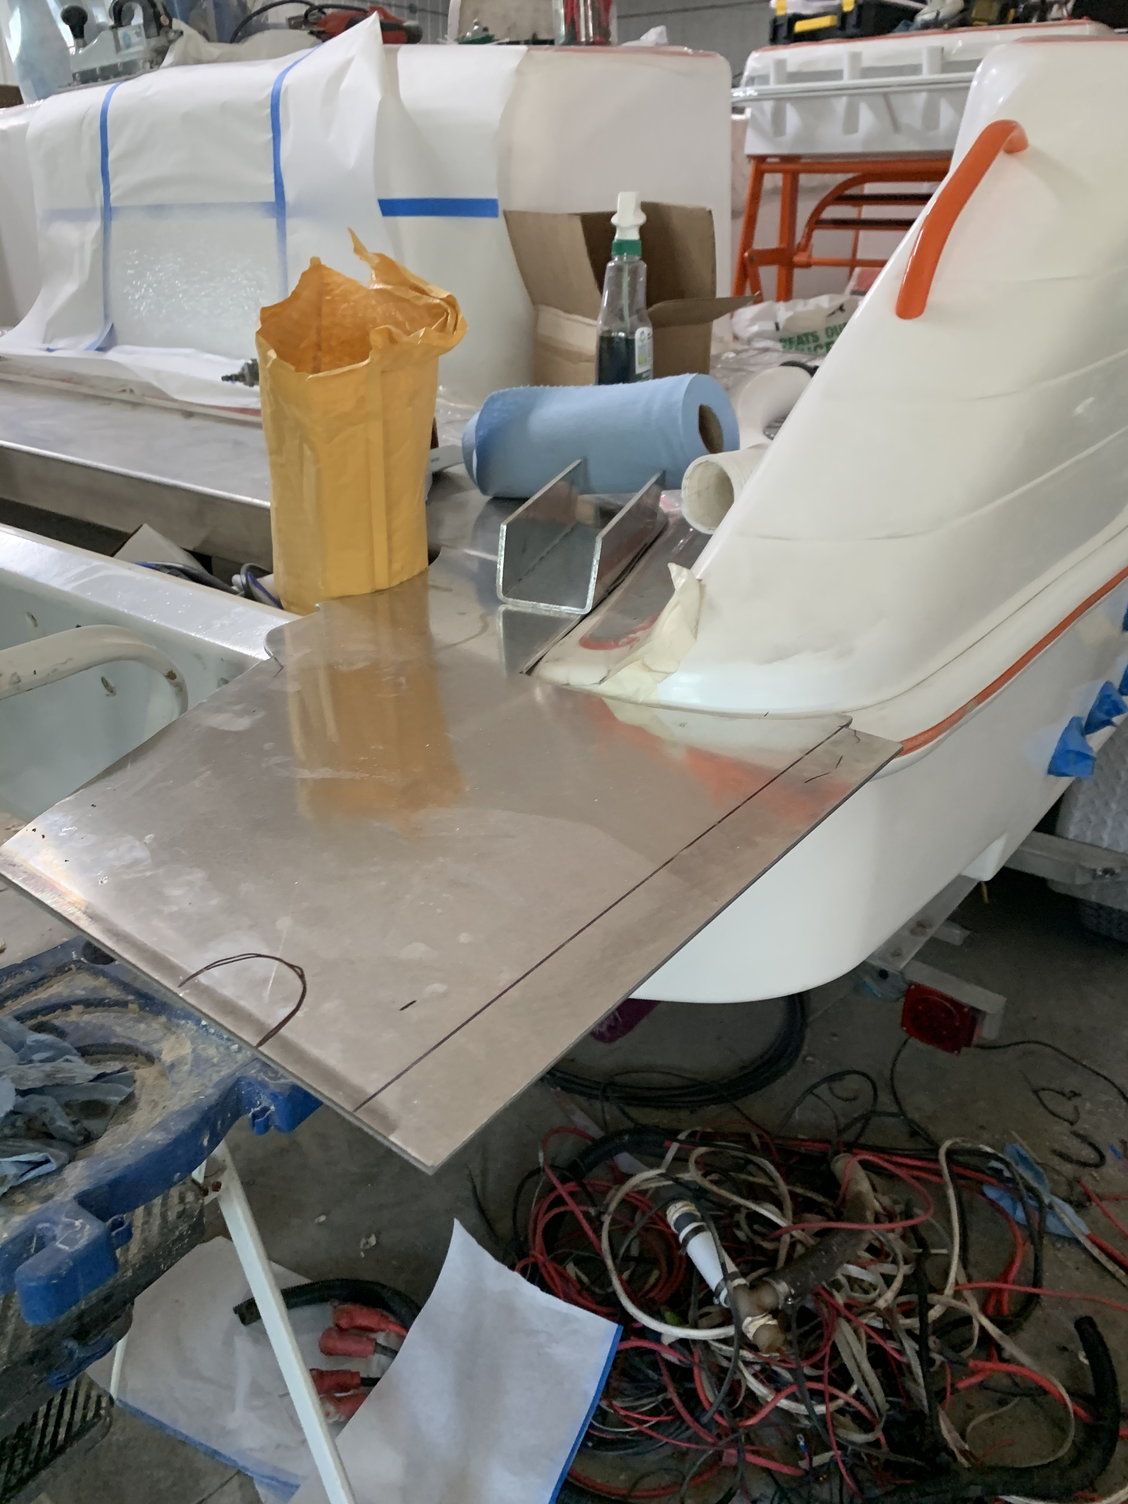
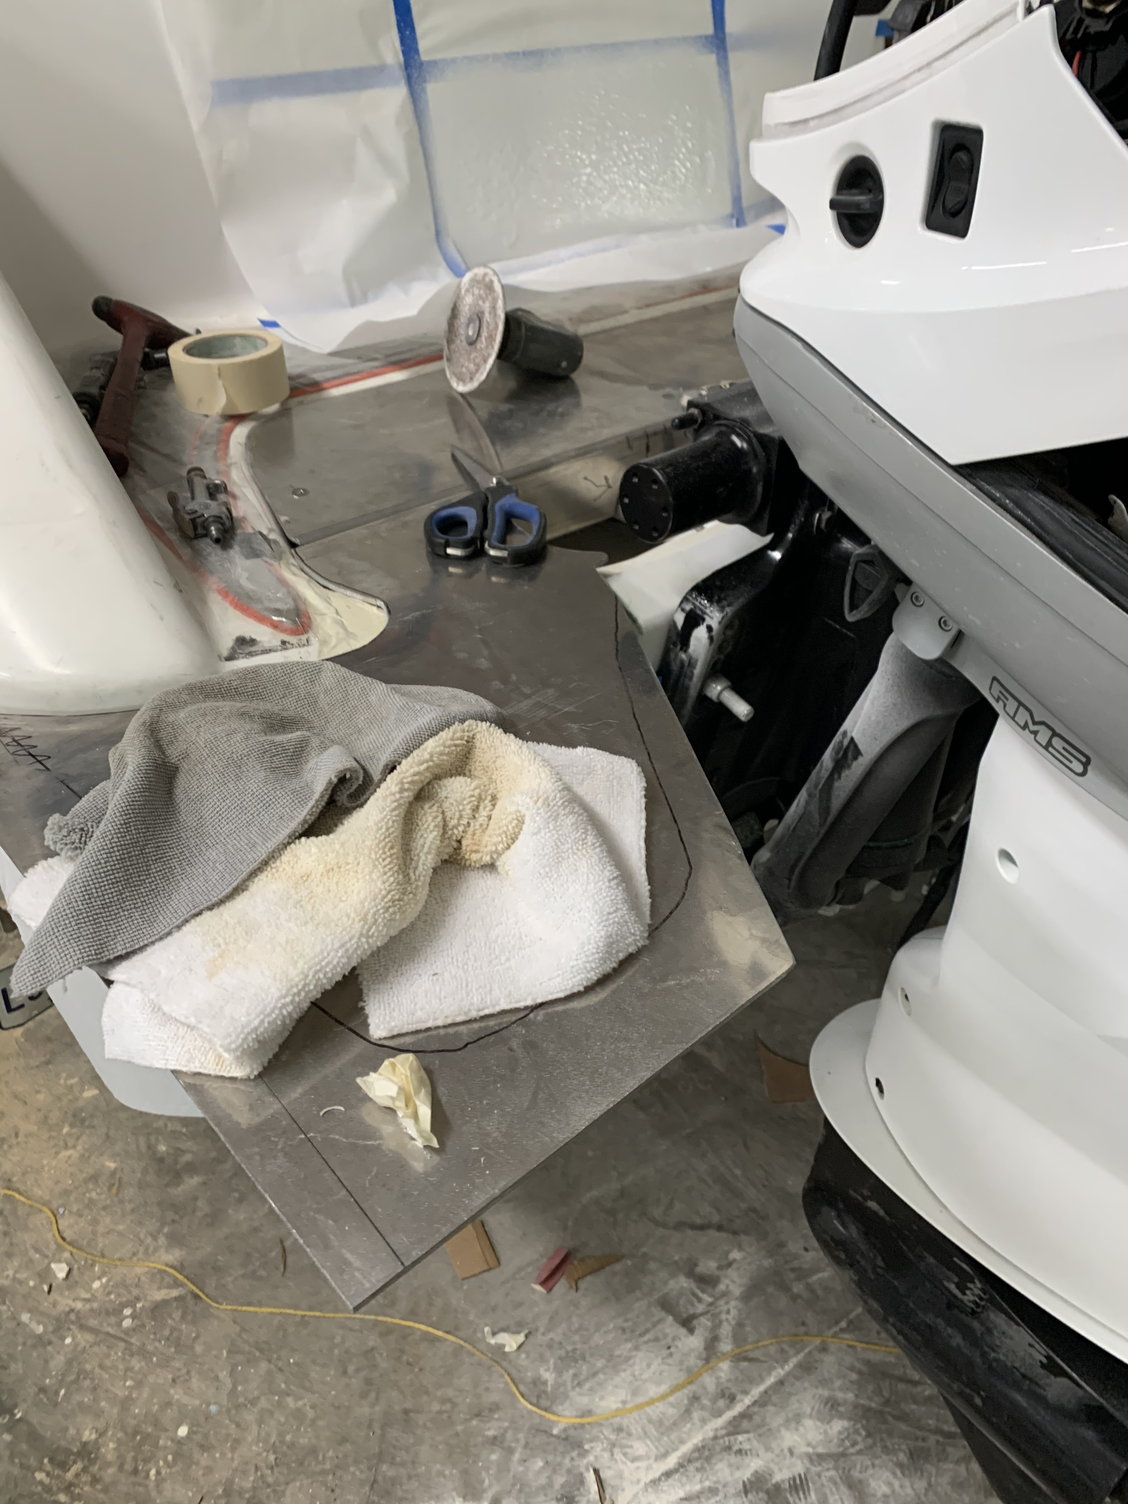
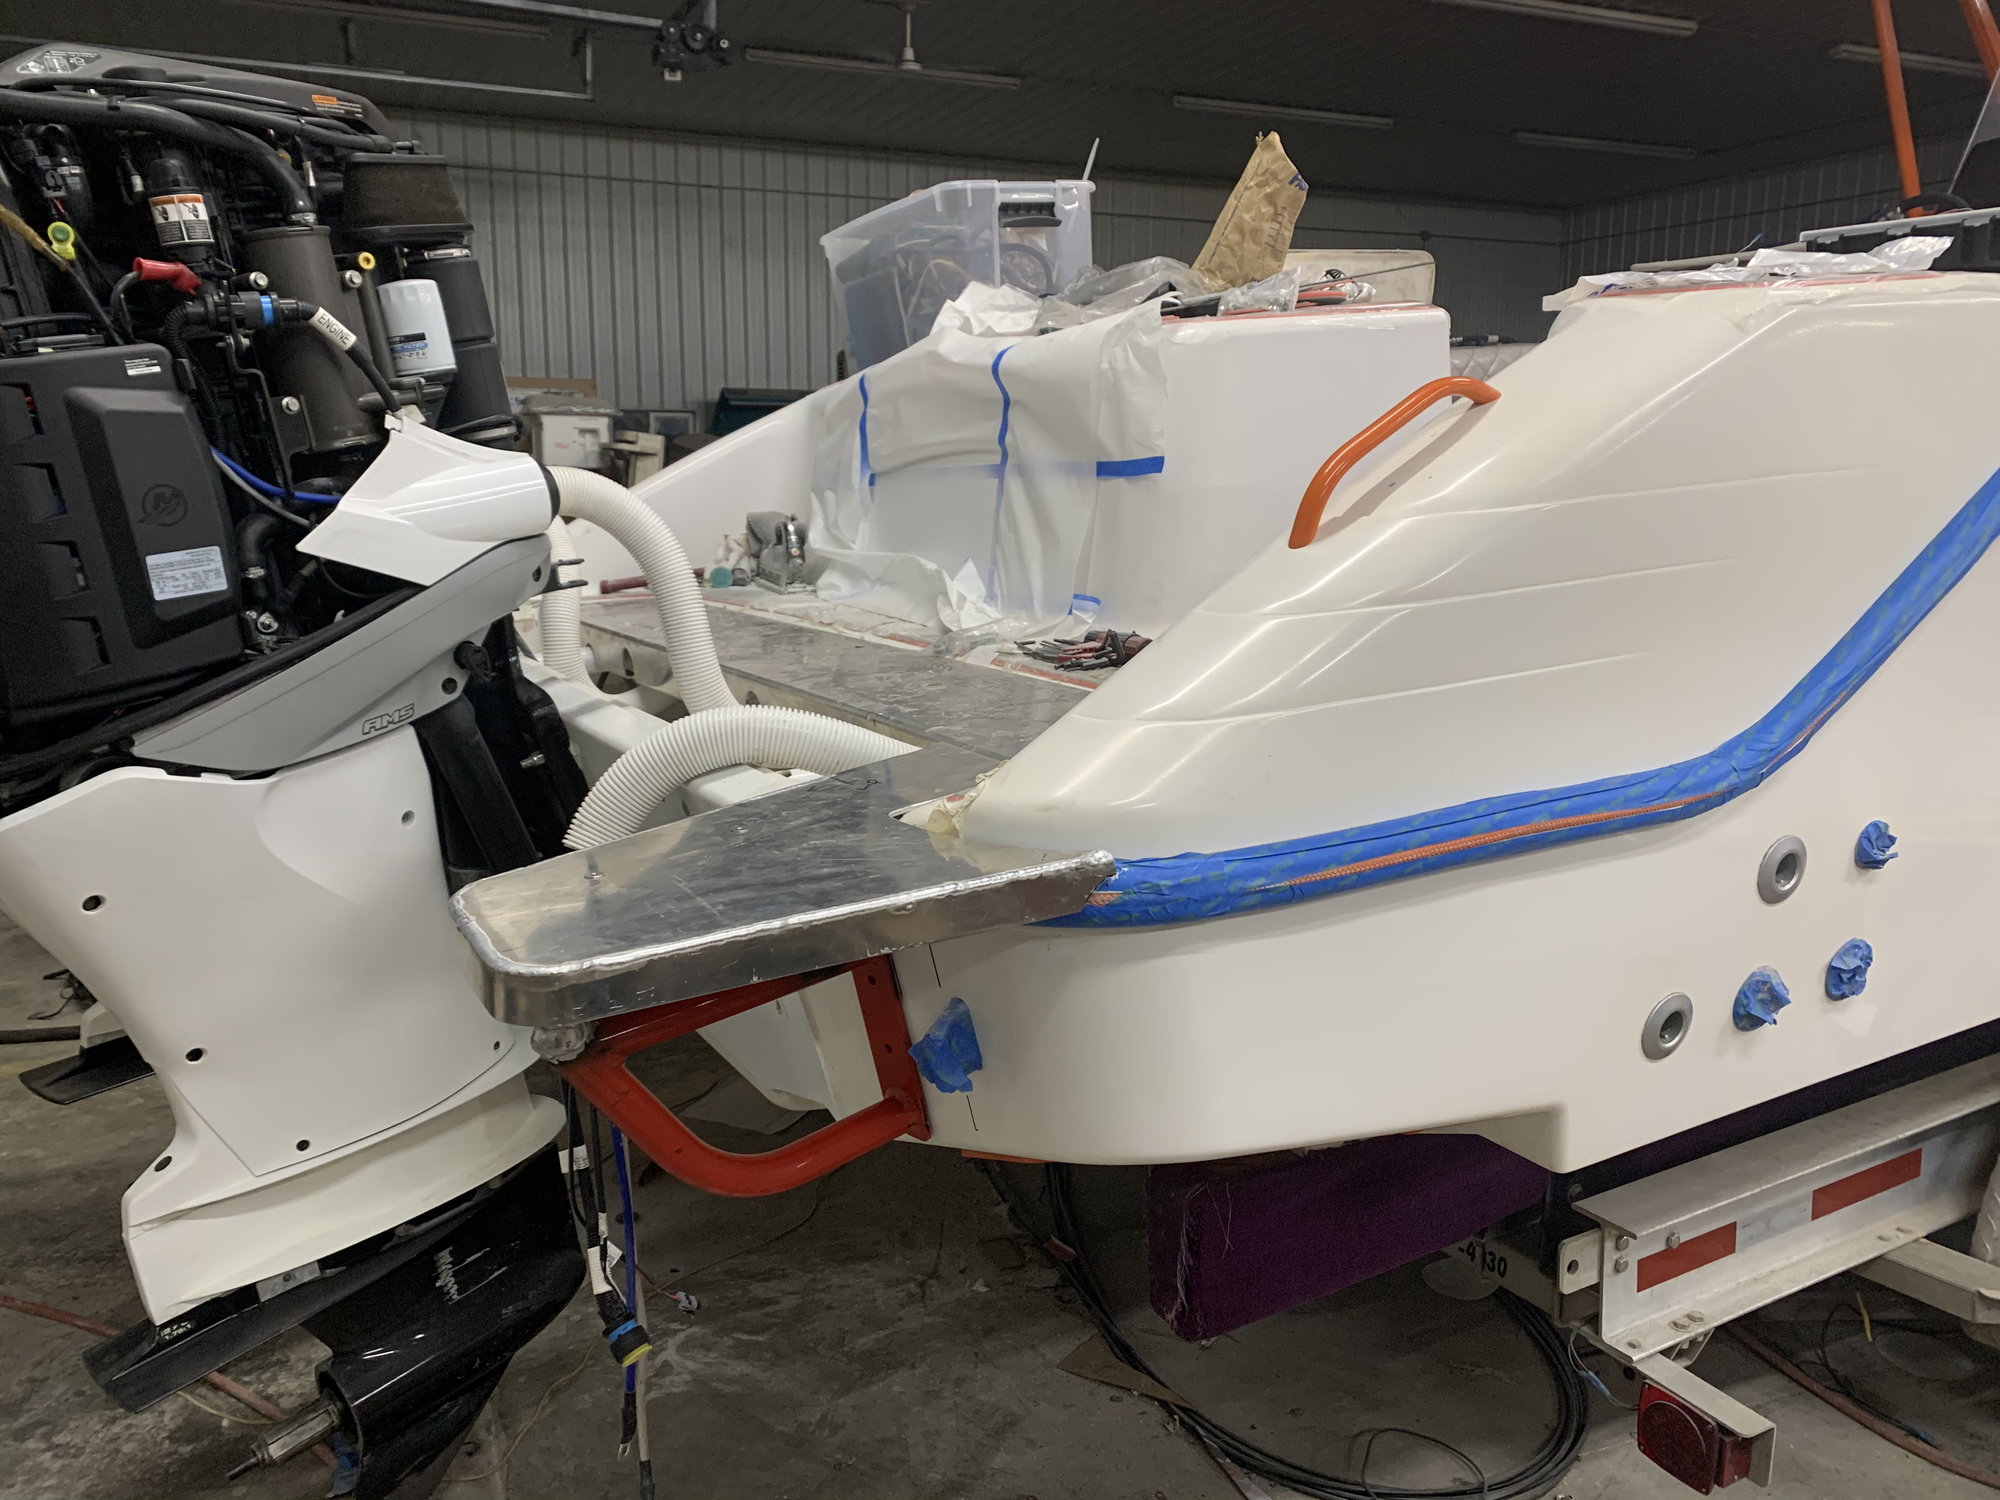
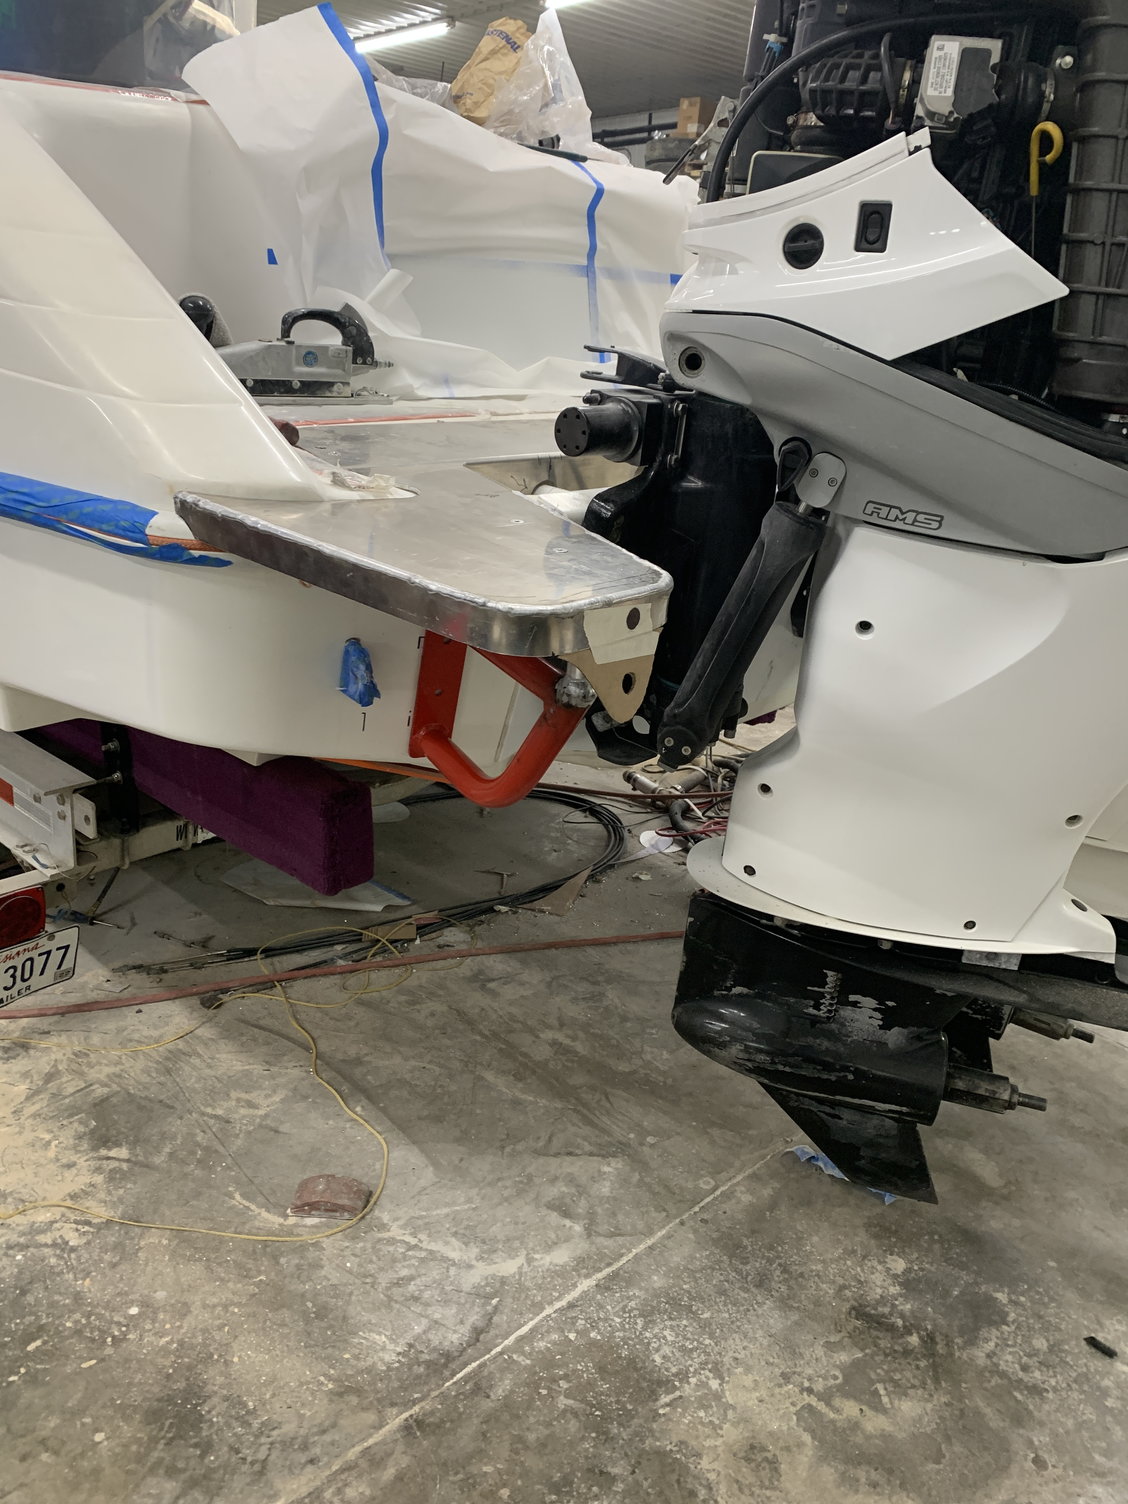
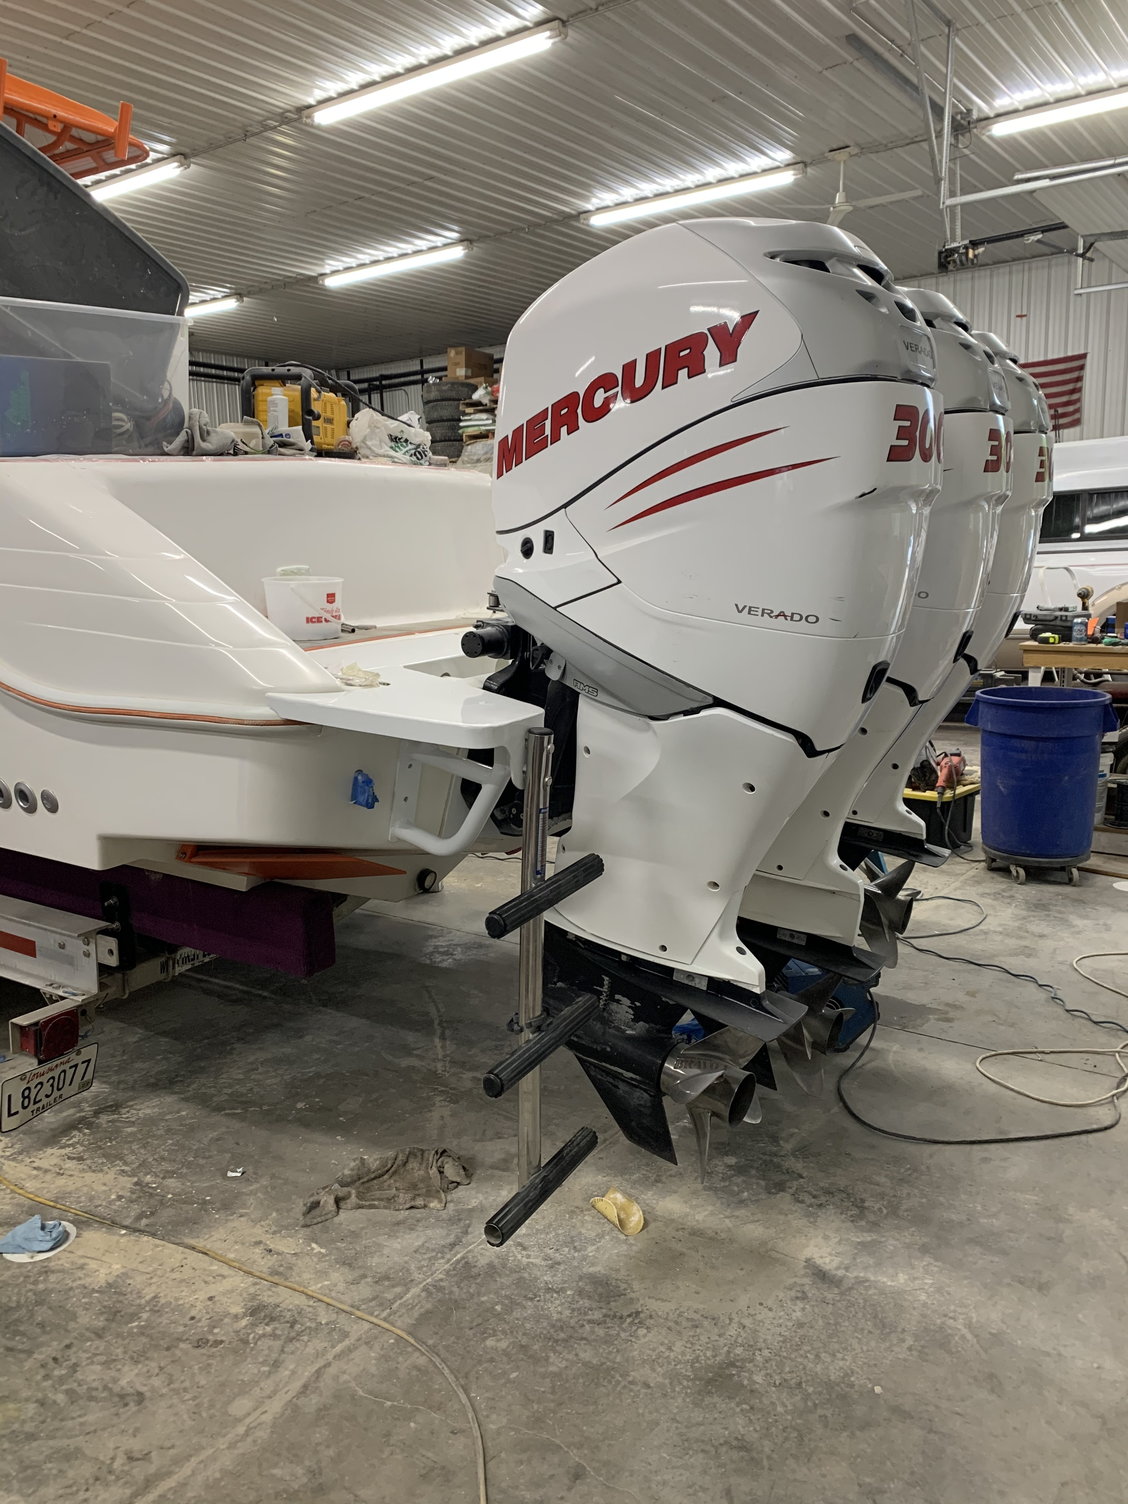
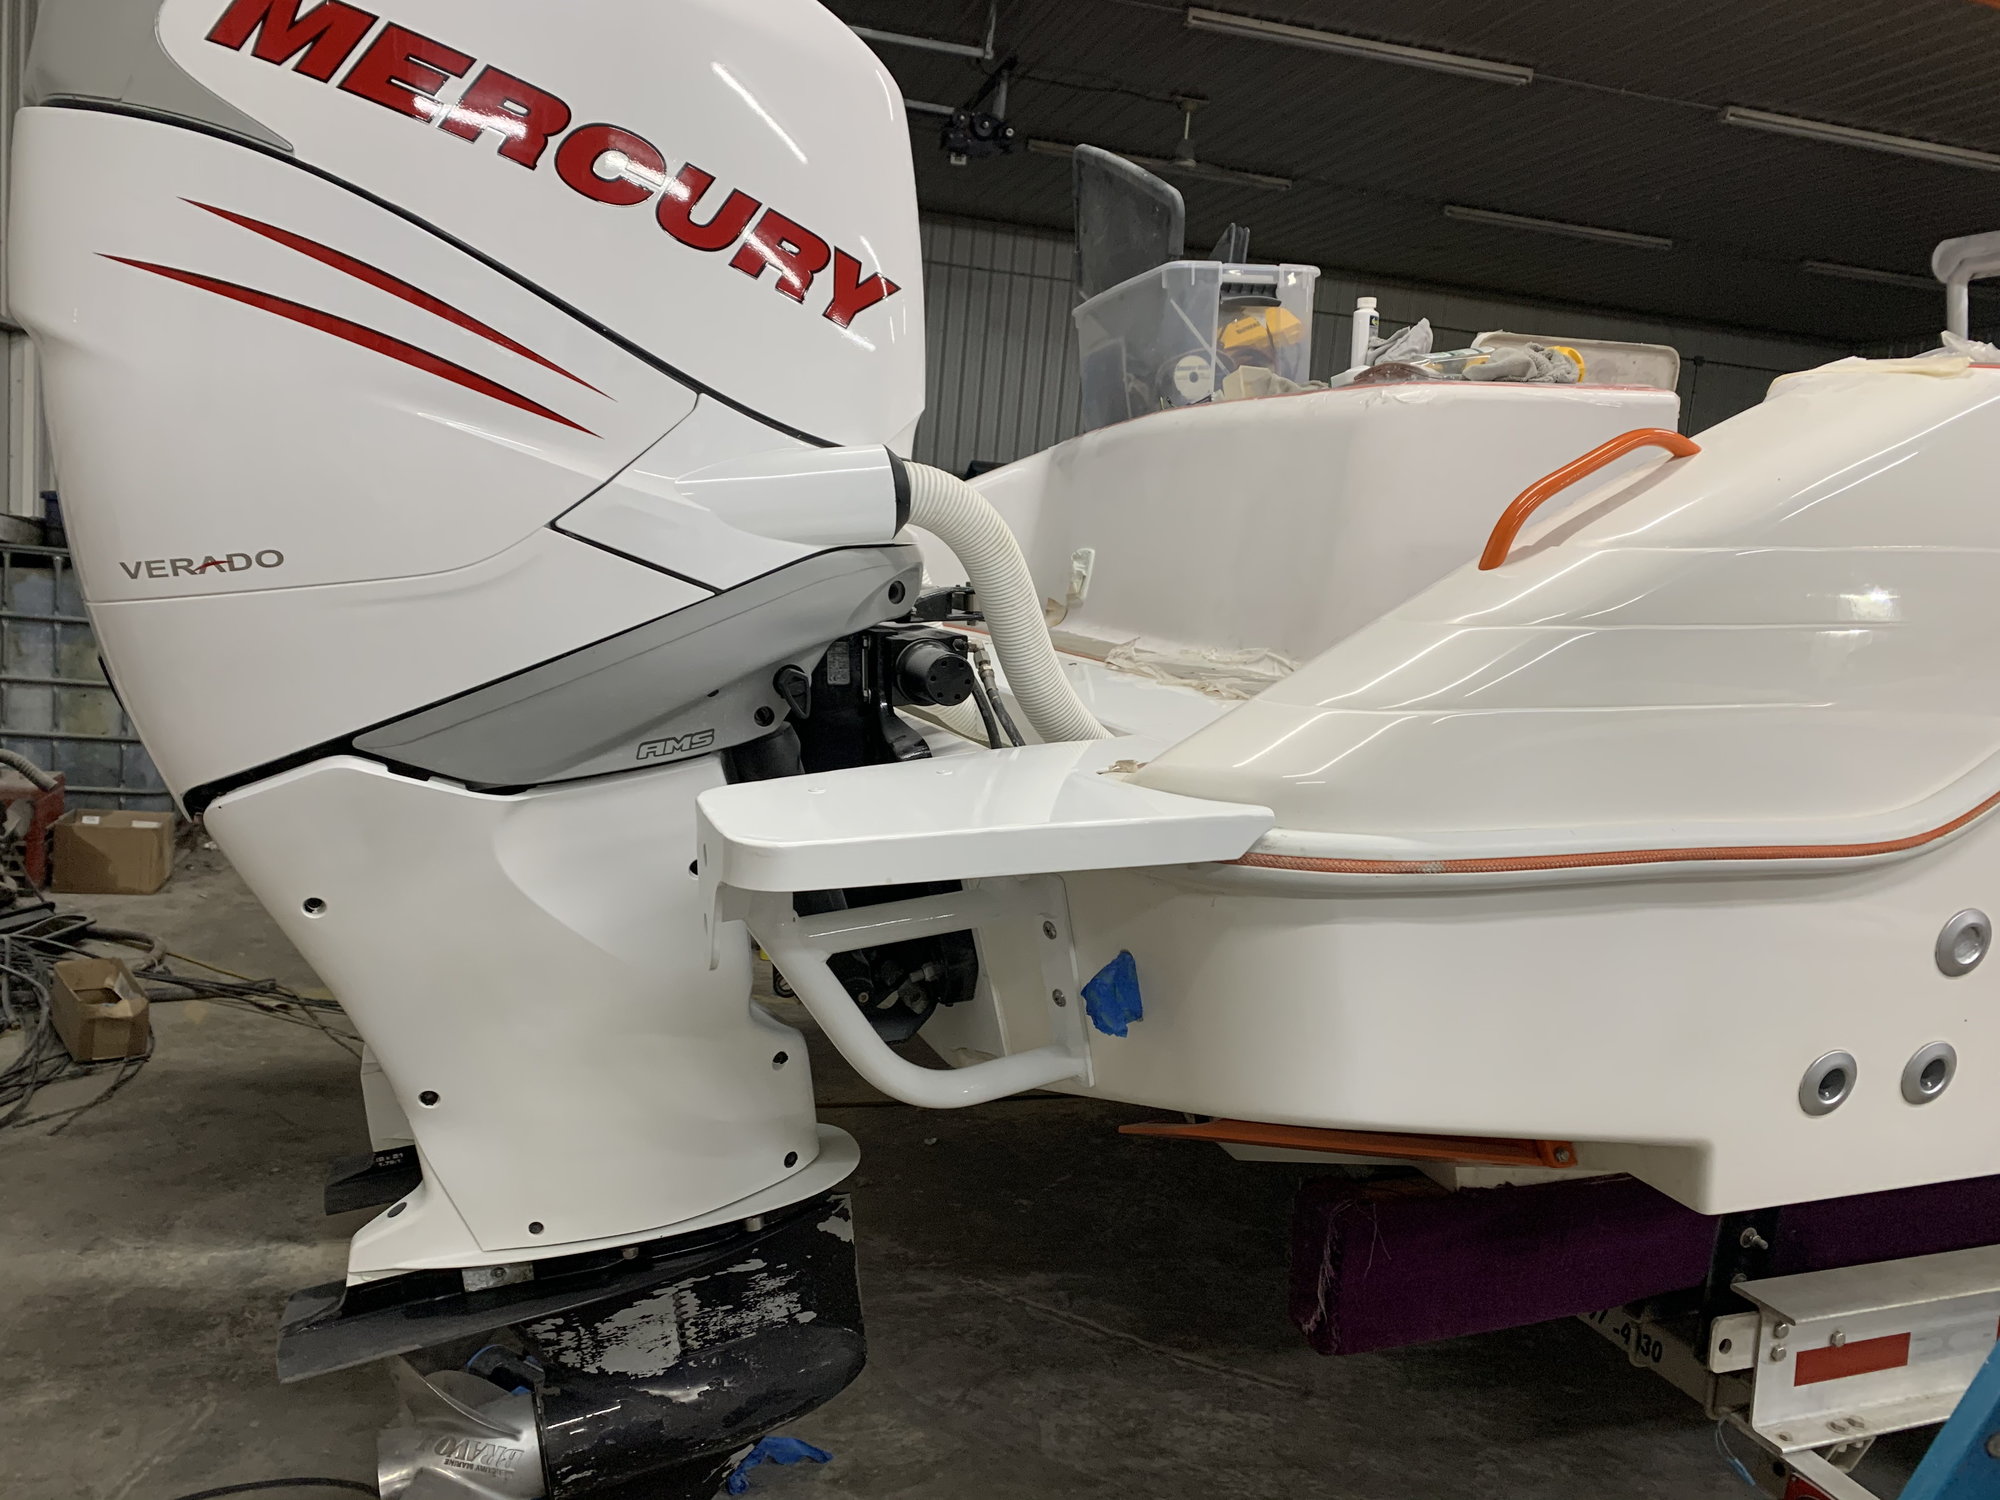
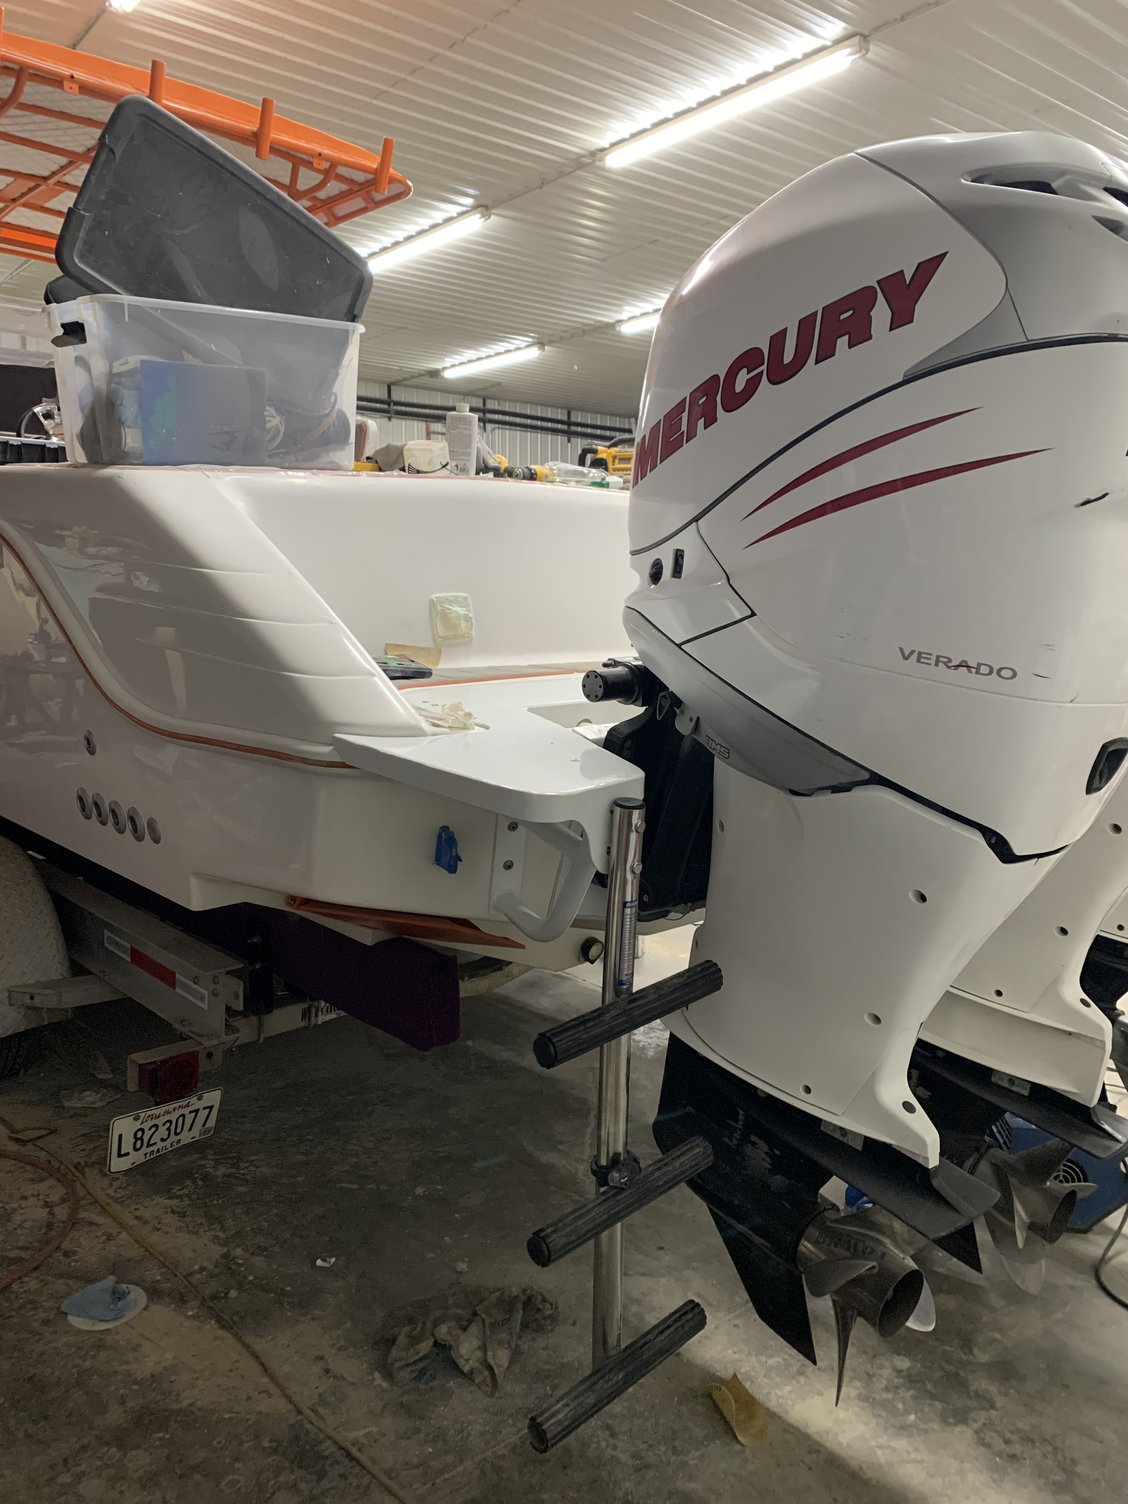
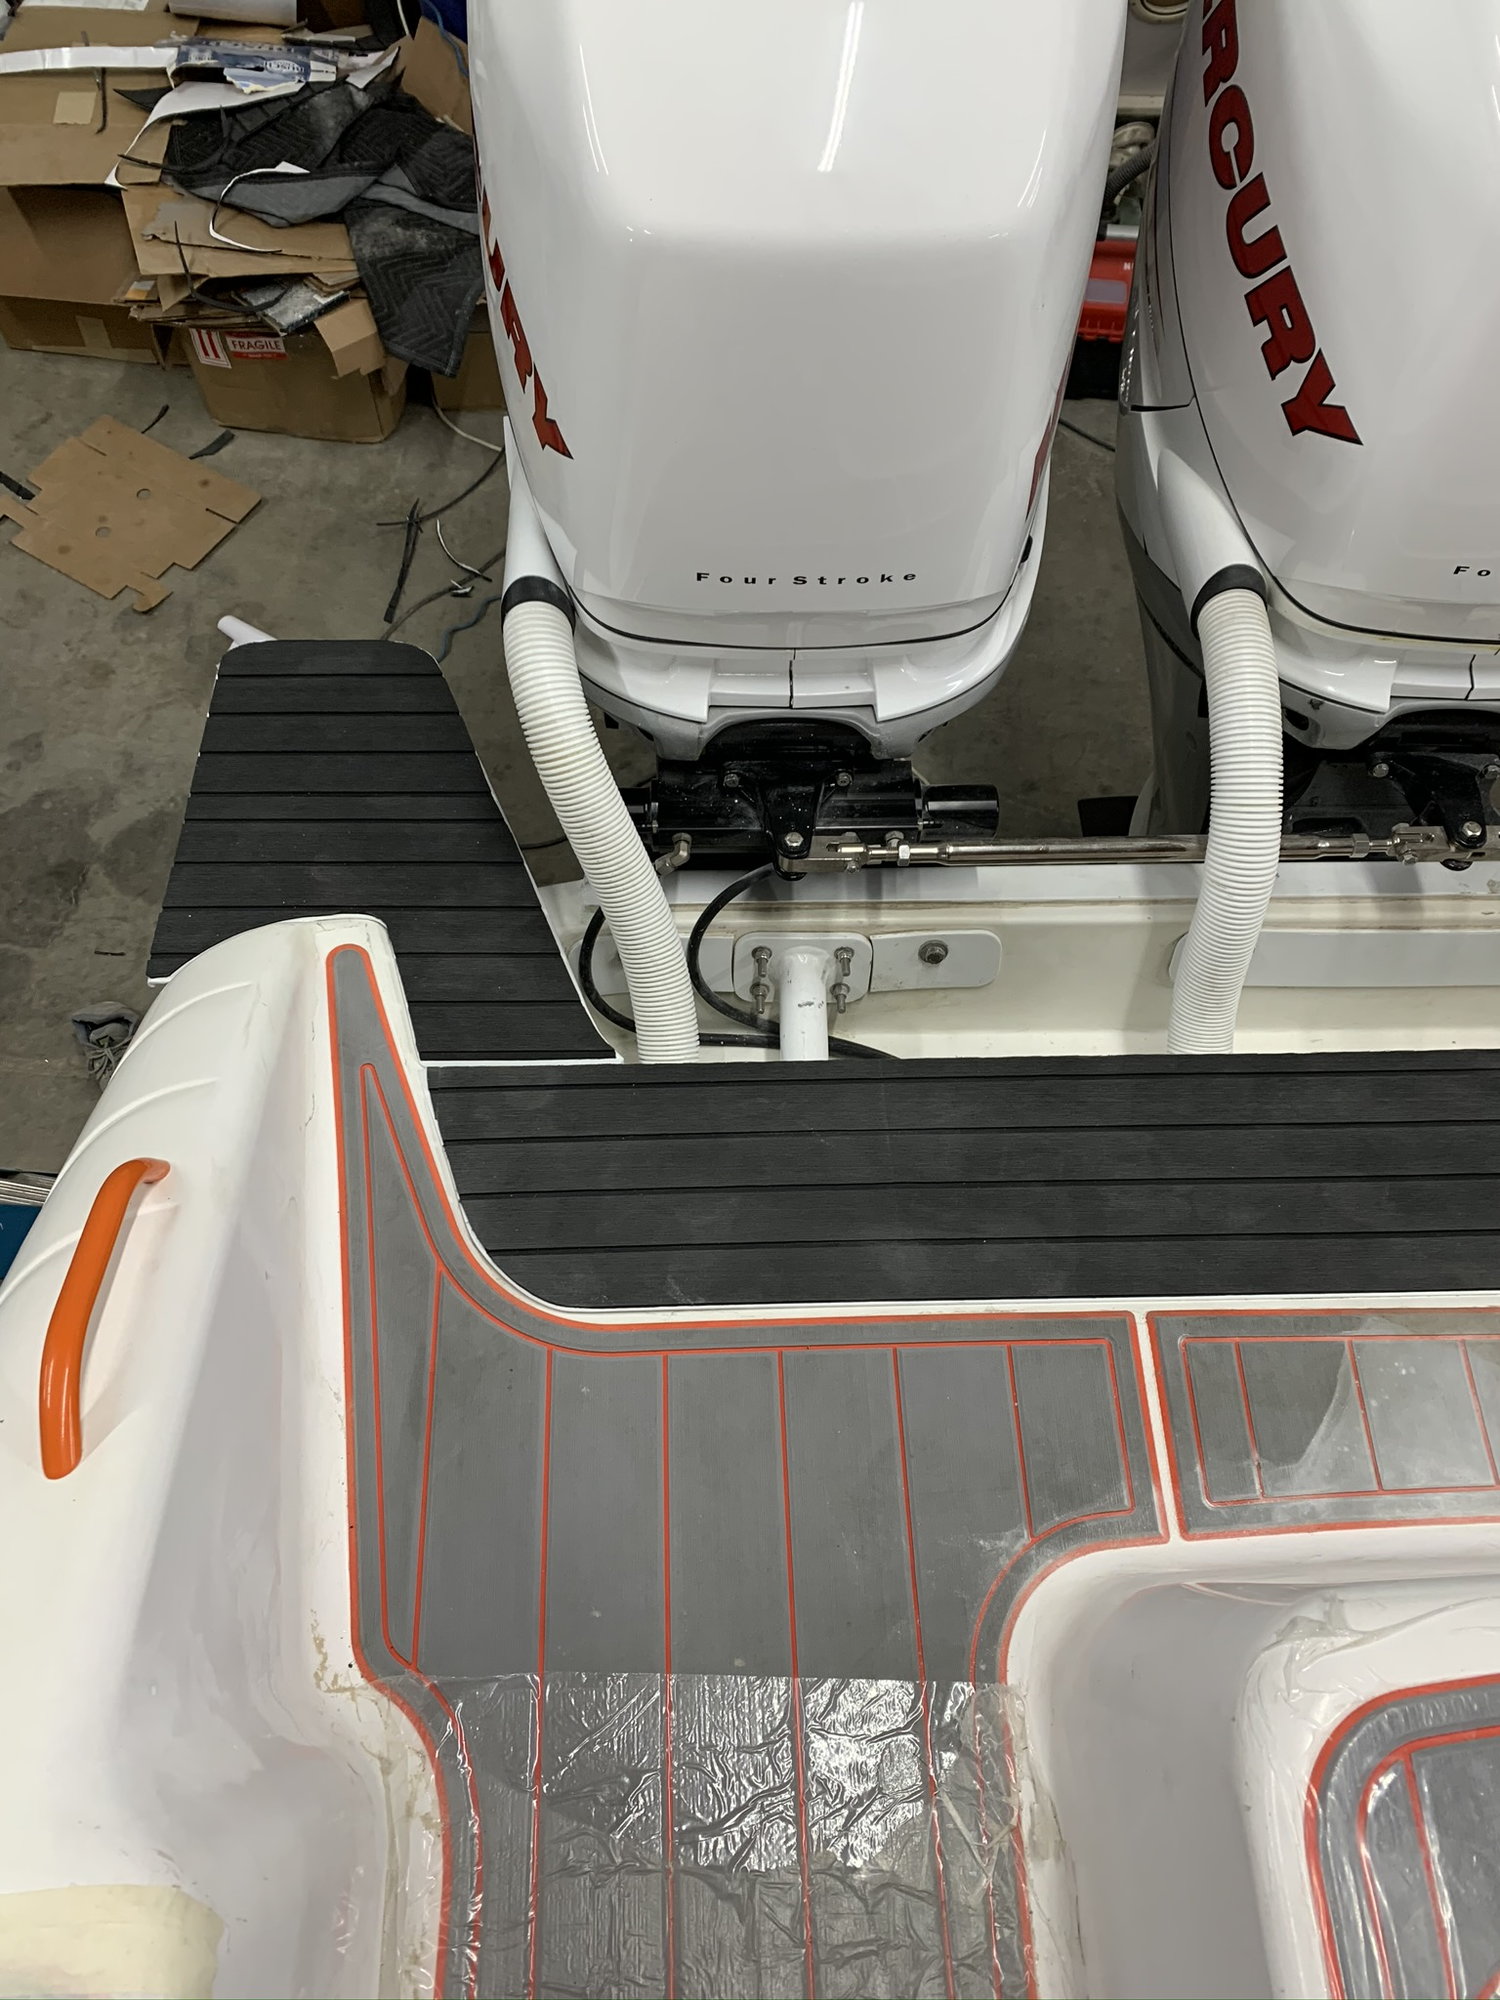
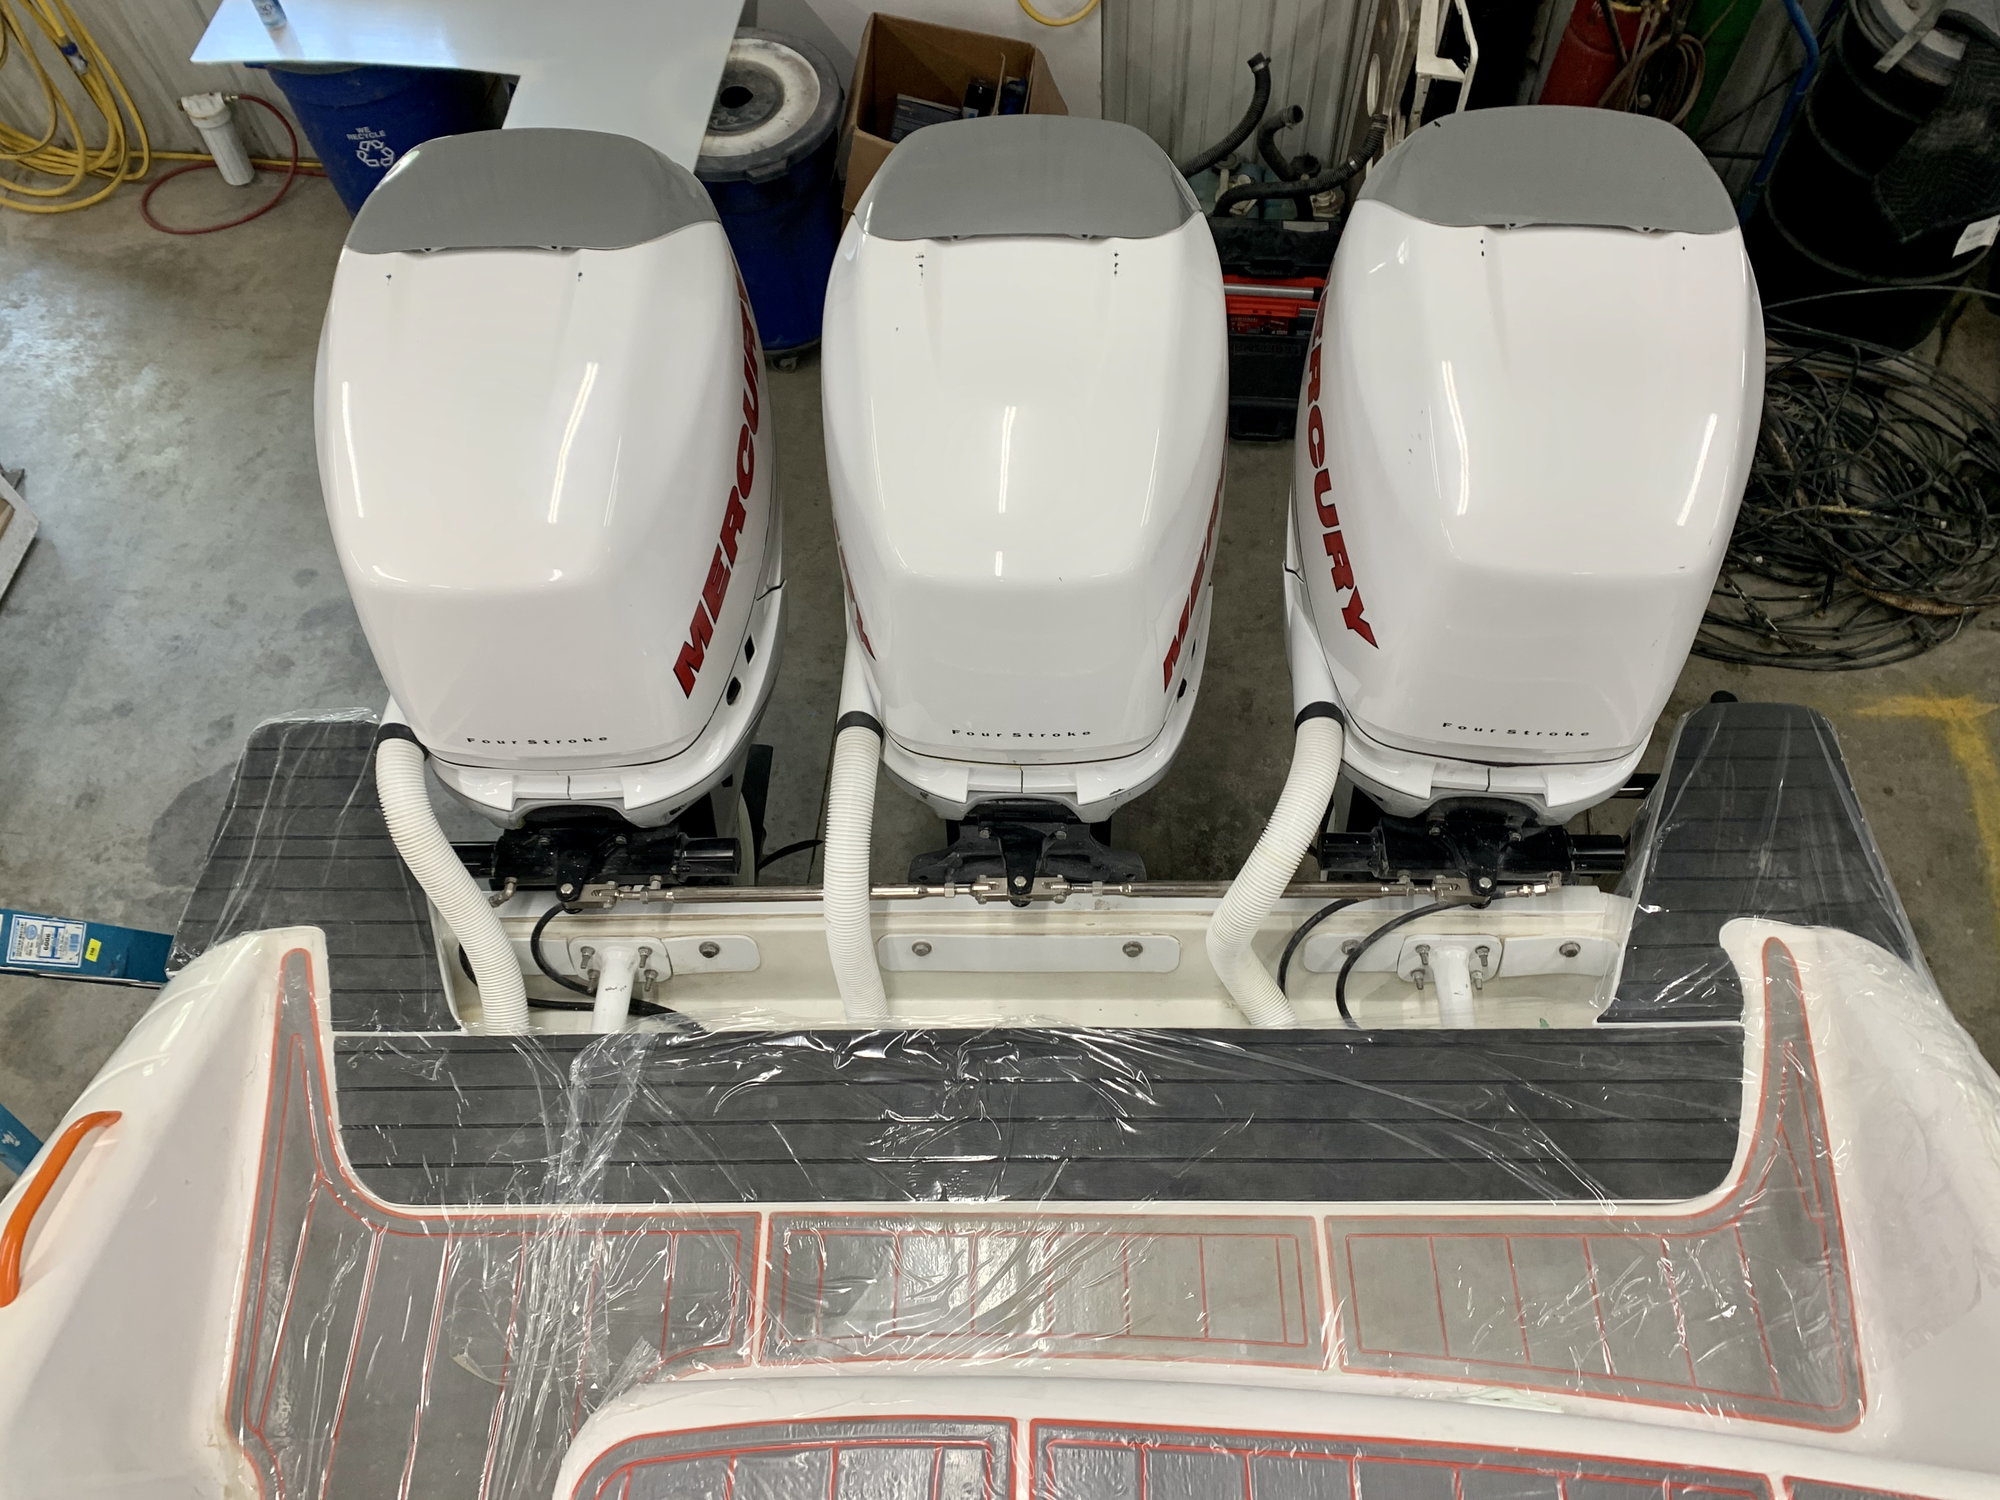
The 2nd idea that I teased in a earlier post is the swim platform. I'm happy to say that it is done!! Having the extra space to walk around the engines makes it so much easier to get off and on the boat. The only downside is we’re going to have to be extra careful around the docks so we don’t smash the platform.
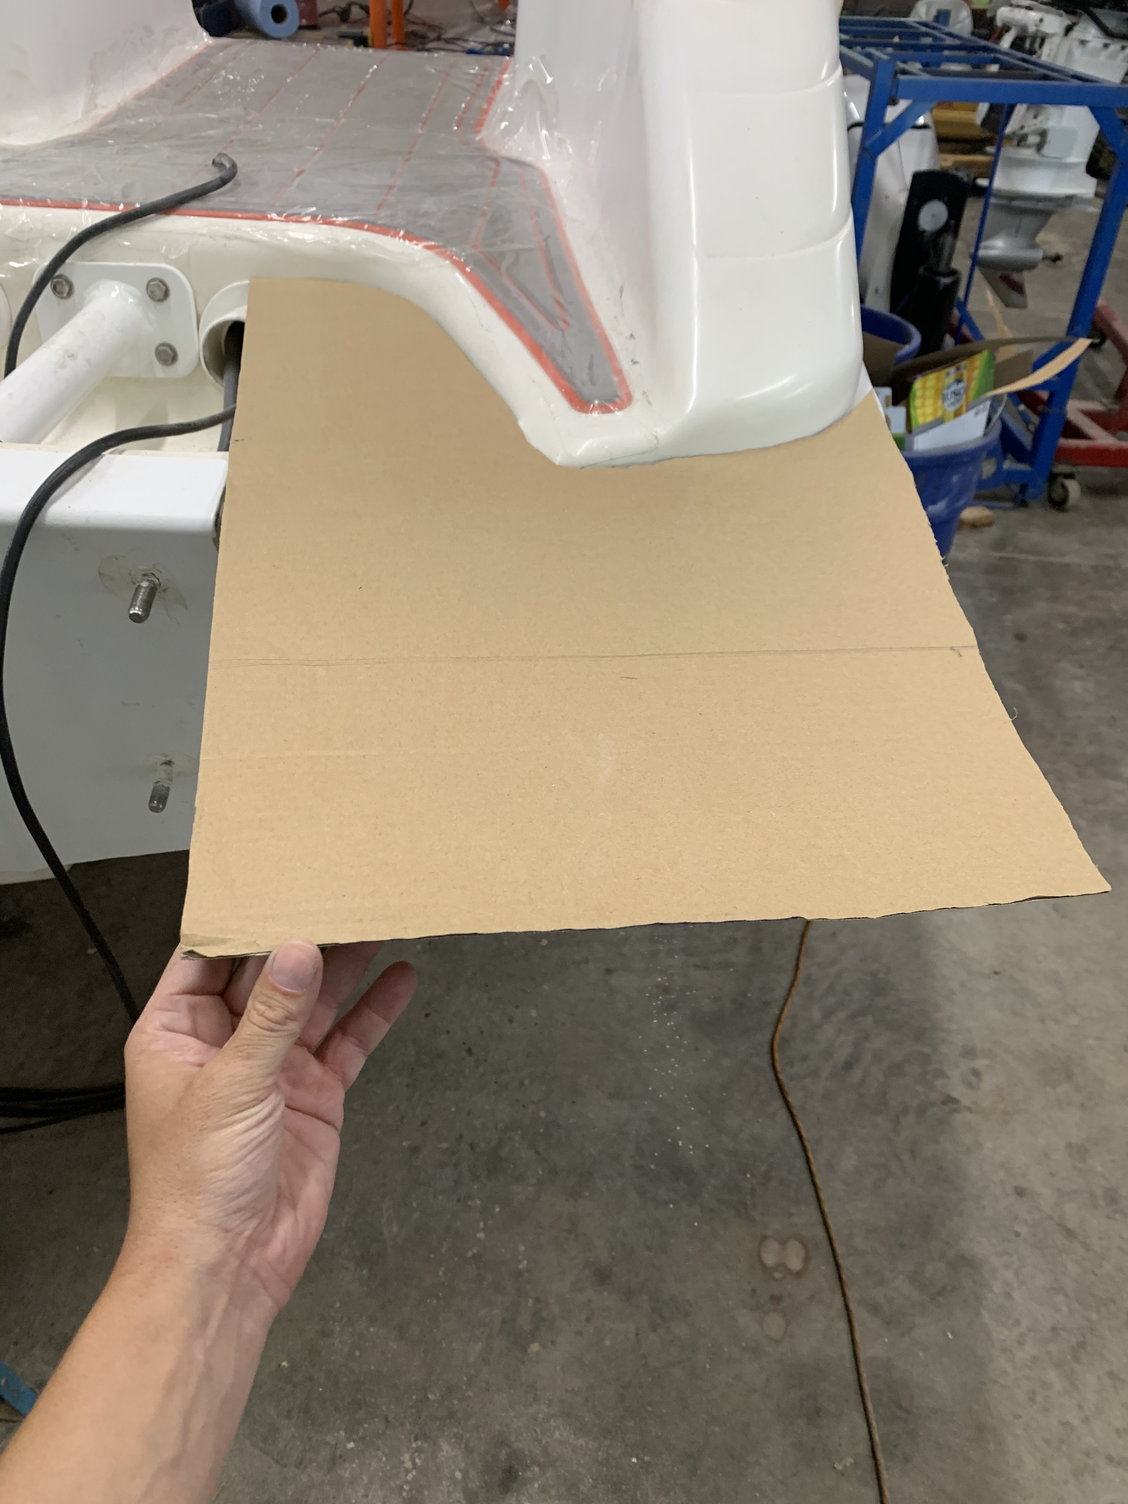
Concept using cardboard
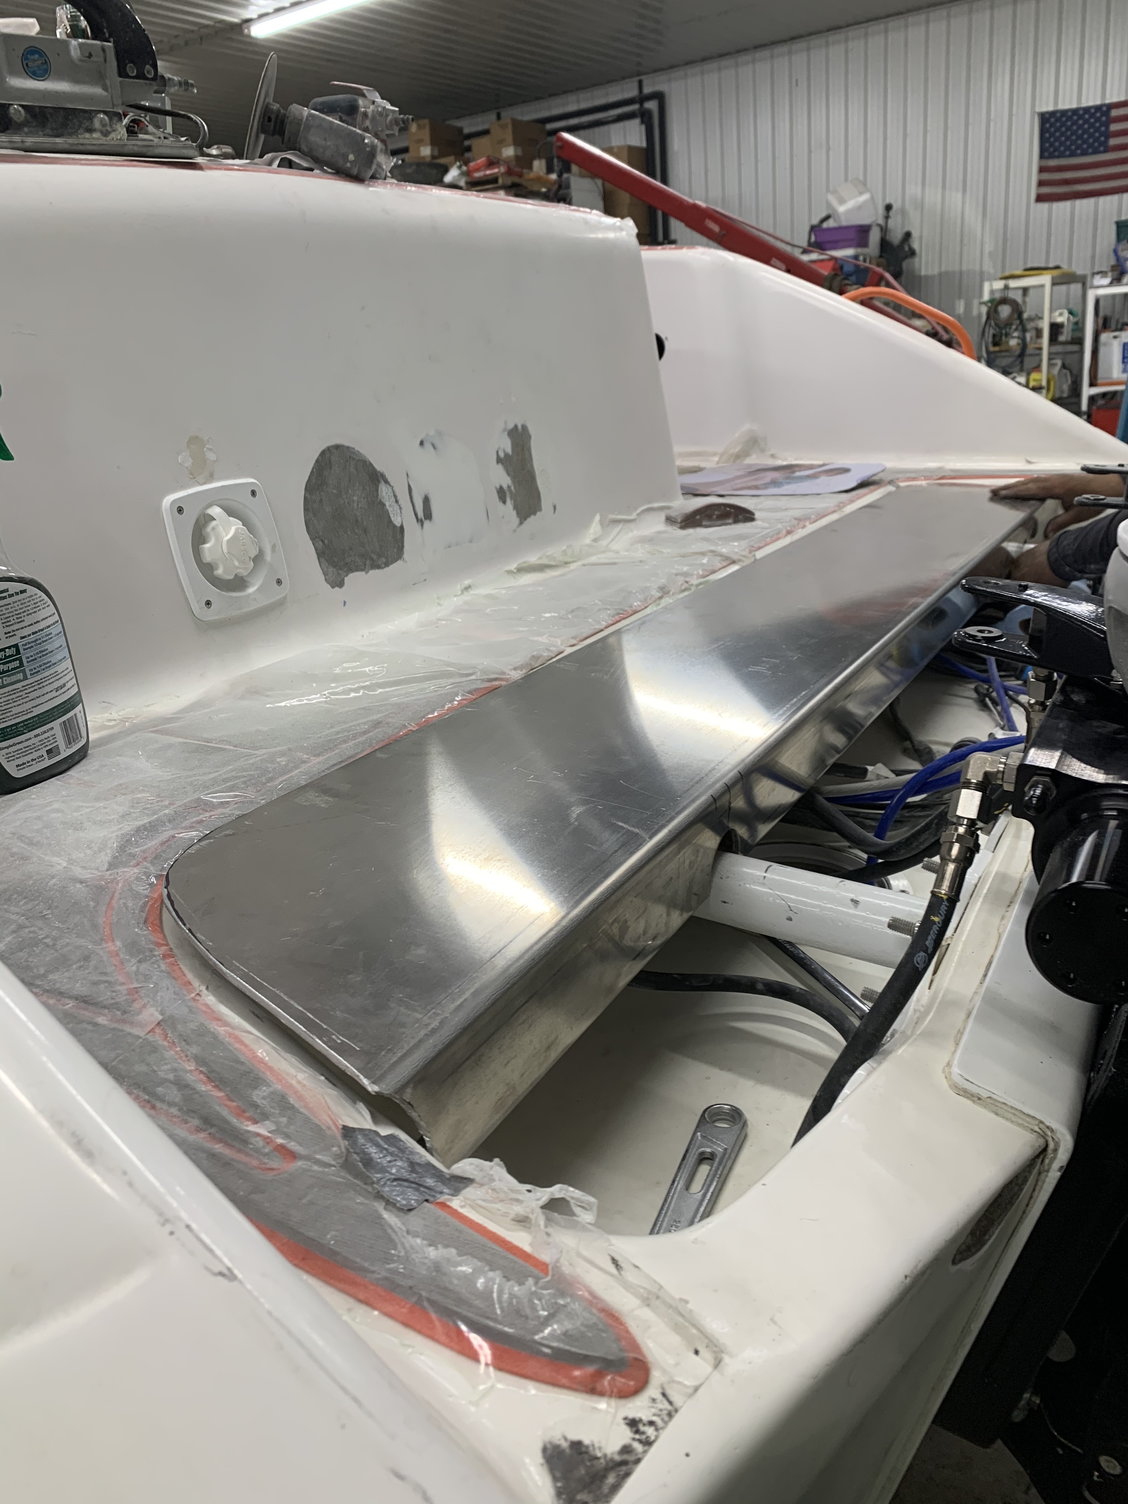
Center piece made out of aluminum
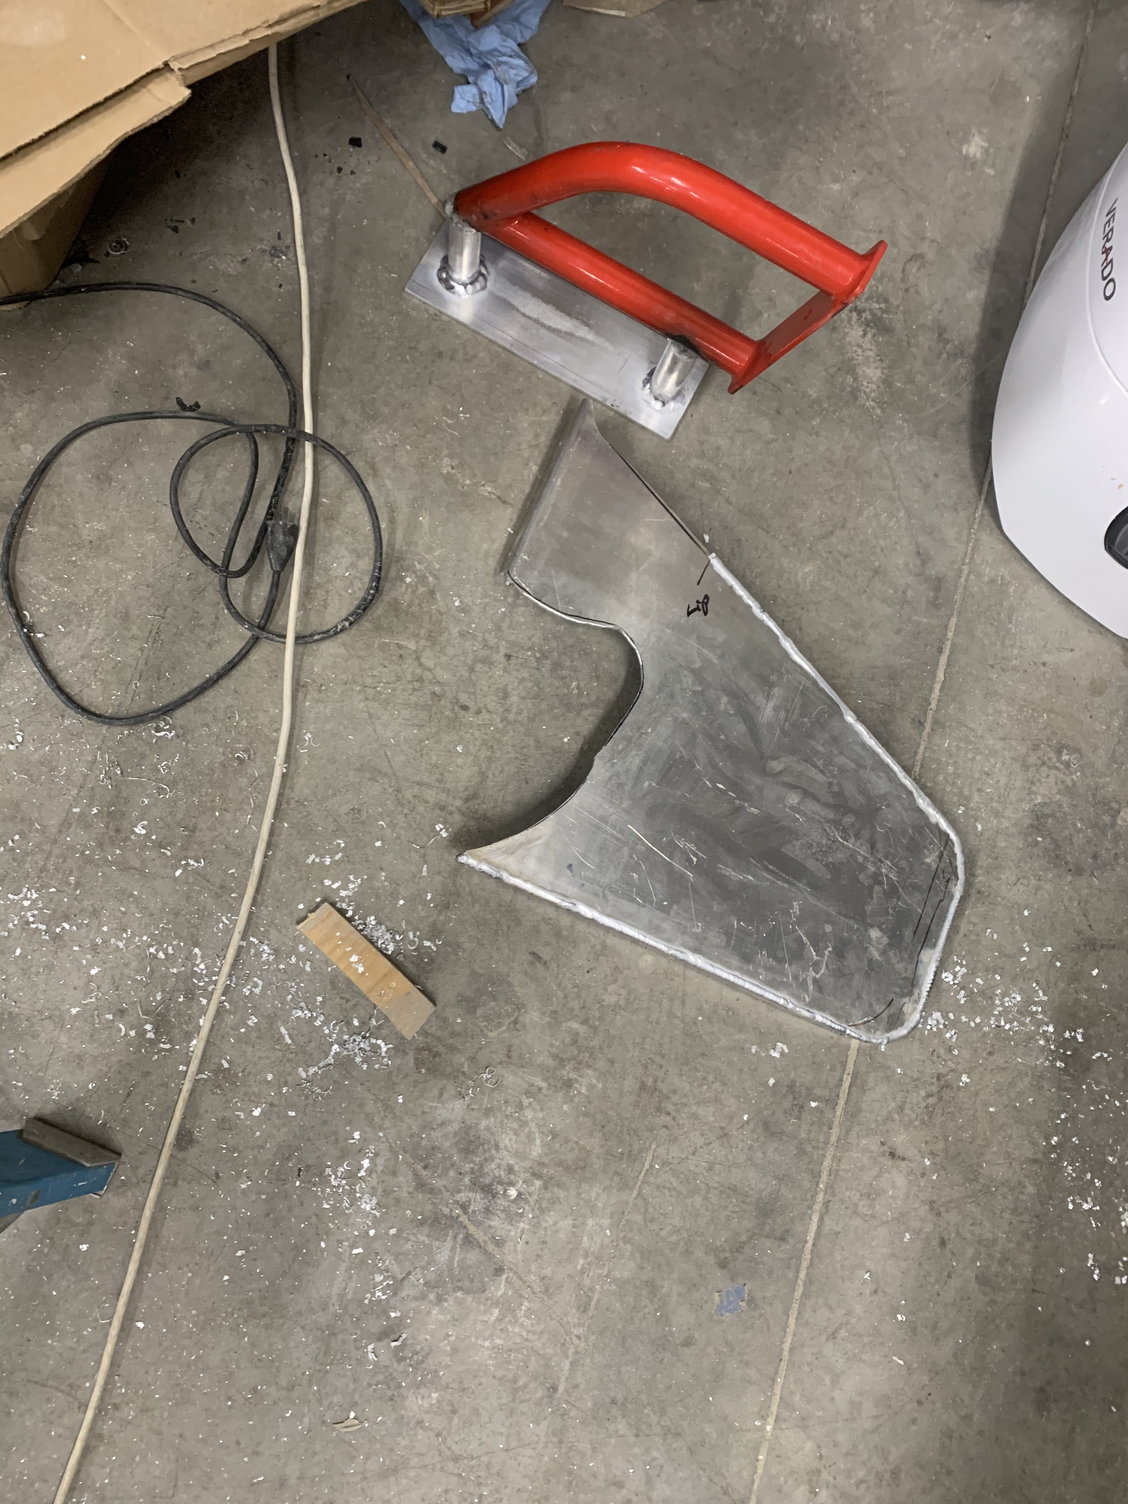
Start of the starboard side piece
Start of the port side piece
Port side Top plate and brace
Starboard side bolted on to check fitment

Top view
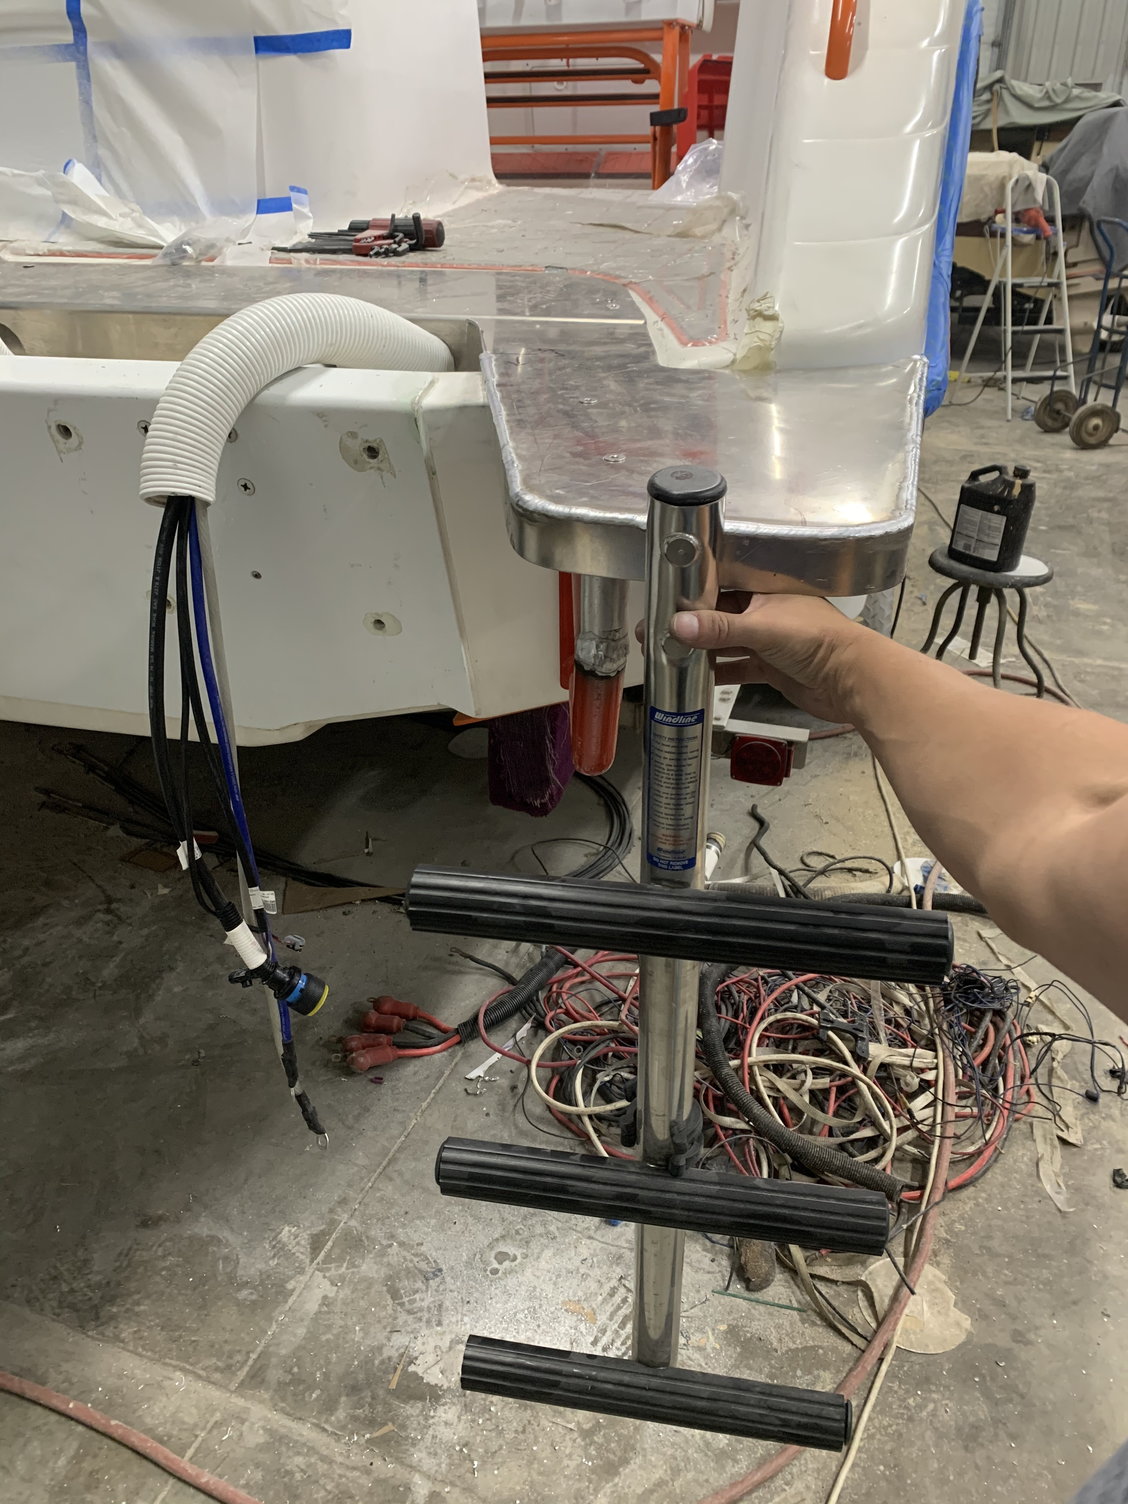
Idea of where the ladder will hang

Top view from inside the boat
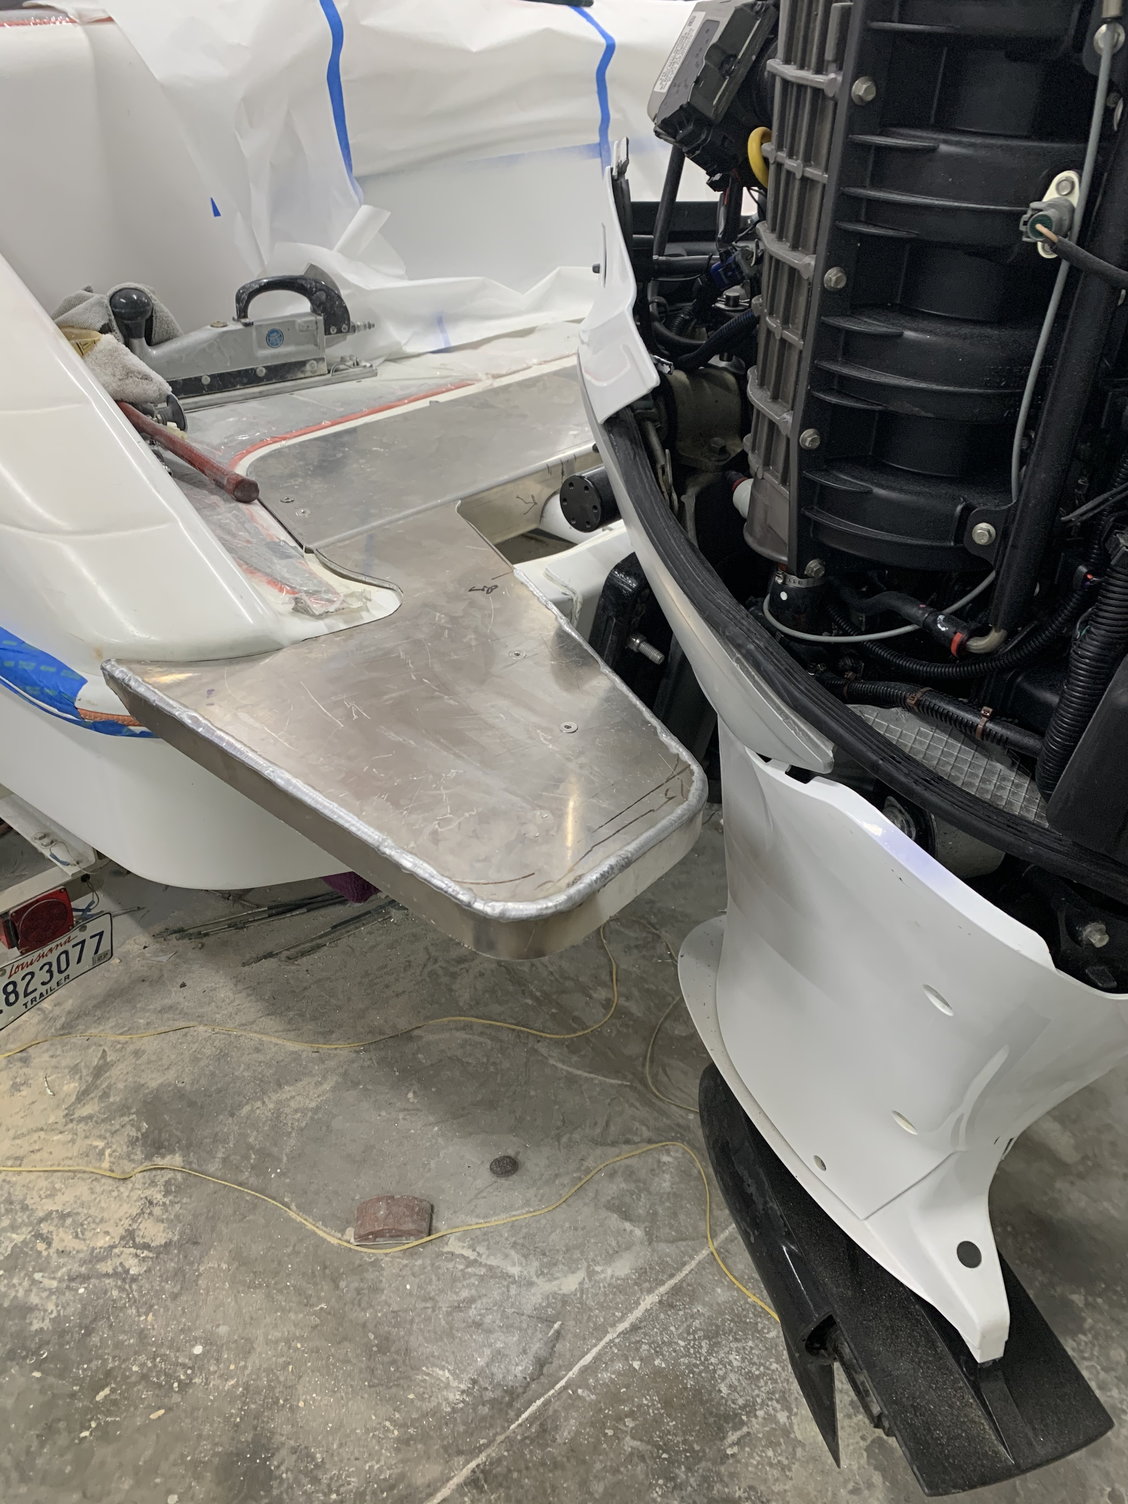
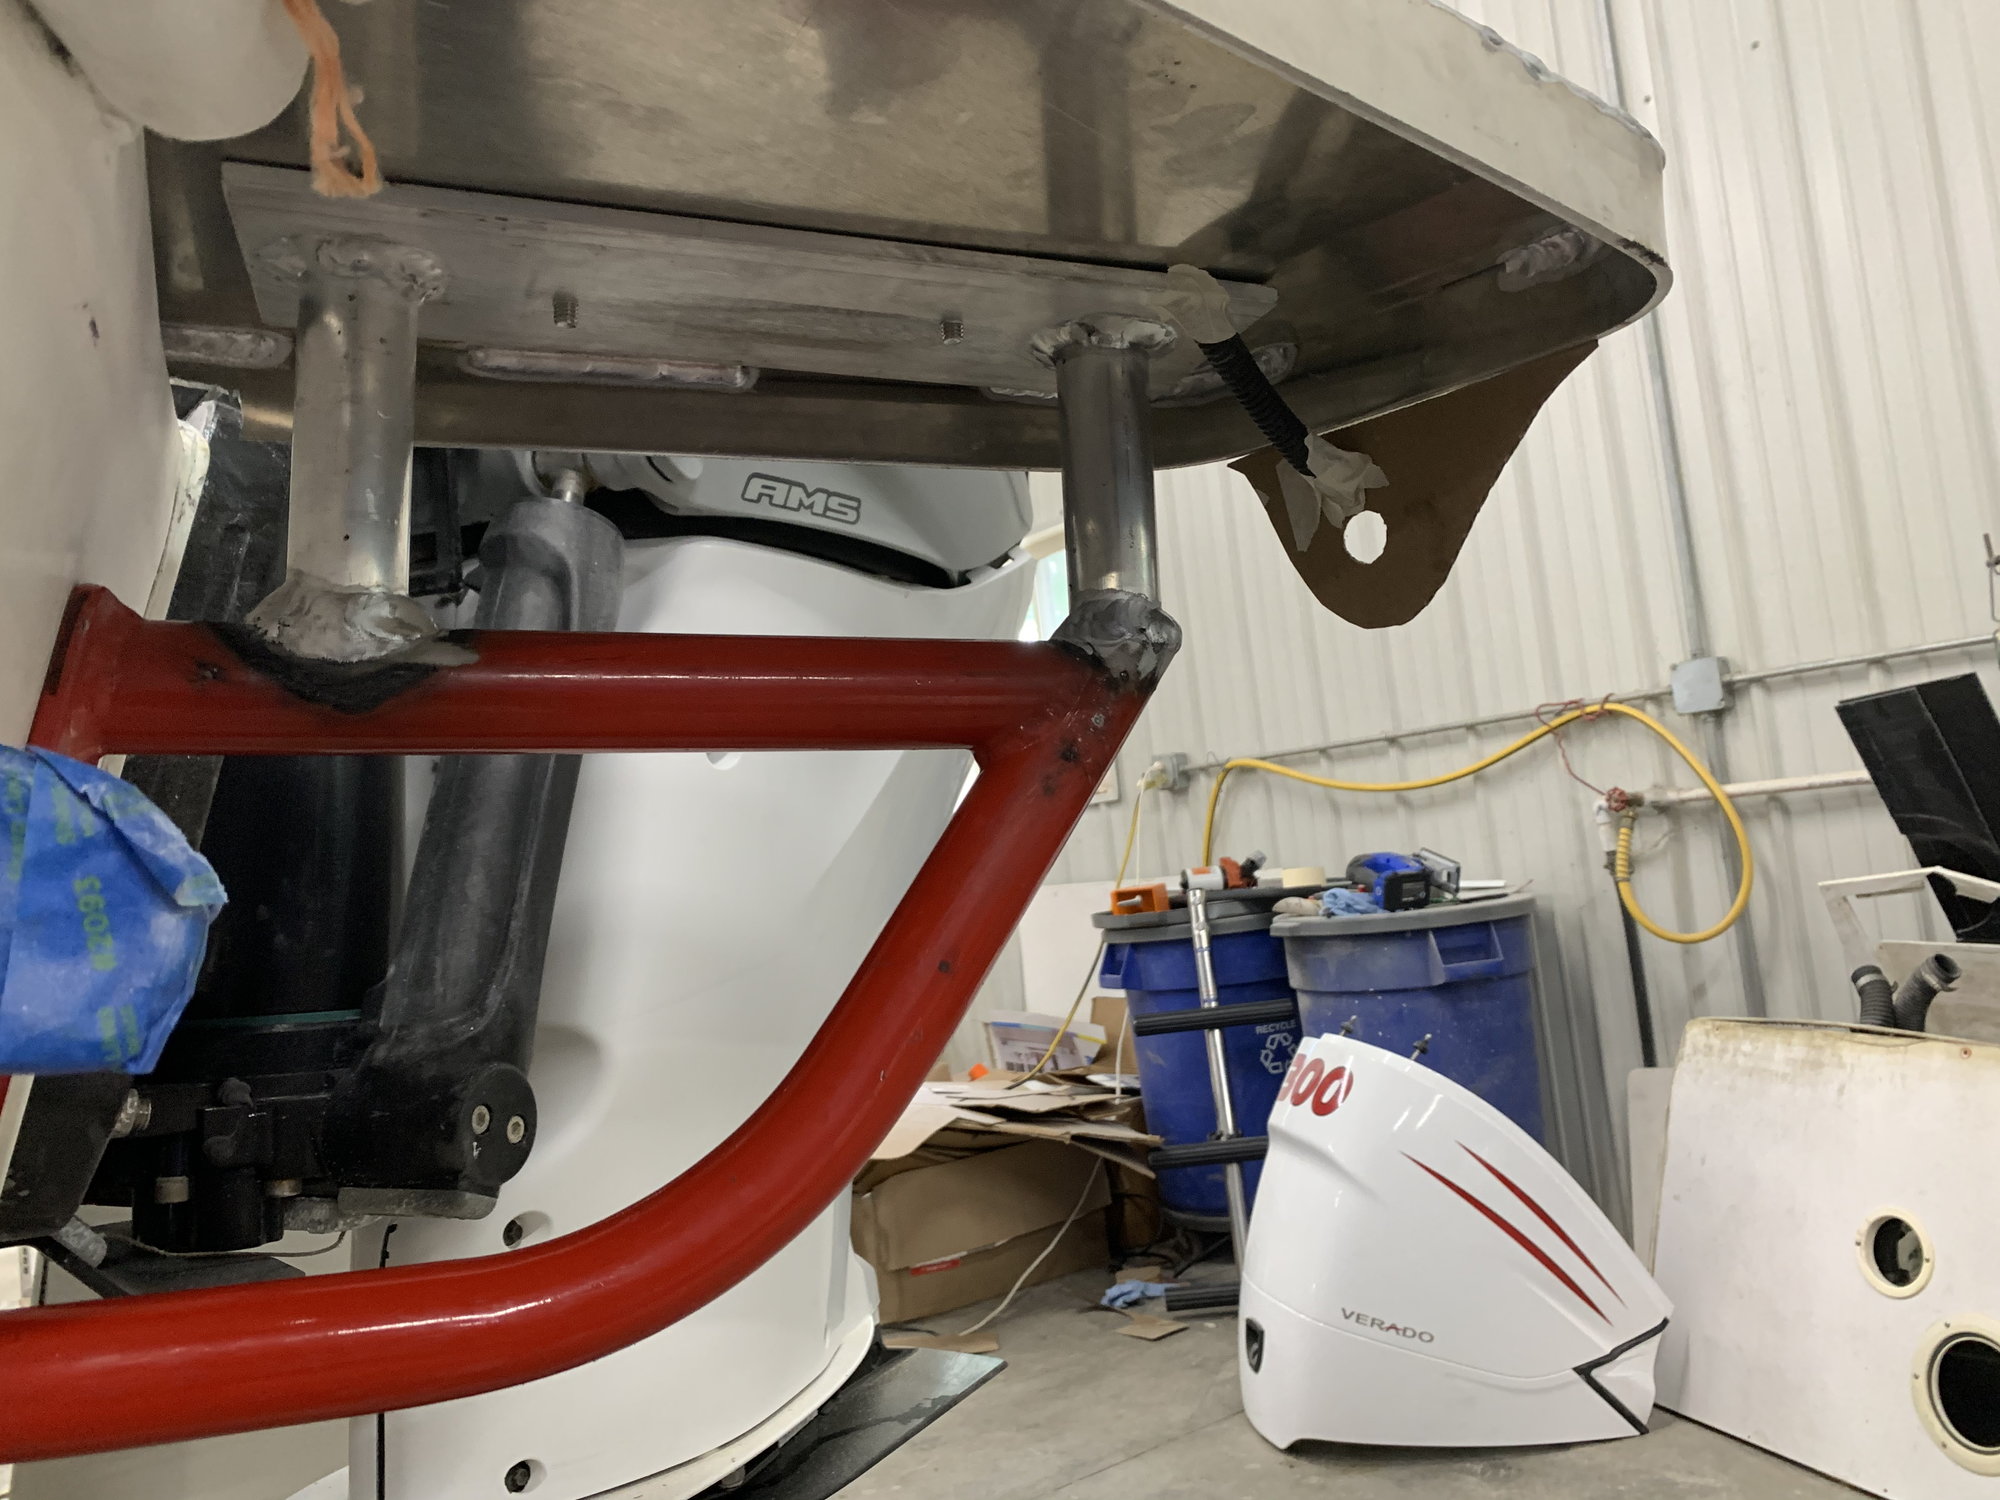
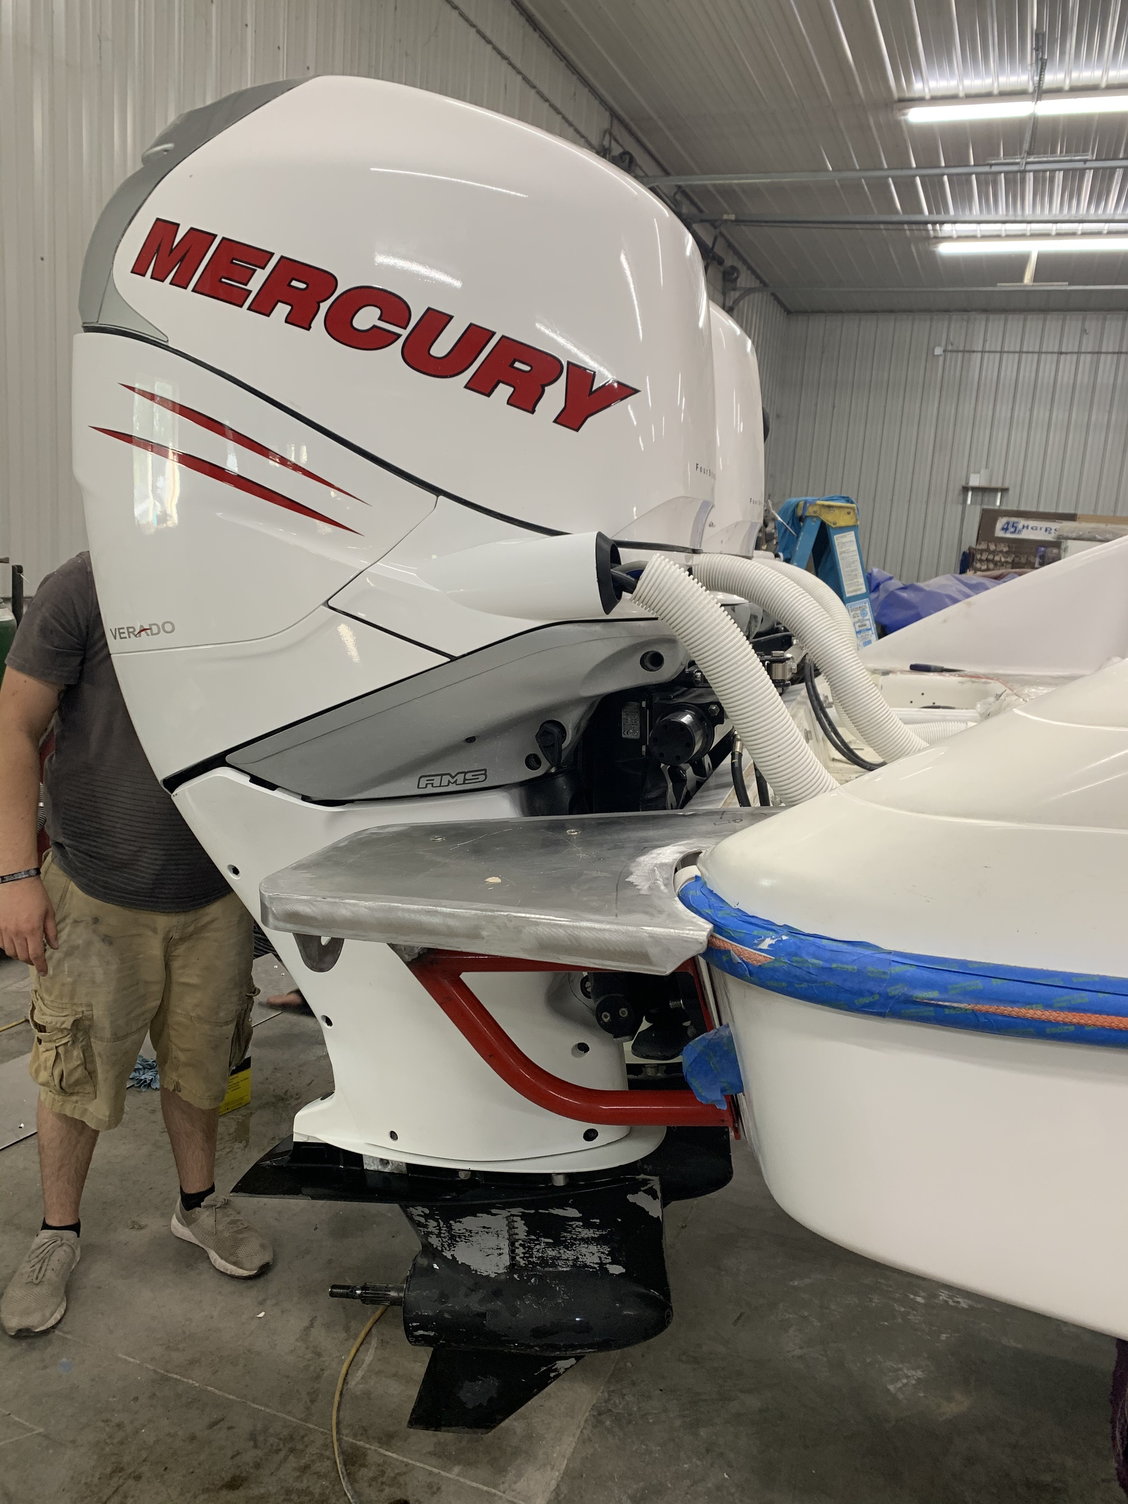
Making sure the engine has clearance at full lock
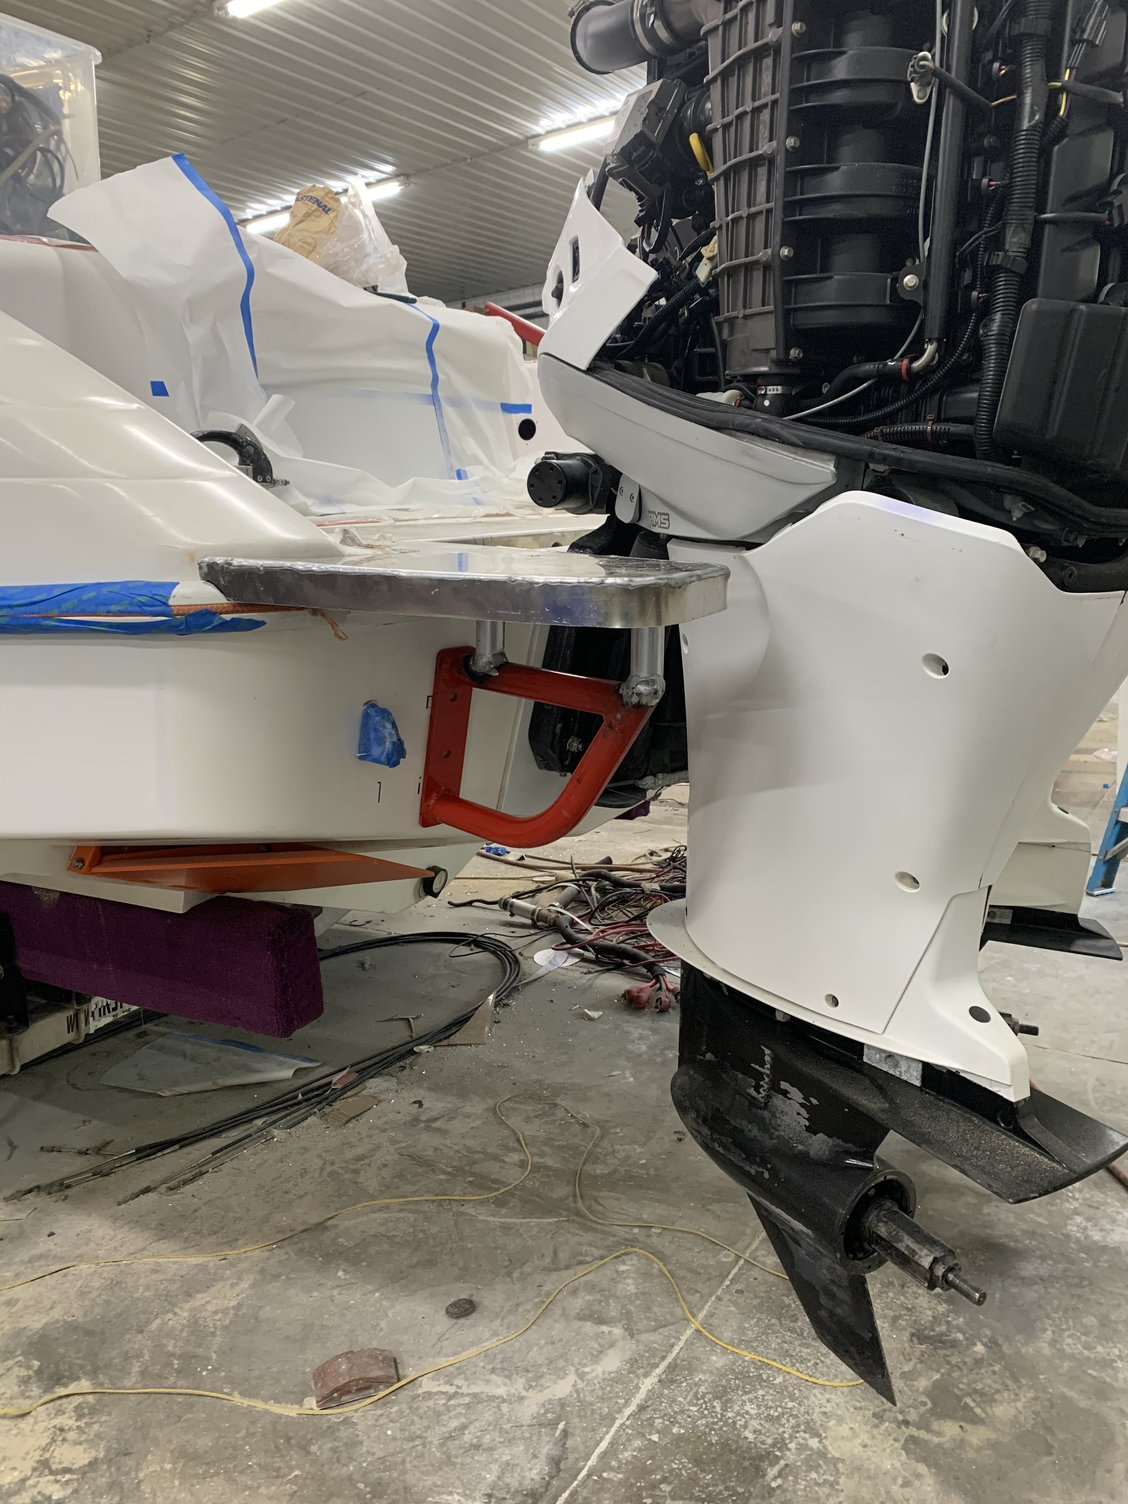
Side view of port side bolted on
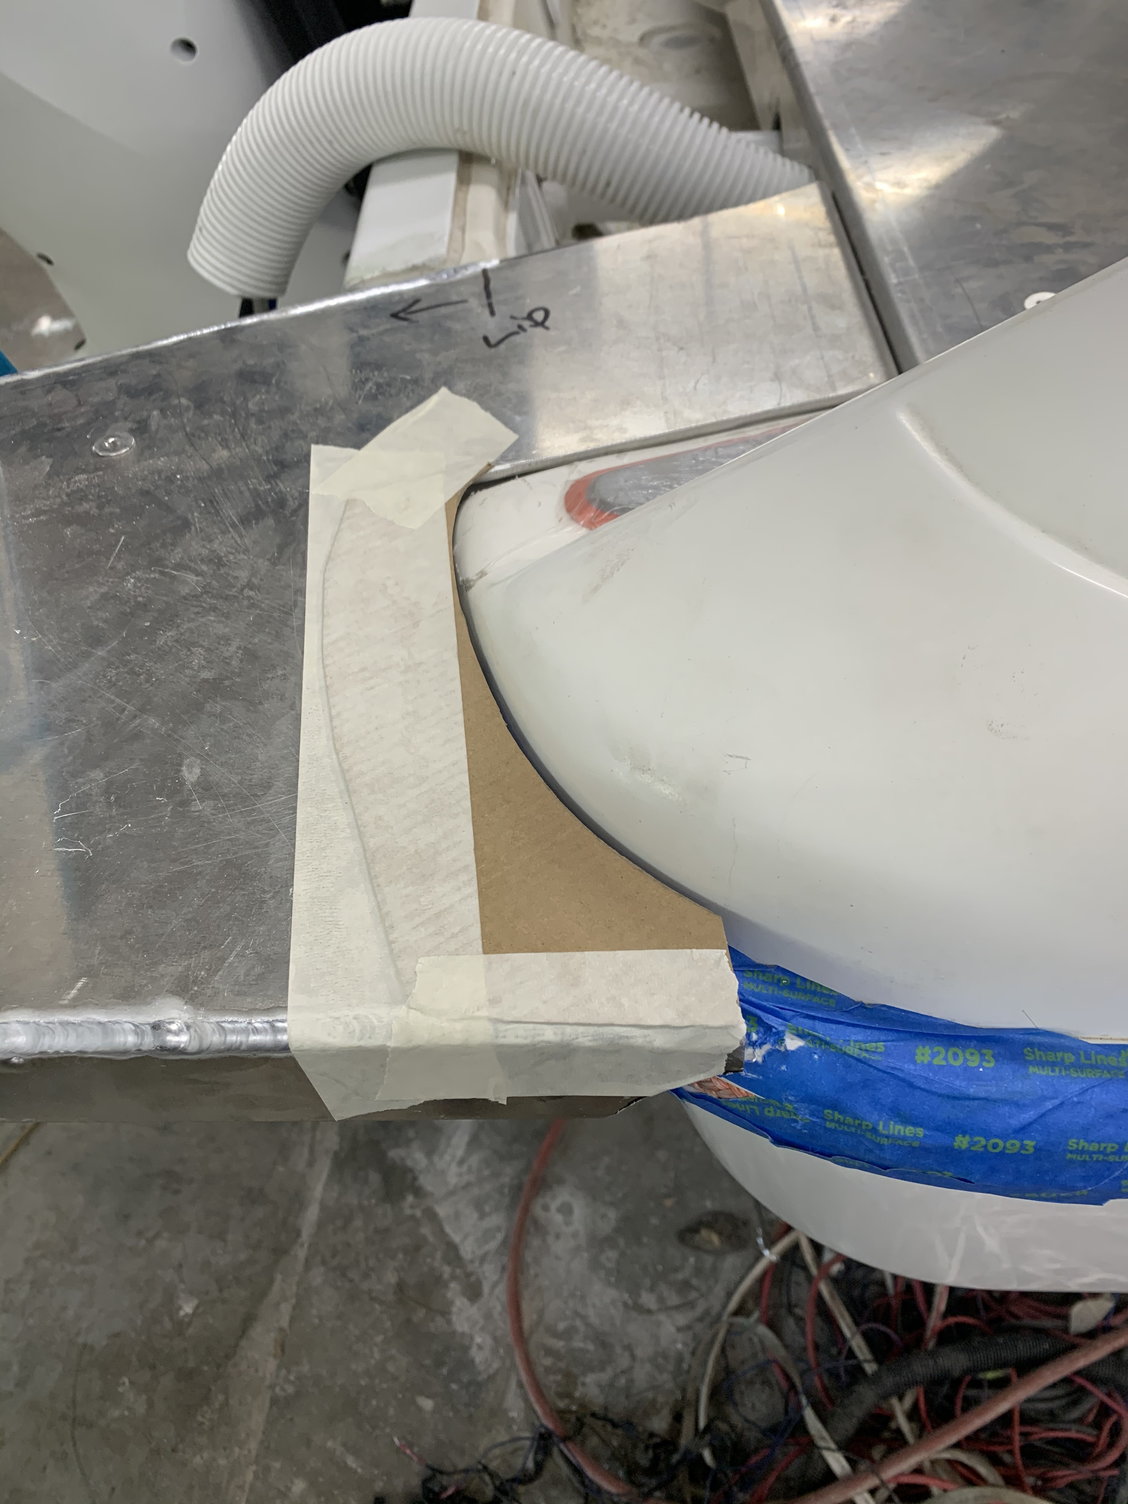
Using cardboard Again to make minor tweaks to the design
Used cardboard to mock up attachment place for the ladder
Back side view of how the ladder will attach
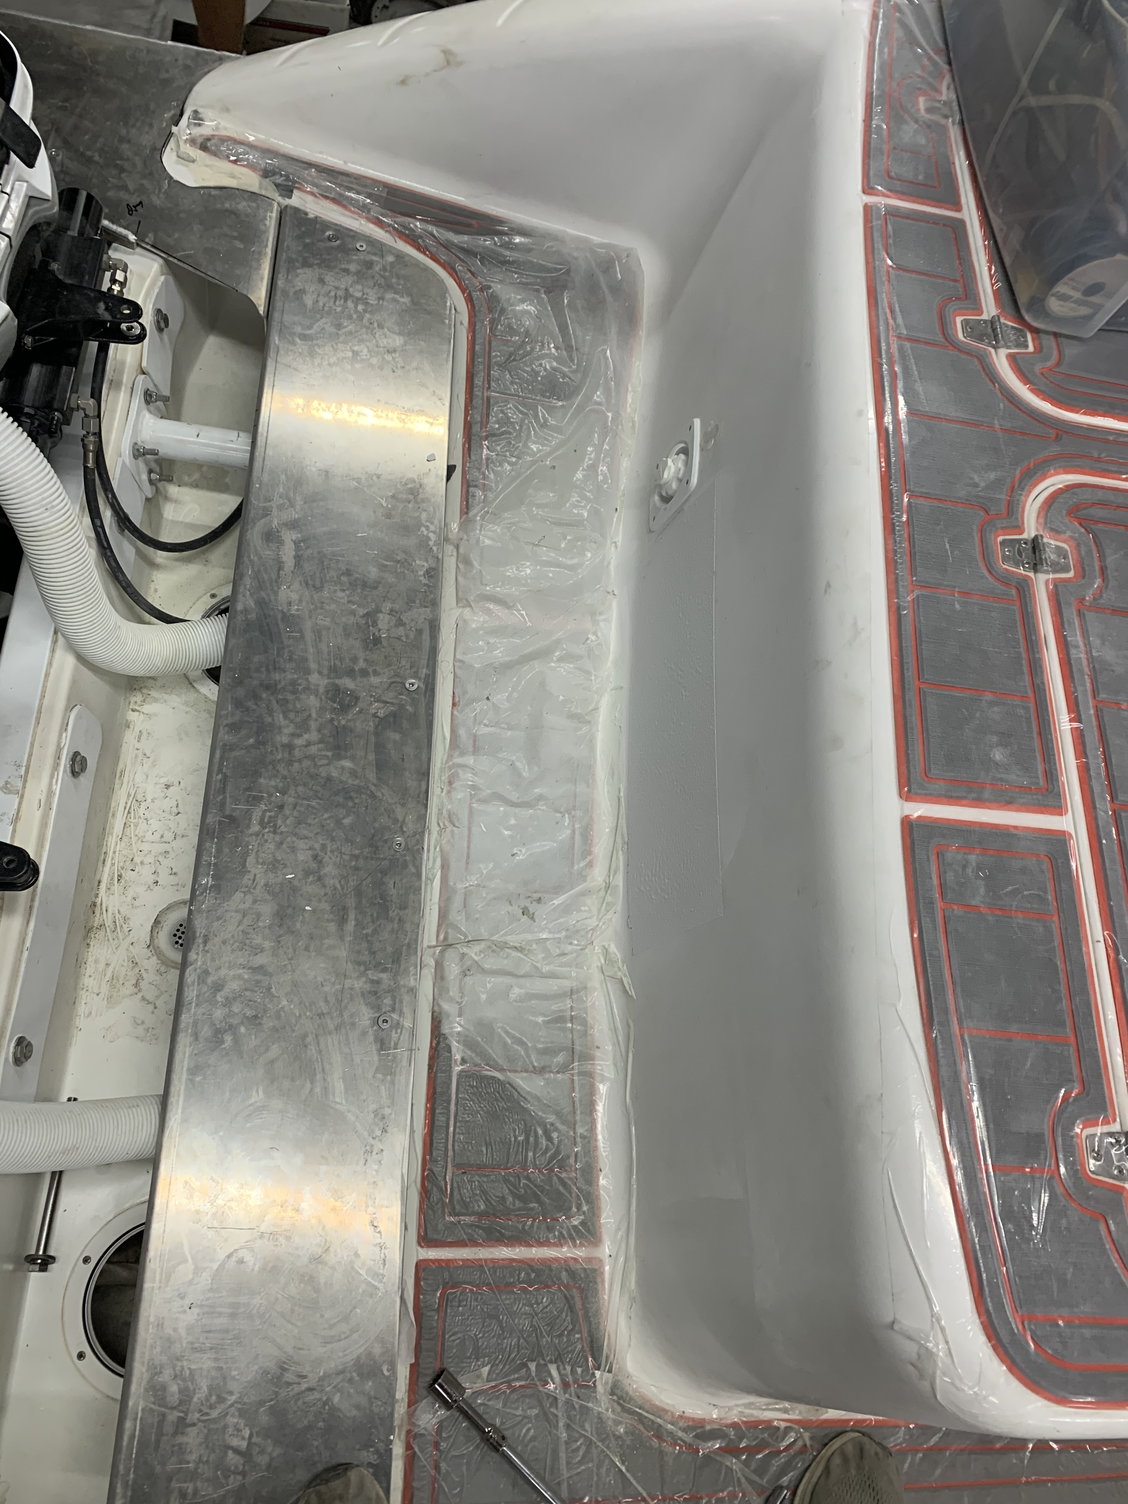
Another top view of how much more room there will be to walk around
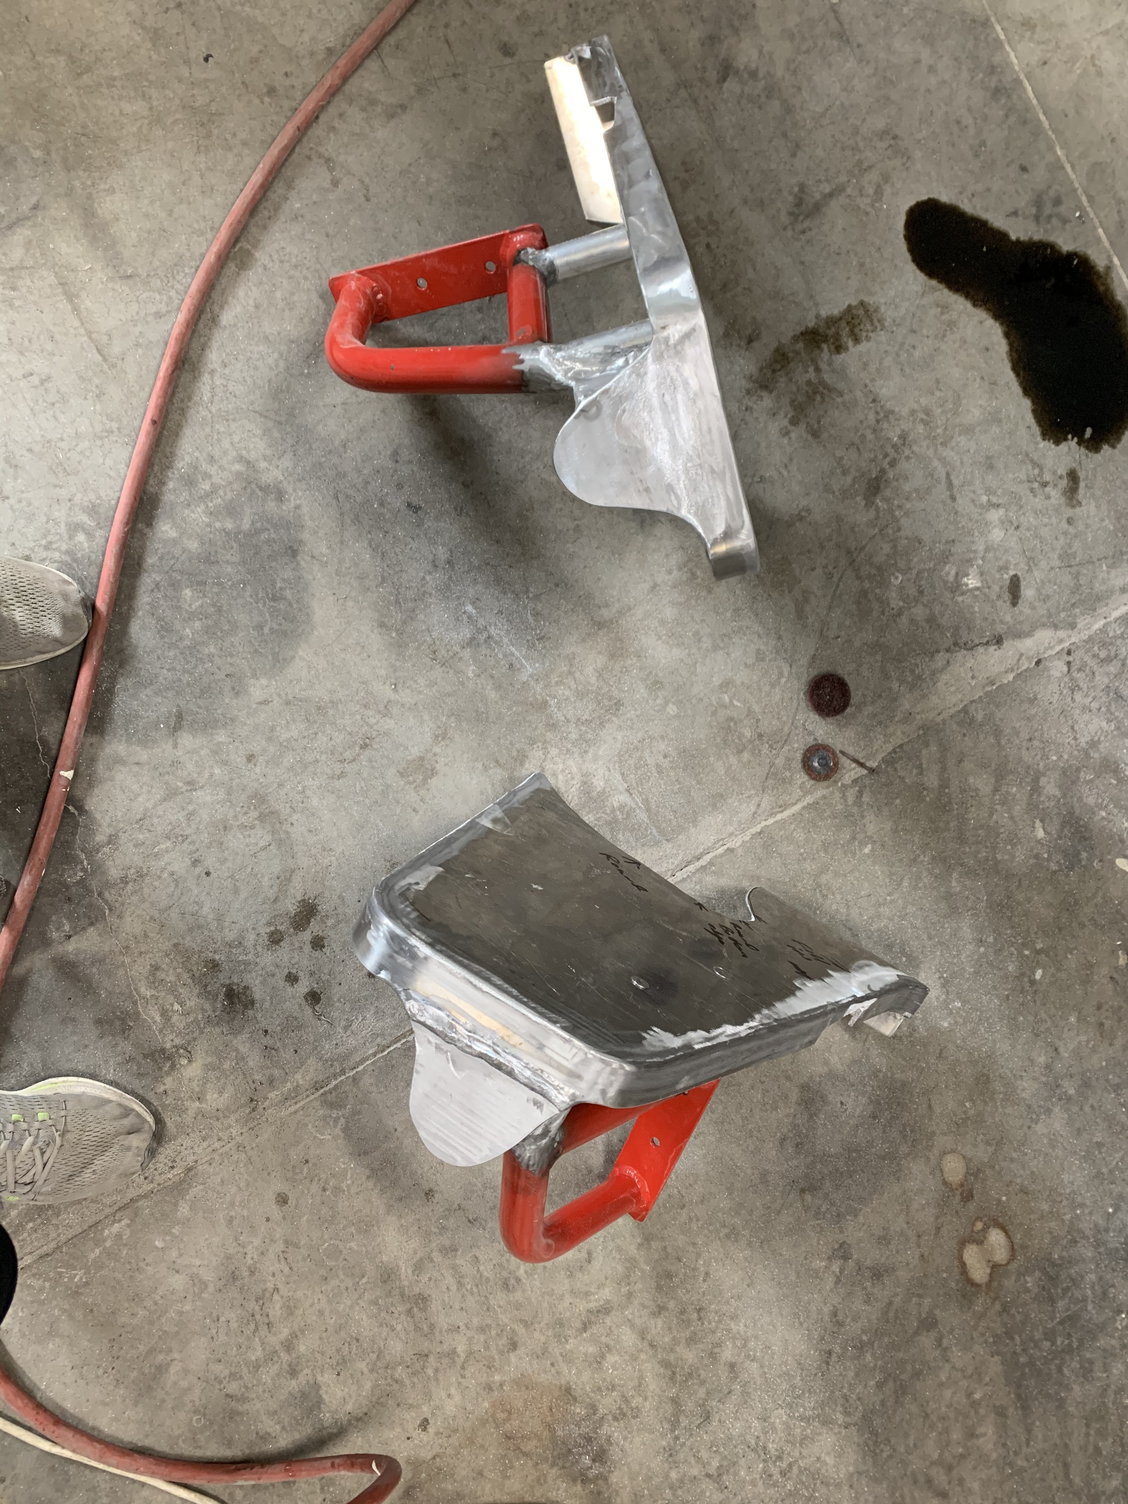
Port and starboard pieces with the added material for the ladder
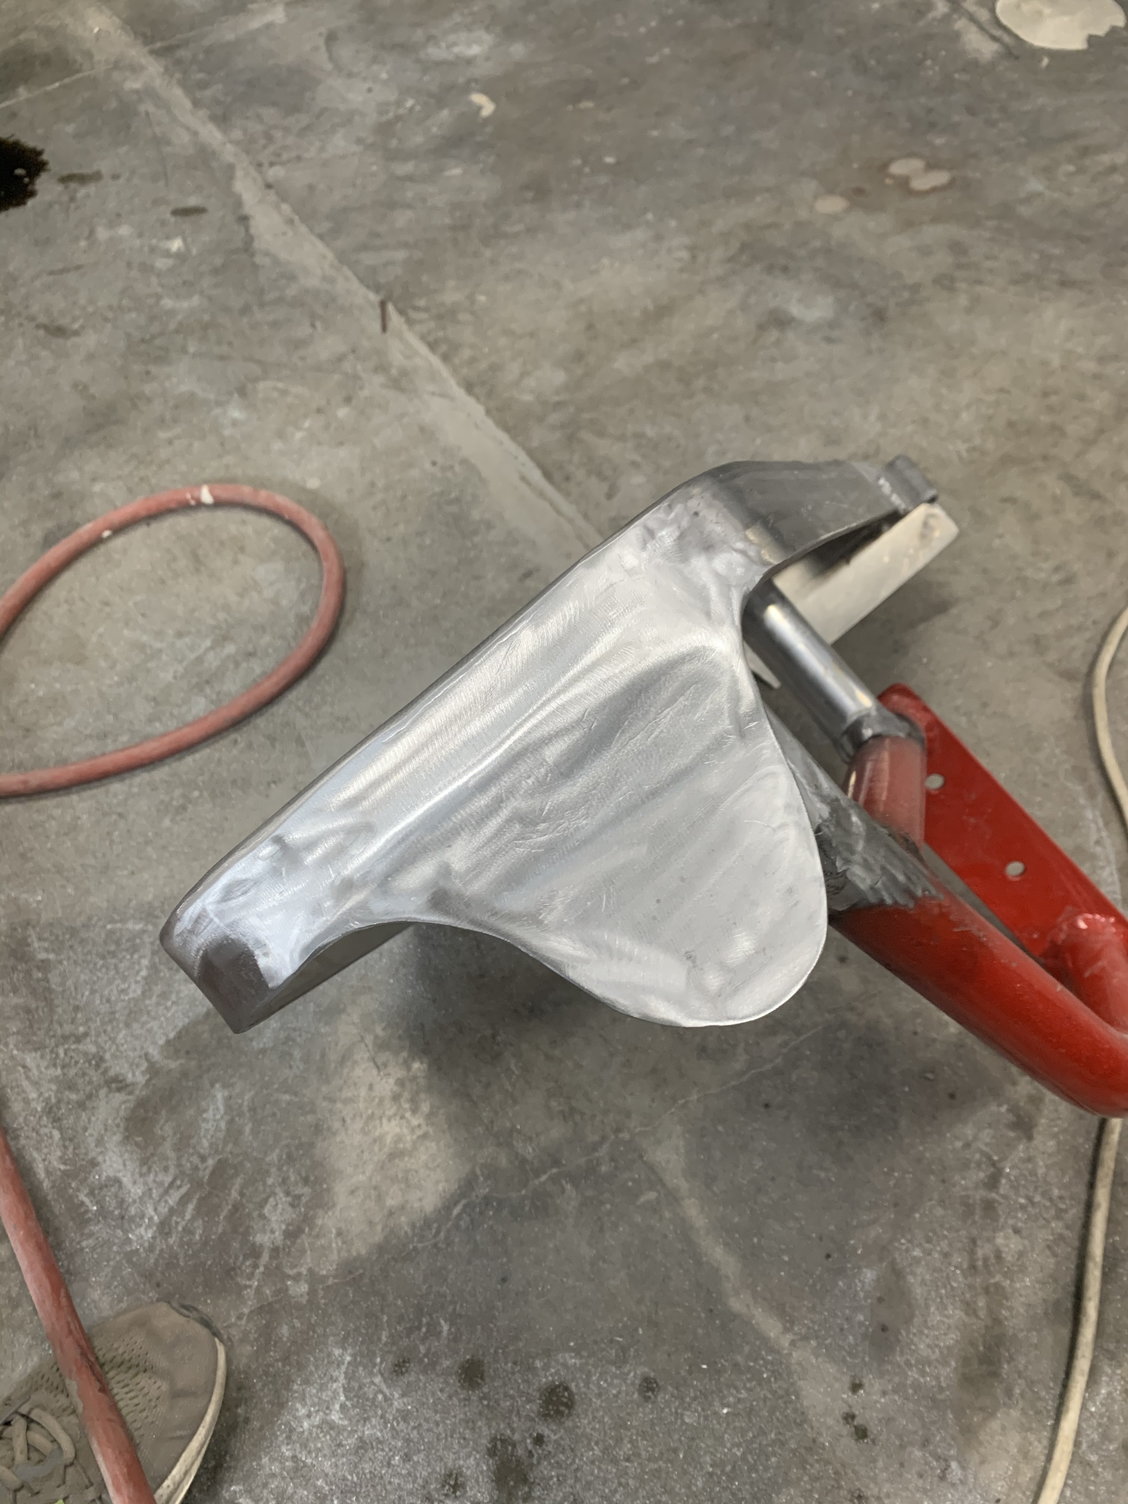
Welds ground smooth
Concept using cardboard
Center piece made out of aluminum
Start of the starboard side piece
Start of the port side piece
Port side Top plate and brace
Starboard side bolted on to check fitment
Top view
Idea of where the ladder will hang
Top view from inside the boat
Making sure the engine has clearance at full lock
Side view of port side bolted on
Using cardboard Again to make minor tweaks to the design
Used cardboard to mock up attachment place for the ladder
Back side view of how the ladder will attach
Another top view of how much more room there will be to walk around
Port and starboard pieces with the added material for the ladder
Welds ground smooth
Last edited by iaoutlaw; 08-10-2020 at 11:07 AM.
08-10-2020 | 10:39 AM
#38
Thread Starter
Registered
Joined: Feb 2011
Posts: 375
Likes: 125
From: North Liberty, IA
Final fitment before powder coating
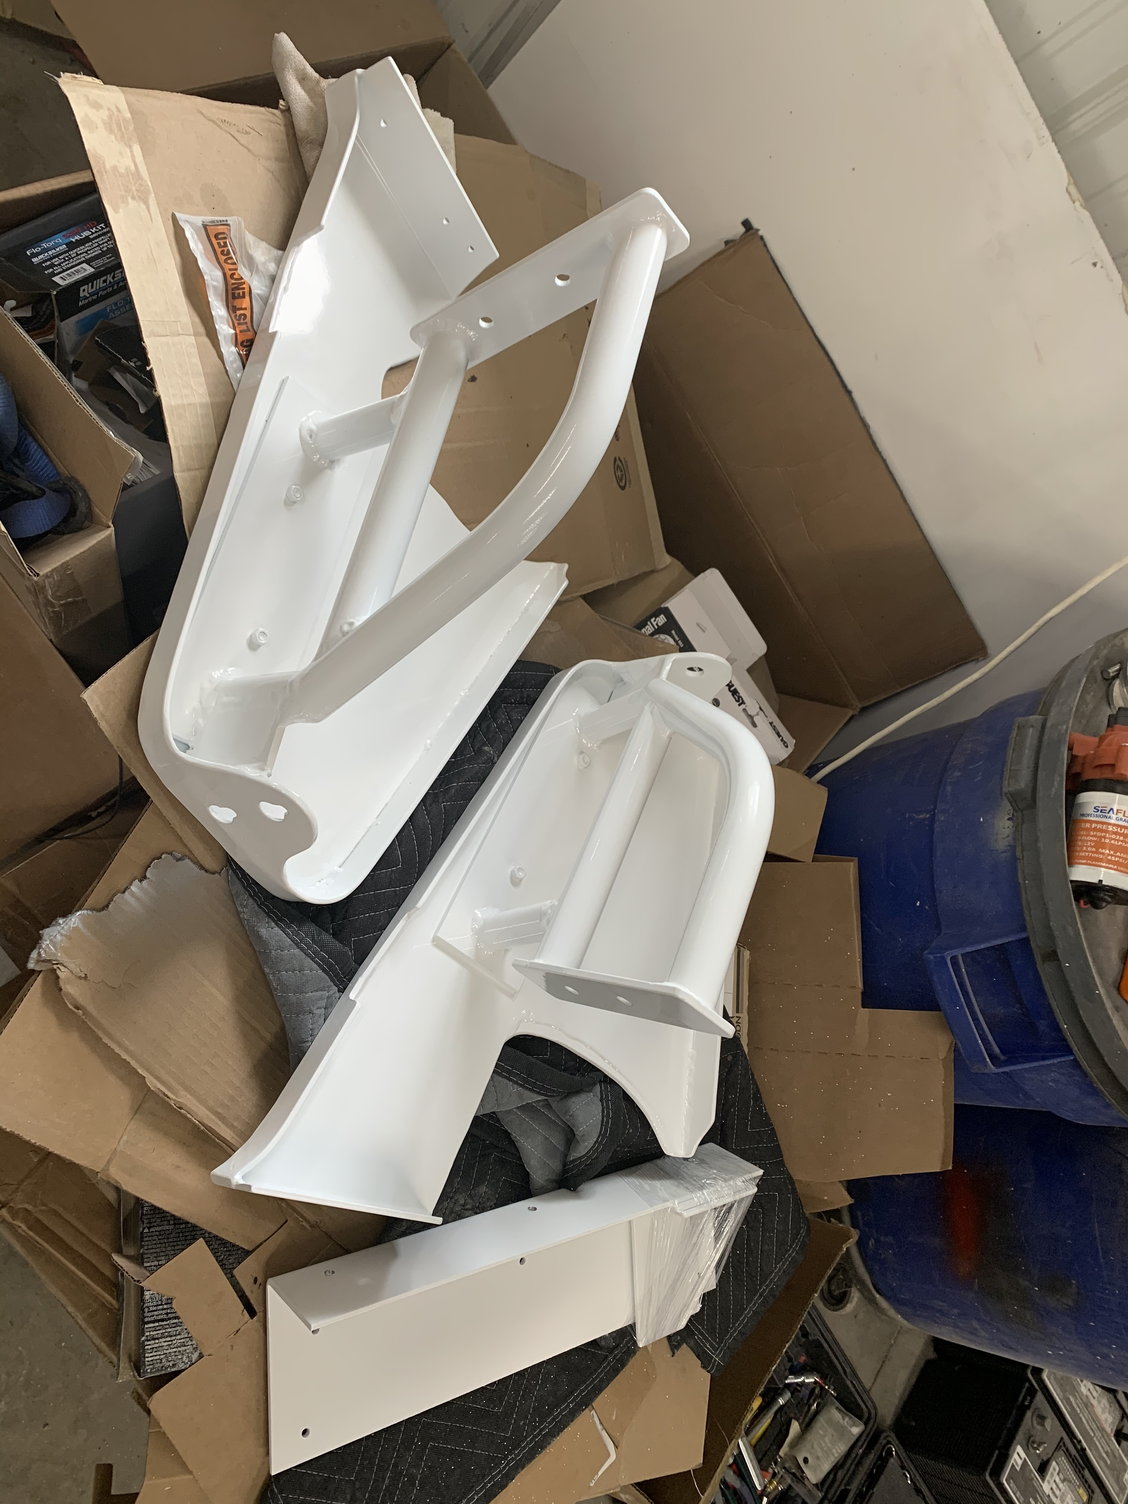
Back from the powder coating
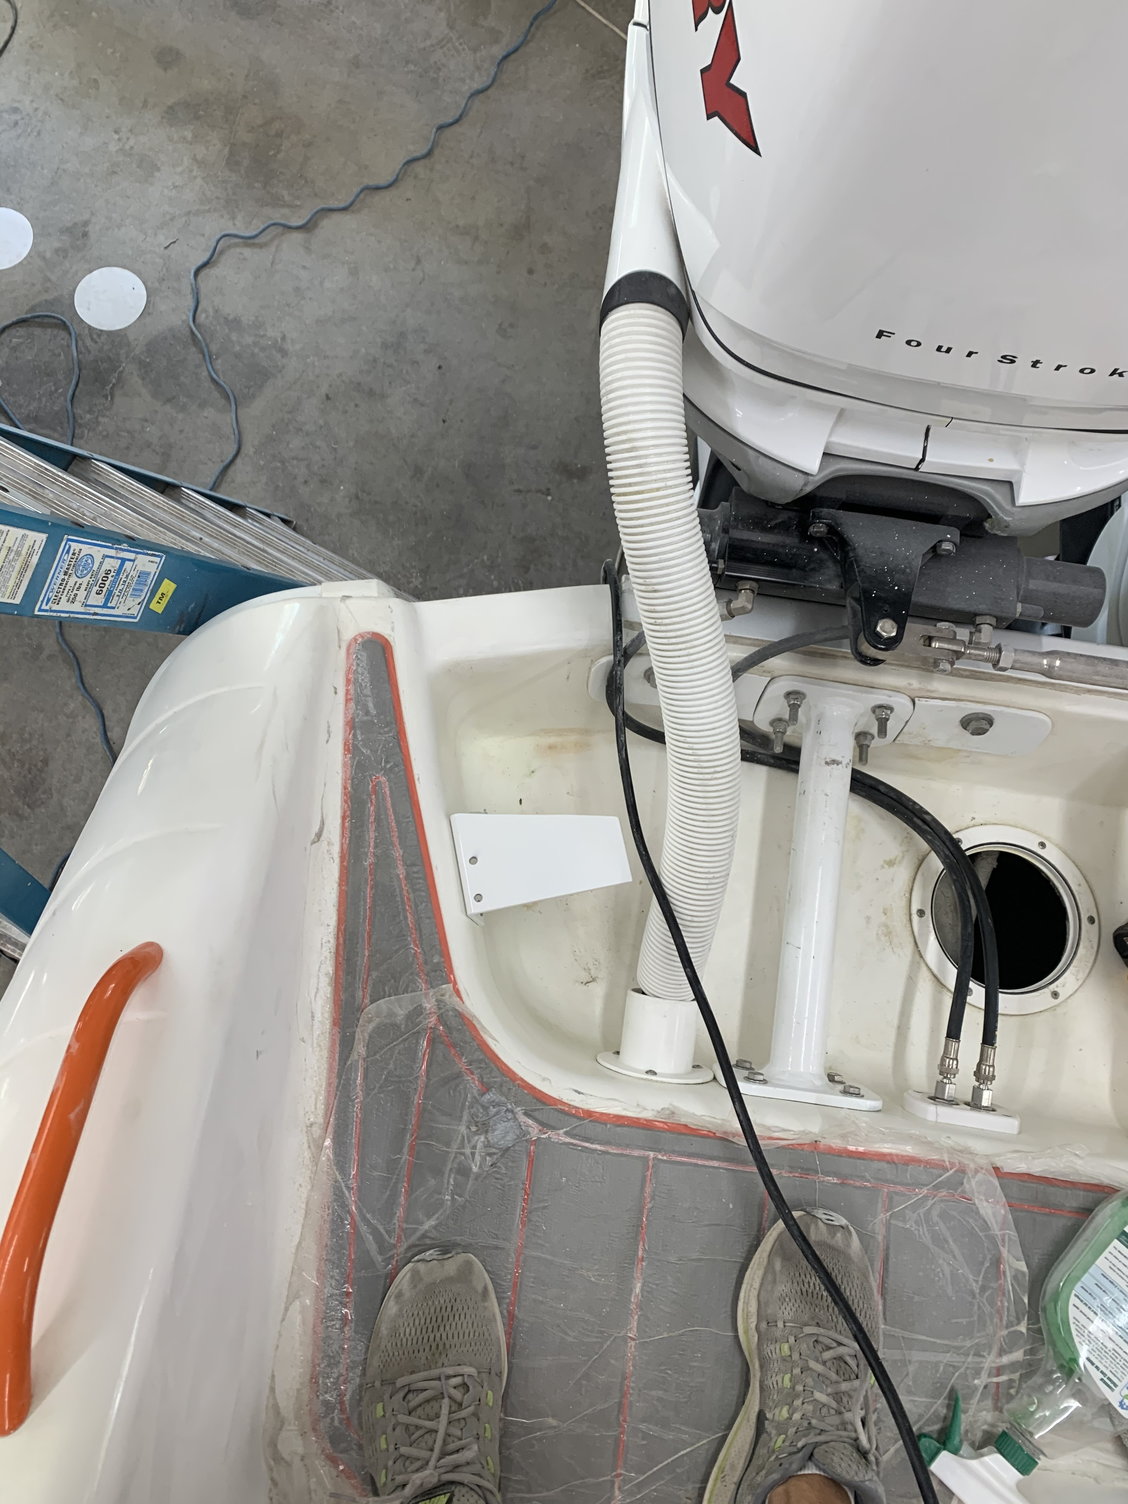
Installing the support brackets
All 3 support brackets are on
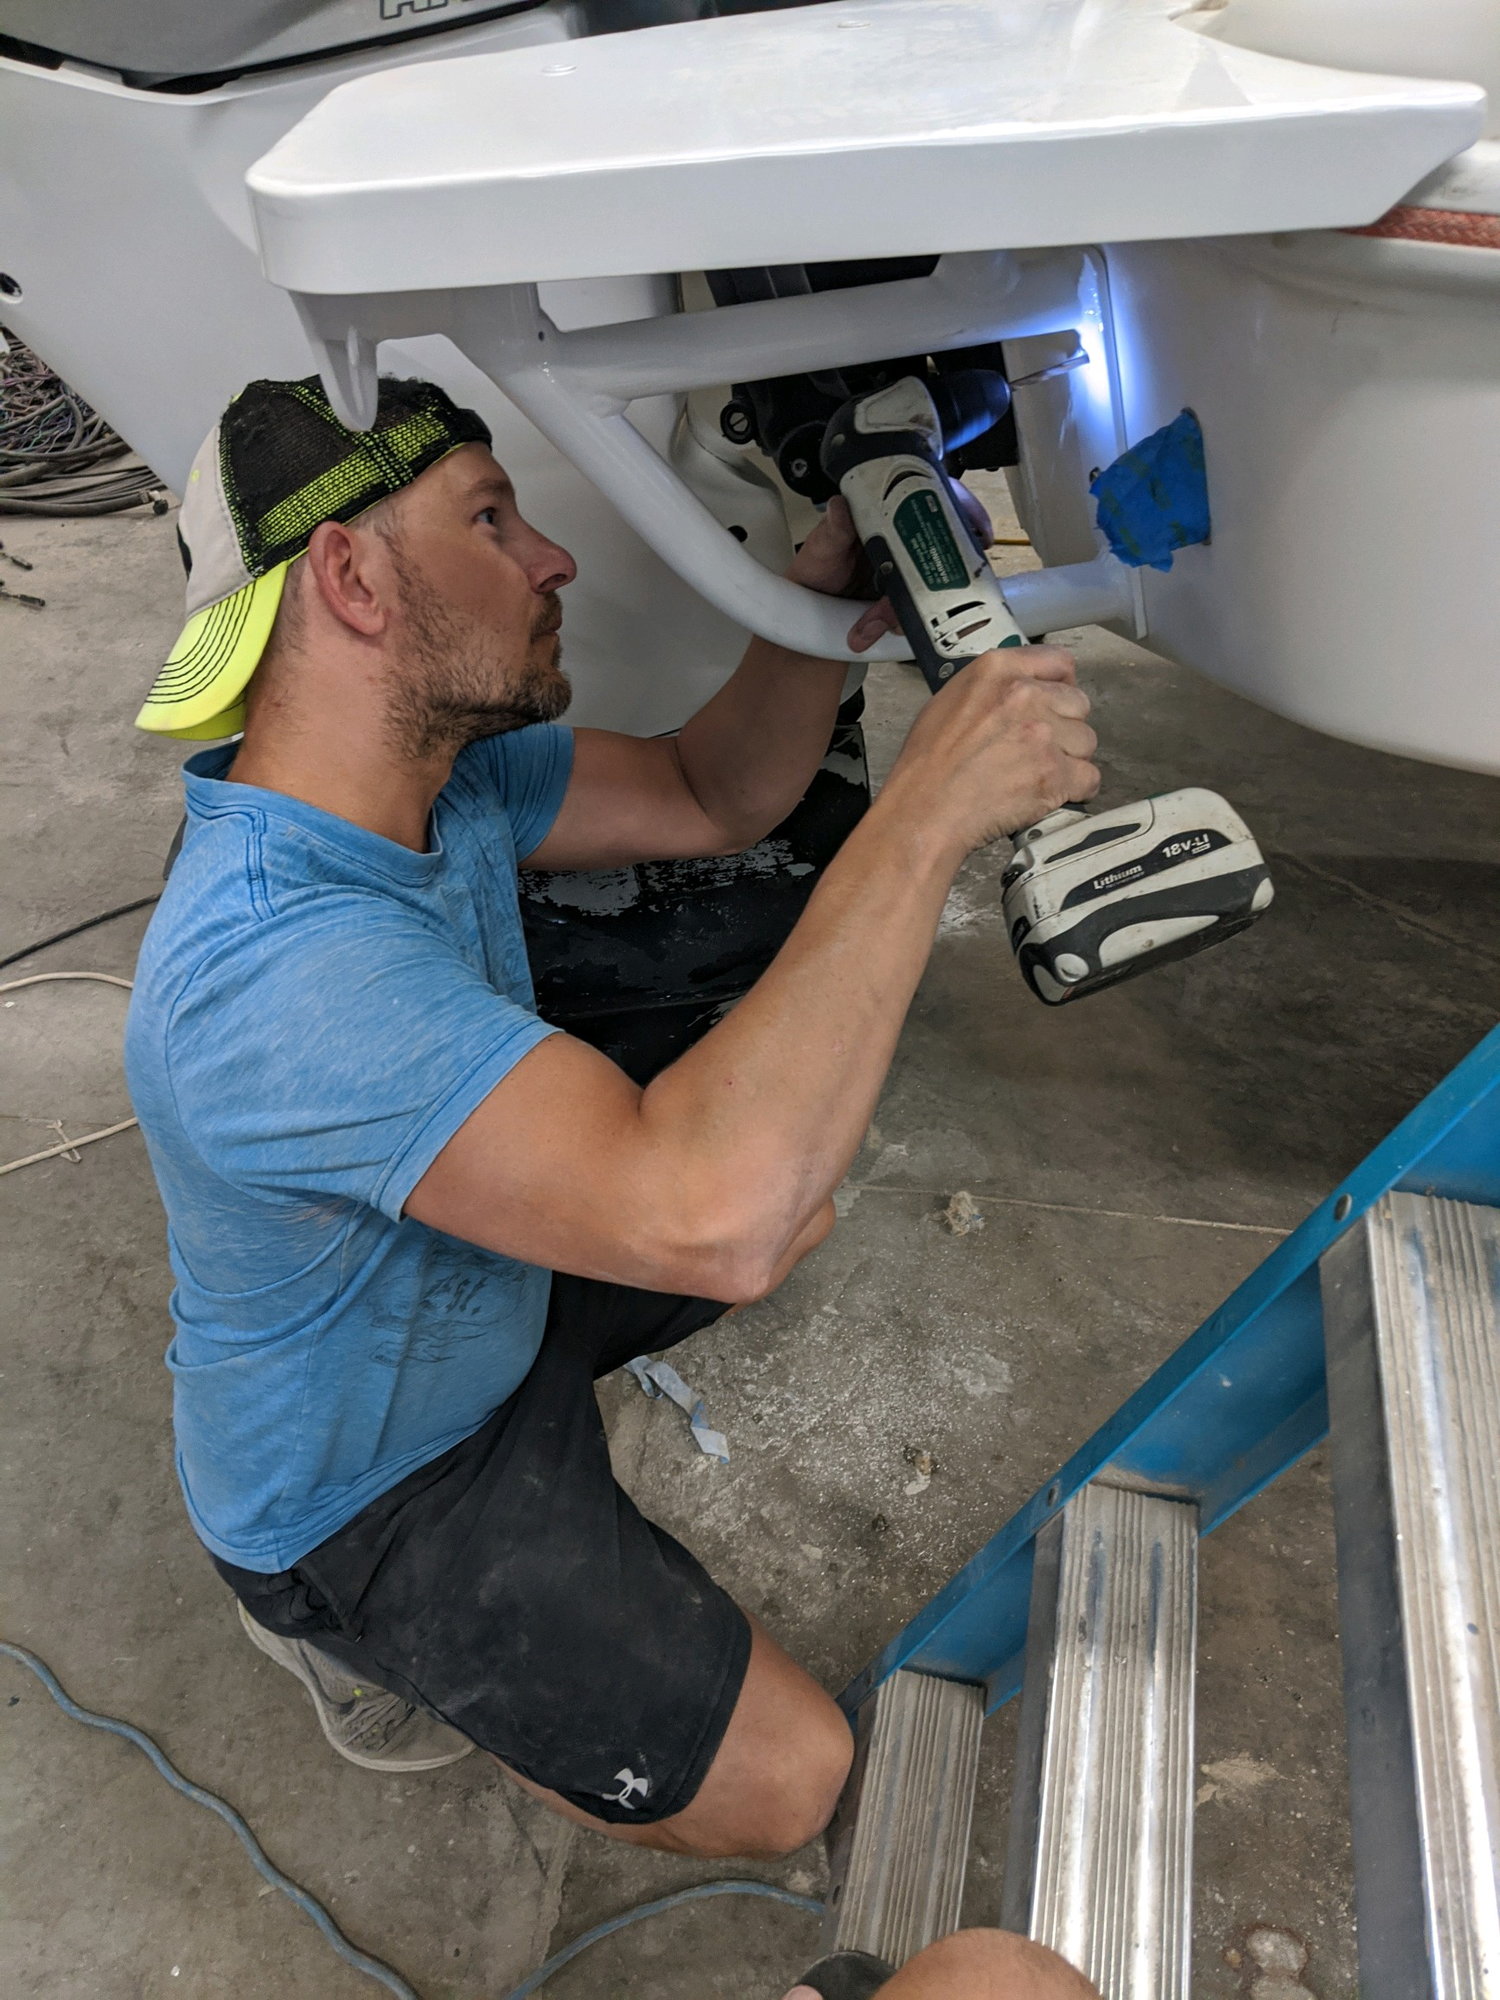
Me drilling holes in the transom
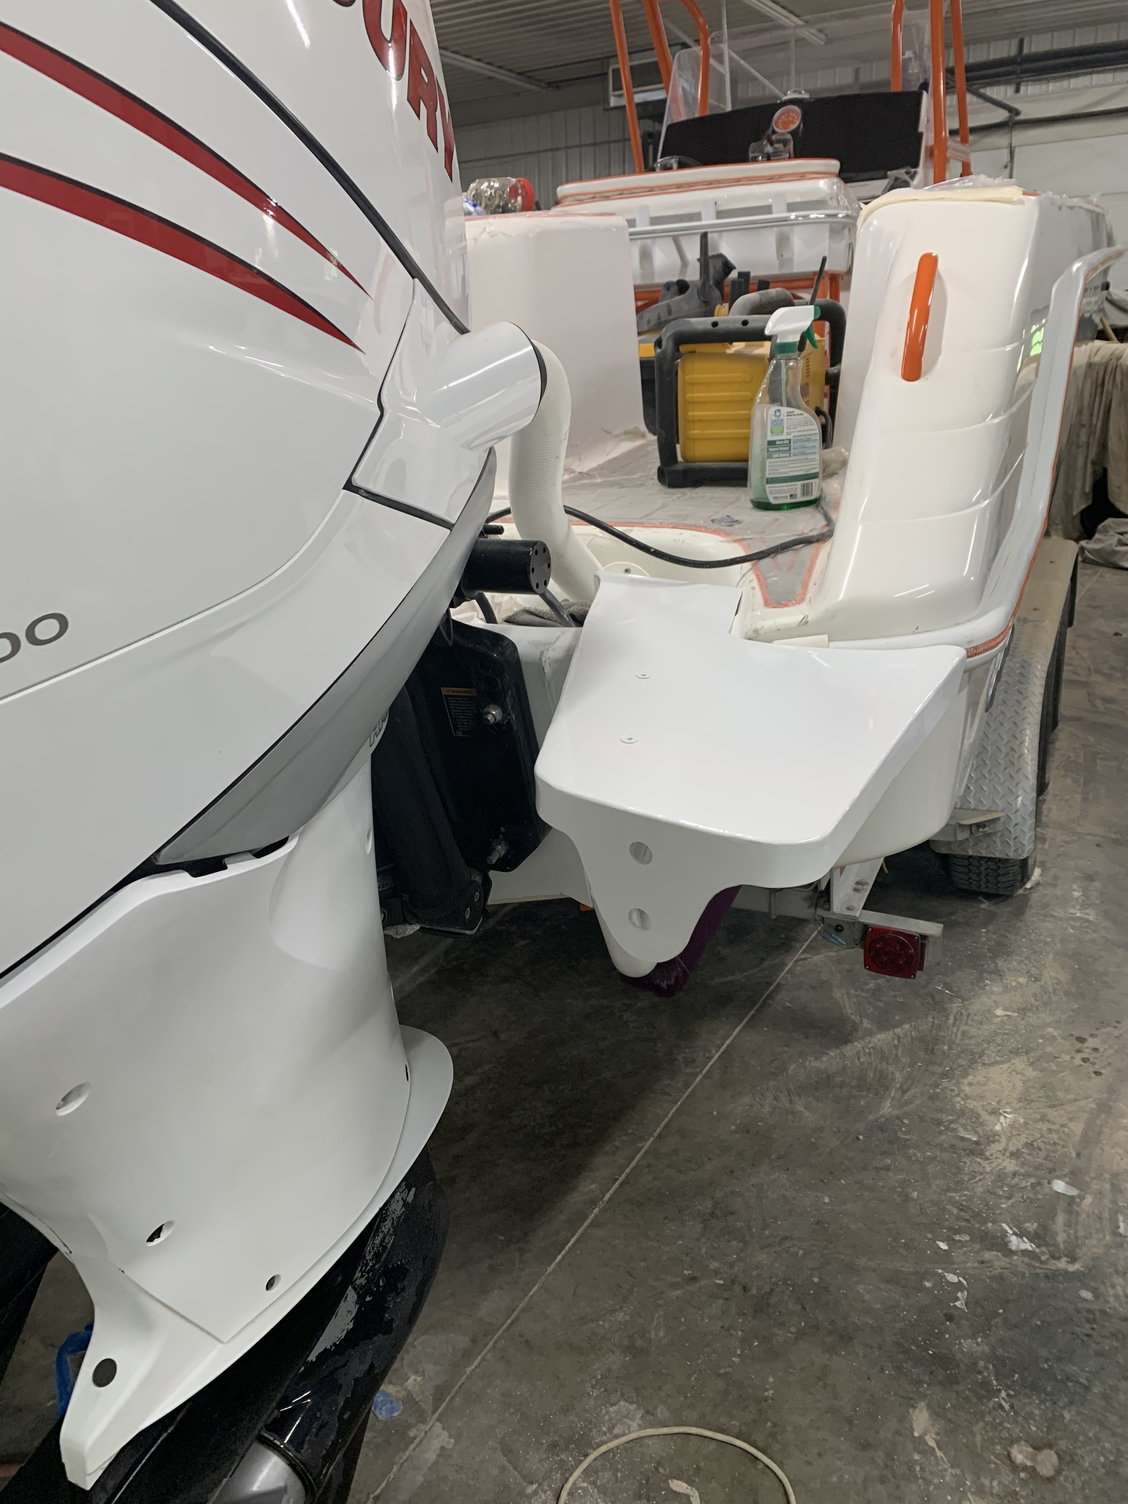
How it looks with the ladder attached
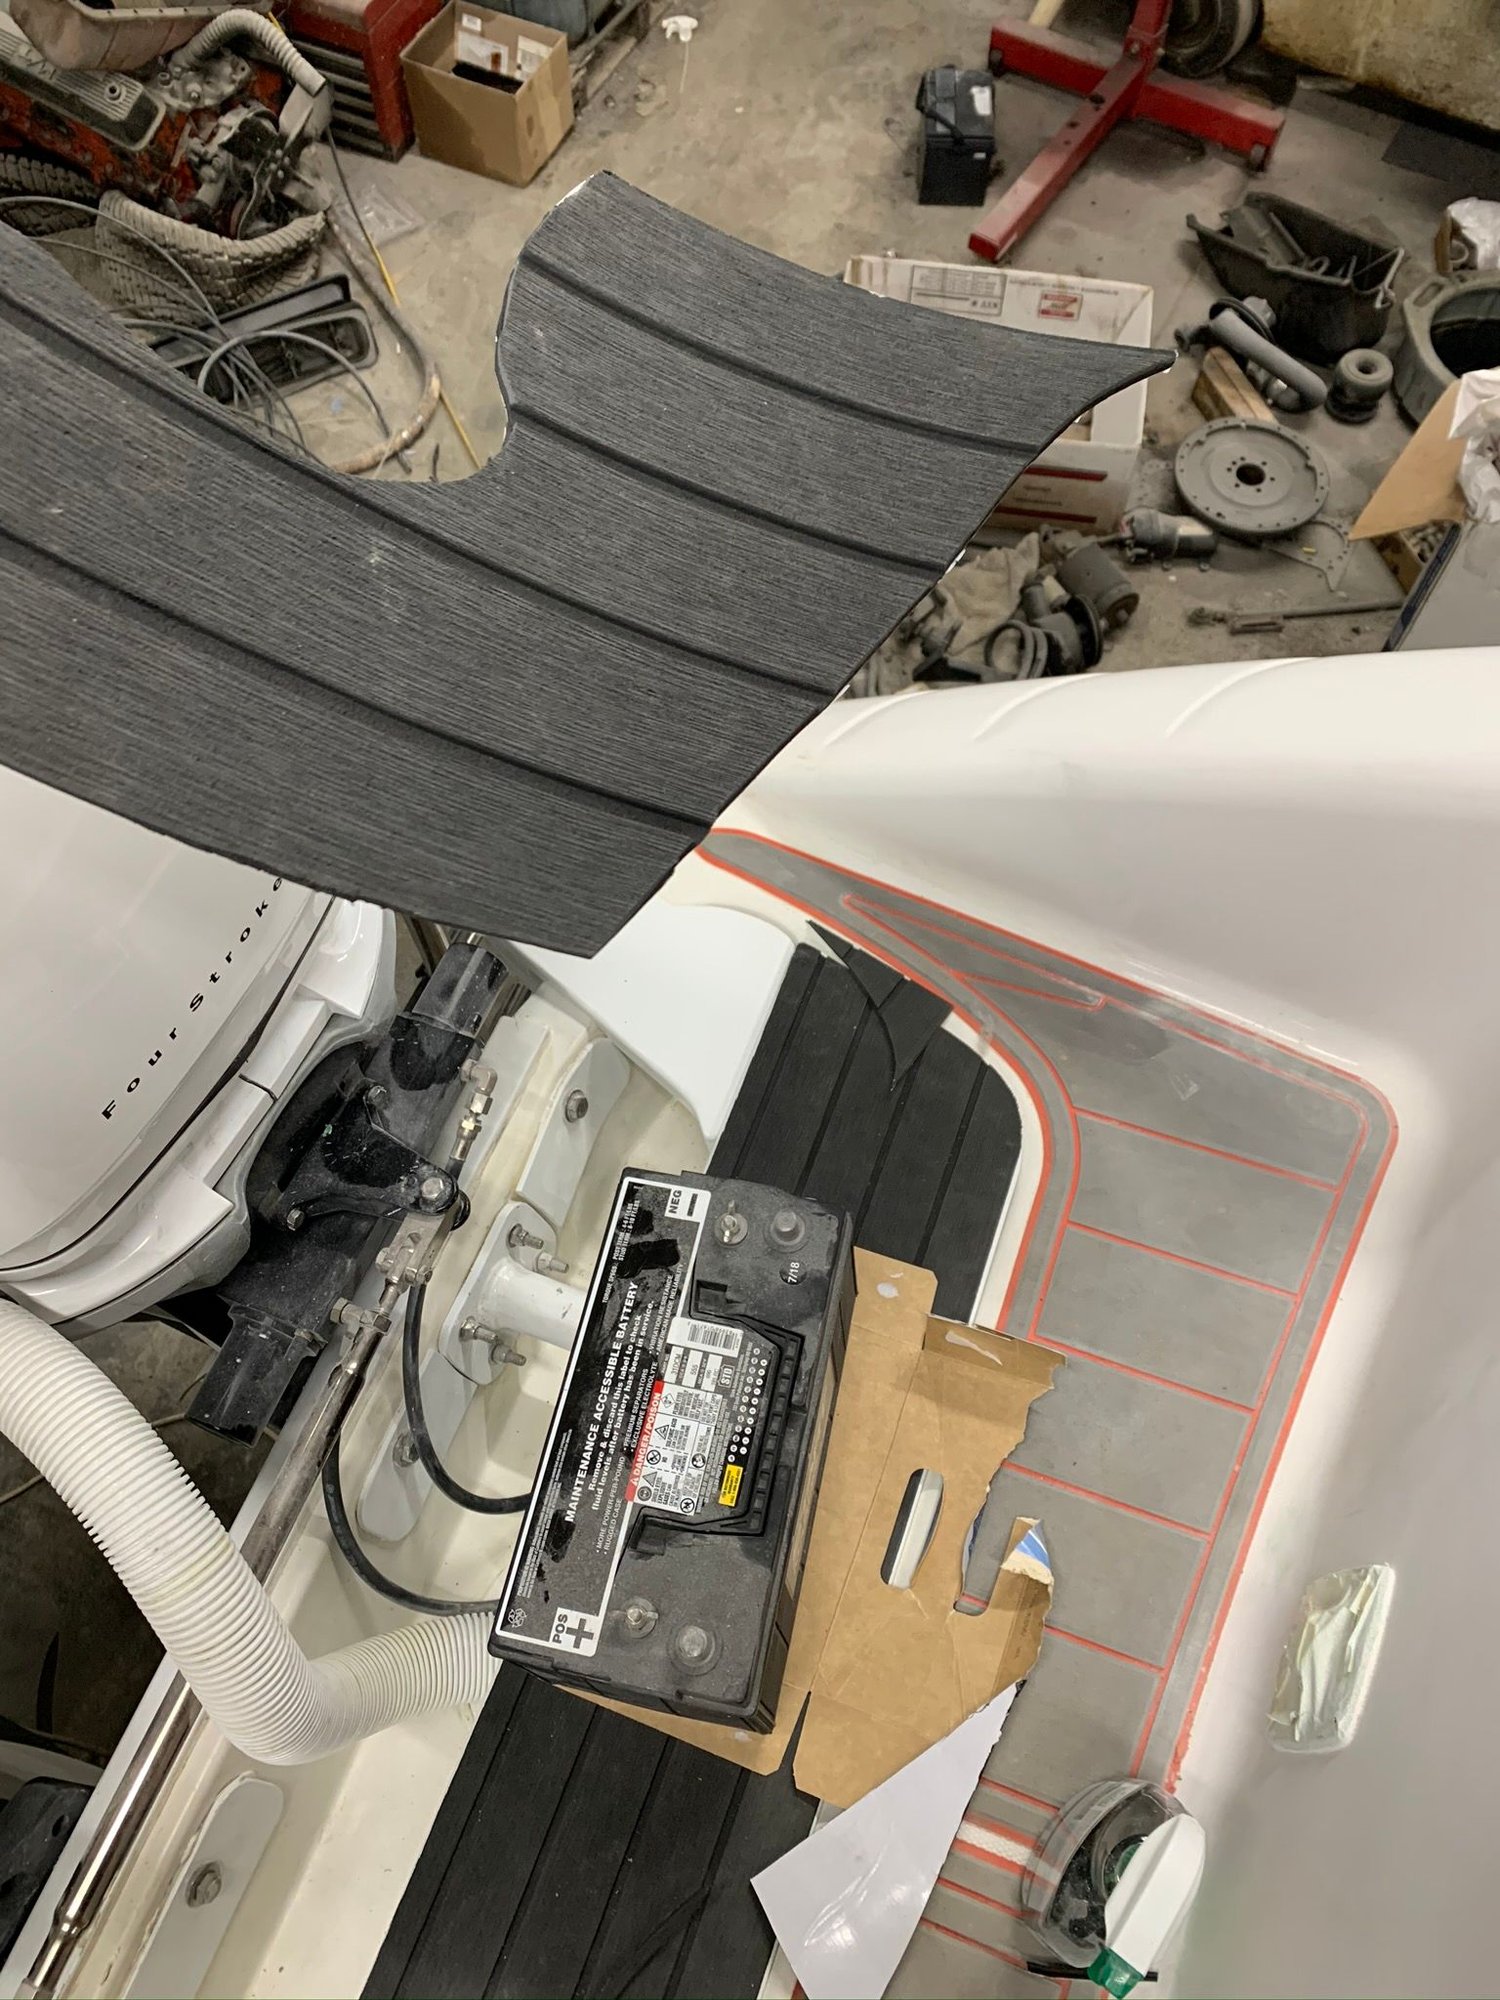
Adding foam decking to the top. This will get replaced with sea deck at some point but it was stuff we had laying around.
Making sure it stays attached
Finished look
Pulled up the old Protective plastic
Put a new layer on until we are completely done
08-17-2020 | 09:56 AM
#39
Thread Starter
Registered
Joined: Feb 2011
Posts: 375
Likes: 125
From: North Liberty, IA
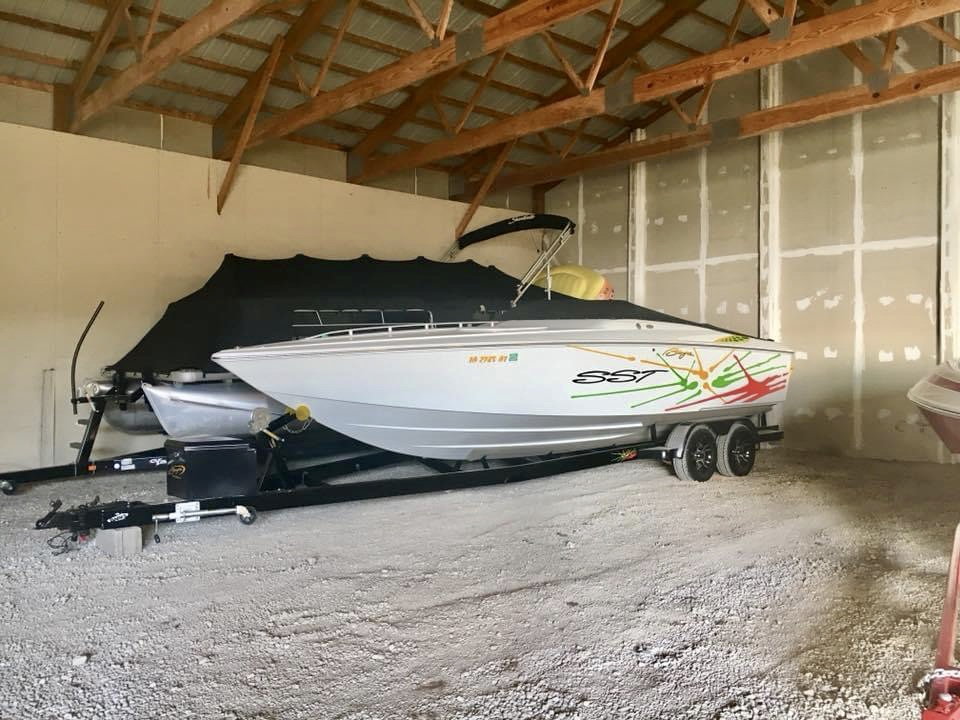
FantaSea finally saw daylight yesterday!! We had a little delay and some extra work todo to get to this point but it was good feeling getting her cleaned up.
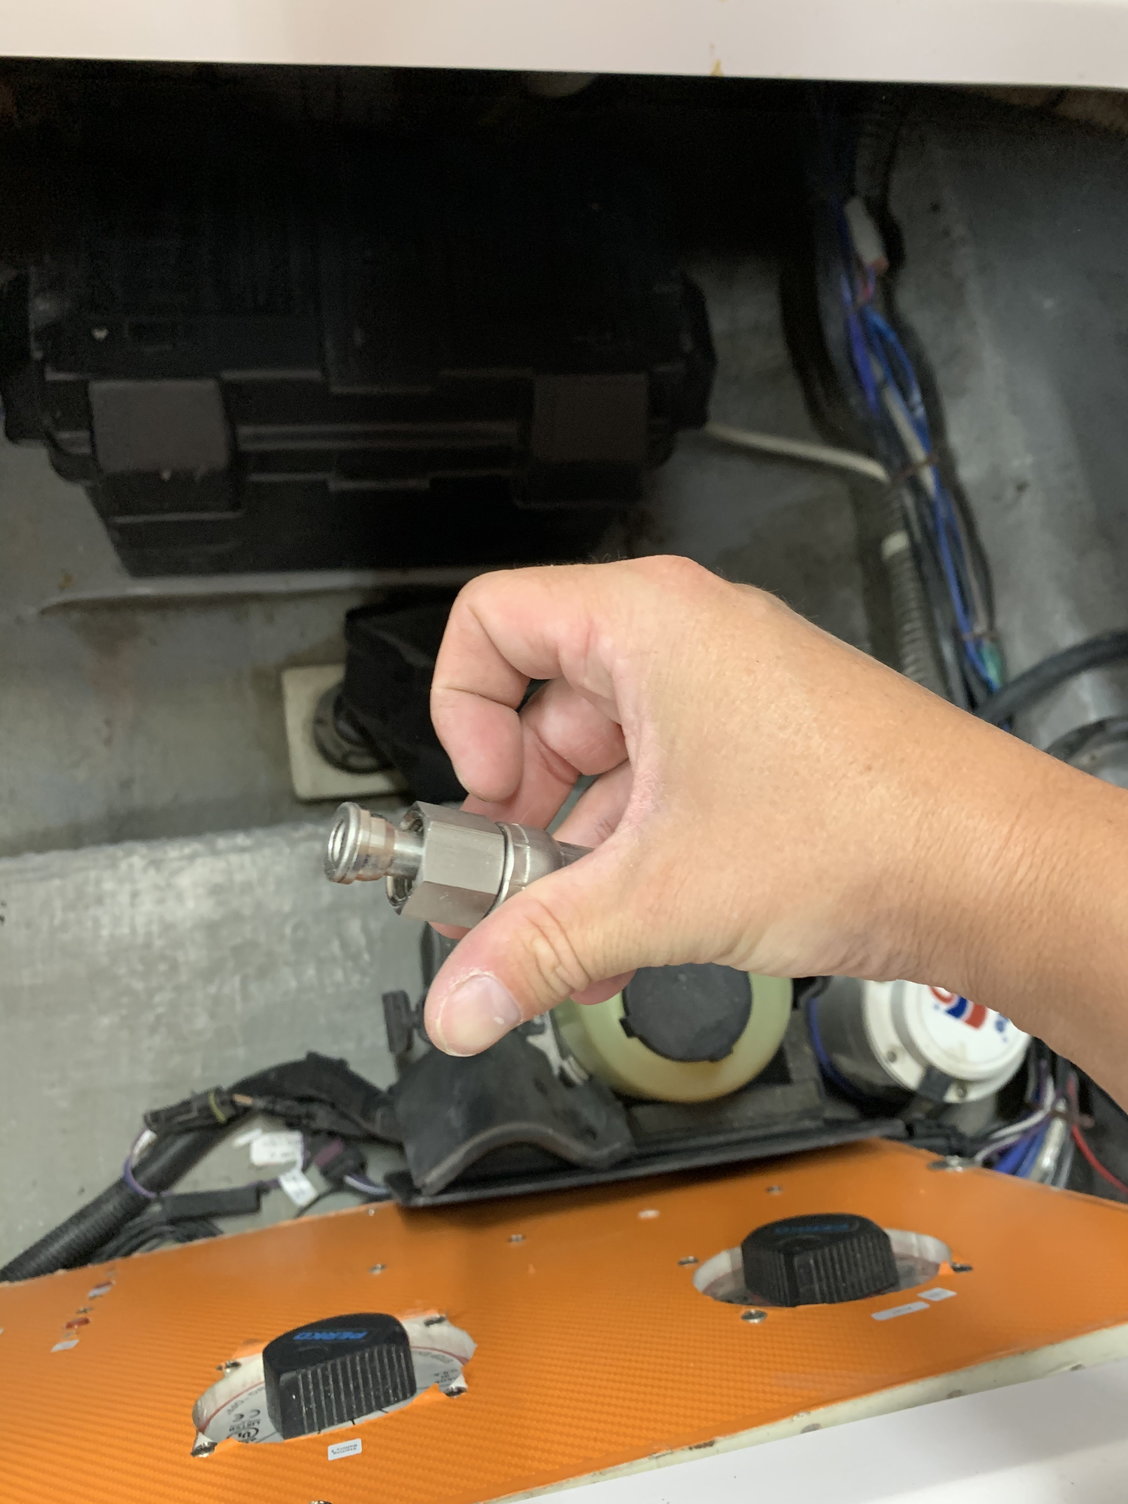
End that was on the hose we got didn’t work with the pump we have so we ordered a new line.
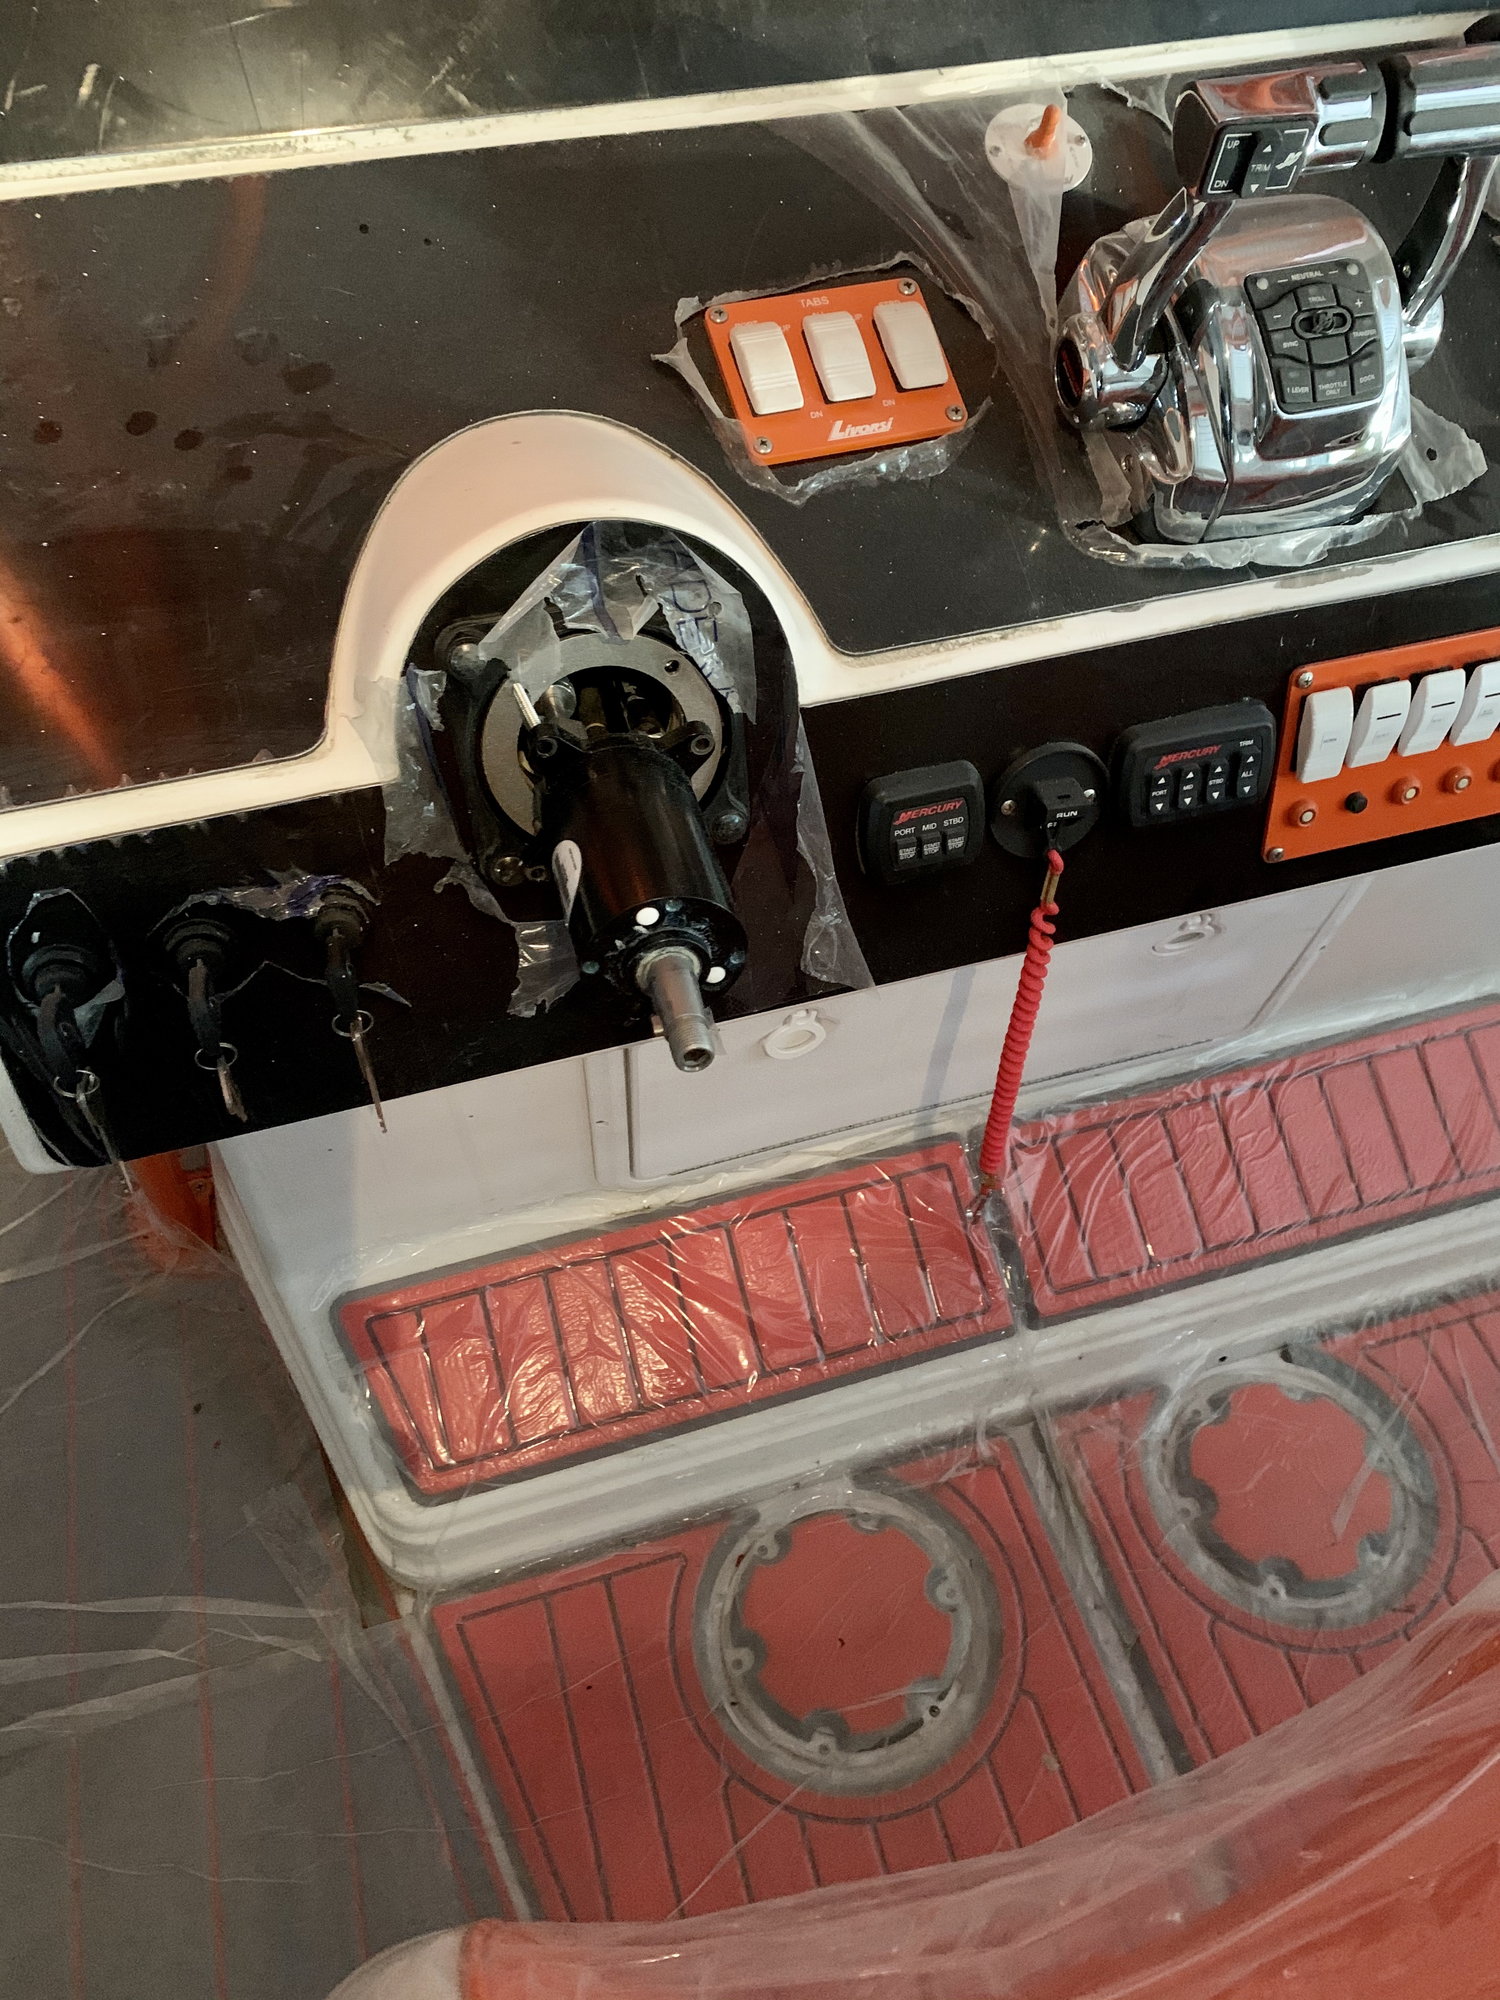
Had to take the helm apart to swap out the lines
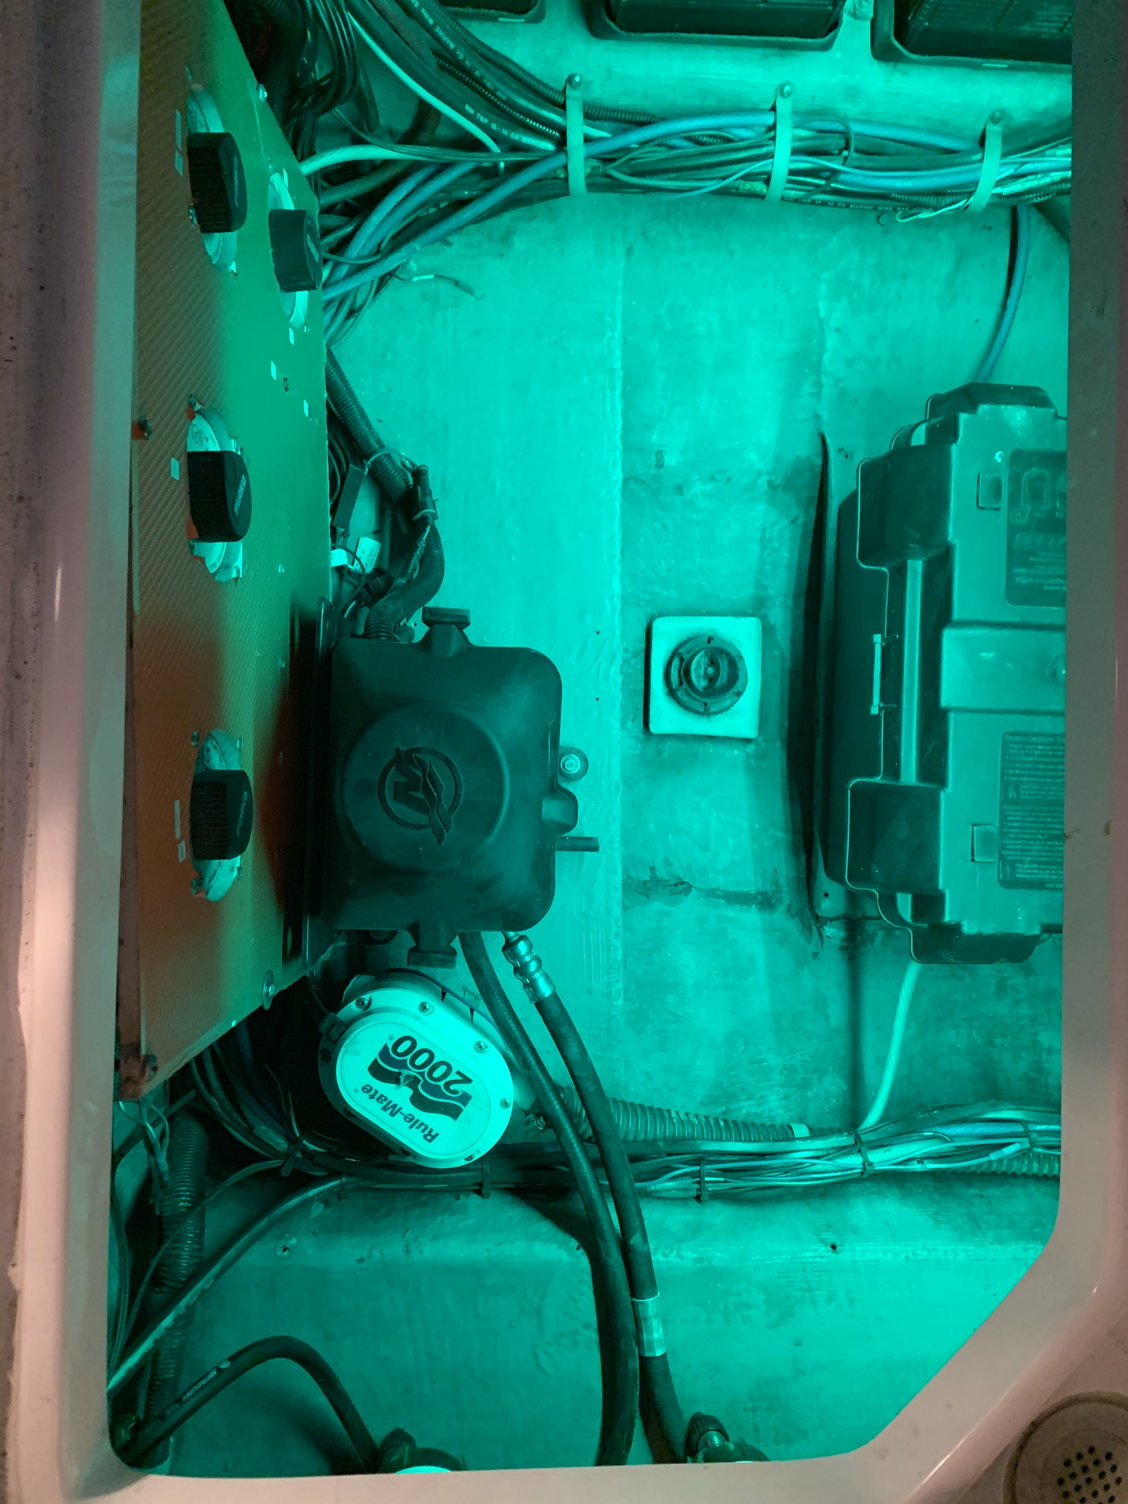
Due to the derecho we didn’t have power at the shop so I had to use the green LED’s for light. Pump is hooked up the the new line. Just need to bleed the system.
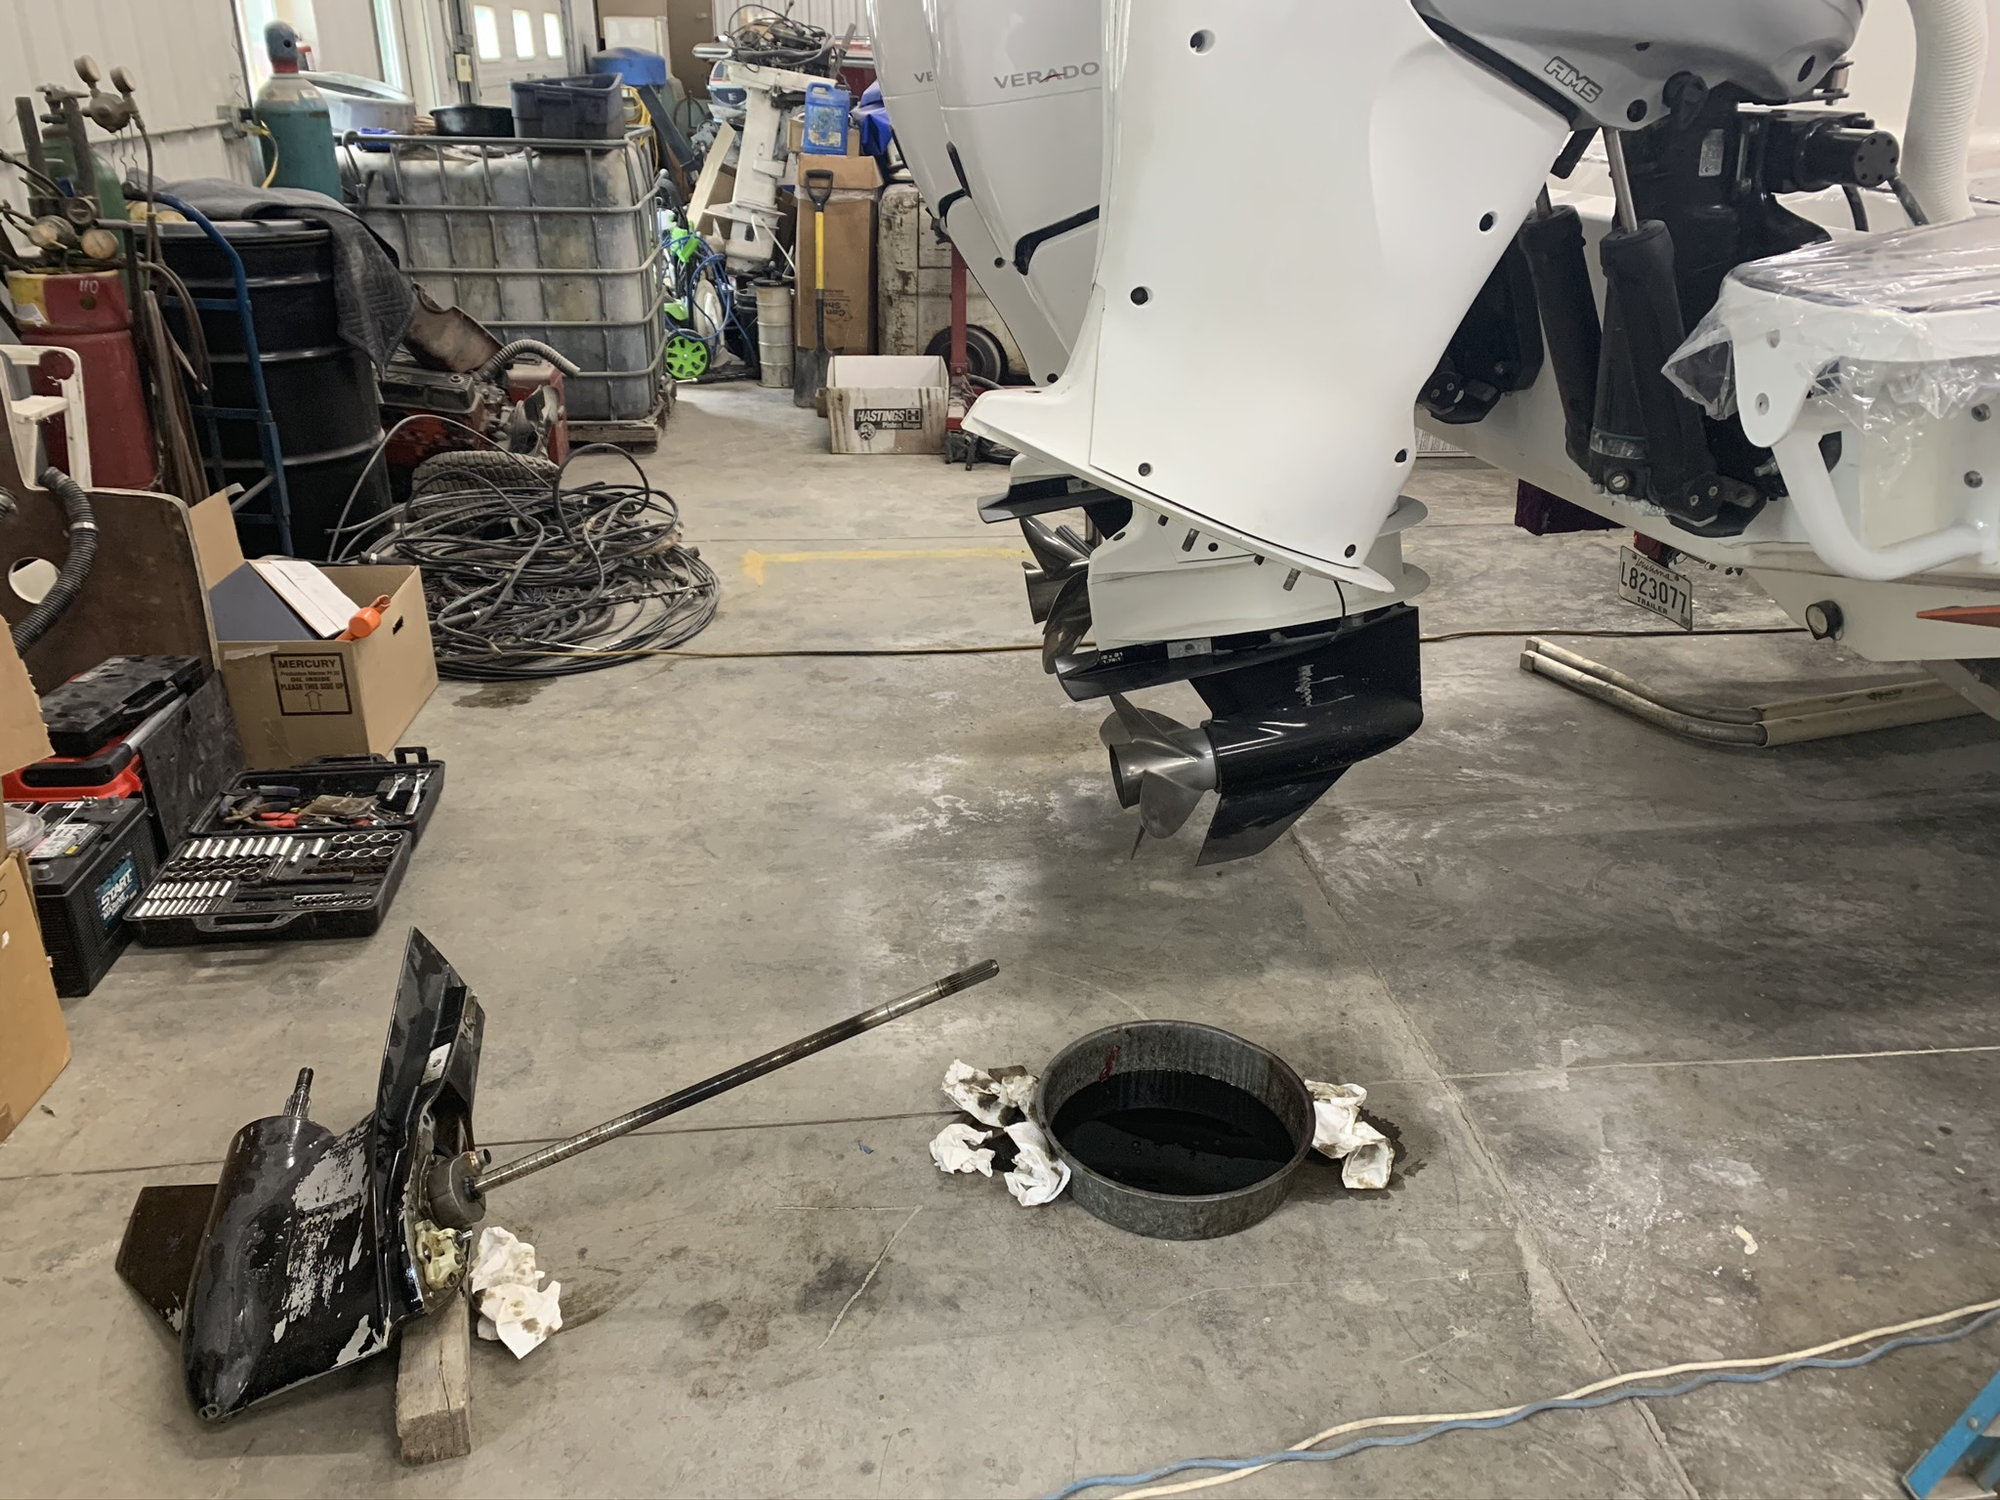
The other issue was a leaking prop shaft seal. We had pulled the lower and dropped it and the seal kit off at our local marina to do the work but that changed due to the storm as well. The marina still doesn’t have power and has a lot of damage to their docks so we picked everything back up and replaced the seals ourselves.
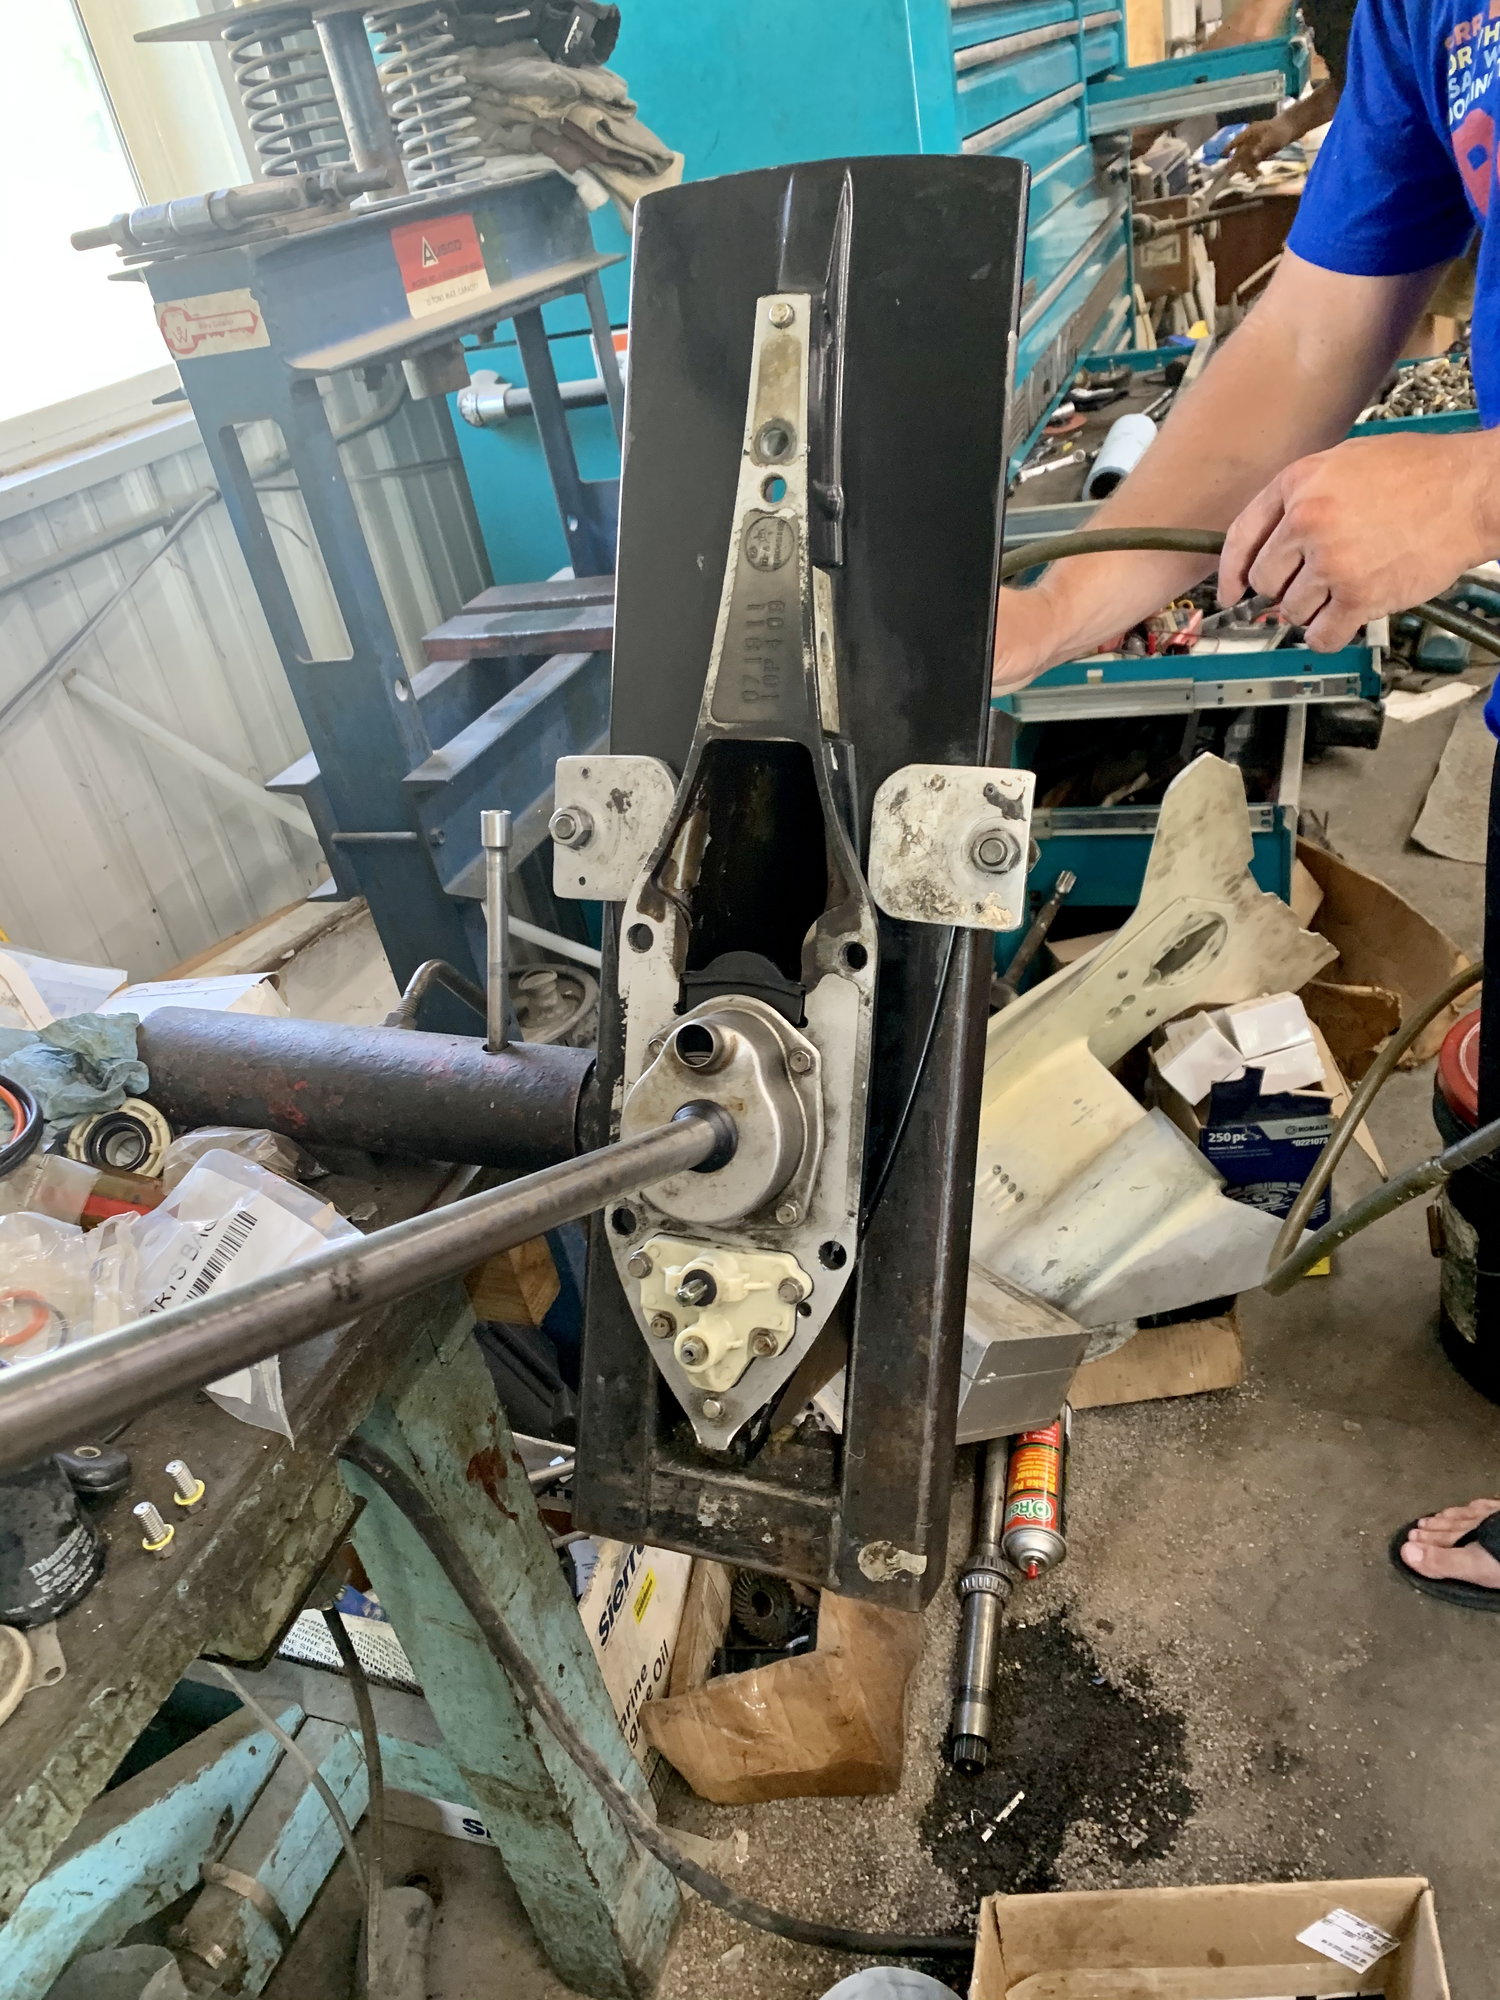
Lower is back together with new seals in it!
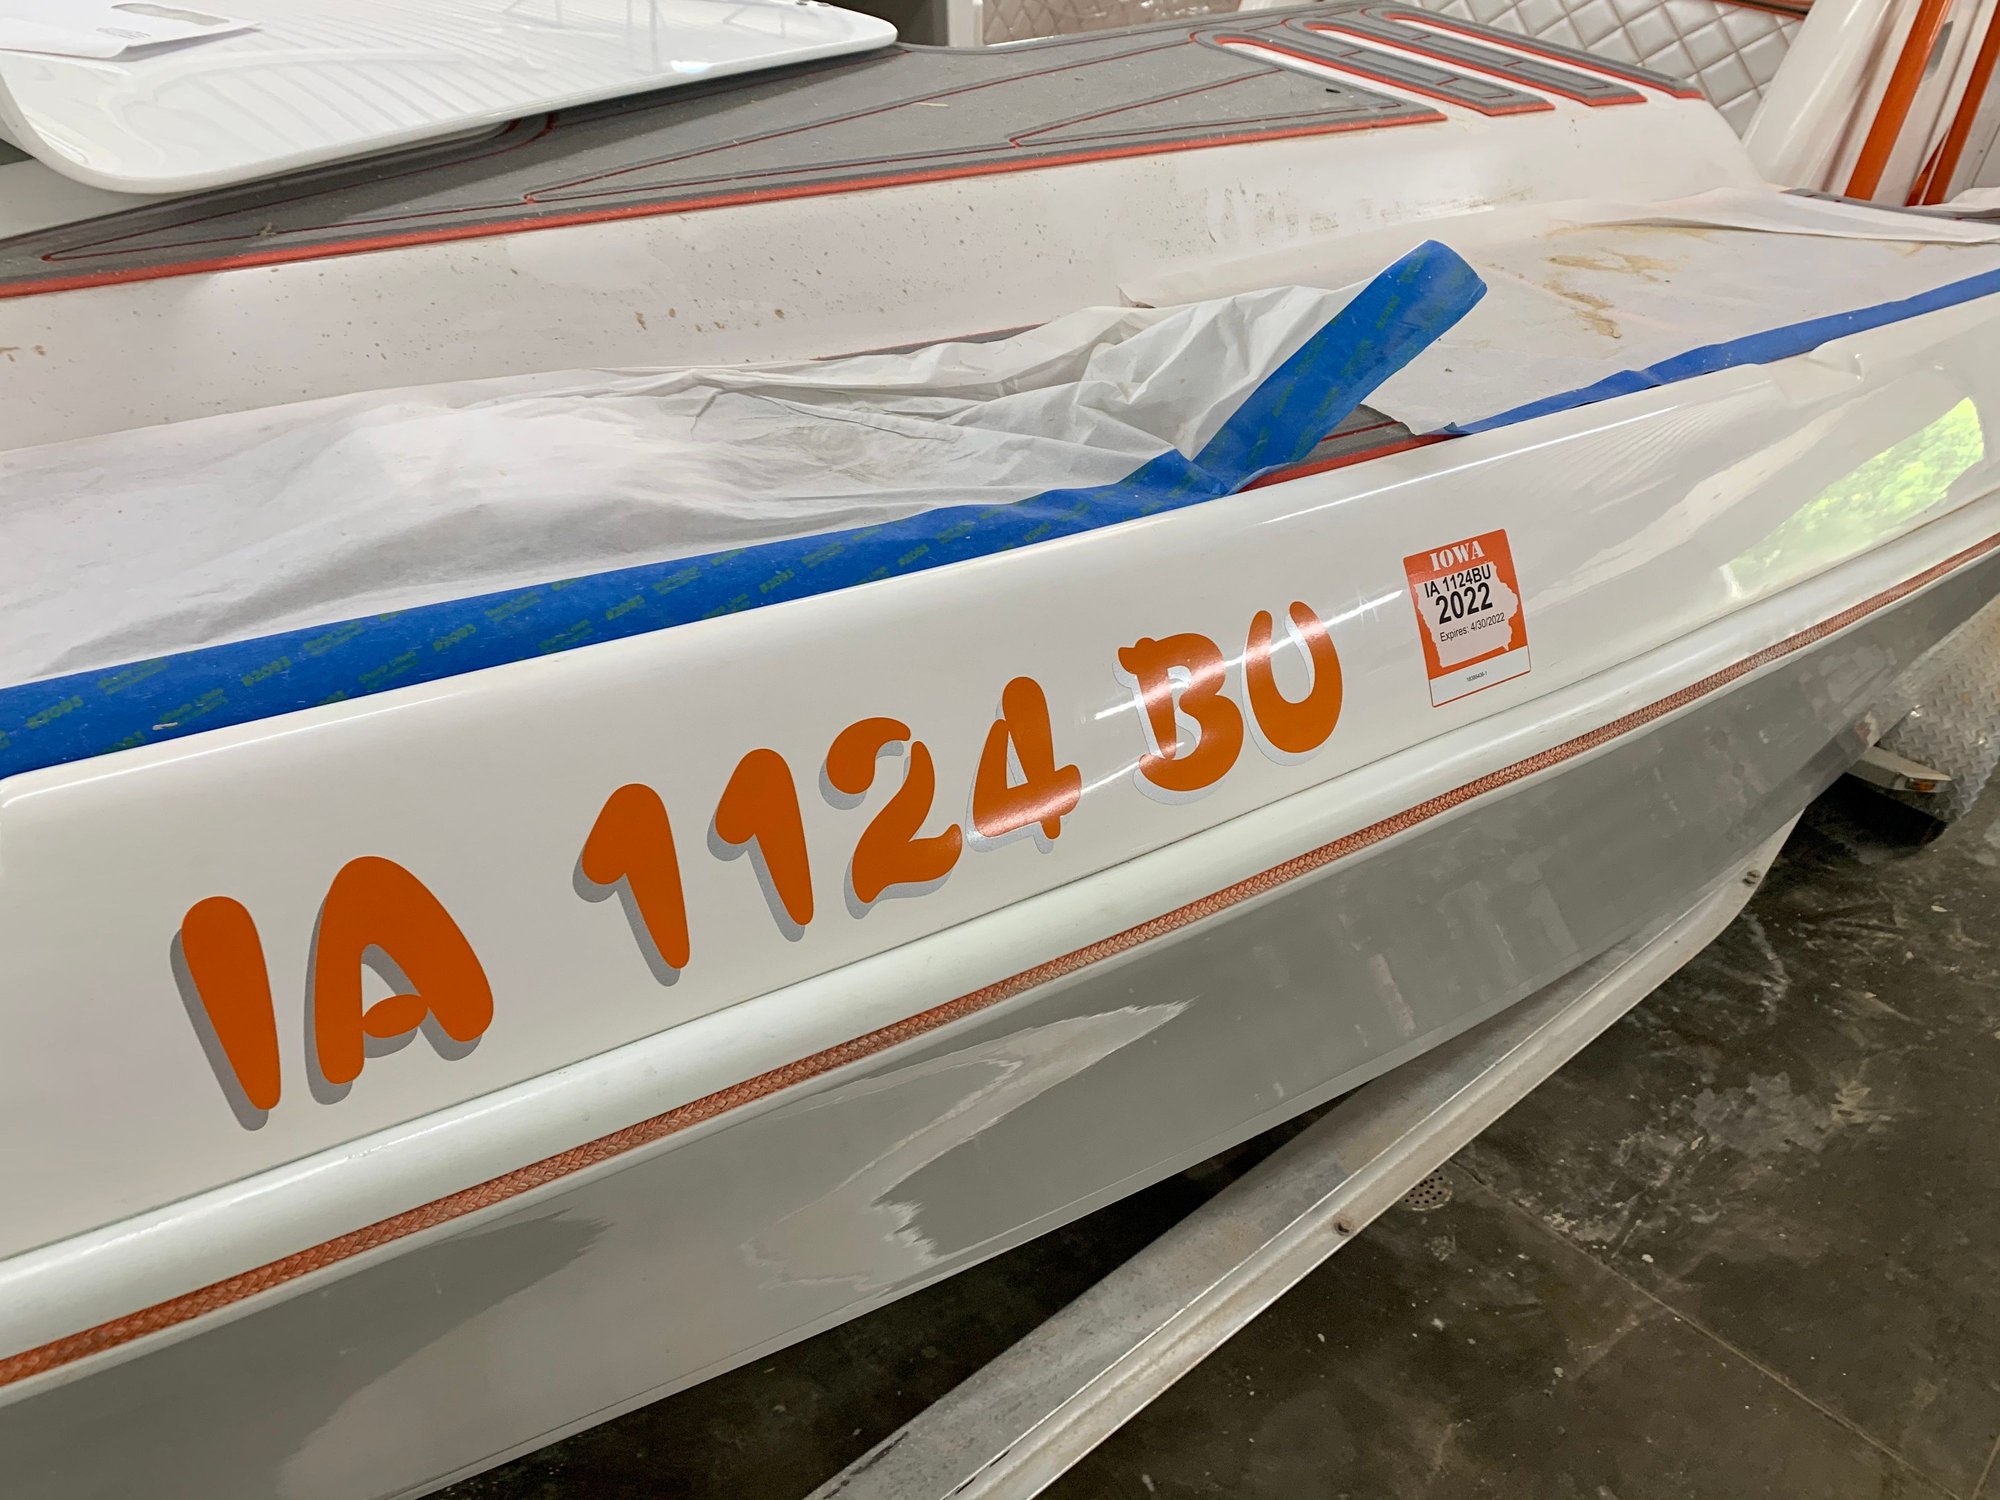
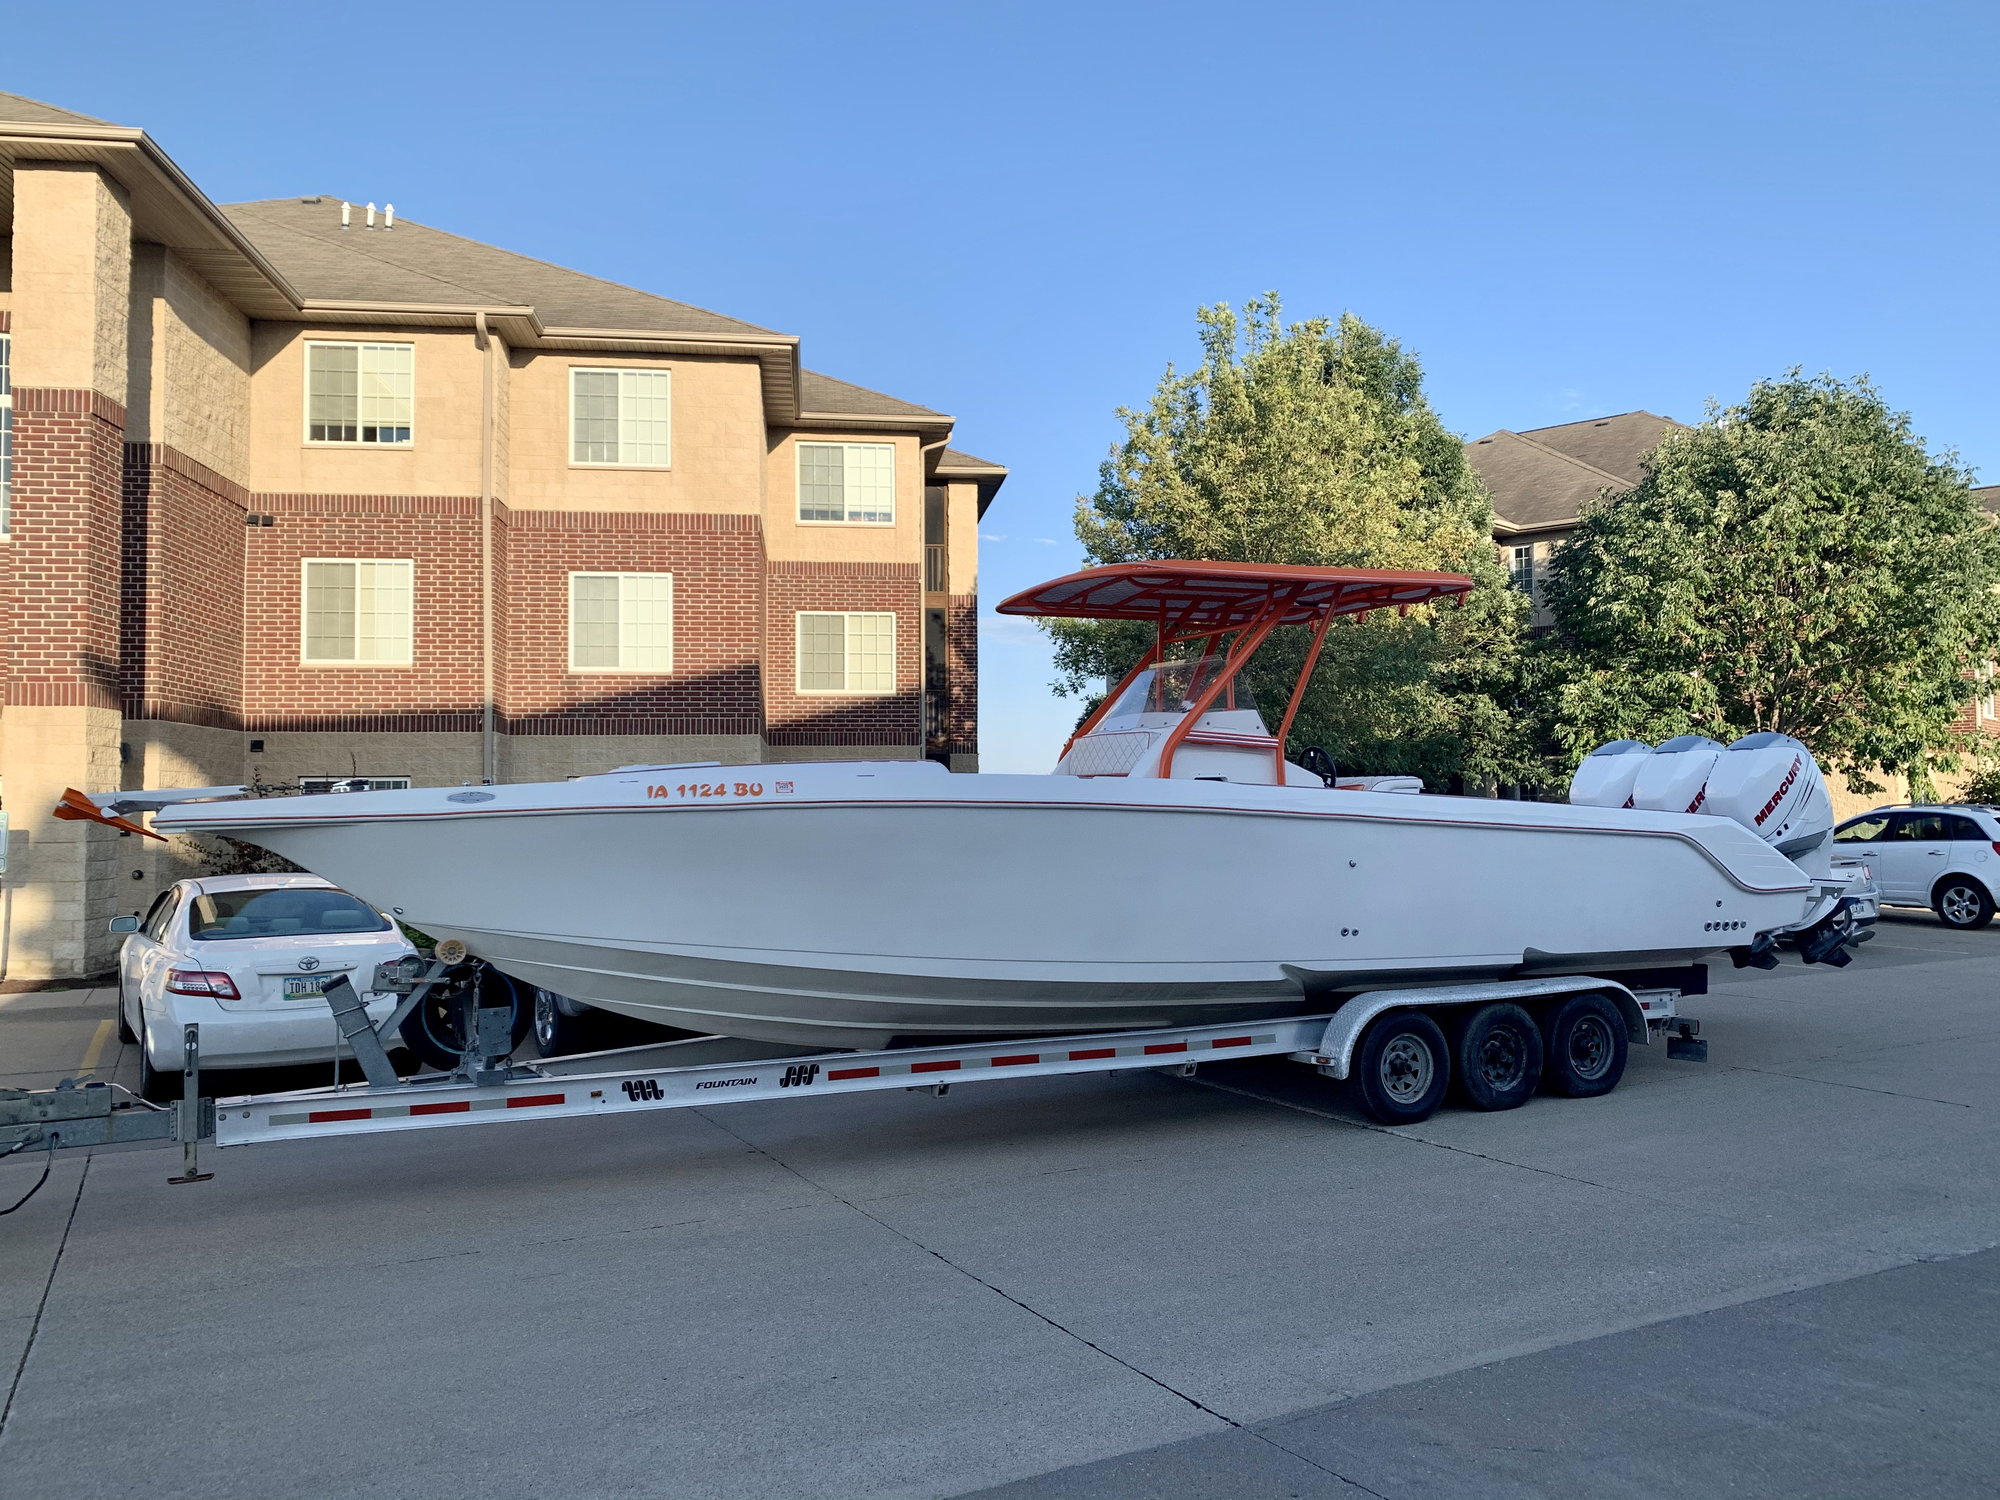
Registration numbers are on
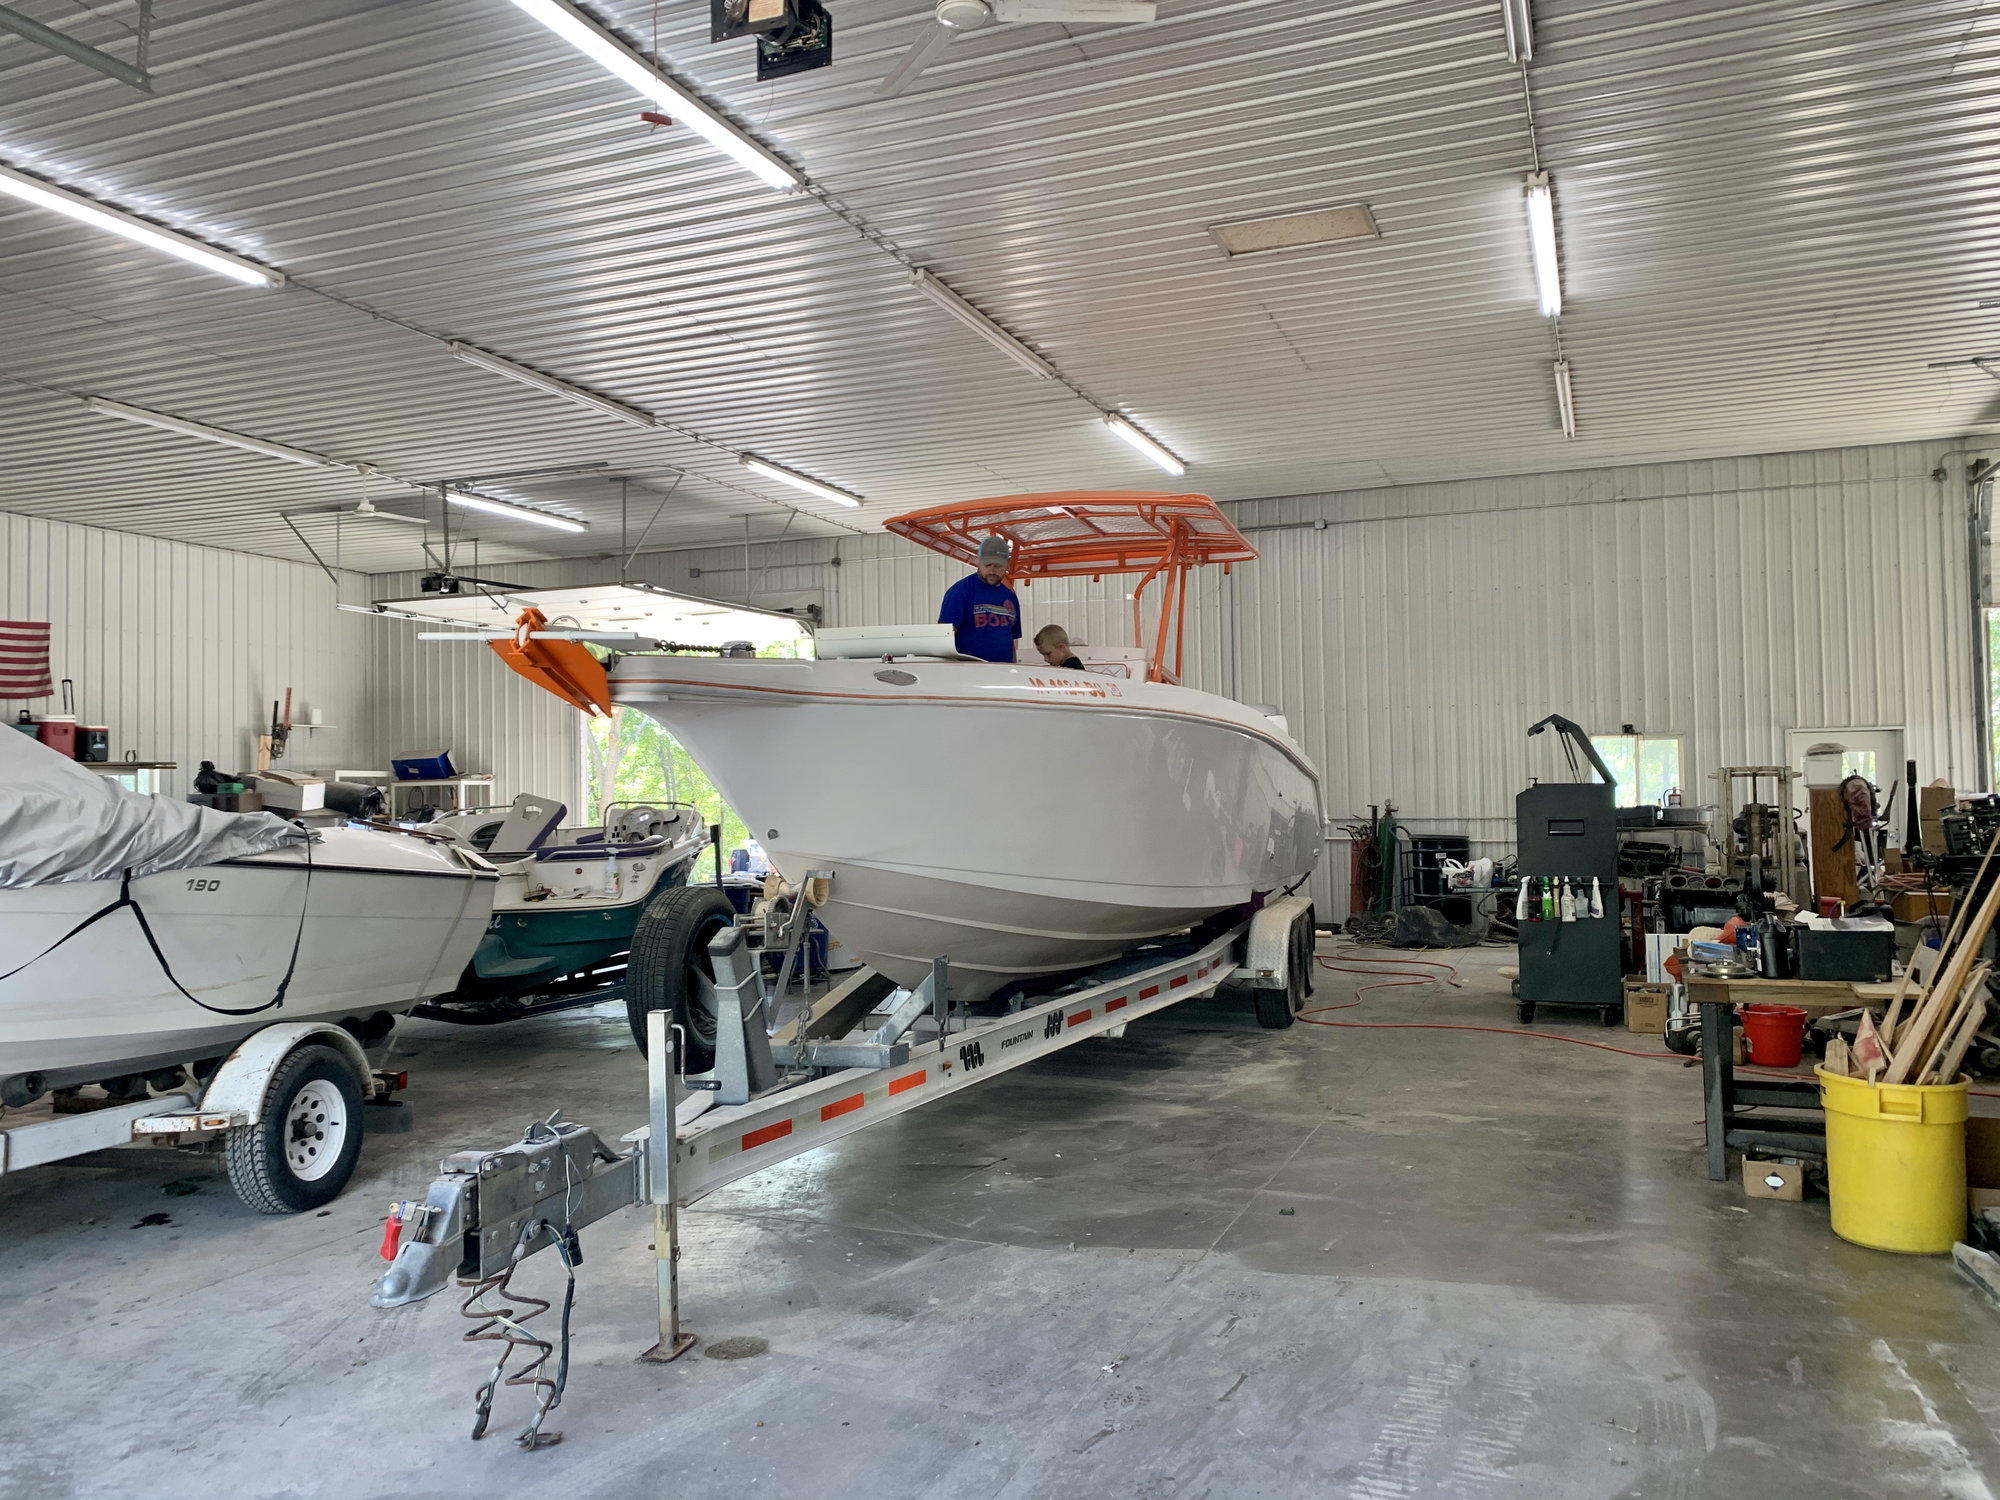
Putting the finishing touches on before it comes out of the shop
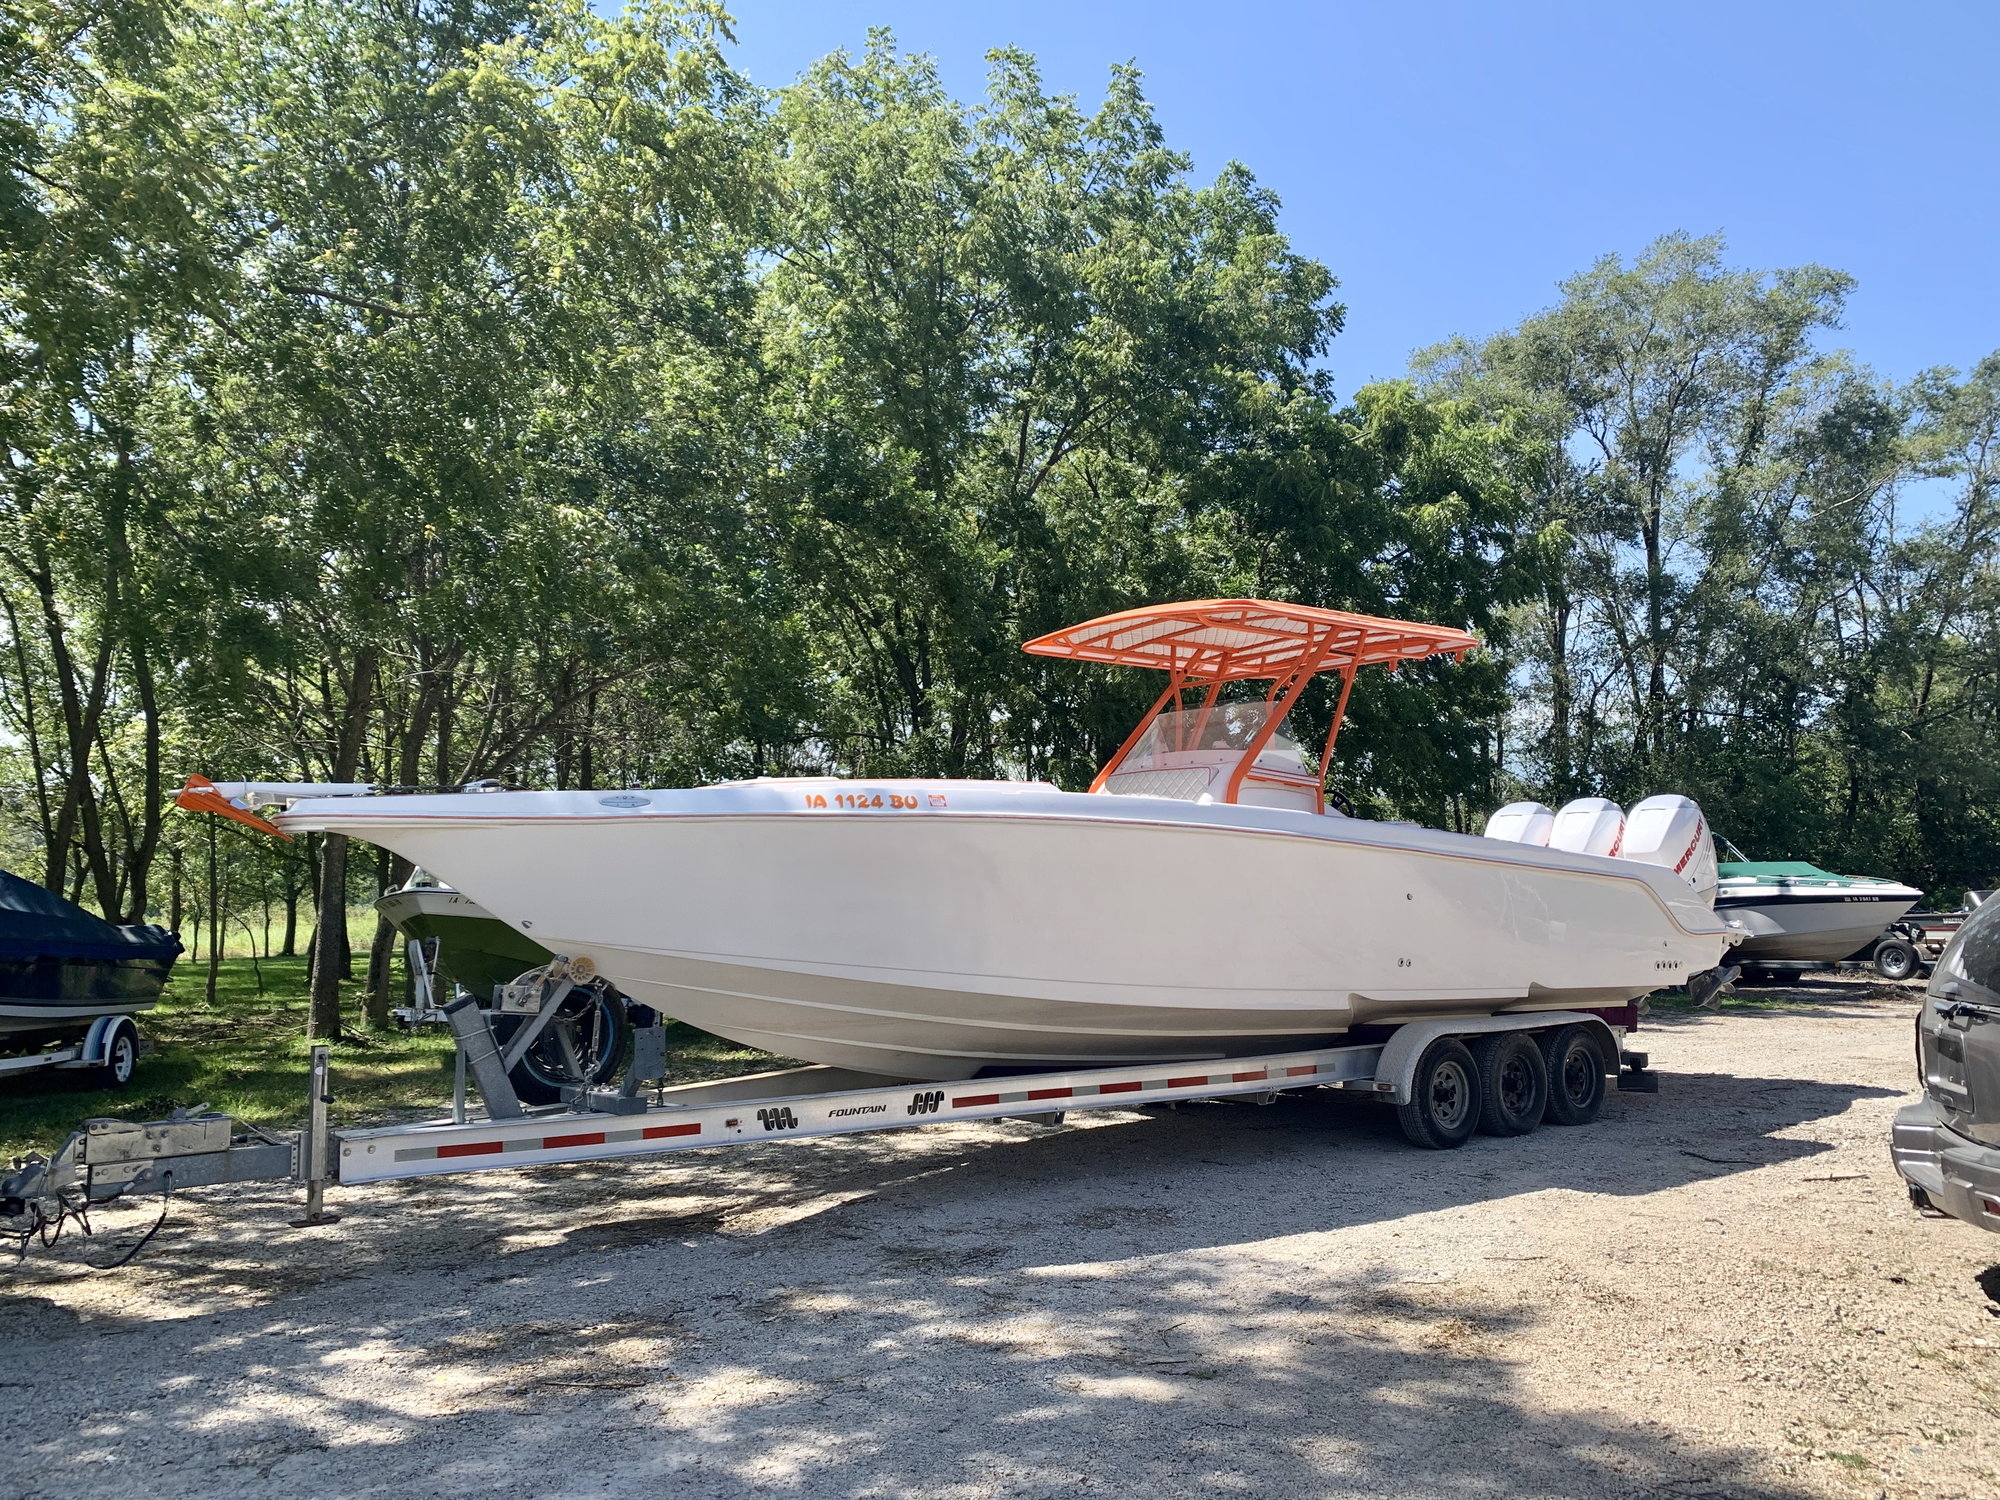
And we have sunshine!!!
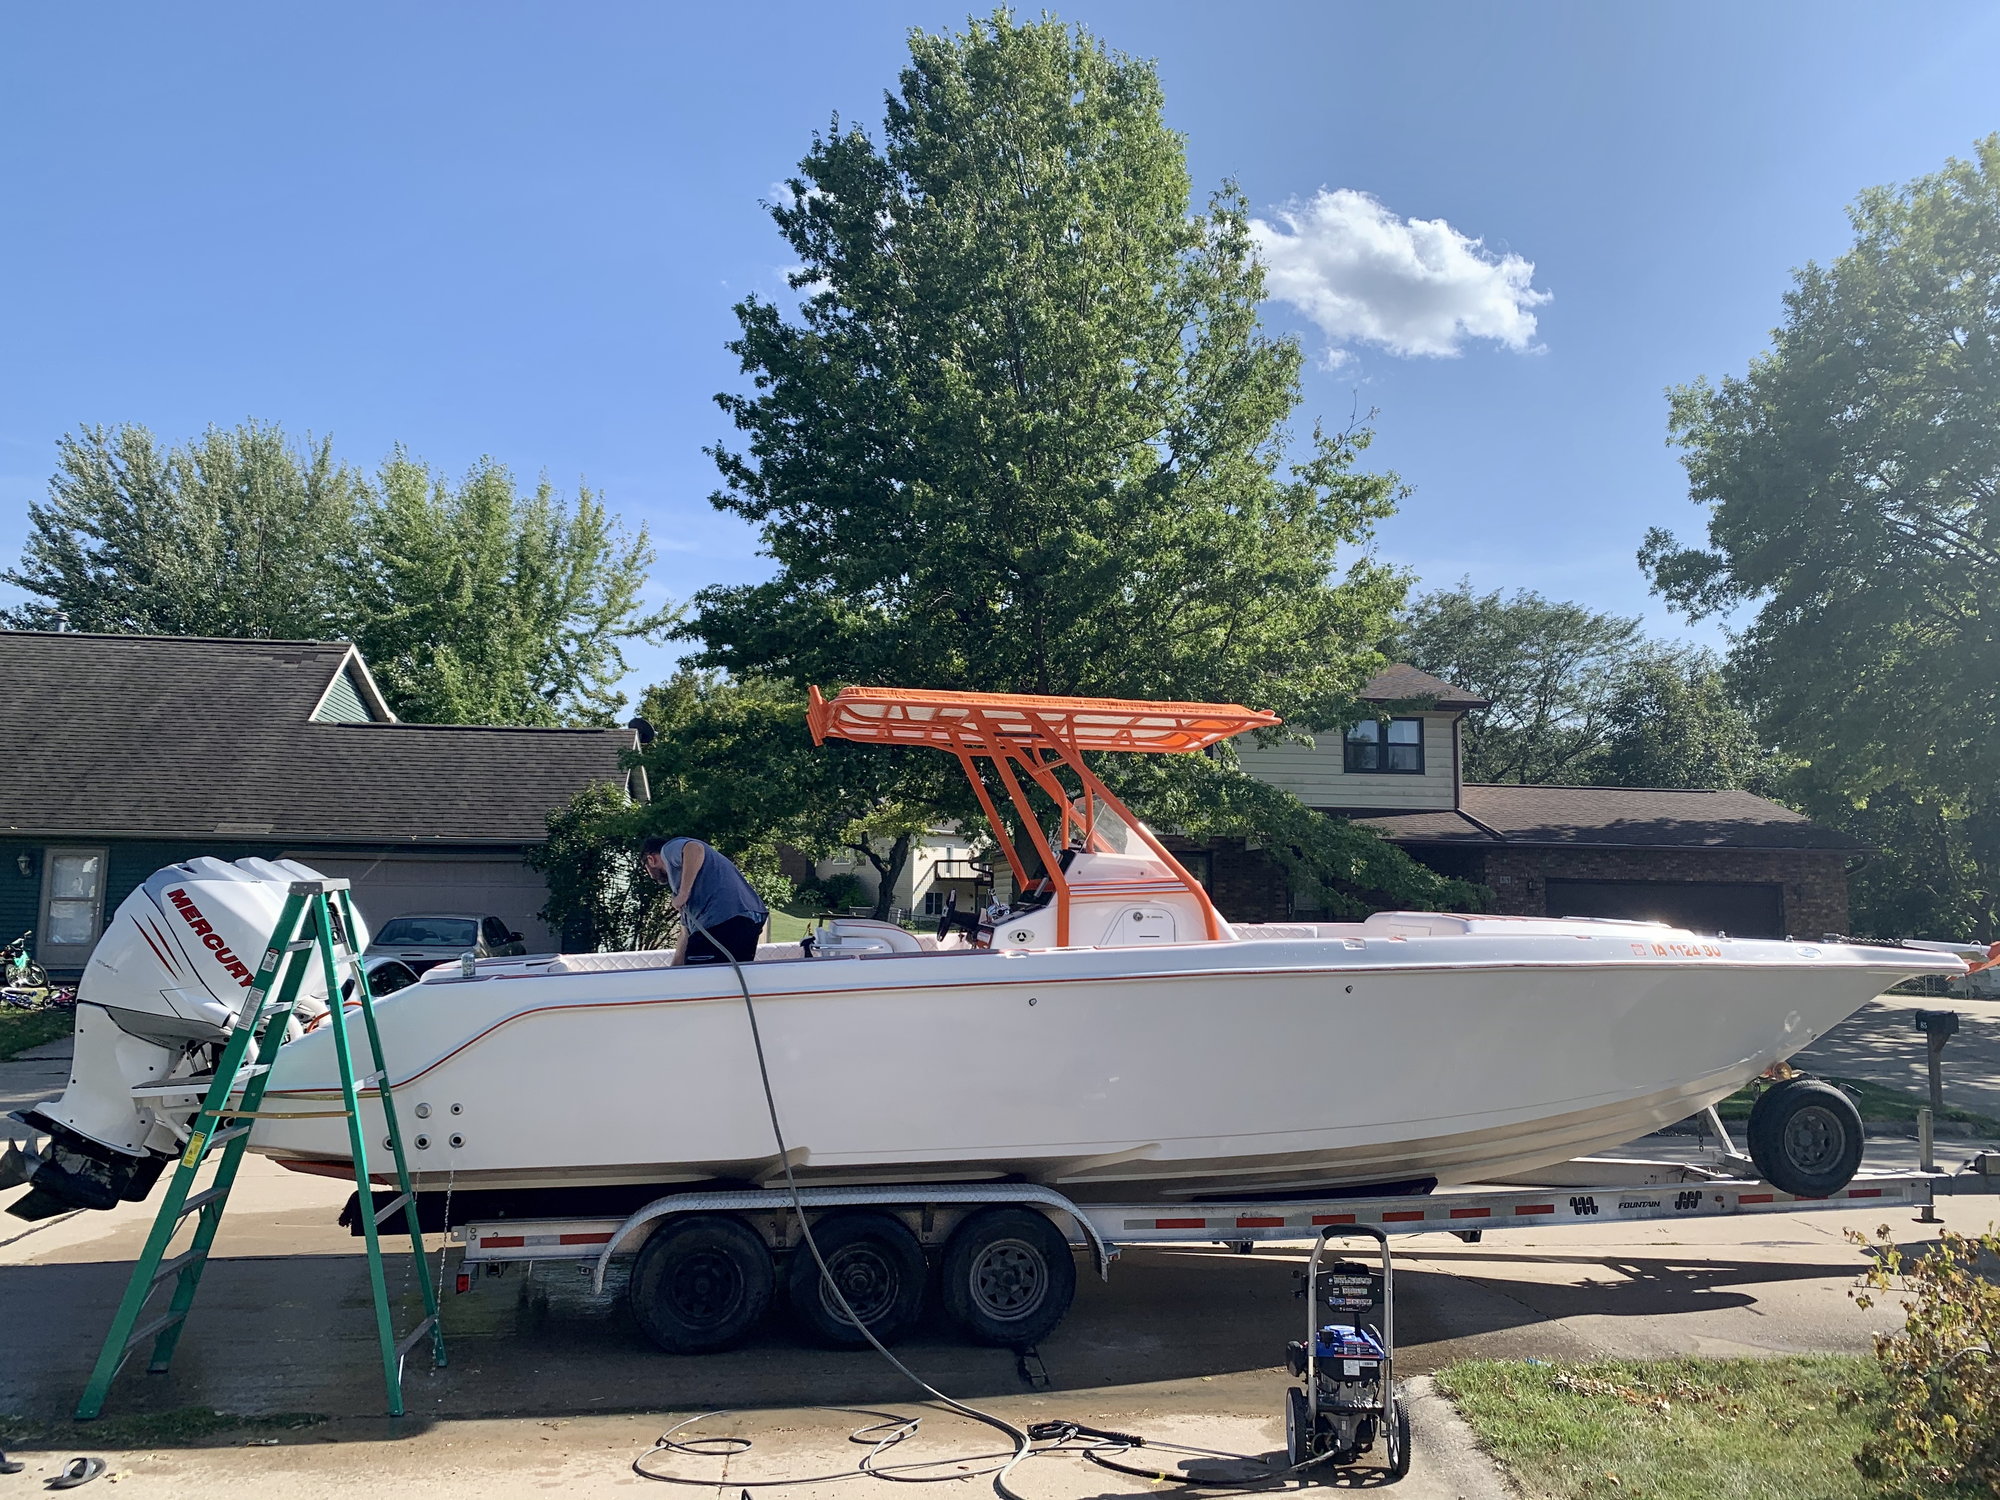
Spent rest of the day scrubbing her down
All cleaned up
FantaSea in Phil’R Up’s old spot
Picture for comparison
End that was on the hose we got didn’t work with the pump we have so we ordered a new line.
Had to take the helm apart to swap out the lines
Due to the derecho we didn’t have power at the shop so I had to use the green LED’s for light. Pump is hooked up the the new line. Just need to bleed the system.
The other issue was a leaking prop shaft seal. We had pulled the lower and dropped it and the seal kit off at our local marina to do the work but that changed due to the storm as well. The marina still doesn’t have power and has a lot of damage to their docks so we picked everything back up and replaced the seals ourselves.
Lower is back together with new seals in it!
Registration numbers are on
Putting the finishing touches on before it comes out of the shop
And we have sunshine!!!
Spent rest of the day scrubbing her down
All cleaned up
FantaSea in Phil’R Up’s old spot
Picture for comparison

