

We hurt the 496....


 10-13-2024 | 12:45 PM
#114
Thread Starter
VIP Member

Joined: Jun 2021
Posts: 3,533
Likes: 2,142
From: SW Ohio
Guys,
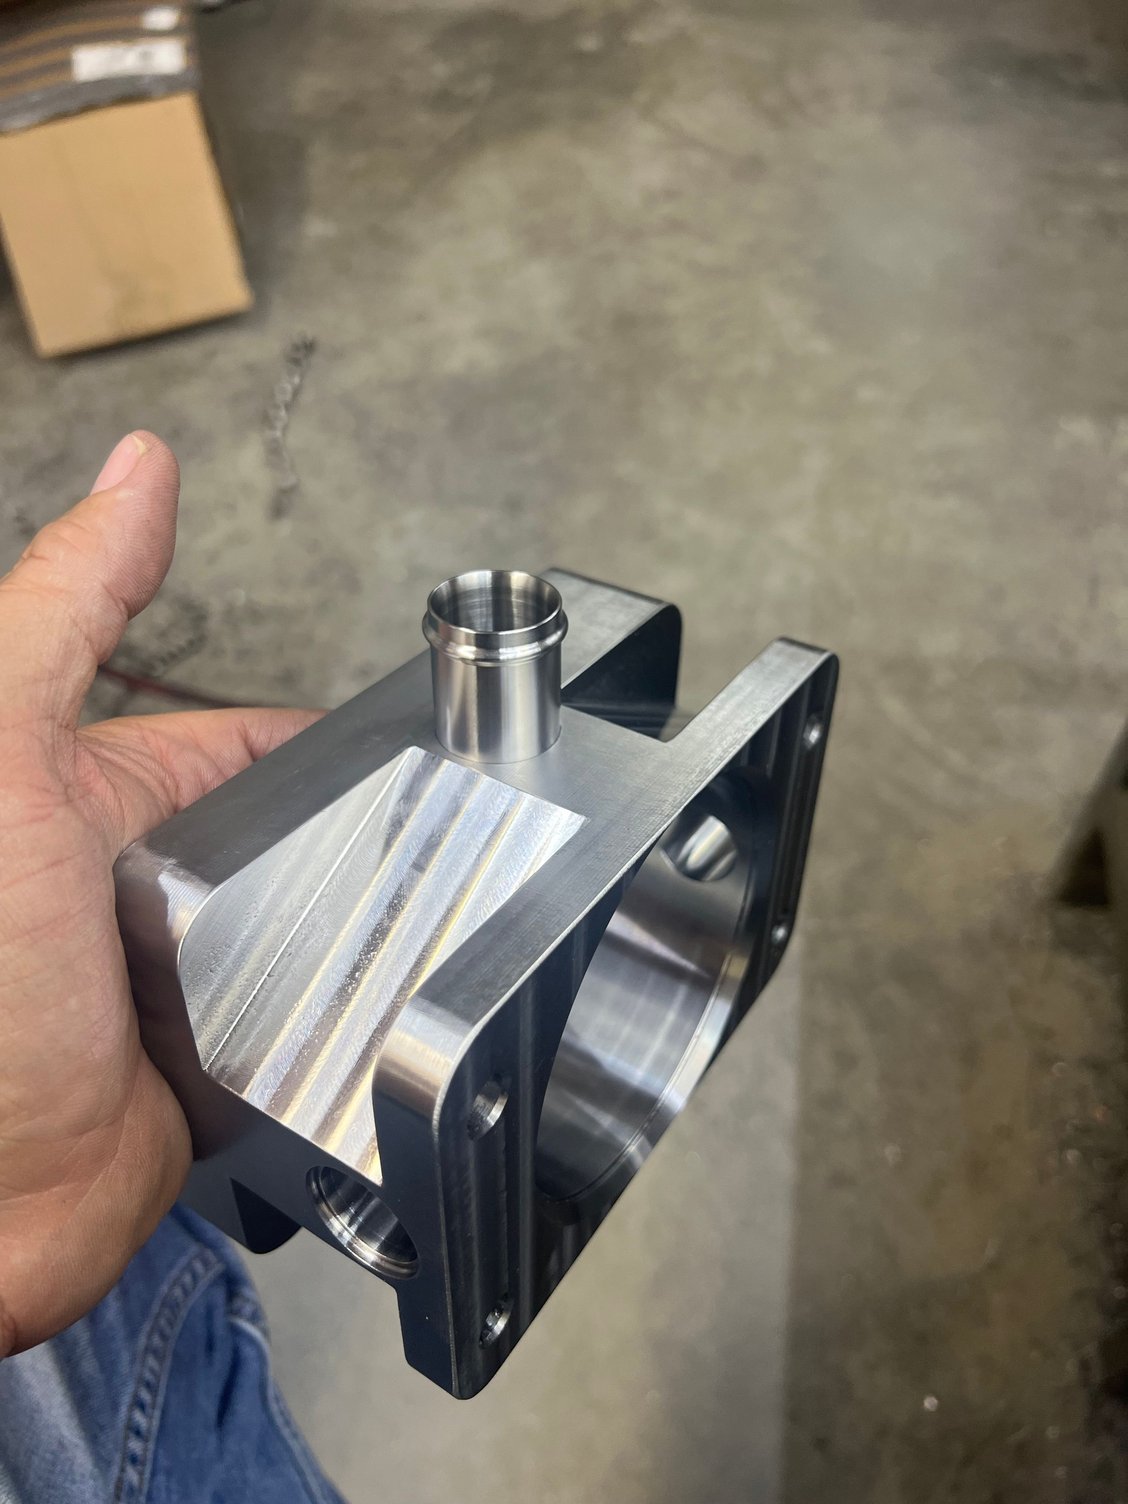
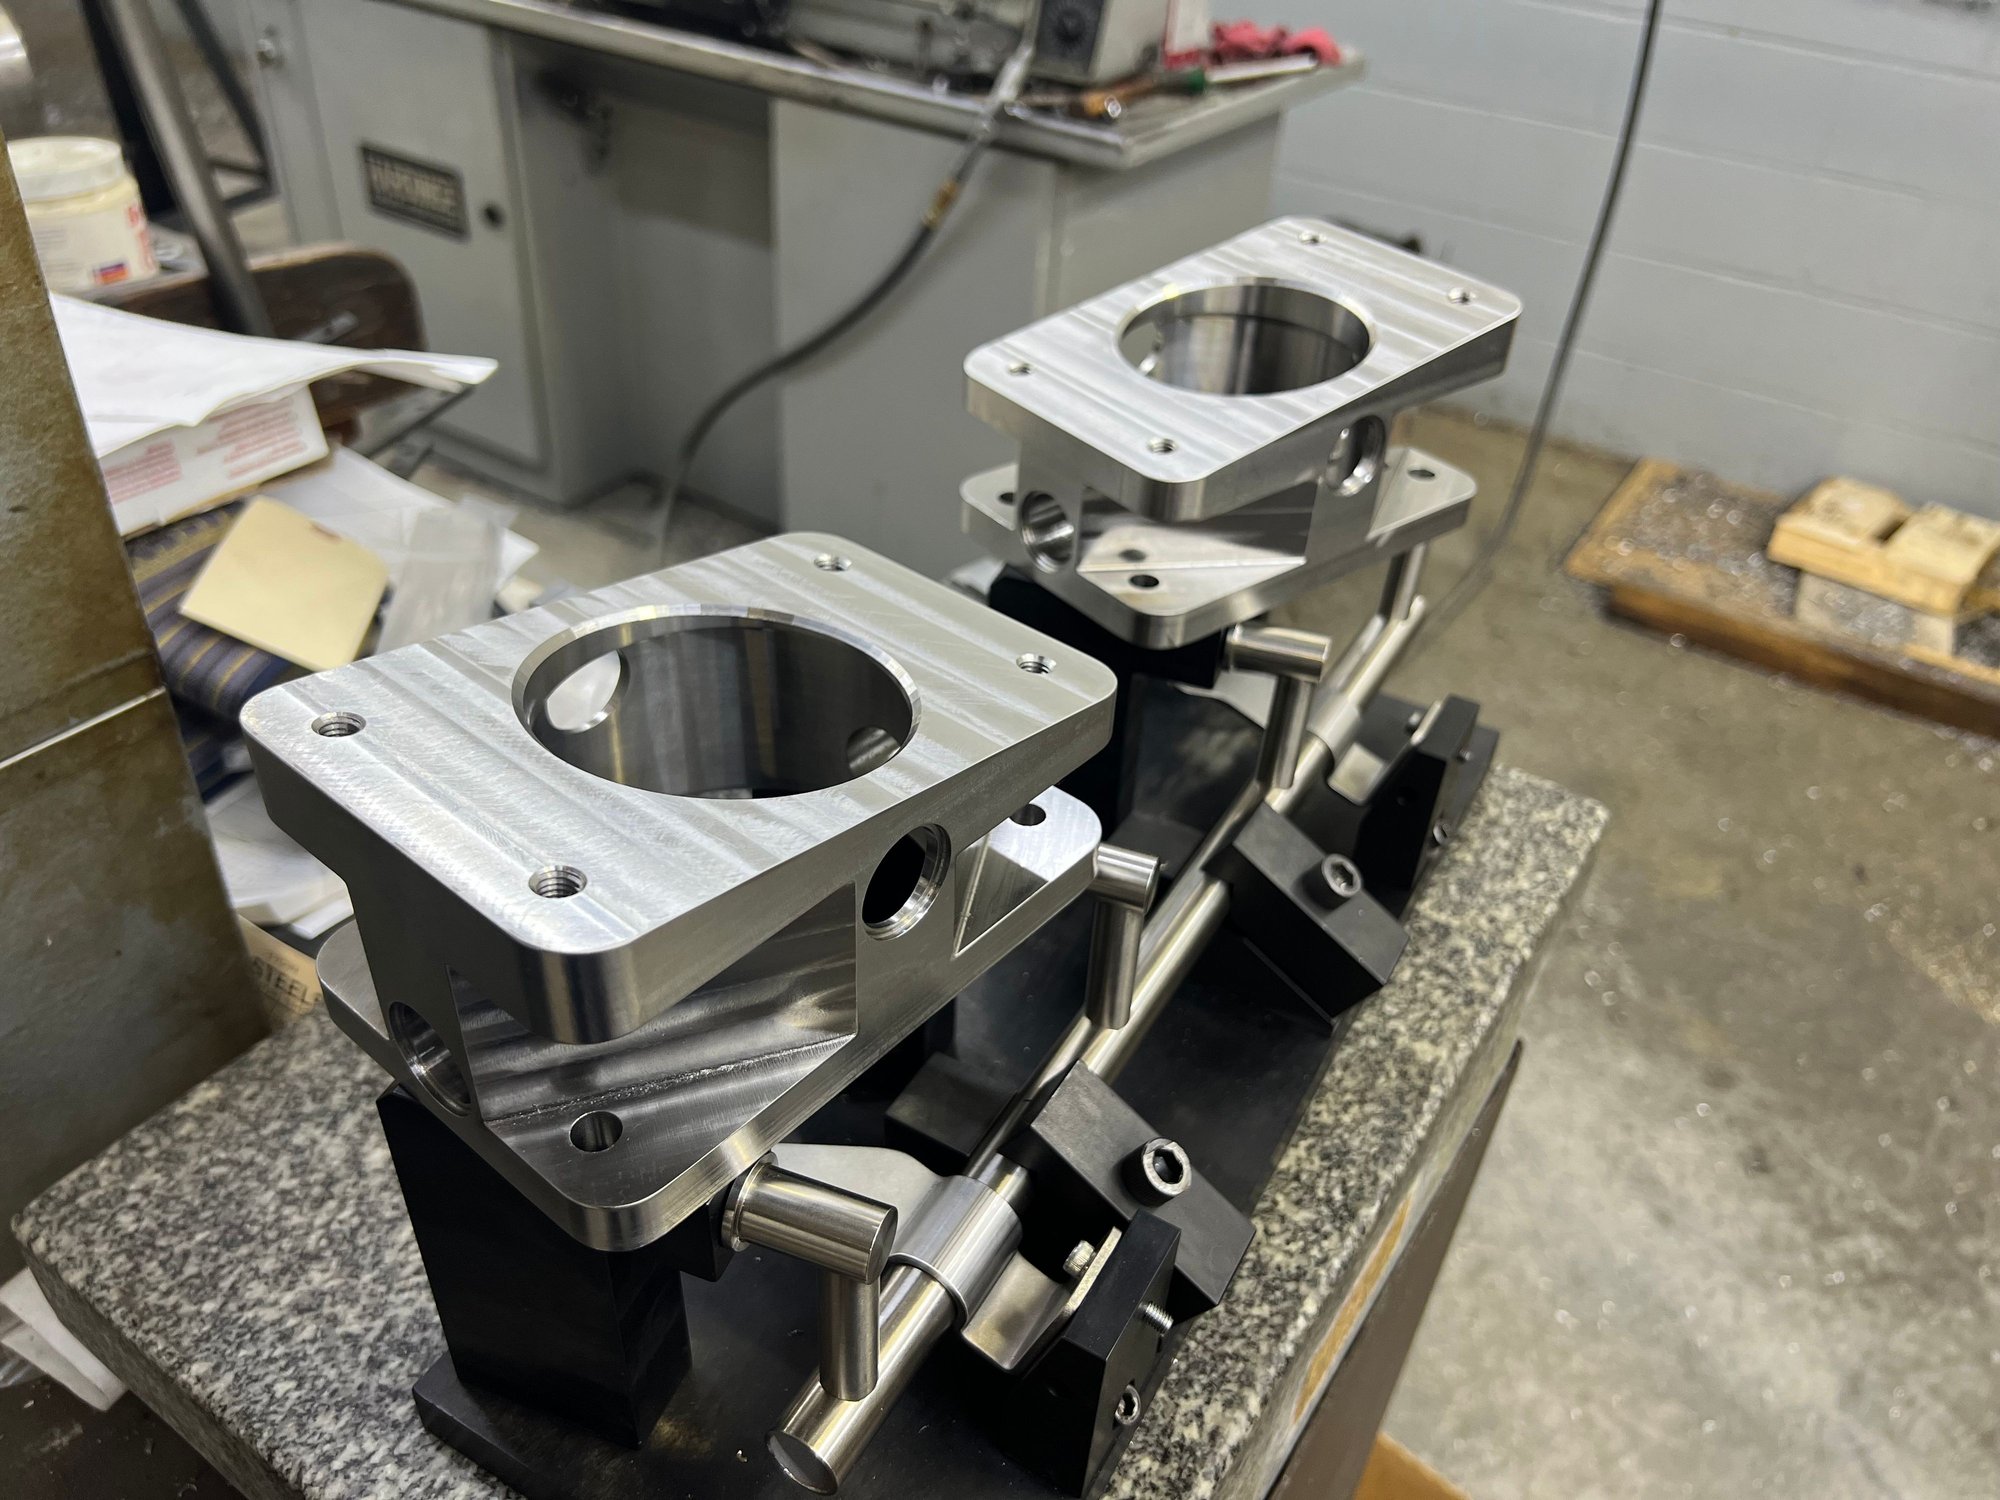


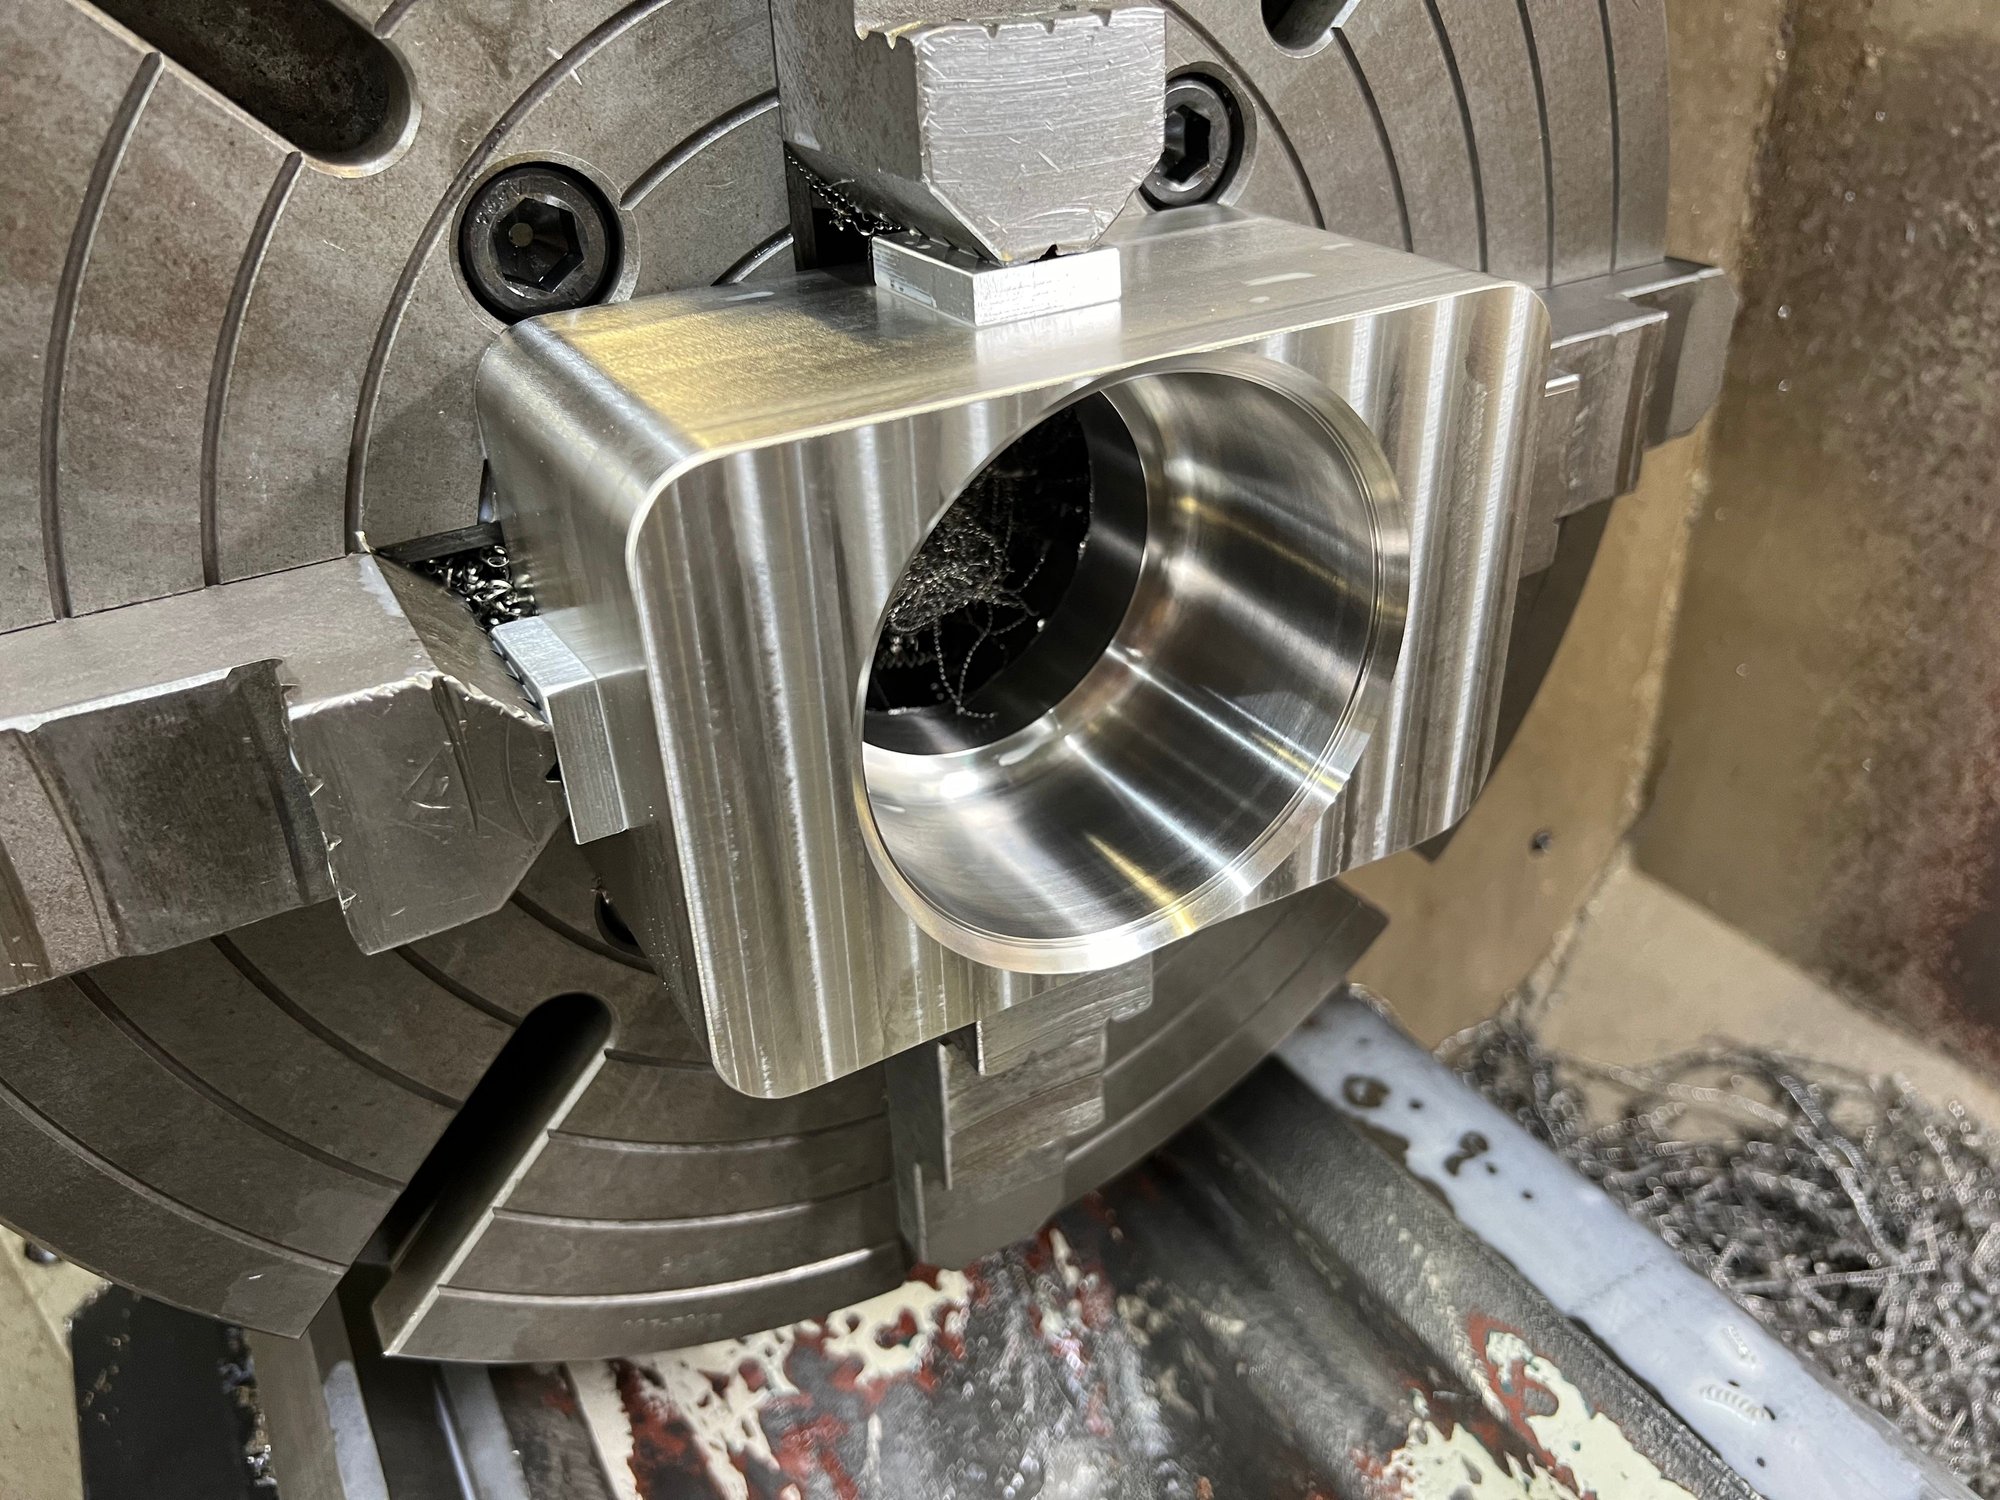
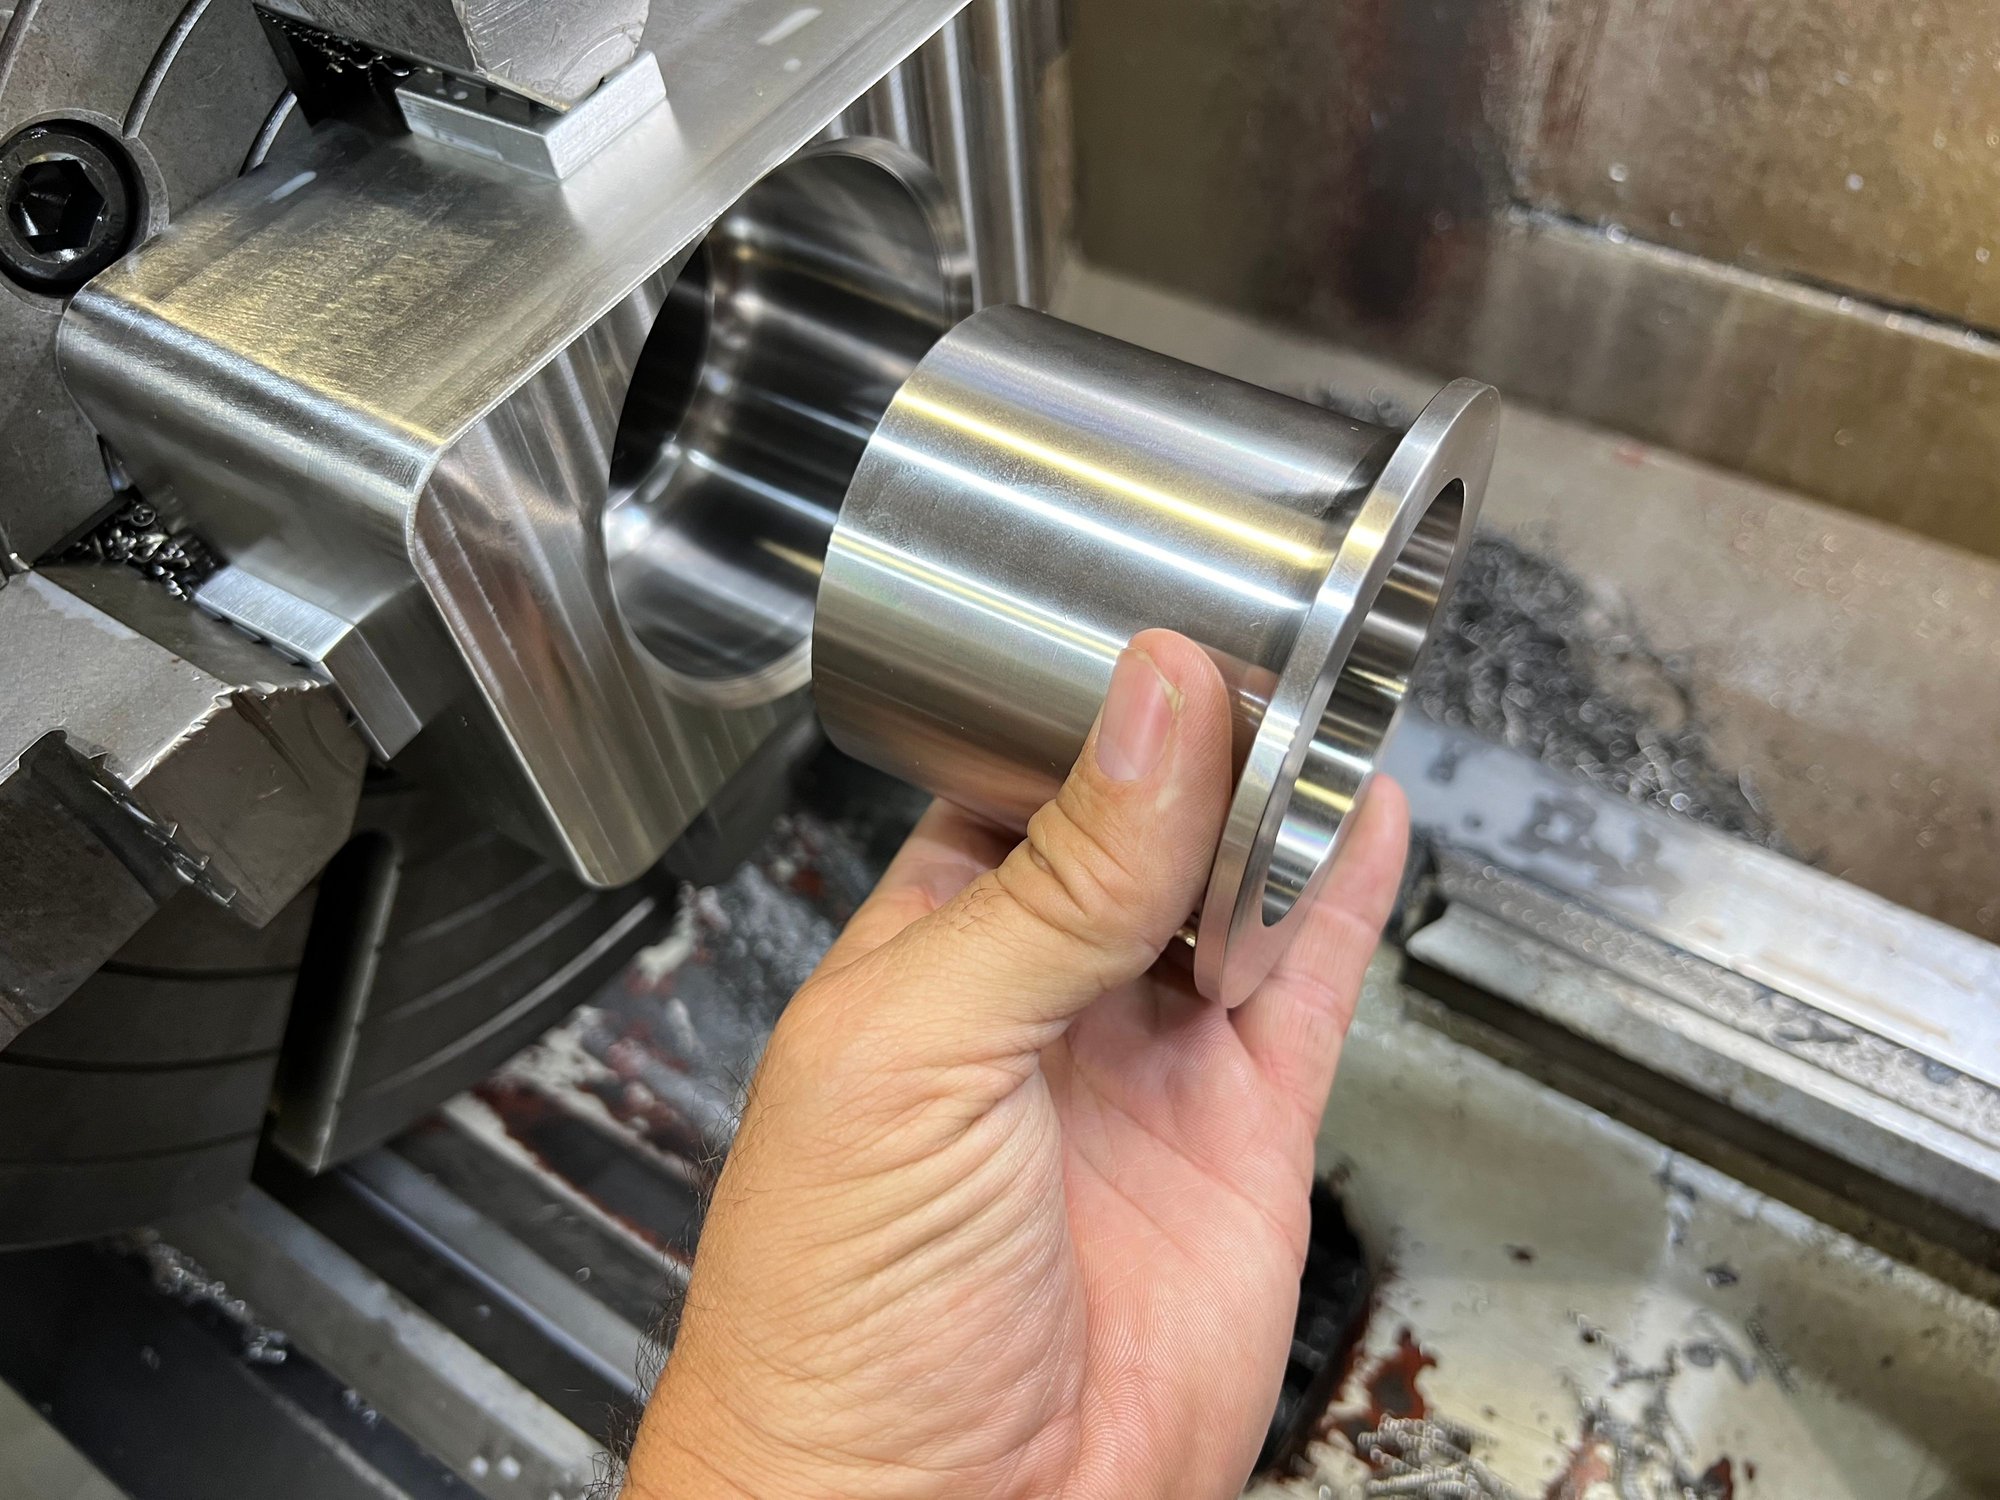
Ready to weld the jacket sleeve in. They will then me machined top and bottom for cleanup, then the hose connections will be welded on.
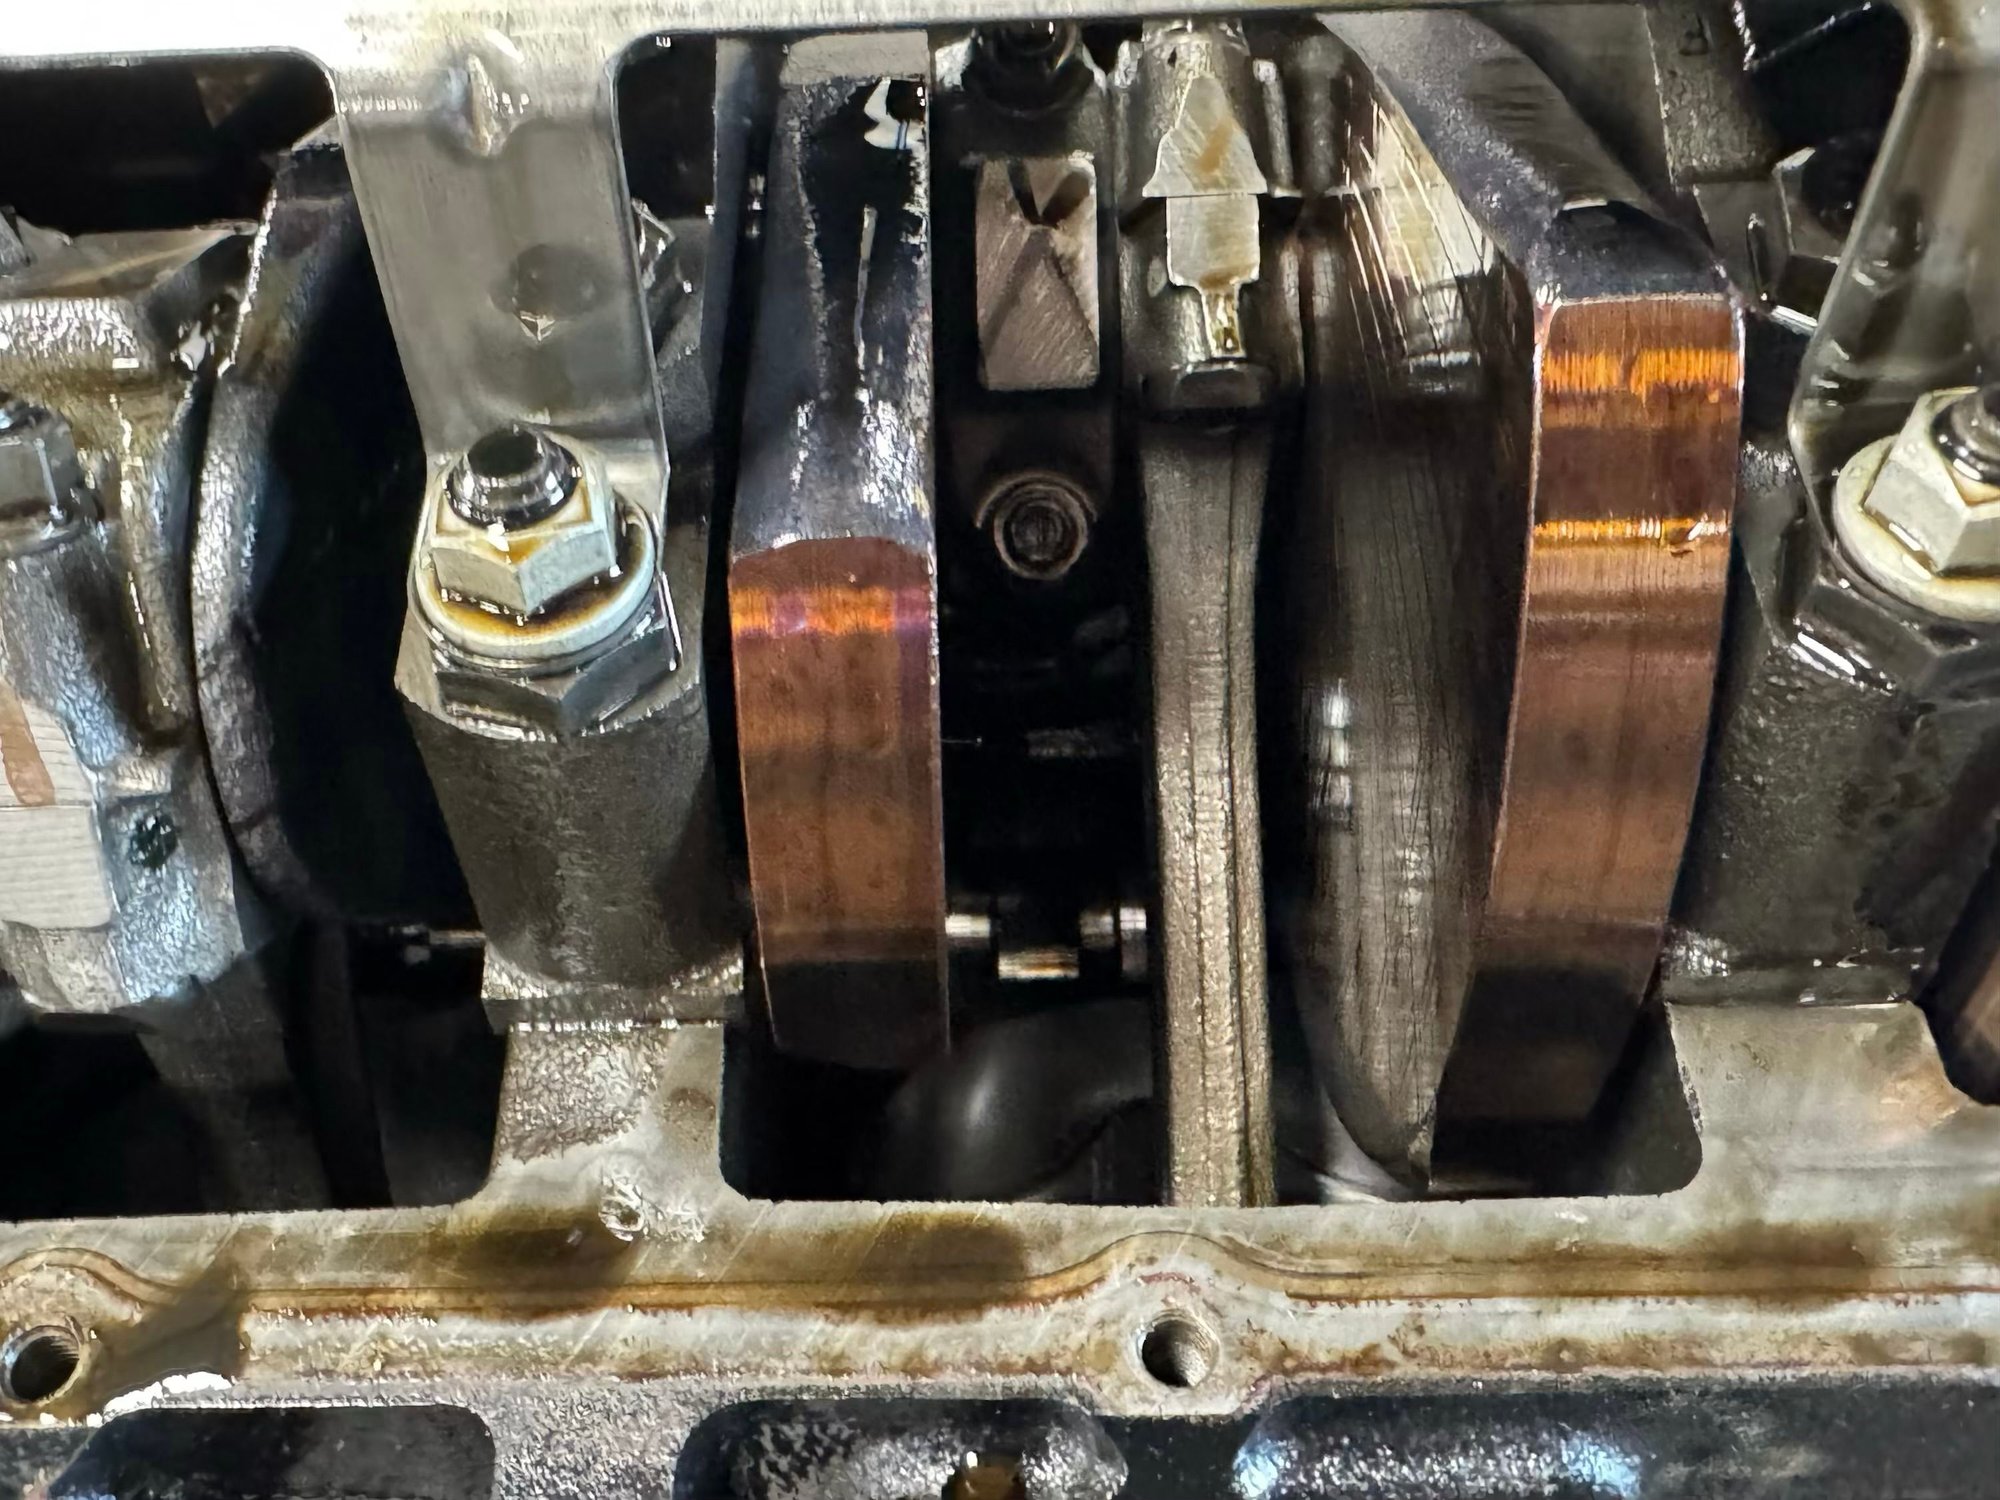
Engine is still in the process of being torn down. Heads have been decked, and the builder will begin the assembly this week, after the parts arrive. The block and crank/rods/pistons will hopefully go to the machine shop this week for boring, honing and balancing, respectively.
Most of the remaining parts should start rolling in this week. New Melling oil pump. Picked up a really nice used Weldon fuel pump, a new remote fuel filter mount.
I got the sundeck back off and stored away, but I still have yet to climb back up in the boat to get to cleaning the bilge and getting a new bilge pump in. I also need to make provisions for a solid ground strap, instead of the handful of grounds ran separately to the block, and mounting points for oil and fuel filters on the transom and battery switch on the back of the seat instead of screwed to the removable side panels.
Good times.
Thanks. Brad.
Ready to weld the jacket sleeve in. They will then me machined top and bottom for cleanup, then the hose connections will be welded on.
Engine is still in the process of being torn down. Heads have been decked, and the builder will begin the assembly this week, after the parts arrive. The block and crank/rods/pistons will hopefully go to the machine shop this week for boring, honing and balancing, respectively.
Most of the remaining parts should start rolling in this week. New Melling oil pump. Picked up a really nice used Weldon fuel pump, a new remote fuel filter mount.
I got the sundeck back off and stored away, but I still have yet to climb back up in the boat to get to cleaning the bilge and getting a new bilge pump in. I also need to make provisions for a solid ground strap, instead of the handful of grounds ran separately to the block, and mounting points for oil and fuel filters on the transom and battery switch on the back of the seat instead of screwed to the removable side panels.
Good times.
Thanks. Brad.
Last edited by Brad Christy; 10-13-2024 at 12:50 PM.
10-16-2024 | 06:10 AM
#115
Thread Starter
VIP Member
Joined: Jun 2021
Posts: 3,533
Likes: 2,142
From: SW Ohio
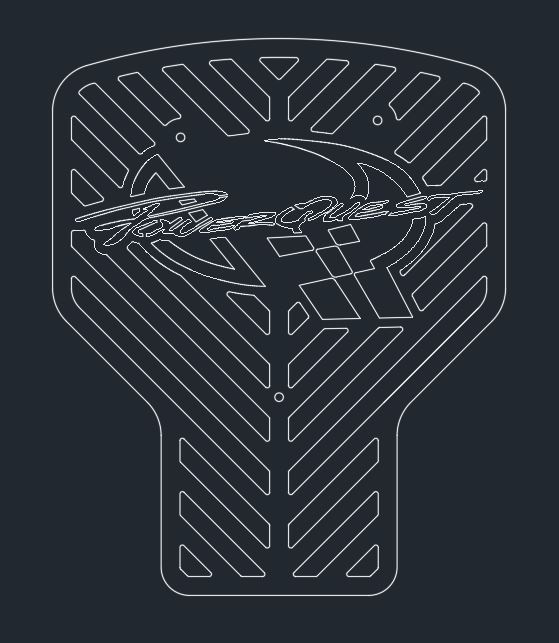
Planning on having this water jet from 1/4" aluminum and powder coated in the same Illusion Purple the rest of the trim is in. I'm also planning to have the valve covers done the same. Possibly the intake manifold, after the builder does some internal mods to improve airflow.
Thanks. Brad.
10-16-2024 | 06:17 PM
#116
Thread Starter
VIP Member
Joined: Jun 2021
Posts: 3,533
Likes: 2,142
From: SW Ohio
Guys,
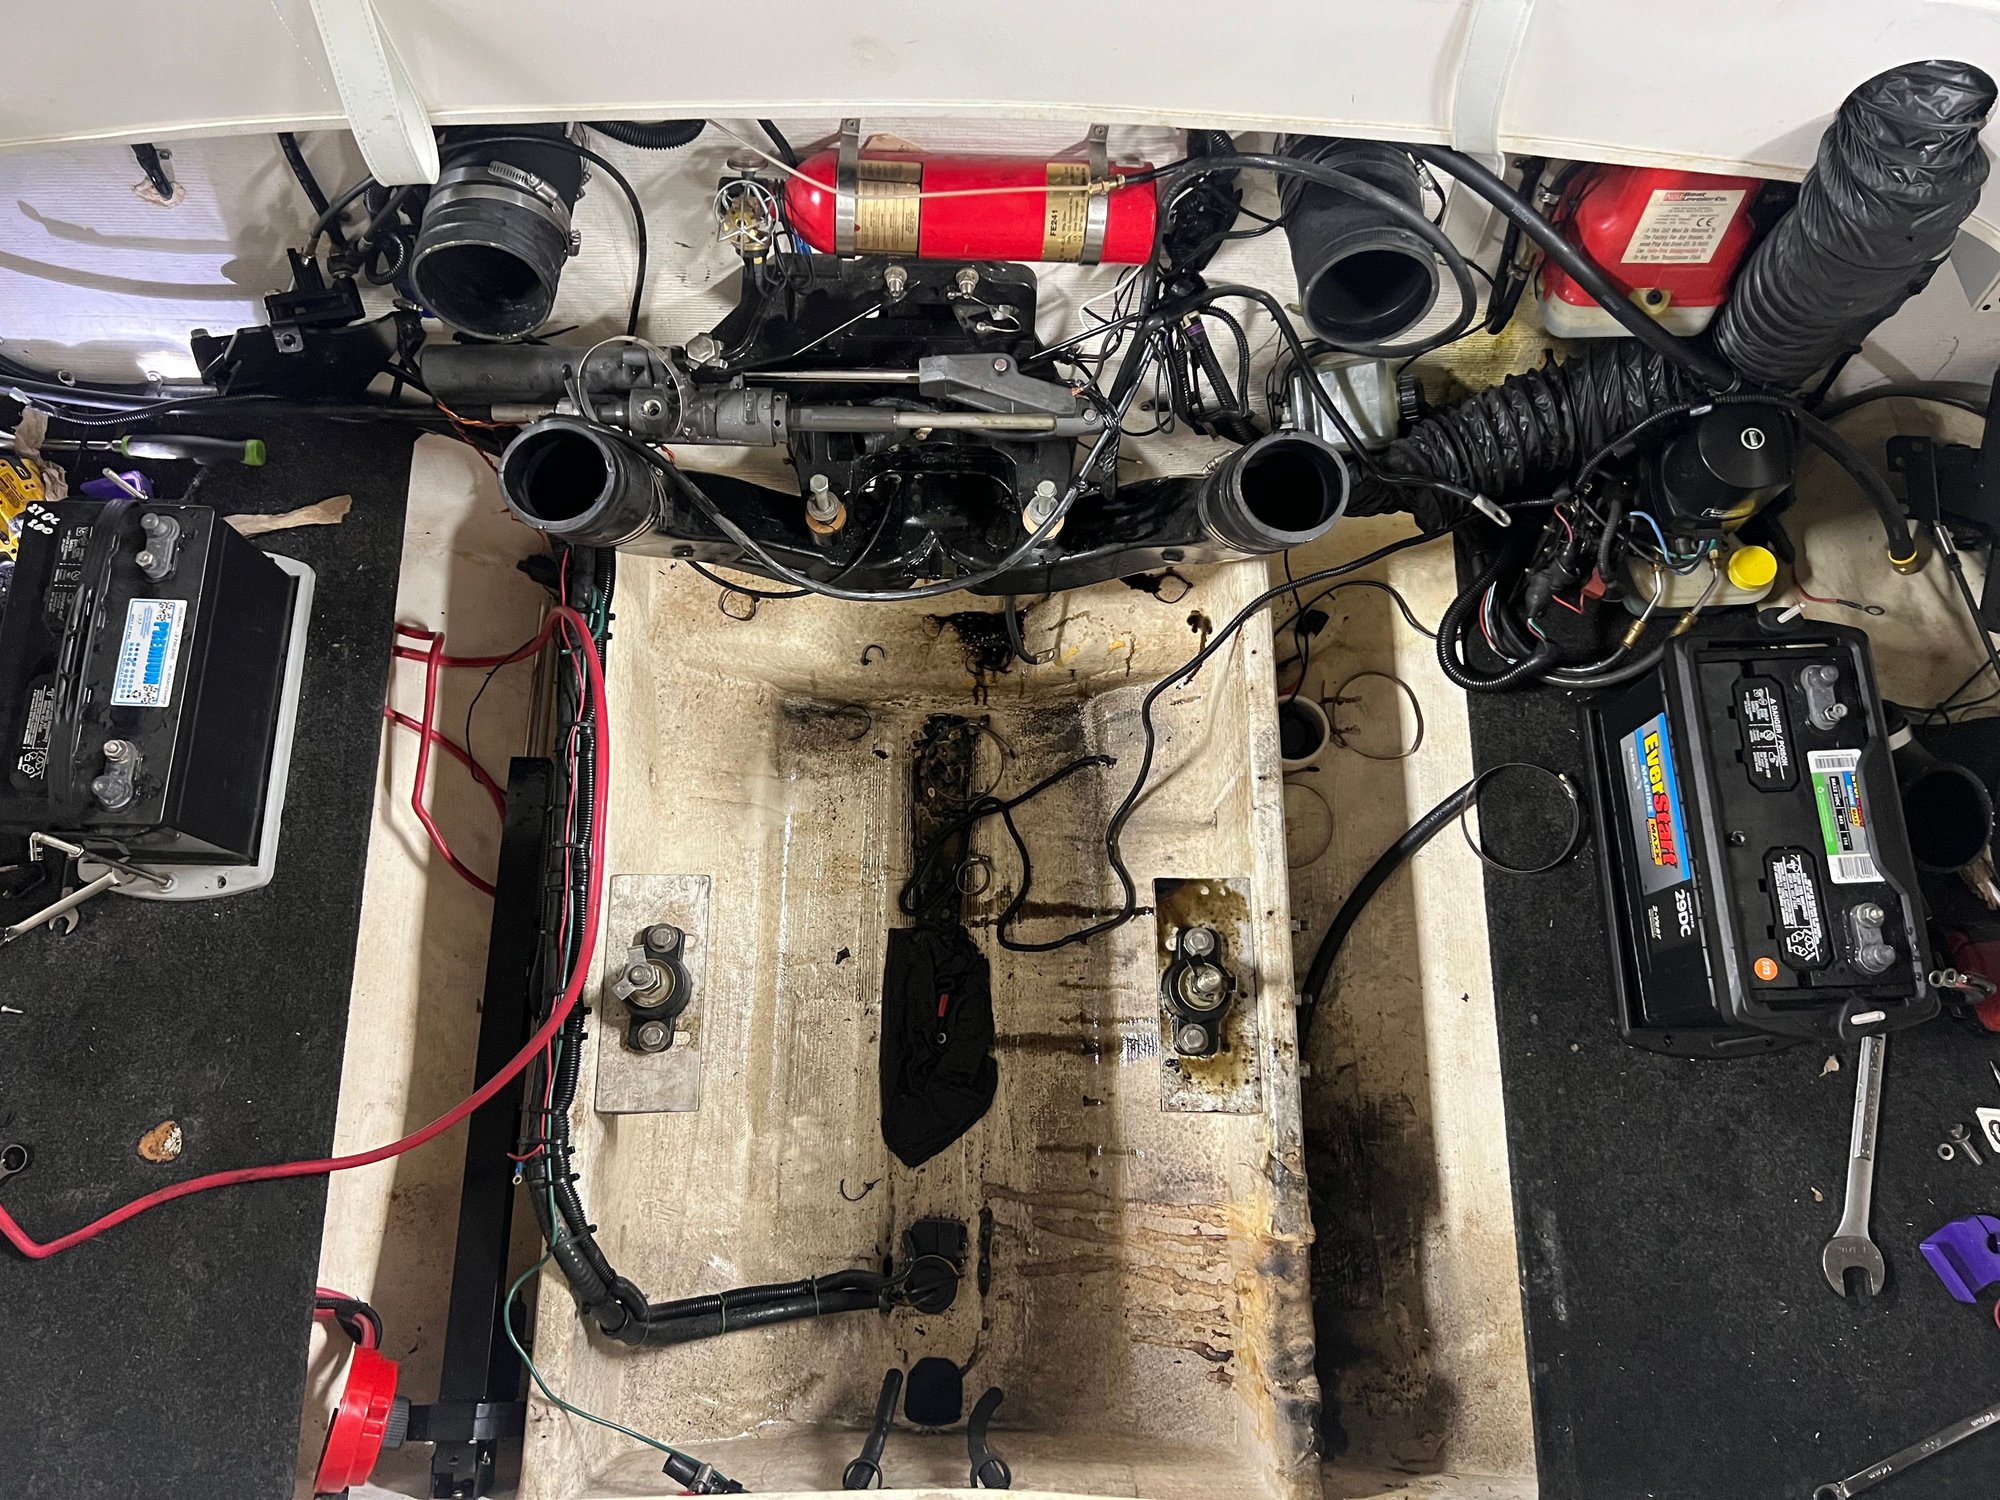
Before
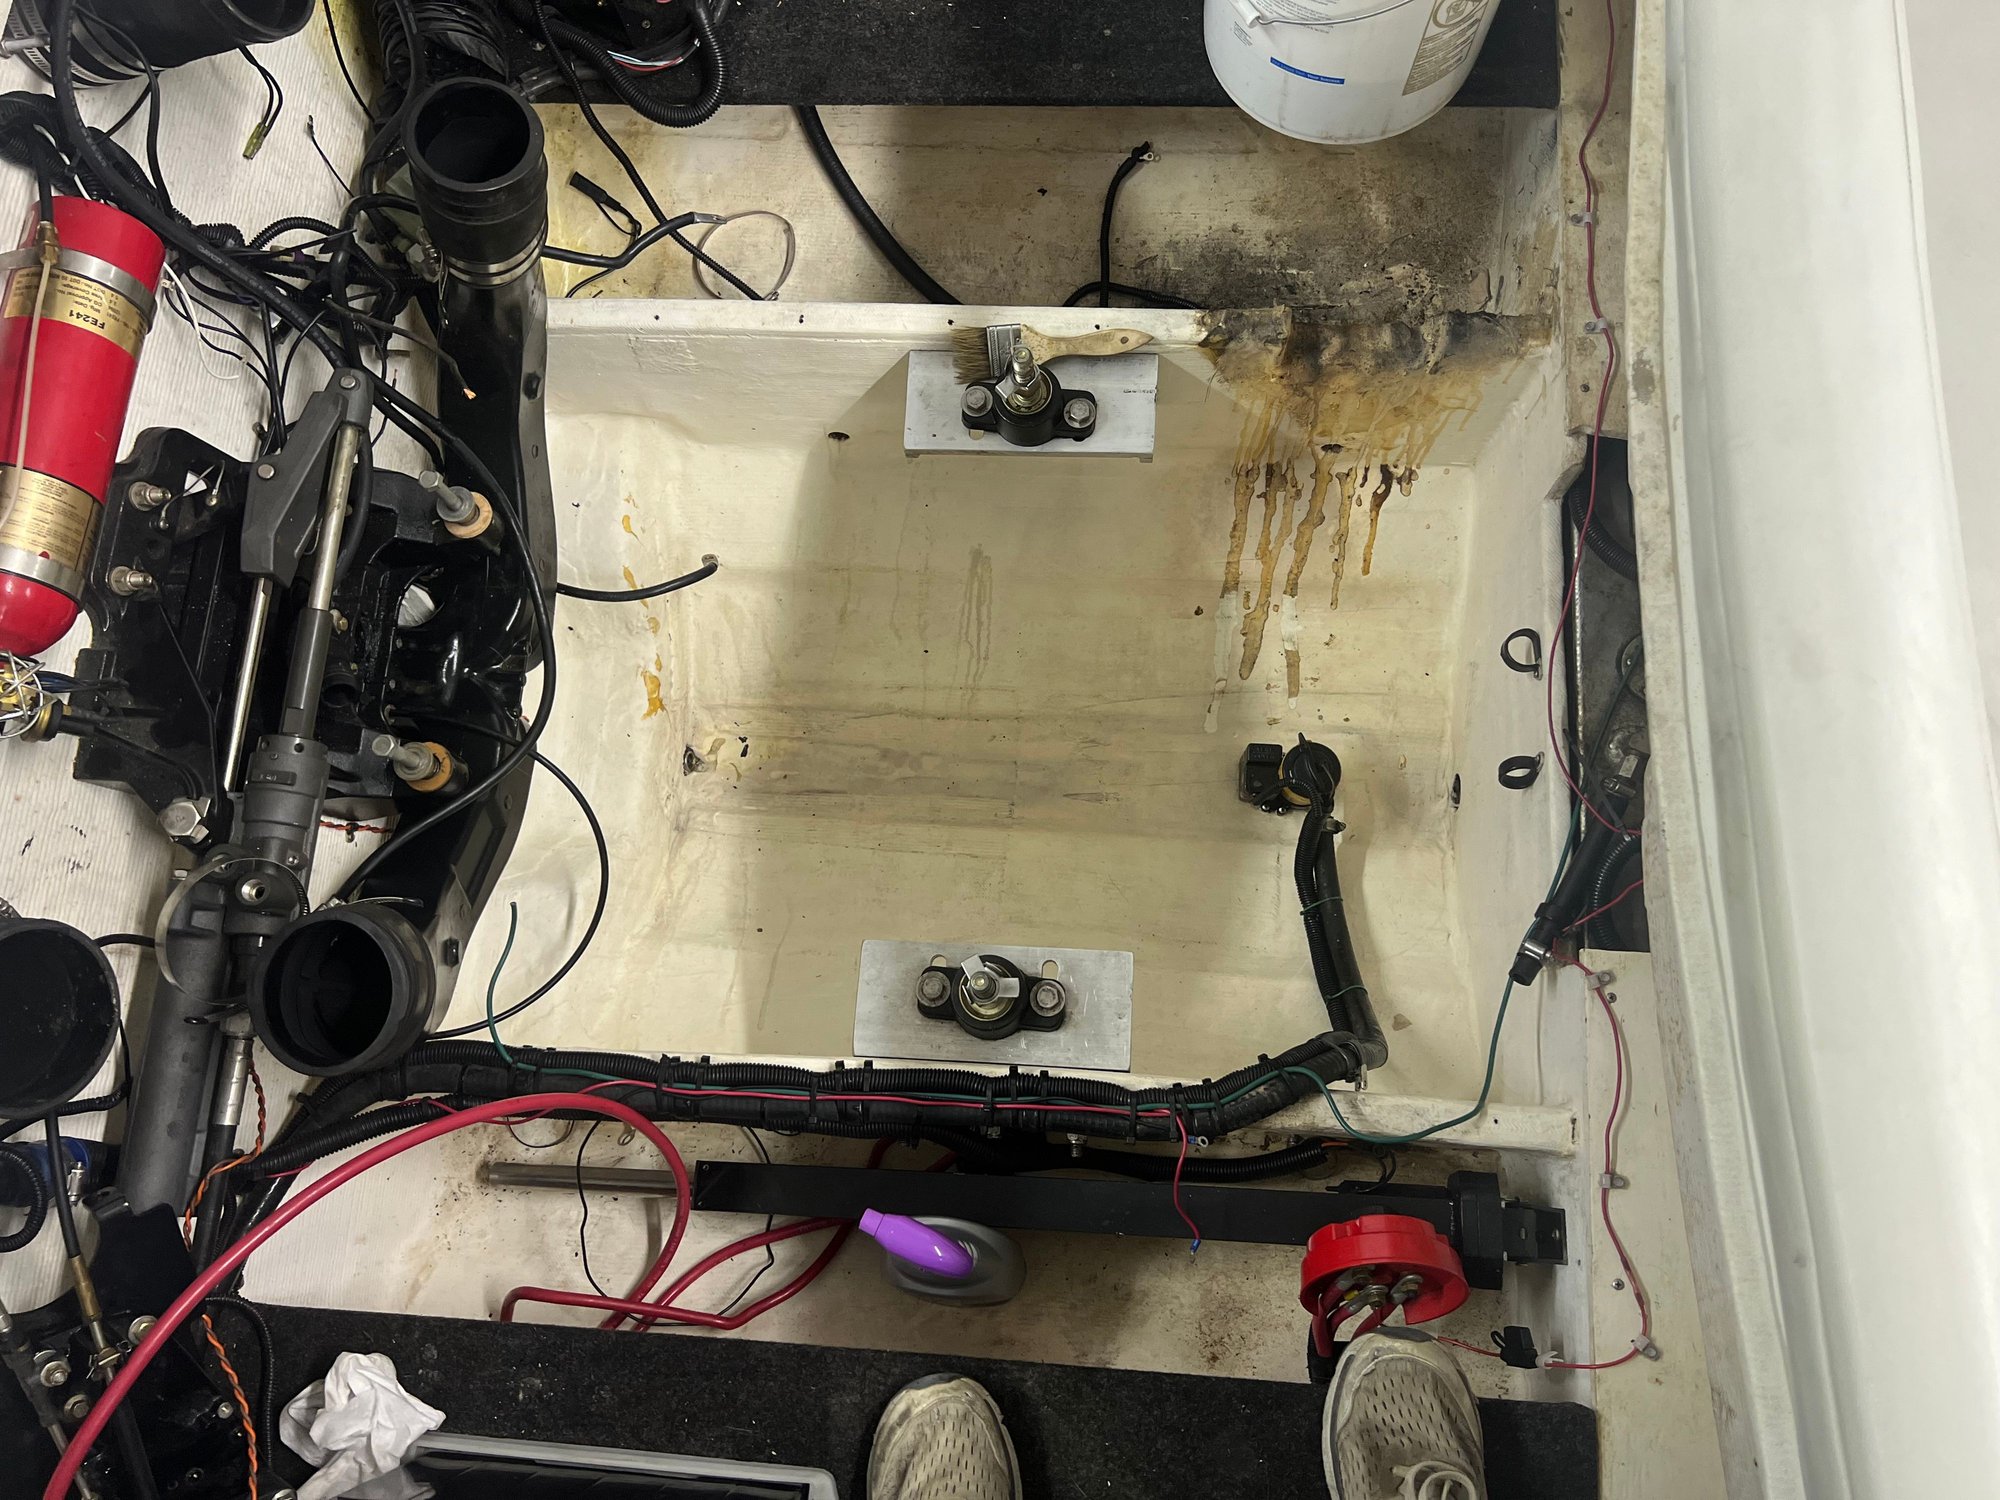
After. Still not done.
Got a little cleanup done this evening. Still more to go.
Discovered that someone did a REALLY sh!tty job glassing in the clearance cutout for the ProCharger. I was told by the seller we got the boat from that HE was told by the original owner’s wife (he’d passed away) that the ProCharger was a factory PQ build. After seeing this, I have my doubts. Looking at the rest of the interior glass work, there is NO way PQ would have left this this way. There is actually loose hanging FG fabric and puddles of hardened resin. I will be taking the disc sander to this, cleaning it up, and glassing it in properly.
I can also improve the wiring I did for the power to the Bazooka tube subwoofer. I didn’t like it at the time, but it was at least safely zip-tied out of trouble.
Anybody know what size socket to use to detach the wye pipe from the transom assembly. It’s a 12pt bolt head. Looks like 10mm, which is the socket I bought (I didn’t have any 12pts). I’m hoping that’s it. One of them is going to be a PITA to get to, due to the trim hydraulic lines. I’m hoping can loosen them from their hold-down straps and make some room to get the socket in there.
Thanks. Brad.
Before
After. Still not done.
Got a little cleanup done this evening. Still more to go.
Discovered that someone did a REALLY sh!tty job glassing in the clearance cutout for the ProCharger. I was told by the seller we got the boat from that HE was told by the original owner’s wife (he’d passed away) that the ProCharger was a factory PQ build. After seeing this, I have my doubts. Looking at the rest of the interior glass work, there is NO way PQ would have left this this way. There is actually loose hanging FG fabric and puddles of hardened resin. I will be taking the disc sander to this, cleaning it up, and glassing it in properly.
I can also improve the wiring I did for the power to the Bazooka tube subwoofer. I didn’t like it at the time, but it was at least safely zip-tied out of trouble.
Anybody know what size socket to use to detach the wye pipe from the transom assembly. It’s a 12pt bolt head. Looks like 10mm, which is the socket I bought (I didn’t have any 12pts). I’m hoping that’s it. One of them is going to be a PITA to get to, due to the trim hydraulic lines. I’m hoping can loosen them from their hold-down straps and make some room to get the socket in there.
Thanks. Brad.
10-16-2024 | 07:13 PM
#118
Registered

Joined: Jun 2007
Posts: 7,330
Likes: 1,835
From: Merritt Island, FL
Spend time now in the bilge thinking about all the routine maintenance items you need to do.
Move, redesign, whatever to make it easier once the motor is back. The first time my motors were out I would sit in the engine bay and reposition stuff over and over. Also, take a very close look at ALL the wiring and rigging, no mater what its an old boat. Time to repair or replace now.
Move, redesign, whatever to make it easier once the motor is back. The first time my motors were out I would sit in the engine bay and reposition stuff over and over. Also, take a very close look at ALL the wiring and rigging, no mater what its an old boat. Time to repair or replace now.
10-16-2024 | 07:25 PM
#119
Registered

Joined: Sep 2014
Posts: 870
Likes: 259
From: Portland, OR
Spend time now in the bilge thinking about all the routine maintenance items you need to do.
Move, redesign, whatever to make it easier once the motor is back. The first time my motors were out I would sit in the engine bay and reposition stuff over and over. Also, take a very close look at ALL the wiring and rigging, no mater what its an old boat. Time to repair or replace now.
Move, redesign, whatever to make it easier once the motor is back. The first time my motors were out I would sit in the engine bay and reposition stuff over and over. Also, take a very close look at ALL the wiring and rigging, no mater what its an old boat. Time to repair or replace now.
https://a.co/d/1m8DEyh
https://a.co/d/eb2pbKr
 10-16-2024 | 07:28 PM
#120
Thread Starter
VIP Member
Joined: Jun 2021
Posts: 3,533
Likes: 2,142
From: SW Ohio
Spend time now in the bilge thinking about all the routine maintenance items you need to do.
Move, redesign, whatever to make it easier once the motor is back. The first time my motors were out I would sit in the engine bay and reposition stuff over and over. Also, take a very close look at ALL the wiring and rigging, no mater what its an old boat. Time to repair or replace now.
Move, redesign, whatever to make it easier once the motor is back. The first time my motors were out I would sit in the engine bay and reposition stuff over and over. Also, take a very close look at ALL the wiring and rigging, no mater what its an old boat. Time to repair or replace now.
Yup. We are going to clean up a LOT of the wiring. At least ON the engine. I don’t really have much of a problem with most of the rest of the wiring, other than the lack of a ground lug.
Literally ALL of the stuff that Merc hung on the engine, that doesn’t need to be, isn’t. The oil filter, fuel pump and filter, PS and drive oil reservoir…. All of it….. Is getting hung on the transom.
Thanks. Brad.

