


Got my Maggie!! Long term build thread intro...
 11-10-2015 | 04:46 PM
#191
Thread Starter
Registered
Joined: Jul 2006
Posts: 583
Likes: 1
From: Frankfort IL

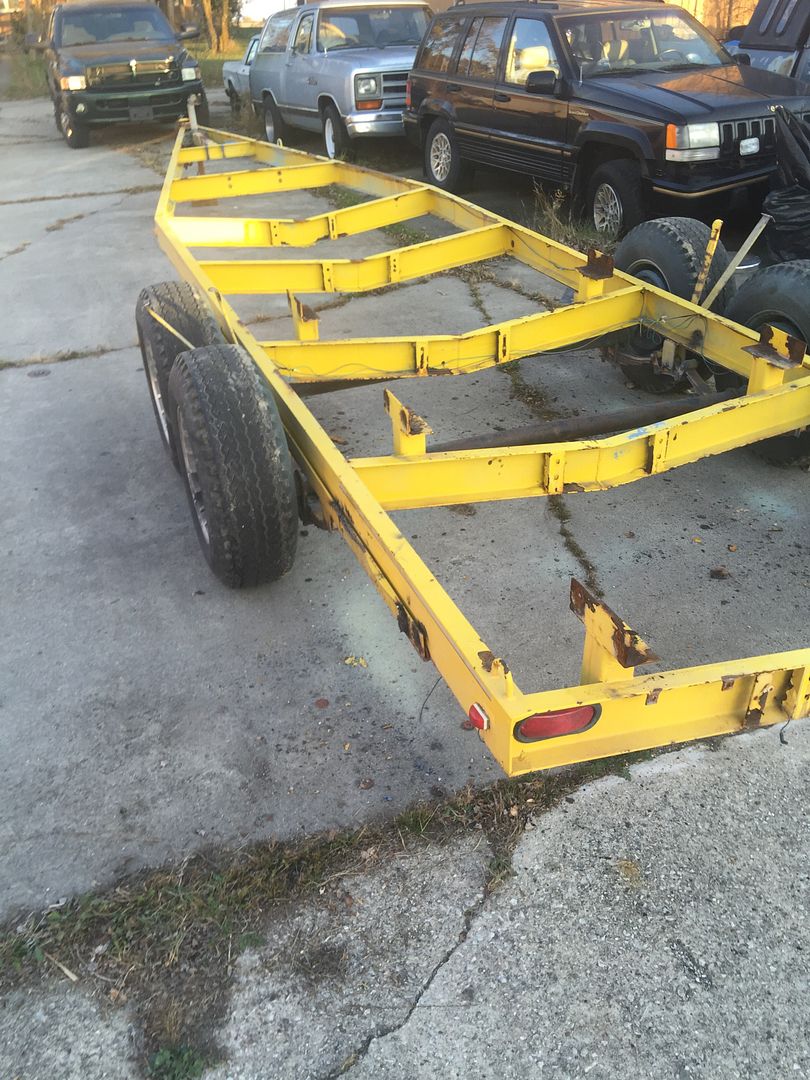
While I'm waiting for the connecting rods to come in (Backordered) I tore into the trailer, removed the keel rollers and old bunks, and cut off the fenders and steps along with the bow stop / winch stand, hope to get it sandblasted next week, then I will replace the fenders, make some new steps, Build a new 2 piece winch stand and bow stop and repaint the trailer, replace the lights with LEDs, and install the new 4x6 bunks. Once I get the hull close to finished, I'll reload it and locate the keel bunks and install them. I also bought a set of wheels to match my Ramcharger. The previous owner installed electric drum brakes and since they are like new, I'm going to run them until I have problems with them and eventually convert them to EOH discs.




 11-10-2015 | 04:50 PM
#192
Thread Starter
Registered
Joined: Jul 2006
Posts: 583
Likes: 1
From: Frankfort IL
I also had these babies made by a buddy that has a machine shop:
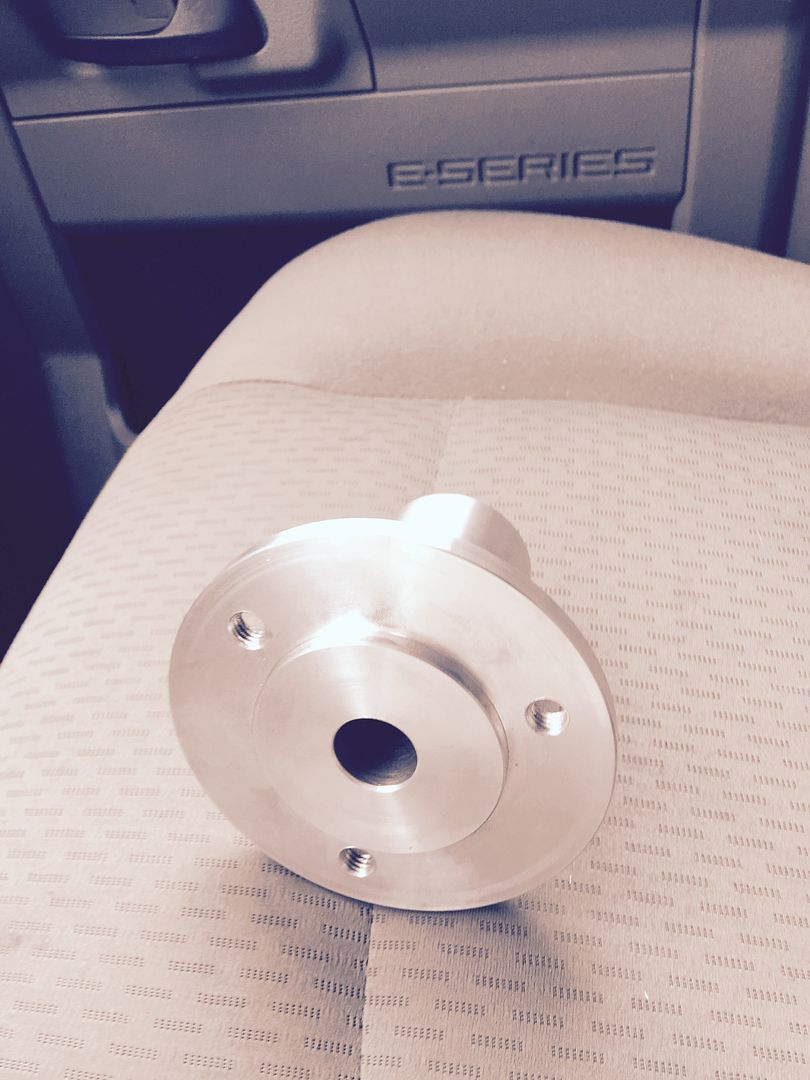
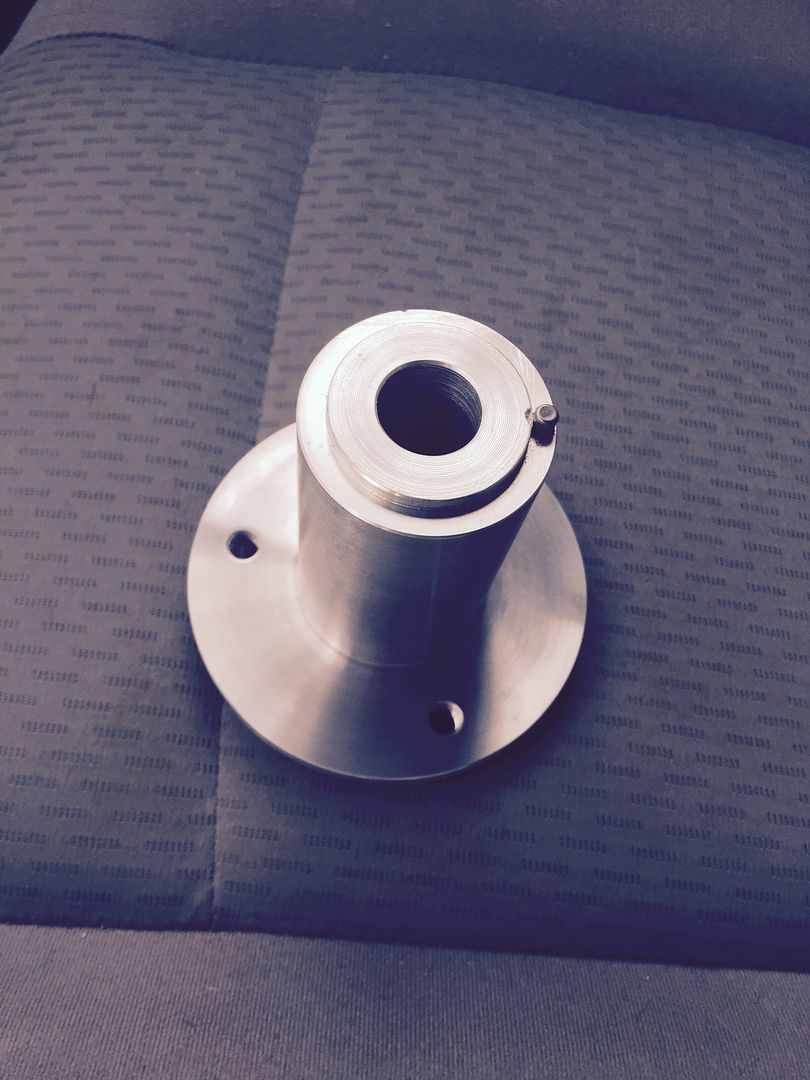
They are adapters to allow me to run a crank driven water pumps with the Chrysler motors. One less pulley / belt and less clutter in the bilge. Not to mention easier to find and cheaper water pumps / impellers.


They are adapters to allow me to run a crank driven water pumps with the Chrysler motors. One less pulley / belt and less clutter in the bilge. Not to mention easier to find and cheaper water pumps / impellers.
11-23-2015 | 03:30 PM
#193
Thread Starter
Registered
Joined: Jul 2006
Posts: 583
Likes: 1
From: Frankfort IL
Well the snow has slowed down work on the trailer, but I did order the pistons and some other miscellaneous pieces for the motor. Next on the plate? I've got big plans for this little piece of fiberglass...


 11-23-2015 | 04:32 PM
#196
Gold Member


Joined: Sep 2011
Posts: 2,643
Likes: 18
From: cleveland ohio
11-23-2015 | 05:02 PM
#197
Thread Starter
Registered
Joined: Jul 2006
Posts: 583
Likes: 1
From: Frankfort IL
I've got the Keikheaffer Zero Effort controls and Faria Spun Silver Gauges, along with the new Hydraulic helm. I too am running toggle switches for everything, I had some custom switch bezels made up by Carolina Laser. They are 1" OD with a 1/2" hole.

I am also going to use these switch guards:

and these Aircraft LED panel lights to light up the dash around the switches:
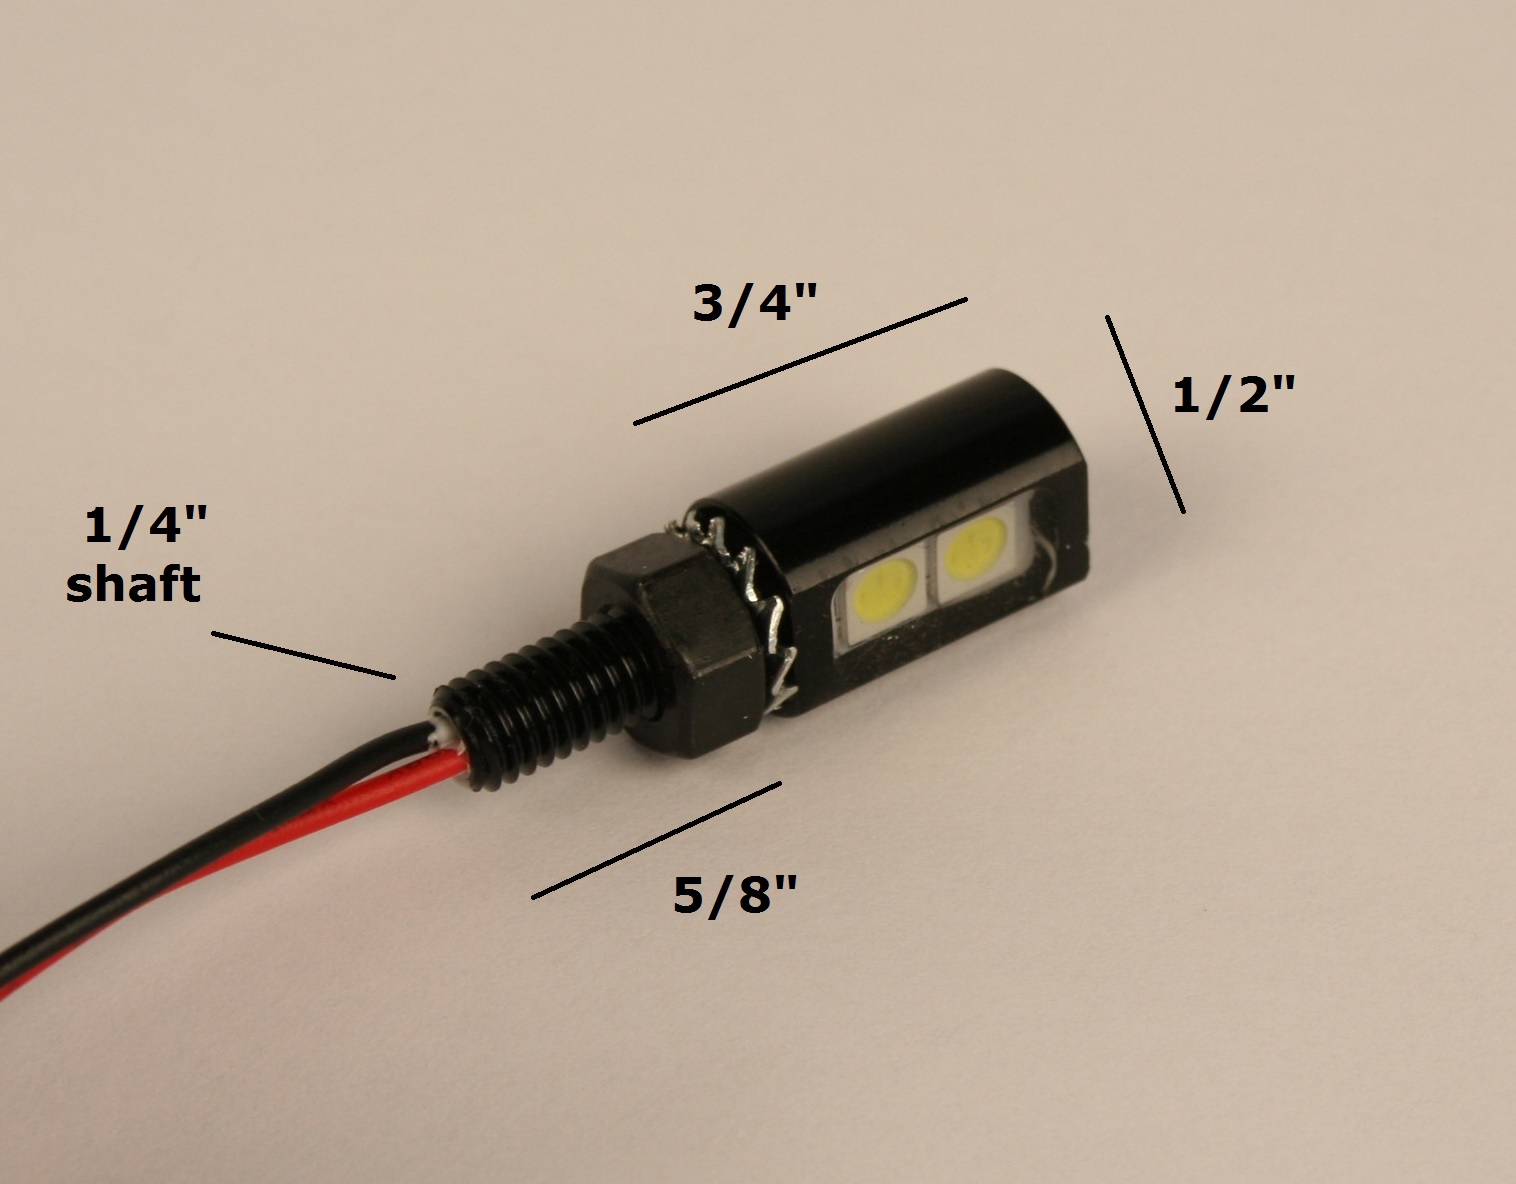
I'd also like to run individual panel mount circuit breakers for each switch, but worry that I'm going to run out of room lol

I am also going to use these switch guards:
and these Aircraft LED panel lights to light up the dash around the switches:
I'd also like to run individual panel mount circuit breakers for each switch, but worry that I'm going to run out of room lol
11-23-2015 | 05:08 PM
#198
Gold Member
Joined: Sep 2011
Posts: 2,643
Likes: 18
From: cleveland ohio
Can you send me some contact info on the switch bezels? Those are sweet!
I ran the loads through a fuse block behind the dash to keep it a little cleaner. Really, not something that should need to be constantly reset anyhow. I bought all my switches and LED's from granger.
I ran the loads through a fuse block behind the dash to keep it a little cleaner. Really, not something that should need to be constantly reset anyhow. I bought all my switches and LED's from granger.
11-23-2015 | 05:09 PM
#199
Thread Starter
Registered
Joined: Jul 2006
Posts: 583
Likes: 1
From: Frankfort IL
BTW I love the 68 in your avatar! I had a Mr Norms 69 383 Super Bee that I restored 25 years ago B3 Blue White top White Stripe and a Dark blue bucket seat interior. Also had a 440 + 6 4 Speed Superbird numbers matching California car, that is the one I wish I kept, I sold it in 1998 for 45,000$ It is currently for sale for 226,000$
http://classiccars.com/listings/view...illinois-60030
That IS my old car...
http://classiccars.com/listings/view...illinois-60030
That IS my old car...
11-23-2015 | 05:12 PM
#200
Thread Starter
Registered
Joined: Jul 2006
Posts: 583
Likes: 1
From: Frankfort IL
Can you send me some contact info on the switch bezels? Those are sweet!
I ran the loads through a fuse block behind the dash to keep it a little cleaner. Really, not something that should need to be constantly reset anyhow. I bought all my switches and LED's from granger.
I ran the loads through a fuse block behind the dash to keep it a little cleaner. Really, not something that should need to be constantly reset anyhow. I bought all my switches and LED's from granger.
http://www.legend-plates.com/index.p...roducts_id=297
Less than 1 week turnaround, and a decent amount of color options

