

1998 280 velocity rebuild and updates
 03-07-2013 | 10:10 AM
#1
Thread Starter
Registered
Joined: Jun 2011
Posts: 907
Likes: 4
From: Baton Rouge, La
I bought the boat about 6 months ago with a 502 mag (415 hp) in it. Once I got the boat home I pulled the motor to build a 575-600 naturally aspirated motor. While building the motor I'm doing some updates to the stereo and lighting.
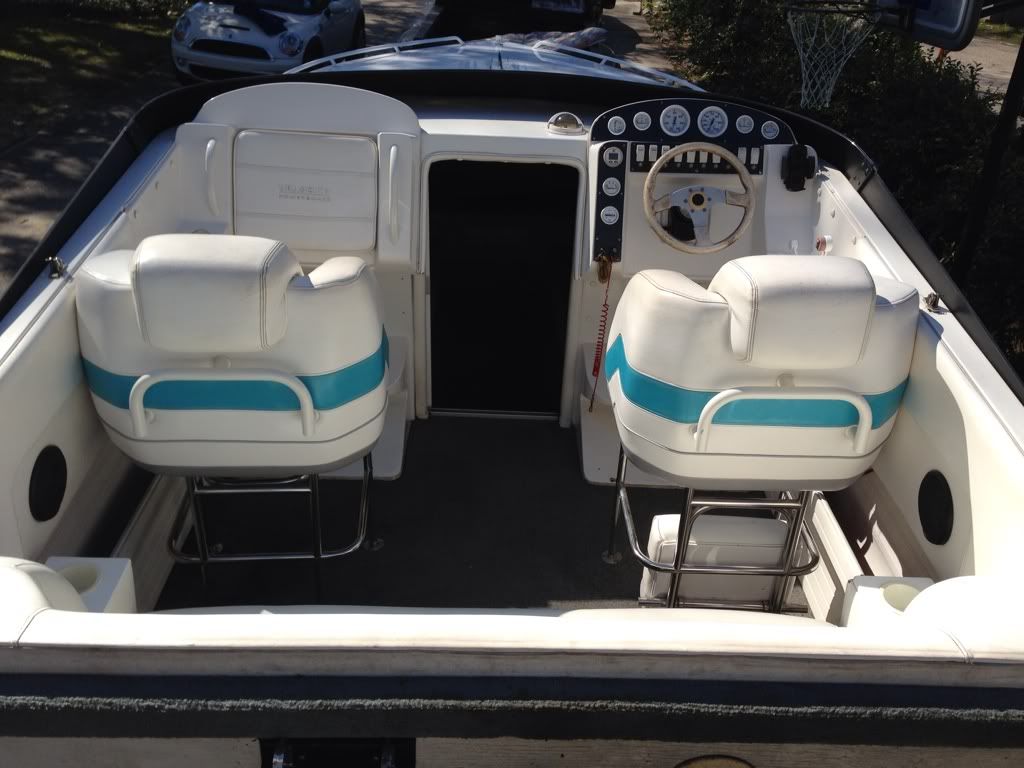
This is the boat after some washing.

Interior hasn't been really cleaned yet.
Made some progress the last couple days. I was able to go work on the block yesterday and ended up having to deck .015 off the deck. The block doesn't seem to have much corrosion on the inside, but it looks like water was getting under the head gasket around a couple ports and caused some corrosion.
Also got to cc the 088 heads and was surprised to see the chambers were at 113cc's. I should be able to just barely skim them in order to not take any more off them. But since the chambers are at 113, the wiseco small dome pistons I just bought aren't going to work so I'm going to have to run the flat top je pistons I have. With the piston .010 in the hole I was figuring for a .040 squish which would give me around 9.24 compression.

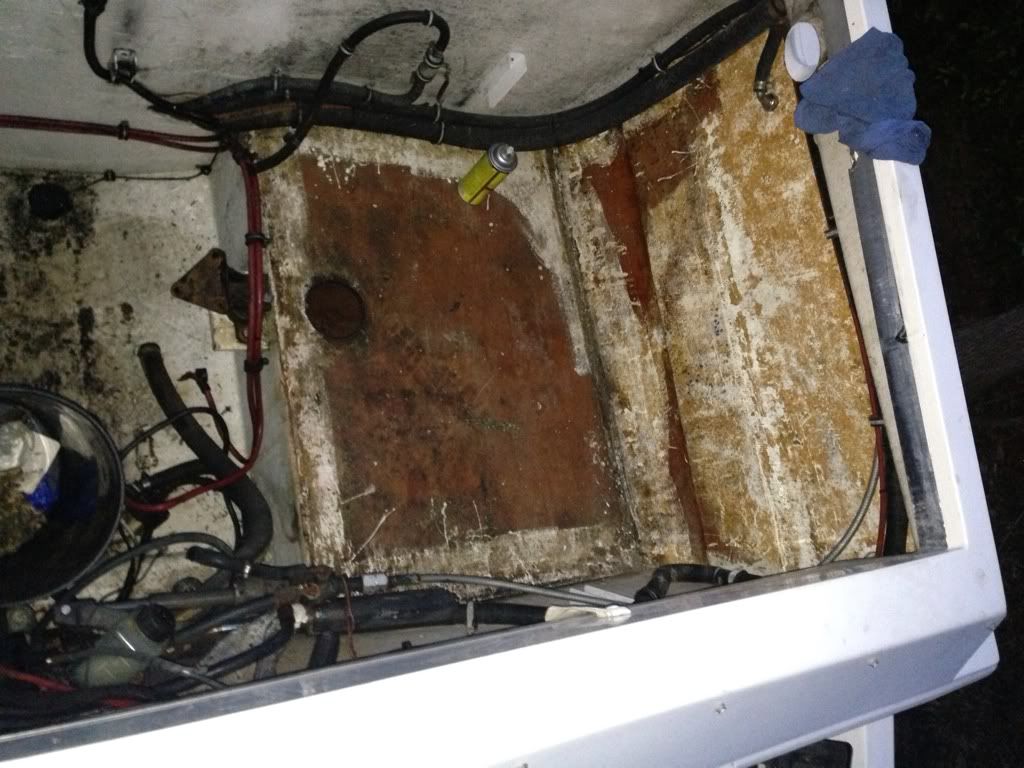
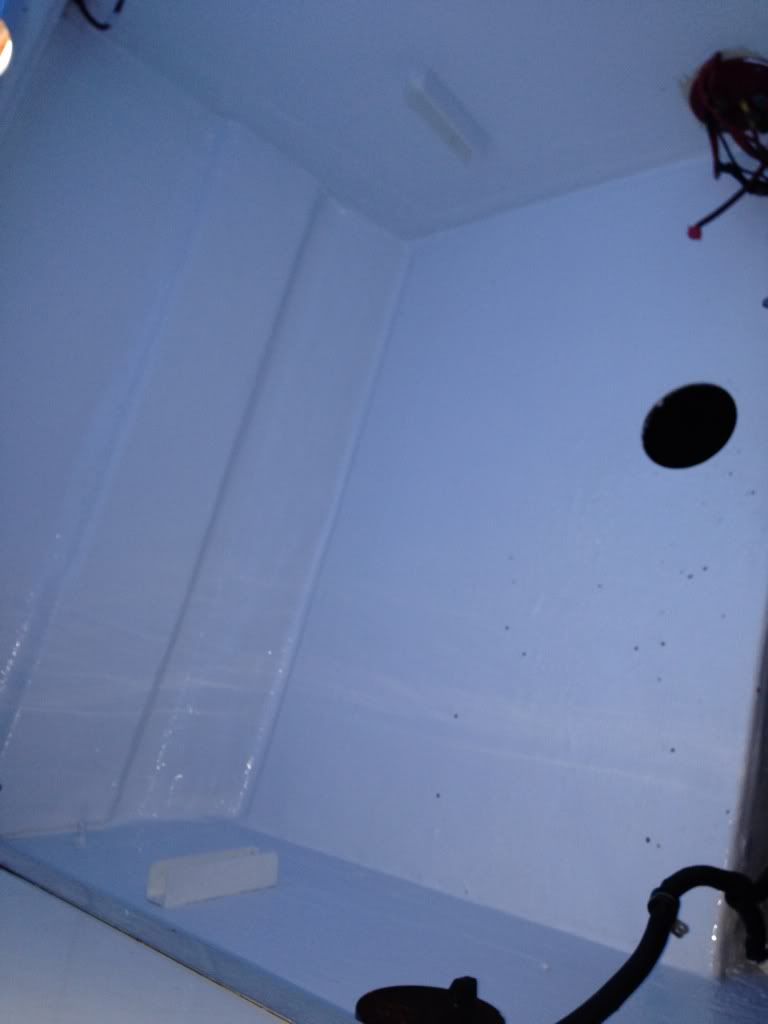
Today I decided to work in the bilge to get it ready for paint. Originally, I was going to leave the carpet in, but after looking it over it was just to dirty and stained up so I pulled it all off and got some glue remover and removed all the carpet glue. I ended up taking it off both sides of the engine and off the side walls. I think once its all painted with the new bilge paint (bright white) its going to look real clean and fresh. The more I crawl around the velocity the more I see how much stronger its build quality is compared to my old 235 Baja (not bashing on Baja as I enjoyed the boat).
I bought all the paint and so I hope to finish all the prep soon and be able to start painting it soon.
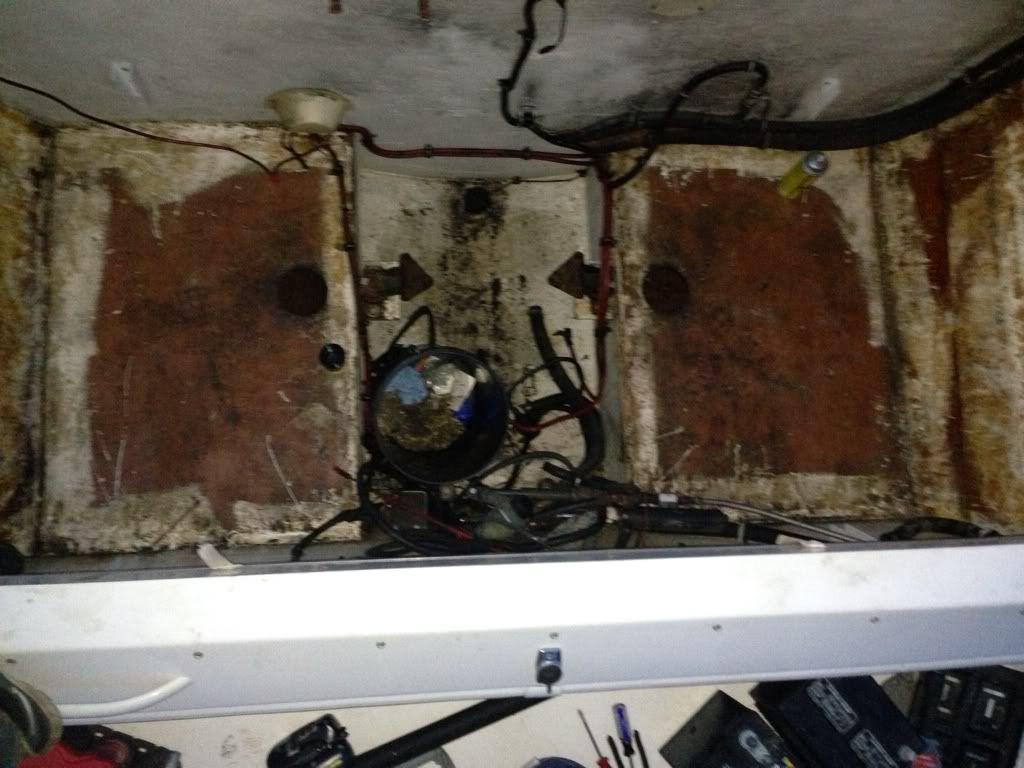
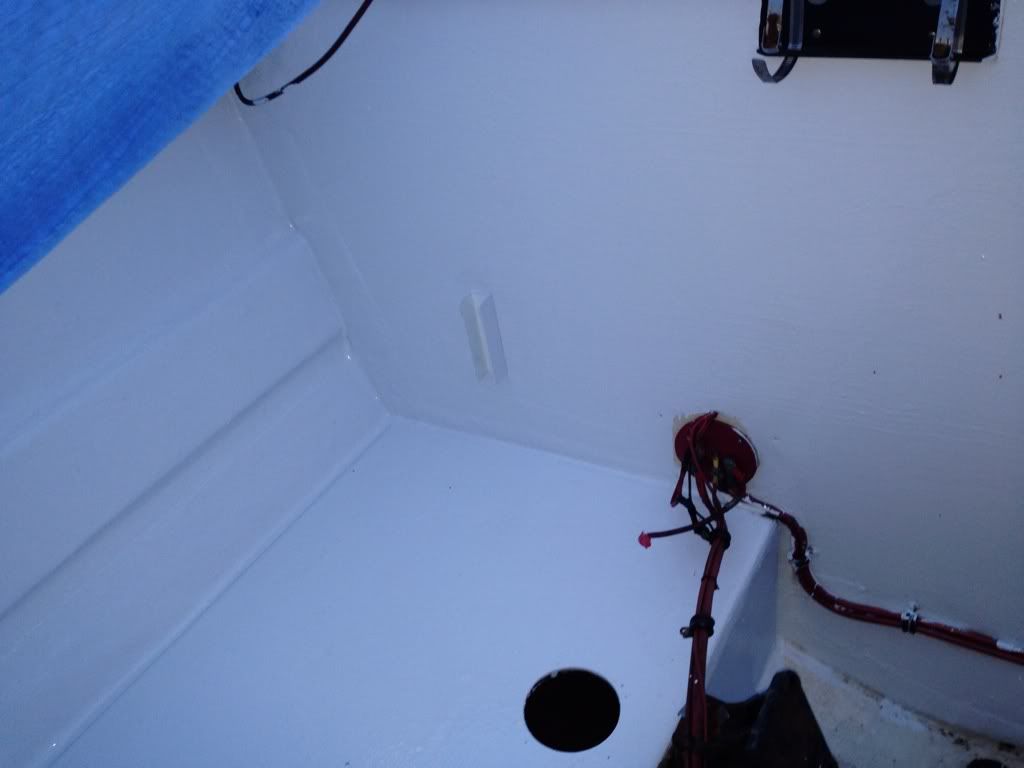
The small black circle is the glue remover cap. I was wondering what the second hole was for when I first looked at the pic.

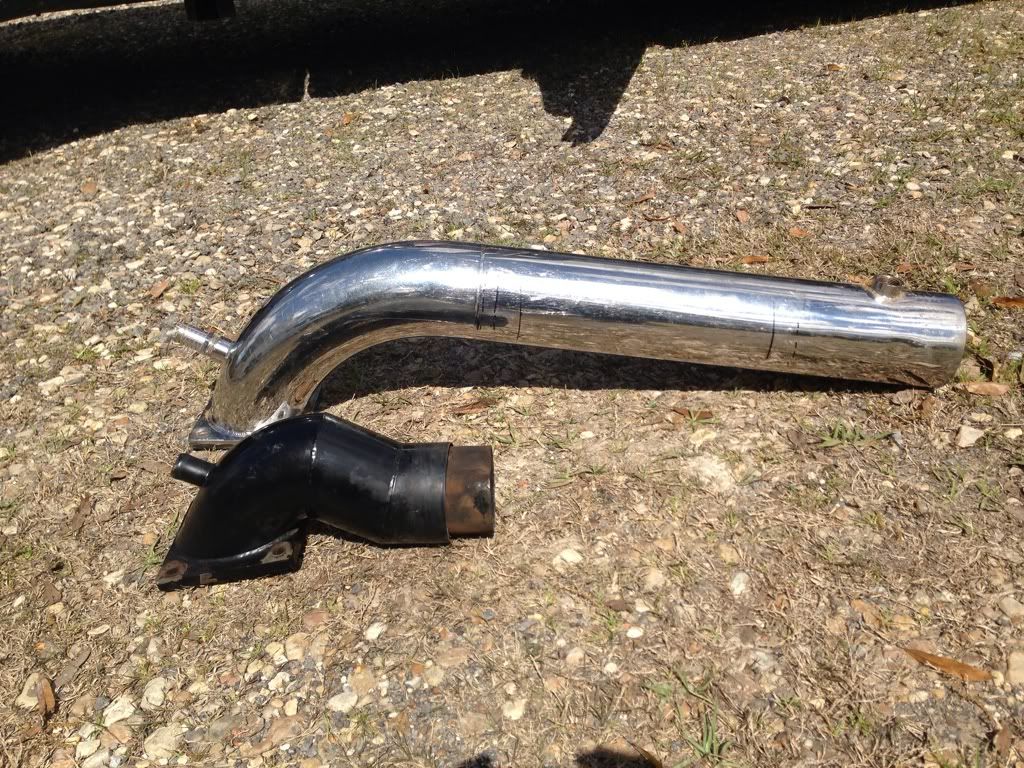
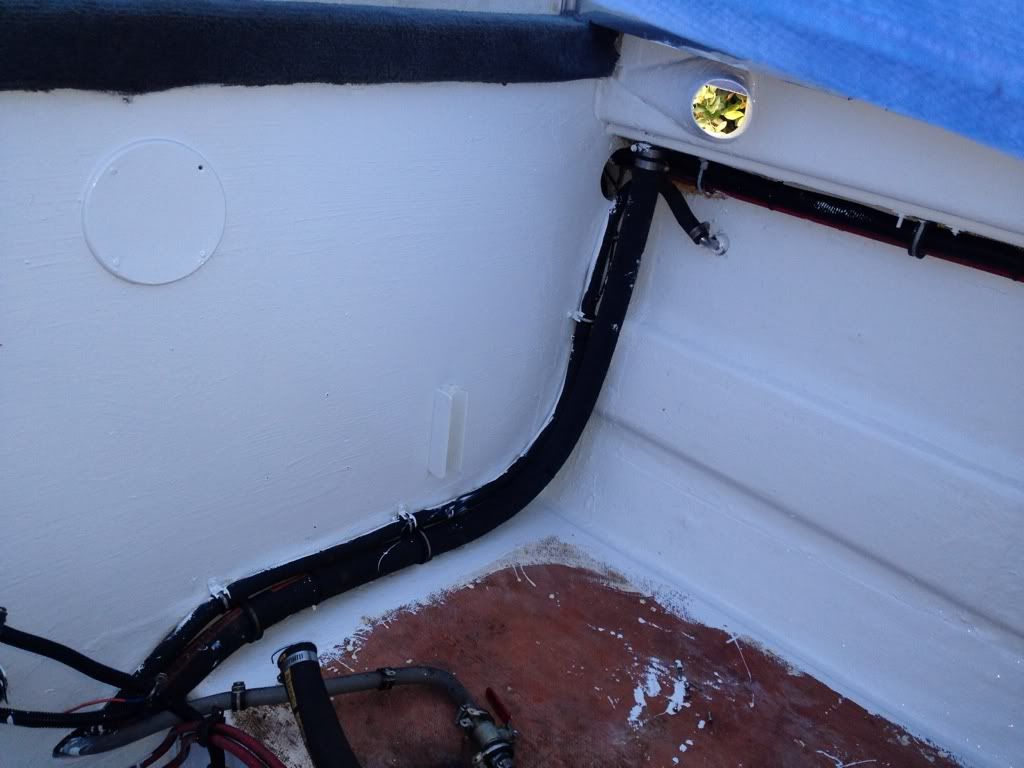
Here is a picture of the old gil risers next to the new gil dry risers. I'm going to have to modify them a little because they are a bit high on the transom, but that won't be a big deal. Either way, I'm excited about the dry exhaust. I'm hoping it sounds better dry.
I'll should have a few new pictures in the next couple of days.
This is the boat after some washing.
Interior hasn't been really cleaned yet.
Made some progress the last couple days. I was able to go work on the block yesterday and ended up having to deck .015 off the deck. The block doesn't seem to have much corrosion on the inside, but it looks like water was getting under the head gasket around a couple ports and caused some corrosion.
Also got to cc the 088 heads and was surprised to see the chambers were at 113cc's. I should be able to just barely skim them in order to not take any more off them. But since the chambers are at 113, the wiseco small dome pistons I just bought aren't going to work so I'm going to have to run the flat top je pistons I have. With the piston .010 in the hole I was figuring for a .040 squish which would give me around 9.24 compression.
Today I decided to work in the bilge to get it ready for paint. Originally, I was going to leave the carpet in, but after looking it over it was just to dirty and stained up so I pulled it all off and got some glue remover and removed all the carpet glue. I ended up taking it off both sides of the engine and off the side walls. I think once its all painted with the new bilge paint (bright white) its going to look real clean and fresh. The more I crawl around the velocity the more I see how much stronger its build quality is compared to my old 235 Baja (not bashing on Baja as I enjoyed the boat).
I bought all the paint and so I hope to finish all the prep soon and be able to start painting it soon.
The small black circle is the glue remover cap. I was wondering what the second hole was for when I first looked at the pic.
Here is a picture of the old gil risers next to the new gil dry risers. I'm going to have to modify them a little because they are a bit high on the transom, but that won't be a big deal. Either way, I'm excited about the dry exhaust. I'm hoping it sounds better dry.
I'll should have a few new pictures in the next couple of days.
 03-07-2013 | 10:13 AM
#2
Thread Starter
Registered
Joined: Jun 2011
Posts: 907
Likes: 4
From: Baton Rouge, La
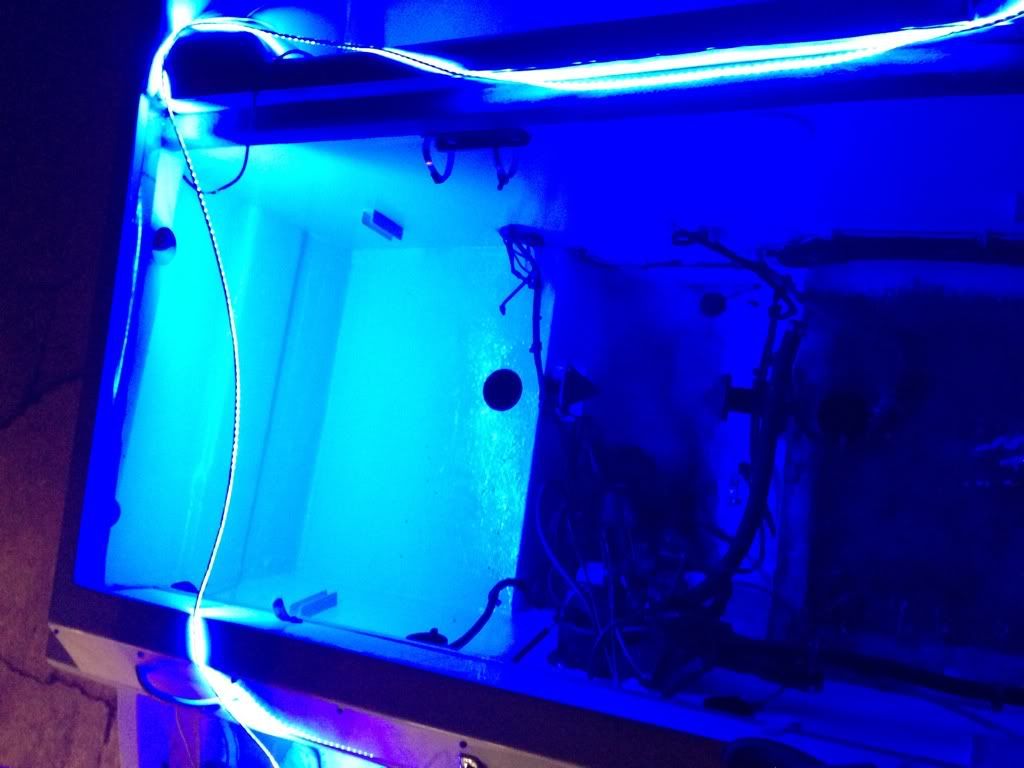
I got some of the led strip lighting in that in going to use in the cabin, cockpit and engine bay. I just draped in around the cockpit for the picture to get an idea of how it's going to look.
Here is a picture of how the lights came.
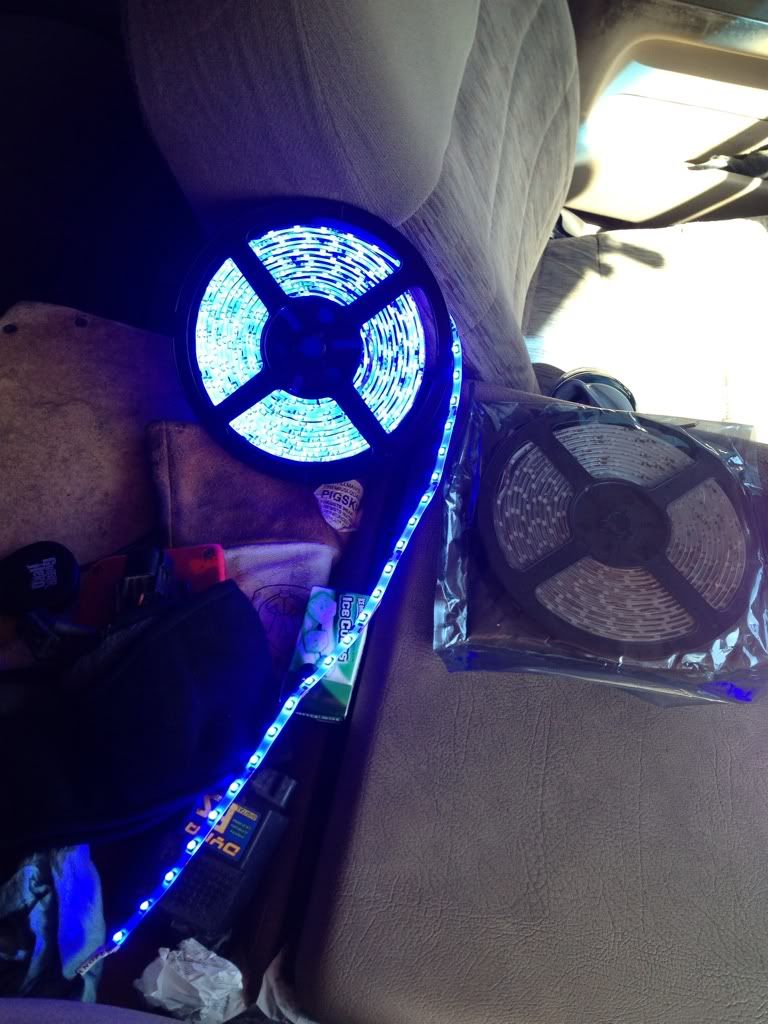
More updates in the next couple days.
Here is a picture of how the lights came.
More updates in the next couple days.
03-07-2013 | 02:06 PM
#3
Registered

Joined: Jul 2010
Posts: 526
Likes: 54
From: Windsor, NC
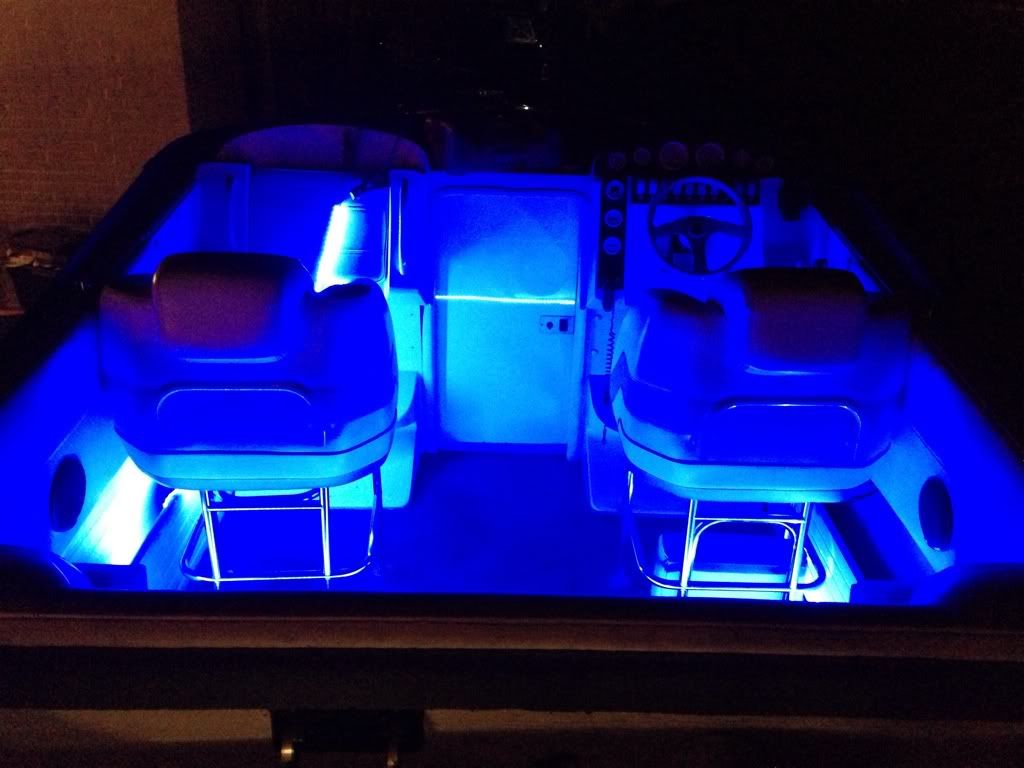
Looking good. I got my 22 Velocity last year and redid the motor and put Stellings headers on it. I had to do a lot of work to get them to fit and raise the hatch 4.5". This winter its interior, stereo, and LED lights. I ordered LED lights like yours but in red. The interior should be going to the upholesterer tomorrow. I like the 26 Velocity's though.
 03-09-2013 | 05:46 PM
#7
Thread Starter
Registered
Joined: Jun 2011
Posts: 907
Likes: 4
From: Baton Rouge, La
I have a few progress pictures from today. I washed the bilge out numerous times with degreaser and then two times with dawn soap in order to have a clean surface for the bilge paint. There were tons of wires to move and hoses to shift to paint every where. Some hoses got paint on them, but I'll deal with it when everything is dry. I plan on changing the fuel hoses anyway. I'm going to have to do the painting in two stages. I stood where the motor goes and painted all the walls and sides and the floor over the passenger side of the bilge. I left the driver side floor and under the engine unpainted because I had to have a place to stand. I ended up putting about 4 coats on everything so everything had good coverage. Hopefully it all bonds real well and I don't have any problems. My last boat I used a bilge paint from west marine and no problems. This time I used rustoleum and enamel hardener because I read about many people having good luck with it. Since it was much cheaper and I had a lot more area to cover than I did with my Baja I went that route. Hopefully I don't regret it. I read many reviews of people doing it that way and most liked the result.
In the picture everything has a blue tint because I out a tarp over the bilge due to all kinds of stuff falling from the trees and getting on the paint. When I go to put all the hoses and wires back I plan on using 5200 on all the screws and fasteners. On a positive note, every screw I took out was bone dry and had no signs of moisture which I was very happy about. I ended up having to do stringer repair on my Baja and it was NO fun at all!!!!
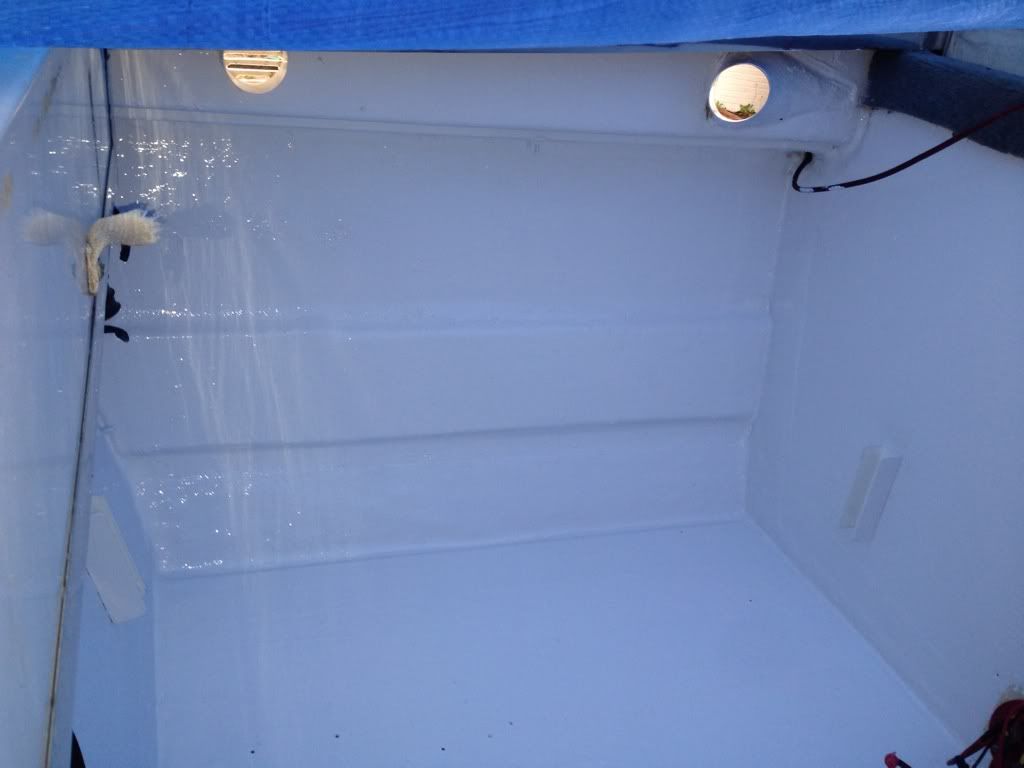
All the little speeds in the floor in this picture are screw holes and not imperfections in the paint.
I will get some pictures with the tarp off when it all drys. I think it's going to look great with the blue LEDs in the engine bay with all the fresh white paint. I can't wait to see how it looks. I need to make sure the motor looks very clean so that it finishes off the engine bay. My last engine bay was a bit messy so I hope to not have this one like that.
In the picture everything has a blue tint because I out a tarp over the bilge due to all kinds of stuff falling from the trees and getting on the paint. When I go to put all the hoses and wires back I plan on using 5200 on all the screws and fasteners. On a positive note, every screw I took out was bone dry and had no signs of moisture which I was very happy about. I ended up having to do stringer repair on my Baja and it was NO fun at all!!!!
All the little speeds in the floor in this picture are screw holes and not imperfections in the paint.
I will get some pictures with the tarp off when it all drys. I think it's going to look great with the blue LEDs in the engine bay with all the fresh white paint. I can't wait to see how it looks. I need to make sure the motor looks very clean so that it finishes off the engine bay. My last engine bay was a bit messy so I hope to not have this one like that.
03-10-2013 | 09:40 AM
#8
Thread Starter
Registered
Joined: Jun 2011
Posts: 907
Likes: 4
From: Baton Rouge, La
While is was checking the paint last night I laid one of the light stips across the engine bay to get an idea of how it's going to look with the led lighting after the fresh paint. Its going to look great with the fresh paint and motor. Only thing that coud make it look better is a polished blower sitting on top of the new engine.
03-17-2013 | 08:56 AM
#10
Thread Starter
Registered
Joined: Jun 2011
Posts: 907
Likes: 4
From: Baton Rouge, La
Here are a couple more progress pictures. Finally finished all the paint in the bilge and starting to put the wiring harnesses back into place. In the pictures the harnesses are still tided up out of the way (aka birds nest). The port side has tree flower buds if you notice all the specs. I didn't have time to sweep them out yet. The starboard side and below the engine is the new paint. (Last section painted)
The last section of bilge I had to paint I mixed the hardener a little hotter then the first areas and it worked better. It was rock solid in 24 hours. I'm going to start putting in all the lights next.
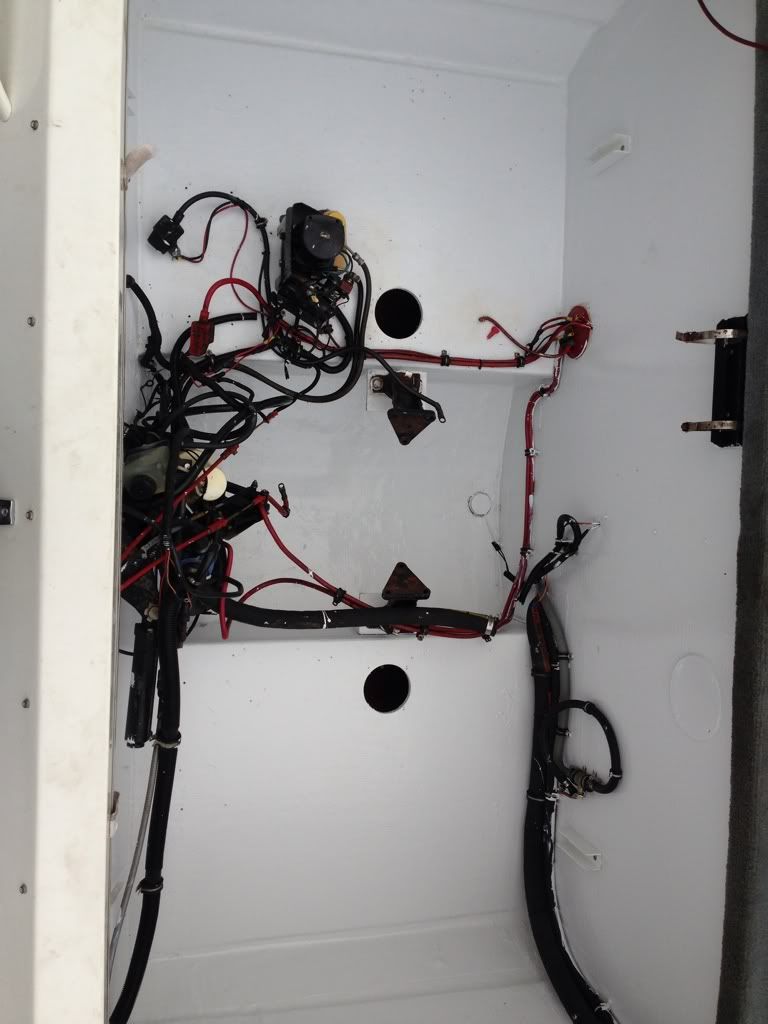

The last section of bilge I had to paint I mixed the hardener a little hotter then the first areas and it worked better. It was rock solid in 24 hours. I'm going to start putting in all the lights next.
Last edited by cp5899; 03-17-2013 at 08:59 AM.

