

Fountain 47, 2372cid single engine diesel
 03-08-2024 | 03:22 PM
#311
Thread Starter
Registered

Joined: Jan 2010
Posts: 346
Likes: 877
From: Finland
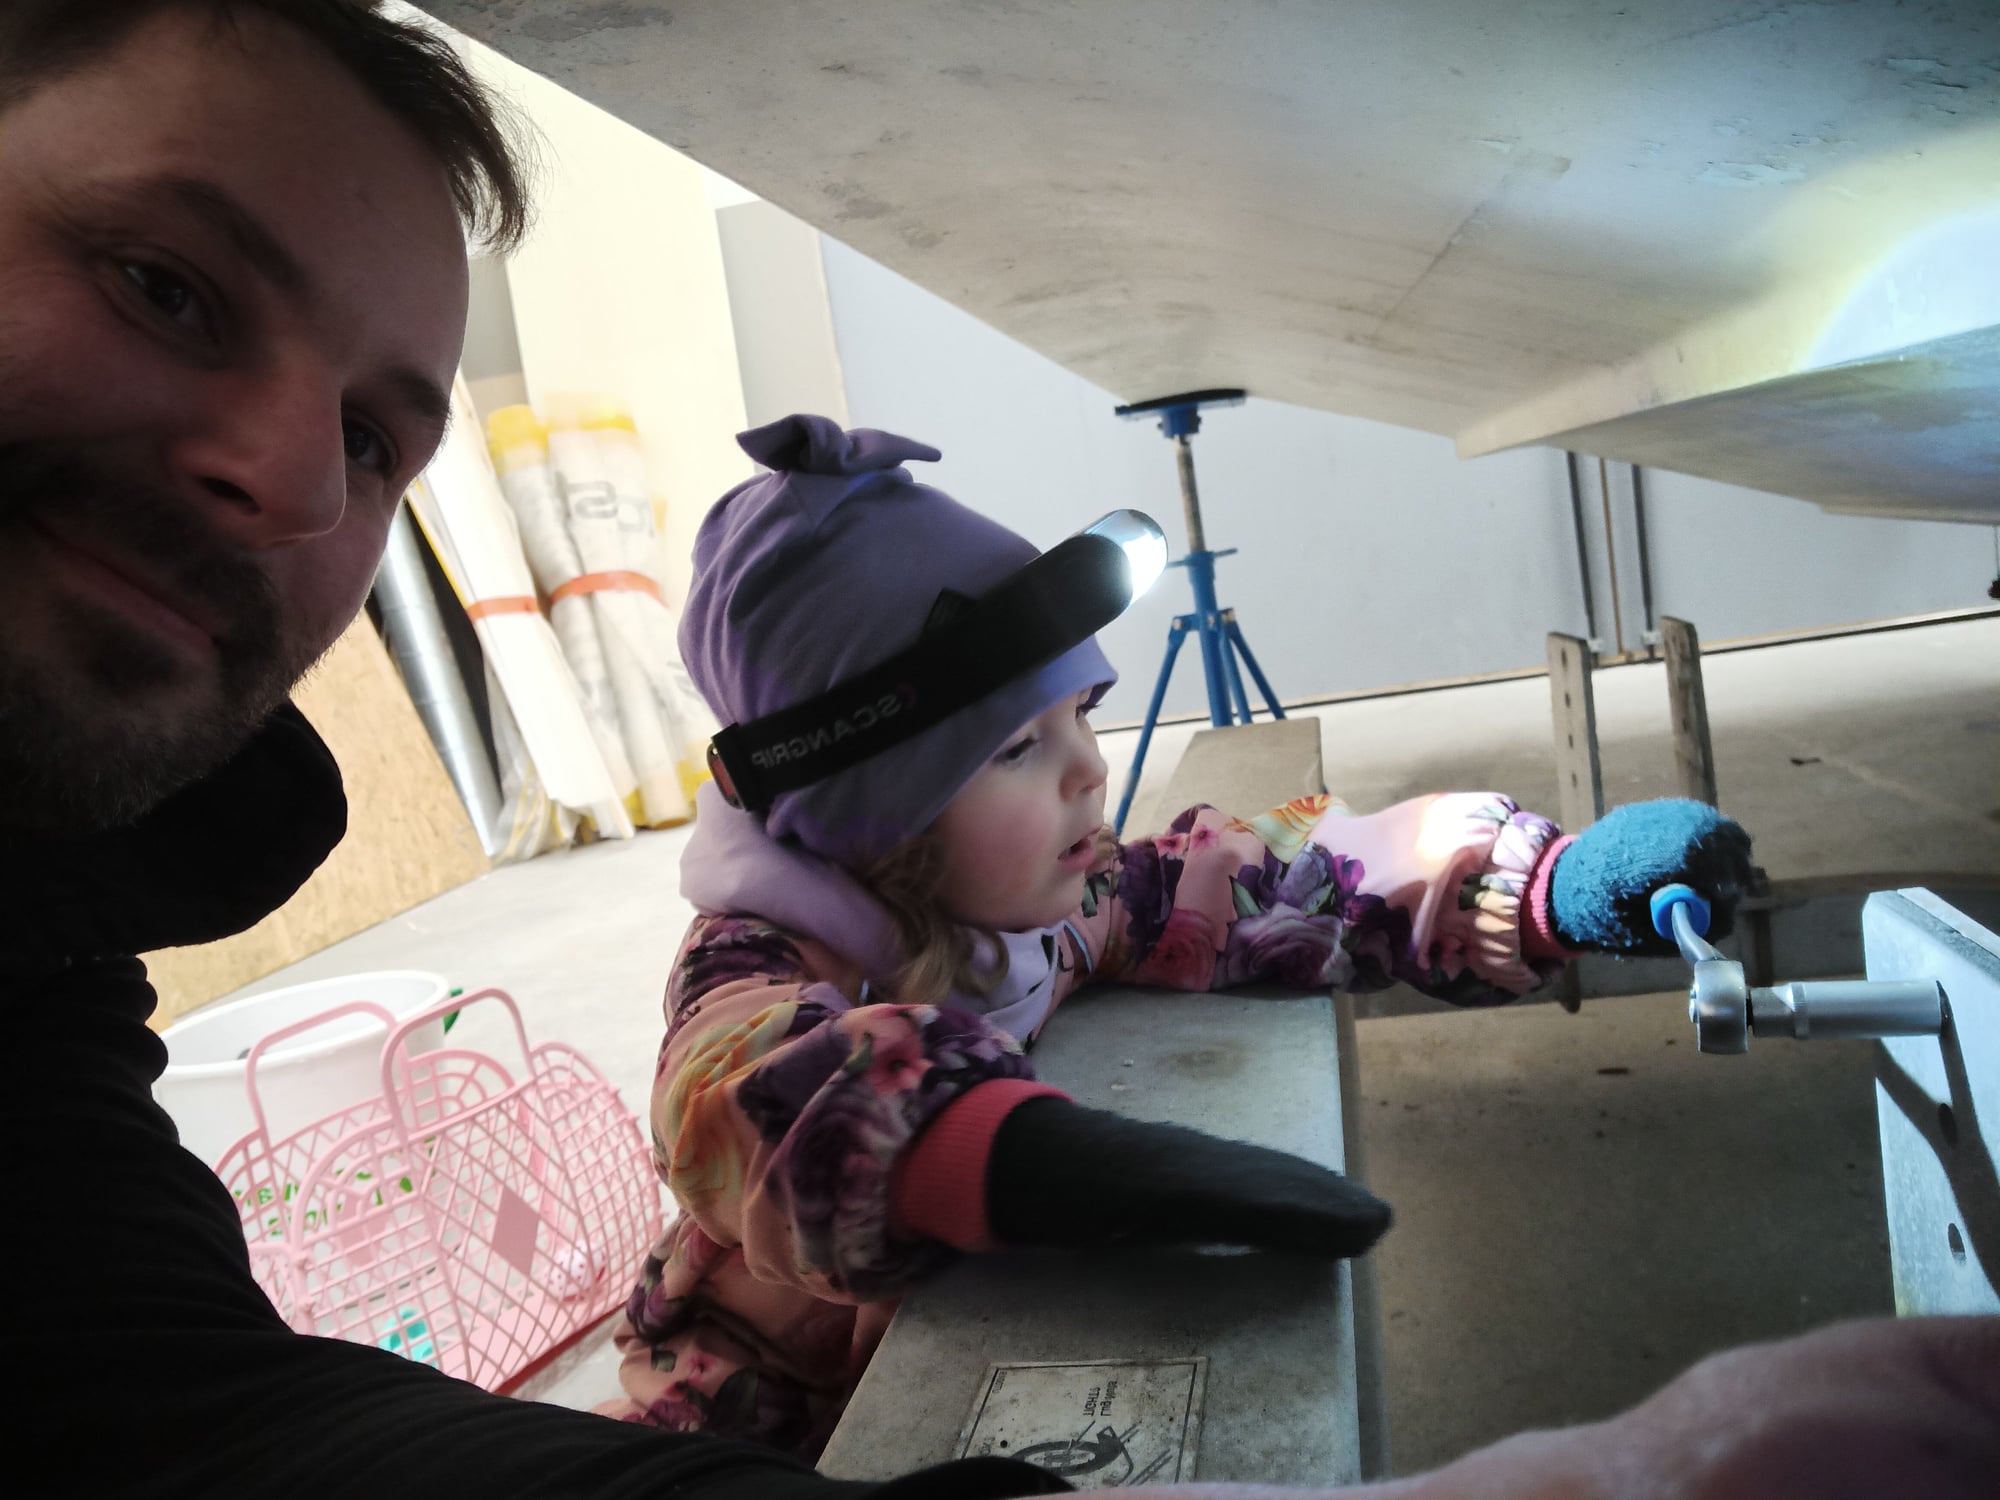
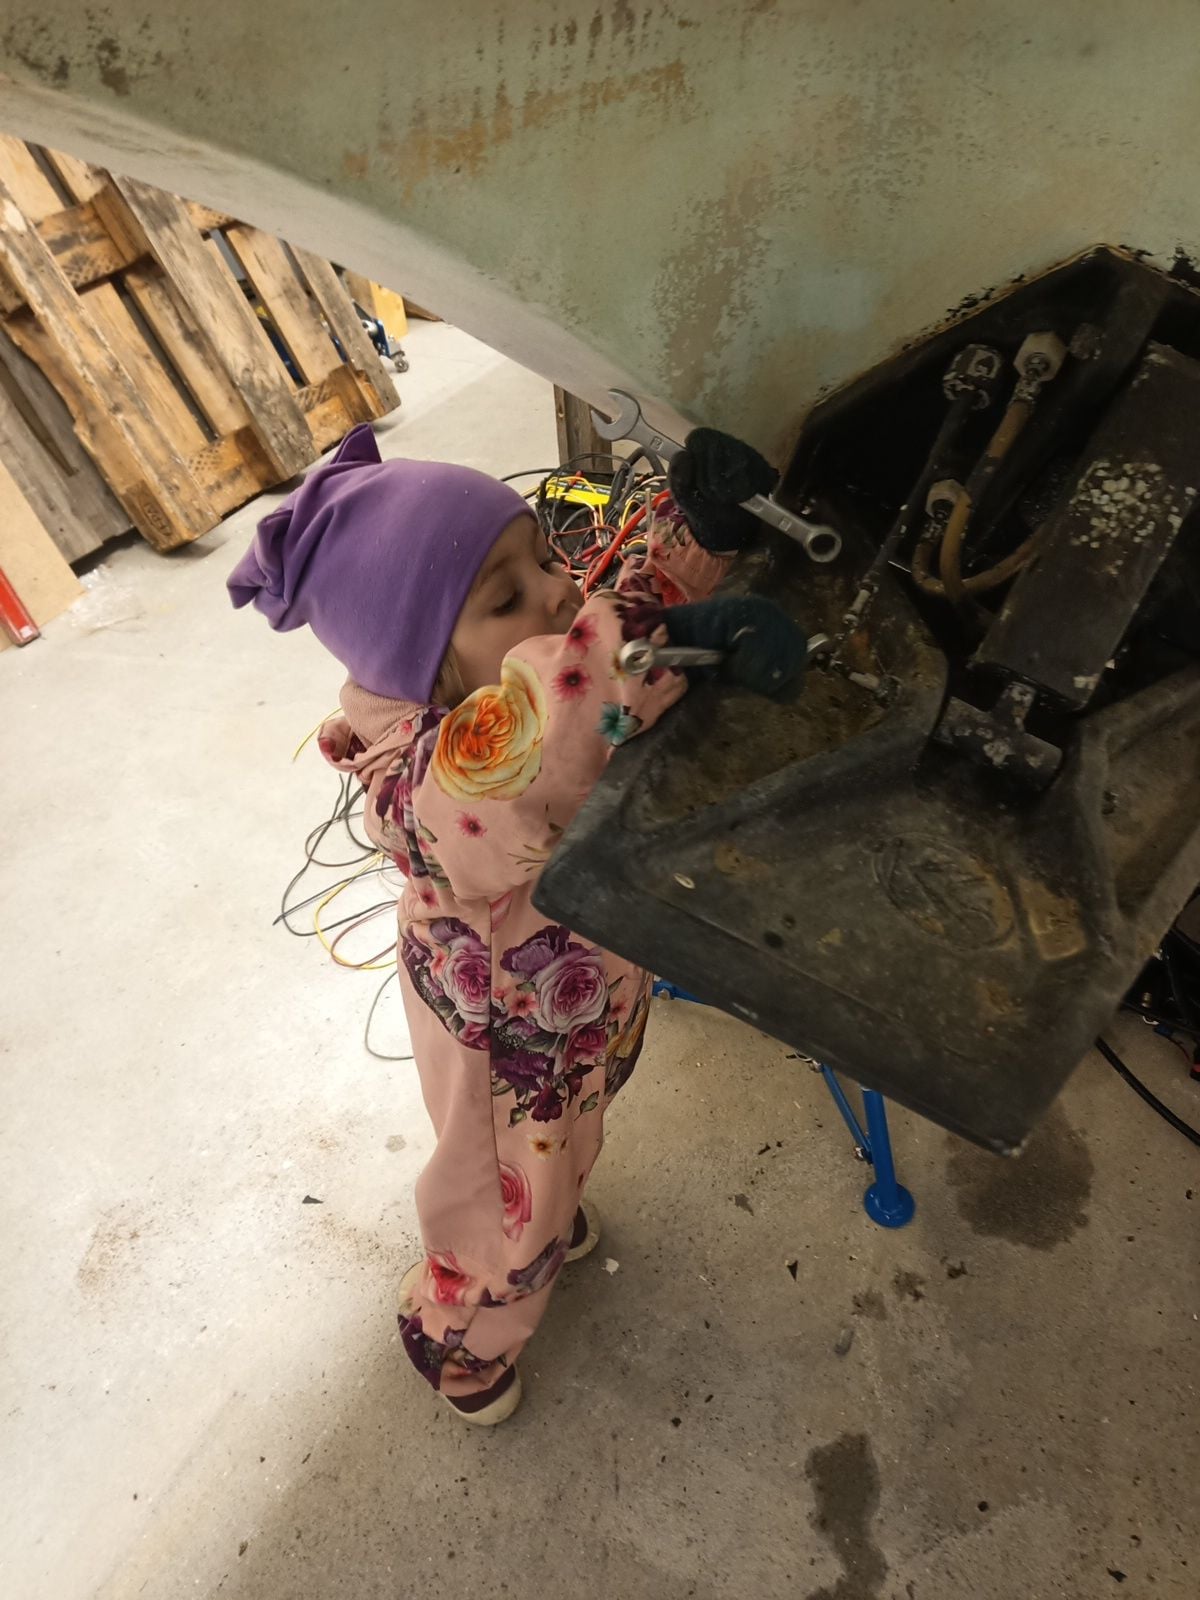
It's very nice work in home garage, I can do work late night after junior go sleep. By the way I have an avid helper, she is now two years and one month, can do some things already. At least clean and gather screws and nuts. Not so many two years old girl have take part to build a 47 Fountain 
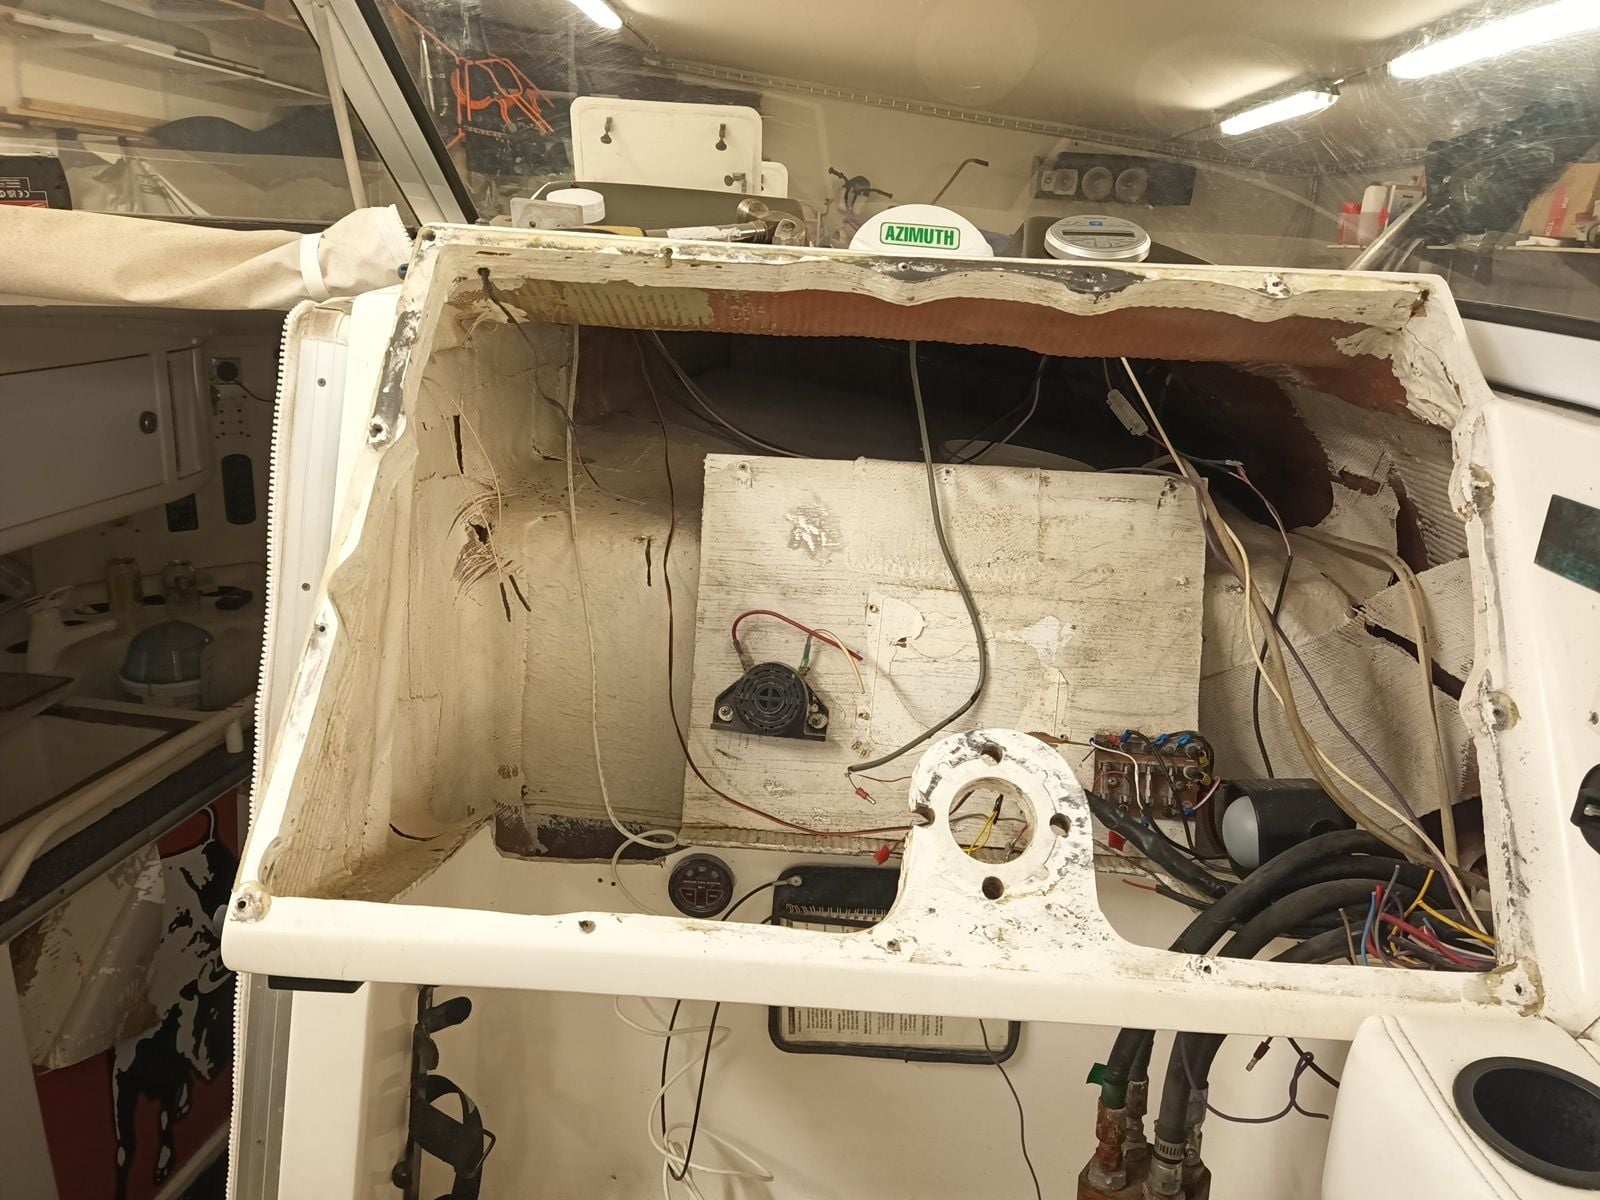
Fountain electric work is bad, like trade school baseball cap kid Toyota corolla subwoofer wiring, first I think to leave electrics original, but it's not right way to go. I take all out exept cabin wires. Hydraulics is also not to my liking. I will move pumps near transom so no need for 50 meters of hose....
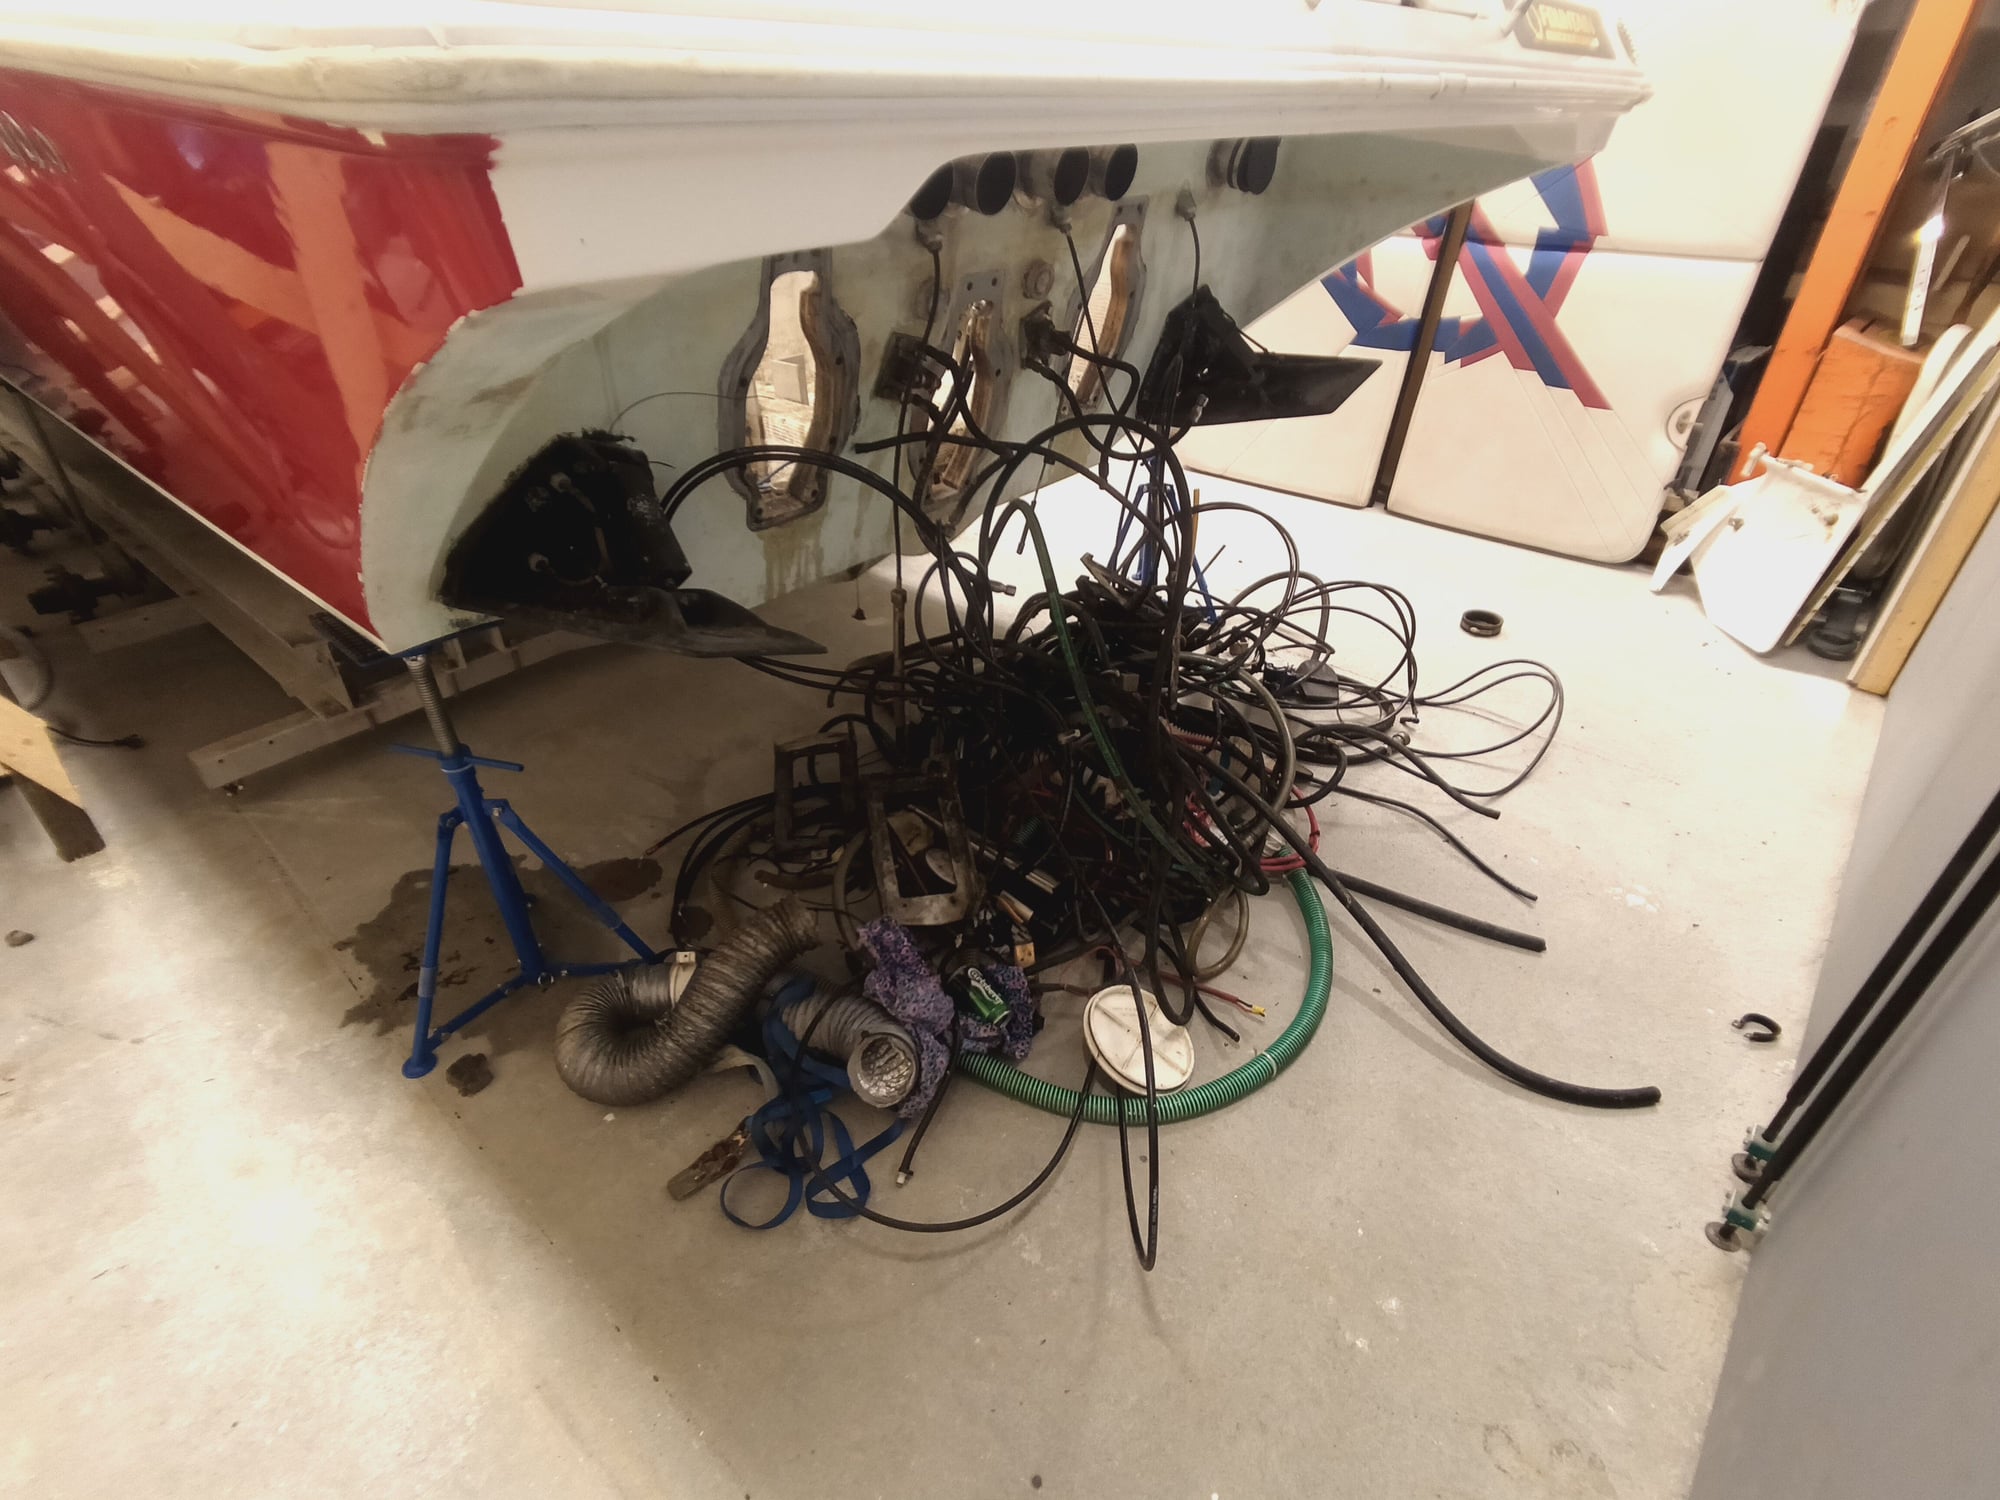
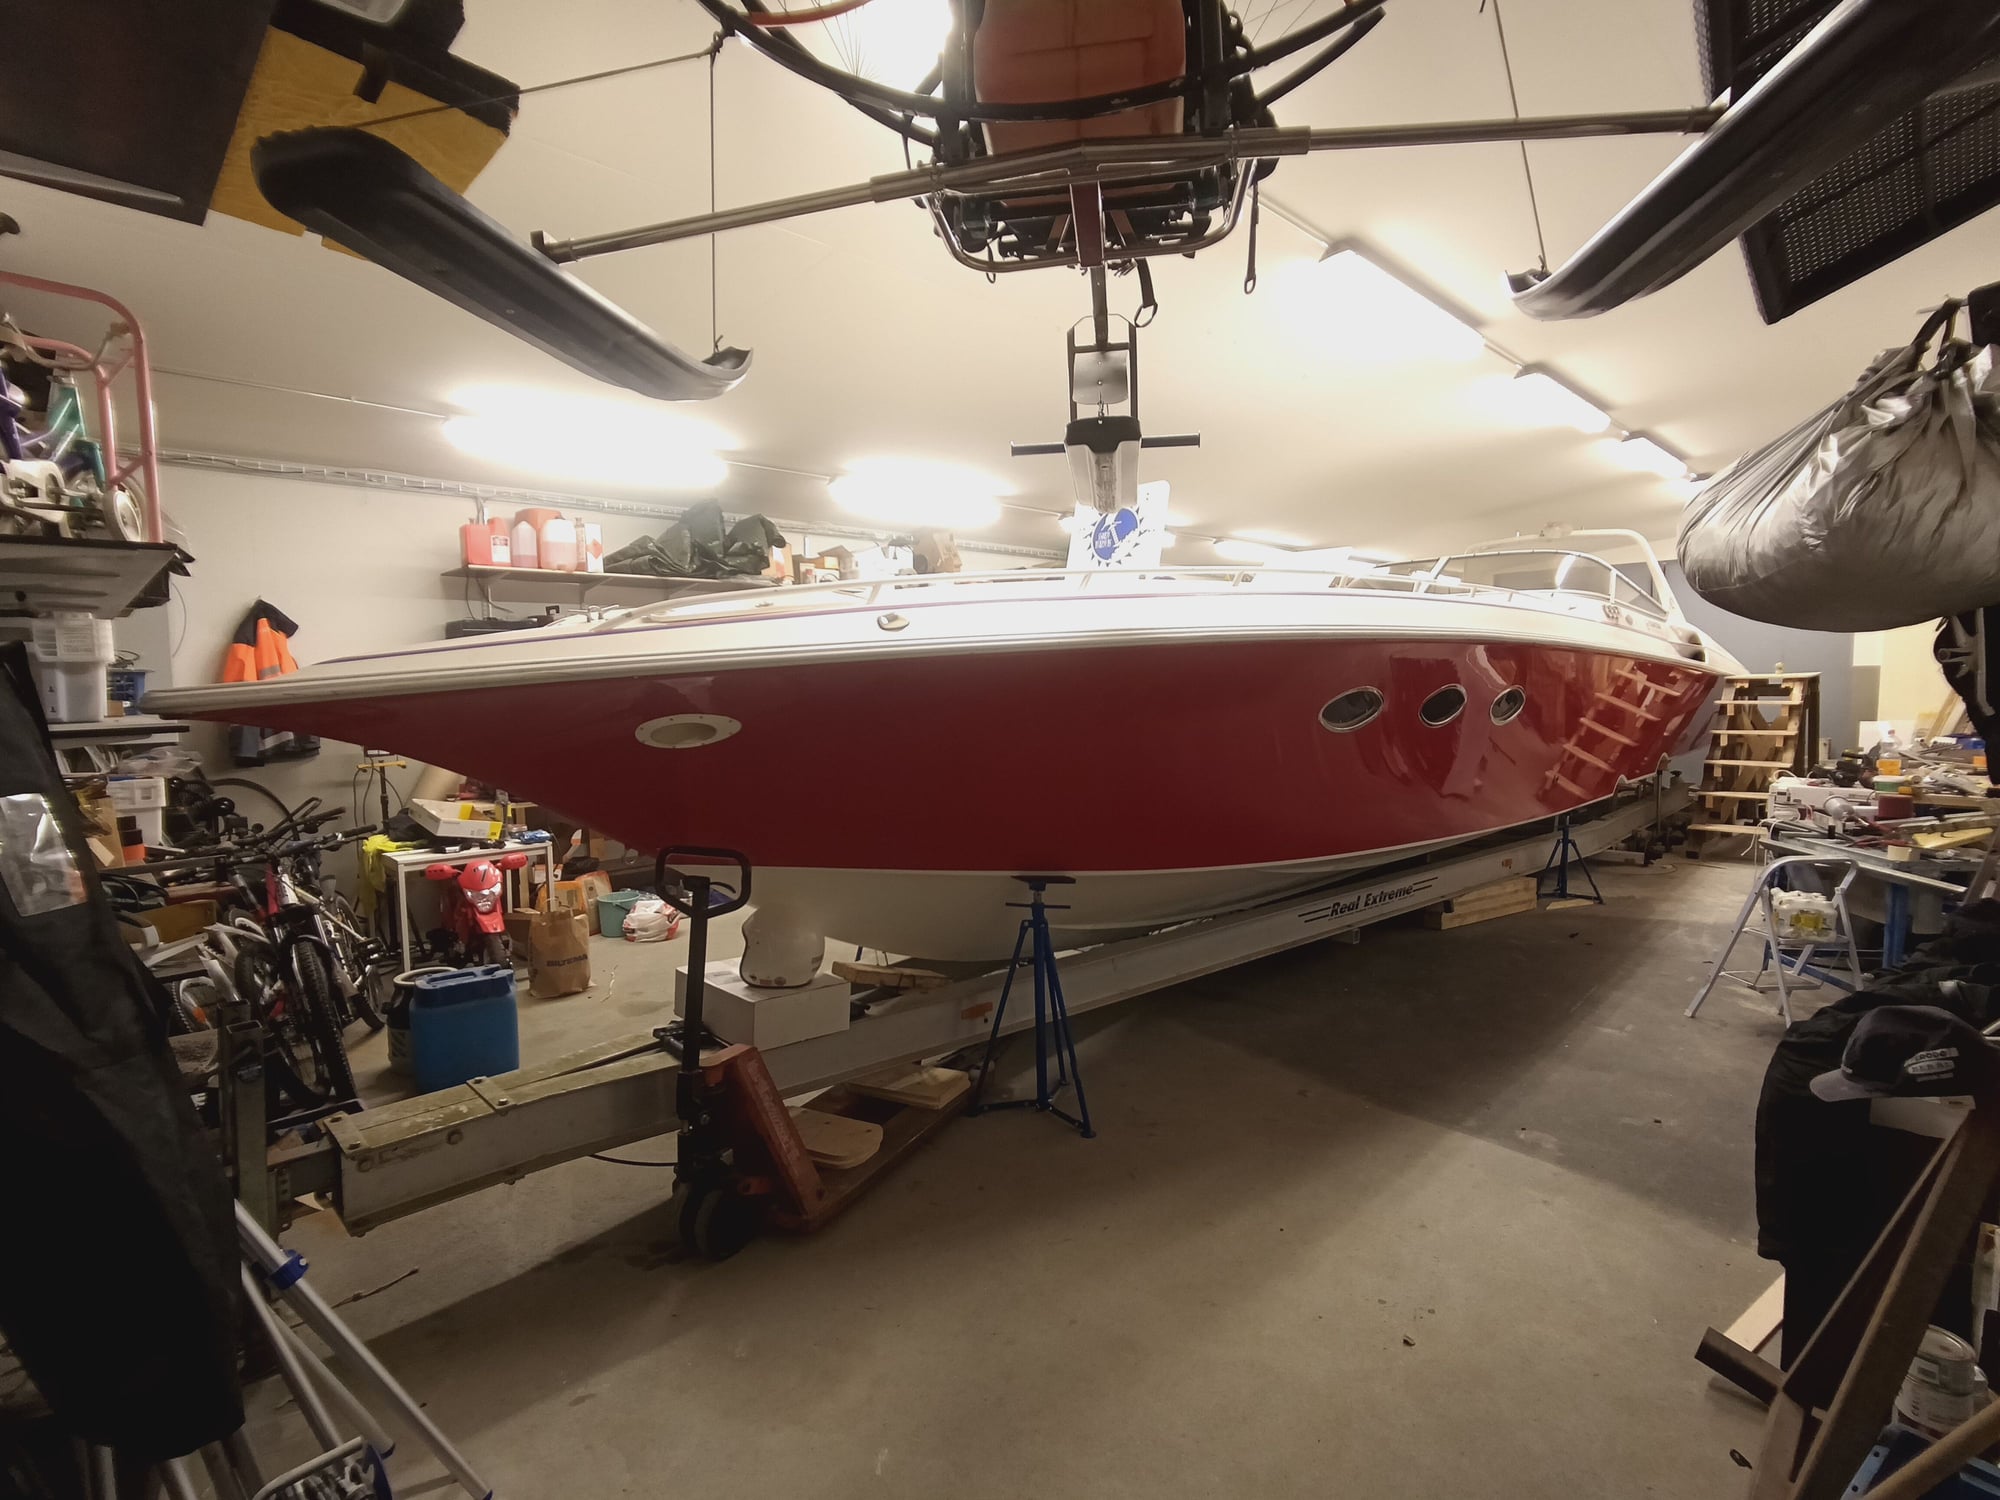
Boat is jacked of trailer and leveled to horizontal, it's easier to make new stringers when I can use lazer and spirit level.
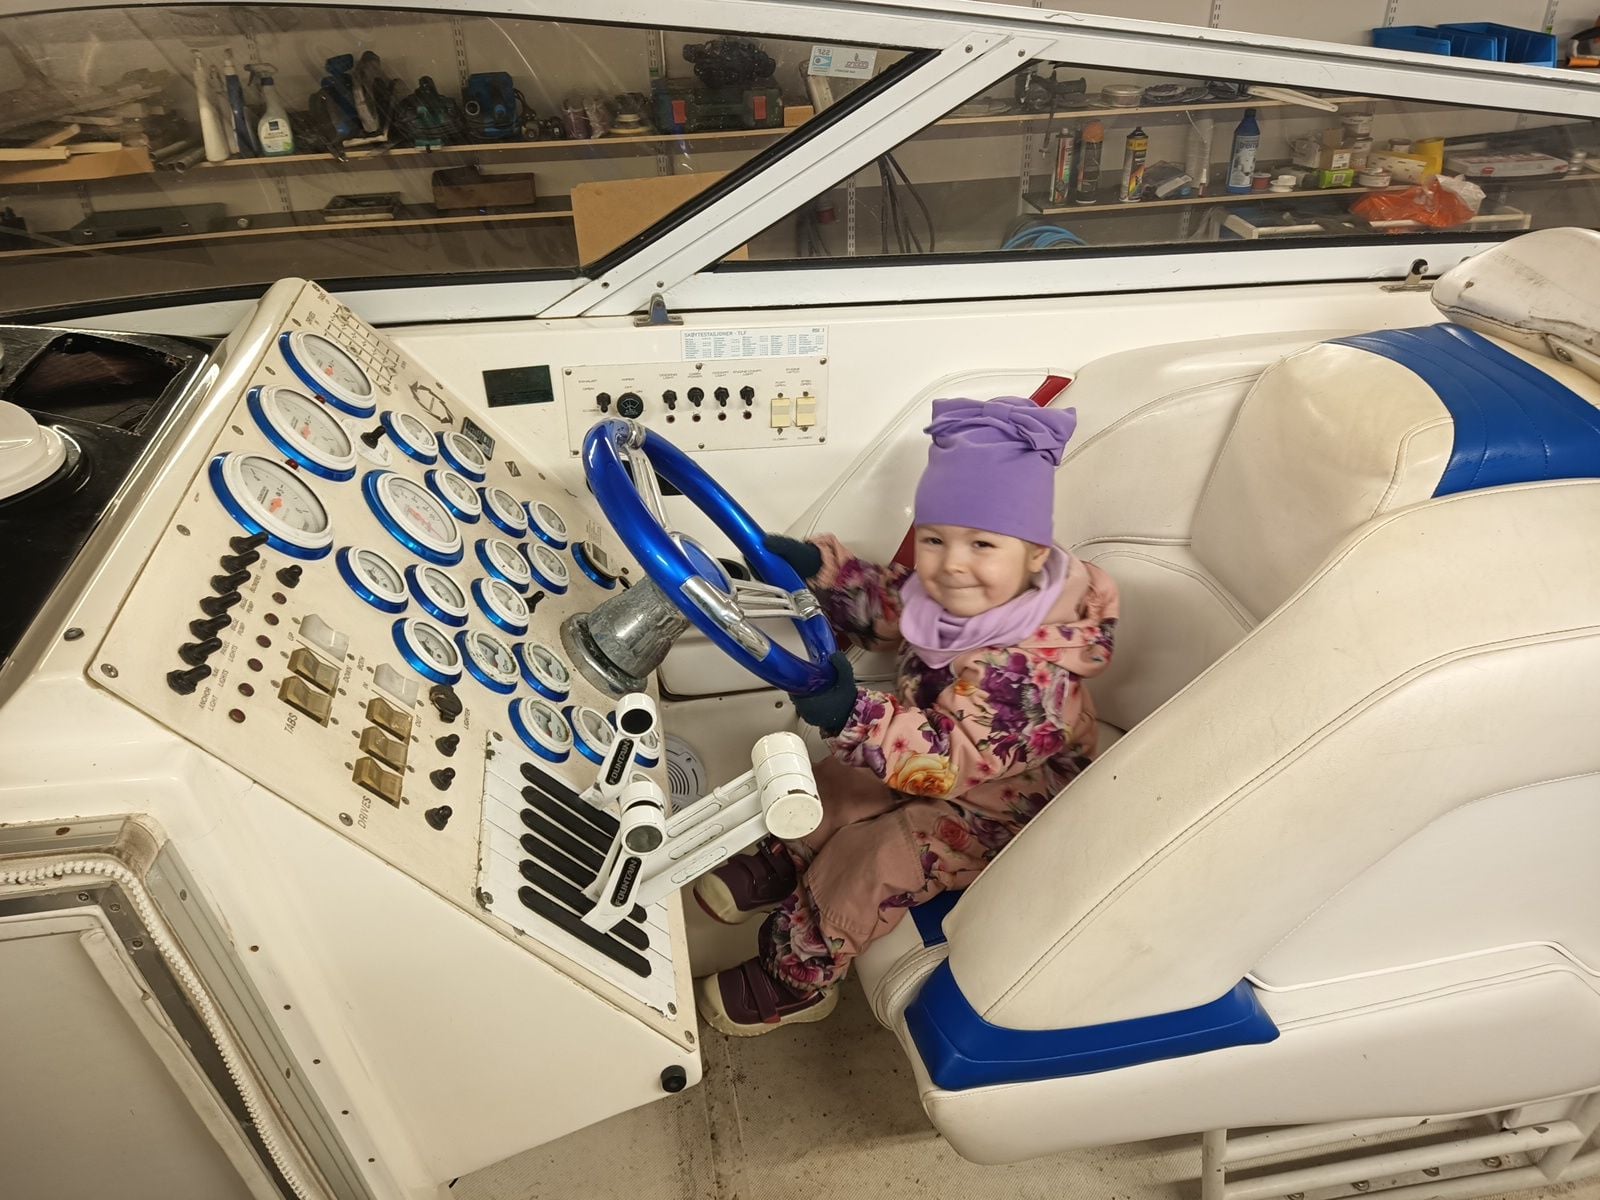
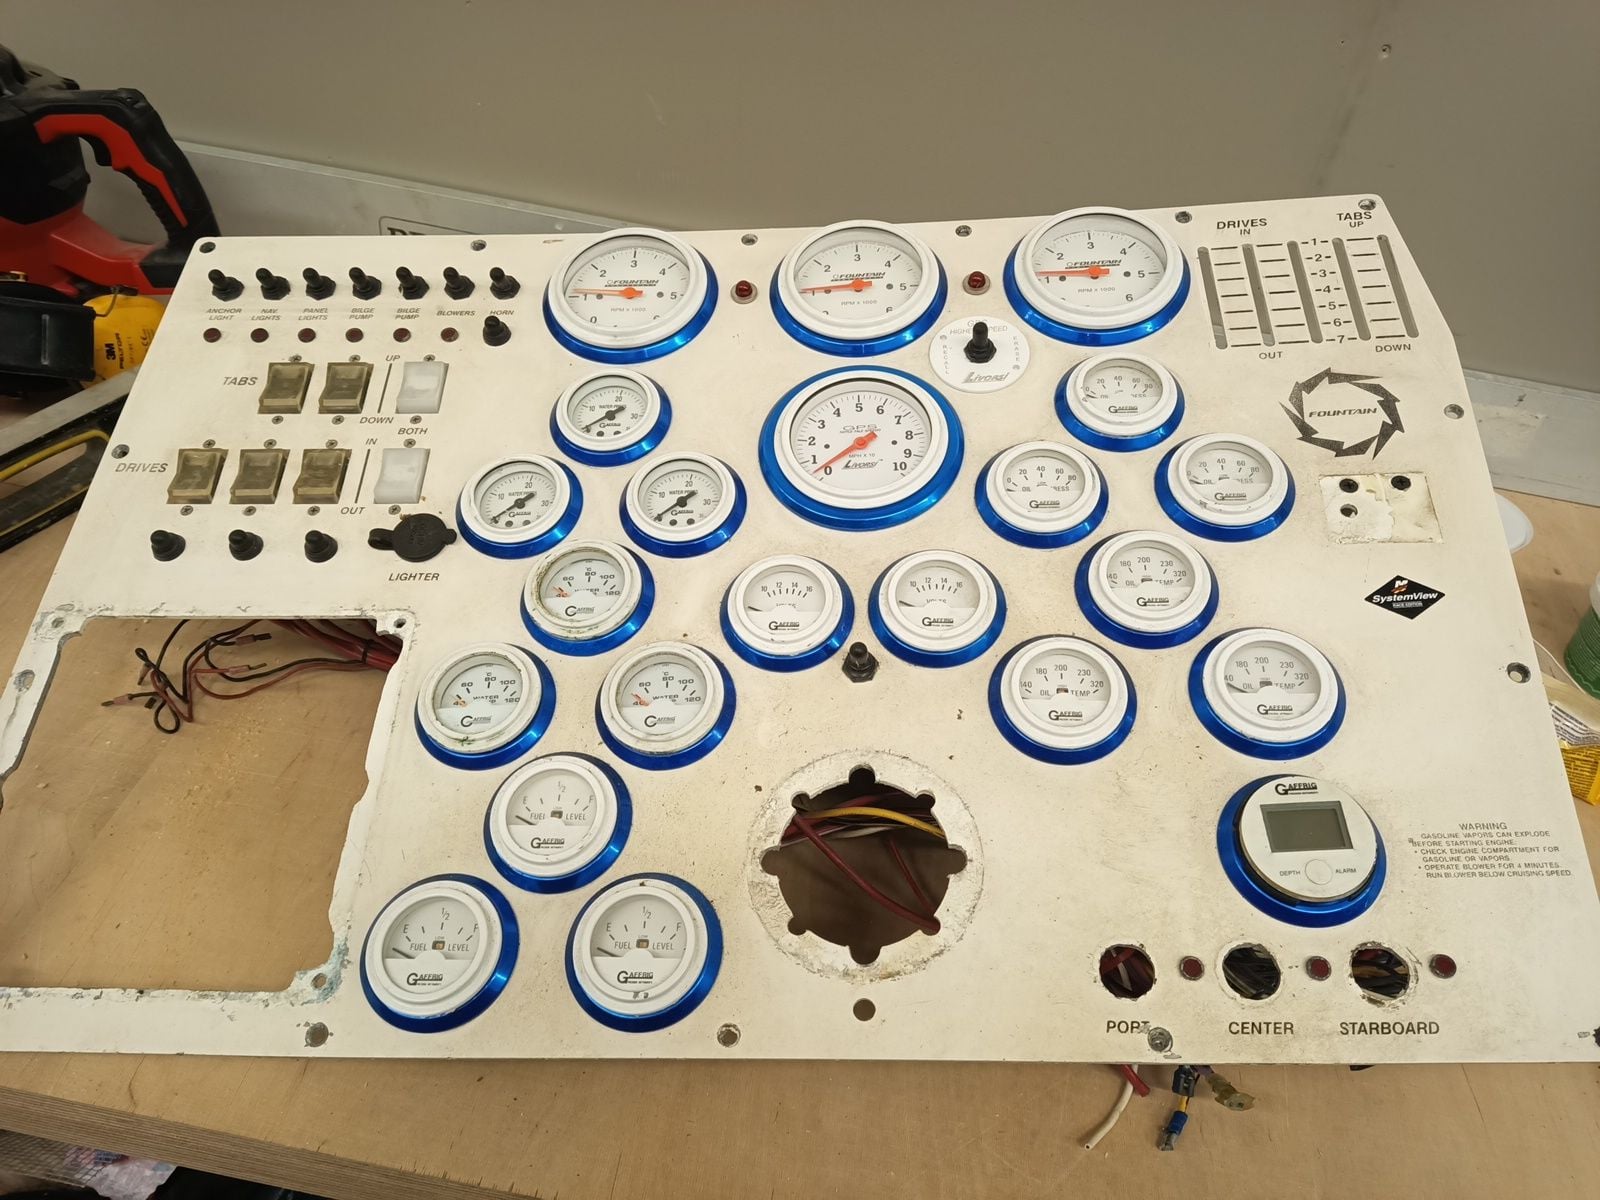
Instrument cluster will get major modification, one 22" waterproof monitor show engine gauges through good camera, triple controls will convert to single throttle without gear lever, transmission is fully electric. I wonder to move controls from left to right, it could be bad thing to all Fountain fans but chart plotter screen fit much better if throttle is right.

Other thing I can't understand is toilet headroom, there is 15cm space above toilet module, WHY? Some day I make it full height.
Does anyone need old instrument cluster? I can sell it, no need anymore.

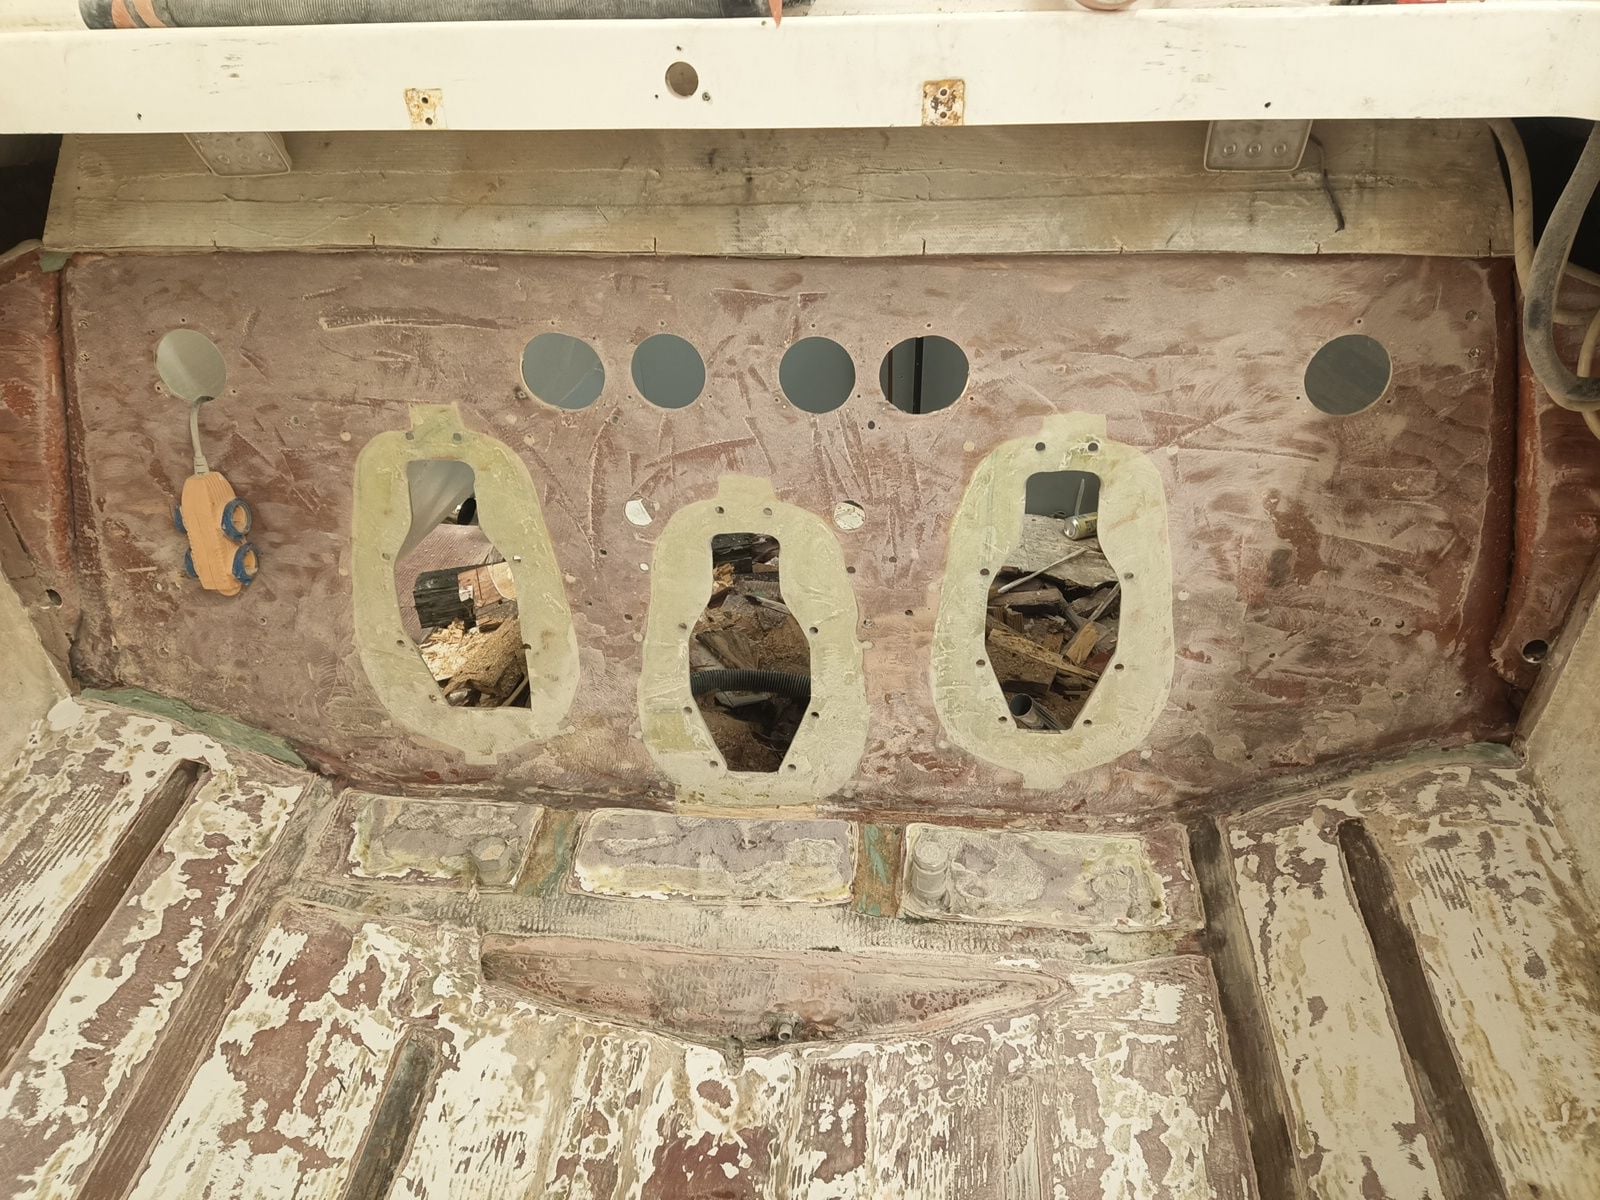
Exhaust driller did not succeed for first try to drill holes Luckily sealant have make it work and transom is not rotten.
Trim tabs and exhaust are off now, and all 11 cables, half was stucked. At first summer I won't put trim indicators in place, too much work.
Transom look good, first I think rebuild whole transom but its in good shape, no rot on 25 years old Fountain so I will just fill unnecessary holes. All stringers have to take out and build new ones for Transmash.
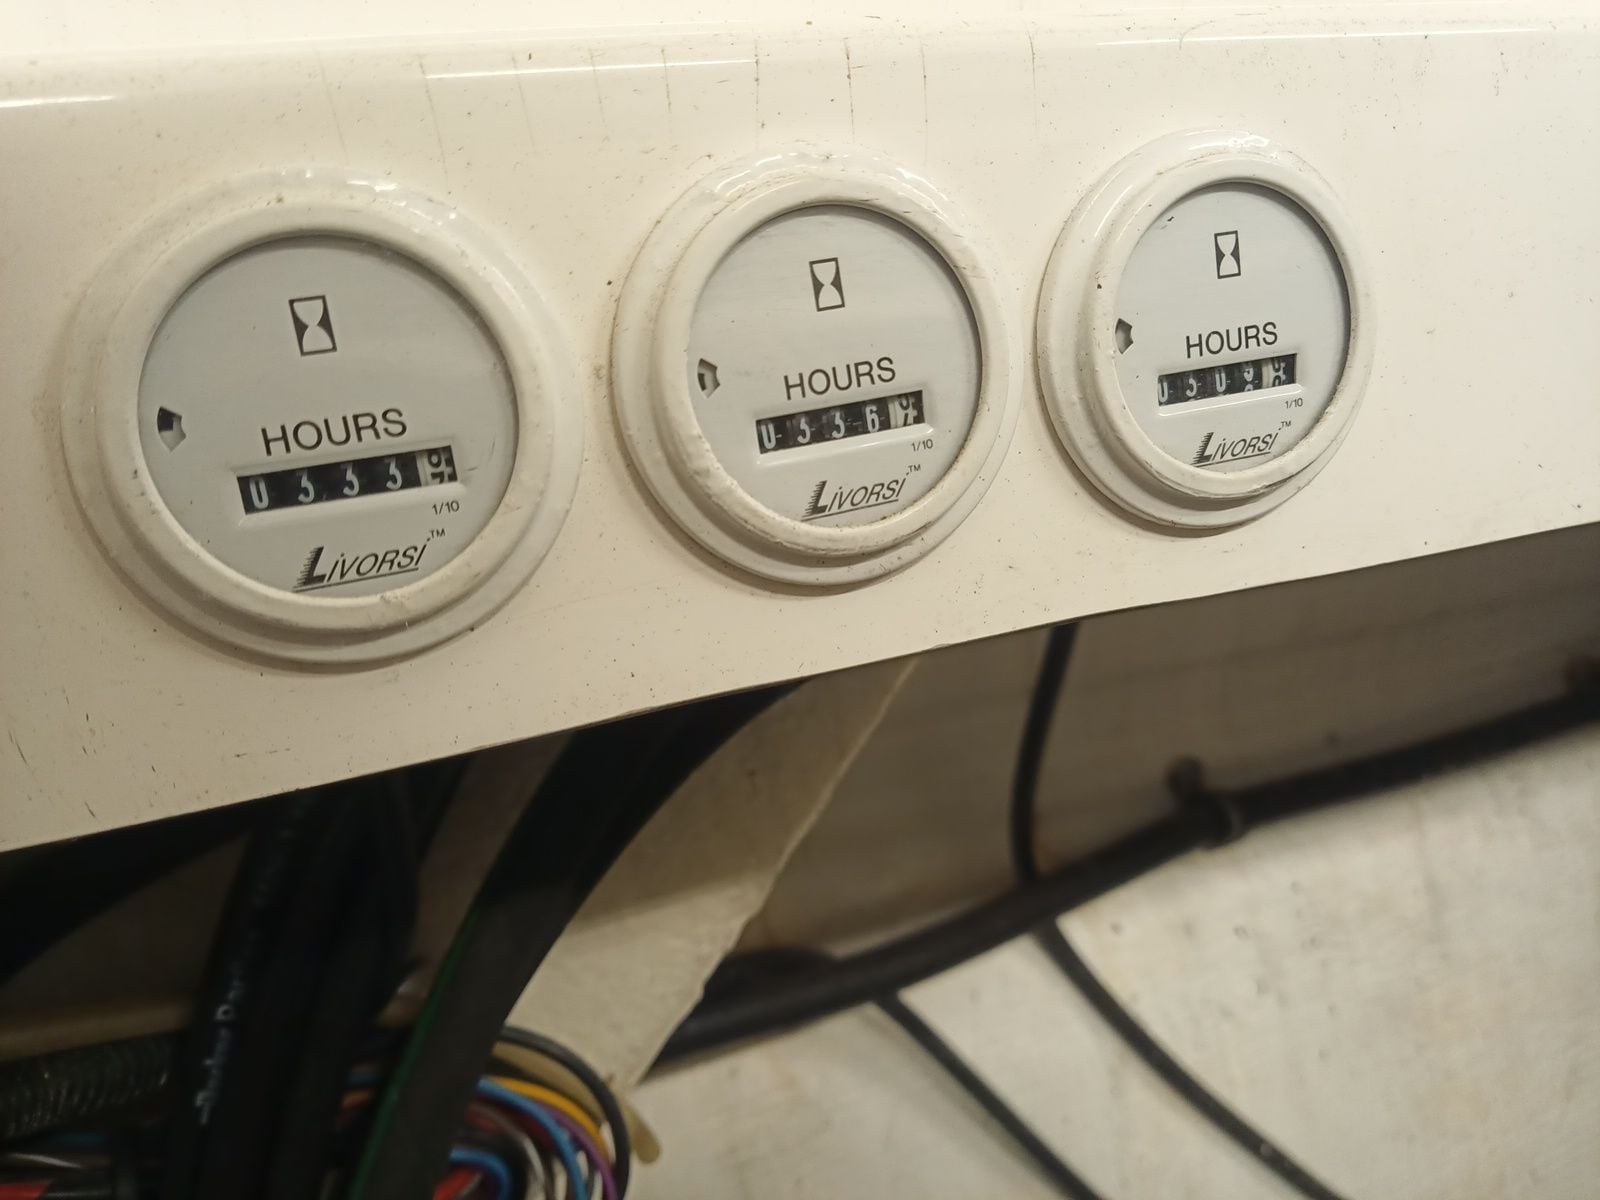
By the way boat have only 330h run time! Time has make it marks but not bad run time.
Fountain electric work is bad, like trade school baseball cap kid Toyota corolla subwoofer wiring, first I think to leave electrics original, but it's not right way to go. I take all out exept cabin wires. Hydraulics is also not to my liking. I will move pumps near transom so no need for 50 meters of hose....
Boat is jacked of trailer and leveled to horizontal, it's easier to make new stringers when I can use lazer and spirit level.
Instrument cluster will get major modification, one 22" waterproof monitor show engine gauges through good camera, triple controls will convert to single throttle without gear lever, transmission is fully electric. I wonder to move controls from left to right, it could be bad thing to all Fountain fans but chart plotter screen fit much better if throttle is right.
Other thing I can't understand is toilet headroom, there is 15cm space above toilet module, WHY? Some day I make it full height.
Does anyone need old instrument cluster? I can sell it, no need anymore.
Exhaust driller did not succeed for first try to drill holes
Luckily sealant have make it work and transom is not rotten.Trim tabs and exhaust are off now, and all 11 cables, half was stucked. At first summer I won't put trim indicators in place, too much work.
Transom look good, first I think rebuild whole transom but its in good shape, no rot on 25 years old Fountain so I will just fill unnecessary holes. All stringers have to take out and build new ones for Transmash.
By the way boat have only 330h run time! Time has make it marks but not bad run time.
Last edited by ksalmine; 03-08-2024 at 03:26 PM.
 03-09-2024 | 01:16 AM
#312
Registered

Joined: Jan 2021
Posts: 922
Likes: 429
From: Gothenburg, Sweden
The setup is for driver and throttleman. When your 2-year old has grown up, you can let her drive while you handle the throttle.
03-09-2024 | 01:27 AM
#313
Thread Starter
Registered
Joined: Jan 2010
Posts: 346
Likes: 877
From: Finland
Yes its easier to convert race boat, just put extra seat to middle for throttleman. We will build own smaller boat for doughter when she grow up.
Right side controls are also maybe little safer when some friends onboard, no one can not accidentally push throttle when moving in cocpit.
Right side controls are also maybe little safer when some friends onboard, no one can not accidentally push throttle when moving in cocpit.

 03-20-2024 | 01:35 PM
#316
Thread Starter
Registered
Joined: Jan 2010
Posts: 346
Likes: 877
From: Finland
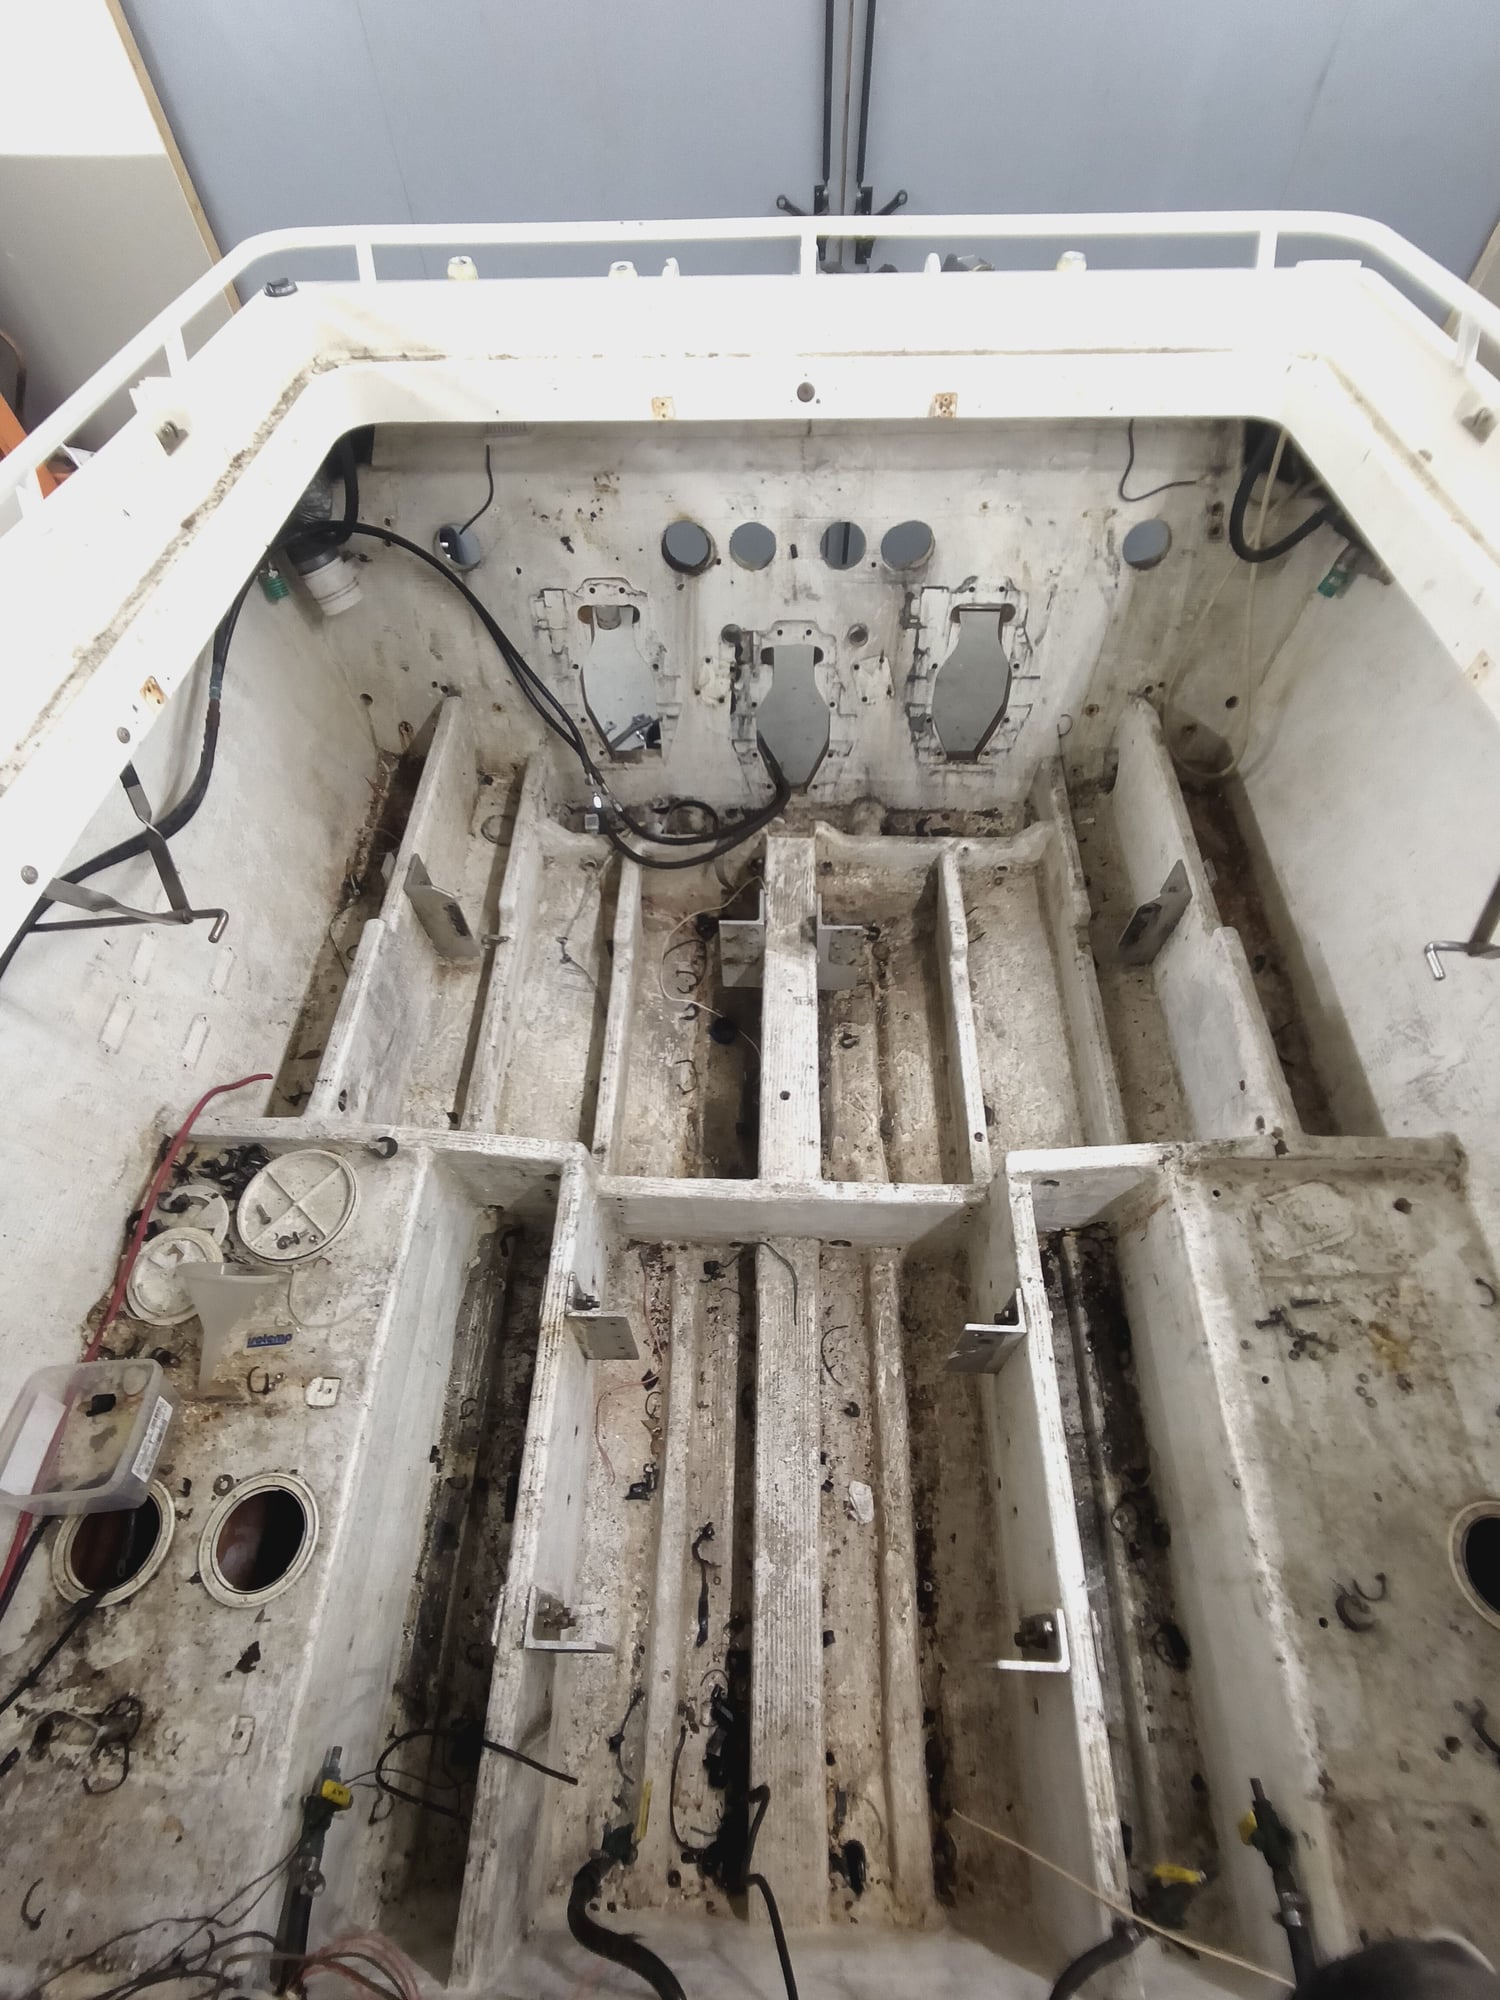
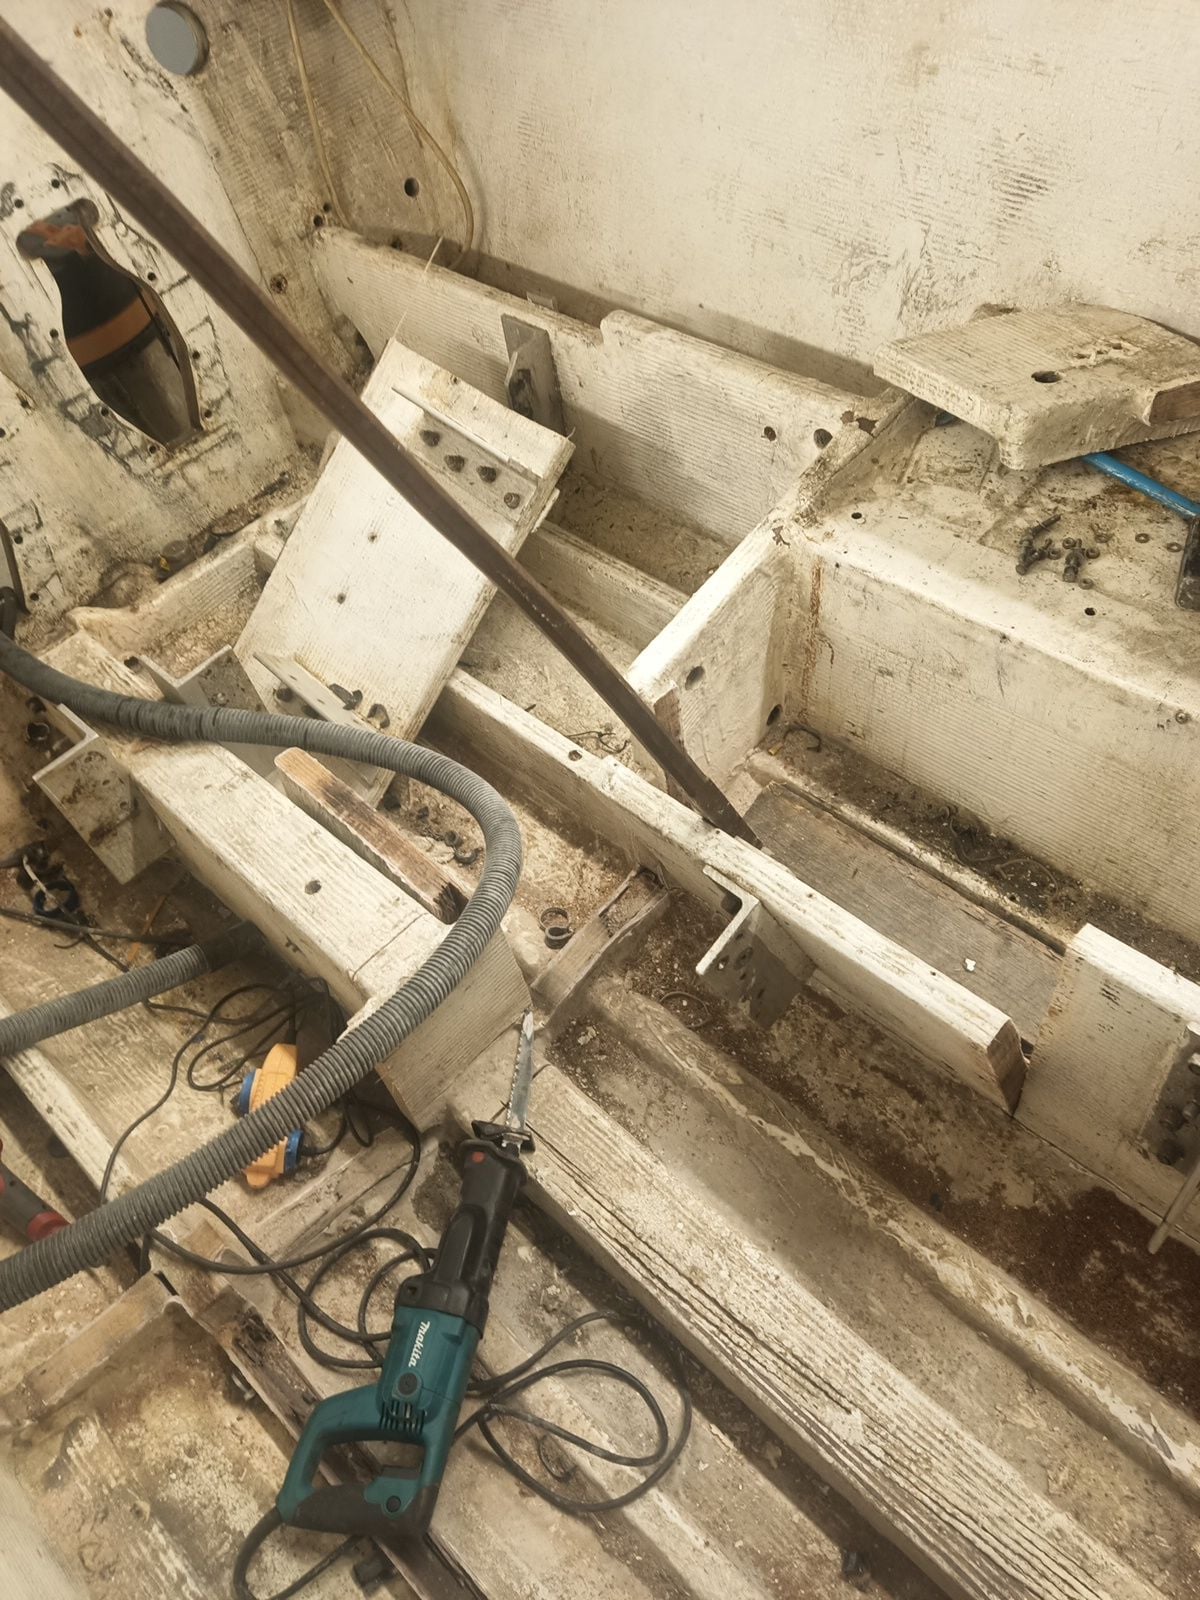
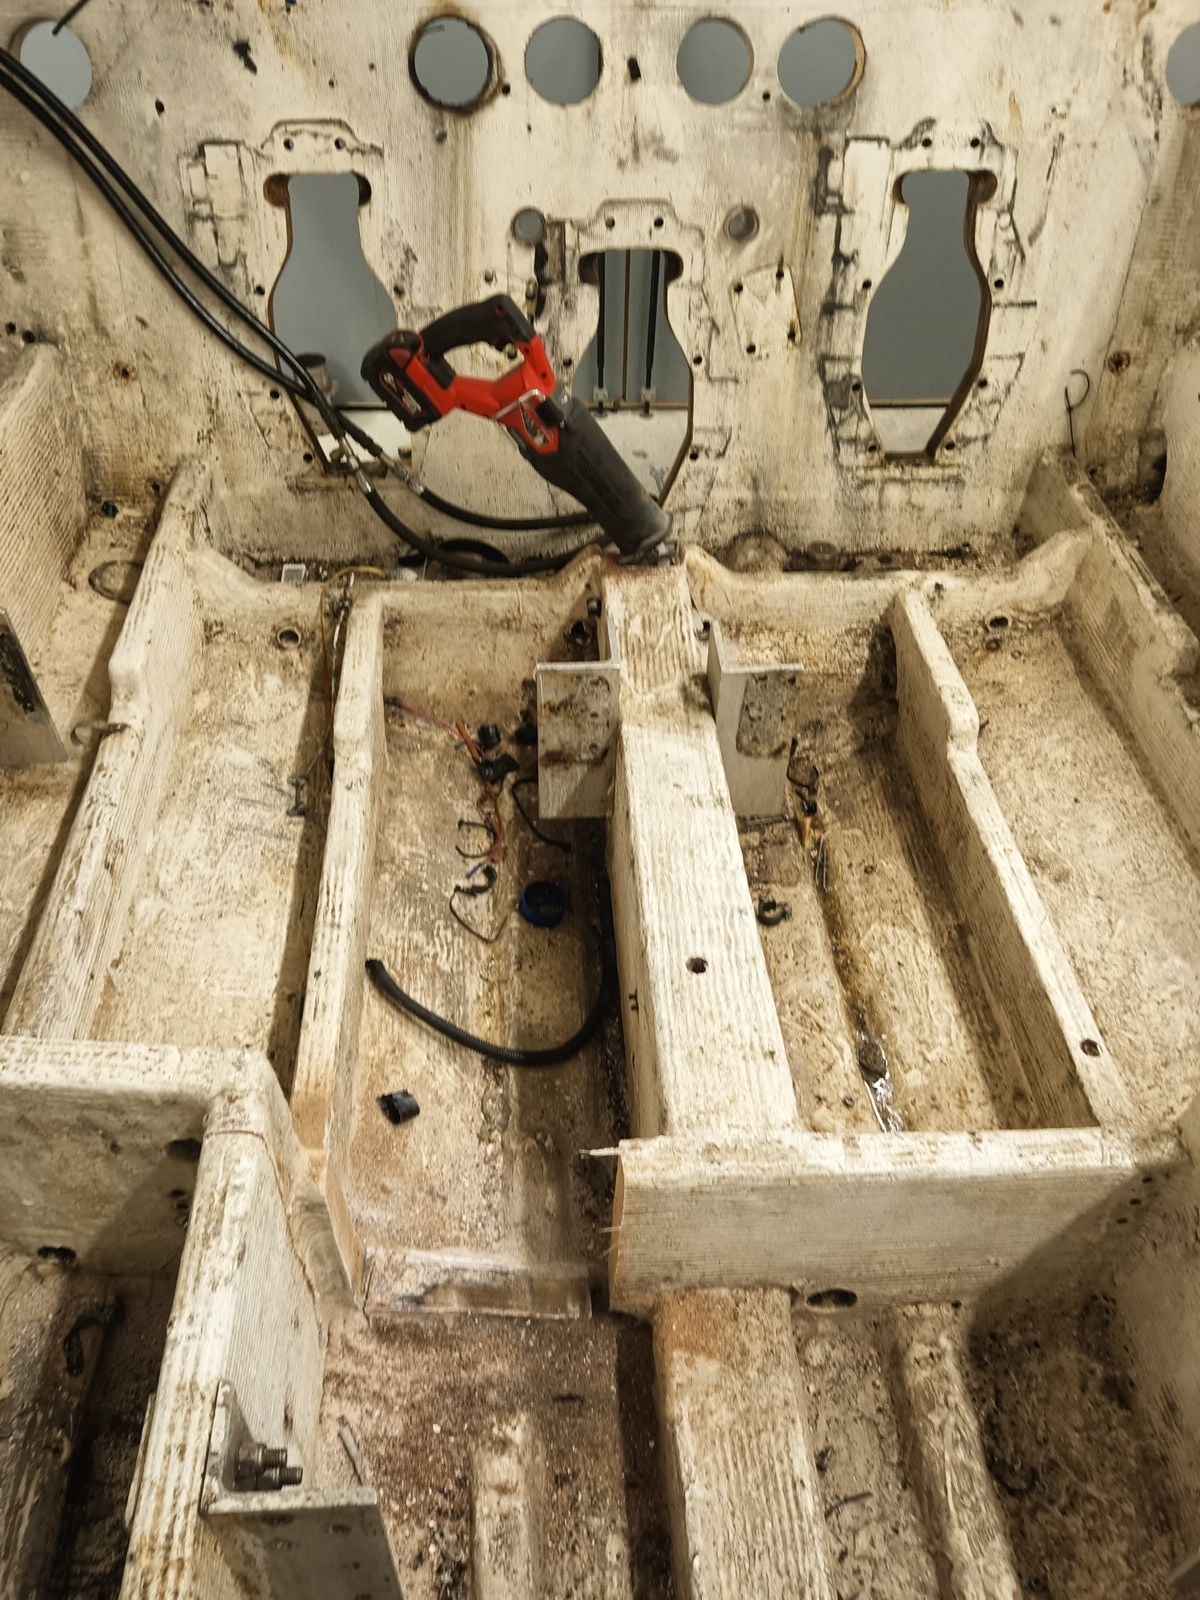
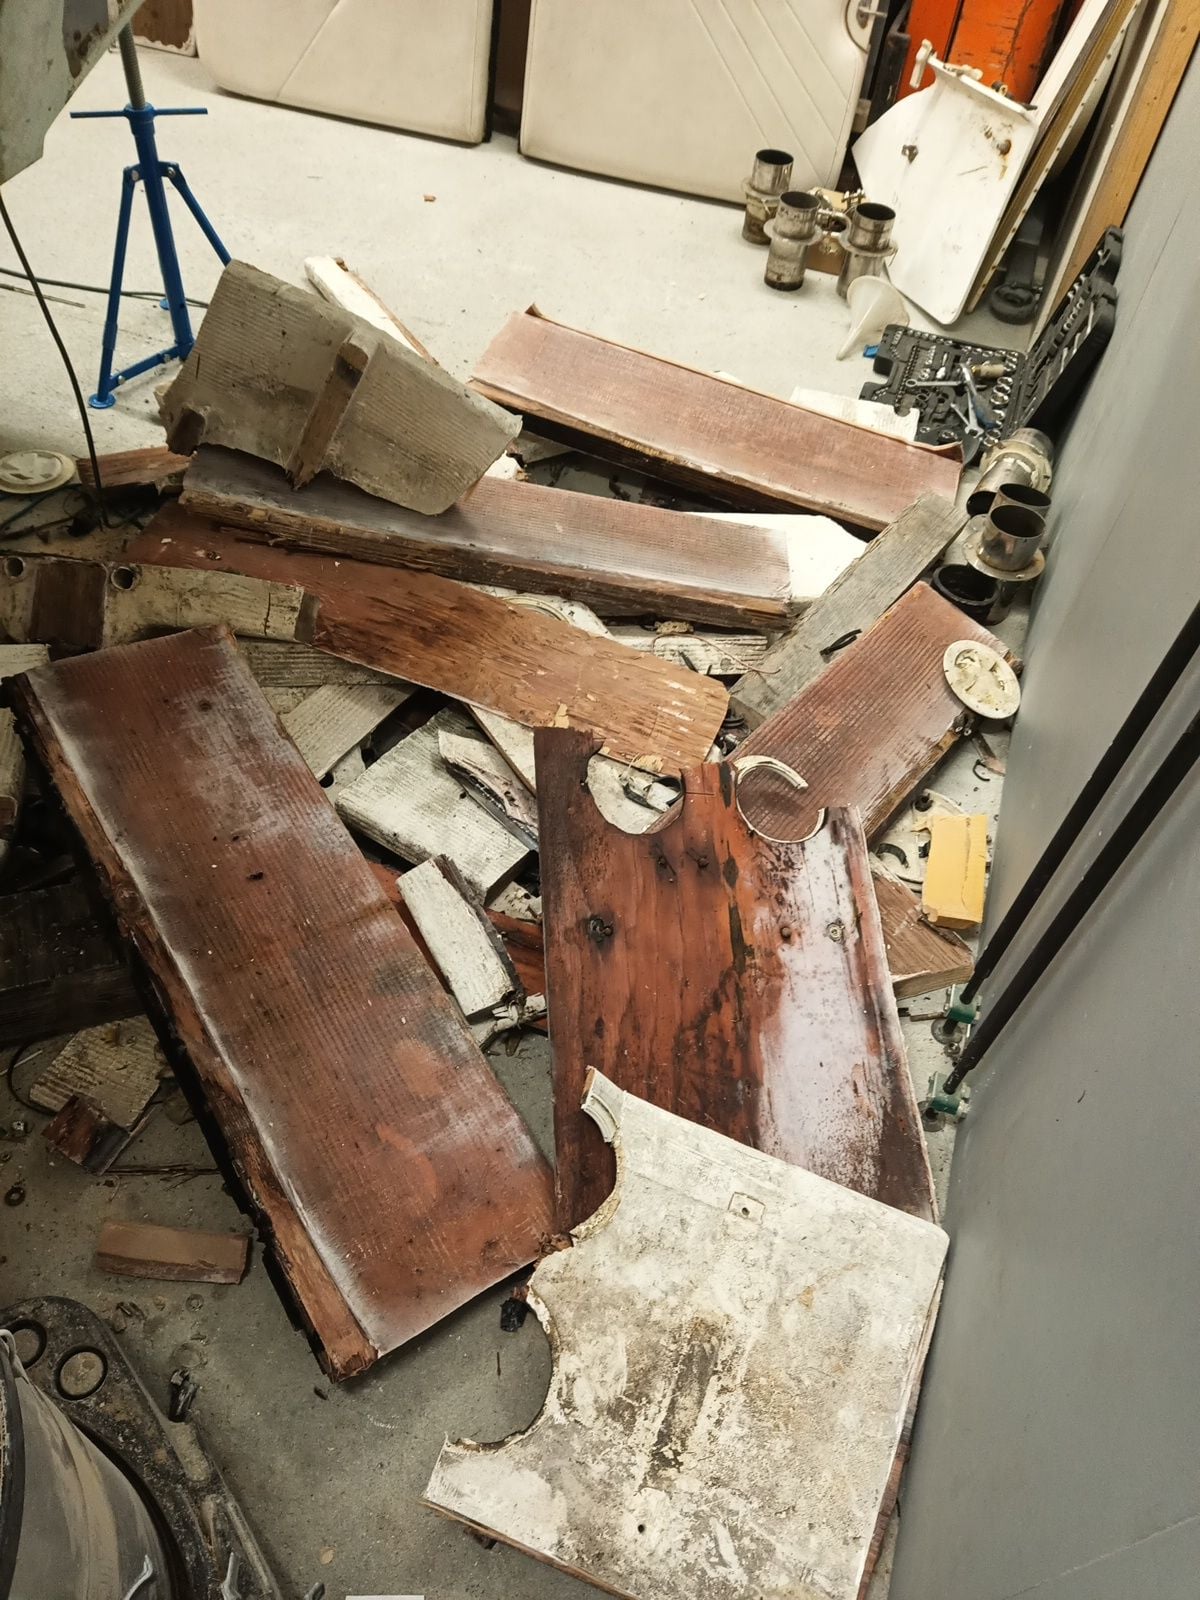
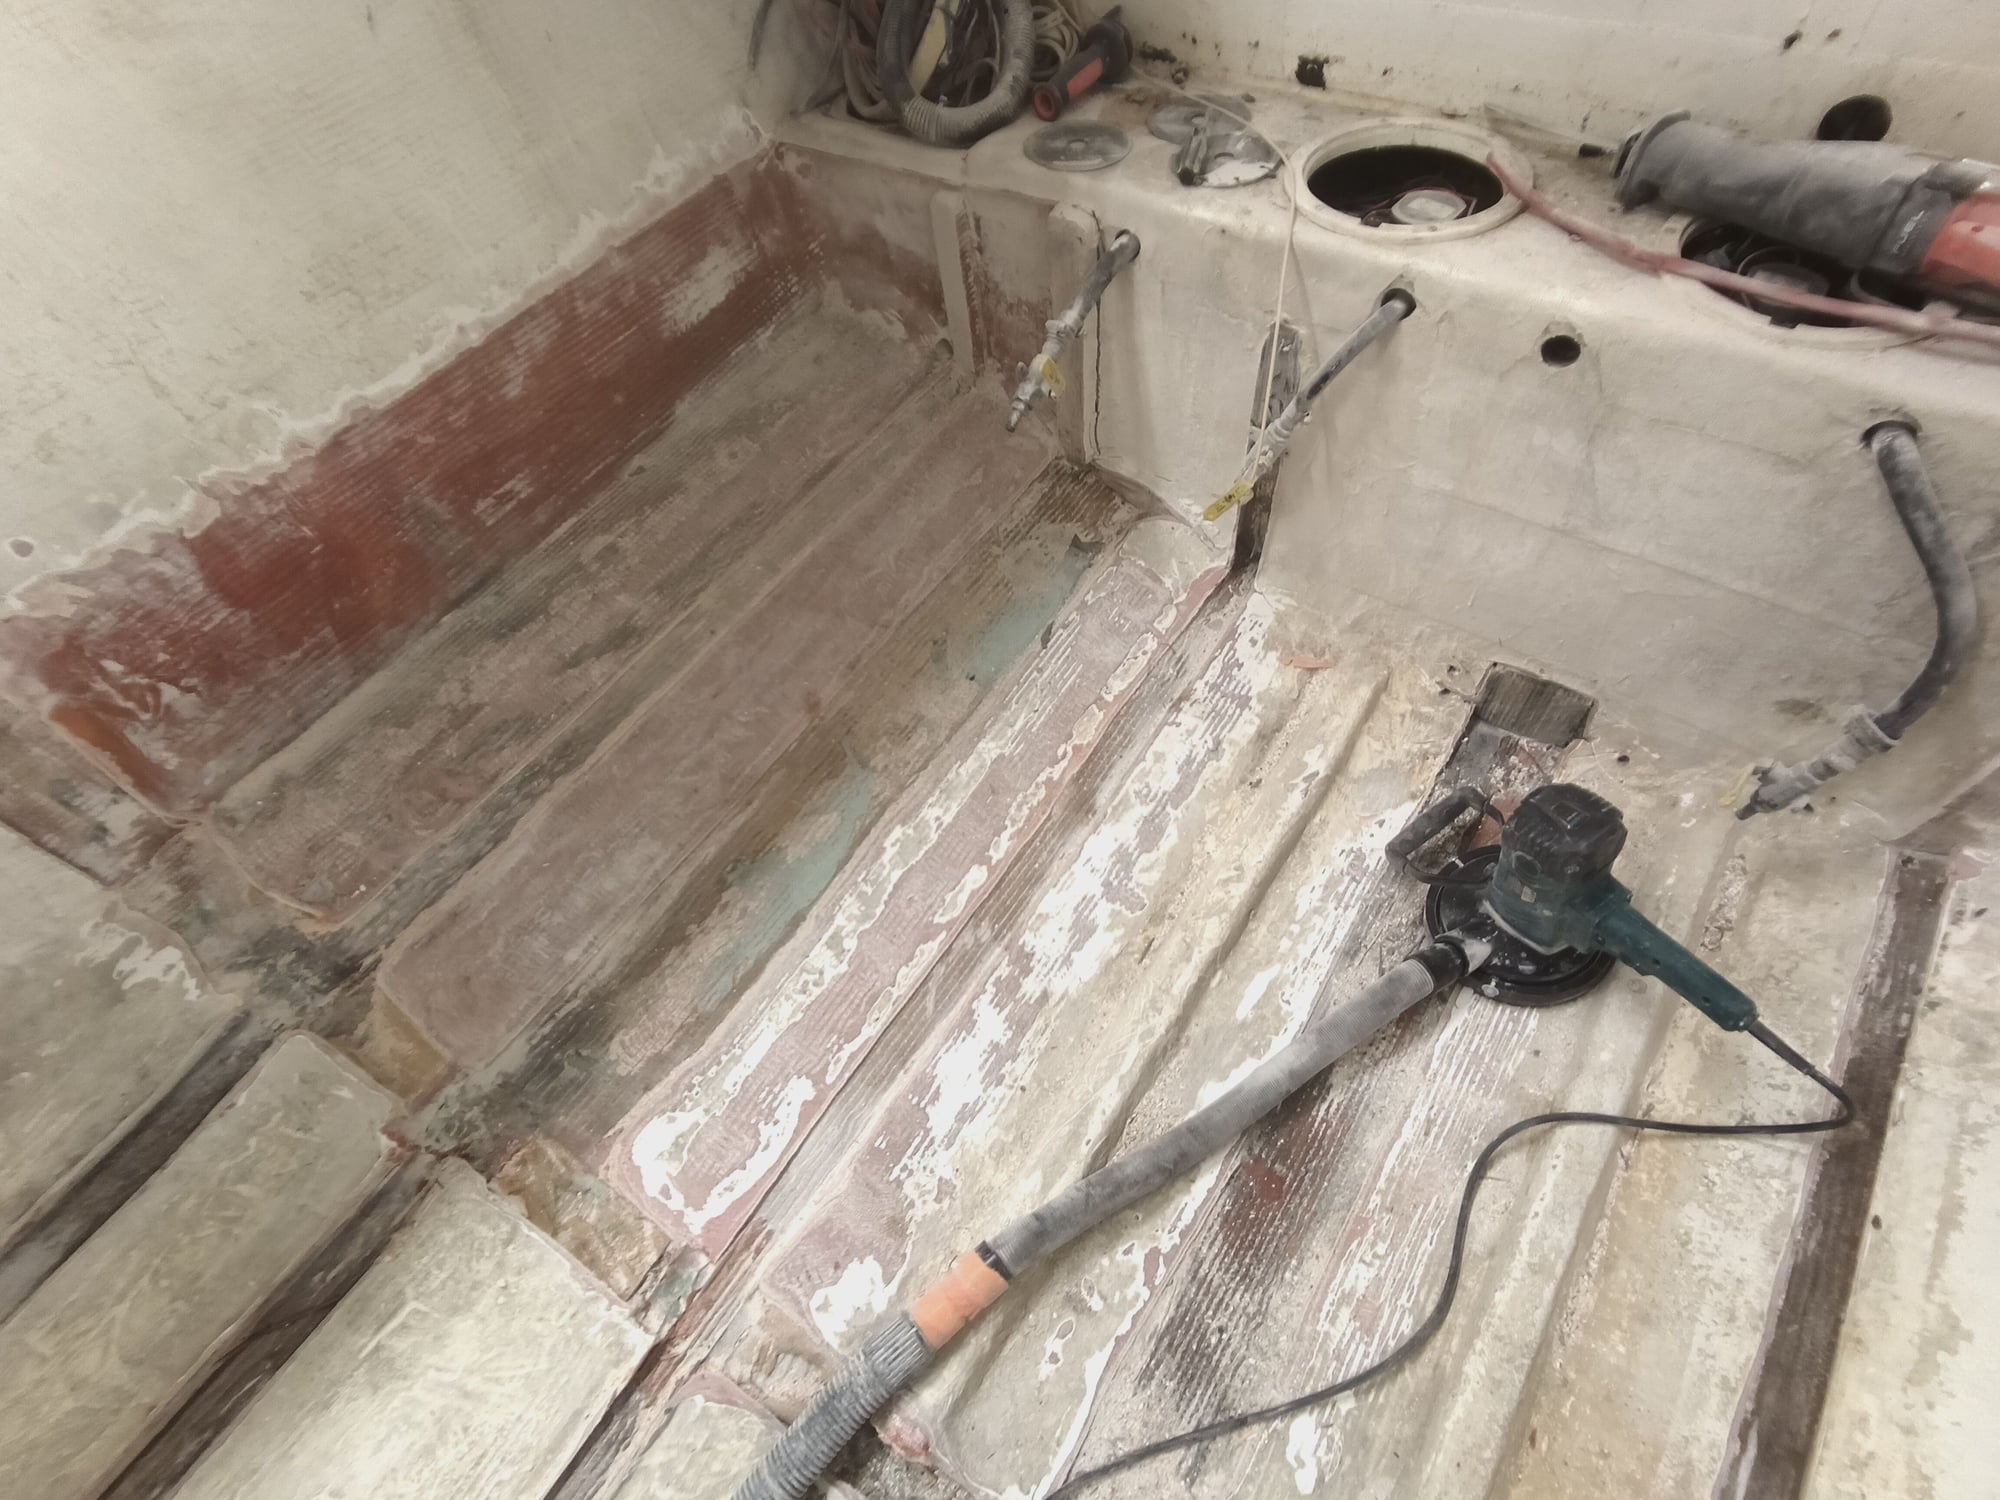
All stringers in engine compartment are off now. Next step is grind all leftovers down and smooth, its ugliest job to do (baddest itch than you can imagine), then all is more nicer to do.
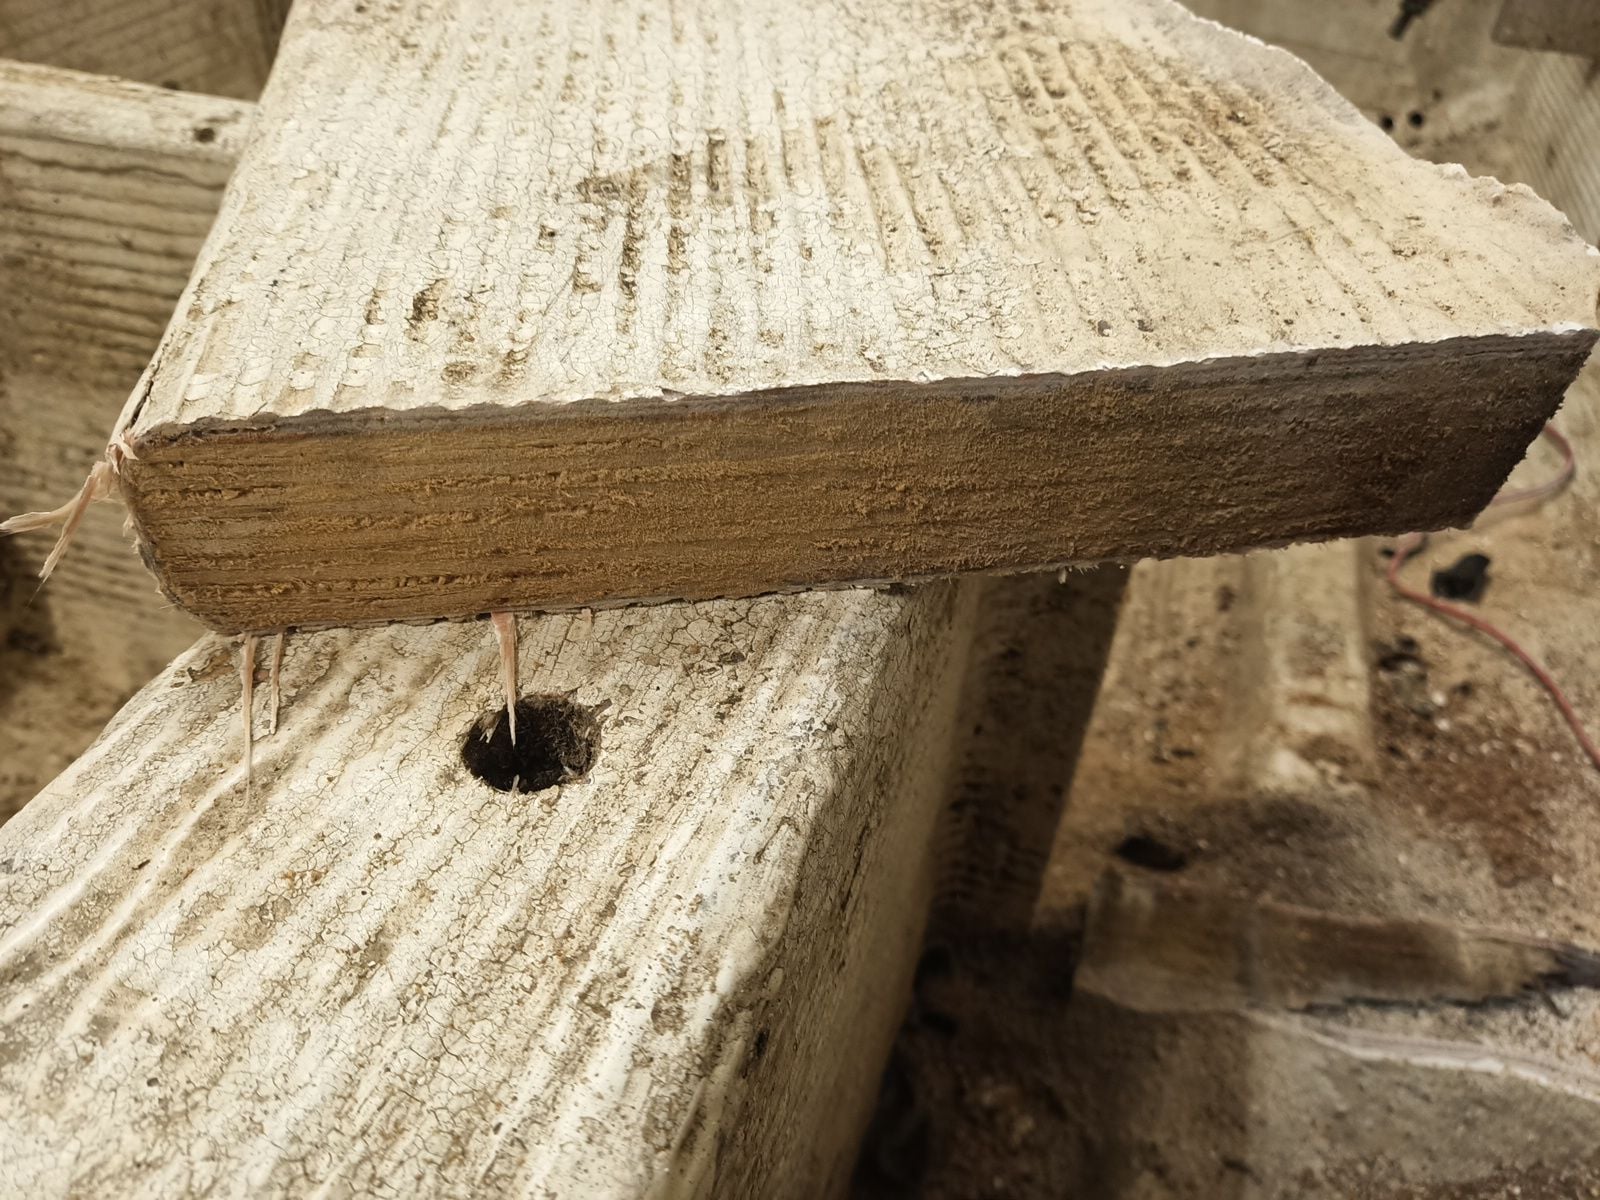
Boat is 1999 model and stringers was pretty good shape, not real rotted but some of them was dark color. All had moisture in wood but wood was hard, stringers weight alot! I will make new stringer from urethane foam, carbon fiber reinforced biaxial fiberglass with vinylester resin. Boat will lighten up nearly 100-150kg.
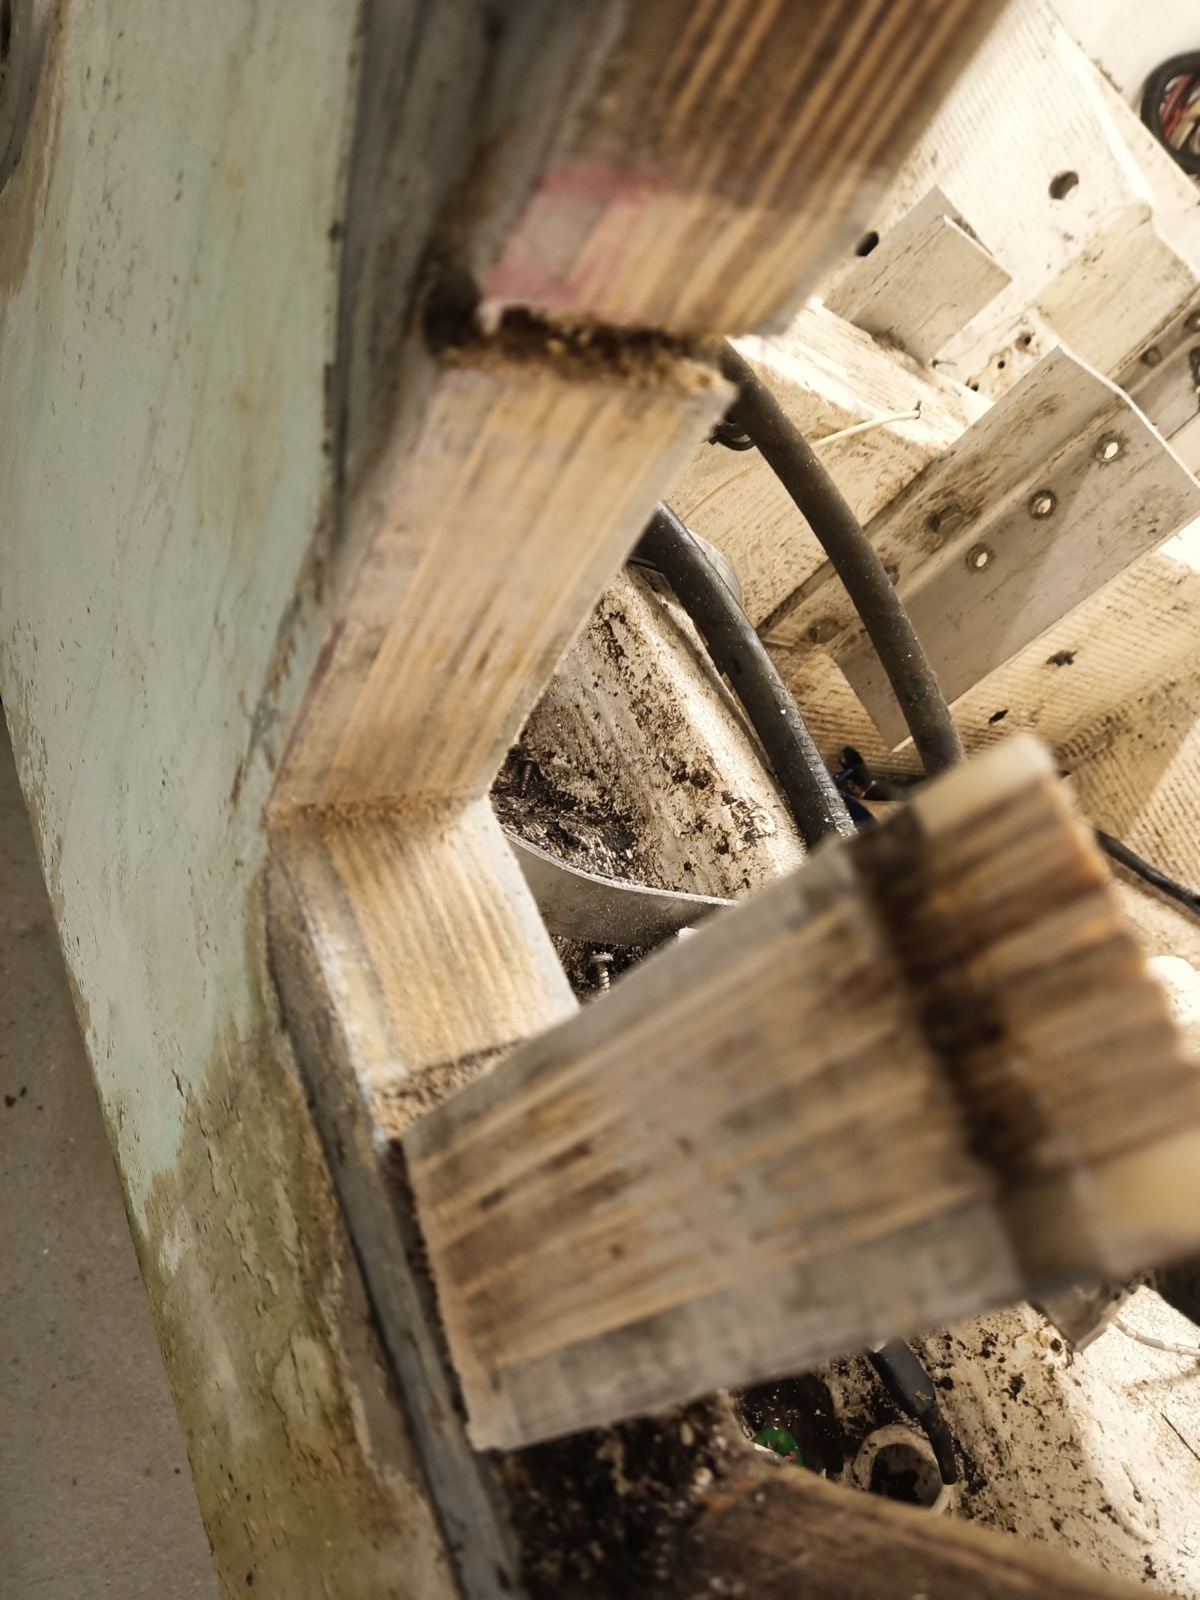
I found out that easiest and the most dust-free way remove stringer is first cut both sides bottom to stringer junction, then other side fiberglass on top and rip out fiberglass skin, then use reciprocating saw to cut vertical on both ends, then use sthil battery chain saw to cut plywood near bottom (this is unnecessary if stringer can be forced off with iron rod).
Concrete diamond cut wheel to angle grinder is best cutting machine to fiberglass.
All stringers in place

All stringers out


Boat is 1999 model and stringers was pretty good shape, not real rotted but some of them was dark color. All had moisture in wood but wood was hard, stringers weight alot! I will make new stringer from urethane foam, carbon fiber reinforced biaxial fiberglass with vinylester resin. Boat will lighten up nearly 100-150kg.
I found out that easiest and the most dust-free way remove stringer is first cut both sides bottom to stringer junction, then other side fiberglass on top and rip out fiberglass skin, then use reciprocating saw to cut vertical on both ends, then use sthil battery chain saw to cut plywood near bottom (this is unnecessary if stringer can be forced off with iron rod).
Concrete diamond cut wheel to angle grinder is best cutting machine to fiberglass.
All stringers in place
All stringers out
03-26-2024 | 01:42 PM
#318
Thread Starter
Registered
Joined: Jan 2010
Posts: 346
Likes: 877
From: Finland
It takes almost a week get motivation to start grinding leftovers down, now its done and 70% surface of bottom is good enough to new lamination.
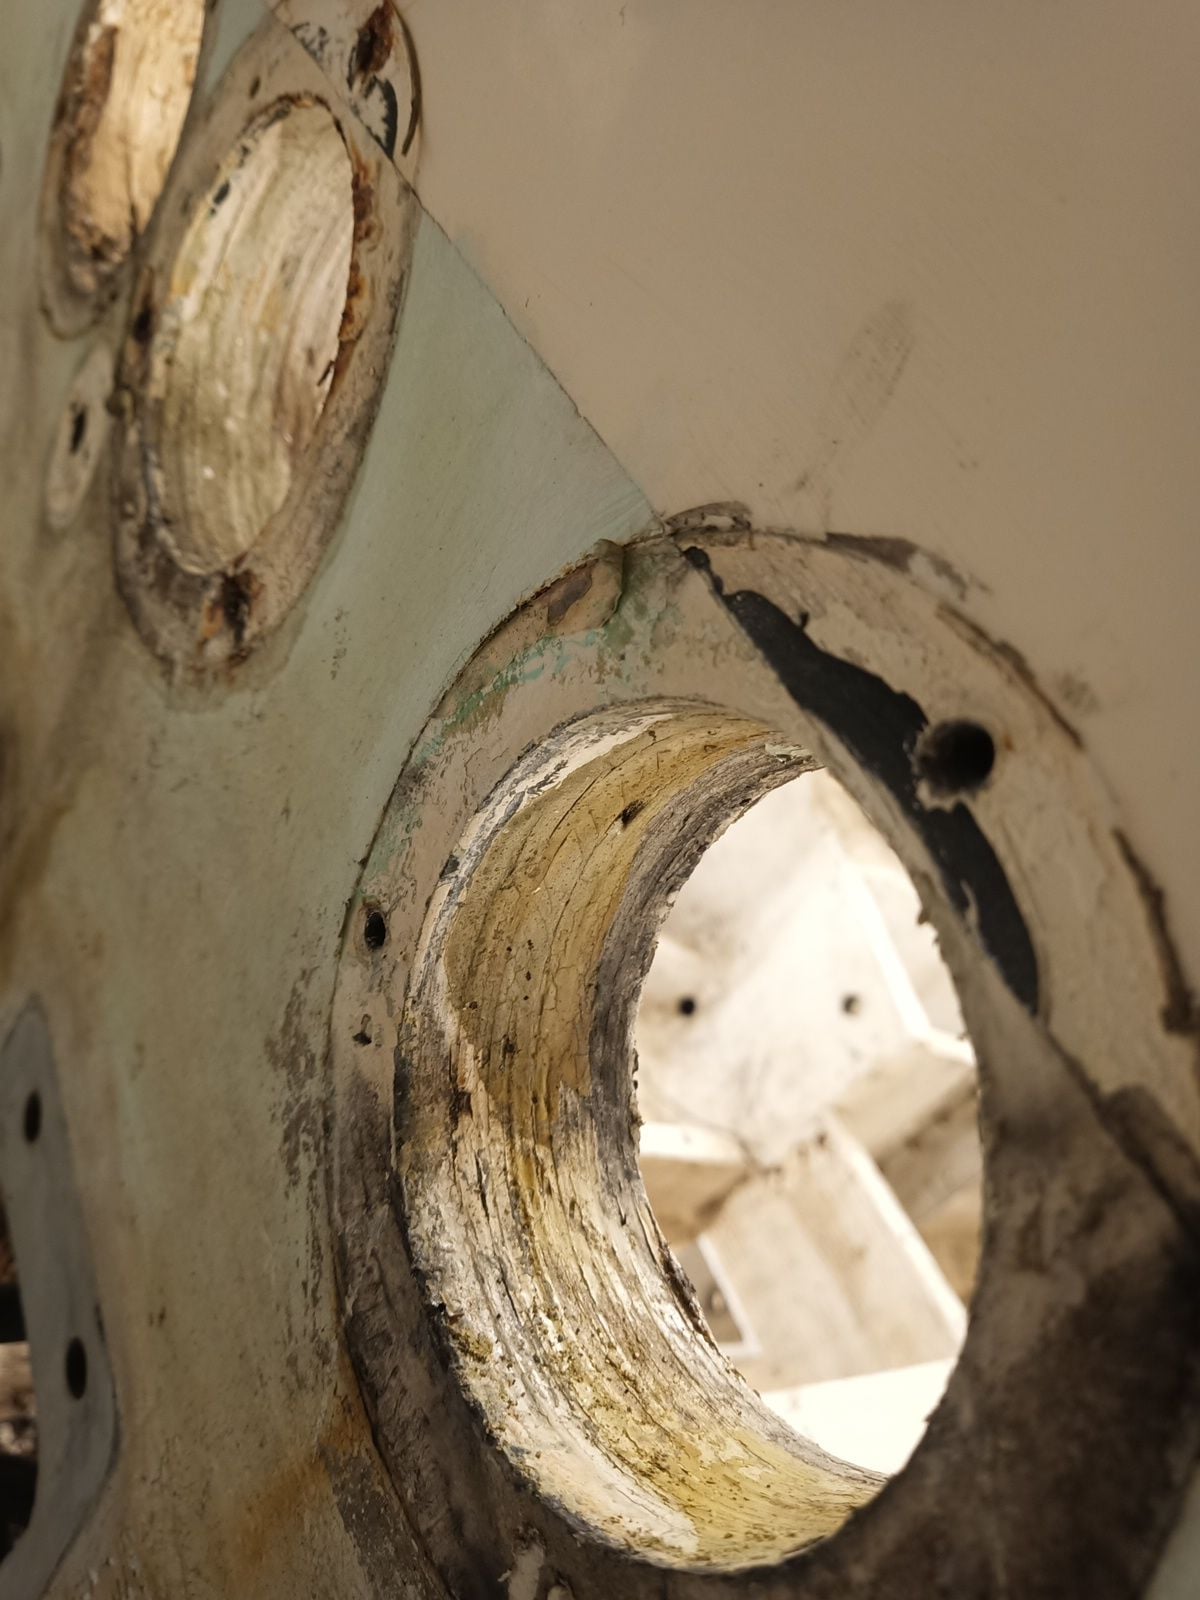
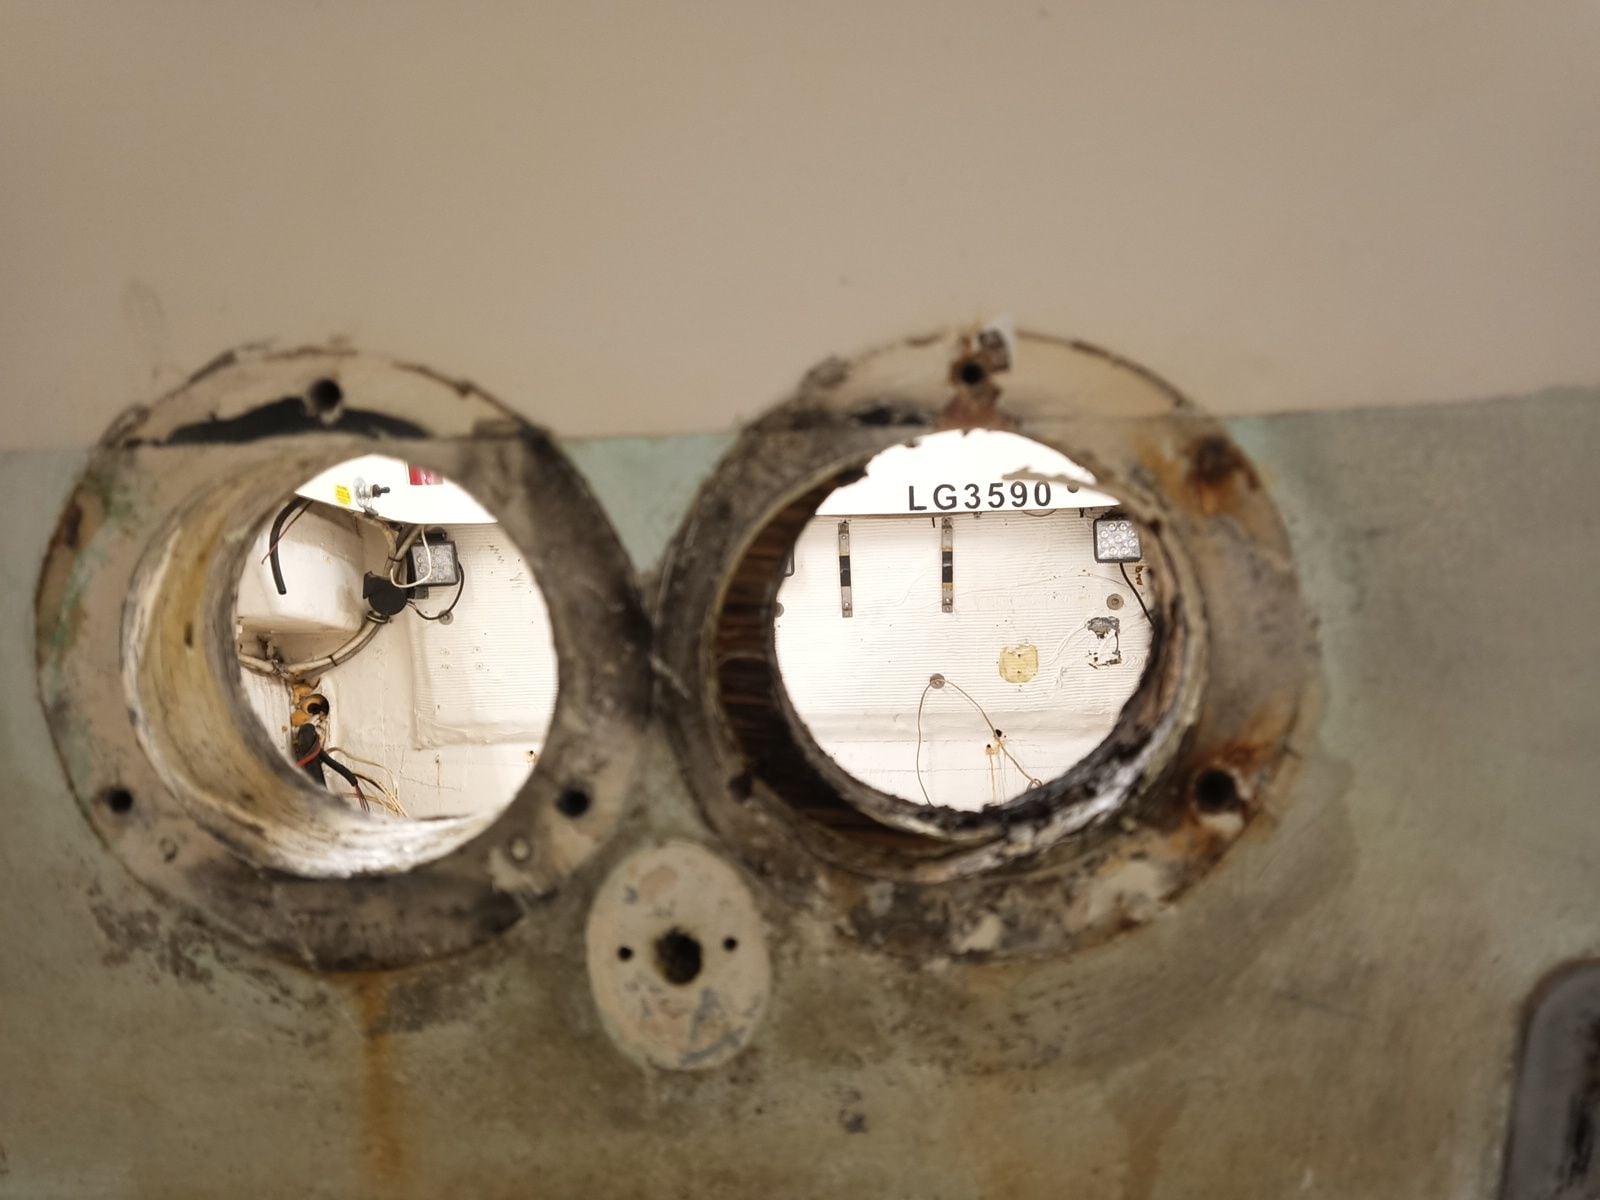
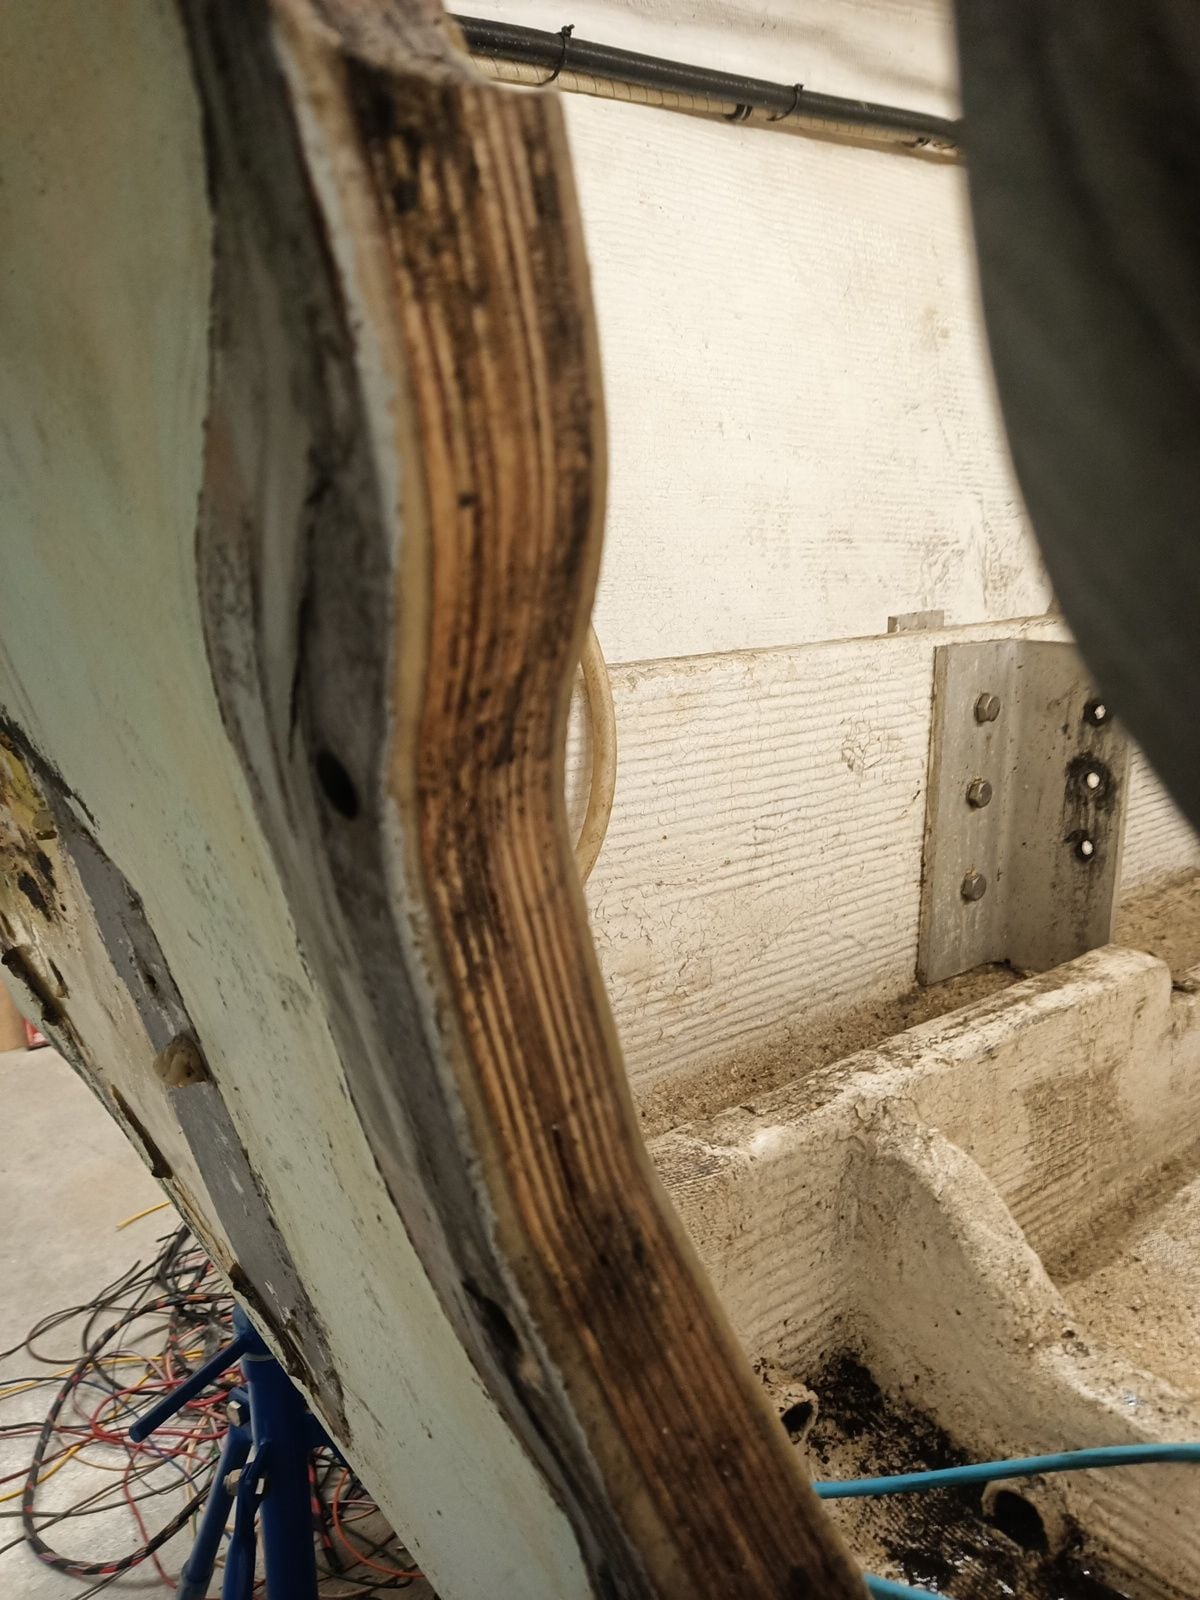
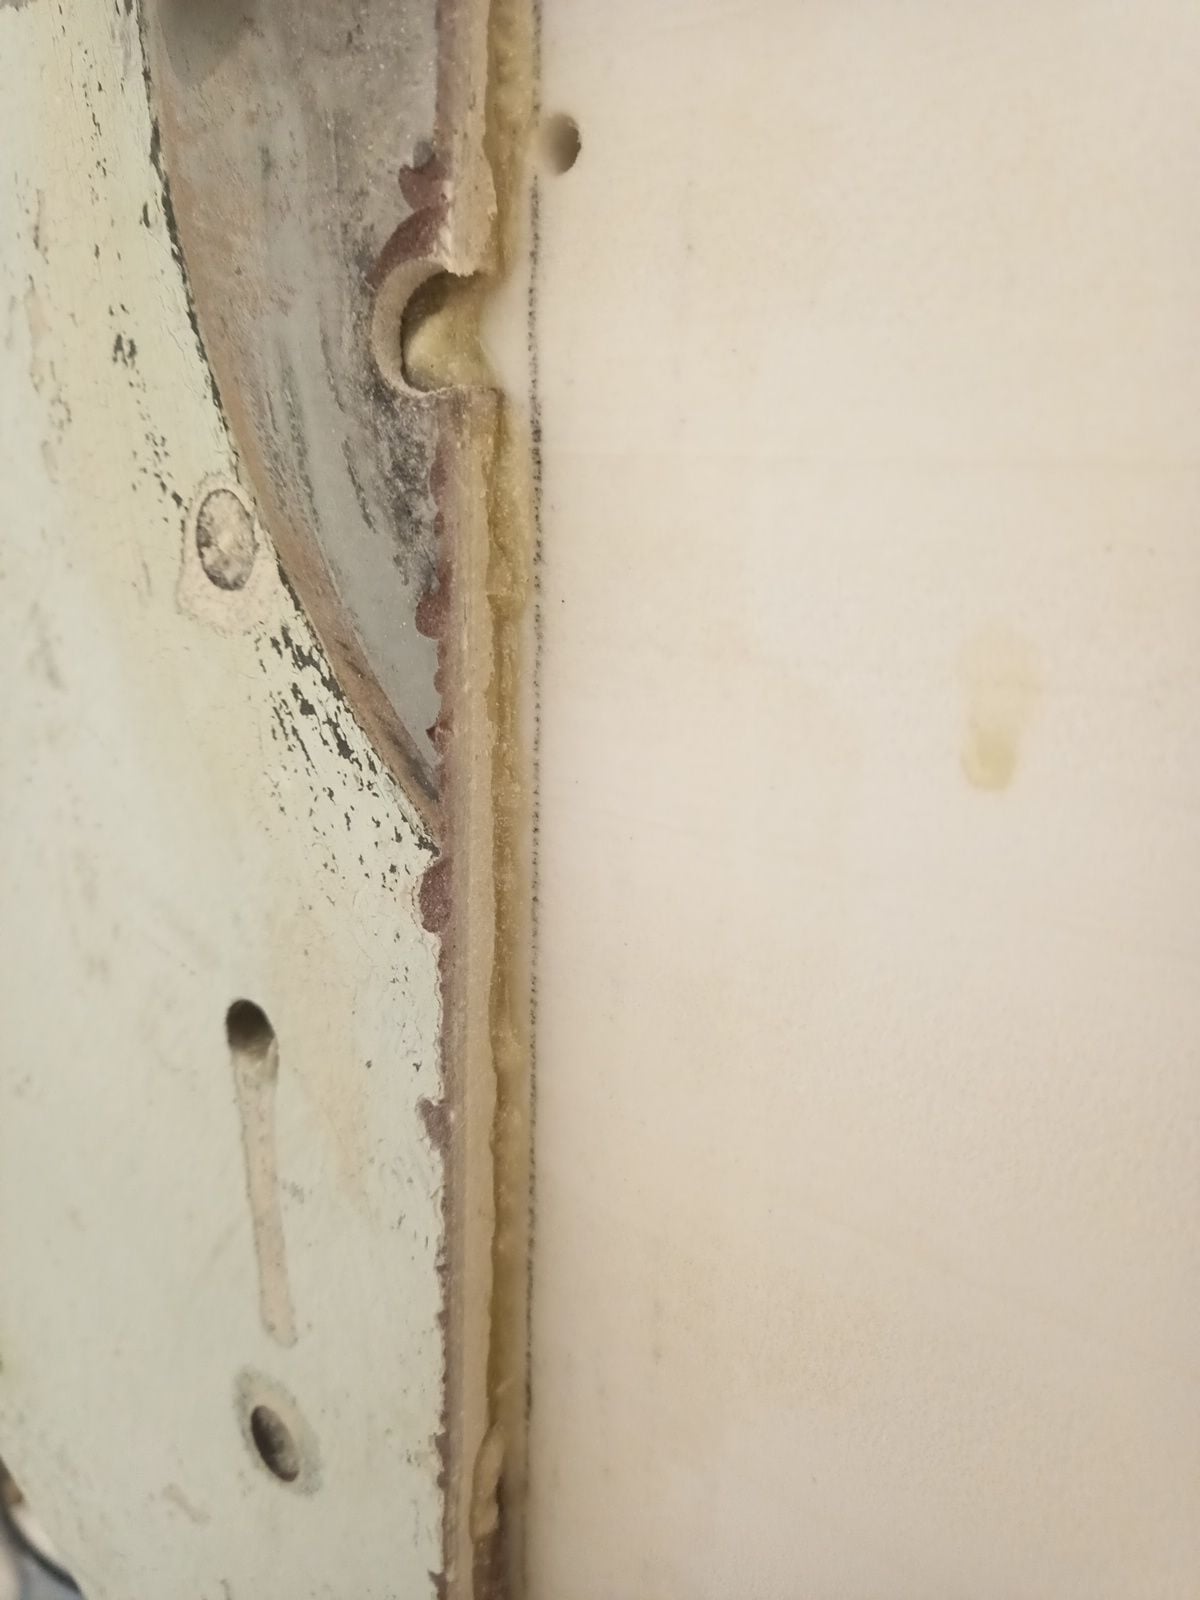
Transom looks good at first look but it was little wet, left trim tab has leak water to plywood but it wasn't rotten, just wet. I can't left it alone so I do new transom. When I took of glassfiber skin I notice that someone before me was there! Boat had maybe triple SSM 6 drives from factory, holes were much bigger than bravo holes. I was happy in the end to replace transom, second re-rig make perhaps transom weak, now it get one piece core and one piece inner skin.
Taking old transom out was actually easier job to do than I think, first cut skin out (about 1 hour), then circular saw plywood core to 15cmx15cm pieces (30min), hack chisel most of core out (2 hours), then plane down rest with electric hand planer (30min) last P14 coarse gringing flat to angle grinder and make some dust (1 hour) and its ready for new core. It's sad how many old boats be destroyed if they are rotten, do it yourself and it cost some work and cheap materials. Boat is better than factory because they make them hurry and not so detailed than hobby builder with big heart for boats.
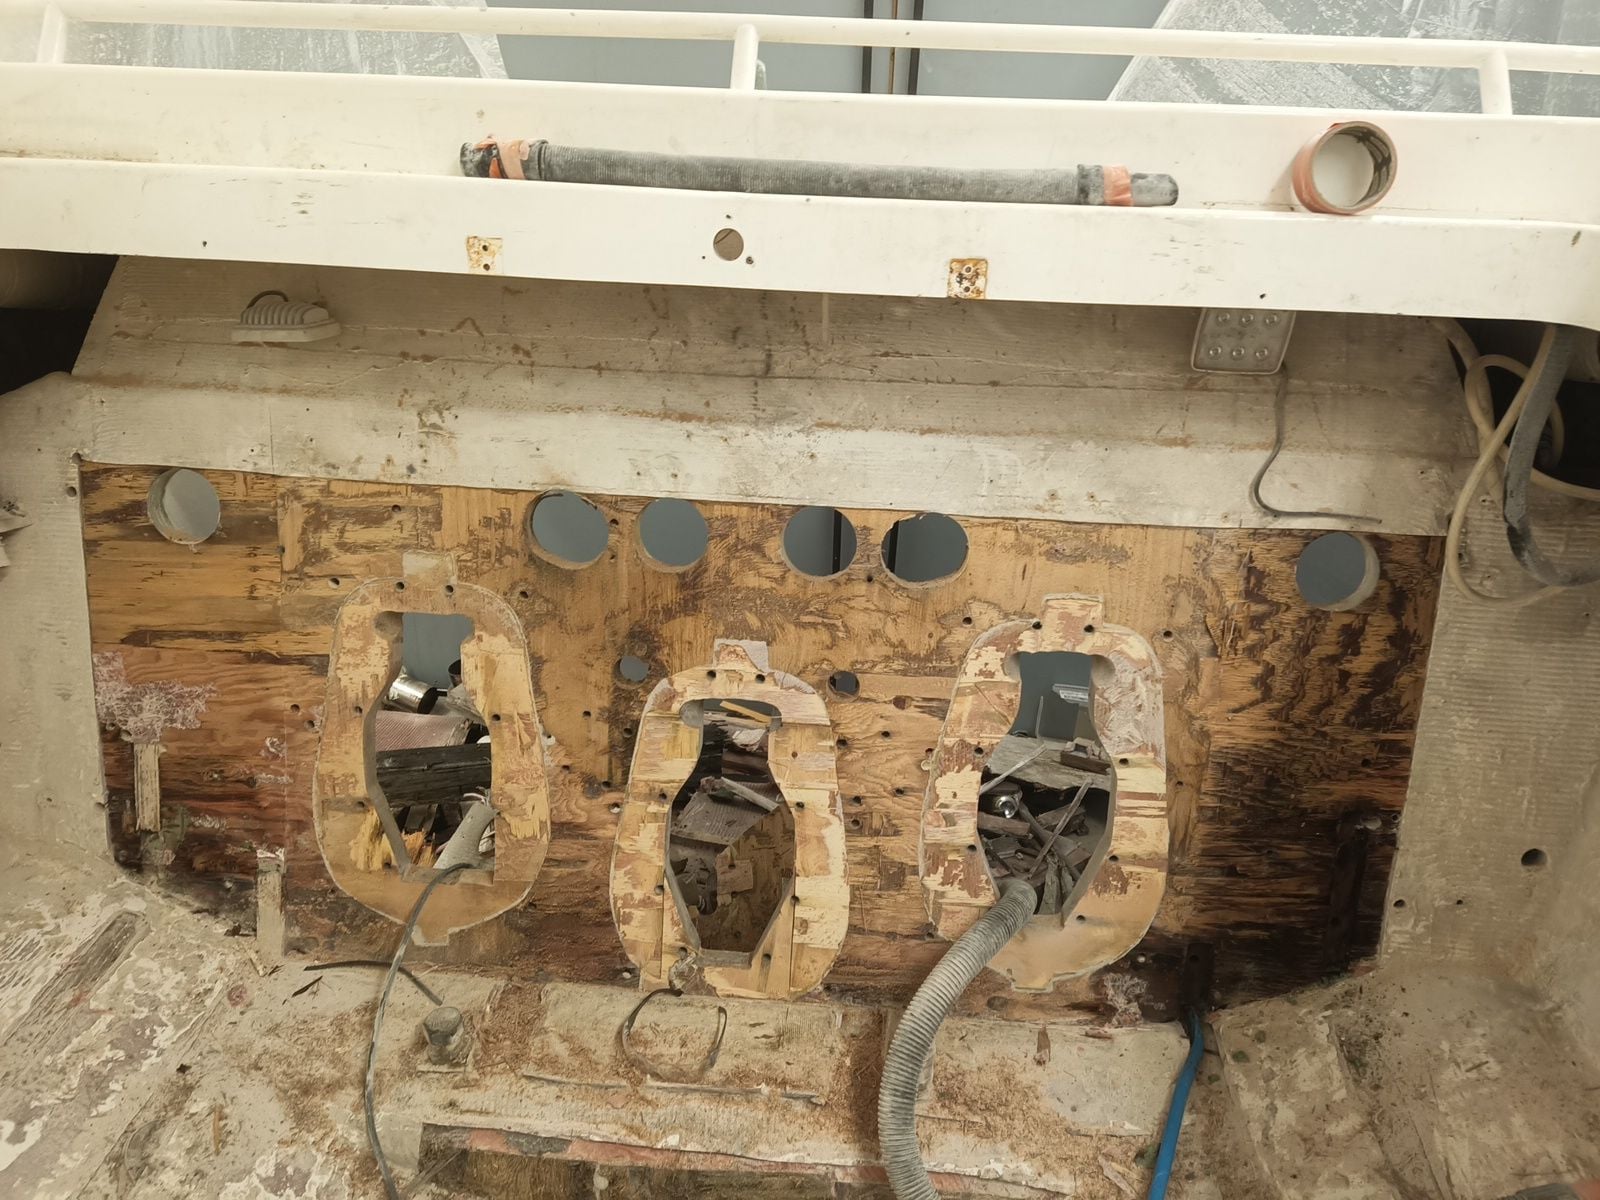
Concrete wall grinder was good! Dust collection ring with vacuum cleaner take 95% dust away.
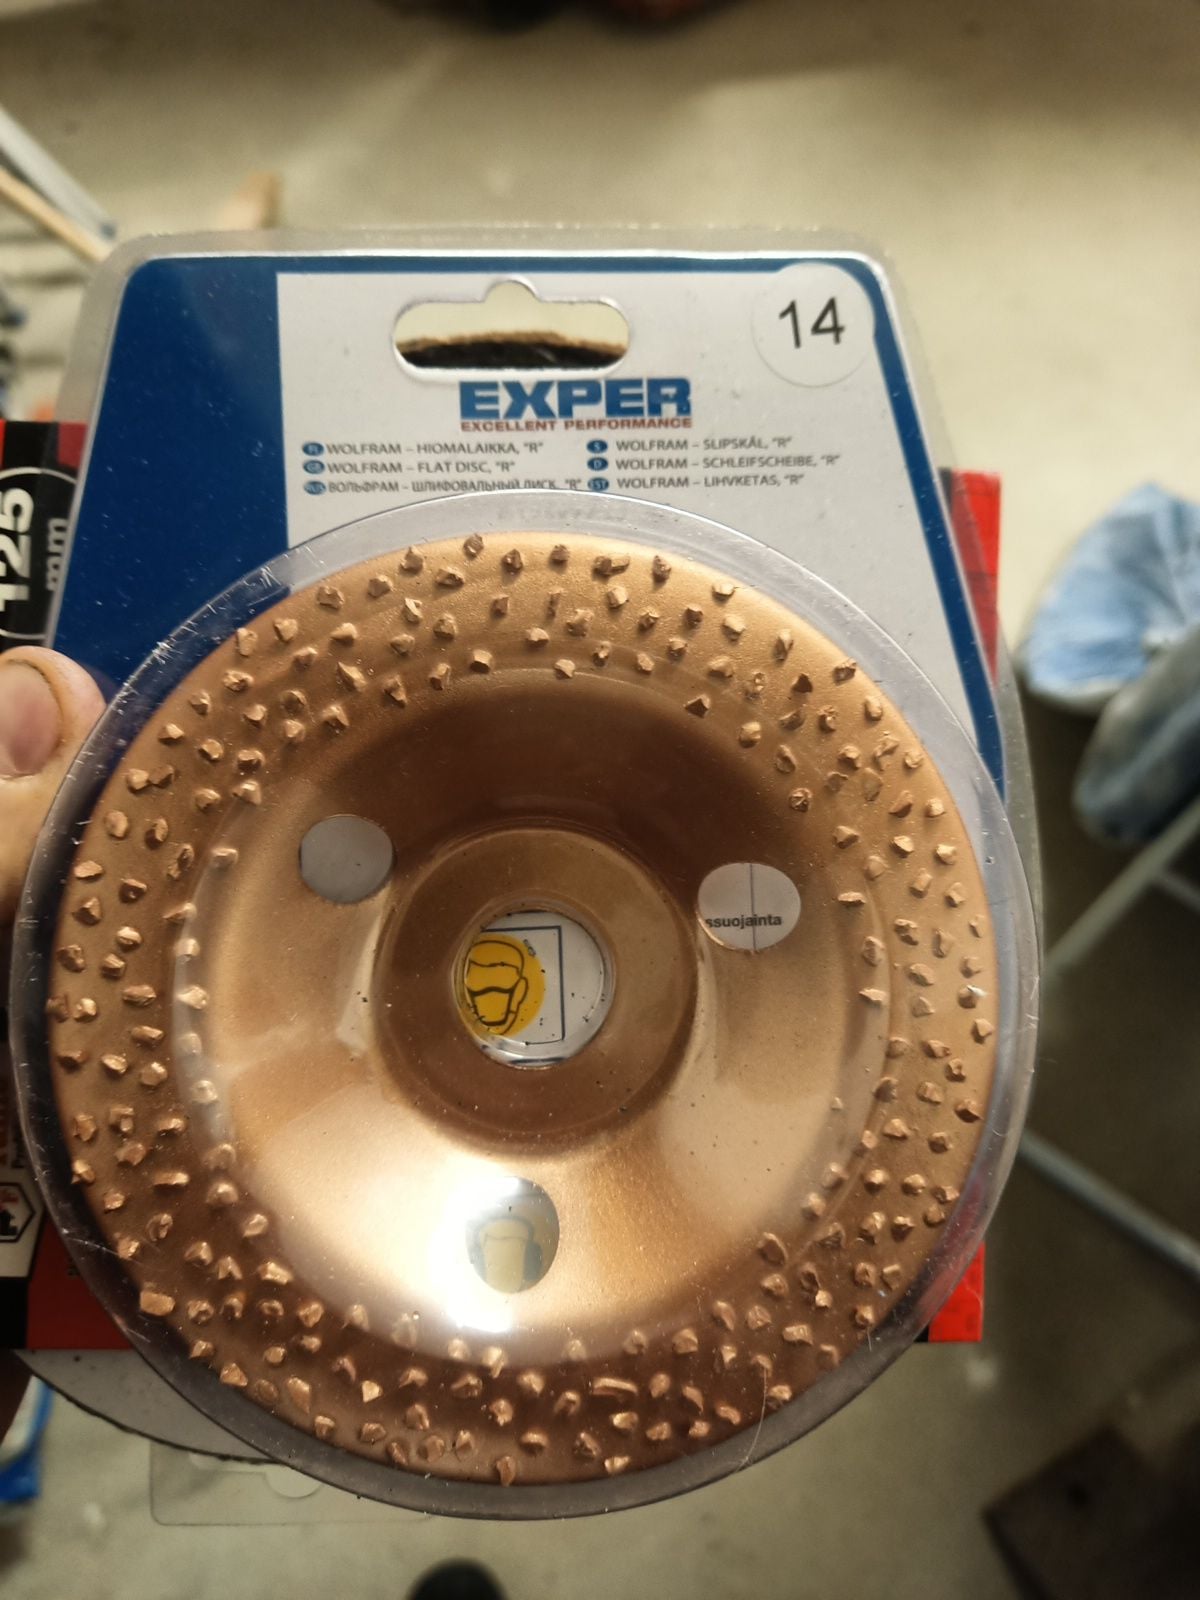
Best grinder wheel I found for wood and fiberglass, it makes chips and very little dust when turning pretty low rpm
I will fill all holes and start rigging to clean new transom, should I turn trim tabs horizontally? Most of newer boats tabs are mounted horizontally, why? I think its not so senstive for adjustment in high speed because smaller are of tab contact water when tabs are closer neutral position?
Another question is transom core material, first I think put PET core there but looks it have too low compression strenght. I figured out other alternatives but seems that plywood is good choice, weight saving is not so big so foam core is not worth of taking risk of transom failure. Finnish birch plywood is very good and strenght material and it's in stock few miles from me. Sealing for all holes must be done better than factory but no hard feelings for Fountain quality, after quarter century there was almost no rot, just little wet wood.
Transom looks good at first look but it was little wet, left trim tab has leak water to plywood but it wasn't rotten, just wet. I can't left it alone so I do new transom. When I took of glassfiber skin I notice that someone before me was there! Boat had maybe triple SSM 6 drives from factory, holes were much bigger than bravo holes. I was happy in the end to replace transom, second re-rig make perhaps transom weak, now it get one piece core and one piece inner skin.
Taking old transom out was actually easier job to do than I think, first cut skin out (about 1 hour), then circular saw plywood core to 15cmx15cm pieces (30min), hack chisel most of core out (2 hours), then plane down rest with electric hand planer (30min) last P14 coarse gringing flat to angle grinder and make some dust (1 hour) and its ready for new core. It's sad how many old boats be destroyed if they are rotten, do it yourself and it cost some work and cheap materials. Boat is better than factory because they make them hurry and not so detailed than hobby builder with big heart for boats.
Concrete wall grinder was good! Dust collection ring with vacuum cleaner take 95% dust away.
Best grinder wheel I found for wood and fiberglass, it makes chips and very little dust when turning pretty low rpm
I will fill all holes and start rigging to clean new transom, should I turn trim tabs horizontally? Most of newer boats tabs are mounted horizontally, why? I think its not so senstive for adjustment in high speed because smaller are of tab contact water when tabs are closer neutral position?
Another question is transom core material, first I think put PET core there but looks it have too low compression strenght. I figured out other alternatives but seems that plywood is good choice, weight saving is not so big so foam core is not worth of taking risk of transom failure. Finnish birch plywood is very good and strenght material and it's in stock few miles from me. Sealing for all holes must be done better than factory but no hard feelings for Fountain quality, after quarter century there was almost no rot, just little wet wood.
Last edited by ksalmine; 03-26-2024 at 01:51 PM.
04-07-2024 | 06:00 AM
#319
Thread Starter
Registered
Joined: Jan 2010
Posts: 346
Likes: 877
From: Finland
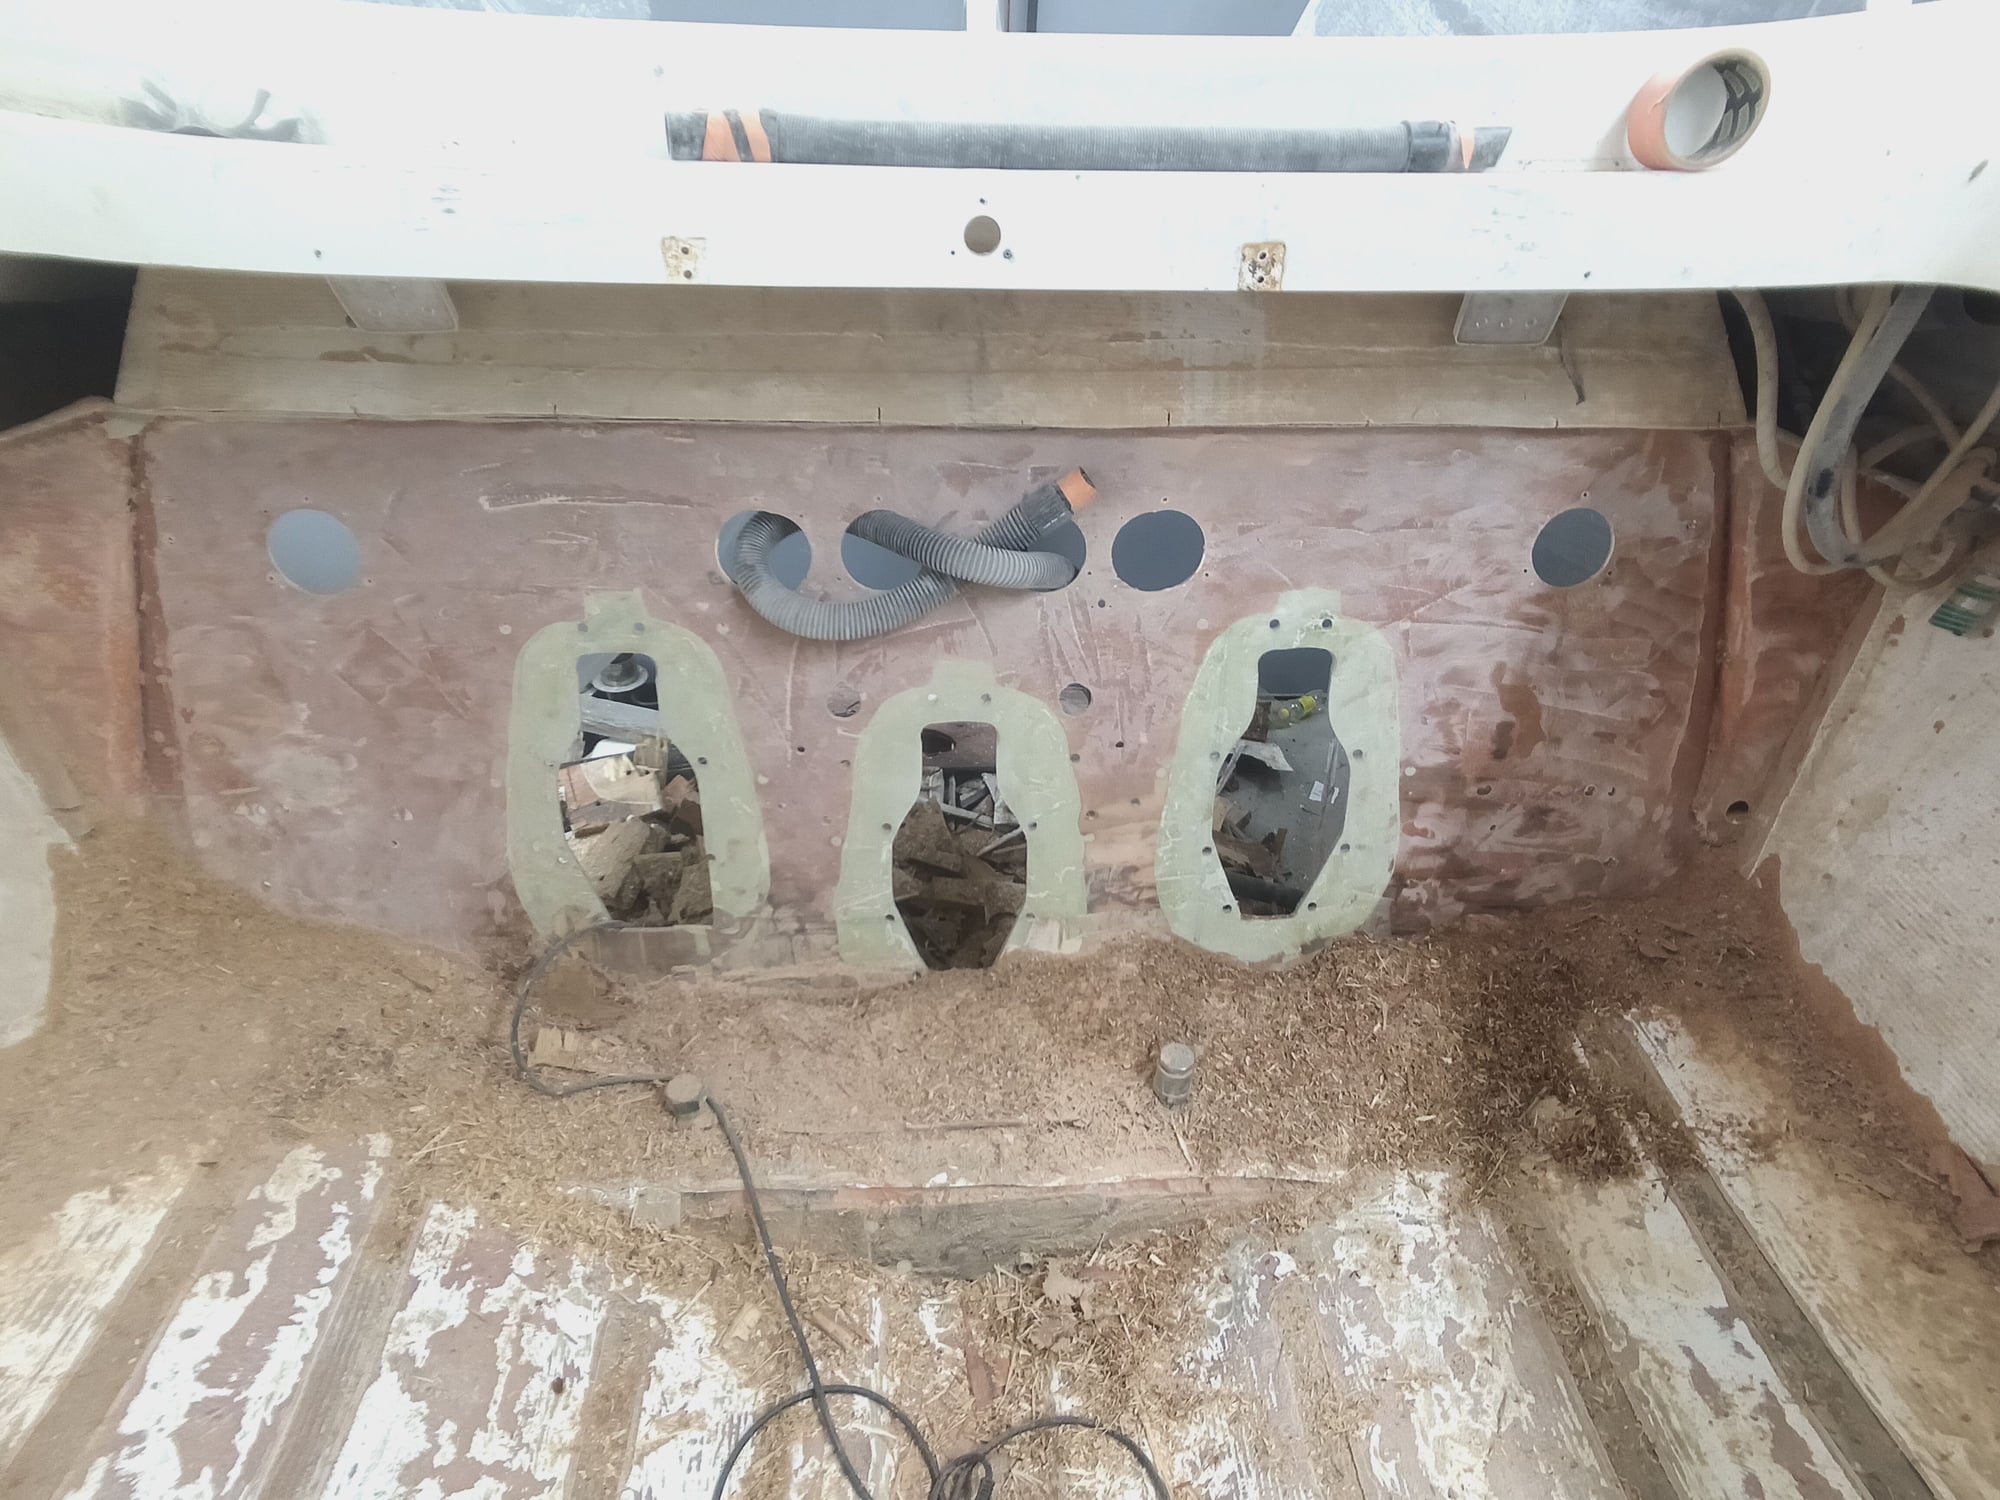
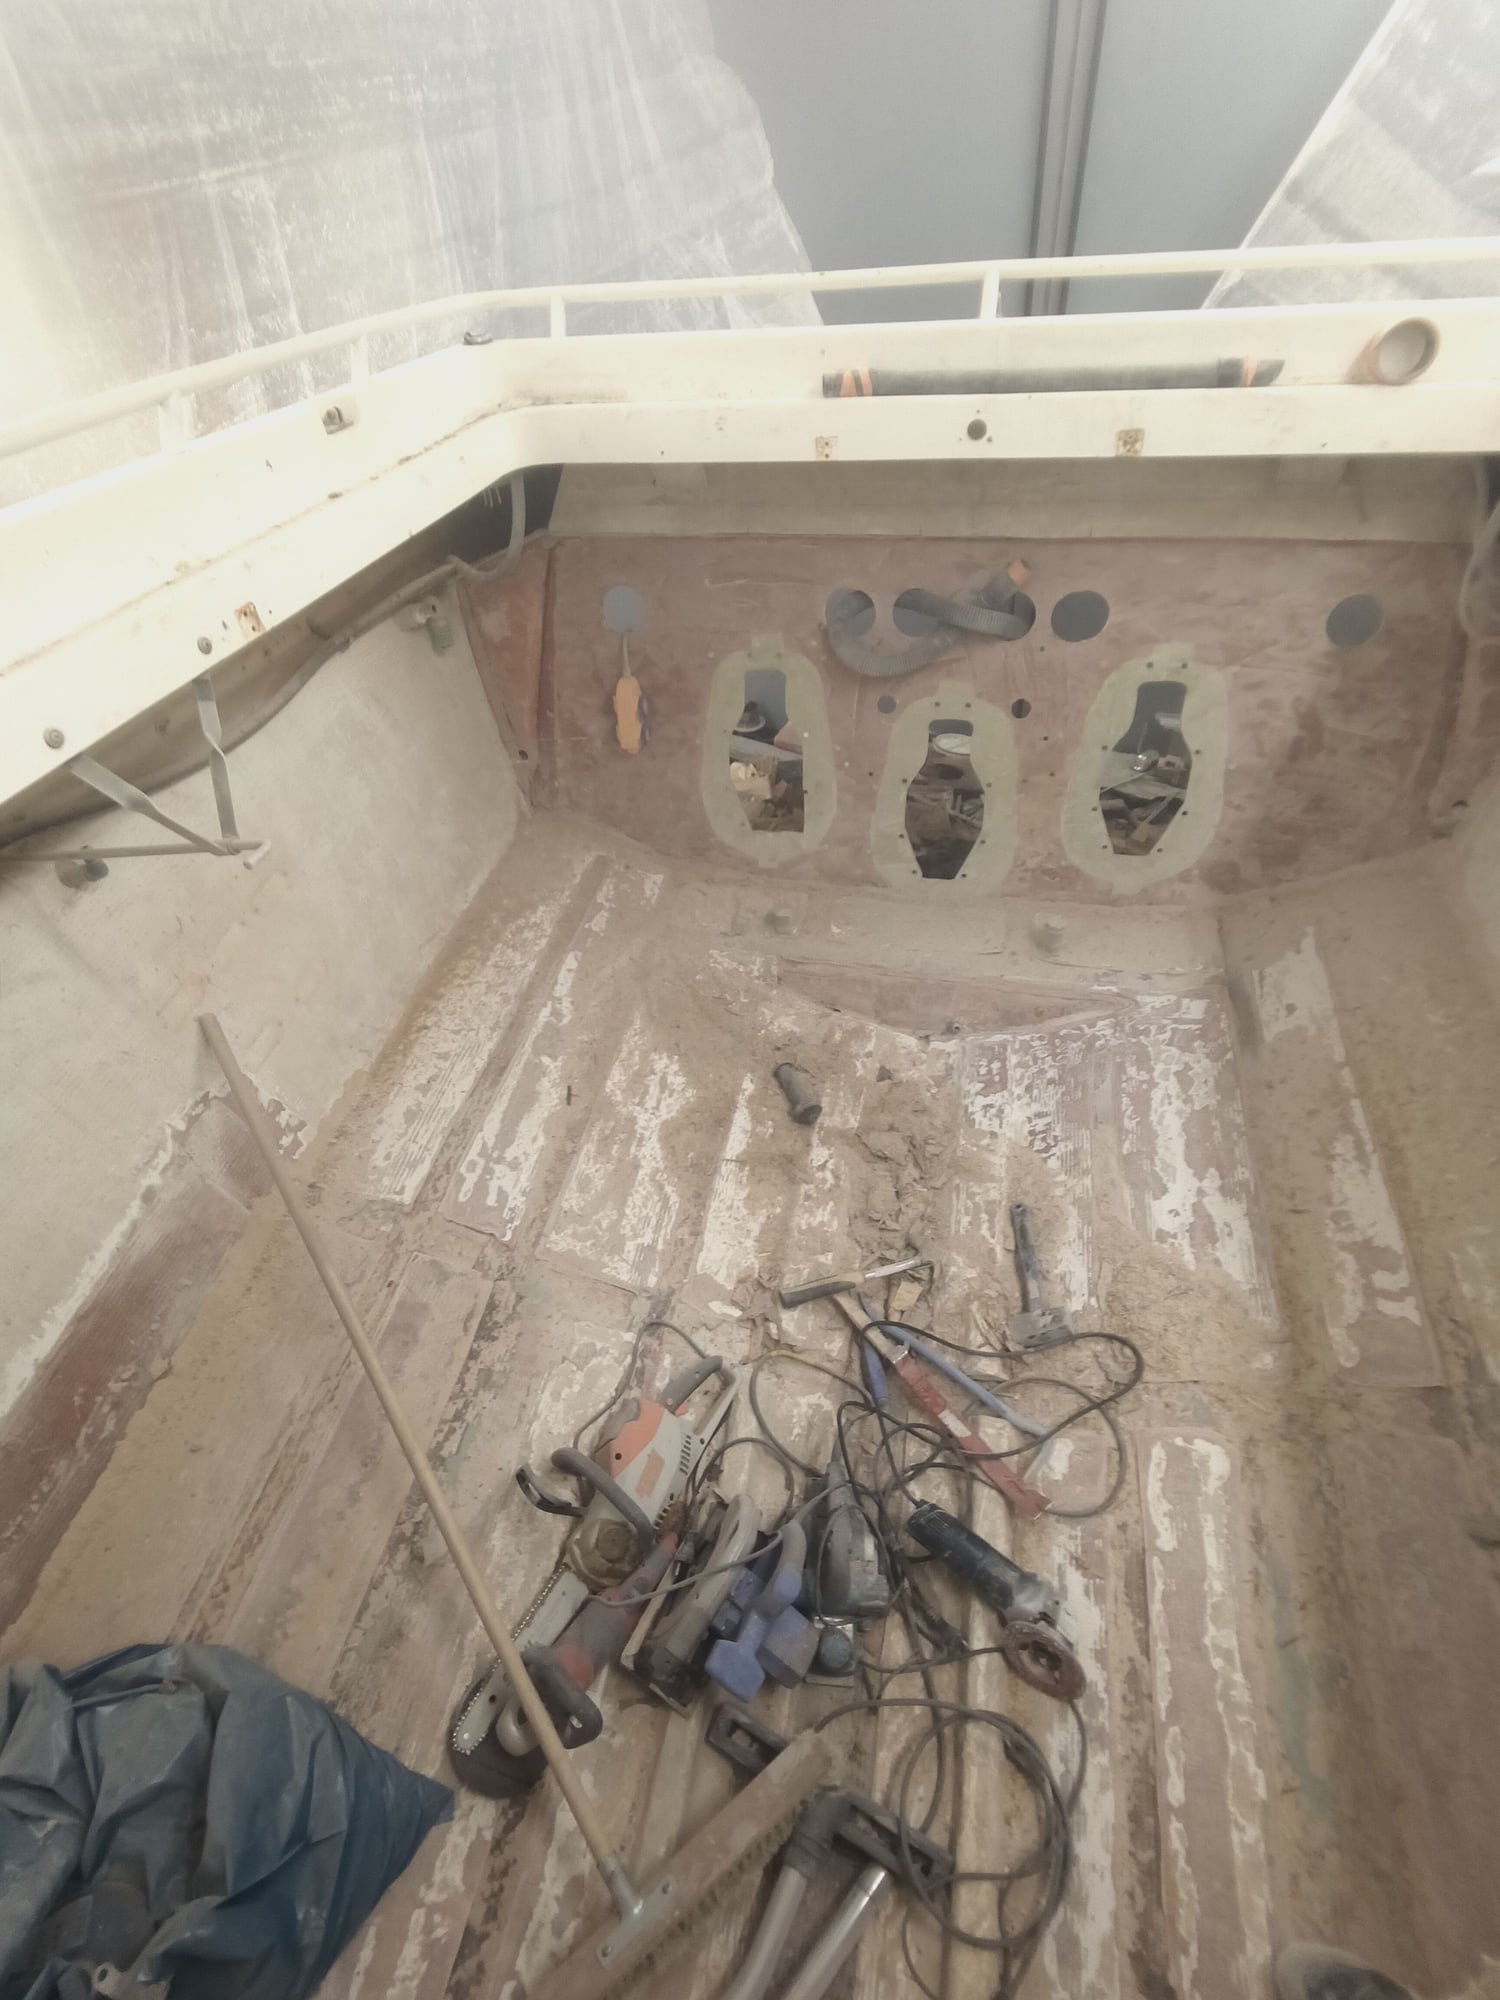
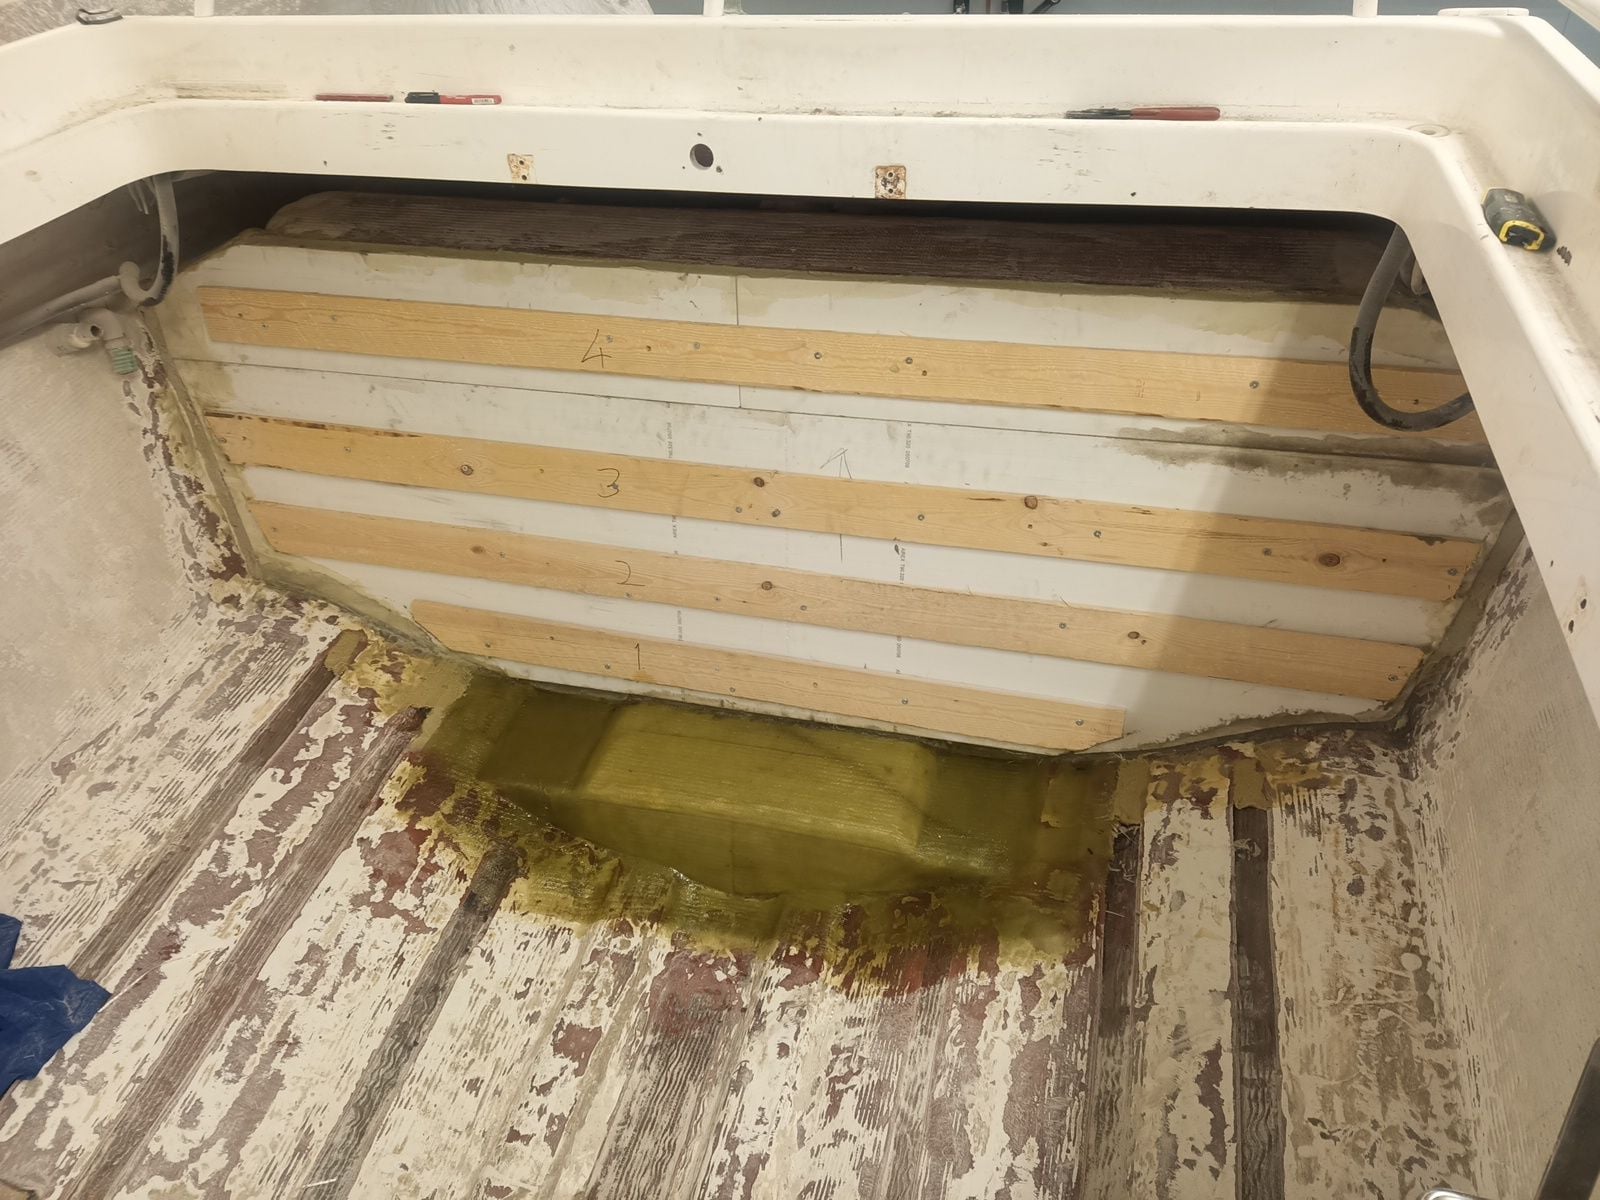
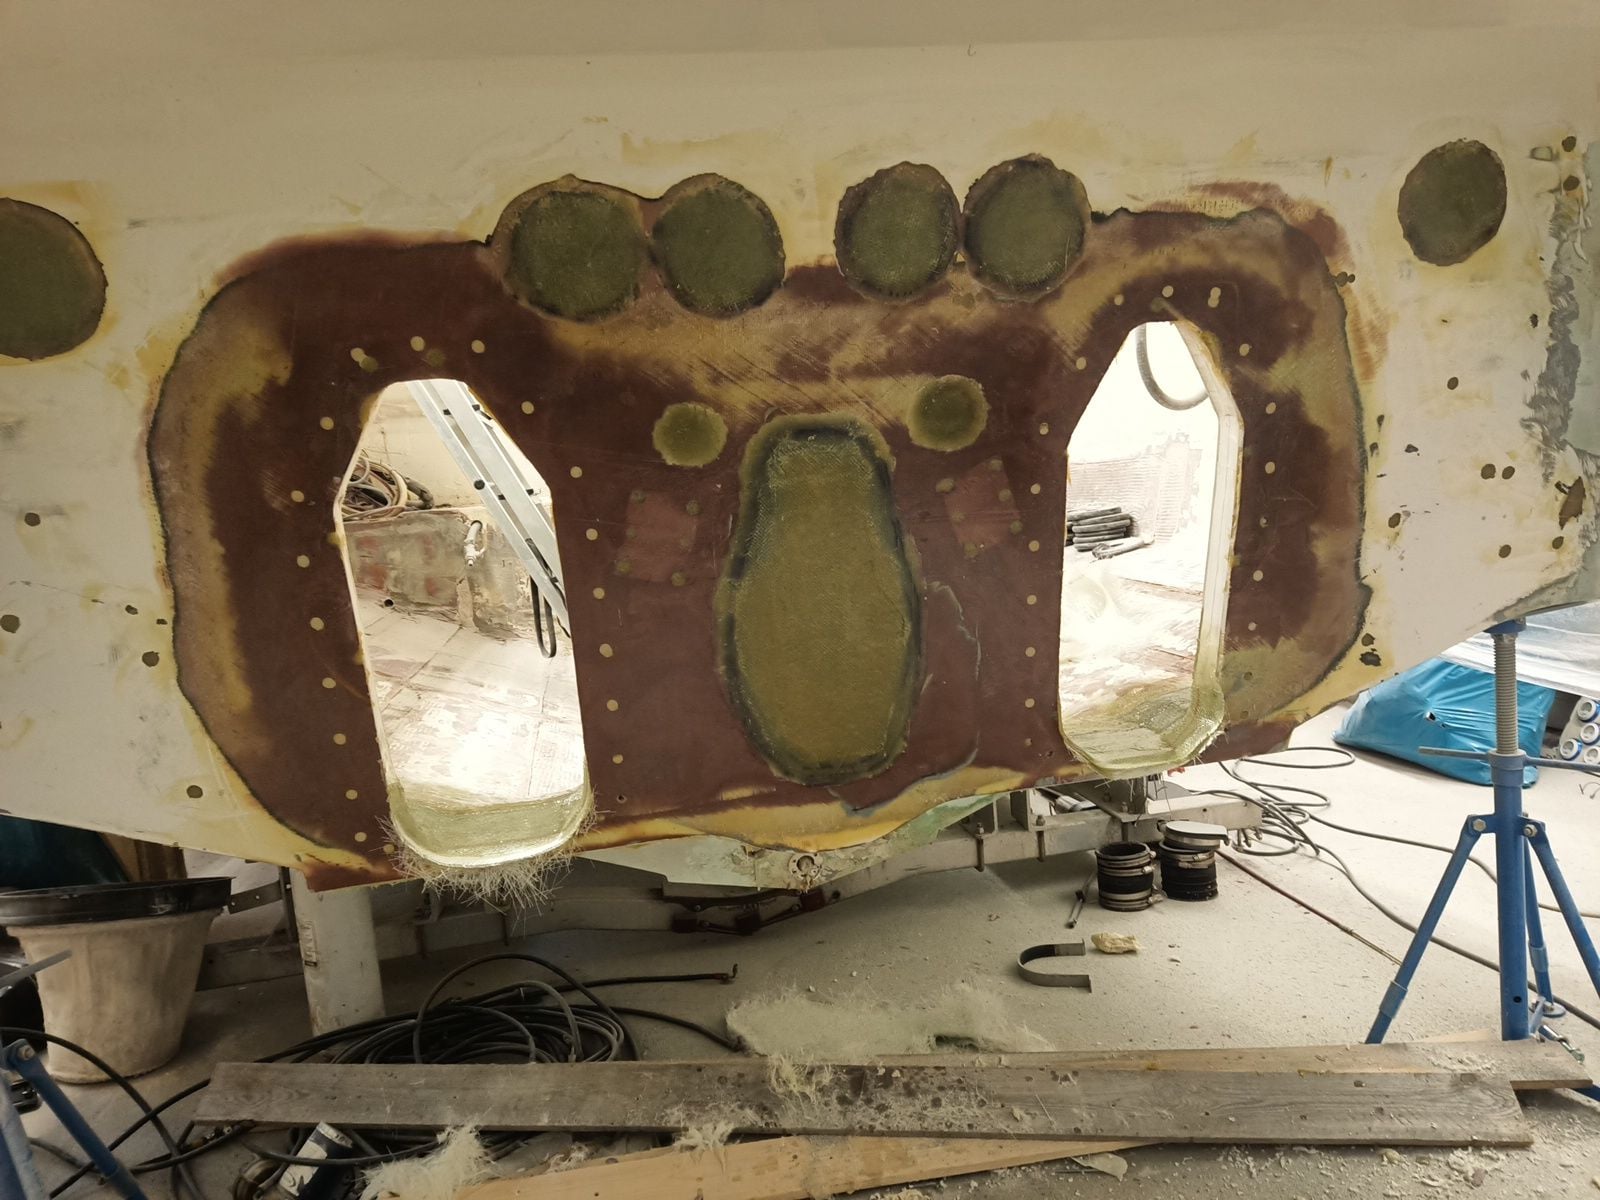
New transom core are glued. It goes well and thickened vinylester resin squeezed out nicely everywhere so bond should be good.
I clamped new core between timber, using many screws through bolt holes and everywhere it was possible.
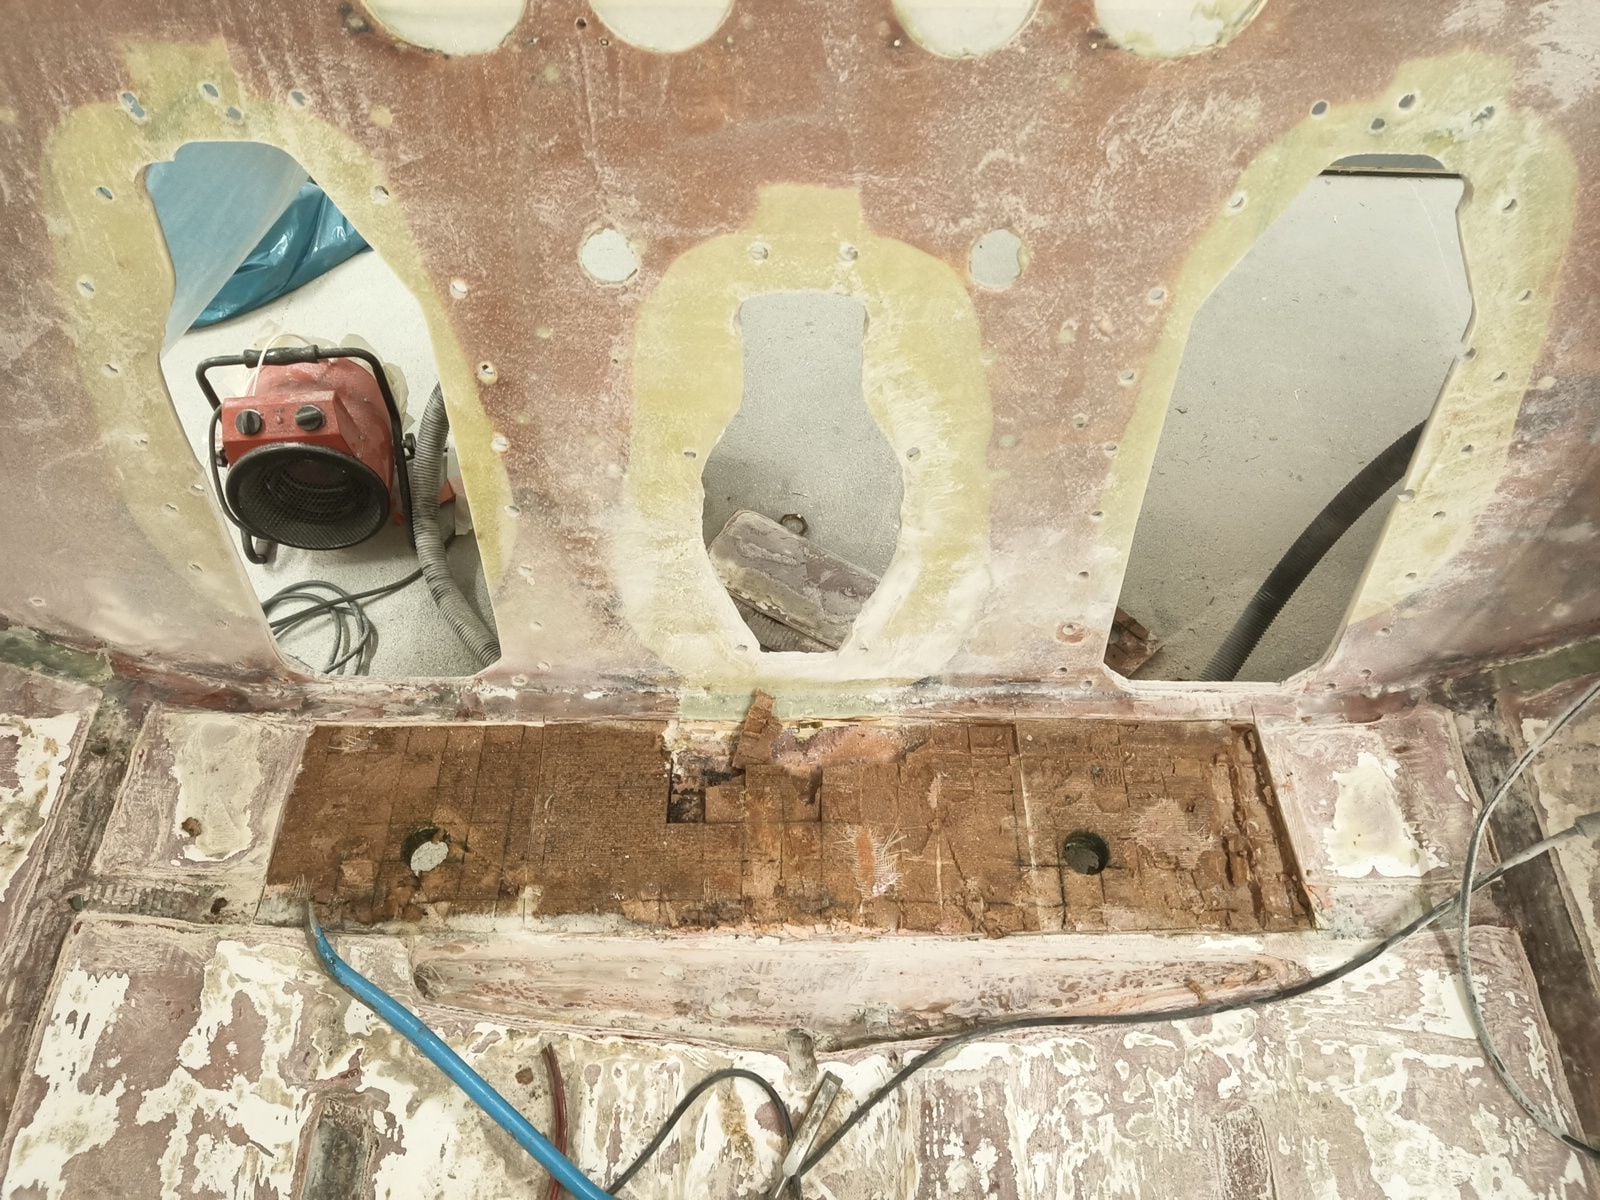
Most wet place found in notch, that was cored by foam and that foam absorb much of water. I replace notch core material also.
First I was think to make plywood core transom but I found 320kg/m3 foam that have very good compression strenght, there is now 40mm foam core that makes transom little thicker than original.
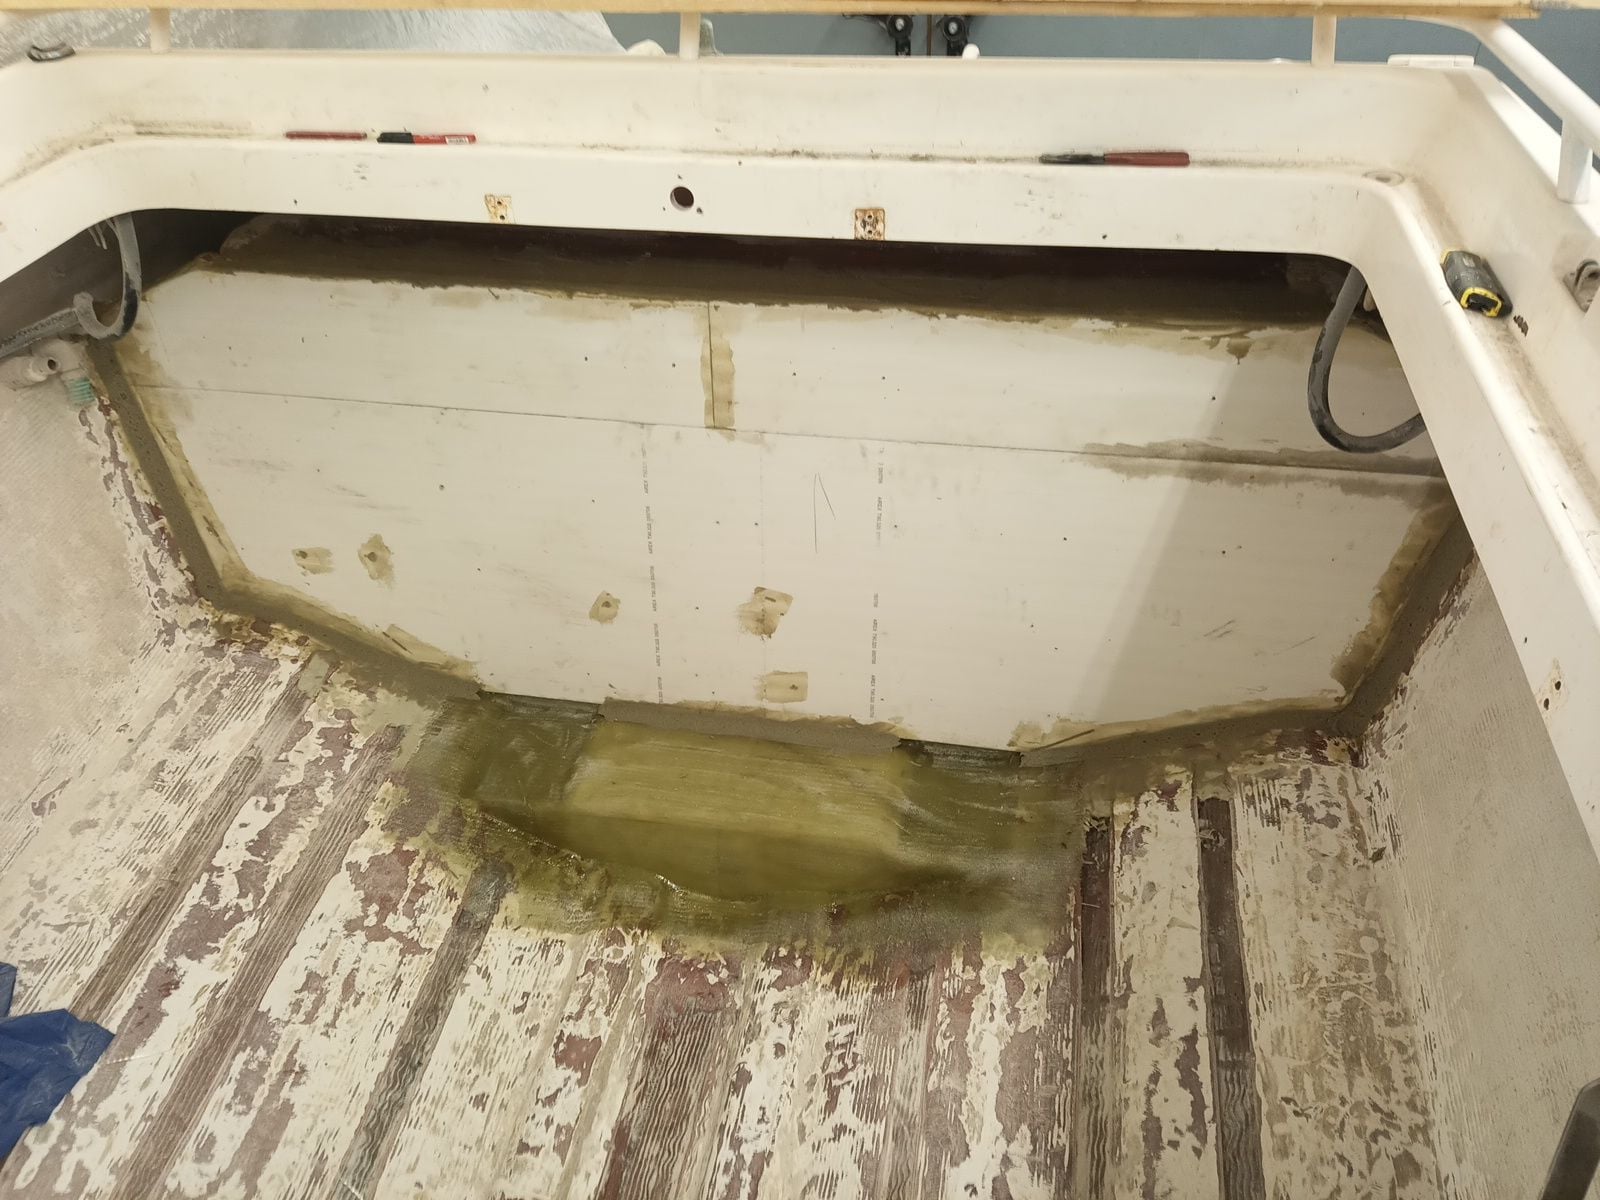
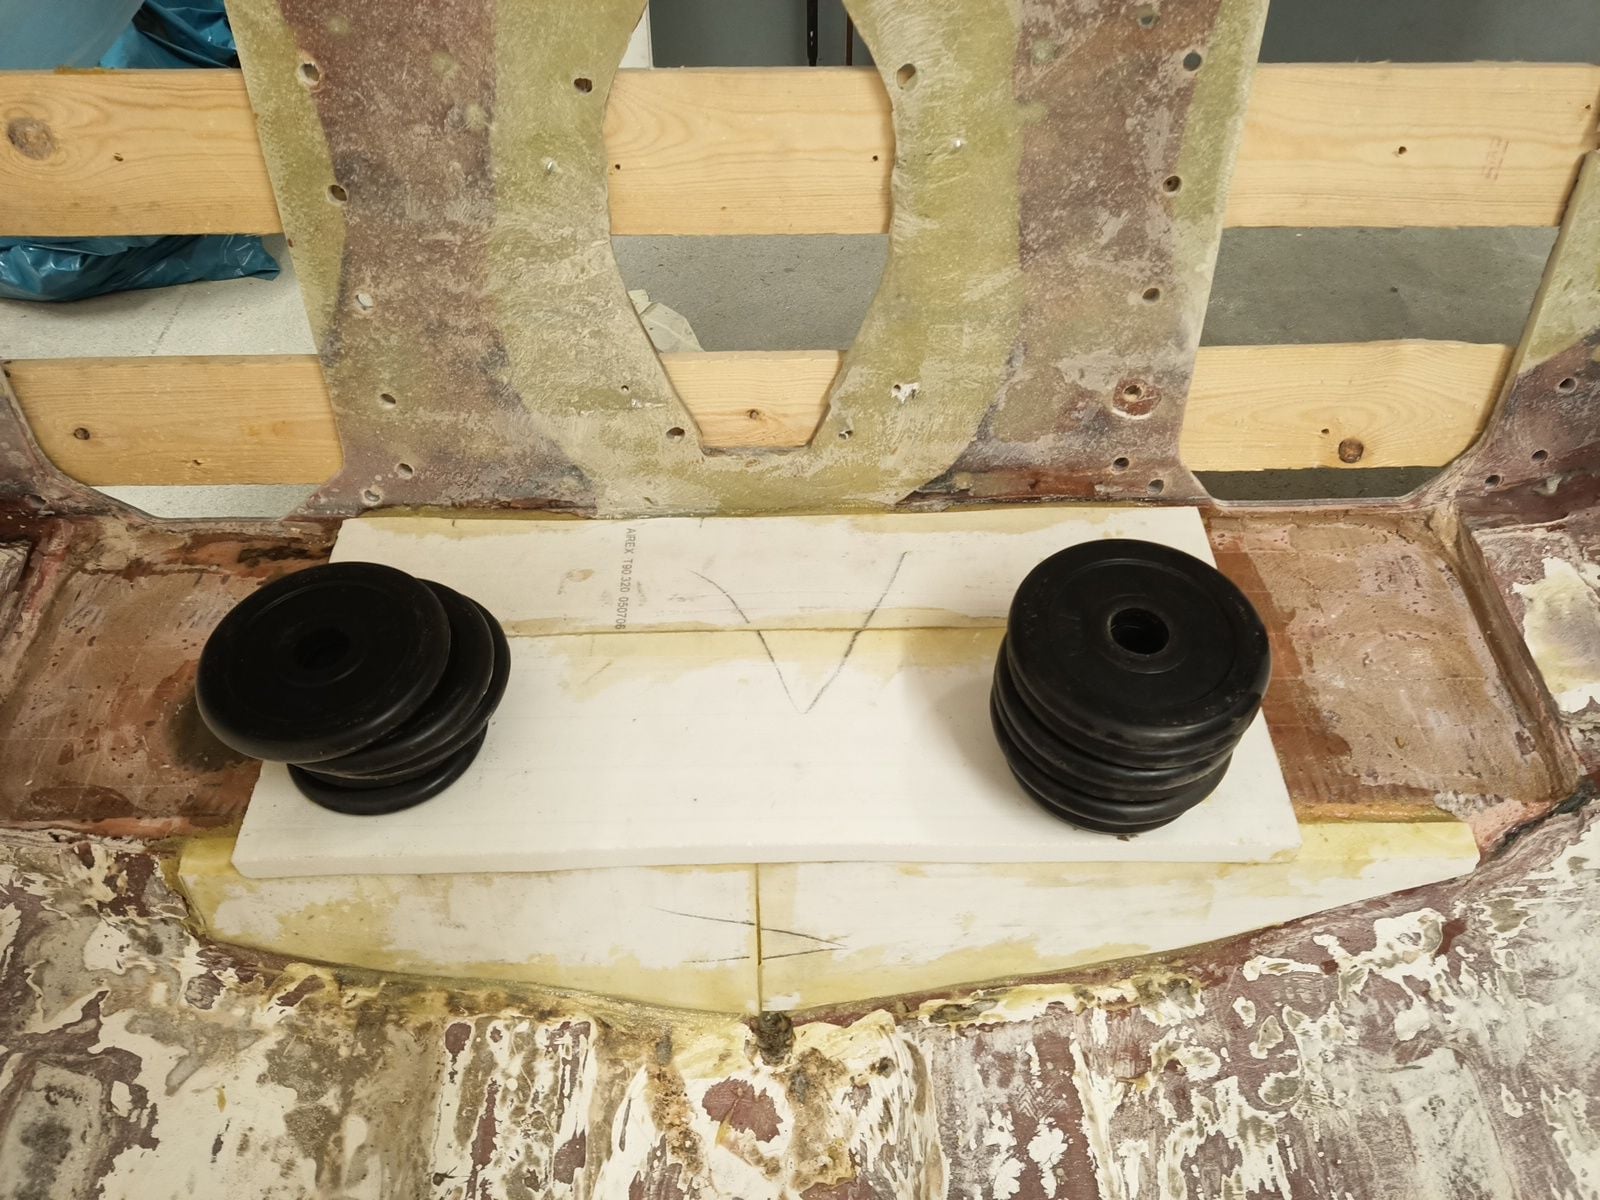
Sides of notch got thinner core to make room for carbon drive shafts so extension boxes and drives can be mounted as low as possible. Notch is now laminated and ready.

I clamped new core between timber, using many screws through bolt holes and everywhere it was possible.
Most wet place found in notch, that was cored by foam and that foam absorb much of water. I replace notch core material also.
First I was think to make plywood core transom but I found 320kg/m3 foam that have very good compression strenght, there is now 40mm foam core that makes transom little thicker than original.
Sides of notch got thinner core to make room for carbon drive shafts so extension boxes and drives can be mounted as low as possible. Notch is now laminated and ready.
04-14-2024 | 11:38 AM
#320
Thread Starter
Registered
Joined: Jan 2010
Posts: 346
Likes: 877
From: Finland
Project going slowly forward, thereis lot of glass work, but it's on better side now.
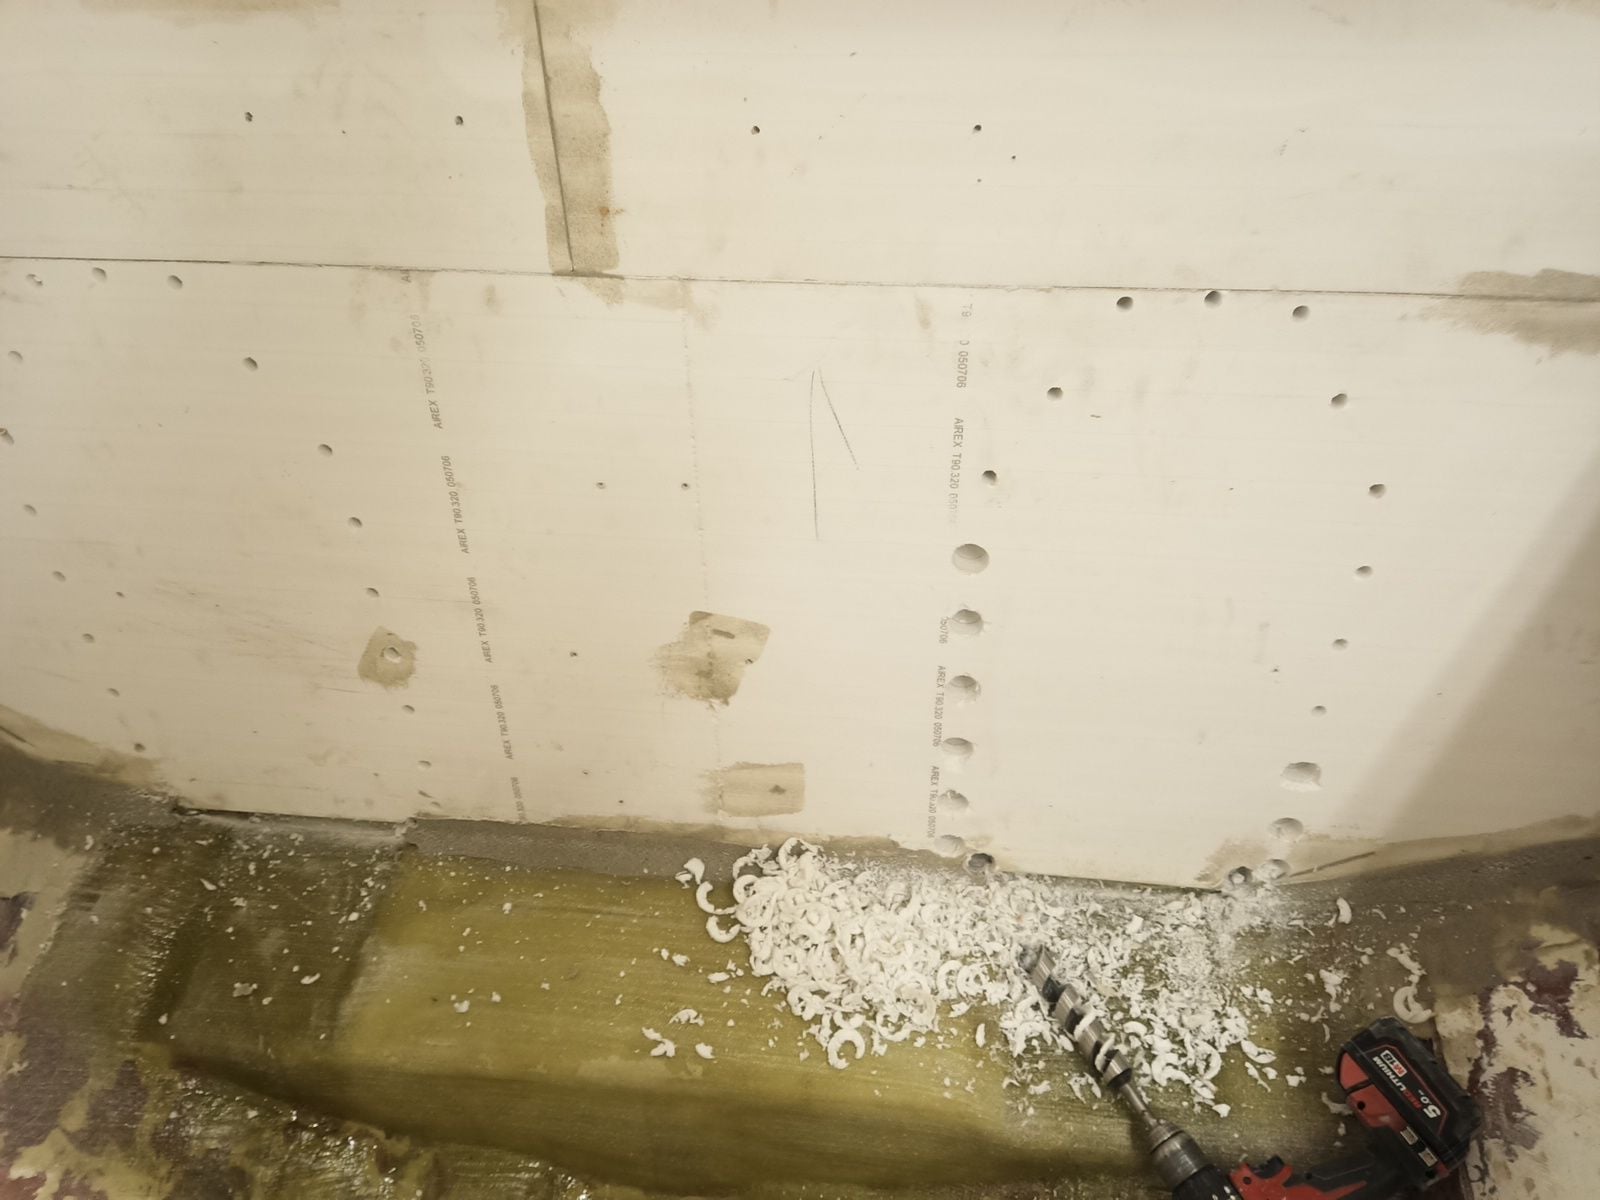
30mm holes for thickened resin.
Now there are resin support sleeve for each bolt that have much more compression strenght than foam core. Extension boxes M12 bolts must remain tight under heavy loading.
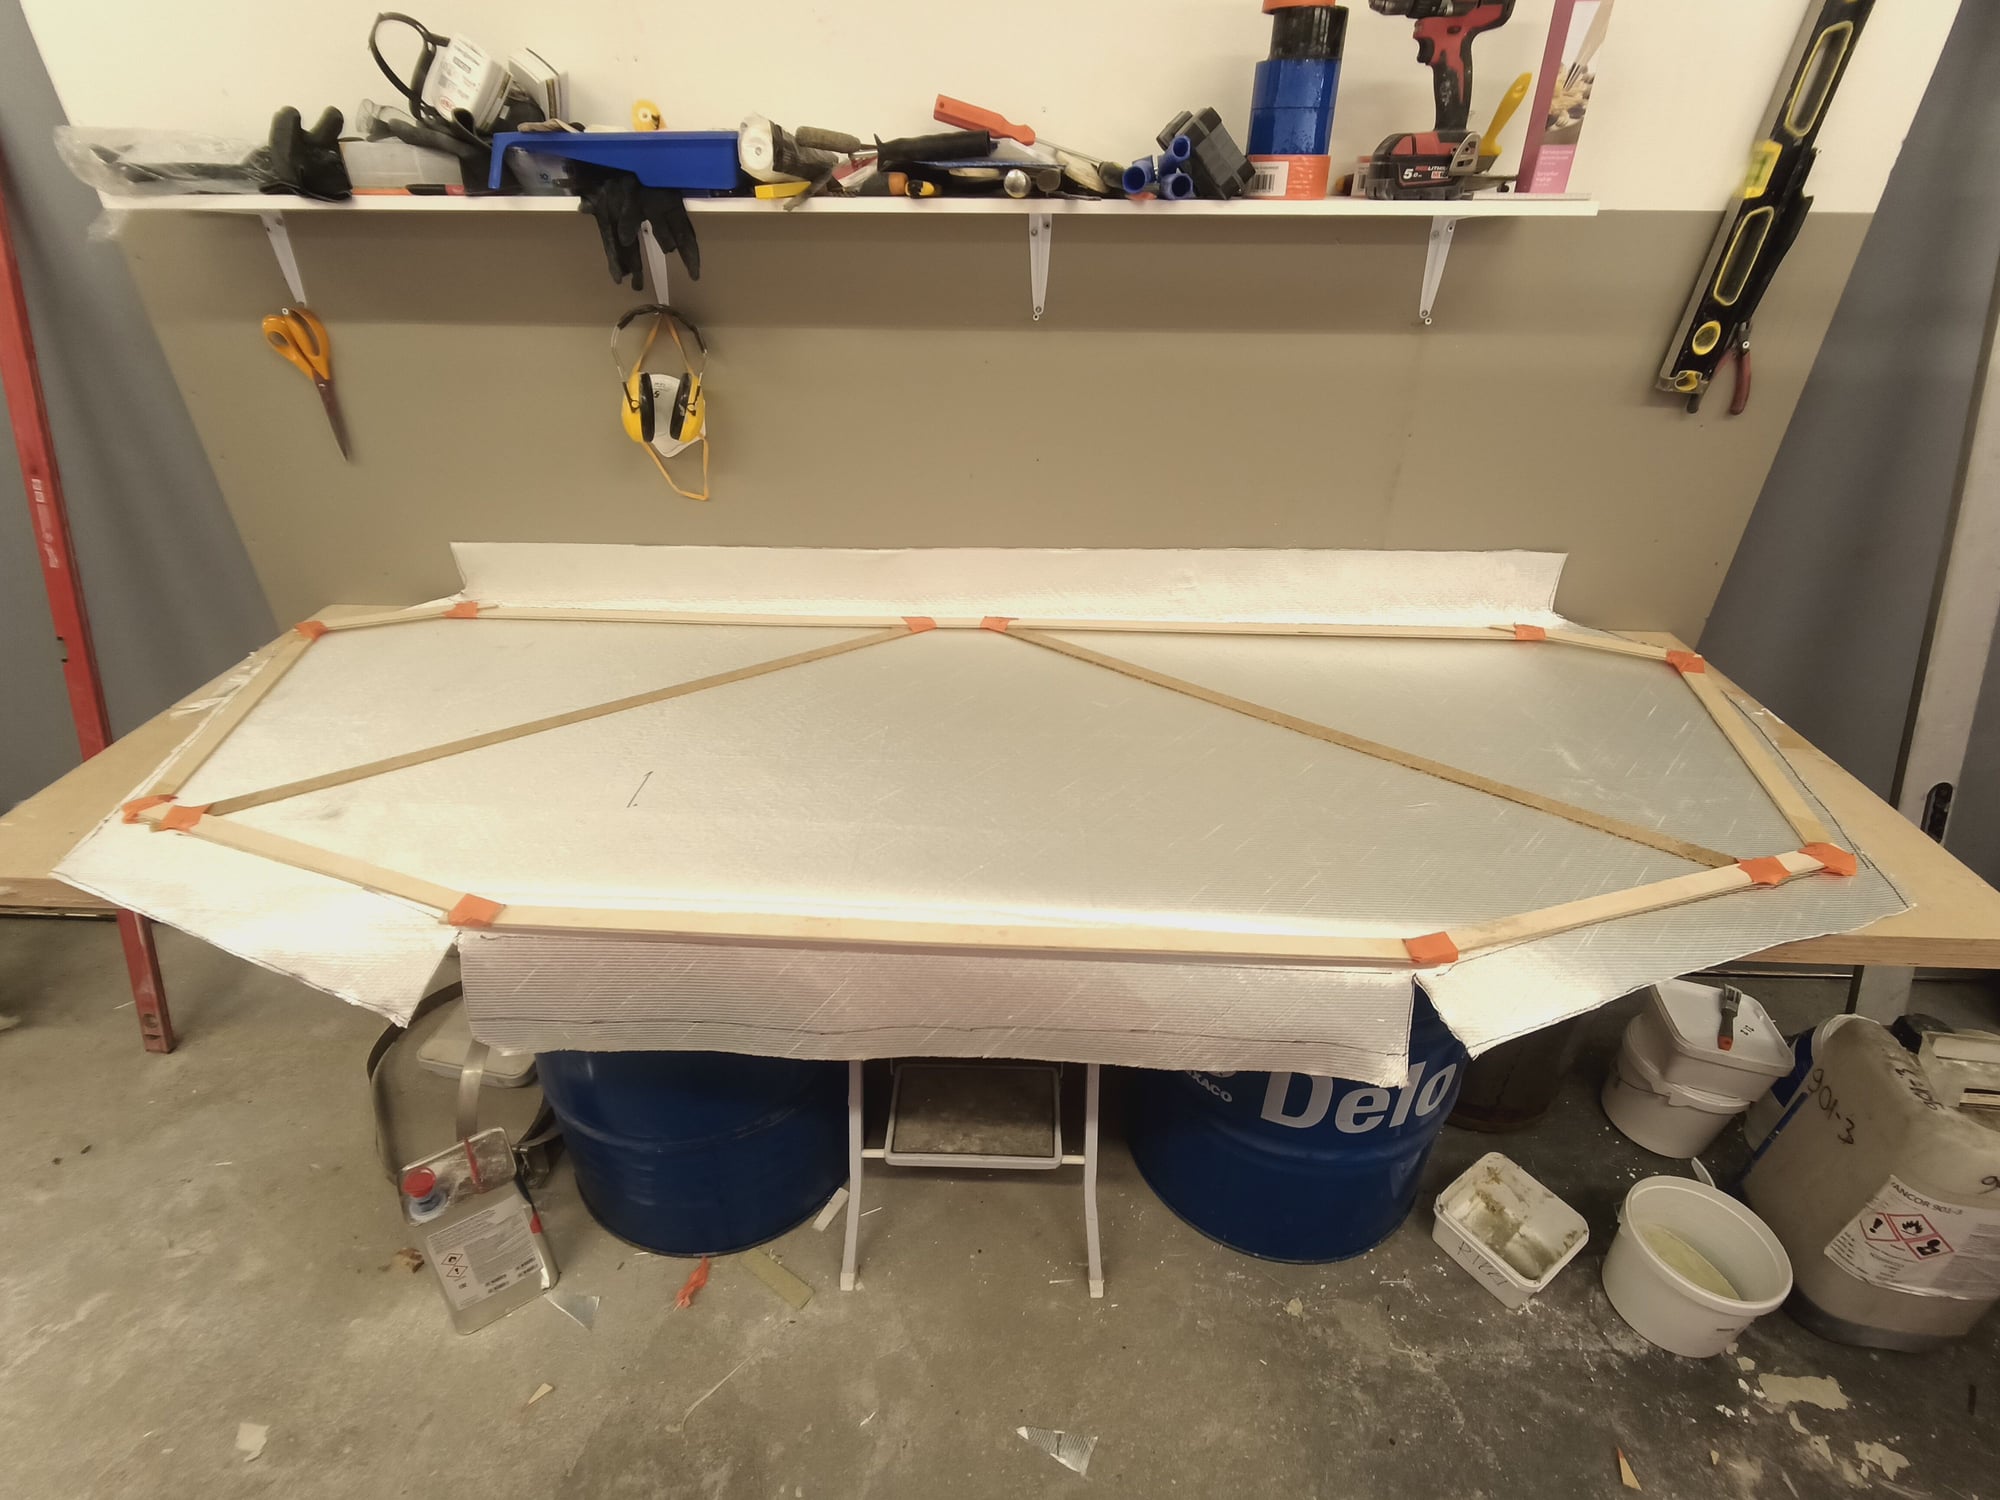
I made stick template so its easier to cut fabrics right size.
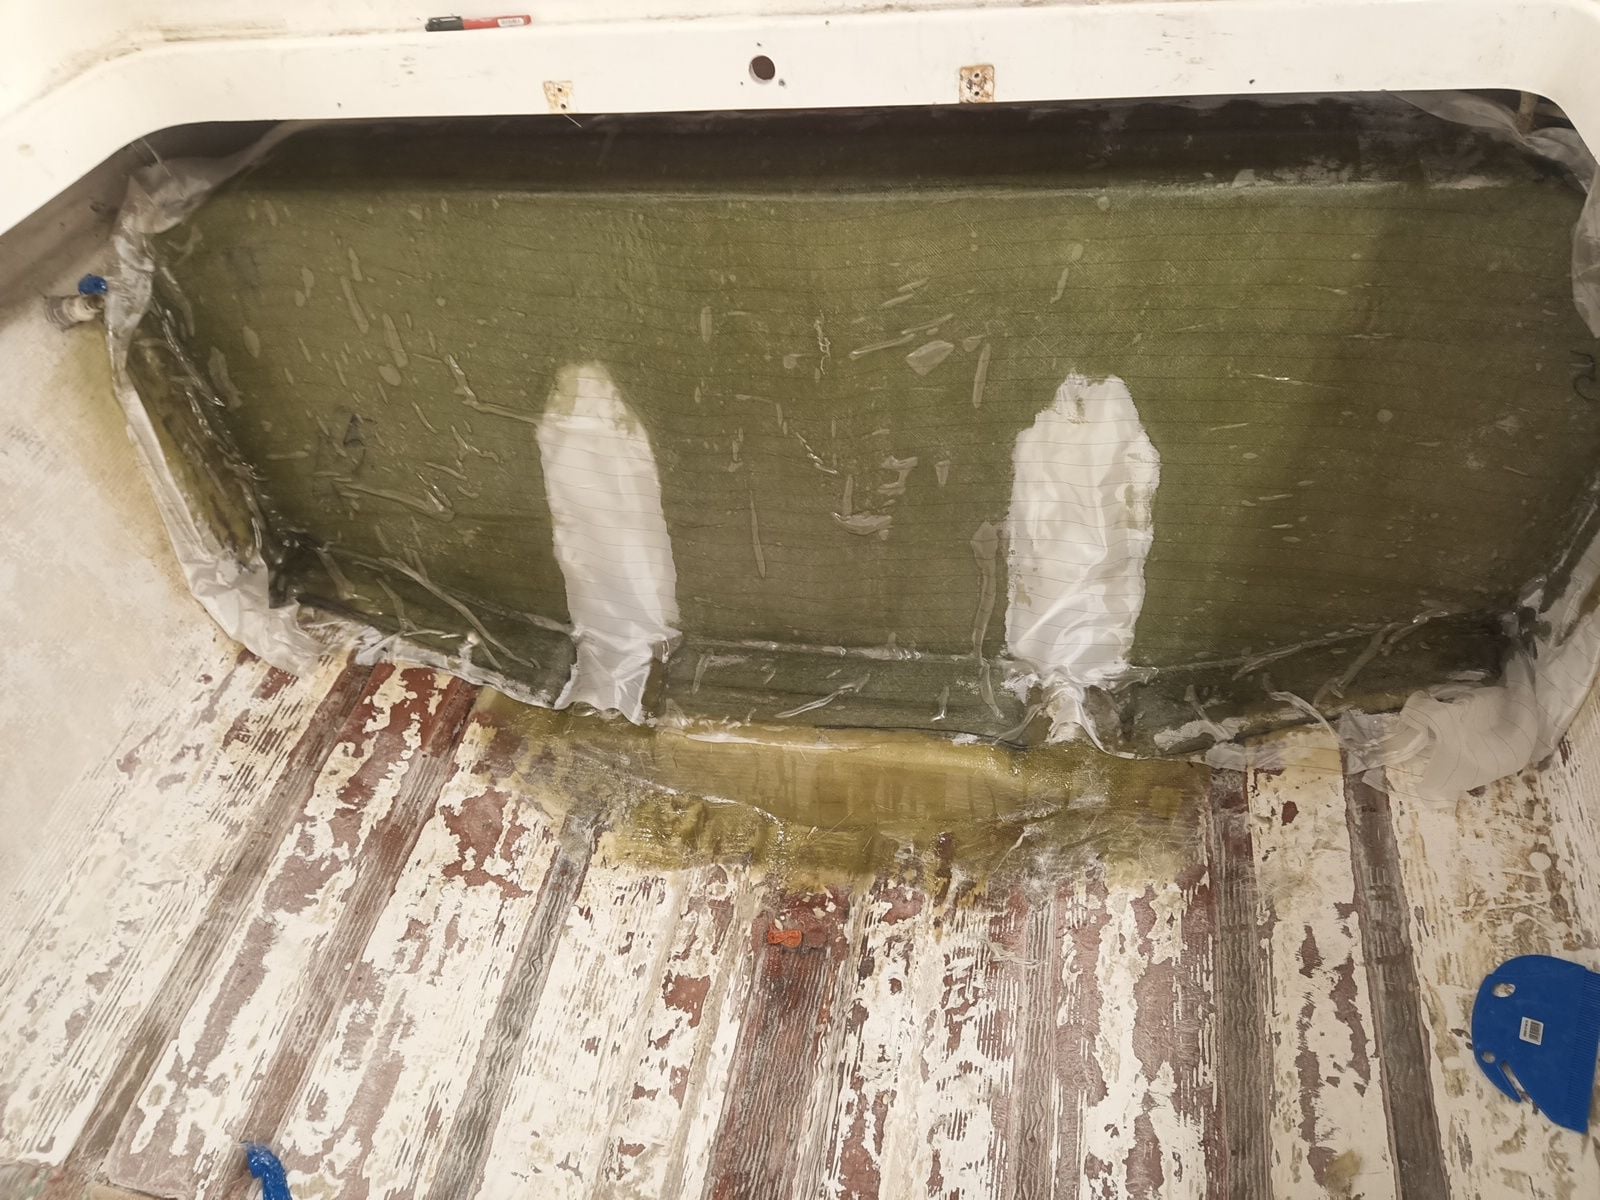
Transom is glassed, there is thicker core and thicker inside glass skin than original boat had. I used peel ply at last layer, it work pretty good exept some wrinkles, less sanding and grinding.
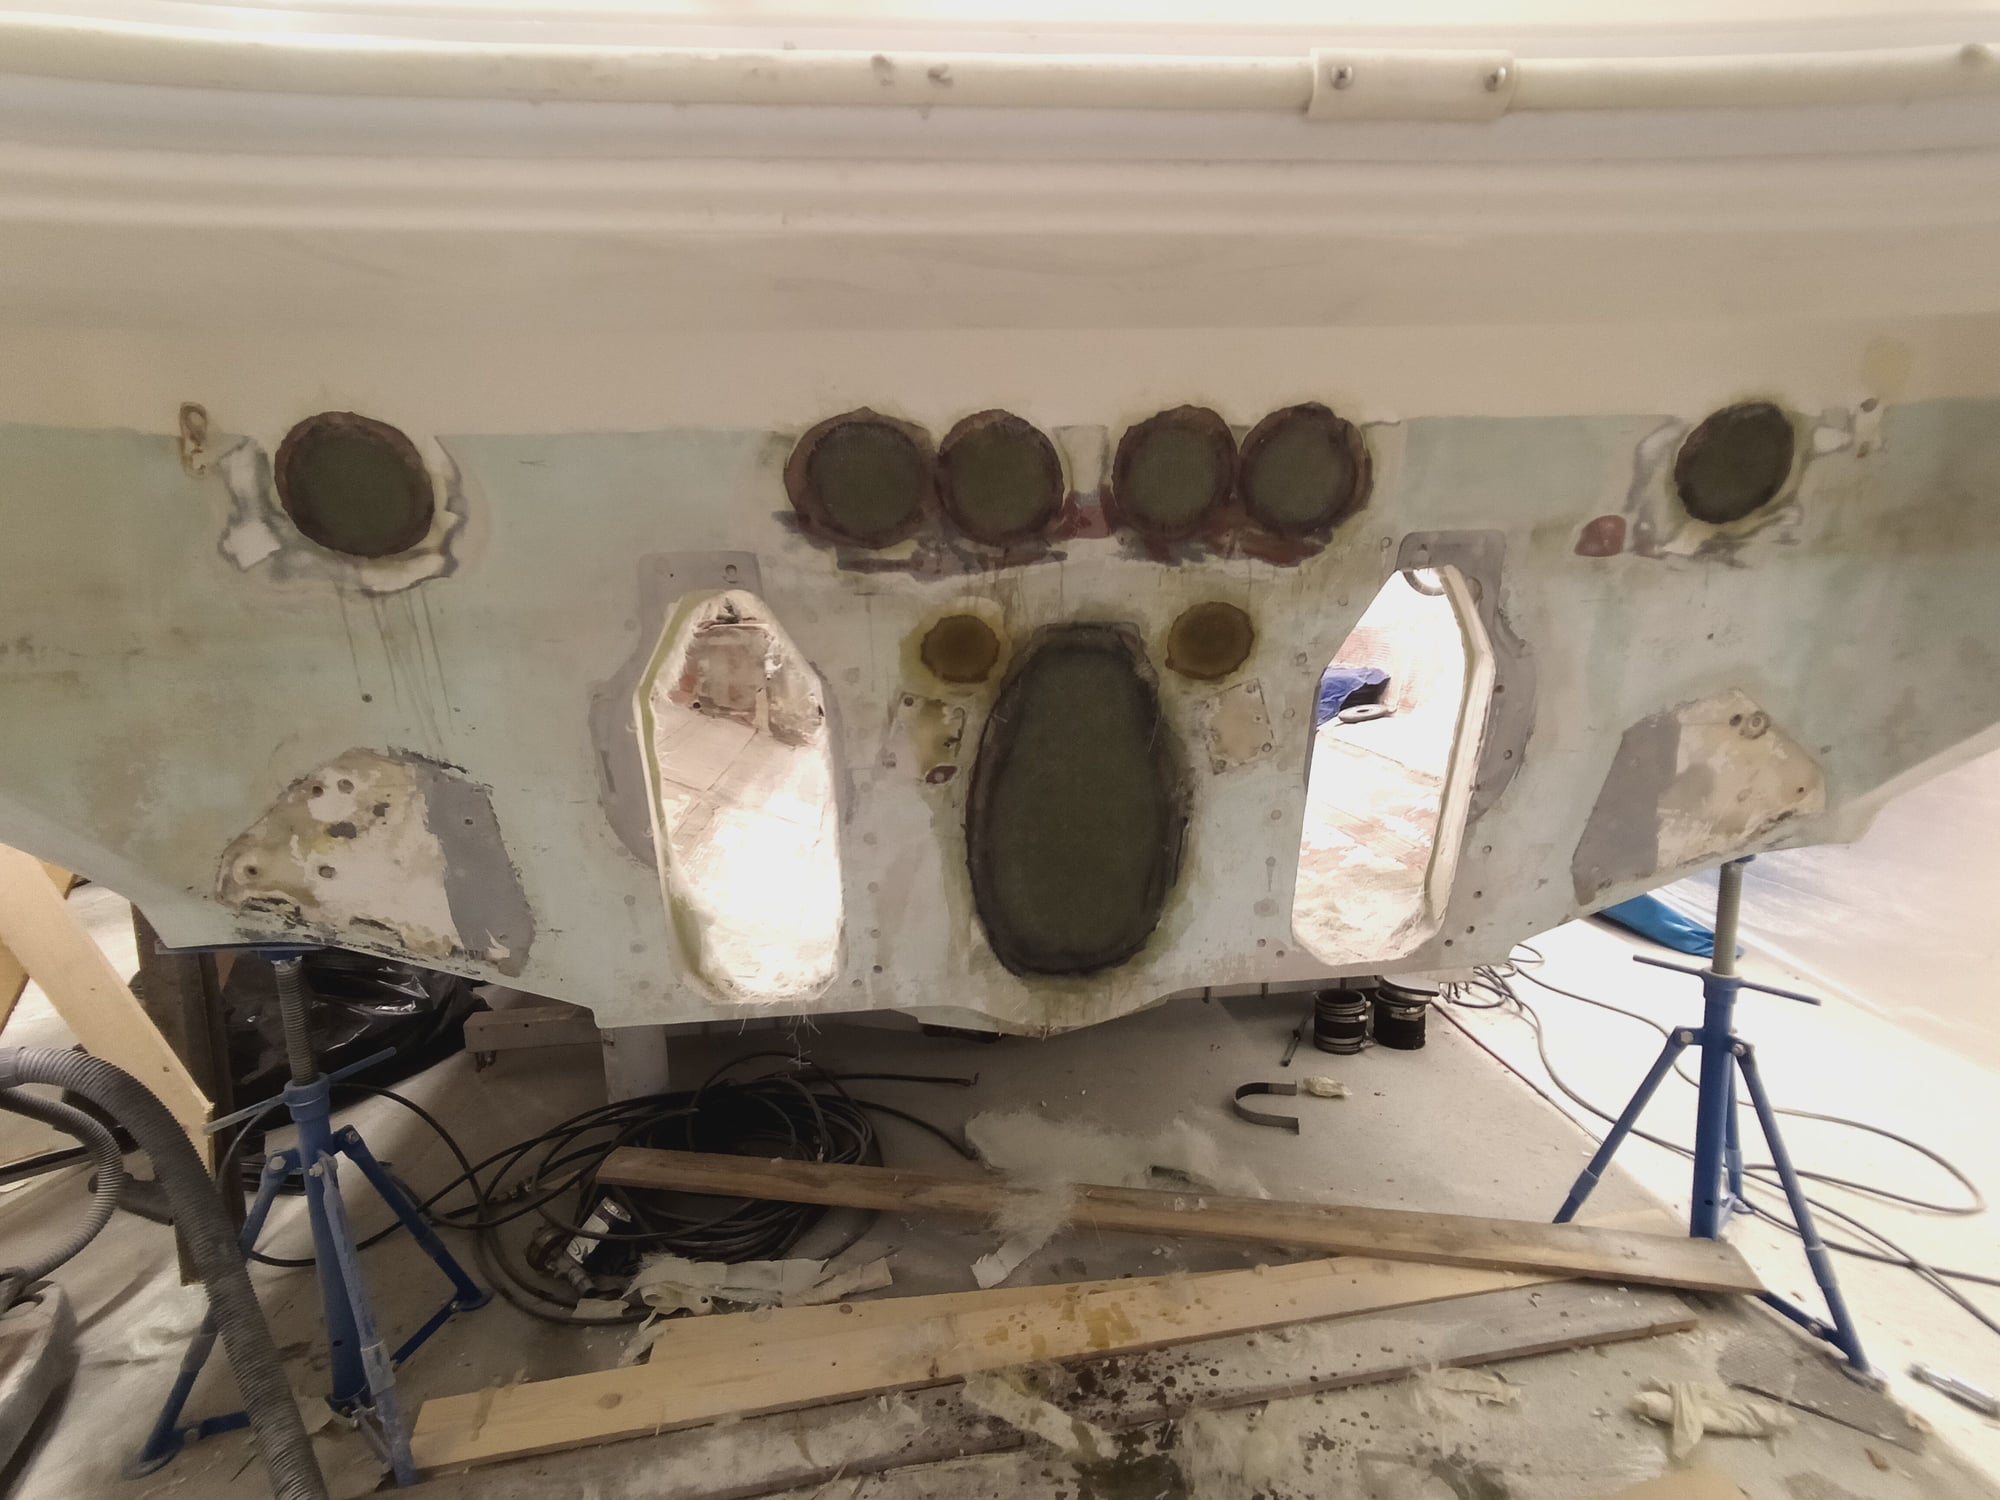
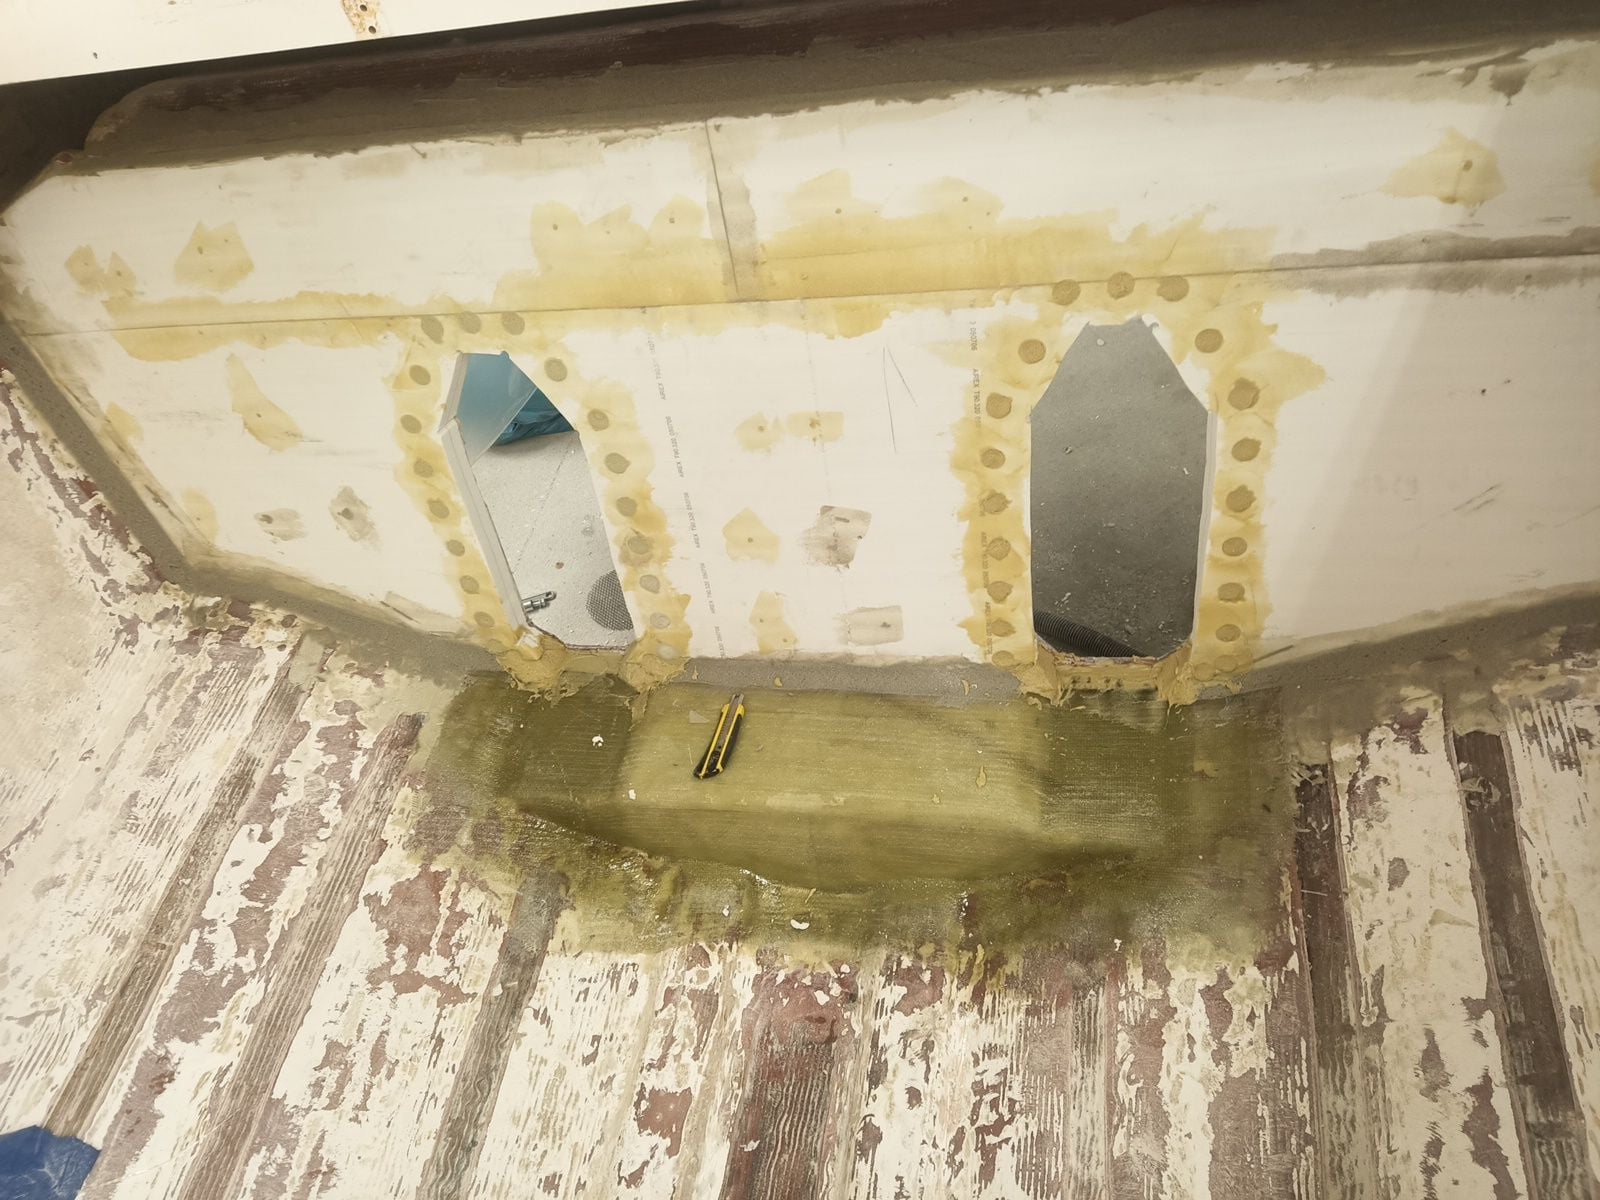
Unnecessary holes is beveled and glassed few millimeter down from outside surface, fairing compound fill rest.
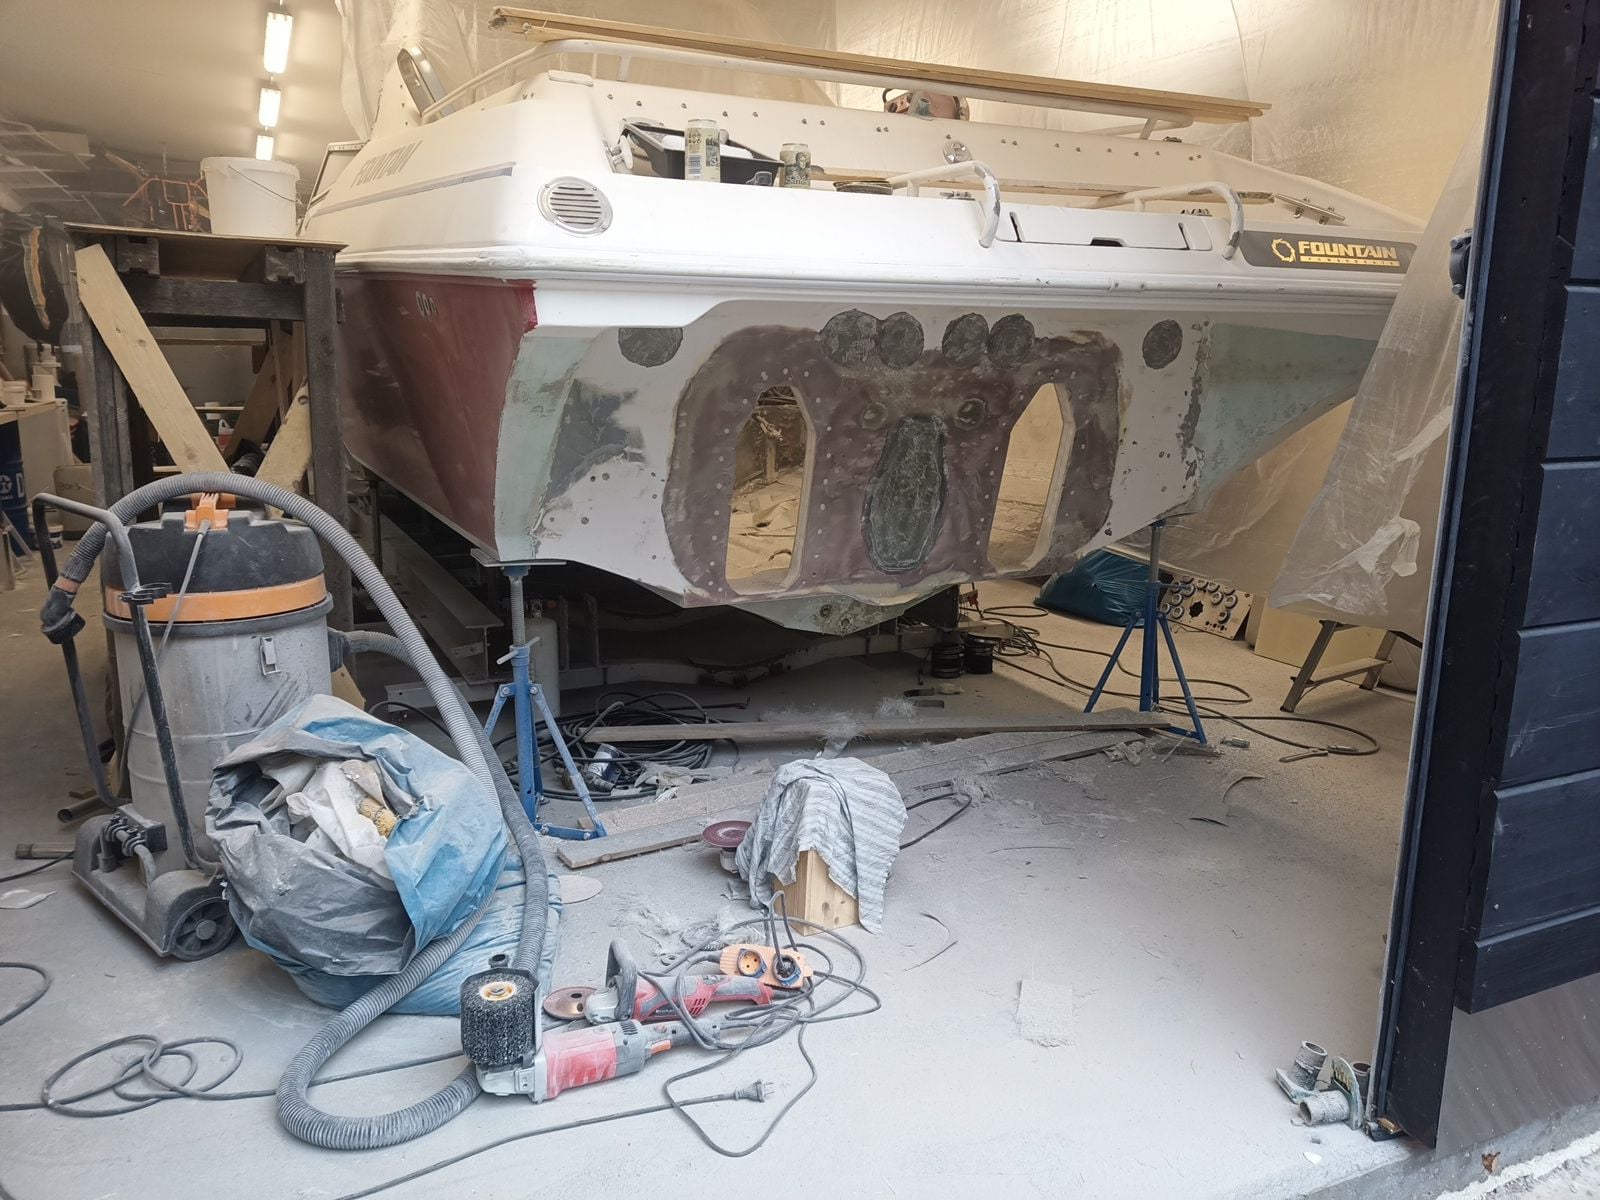
Dust is everywhere, I hate it!
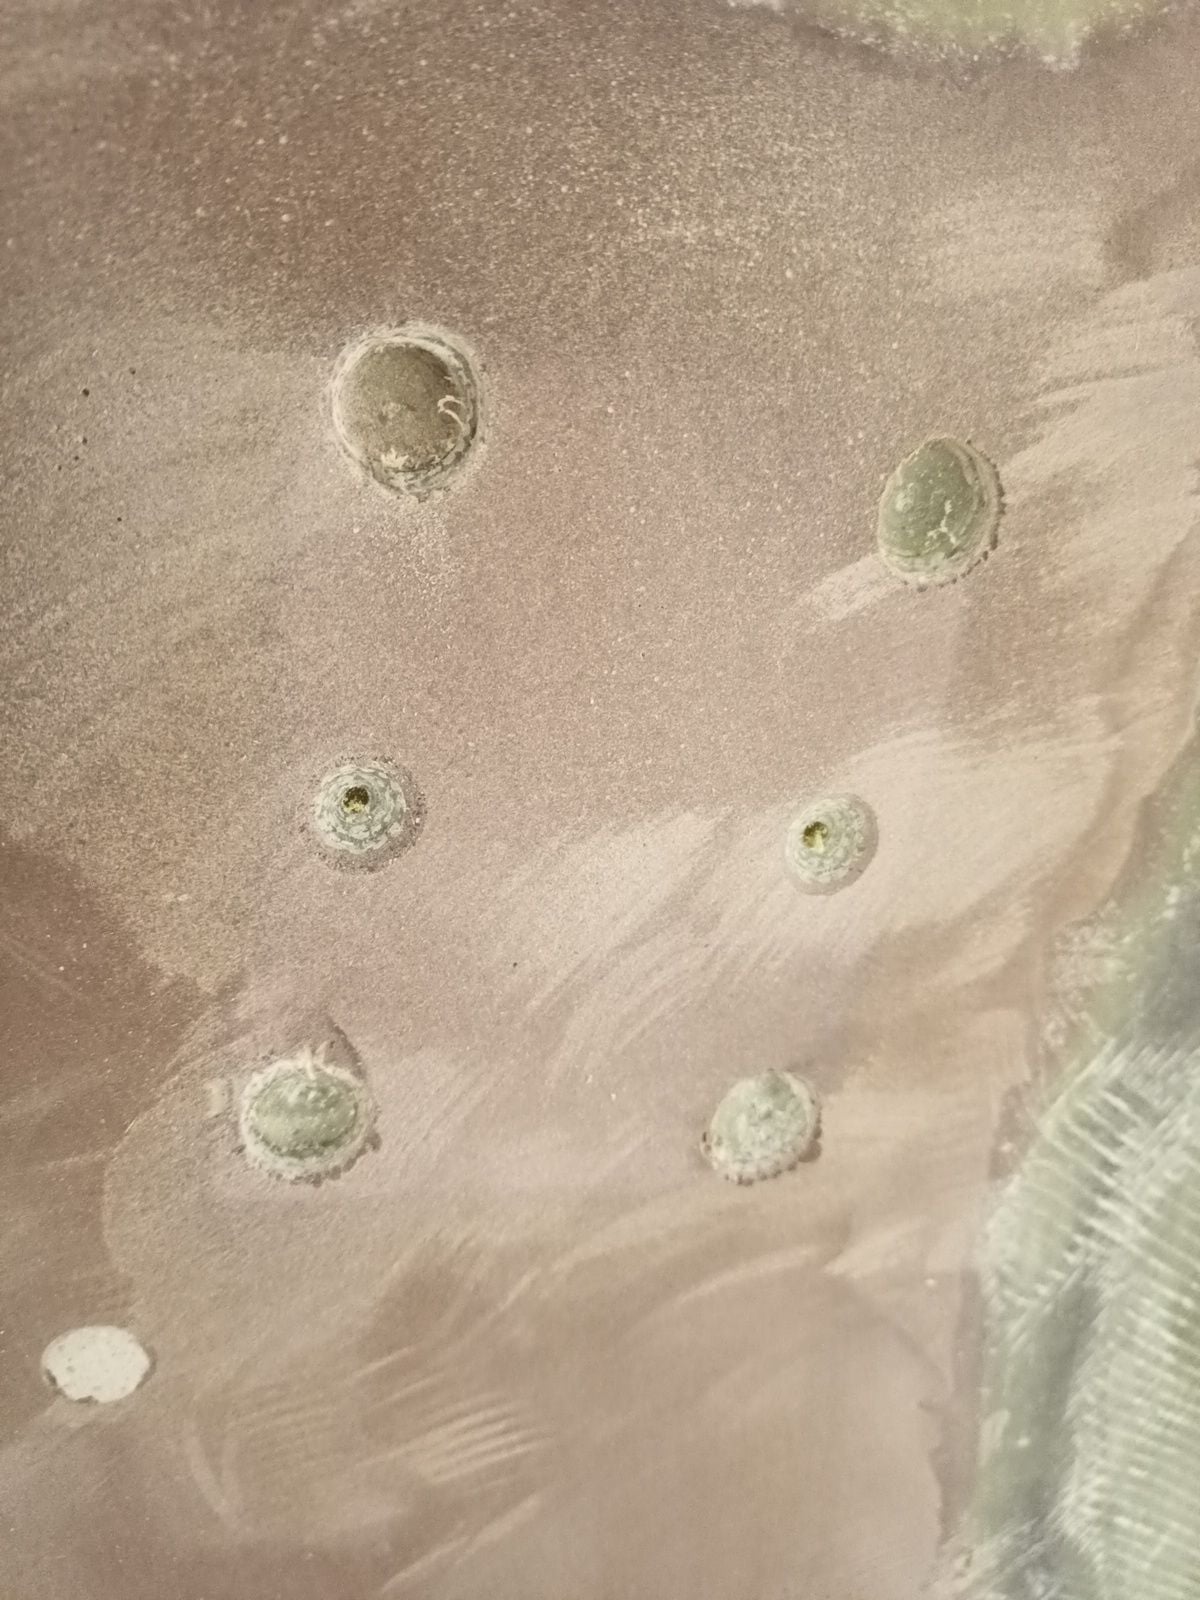
I chambered all holes so filler habe more surface area to bond.
First fairing round. Thickened vinylester resin seems to be good filler and it should be water tight.
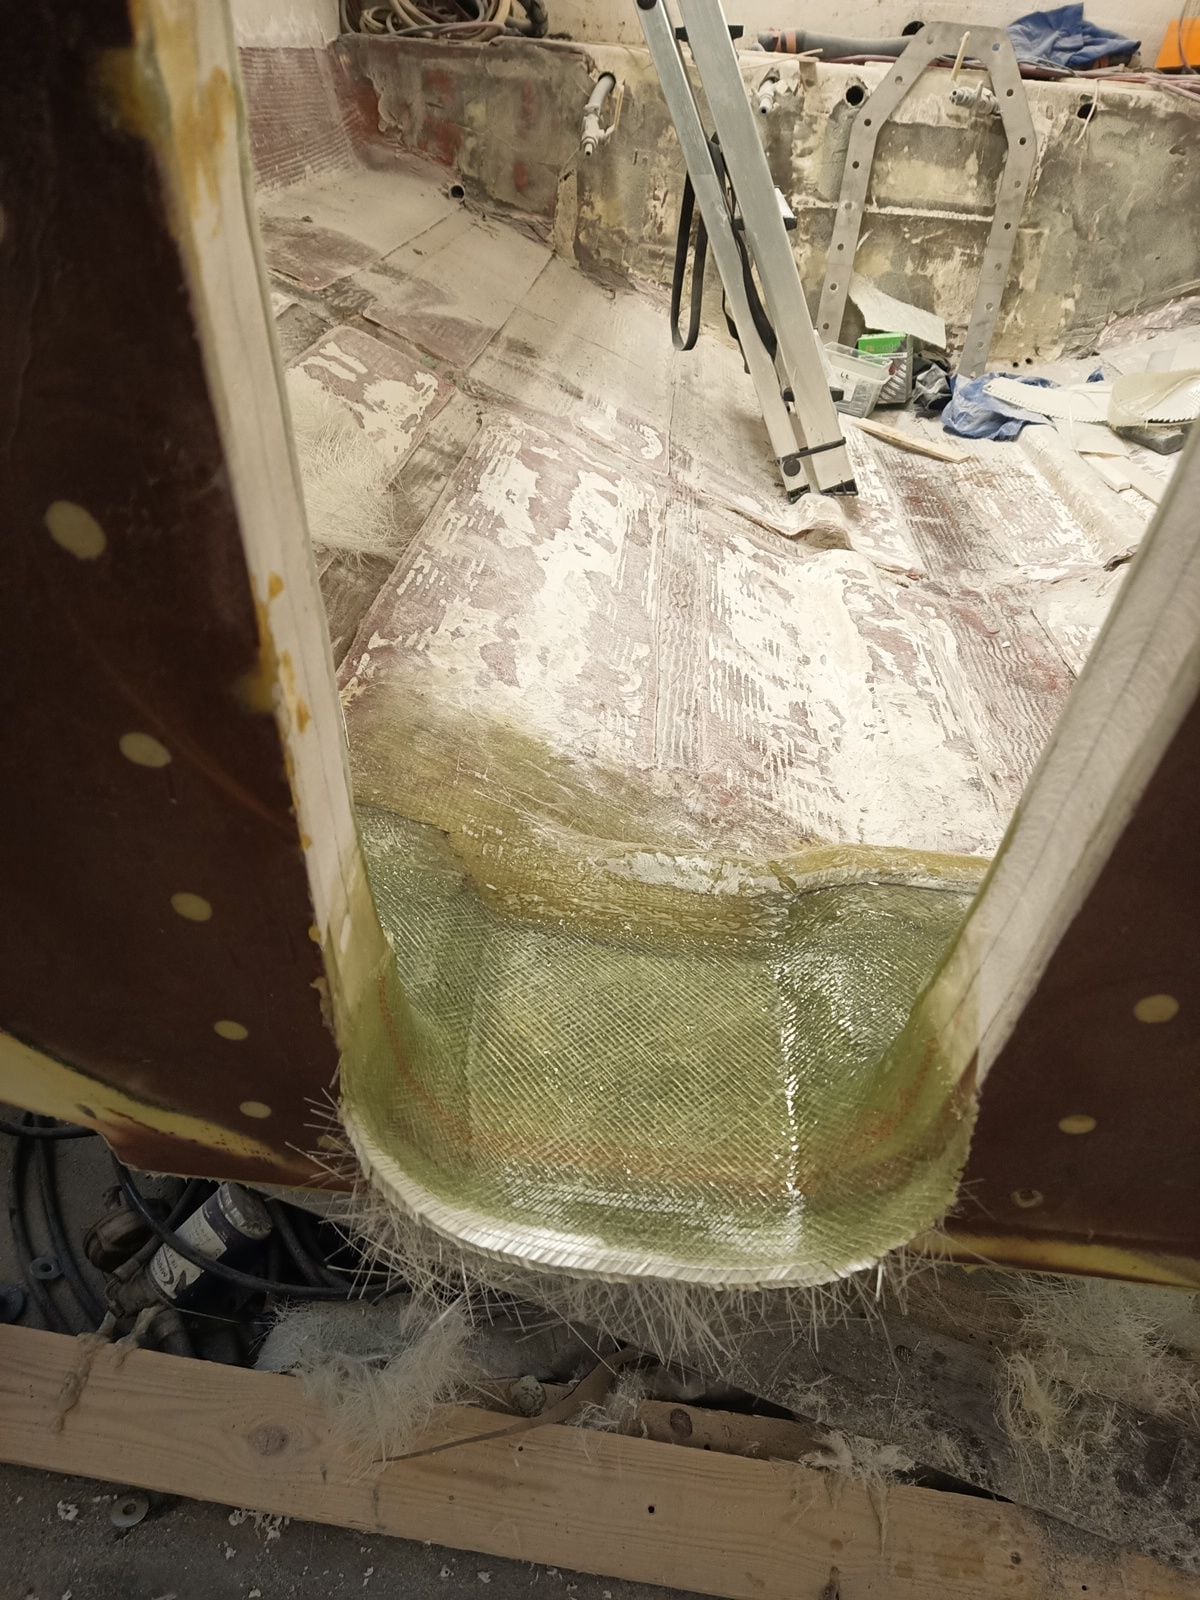
Drive shaft pocket is glassed also
30mm holes for thickened resin.
Now there are resin support sleeve for each bolt that have much more compression strenght than foam core. Extension boxes M12 bolts must remain tight under heavy loading.
I made stick template so its easier to cut fabrics right size.
Transom is glassed, there is thicker core and thicker inside glass skin than original boat had. I used peel ply at last layer, it work pretty good exept some wrinkles, less sanding and grinding.
Unnecessary holes is beveled and glassed few millimeter down from outside surface, fairing compound fill rest.
Dust is everywhere, I hate it!
I chambered all holes so filler habe more surface area to bond.
First fairing round. Thickened vinylester resin seems to be good filler and it should be water tight.
Drive shaft pocket is glassed also

