

Never again, probably !
 08-08-2021 | 02:10 PM
#131
Thread Starter
Registered

Joined: May 2009
Posts: 1,942
Likes: 527
Kid your always welcome to bring your ski, but i'll be in cleveland next week.
Wrap it up when i get back, realy looking forward to alignment, cable adjustments misc. tinkering and it has a tuneable rudder.
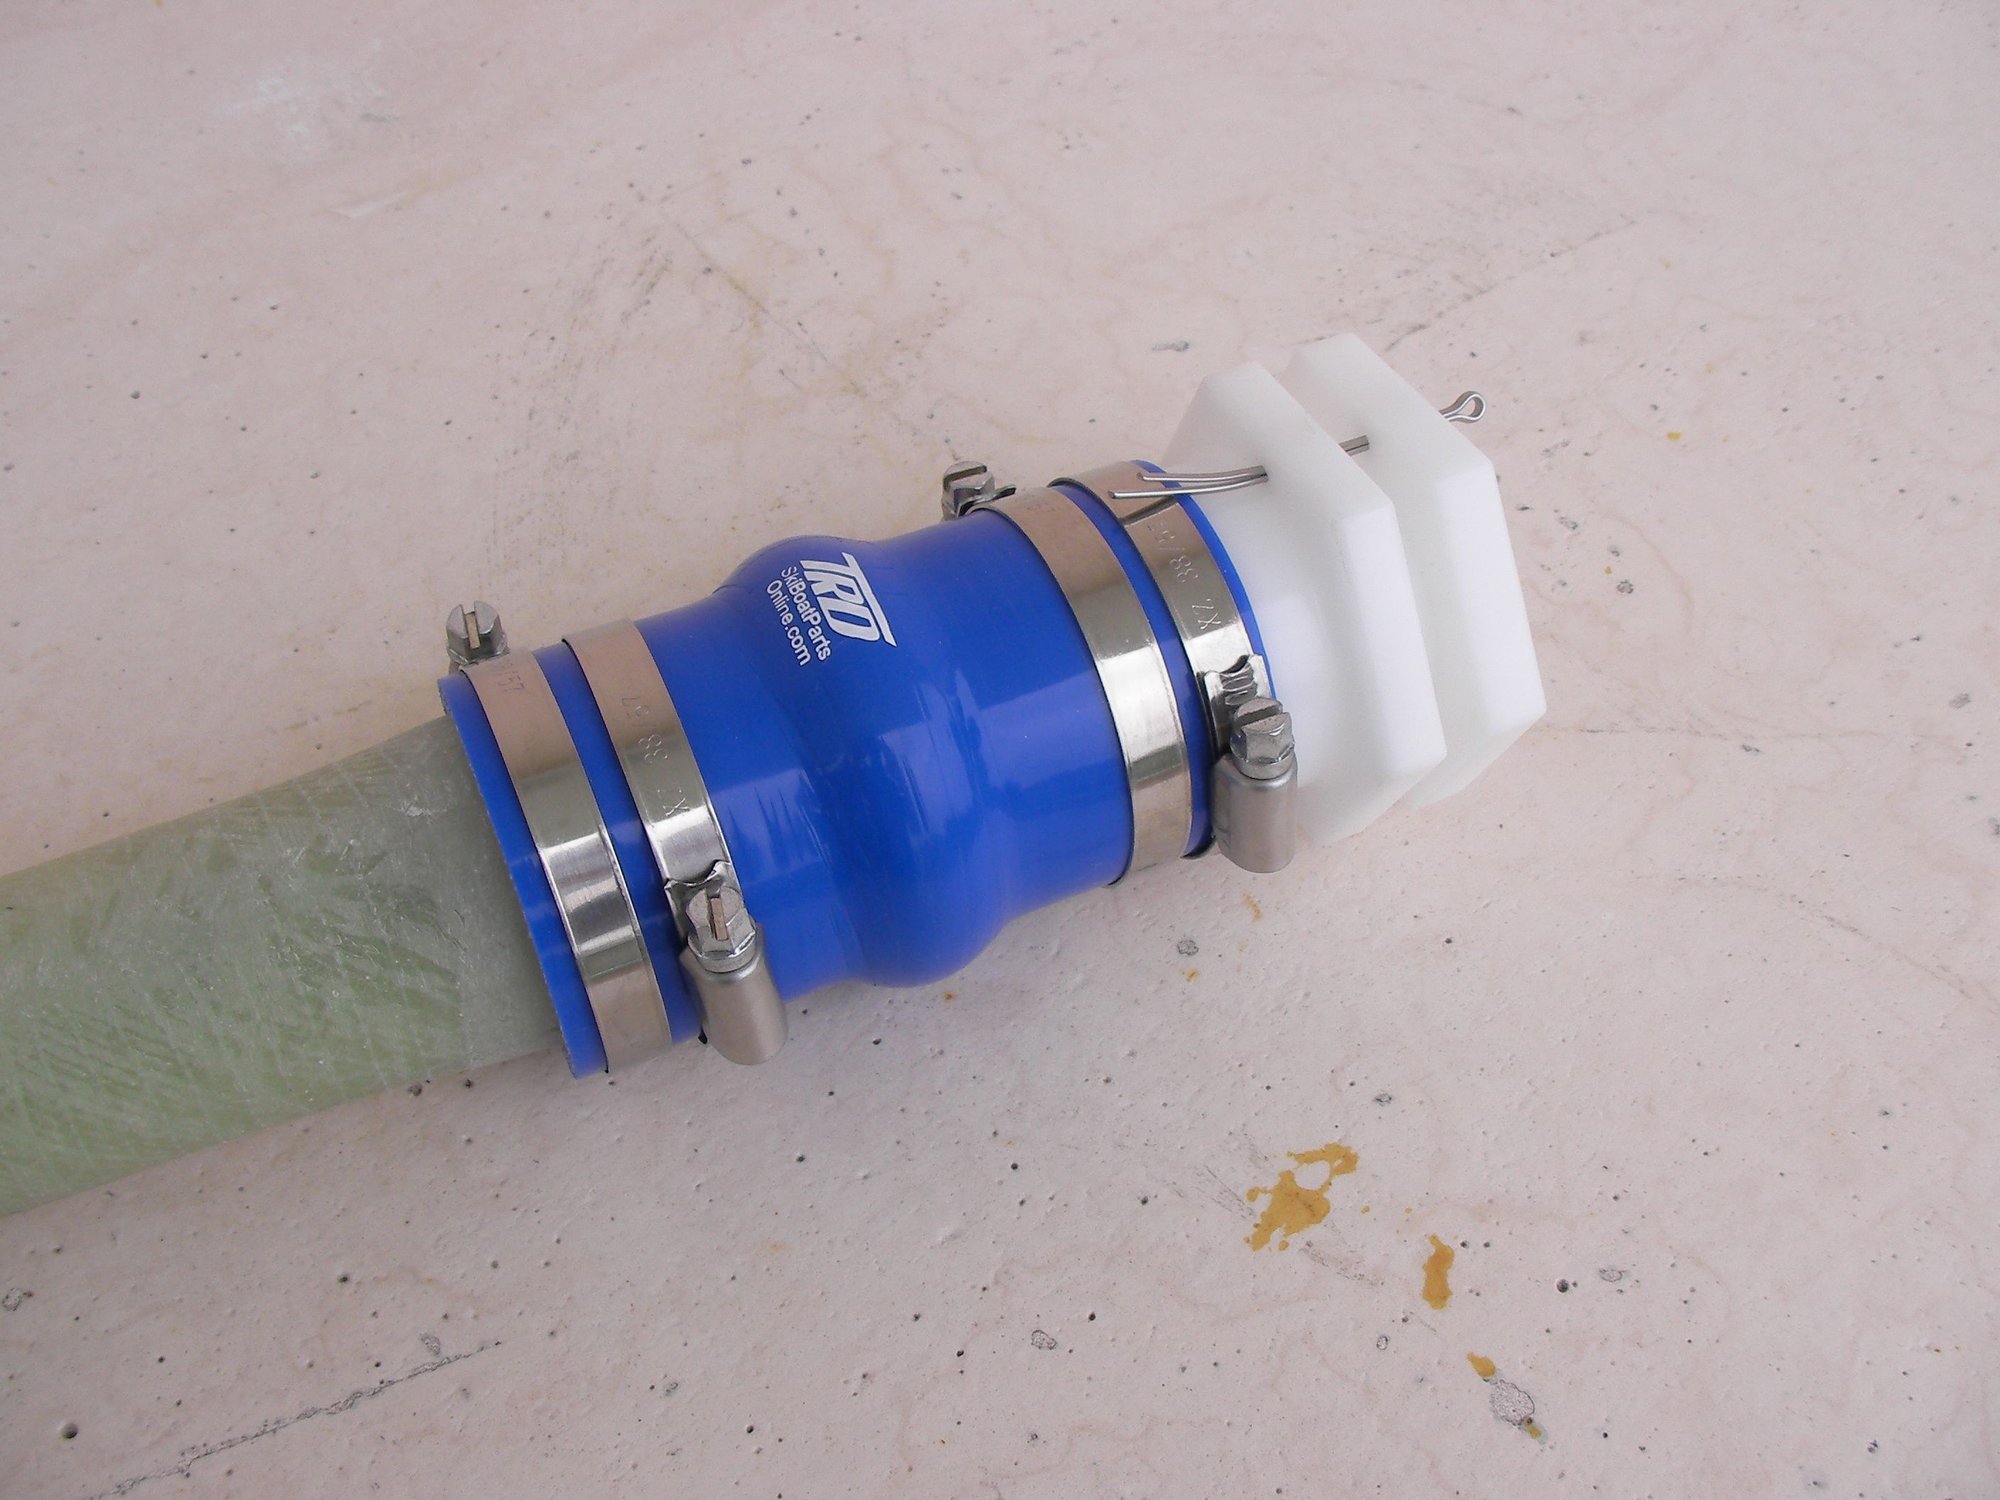
what i'm not looking forward to is the 3 inch exhaust hose, the stuff is expensive, it's exhaust hose not college tuition, for the love irish whiskey what happened ? why is it 35 bucks a foot ? Does a hooker come with it ? Take the cocaine out, i only want the hose !
Wrap it up when i get back, realy looking forward to alignment, cable adjustments misc. tinkering and it has a tuneable rudder.
what i'm not looking forward to is the 3 inch exhaust hose, the stuff is expensive, it's exhaust hose not college tuition, for the love irish whiskey what happened ? why is it 35 bucks a foot ? Does a hooker come with it ? Take the cocaine out, i only want the hose !

 08-21-2021 | 03:33 PM
#133
Thread Starter
Registered
Joined: May 2009
Posts: 1,942
Likes: 527
Dumb luck, blind luck, gaurdian angel, call it what you will, but it's a good job that shaft was bent, strut install, engine alignment and stern tube getting glassed in was gonna happen before the engine got dressed.
If that happened, things woulda been a lil tight.
any ever tells you theres no reason to set the boat up on water levels pull strings drop plumb bobs locate centerline locate and level stringers double check and stay on bubble thru the whole job, let them know alignment doesn't start at the strut.
alignment starts at the corner of dog box and exhaust riser. (there is approx 1/4 clearance per side)
more importantly i picked up a pair of like new trick skis from the 80's when i was in cleveland.
Guy i got them from keeps all his stuff real nice.
Last edited by outonsafari; 08-21-2021 at 03:43 PM.
08-23-2021 | 01:29 PM
#134
Thread Starter
Registered
Joined: May 2009
Posts: 1,942
Likes: 527
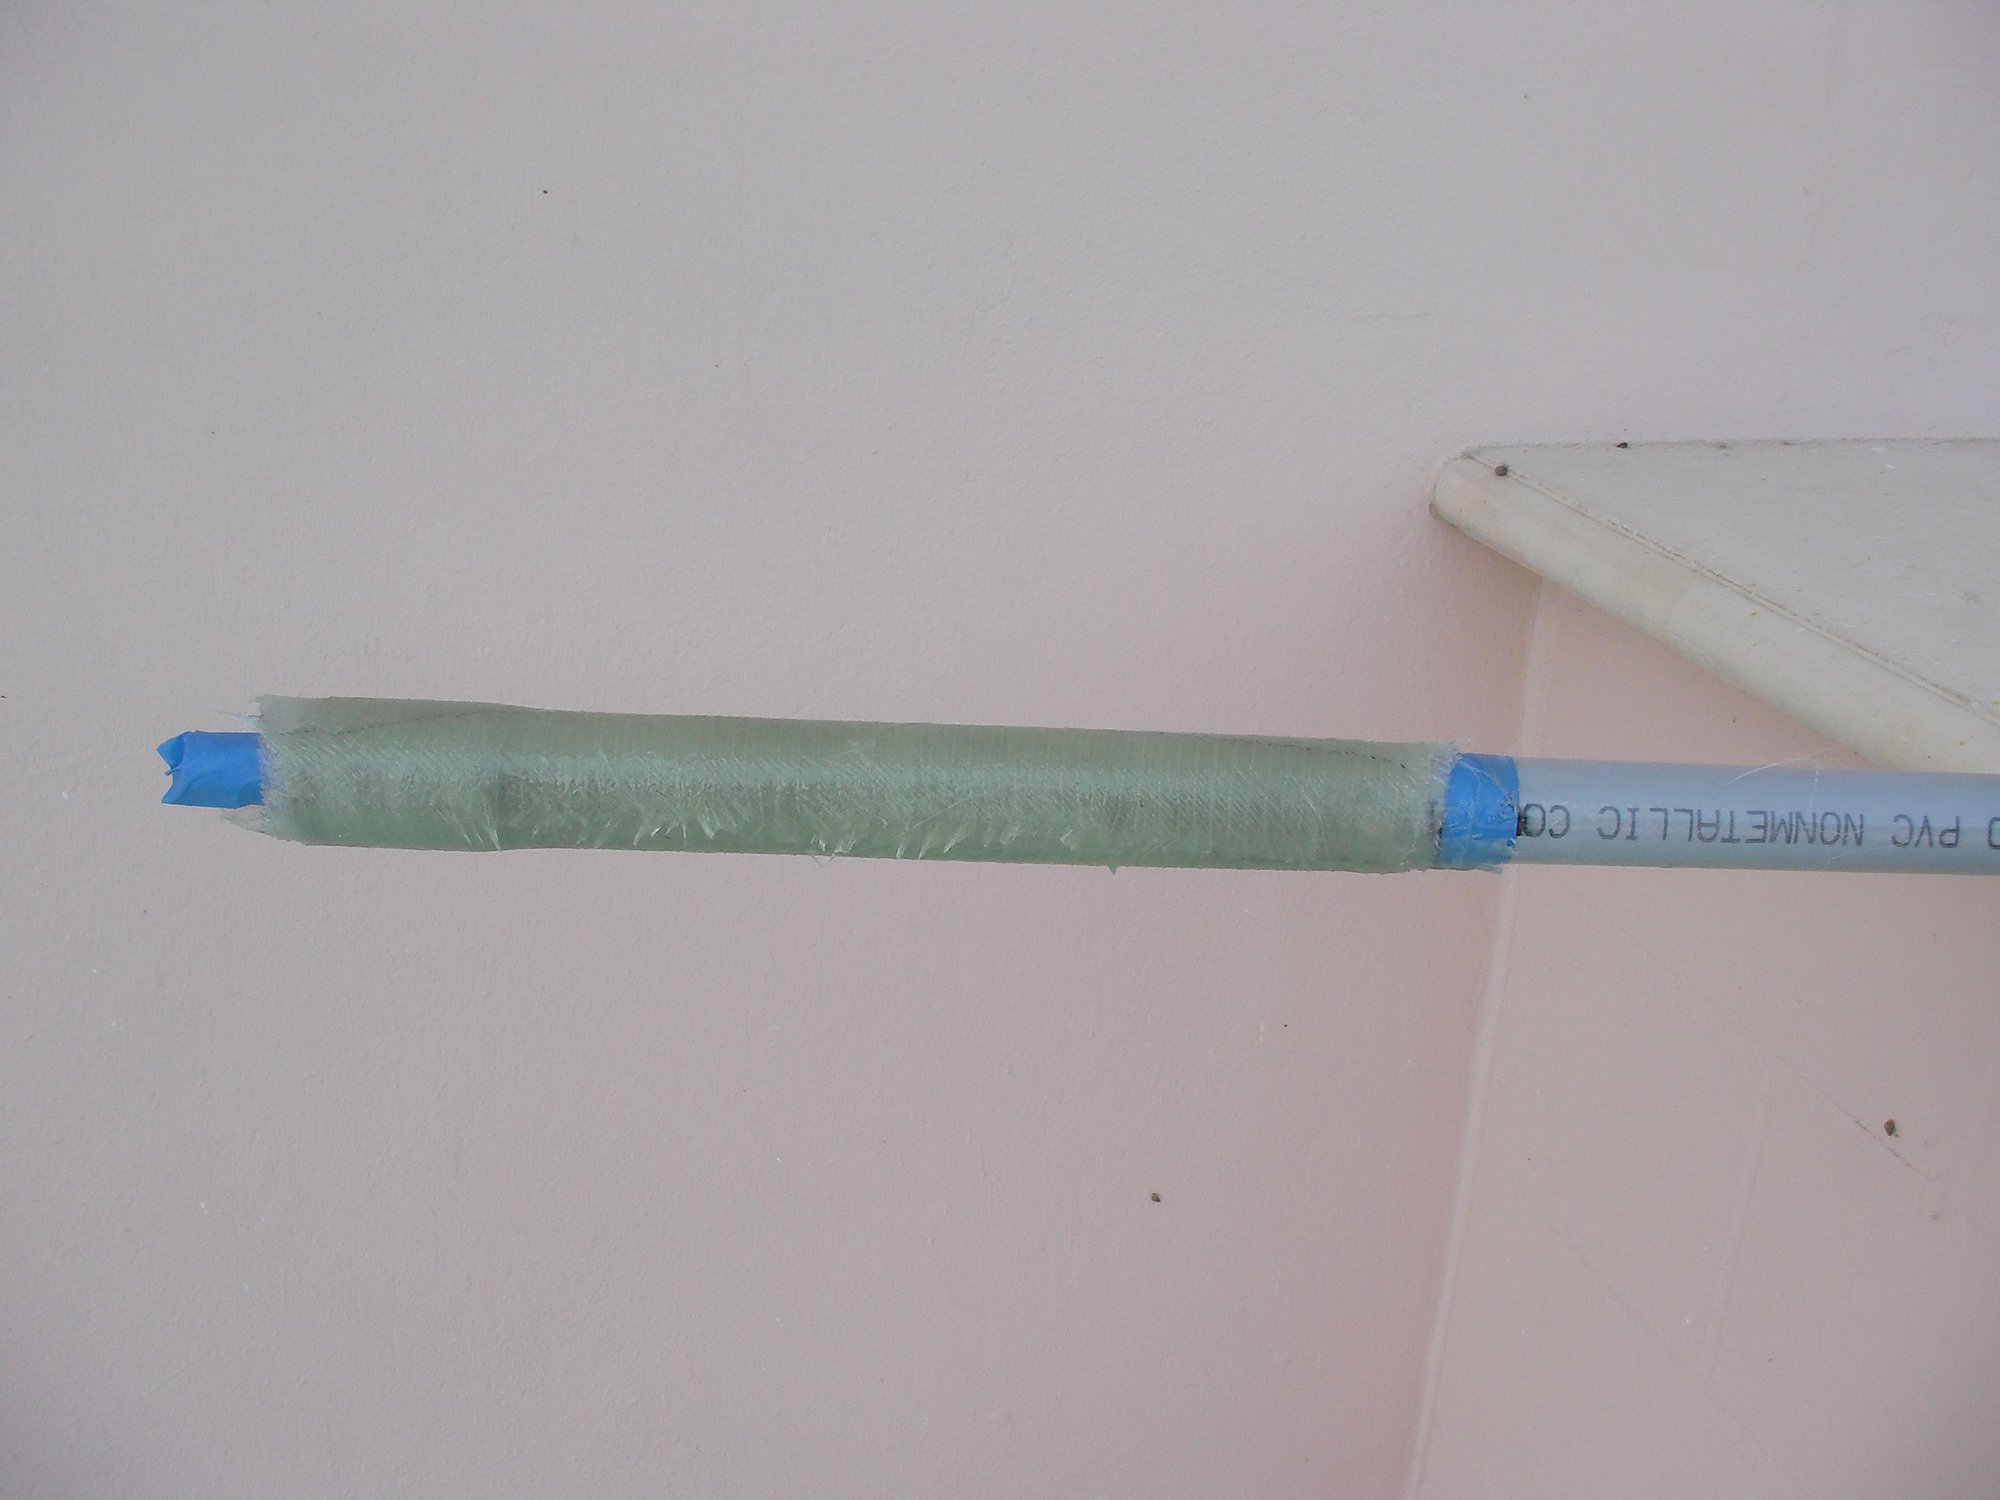
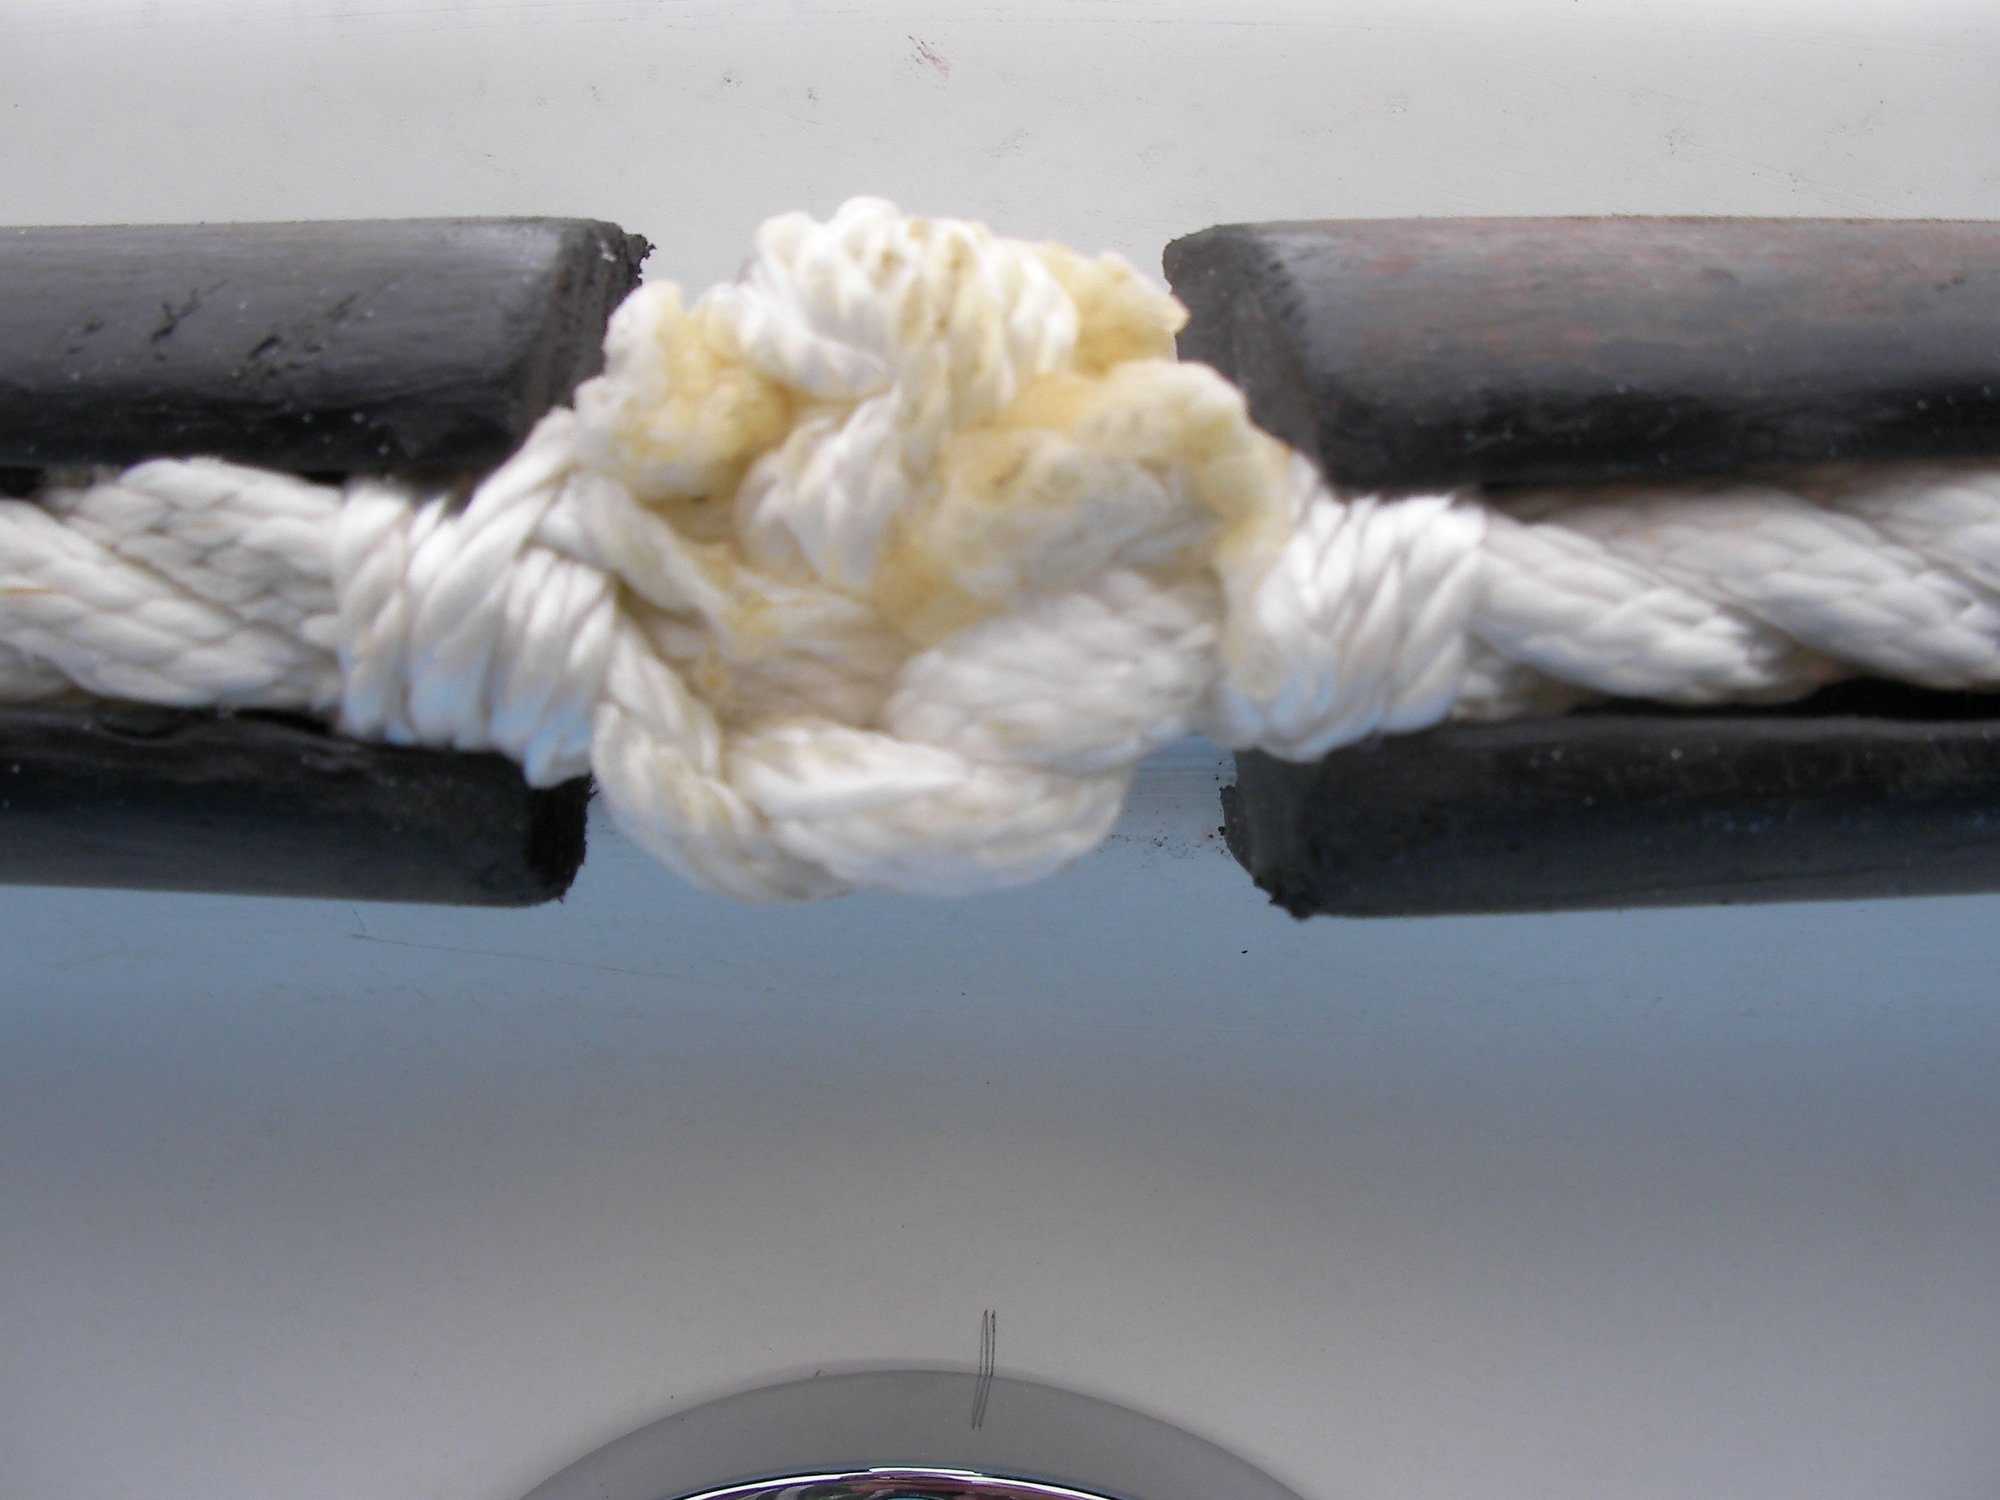
560 sqaure inches of 1700 bi-ax, and 635 thin epoxy @ 3:1. 4 pieces 14x10, each piece made 2 laps around the bell and just a touch more around the pipe. Each piece was rolled on and bubble rolled out as i rolled it, each piece was started 90* off so it didn'nt have a build up in one area.
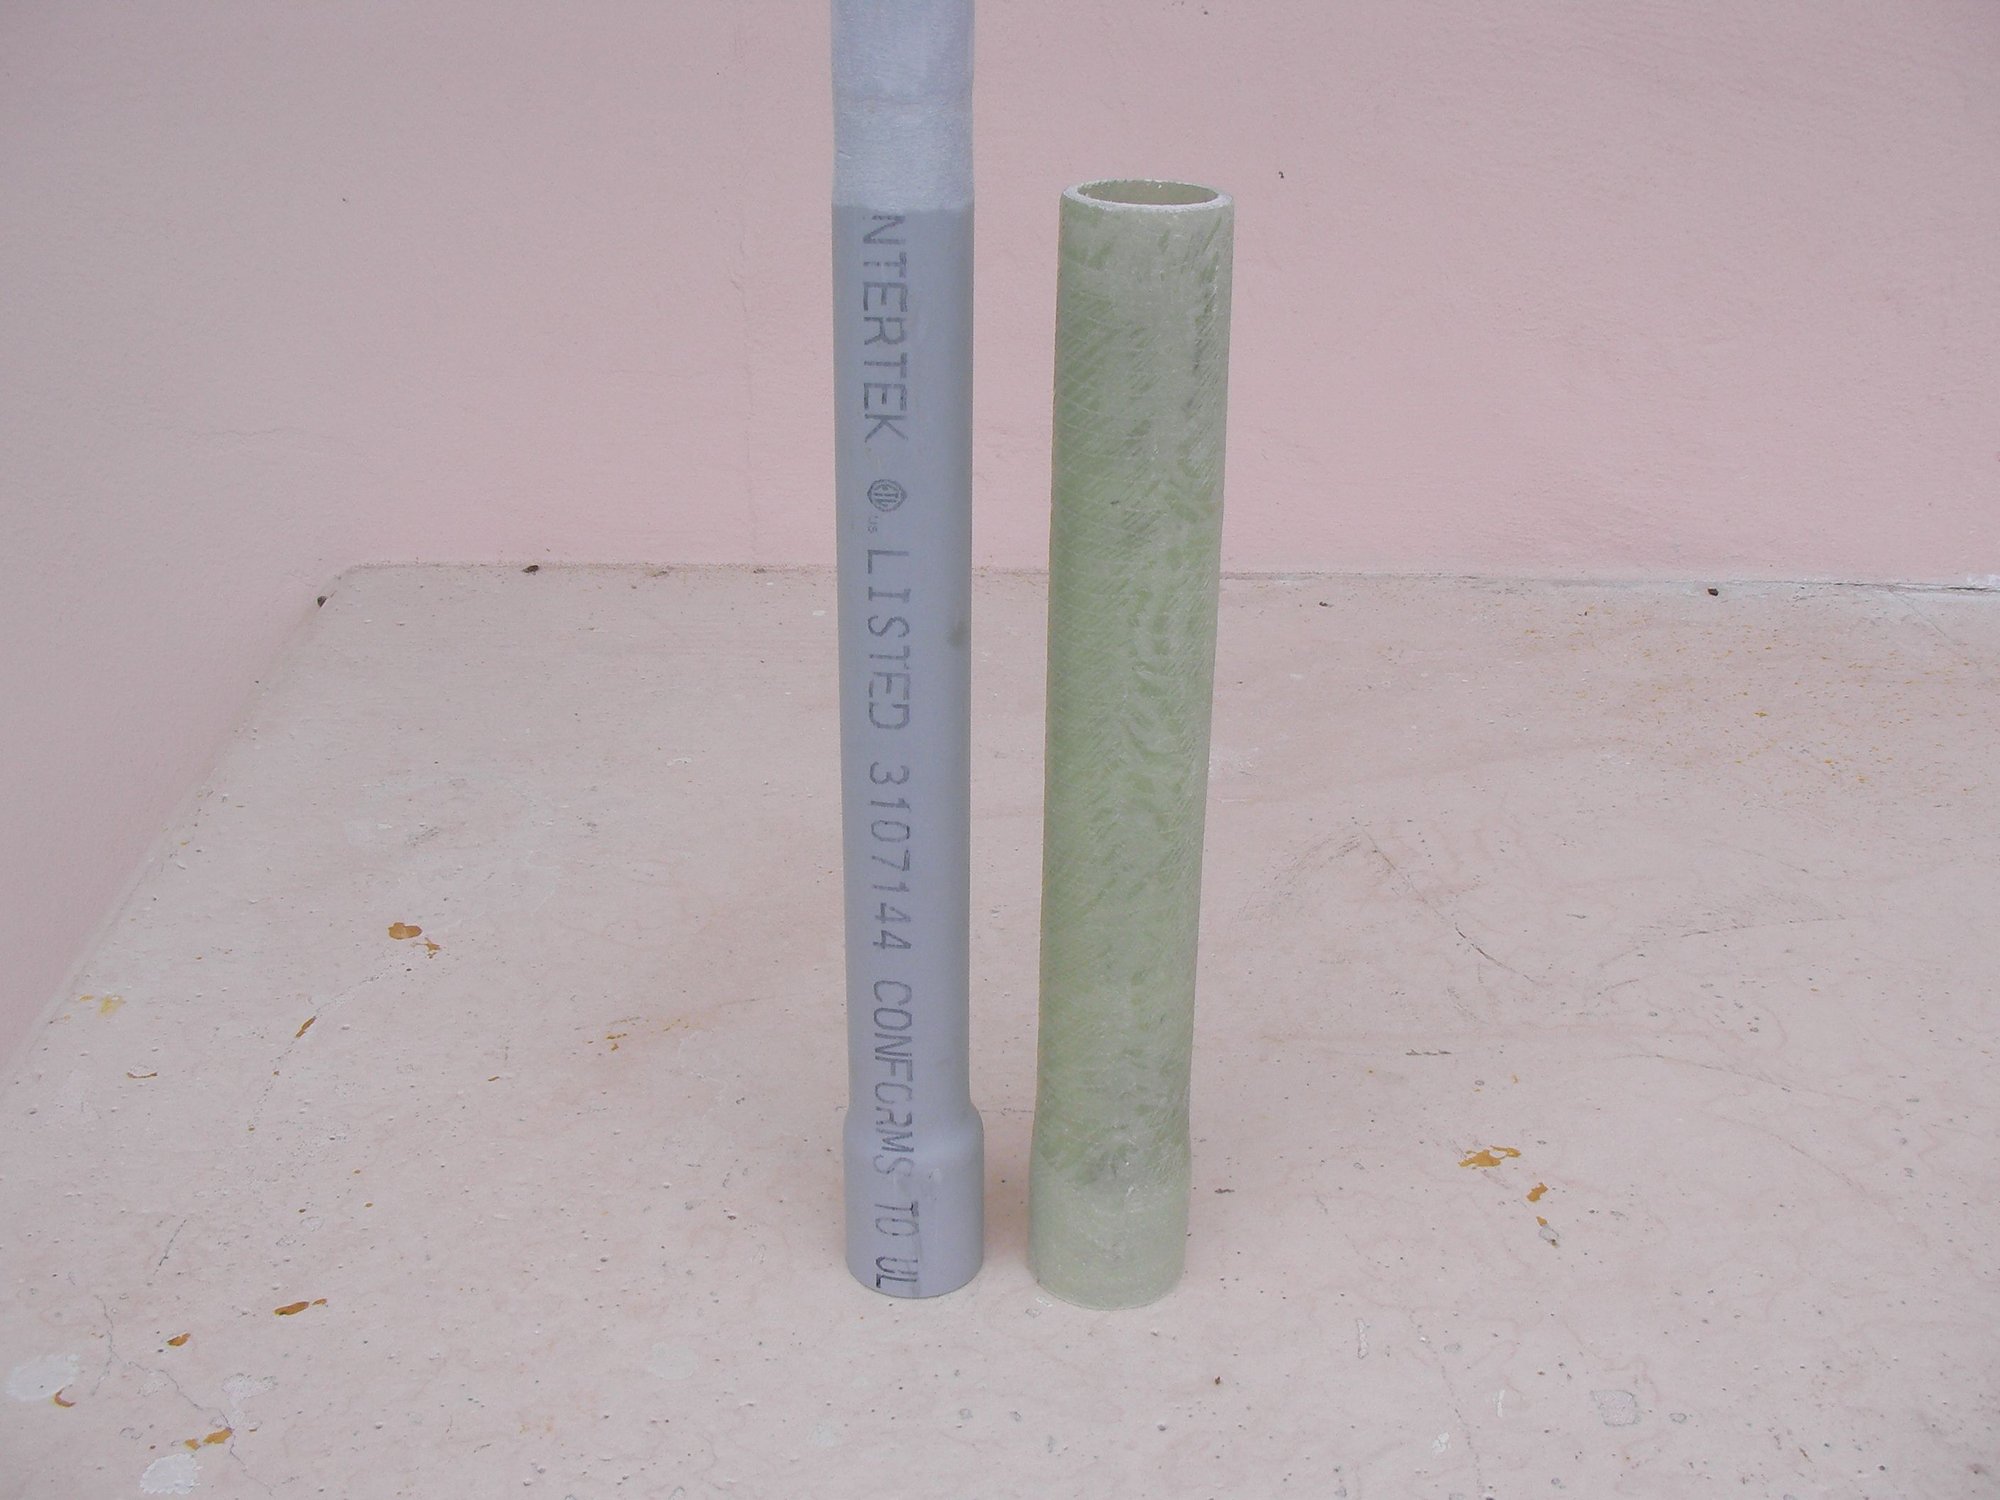
It ended up straight and pretty round on the exterior. Wax on the pvc and it popped right off
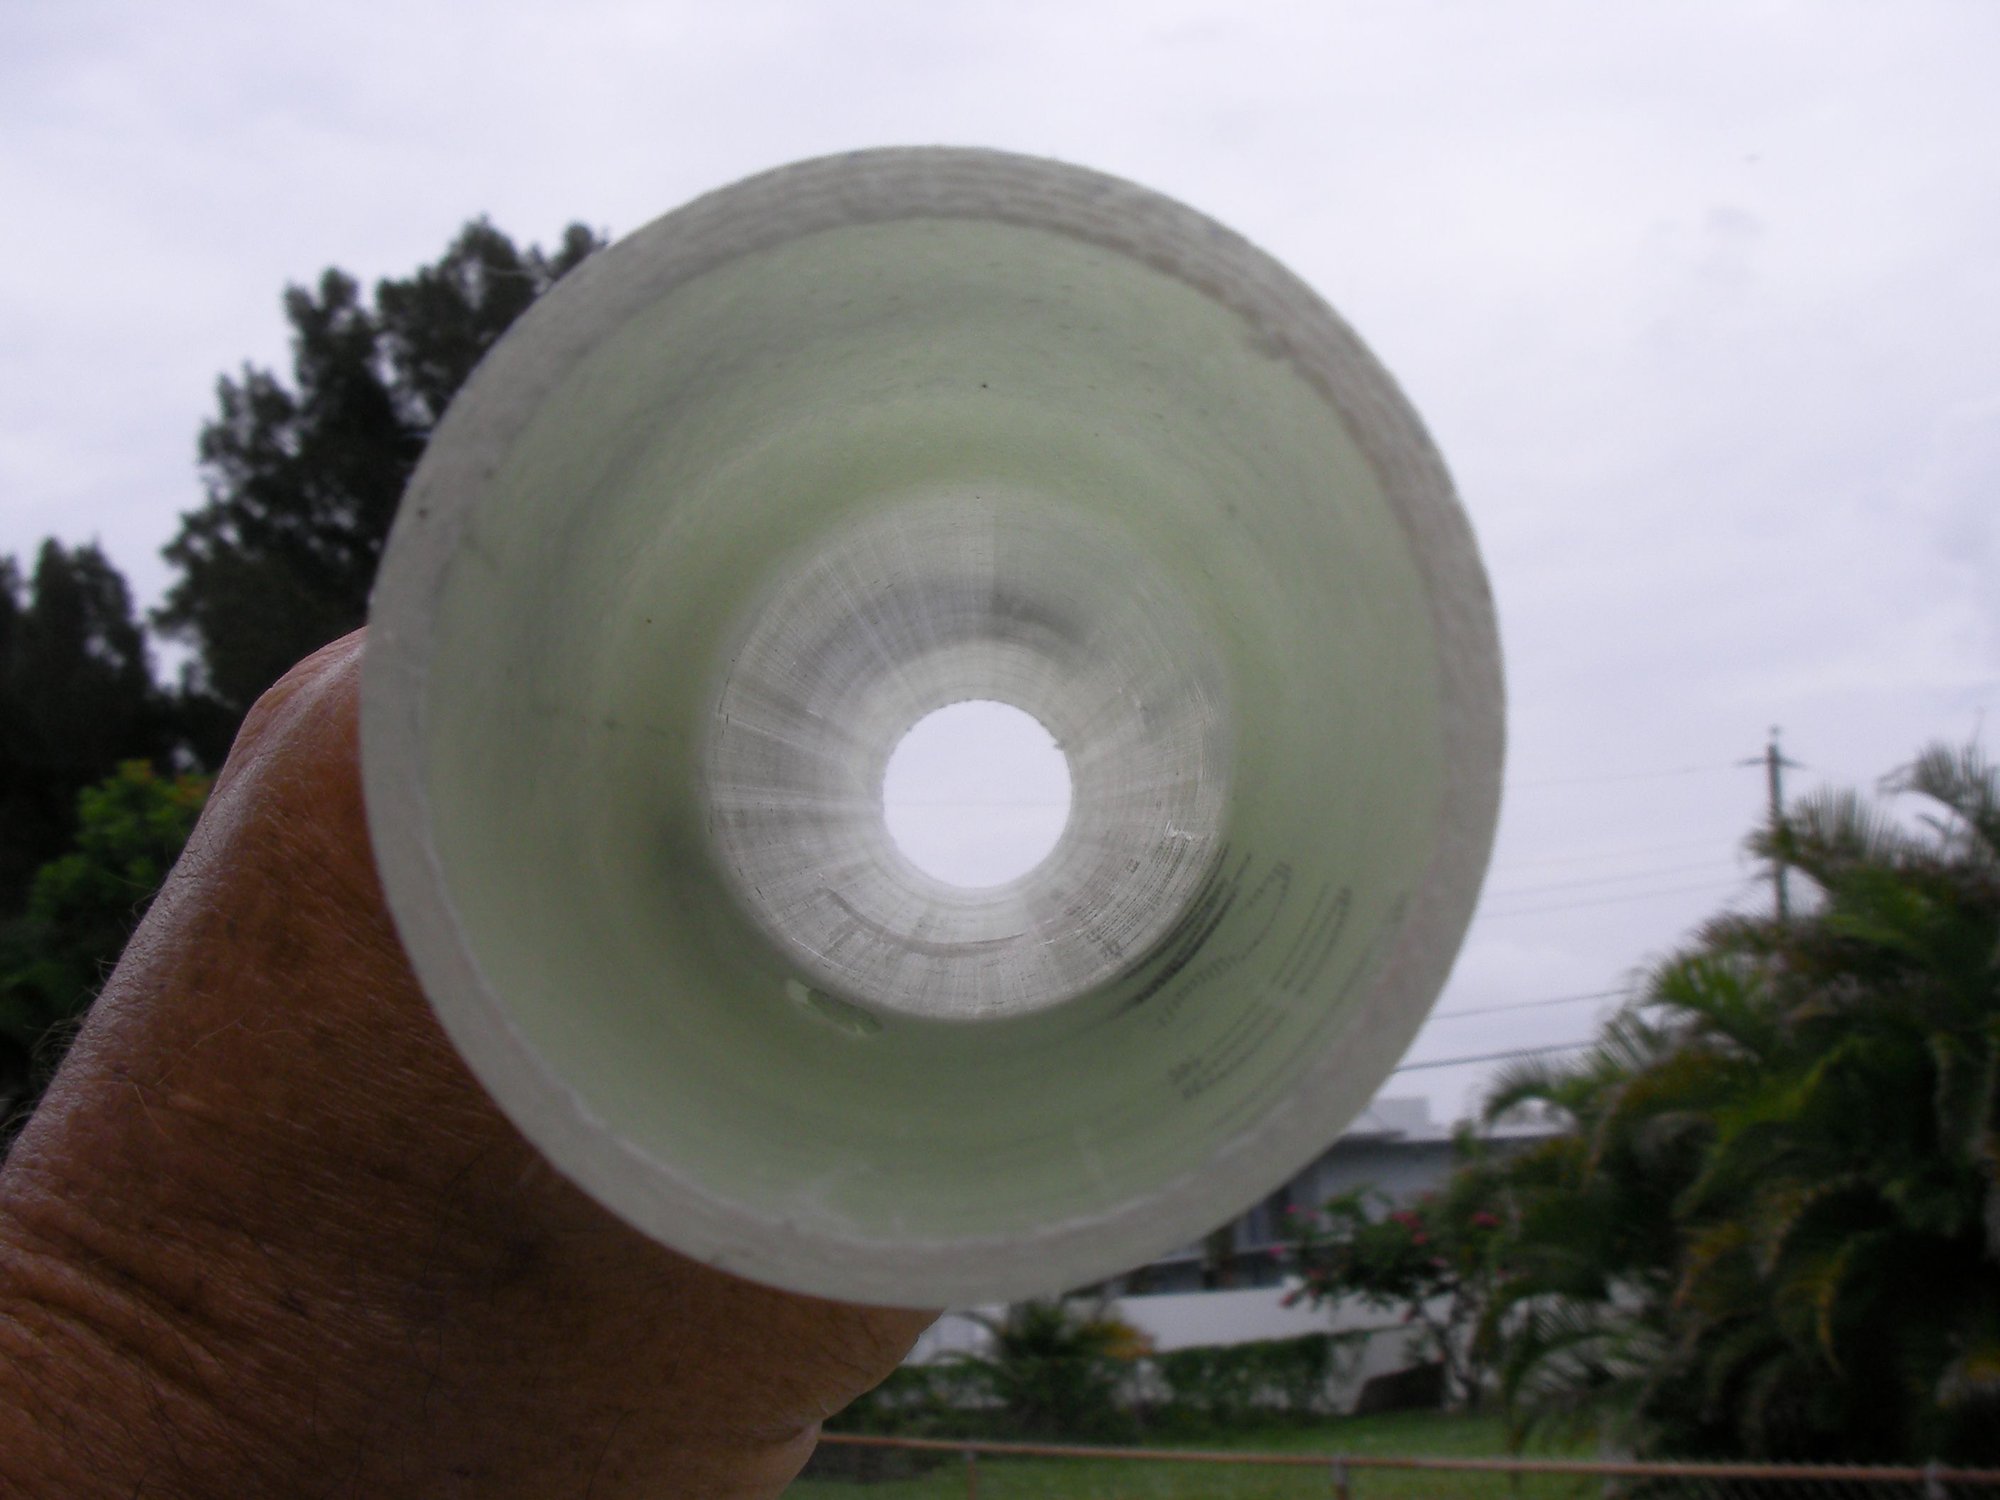
8 layers, just under 3/16 thick. Looking into the bell end.

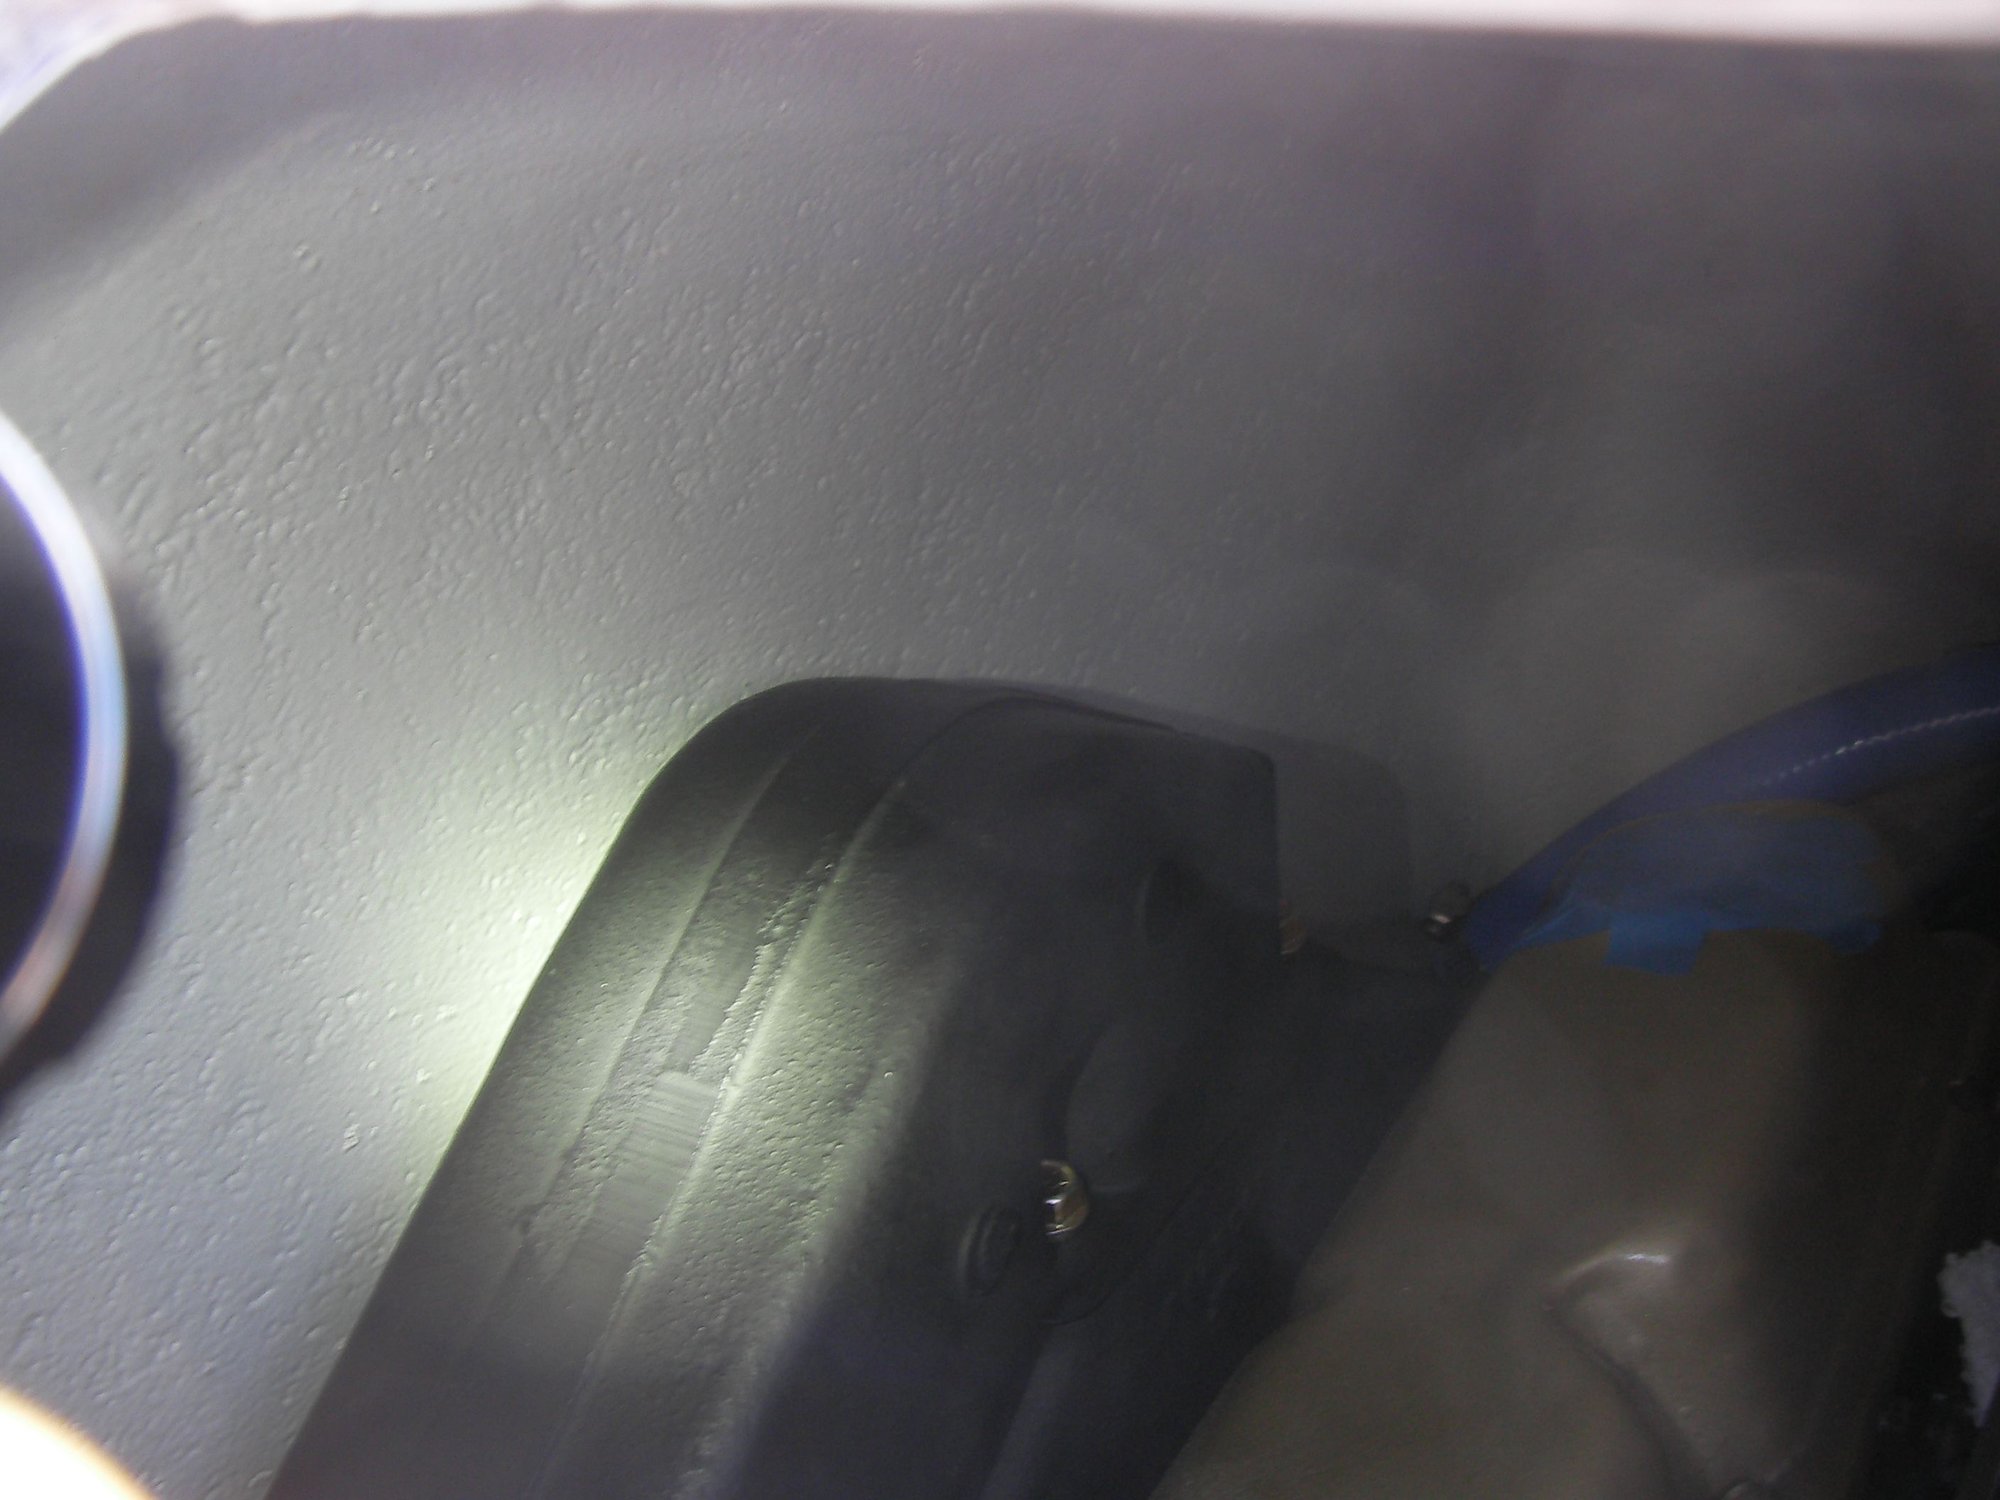
The old bearing fits better than in the bronze stern tube so i think i can use it to fit the glass tube better to the inside hull shape. The bronze stern tube had a lot of bedding compound under it and water was getting between it and the boat but not leaking.
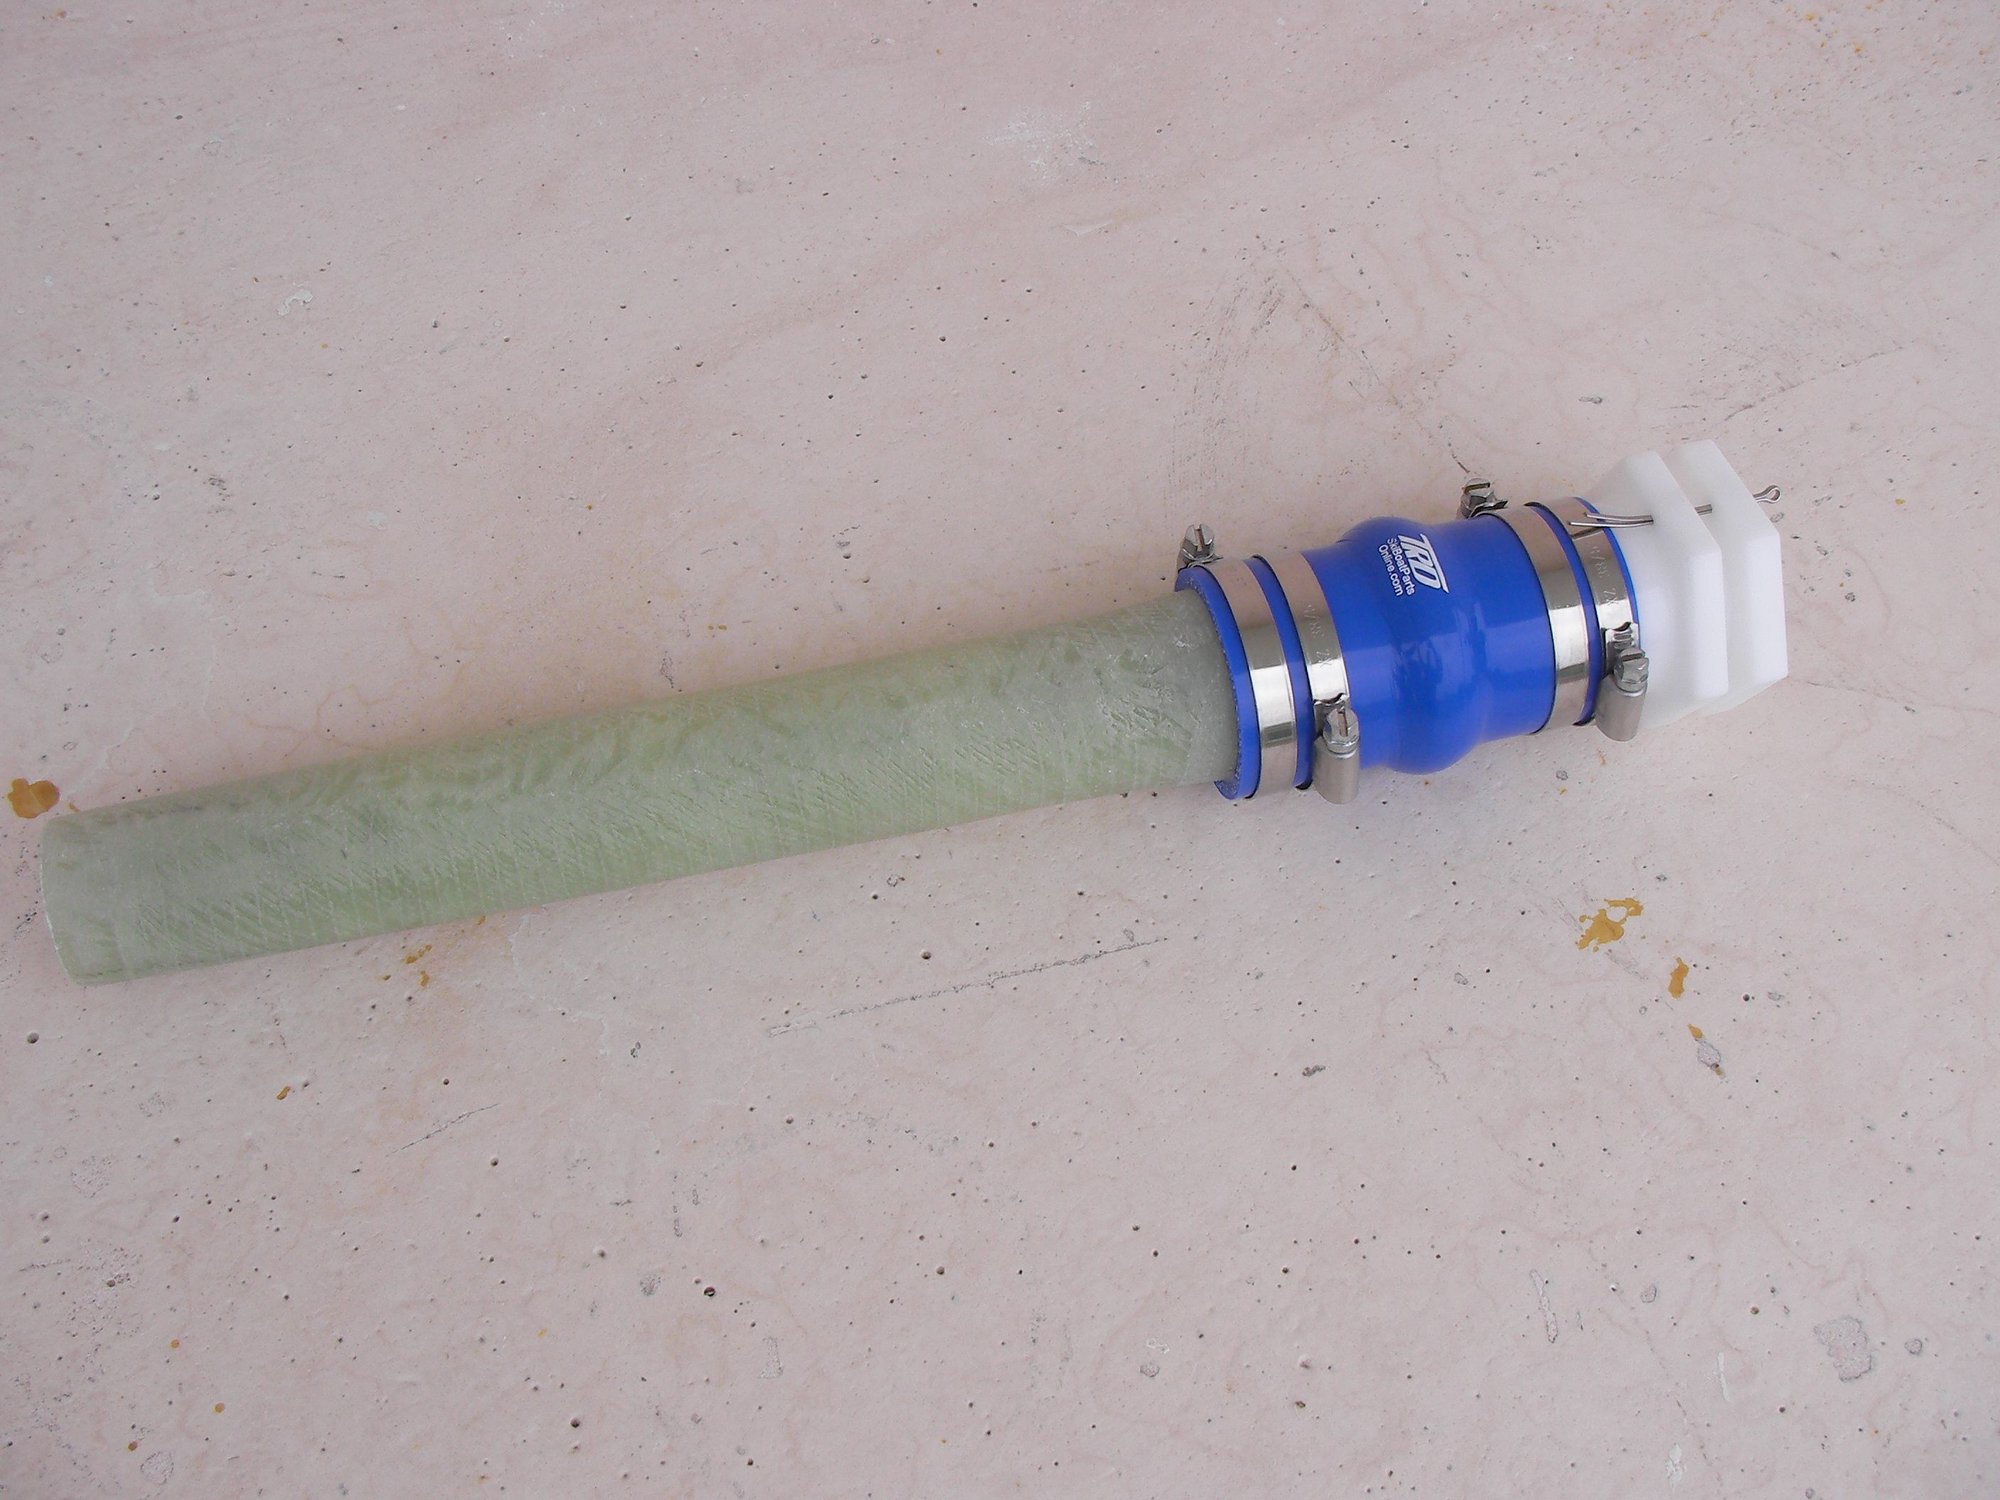
Turned the bell end down on the grinder to fit the new stuffing box hose.
 08-23-2021 | 03:45 PM
#136
Thread Starter
Registered
Joined: May 2009
Posts: 1,942
Likes: 527
Dude, the only reason i photograph and explain what i did is because i keep hoping someone will chime in and tell me how to do it right.
scarab, your scarab !
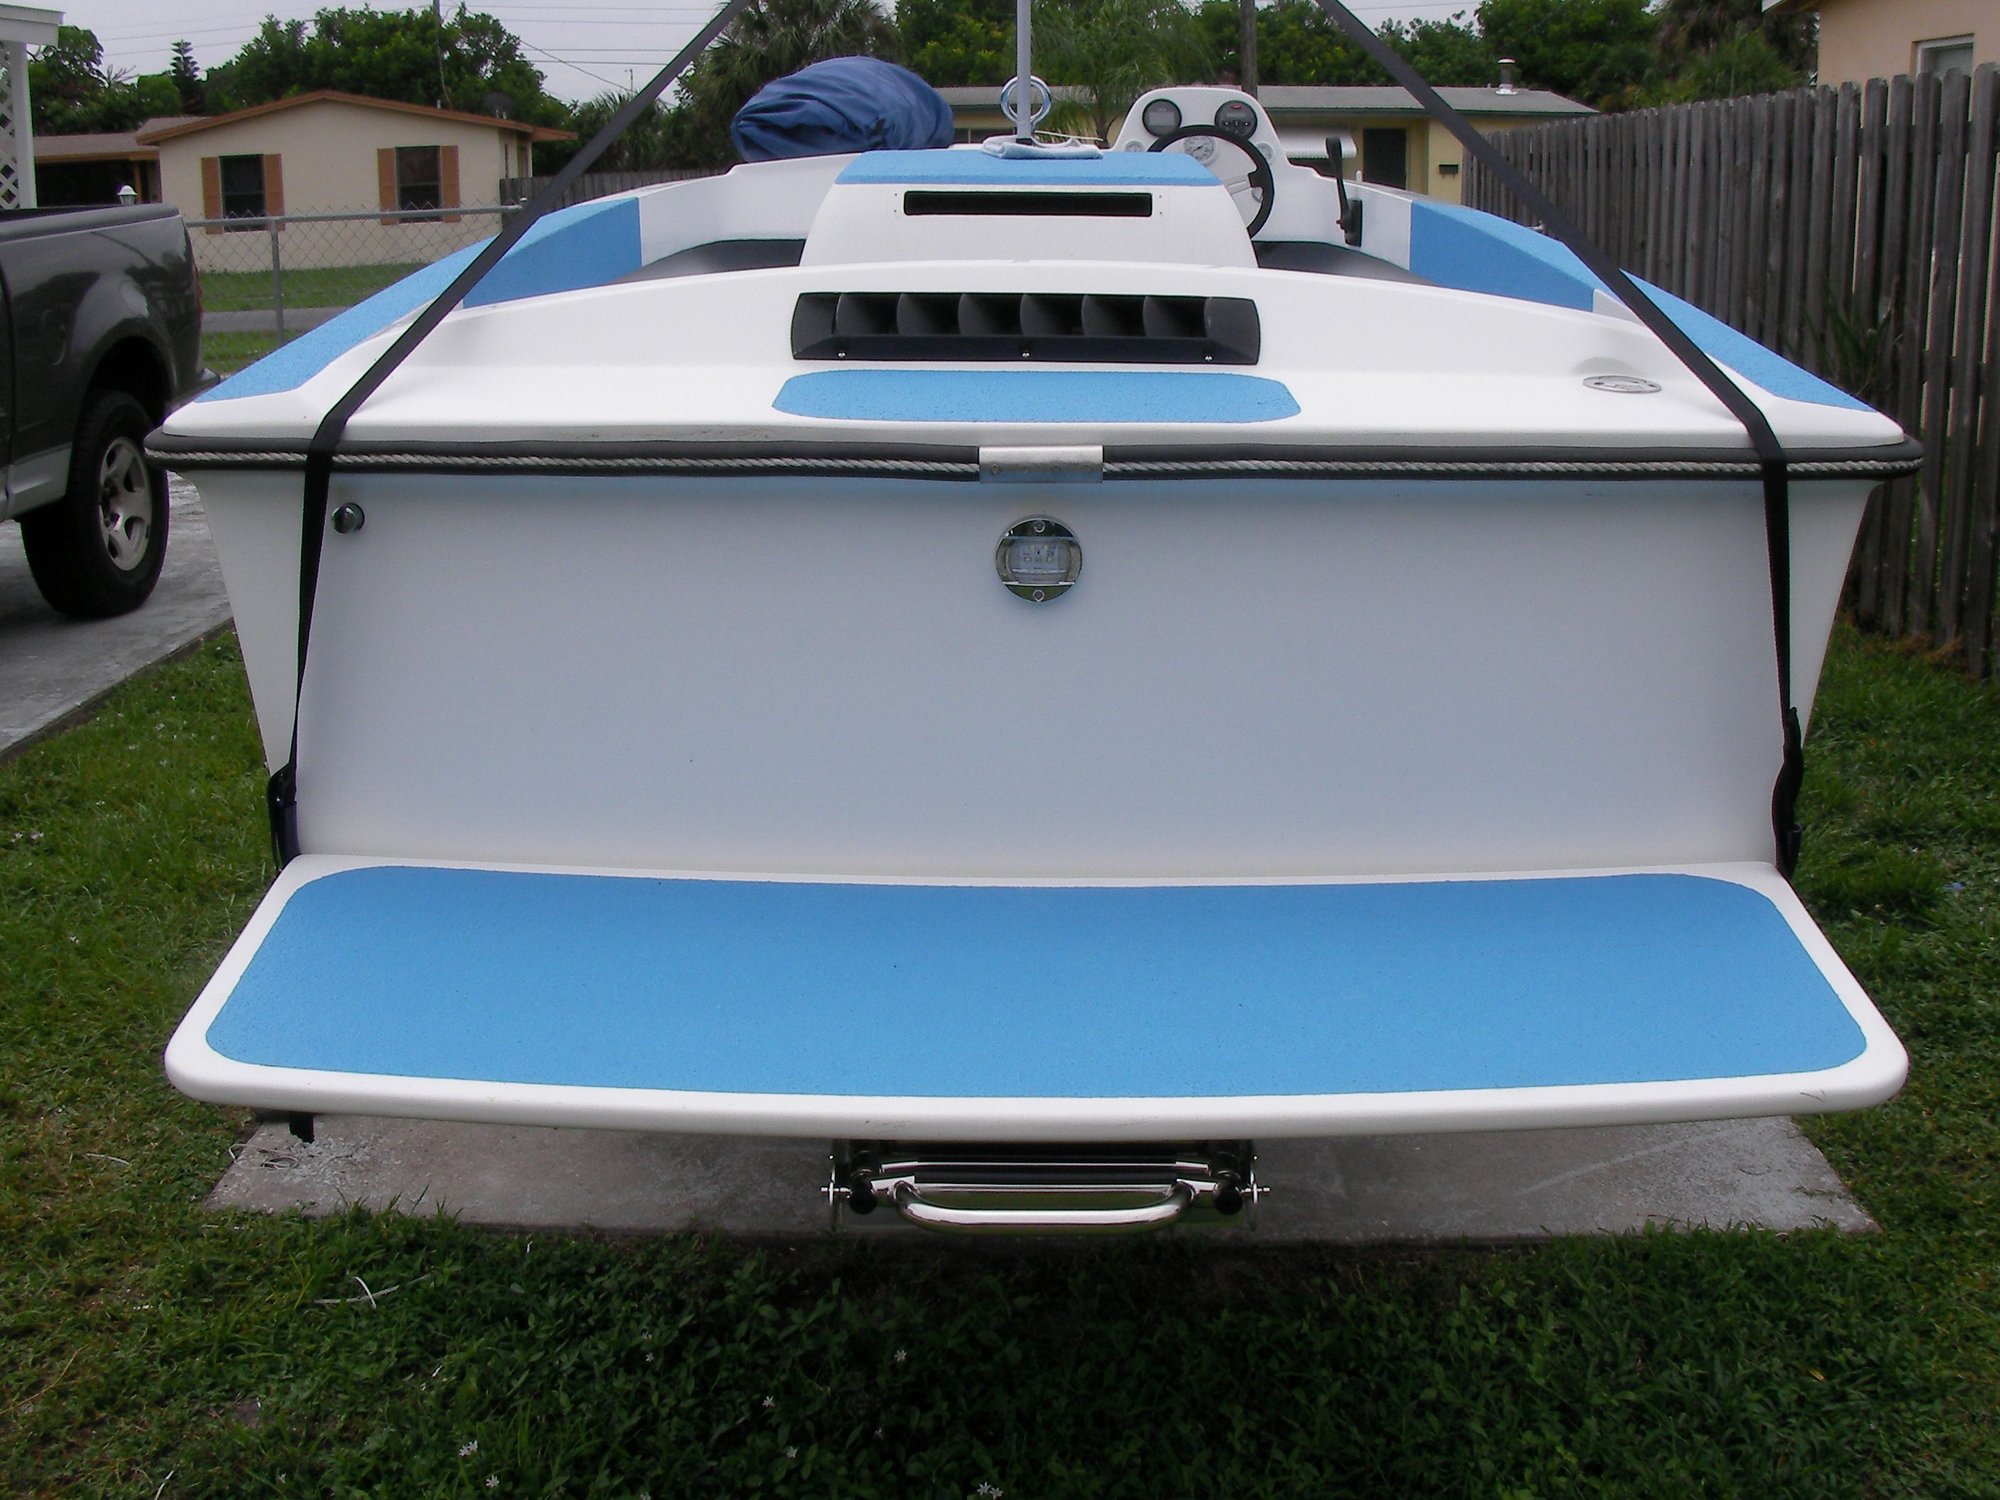
I put 4 bath towels on the floor of the ski boat, wash up and take my shoes off every time in and out and i still can't keep it clean
Even when i go shoeless and out backwards with a towel, the race boat looks like it needs a deep cleaning.
On top of that my finish work is really bad looking, no, you don't want me anywhere near that boat.
just stop working on other stuff, we're all waiting for that boat to go in the water.
scarab, your scarab !
I put 4 bath towels on the floor of the ski boat, wash up and take my shoes off every time in and out and i still can't keep it clean
Even when i go shoeless and out backwards with a towel, the race boat looks like it needs a deep cleaning.
On top of that my finish work is really bad looking, no, you don't want me anywhere near that boat.
just stop working on other stuff, we're all waiting for that boat to go in the water.
08-28-2021 | 07:55 PM
#137
Thread Starter
Registered
Joined: May 2009
Posts: 1,942
Likes: 527
Manufacturer
Distributor
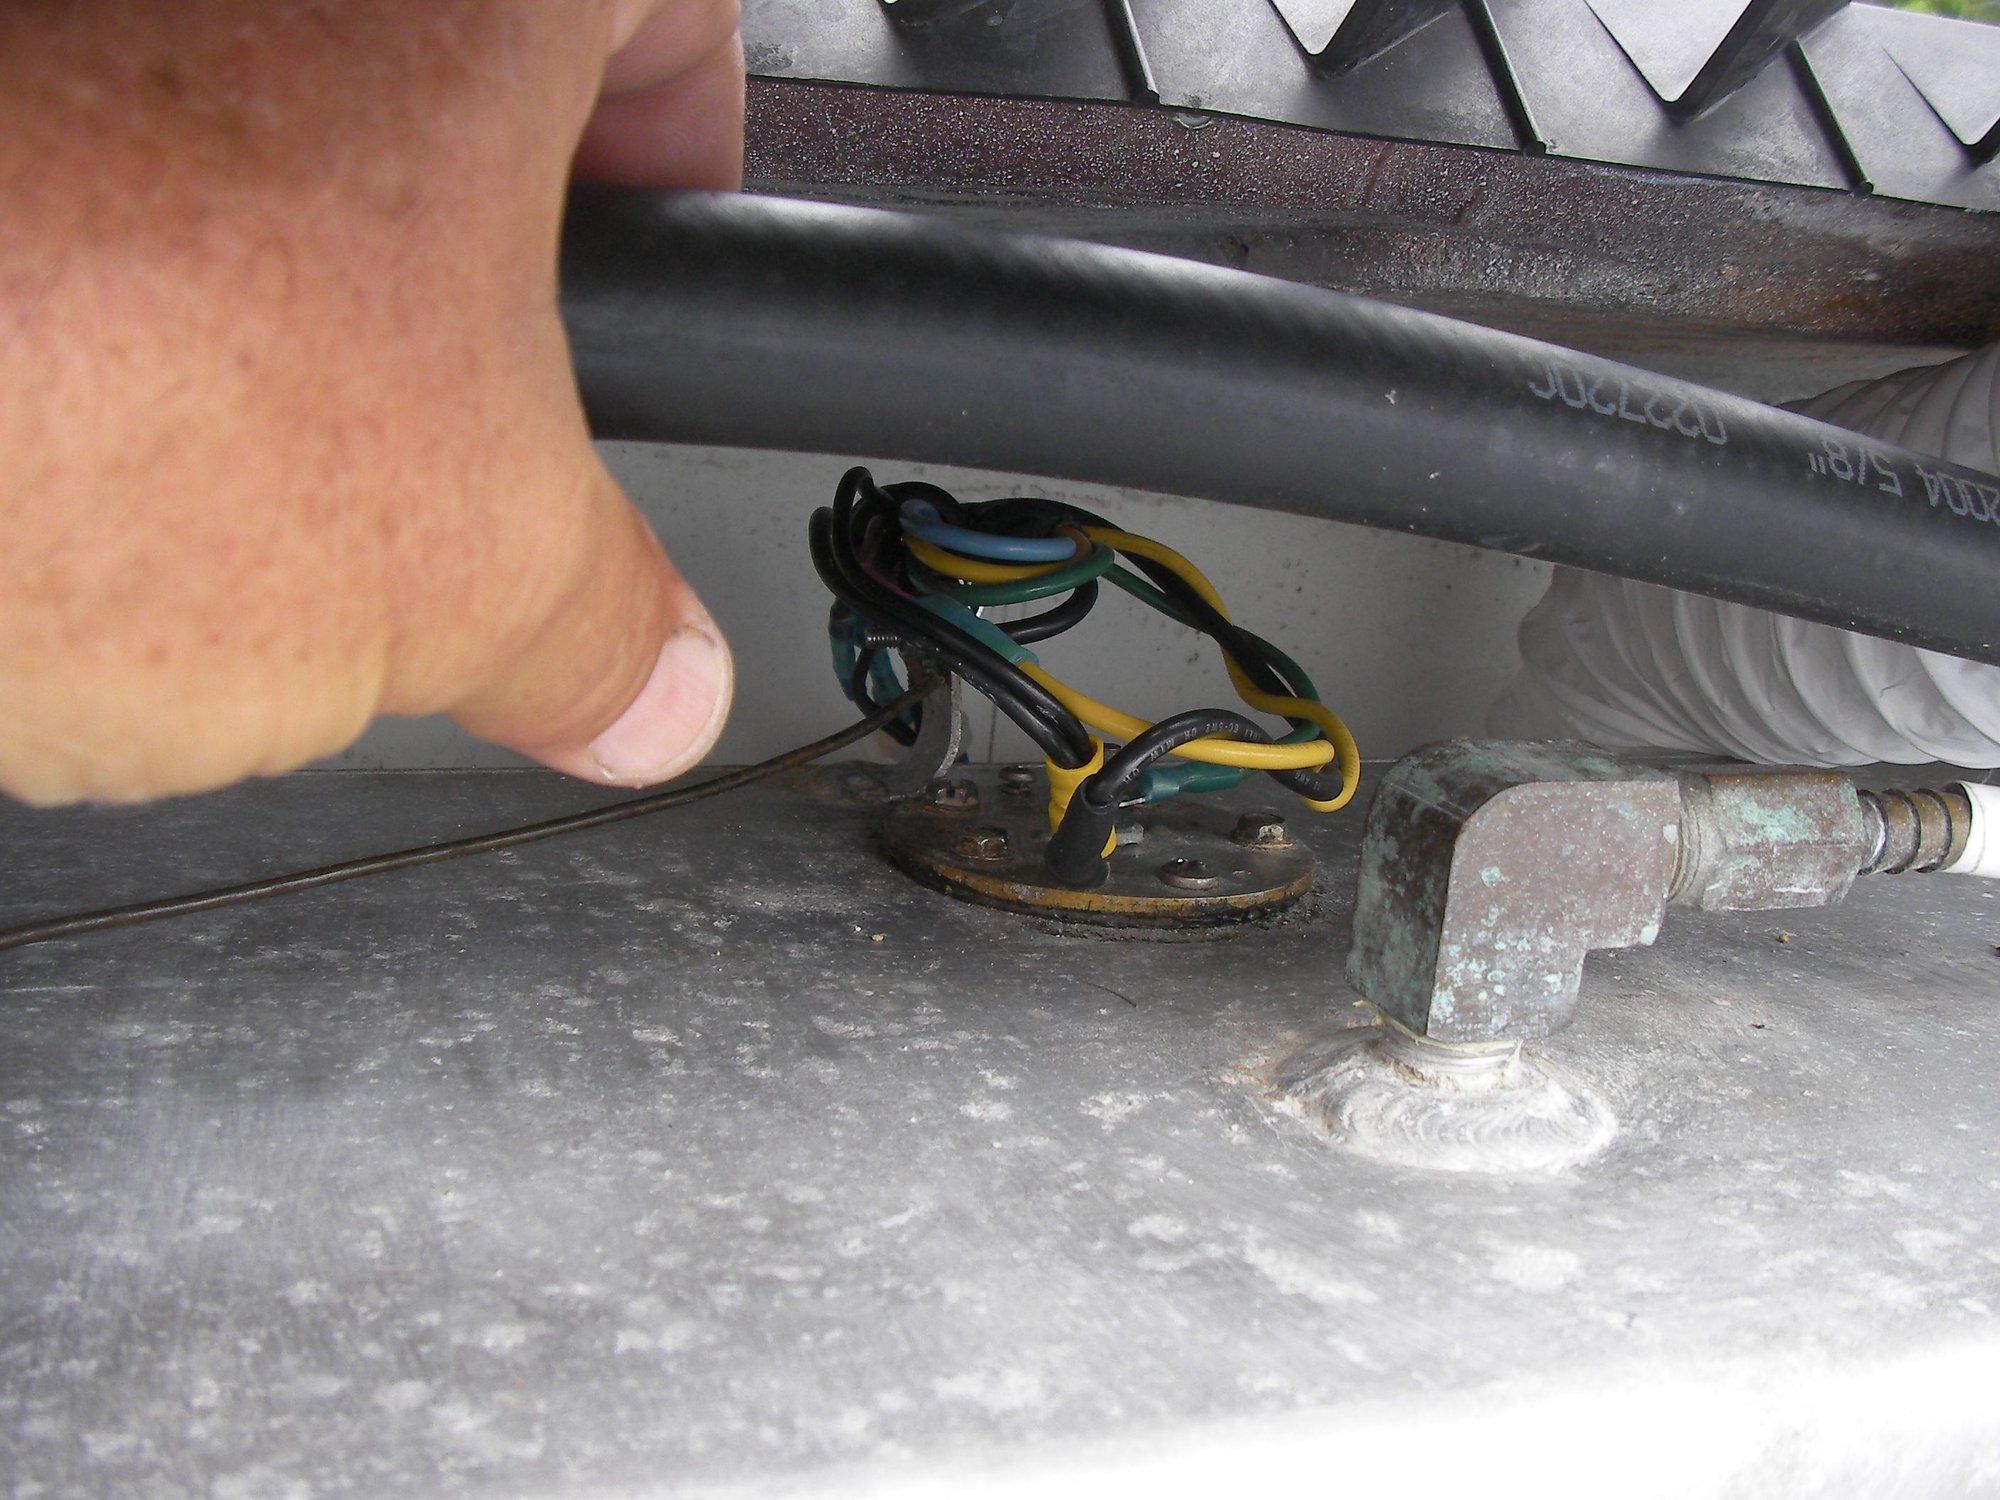
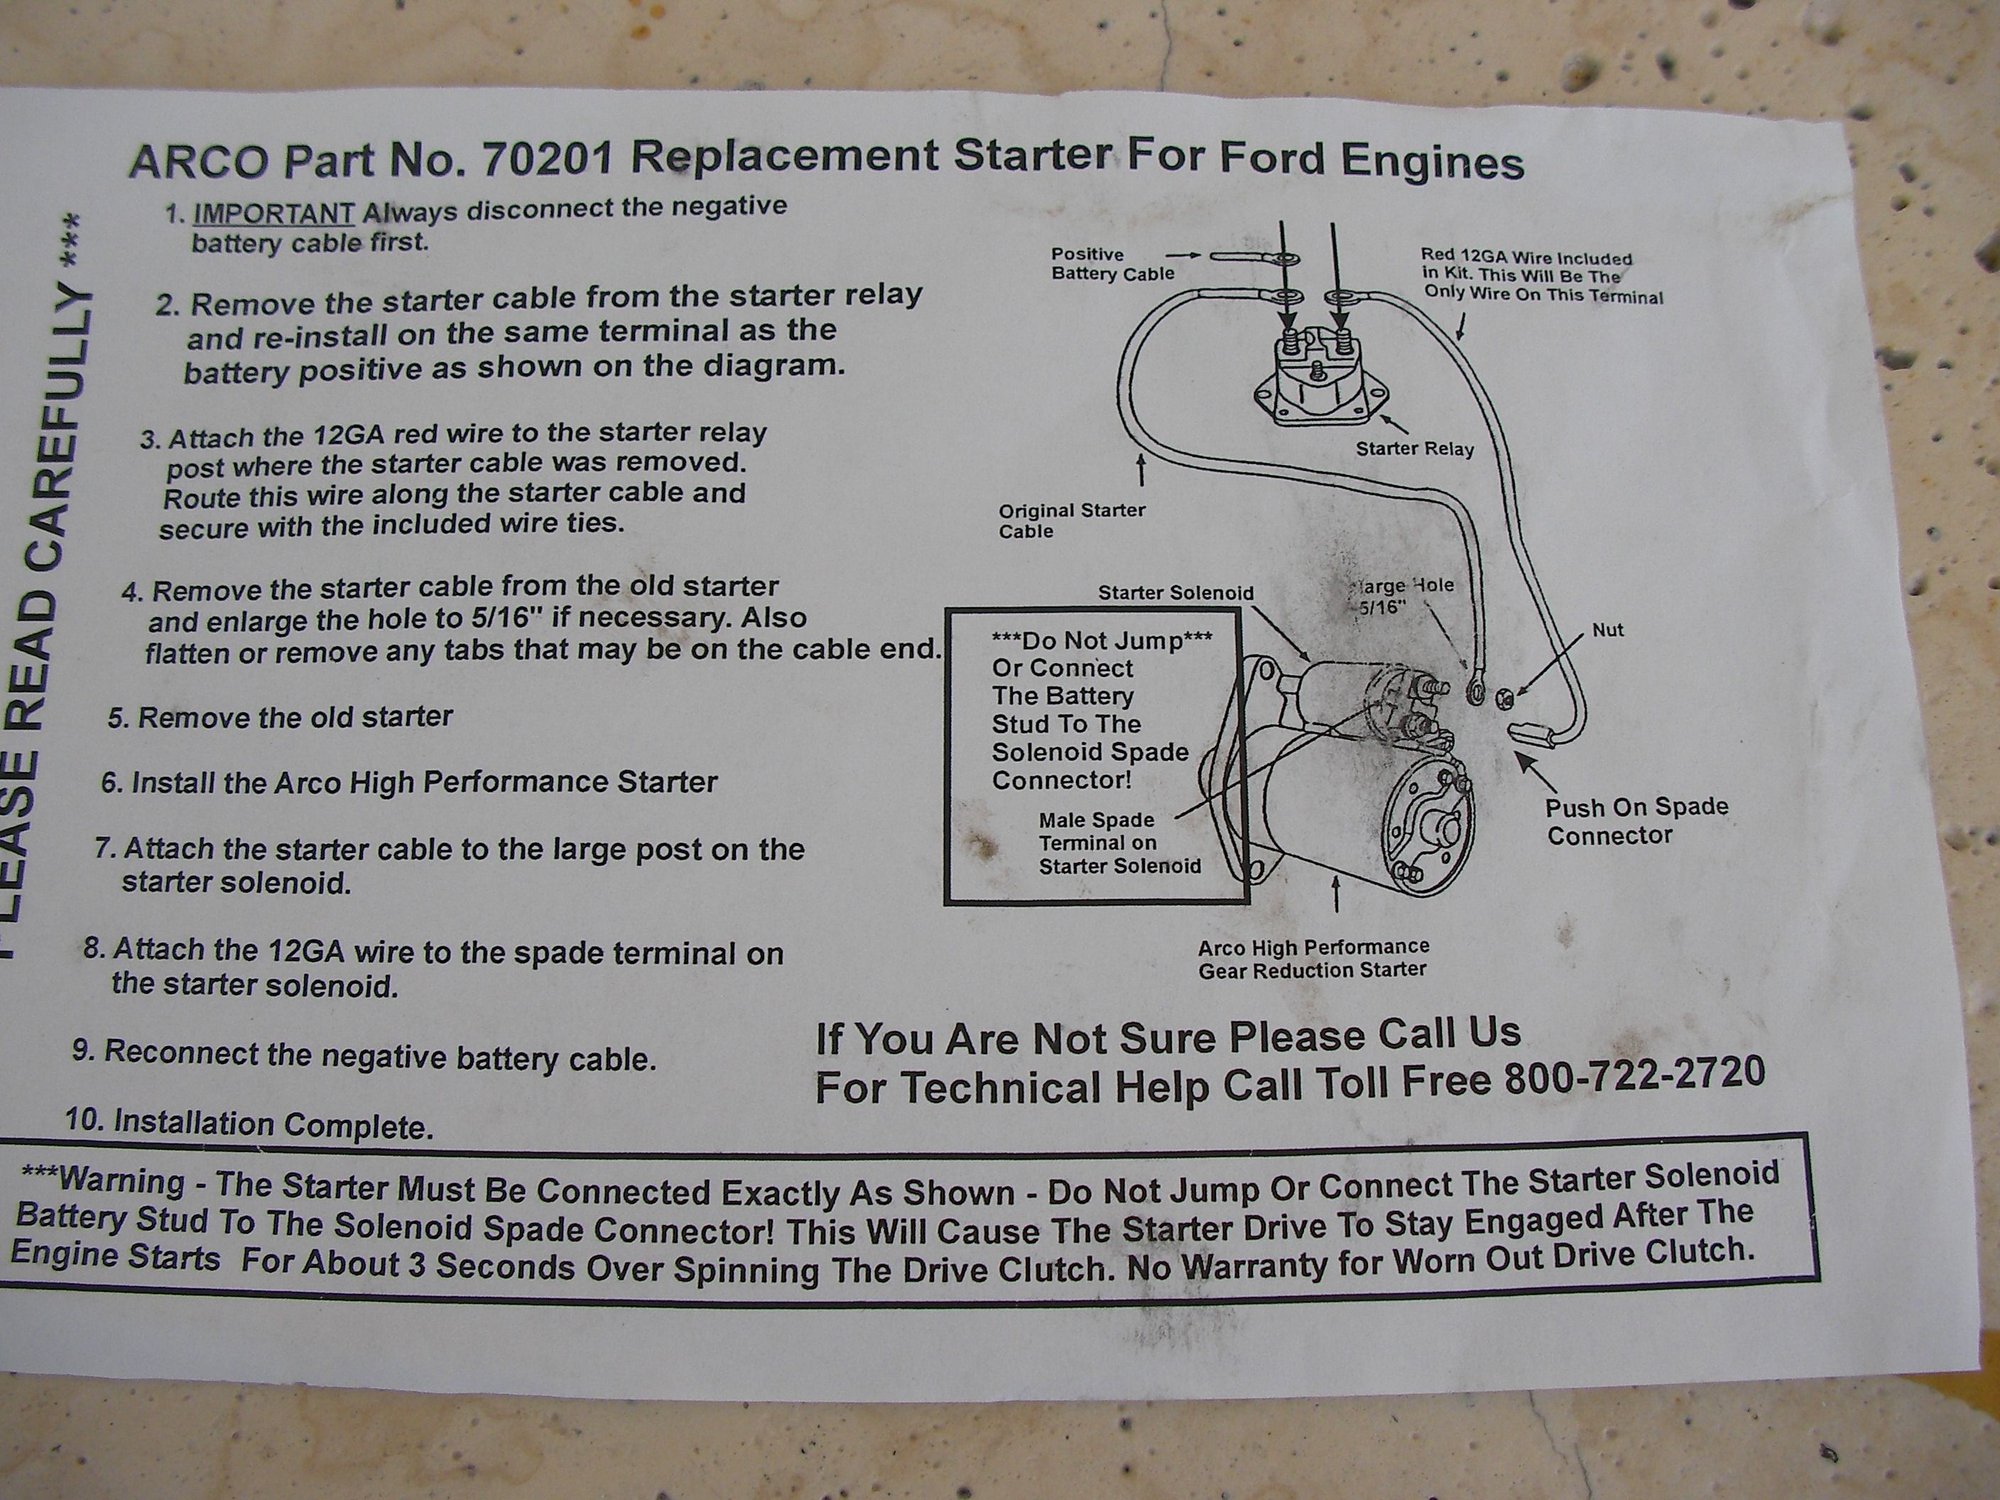
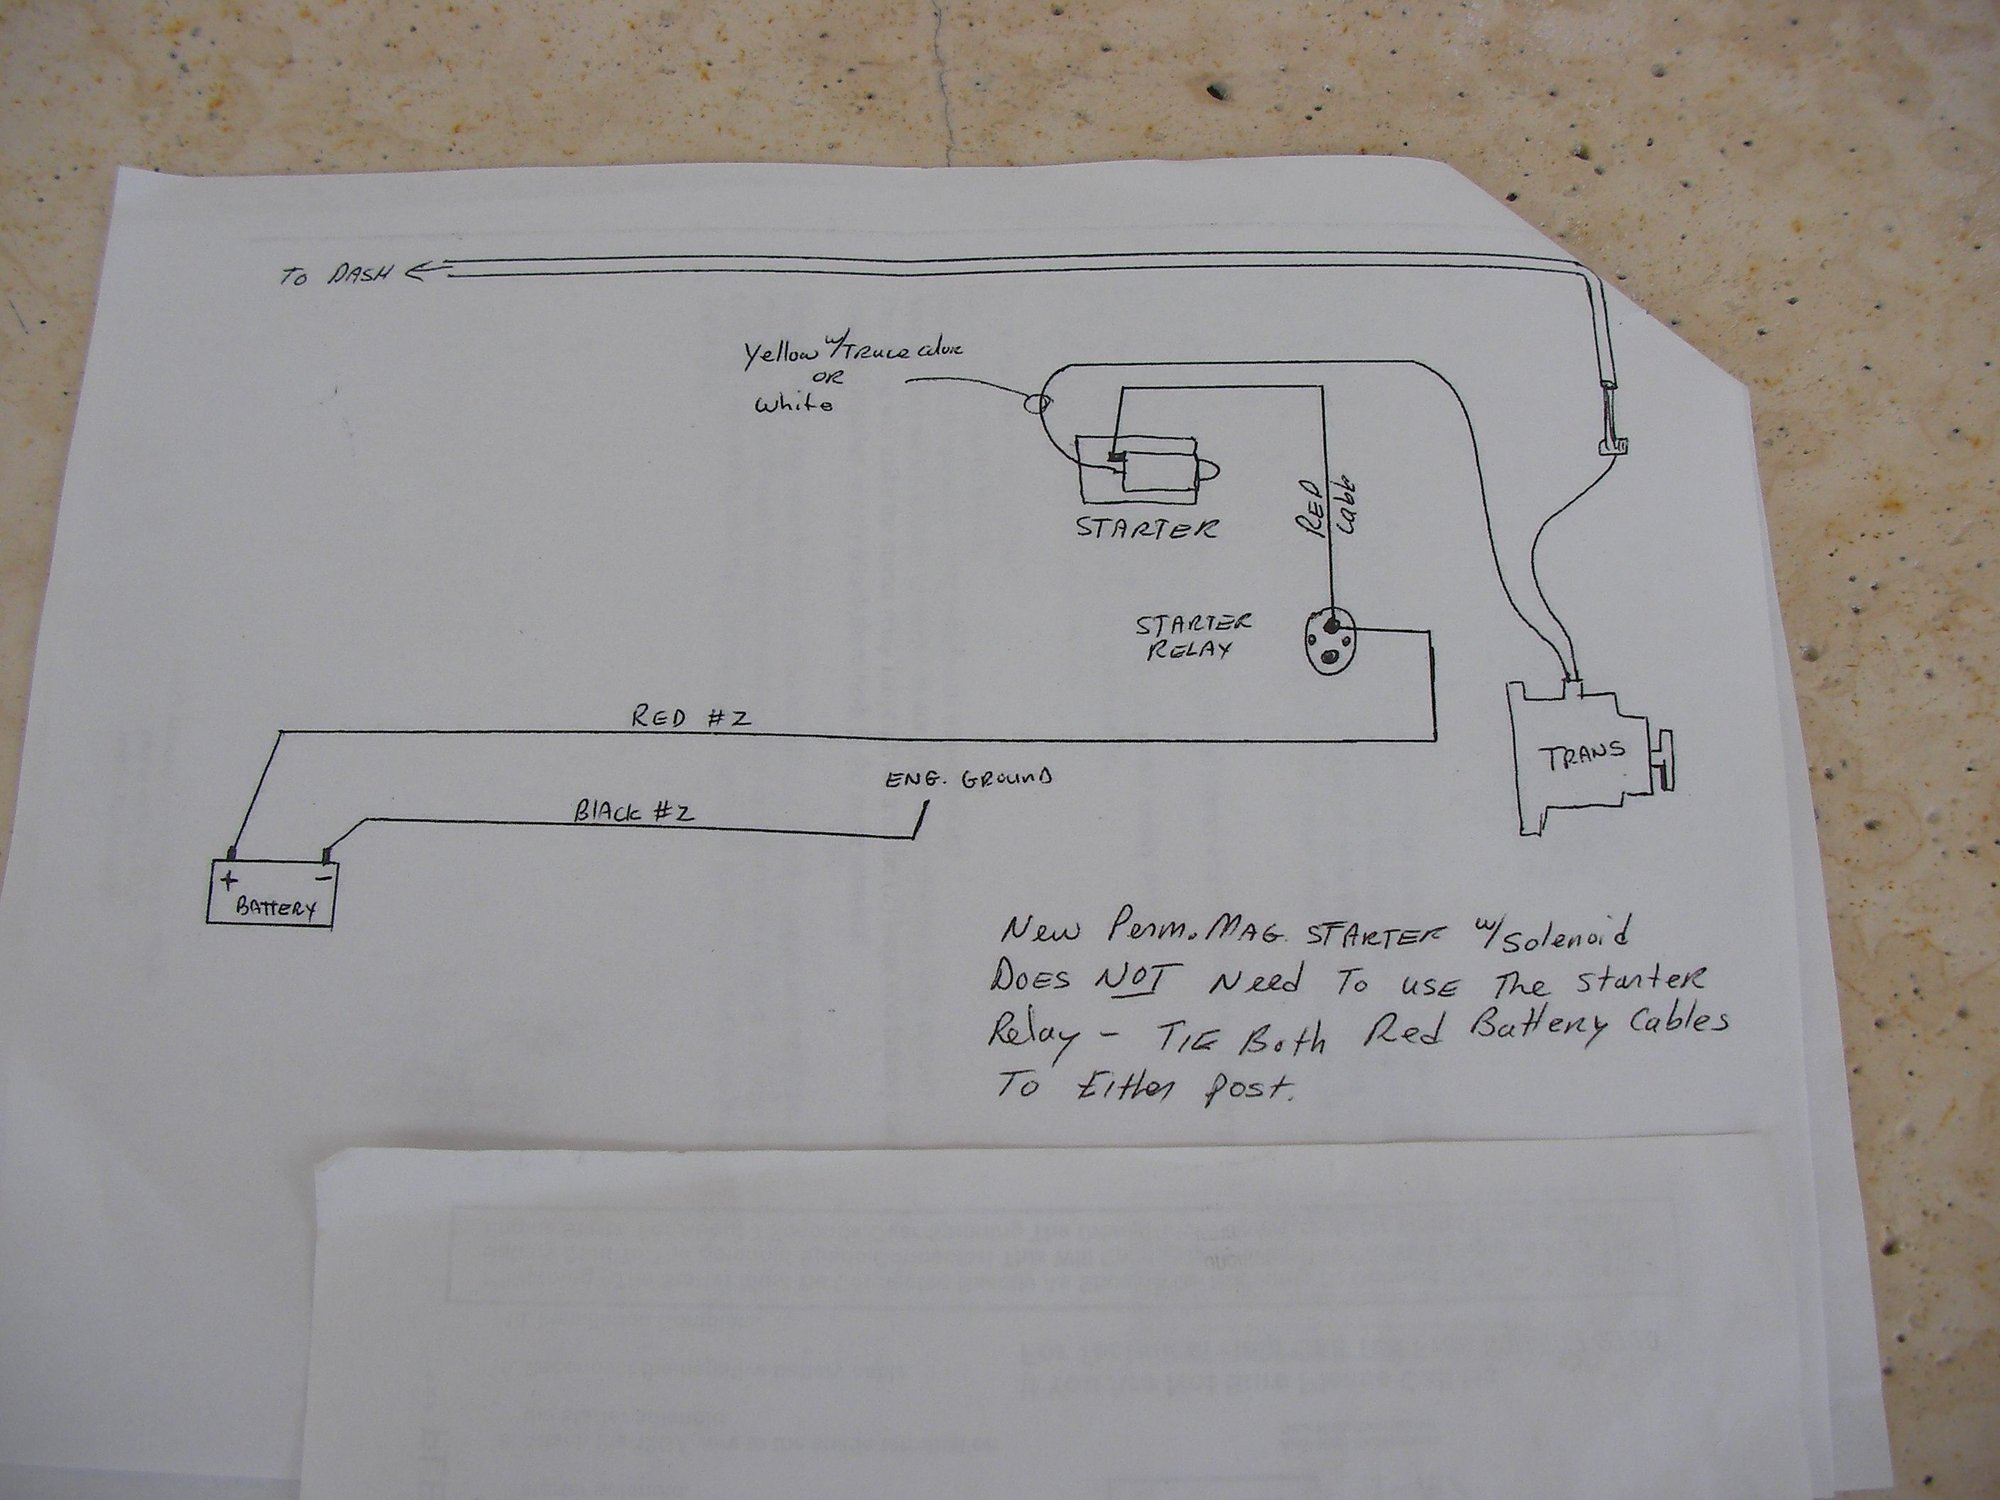
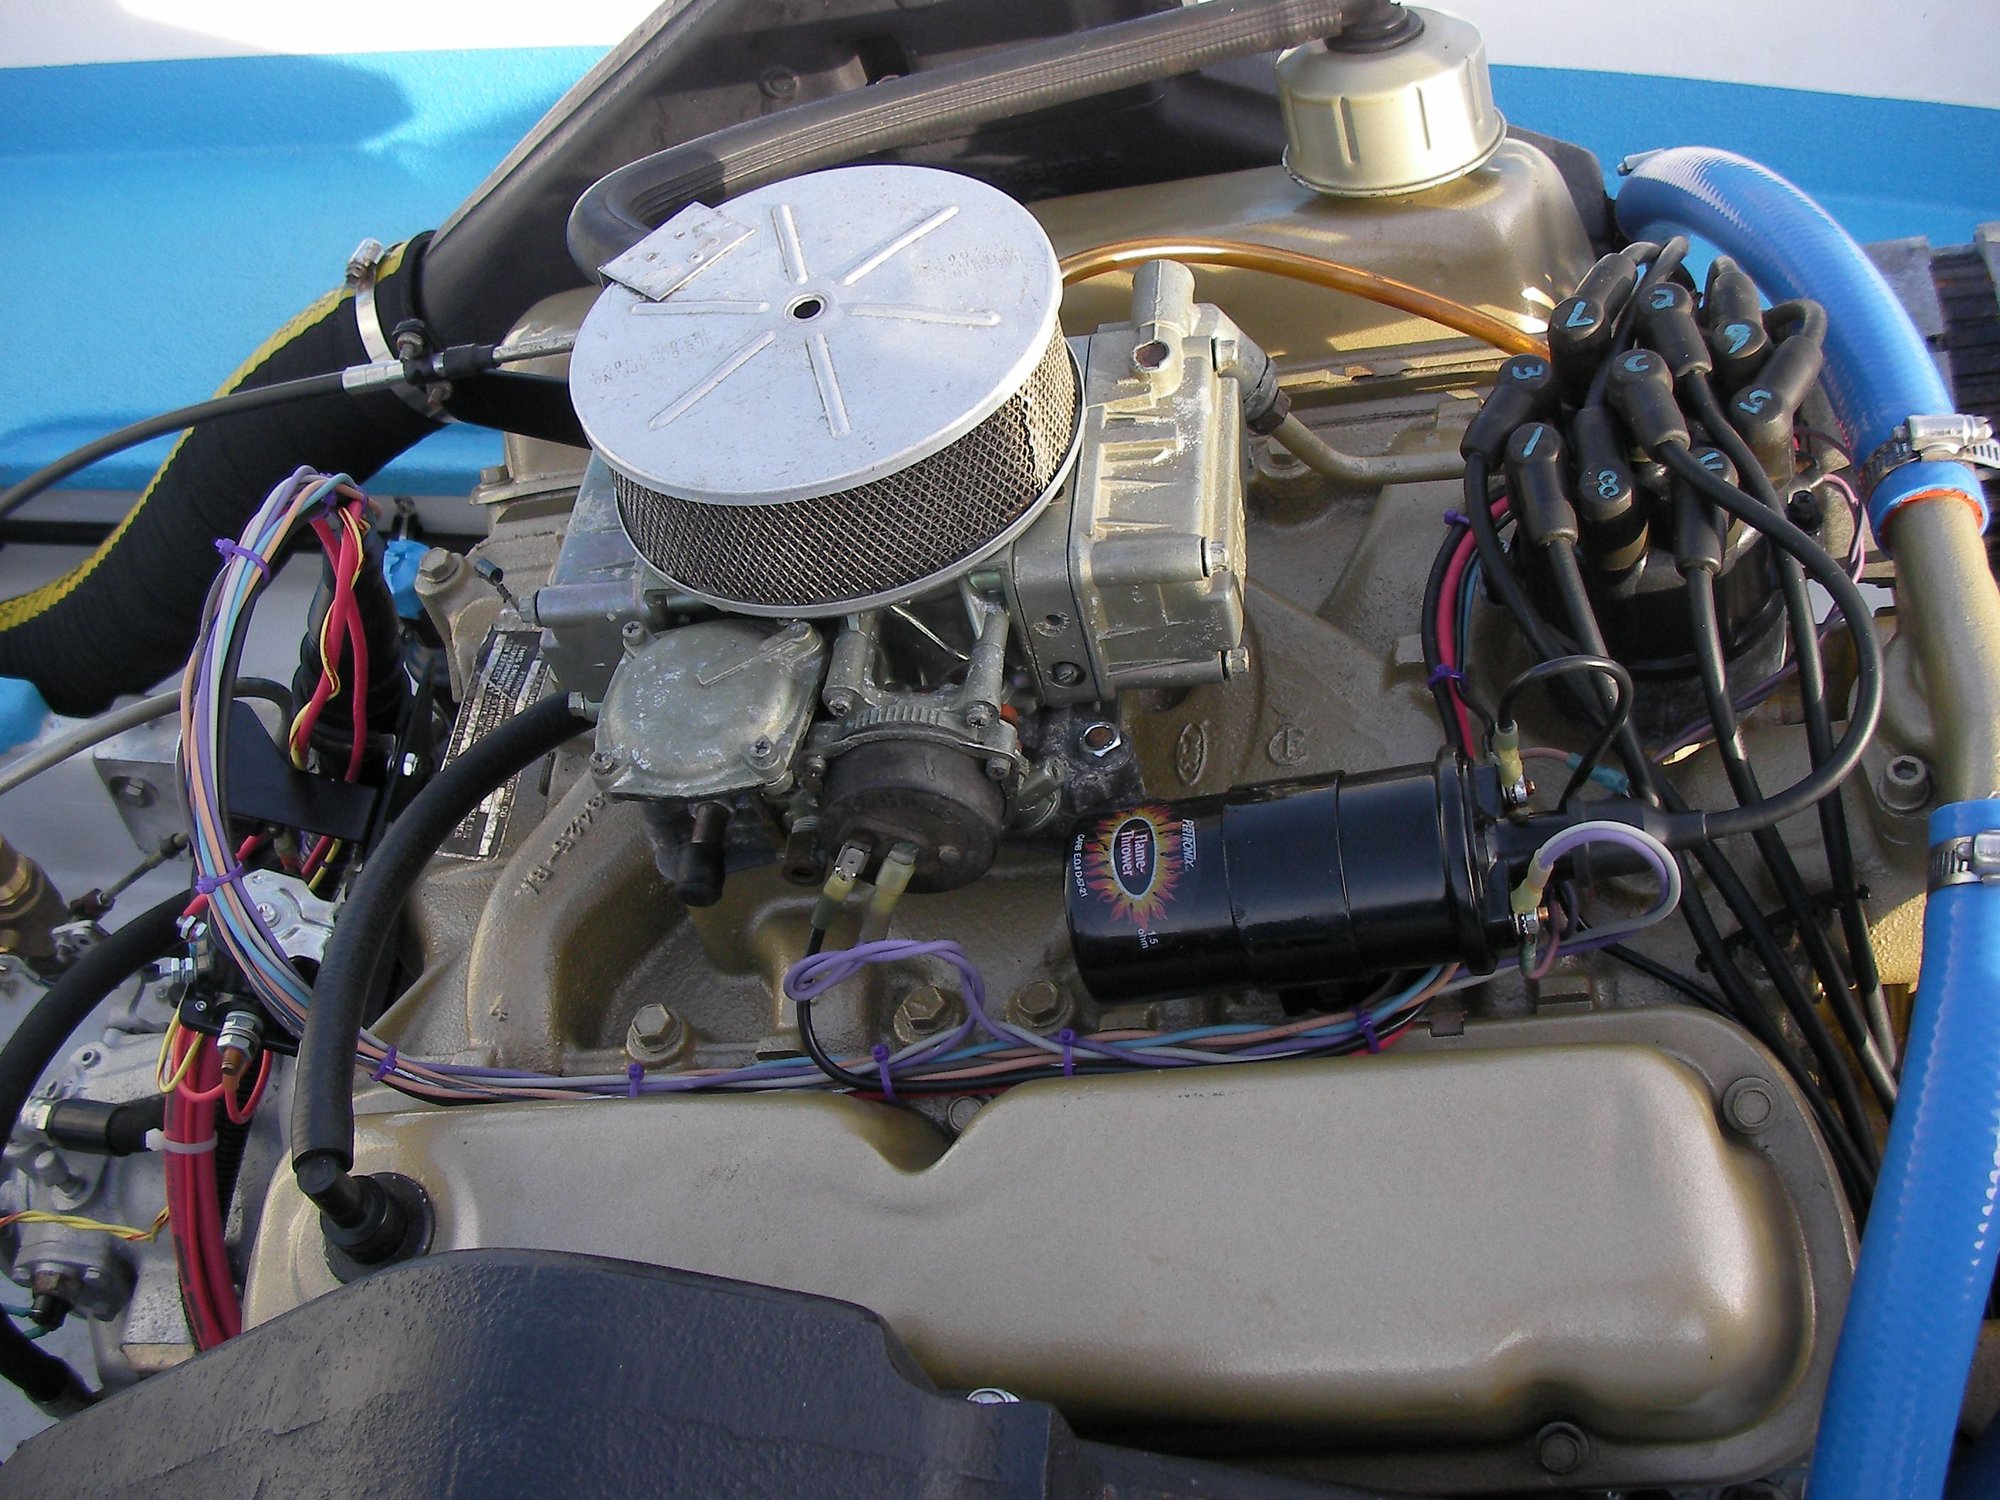
what do you you do when the manufacturer and distributor want the starter wired differently ?
i'm ready to strip part and landfill it over some god complex electrician black magic 1&1/2 starter solenoid doublecrossed jumped over wiring.
where does yellow with red go, the neighbors doorbell ?
manufacturer says hack it this way
distrubutor says hack it another way,
all it tells me is both ways are sketchy because theres more than one cheapskate with the electrician god complex who figured out a way to "make it work" instead of buying a few feet of wire to do the job right, and !!!!!! those are the first guys who chime in with the ole boat will explode with those parts and/or assembled like that
fkkn sick of it.

 08-31-2021 | 01:24 PM
#140

Registered
Joined: Jul 2013
Posts: 339
Likes: 31
From: Jeff City MO.
It looks like you sorted it out and have the start circuit working?
I don't see anything wrong with the way the distributor told you to wire it the only thing you could say the Mfg. cheaped out on is tying the red wires together by using the starter relay post they likely did that as they have no idea where the battery could be located at and would be hard for them to provide the right length of wire to run all the way from the battery to the starter solenoid.
The yellow/red wire is the start circuit ( ABYC color code) it looks like you would have one wire coming from the start switch on the dash to yellow/red on the transmission active switch and then yellow/red out from the trans active switch to the started solenoid and by the video you have this sorted out?
Don't give in now!!! The rest should be do you have spark and fuel and by all the work you have done this far I'm sure you can figure which is missing.
Thanks for the restoration thread been following from the beginning.

