


311 Engine Upgrades
 01-09-2021 | 09:32 AM
#91
Registered

Joined: Jul 2006
Posts: 874
Likes: 46
From: Charleston, il
Don't get too hung up on dyno power numbers. I like the dyno for finding problems that can be remedied before you take all the time to reinstall them in the boat. I think you will like your gains when you see what it runs after getting it dialed in.
 01-12-2021 | 08:25 PM
#93
Thread Starter
Platinum Member

Joined: Feb 2001
Posts: 4,295
Likes: 1,457
From: Virginia Beach
Coming along...
I went to look at my heads today. They’re in good shape and will clean up nicely at 112cc. Guides are good. A valve job and finish mill and they be ready for engine one.
Then onto engine two.
I’d say we’ll be all together by mid-February. Then off to the dyno.
I went to look at my heads today. They’re in good shape and will clean up nicely at 112cc. Guides are good. A valve job and finish mill and they be ready for engine one.
Then onto engine two.
I’d say we’ll be all together by mid-February. Then off to the dyno.
01-13-2021 | 05:33 PM
#94
Registered

Joined: Apr 2014
Posts: 650
Likes: 123
From: North Florida
[QUOTE=TomZ;4772955]Coming along...
I went to look at my heads today. They’re in good shape and will clean up nicely at 112cc. Guides are good. A valve job and finish mill and they be ready for engine one.
Then onto engine two.
I’d say we’ll be all together by mid-February. Then off to the dyno.[/QUOTE
I can’t wait for the first water test video. It’s going to be a rocket ship Tom.
01-14-2021 | 12:05 PM
#95
Registered
Joined: Apr 2014
Posts: 650
Likes: 123
From: North Florida
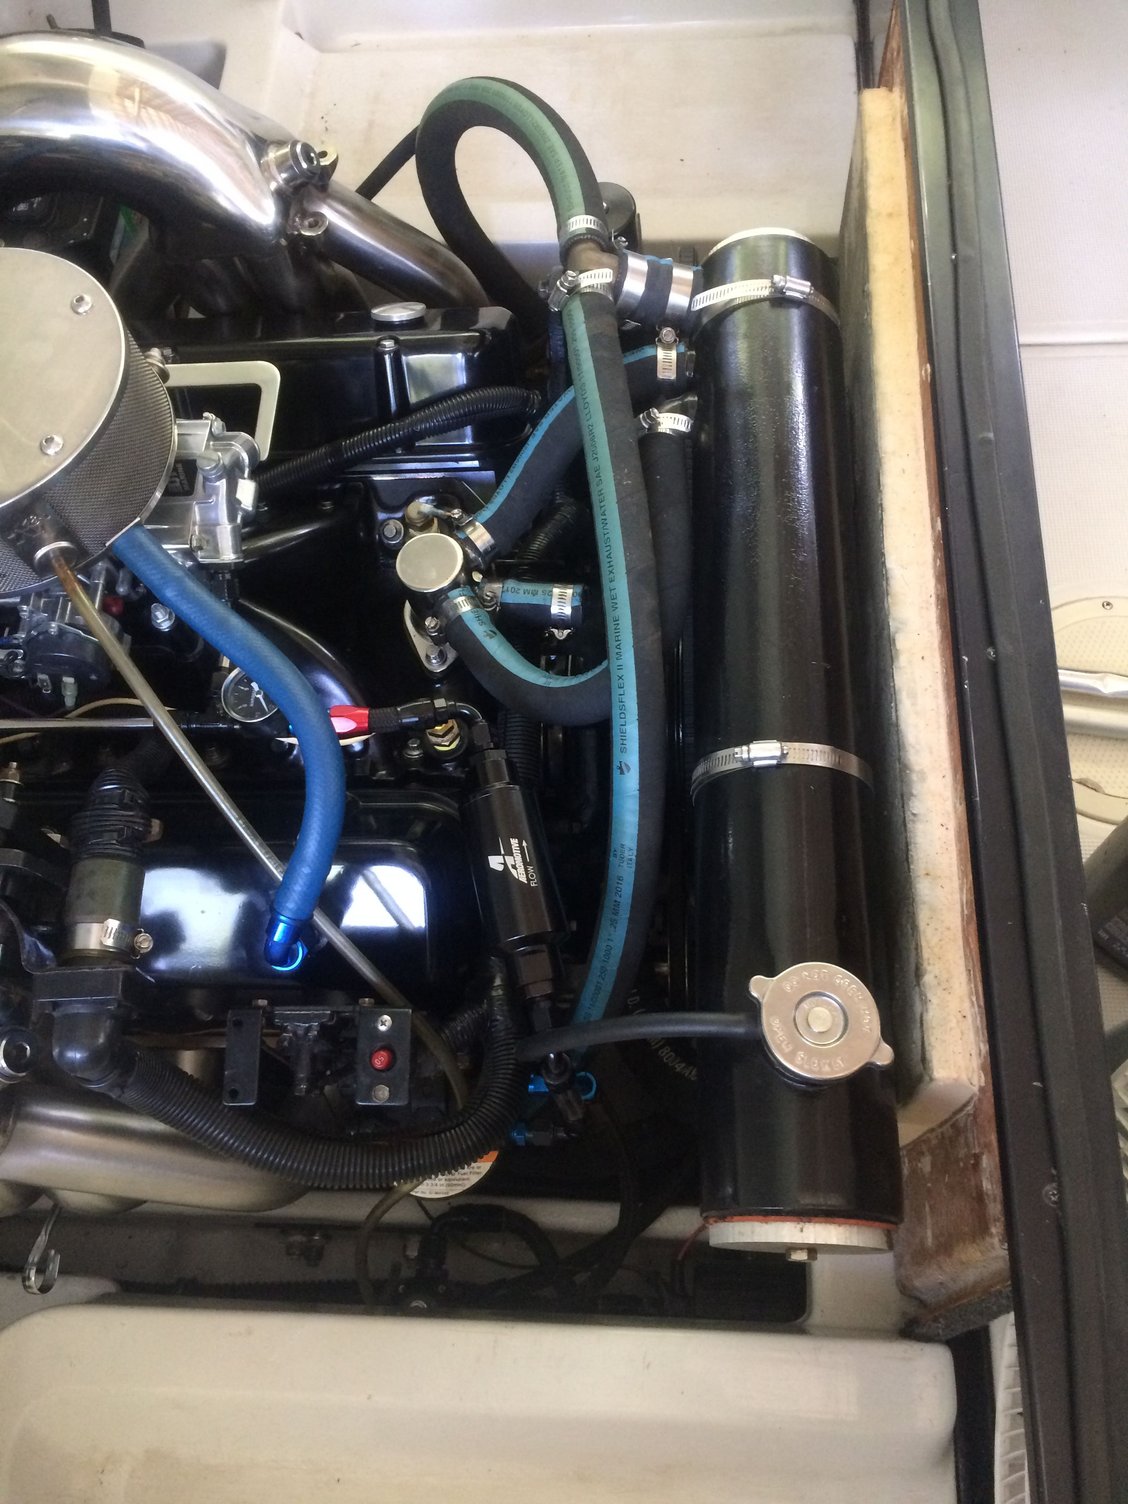
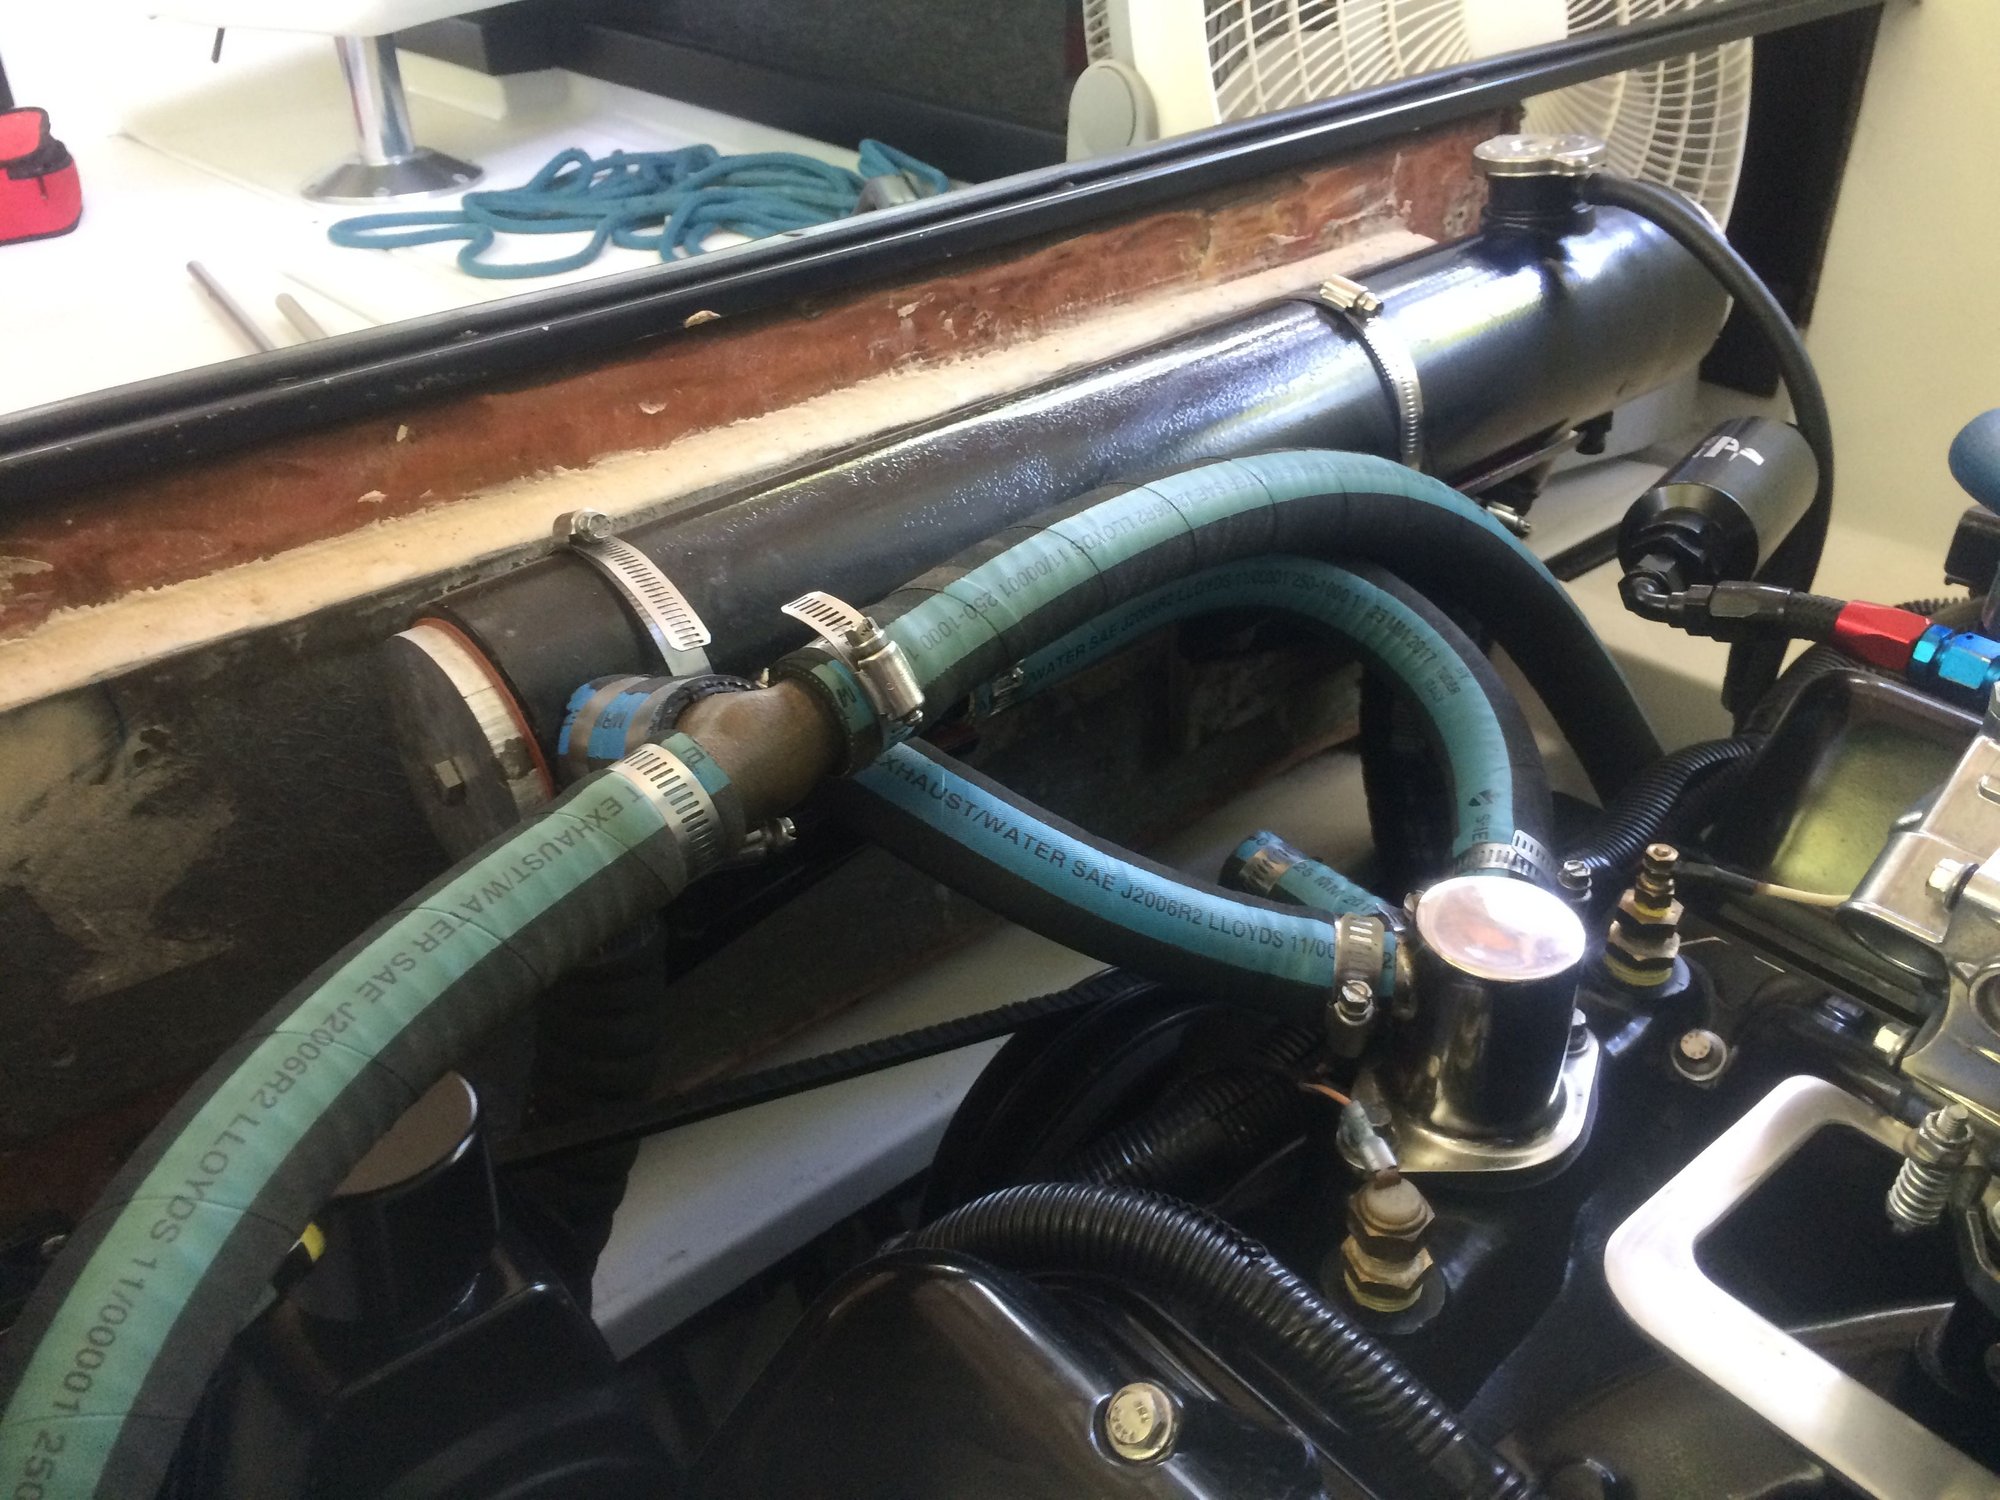
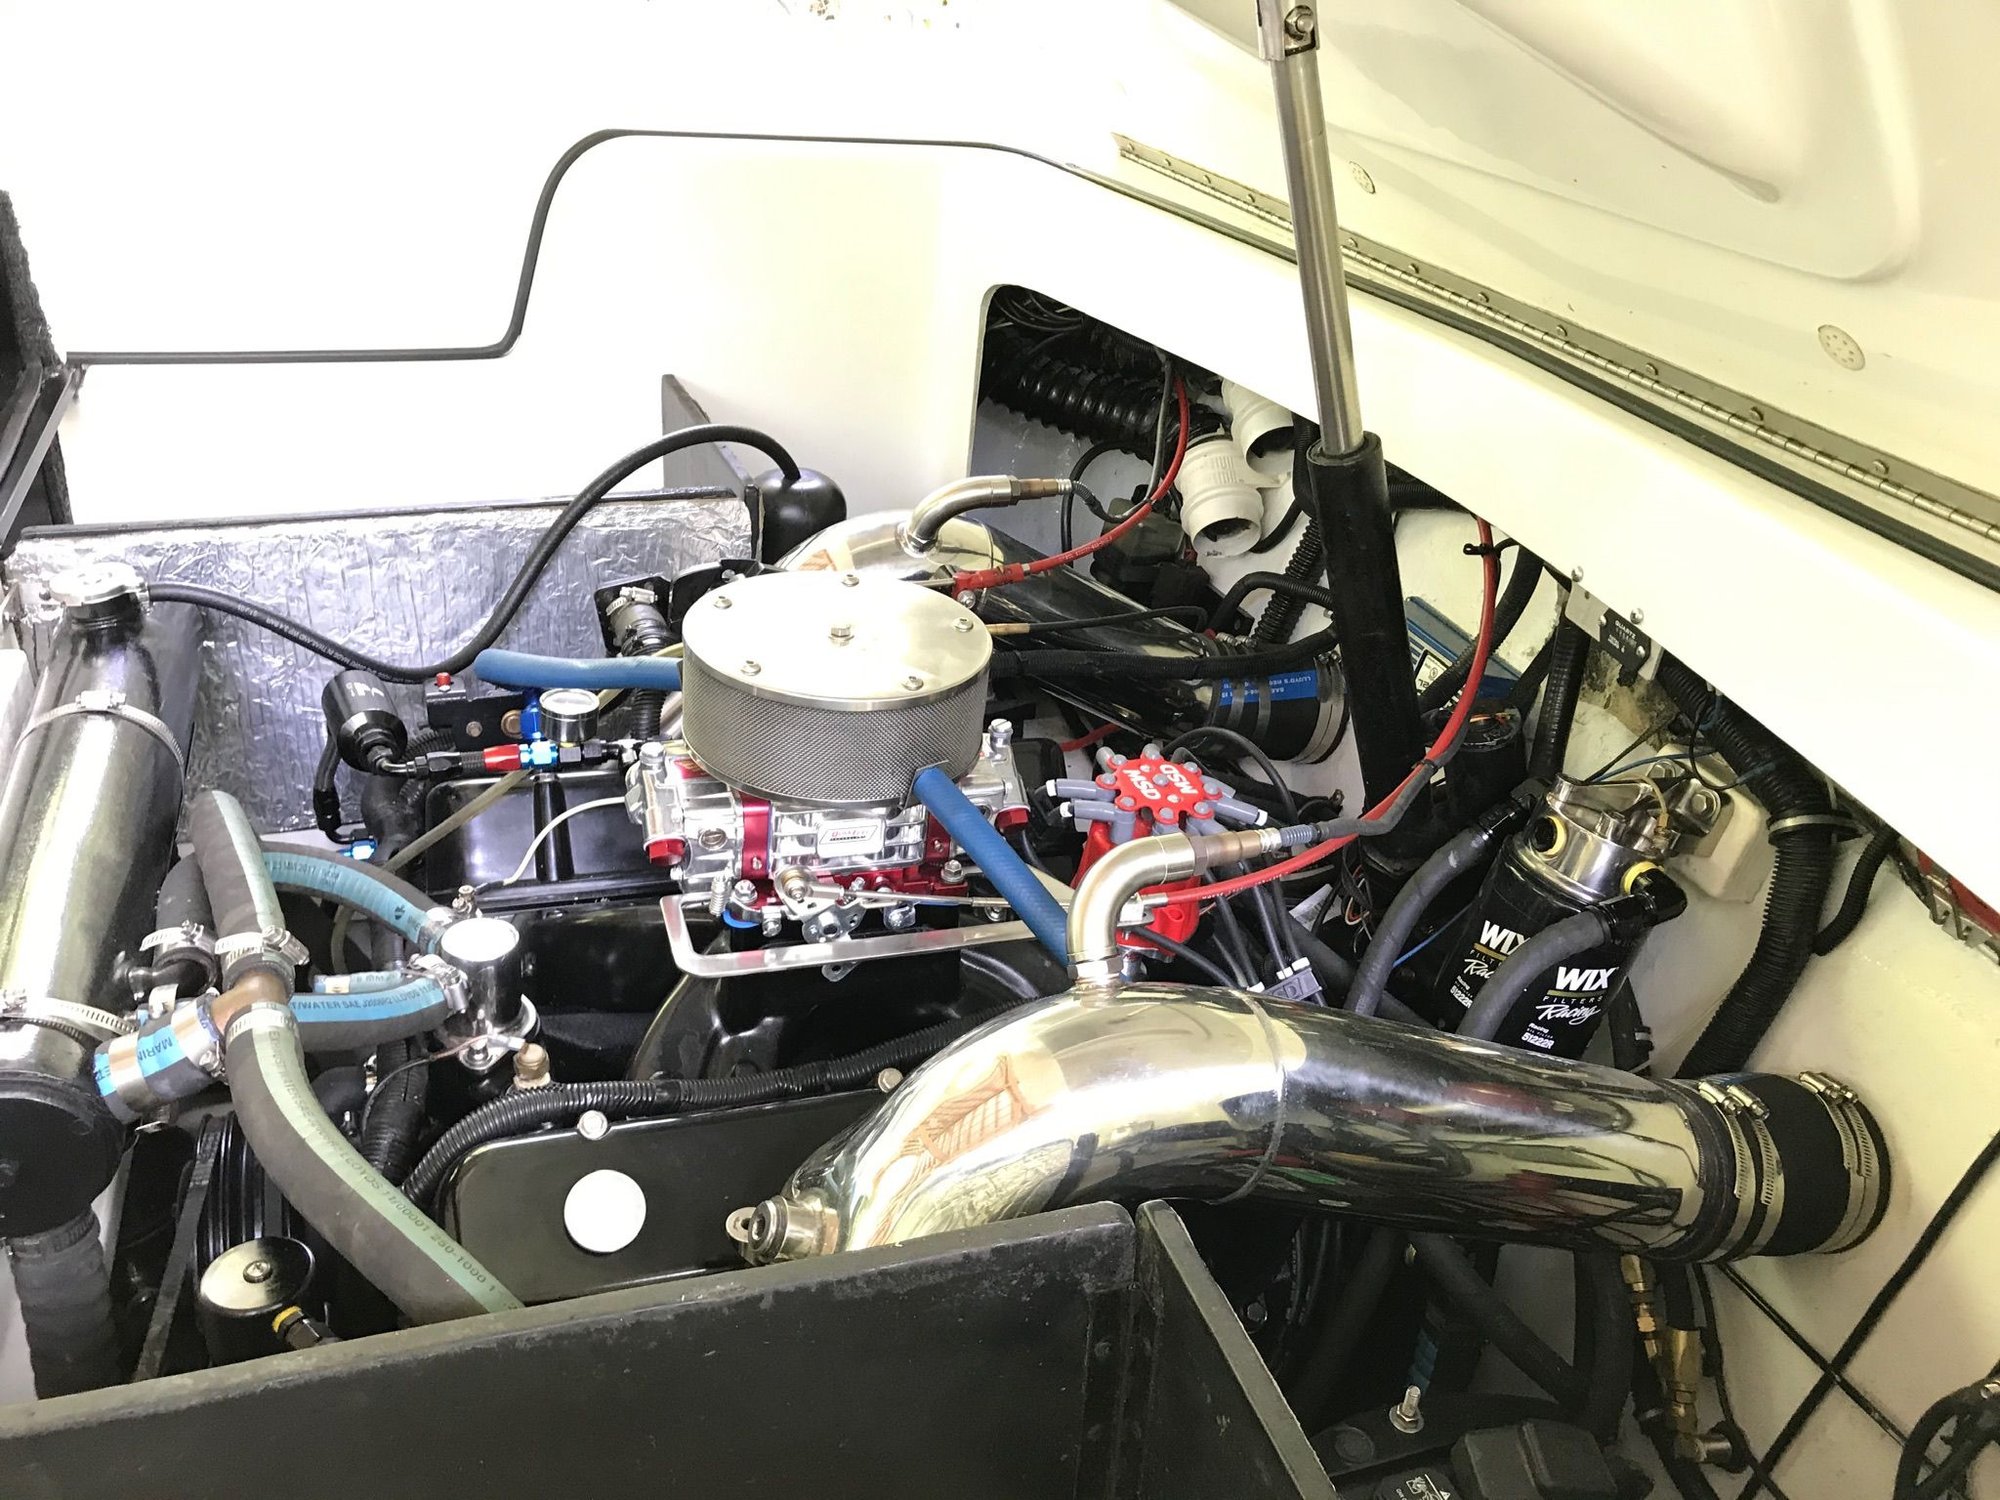
Here are a few bad pictures of the heat exchanger that I mounted on the forward bulkhead instead of engine mount. I built out the bulkhead to strengthen it for secure fastening. I have since painted the bulkhead and added a catch can.
01-14-2021 | 04:48 PM
#96
Thread Starter
Platinum Member
Joined: Feb 2001
Posts: 4,295
Likes: 1,457
From: Virginia Beach
[QUOTE=ph1971;4773099]
I hope so! I guess I may need to start looking for spare RH drives.
Originally Posted by TomZ;[url=tel:4772955
4772955[/url]]Coming along...
I went to look at my heads today. They’re in good shape and will clean up nicely at 112cc. Guides are good. A valve job and finish mill and they be ready for engine one.
Then onto engine two.
I’d say we’ll be all together by mid-February. Then off to the dyno.[/QUOTE
I can’t wait for the first water test video. It’s going to be a rocket ship Tom.
01-14-2021 | 04:52 PM
#97
Thread Starter
Platinum Member
Joined: Feb 2001
Posts: 4,295
Likes: 1,457
From: Virginia Beach
Roscoe, these are great! Much appreciated. The ones I’ve been looking at have a two part tank (expansion?). Kits that are out there seem to use these (the one you have) with remote expansion tanks similar to yours so I think I’ll start going in that direction. New, these are not that bad price-wise but I’m keeping my eye out for used just the same. Very helpful!
Last edited by TomZ; 01-15-2021 at 08:30 AM.
01-14-2021 | 07:04 PM
#98
Registered
Joined: Apr 2014
Posts: 650
Likes: 123
From: North Florida
I’m sure your rigging will be much neater than mine. Ha... I just wanted to show you what I did for $200 plus hoses and clamps. It’s great to know salt water will never touch any of those hard earned internals. Many of the heat exchangers have the Siamesed expansion tank and eliminate the need for a puke tank. I added the overflow because I was pushing some coolant out beneath the cap on hard runs. I replaced the rad. Cap at the same time and haven’t lost a drop since so I think my cap was the issue. I needed more crap in my crowded bilge anyway. It’s not sexy by any means but it sure works. Keep up the good work Tom
01-15-2021 | 07:33 AM
#99
Registered

Joined: Mar 2019
Posts: 1,022
Likes: 321
From: Perdido Key, Madison, NC


