

1979 24 pantera se restoration/class 6 build

 06-07-2024 | 09:35 AM
#32
Thread Starter
Registered
Joined: Jun 2022
Posts: 91
Likes: 114
Your project looks really good. Nice work!
I like the tying in of the back seat to the lower hull. Mine was tied at the corners near my battery boxes and the port side has separated (port side had minimal linear tie in).
If Inhad to do it again, I�d do something like you did.
One thing I�d consider is that the engine room gets a lot of fresh air from the gunnel vents. You have blocked that completely off, from the looks of it. Maybe drill a couple 3� or so vent holes on the sides.
again, nice work.


 06-17-2024 | 07:37 AM
#35
Registered
Joined: Jul 2016
Posts: 2
Likes: 0
holy ****, small world. I dont know how I stumbled upon this post, but I am 99% sure that was a local to me boat, used to see it out in Puget sound all the time. Amazing work! I have a picture of it on the other side of the dock from my pachanga that really shows the width differance.
06-17-2024 | 12:57 PM
#36
Thread Starter
Registered
Joined: Jun 2022
Posts: 91
Likes: 114
holy ****, small world. I dont know how I stumbled upon this post, but I am 99% sure that was a local to me boat, used to see it out in Puget sound all the time. Amazing work! I have a picture of it on the other side of the dock from my pachanga that really shows the width differance.
out in washington state?
03-18-2025 | 08:45 PM
#39
Thread Starter
Registered
Joined: Jun 2022
Posts: 91
Likes: 114
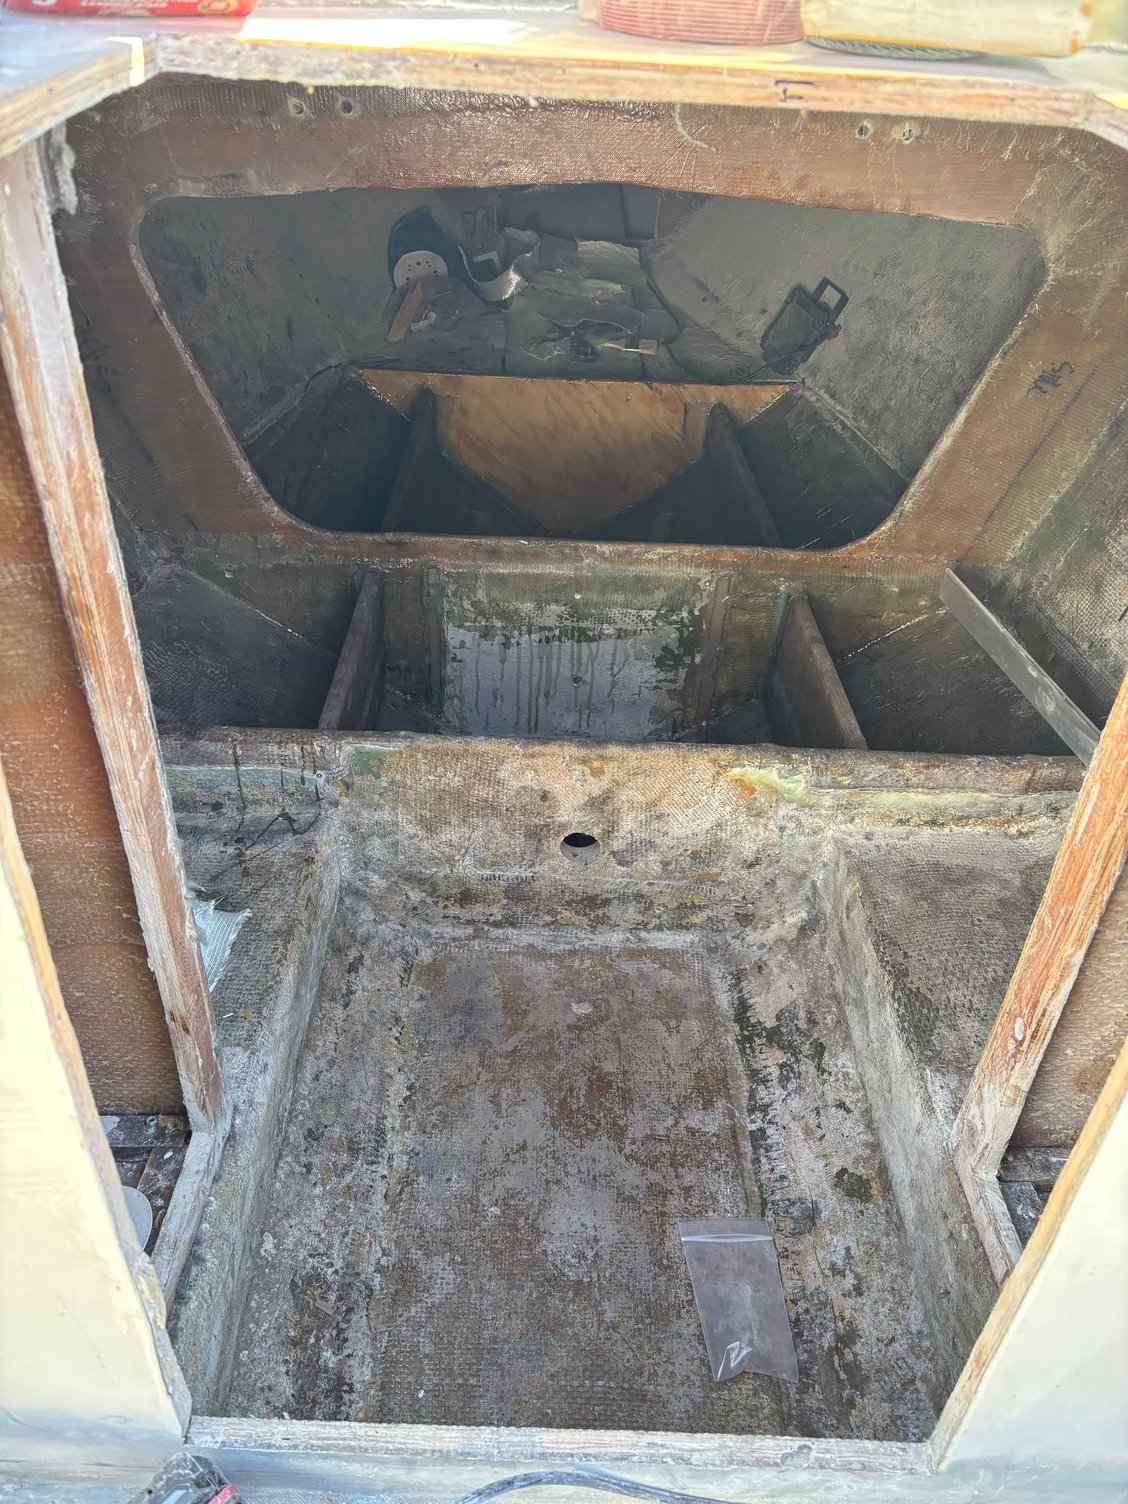
Filled the hatch in
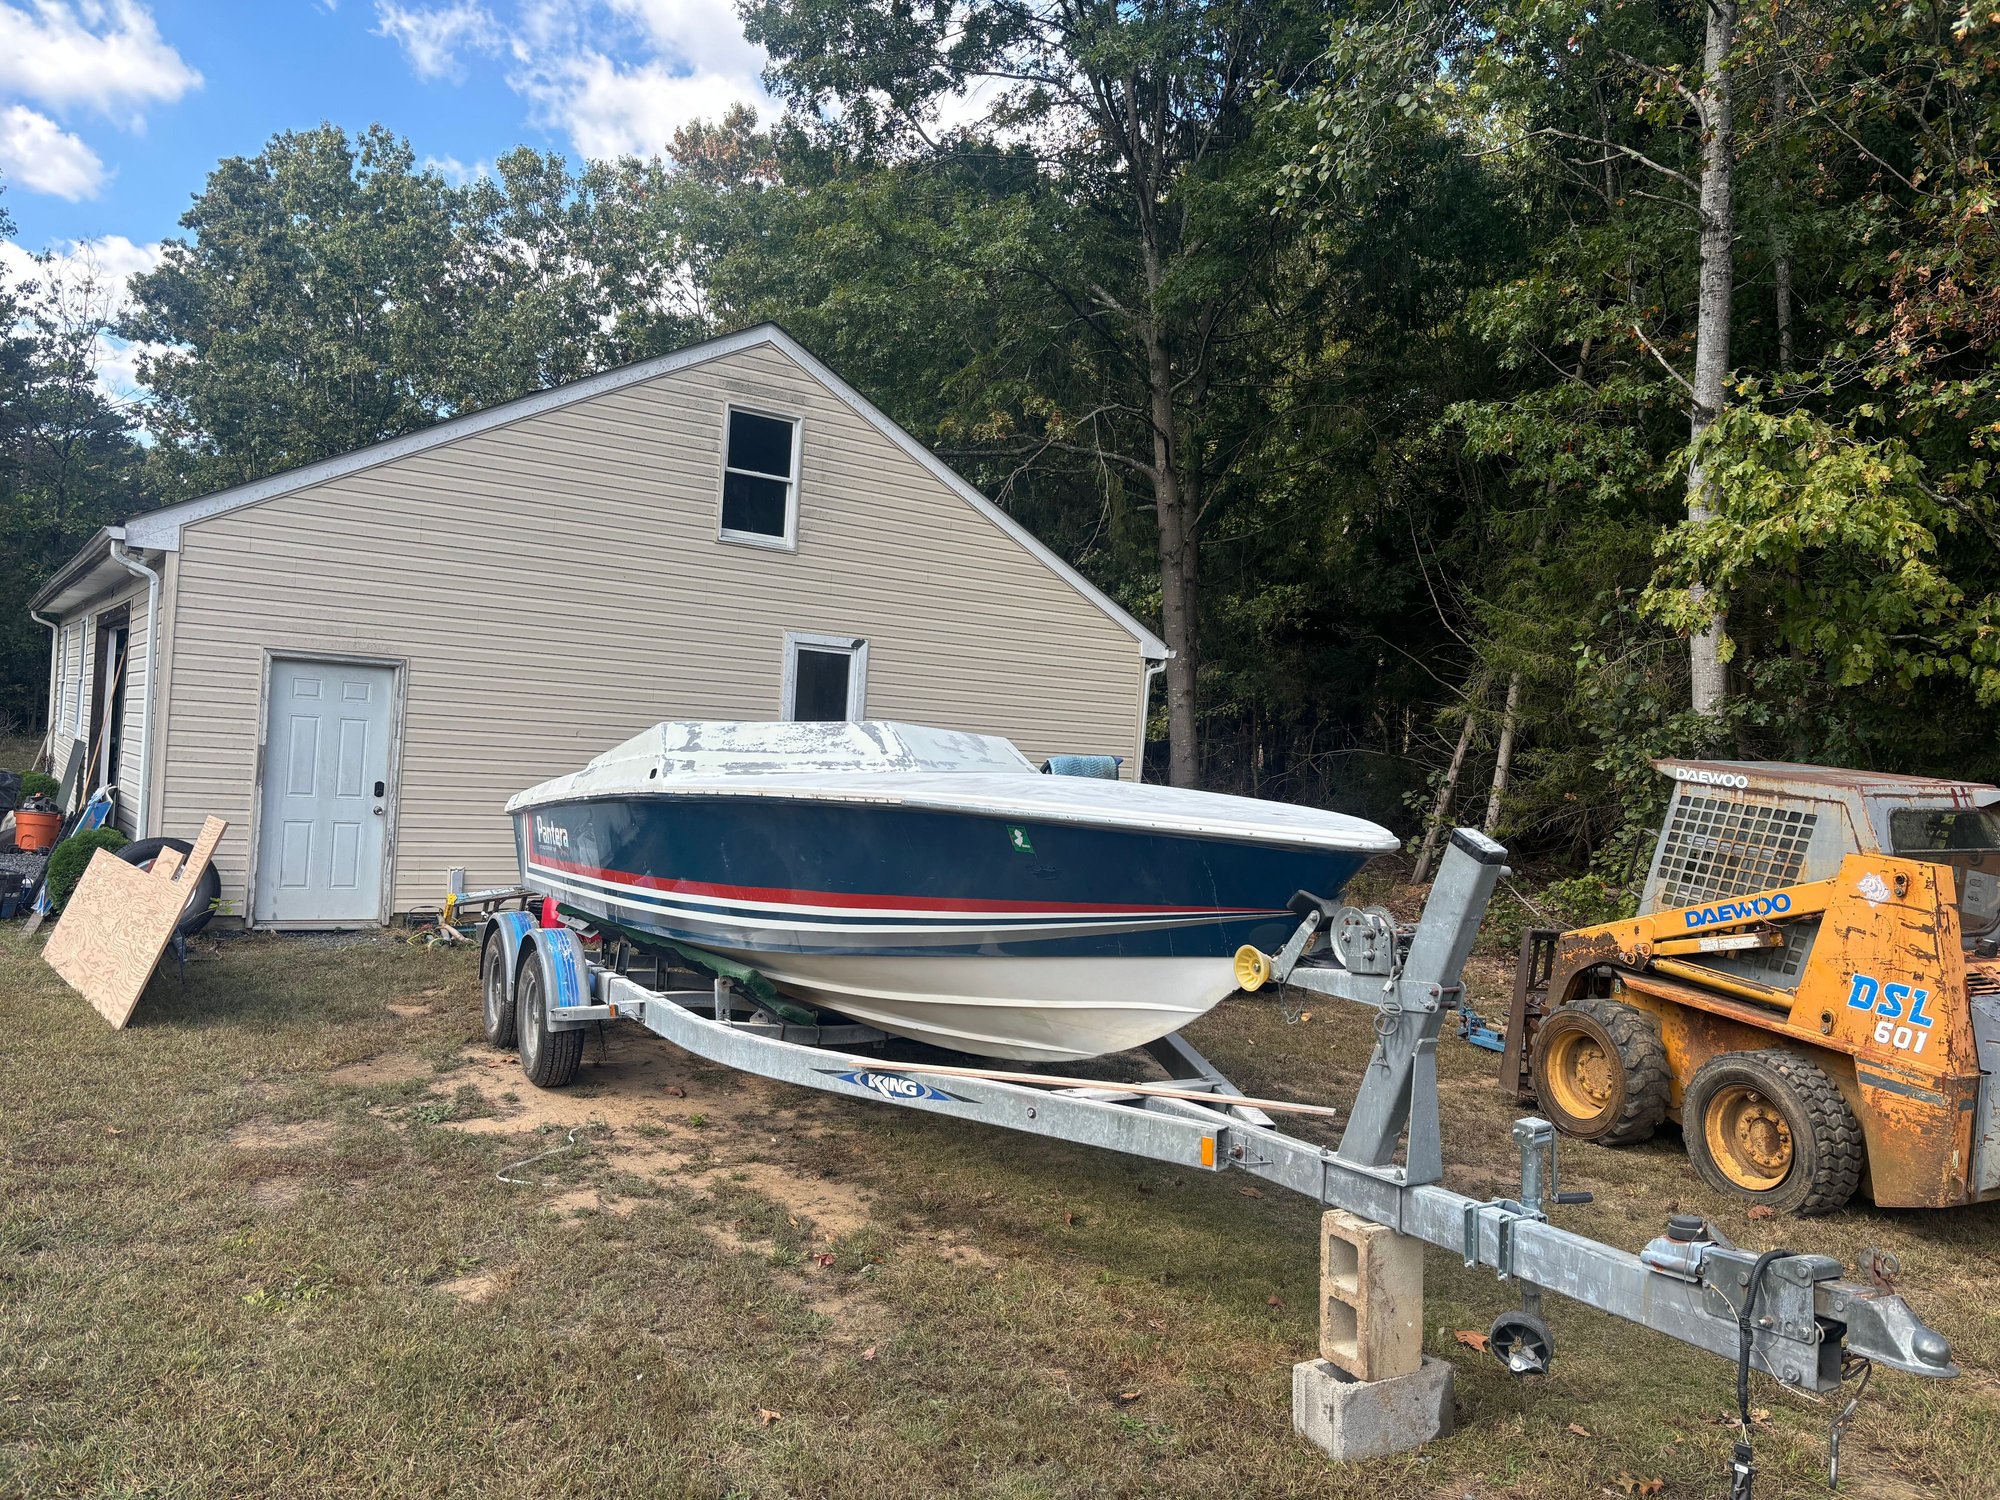
Finally drug it back outside work got in the way and had to step away from it for a bit but we got back to it. Ton of work boat was alot worse than i originally thought.
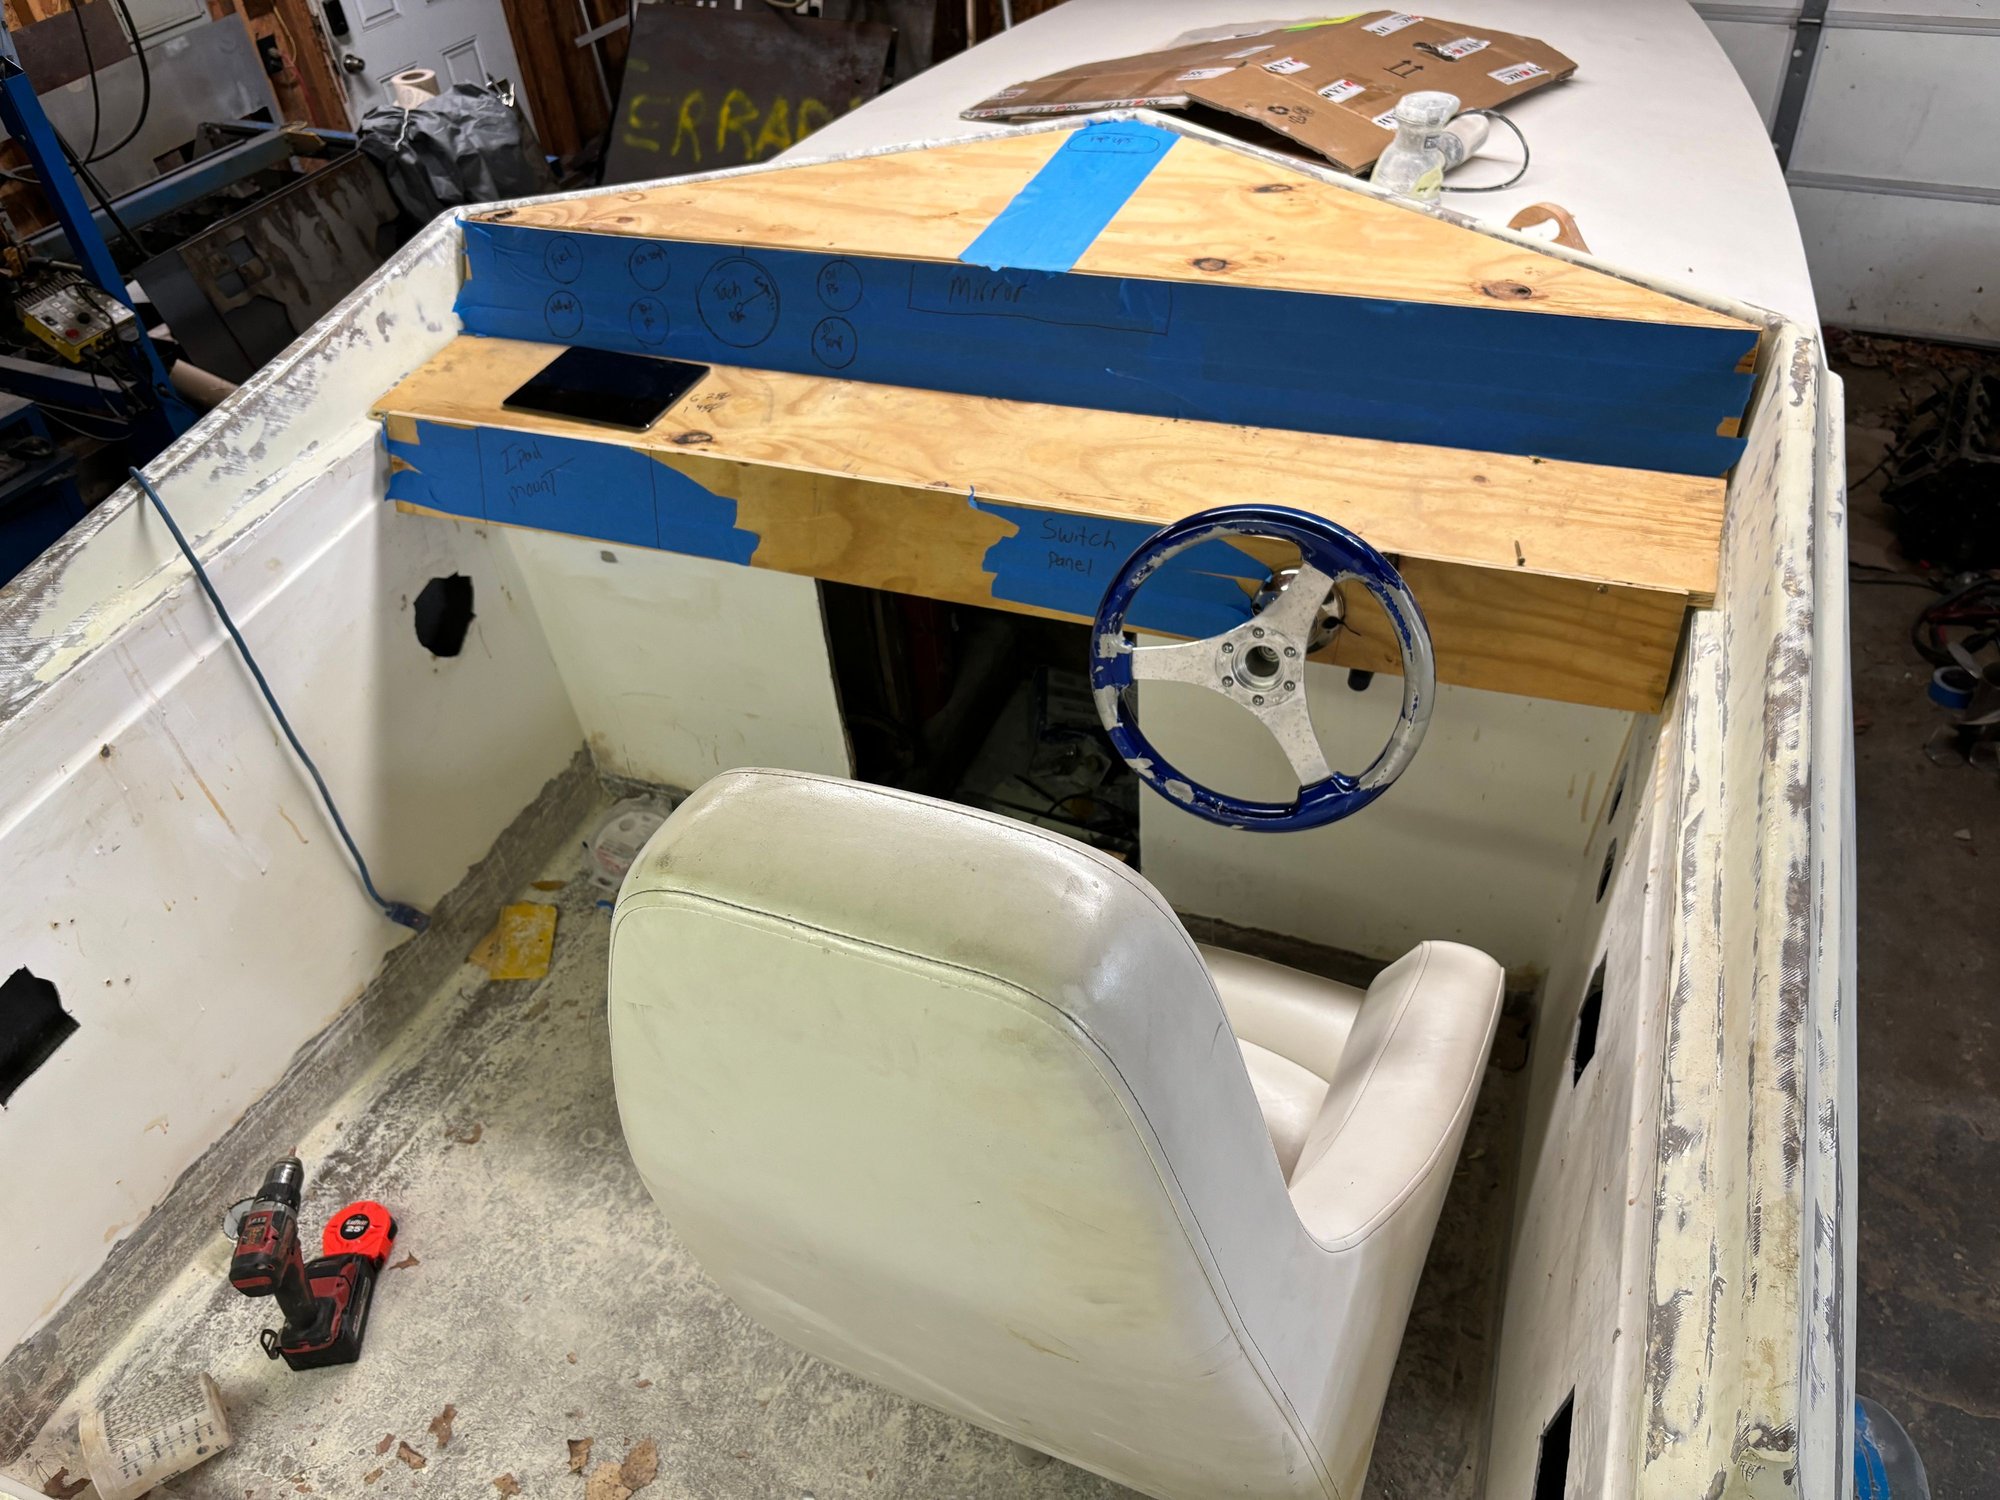
Testing out dash layouts with scrap wood.
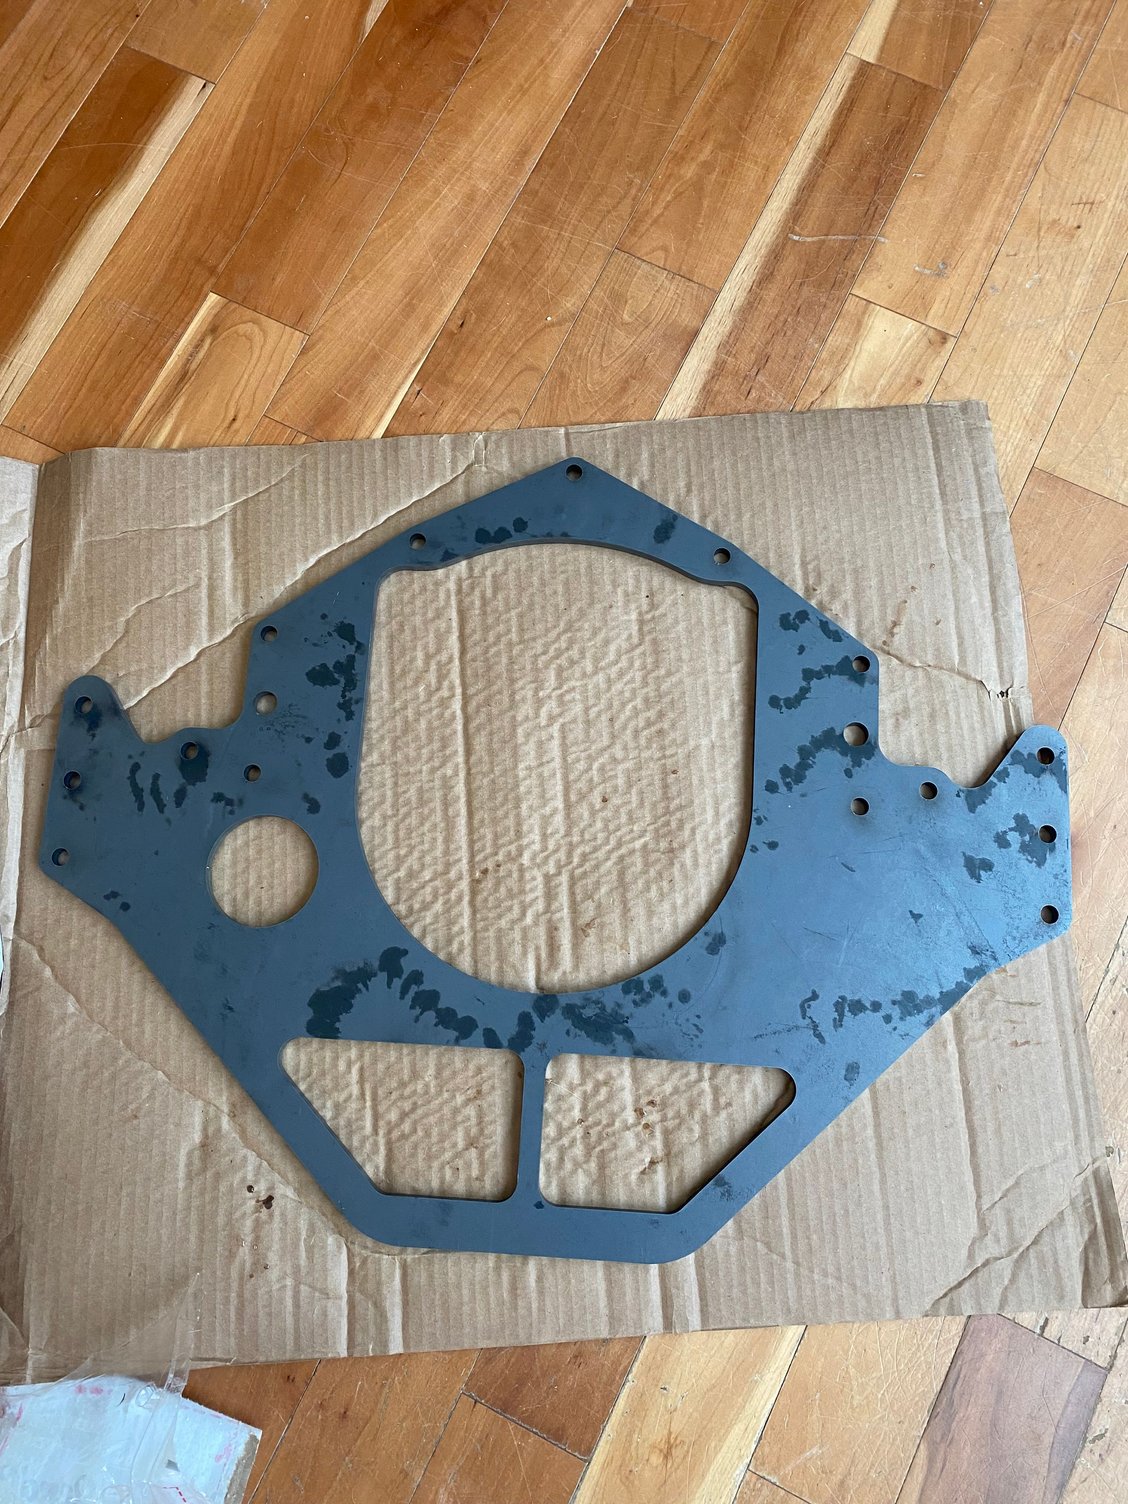
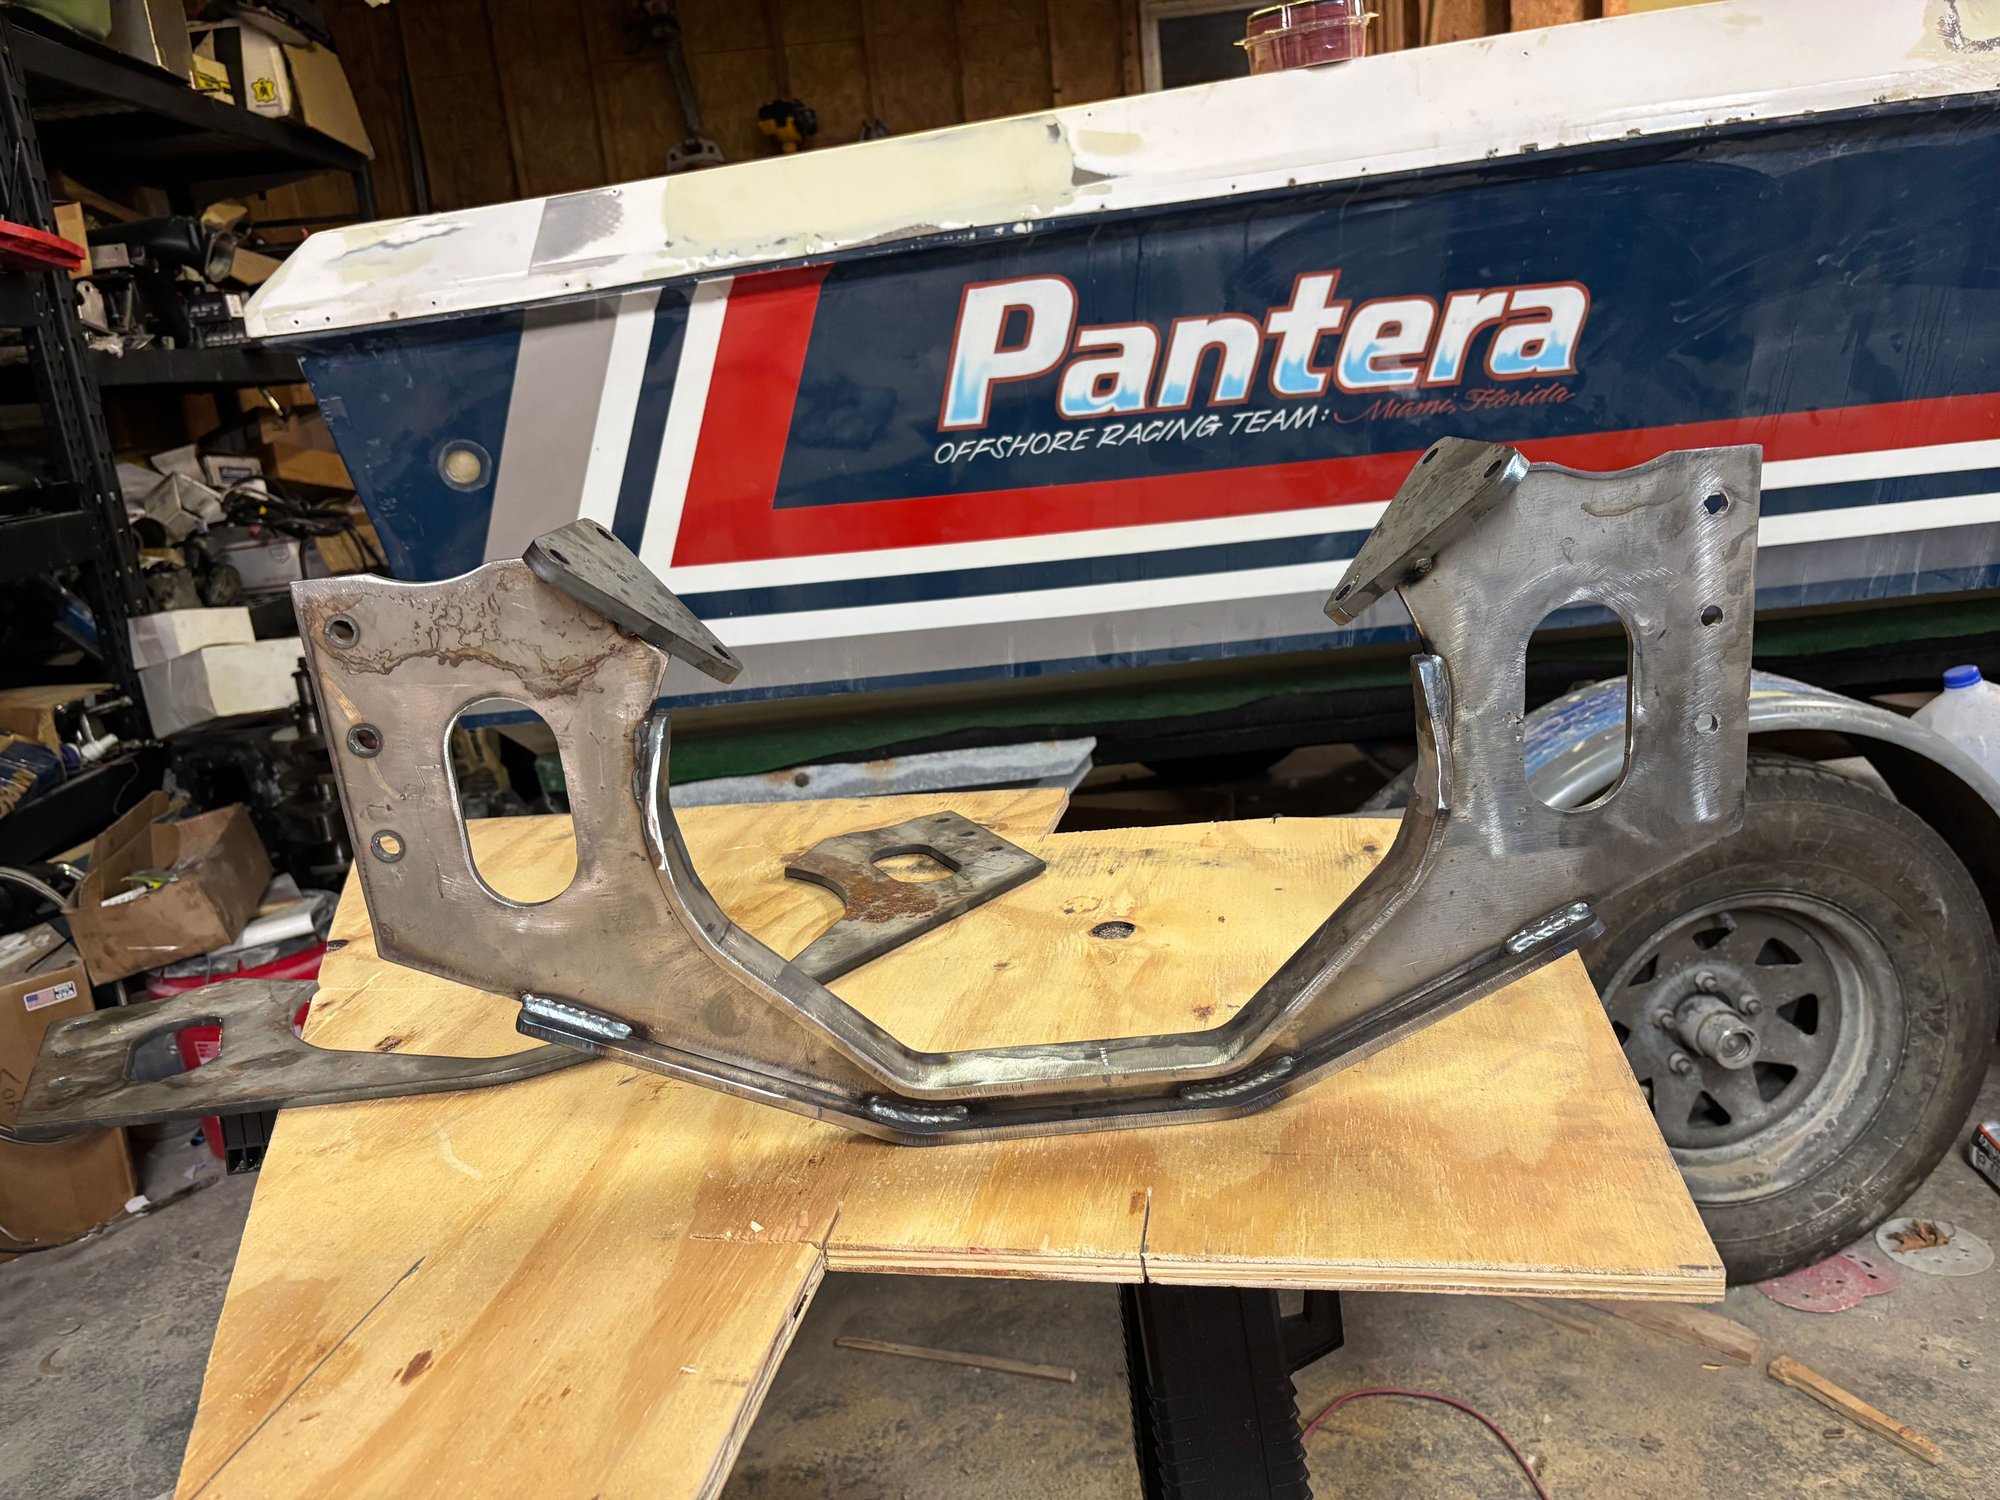
Made my own front and rear engine mounts because they dont make them for skinny stringer boats like this and instead of cutting one down i just made new ones
 03-18-2025 | 08:54 PM
#40
Thread Starter
Registered
Joined: Jun 2022
Posts: 91
Likes: 114
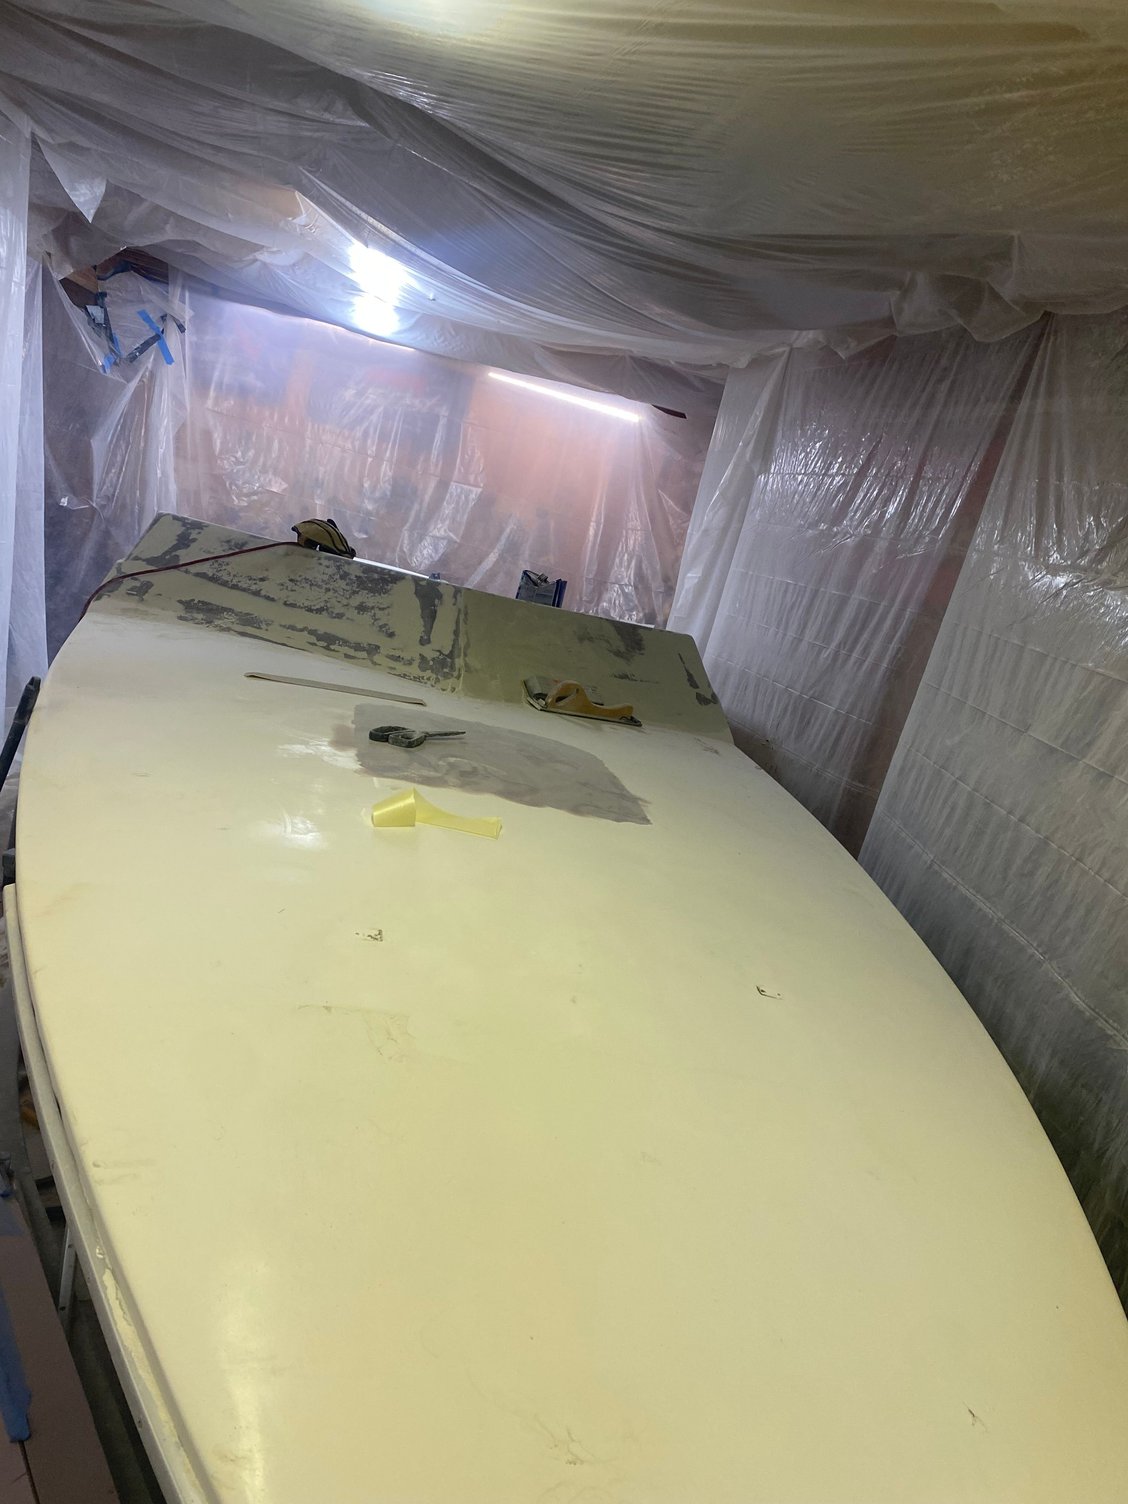
Bilge sanded down to prime it

First coat of 545 primer
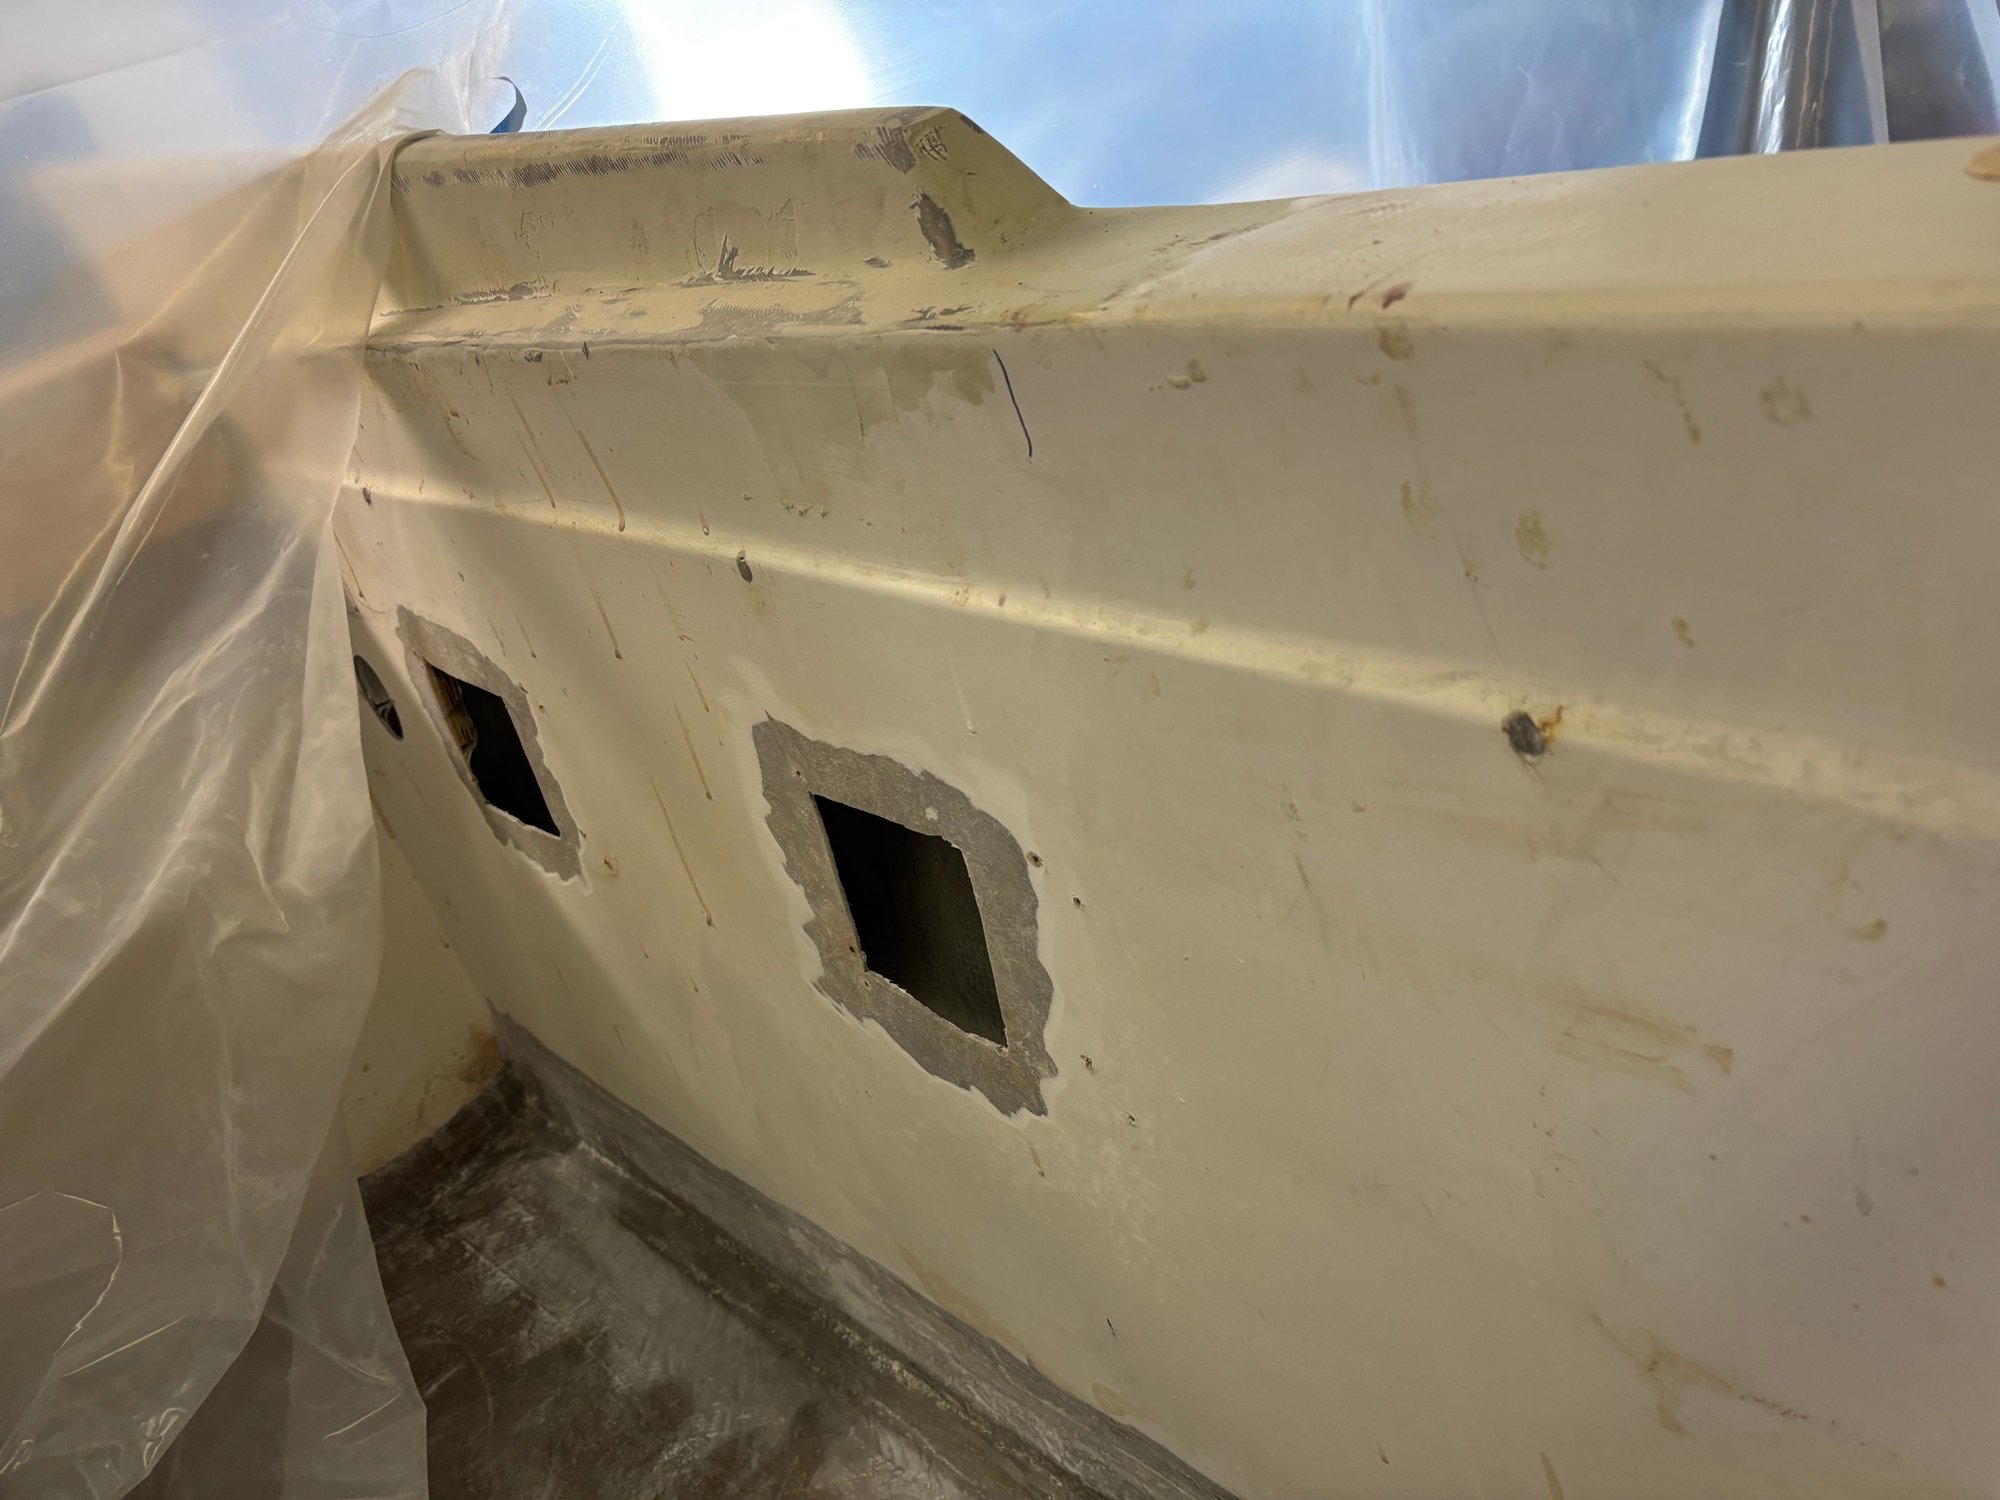
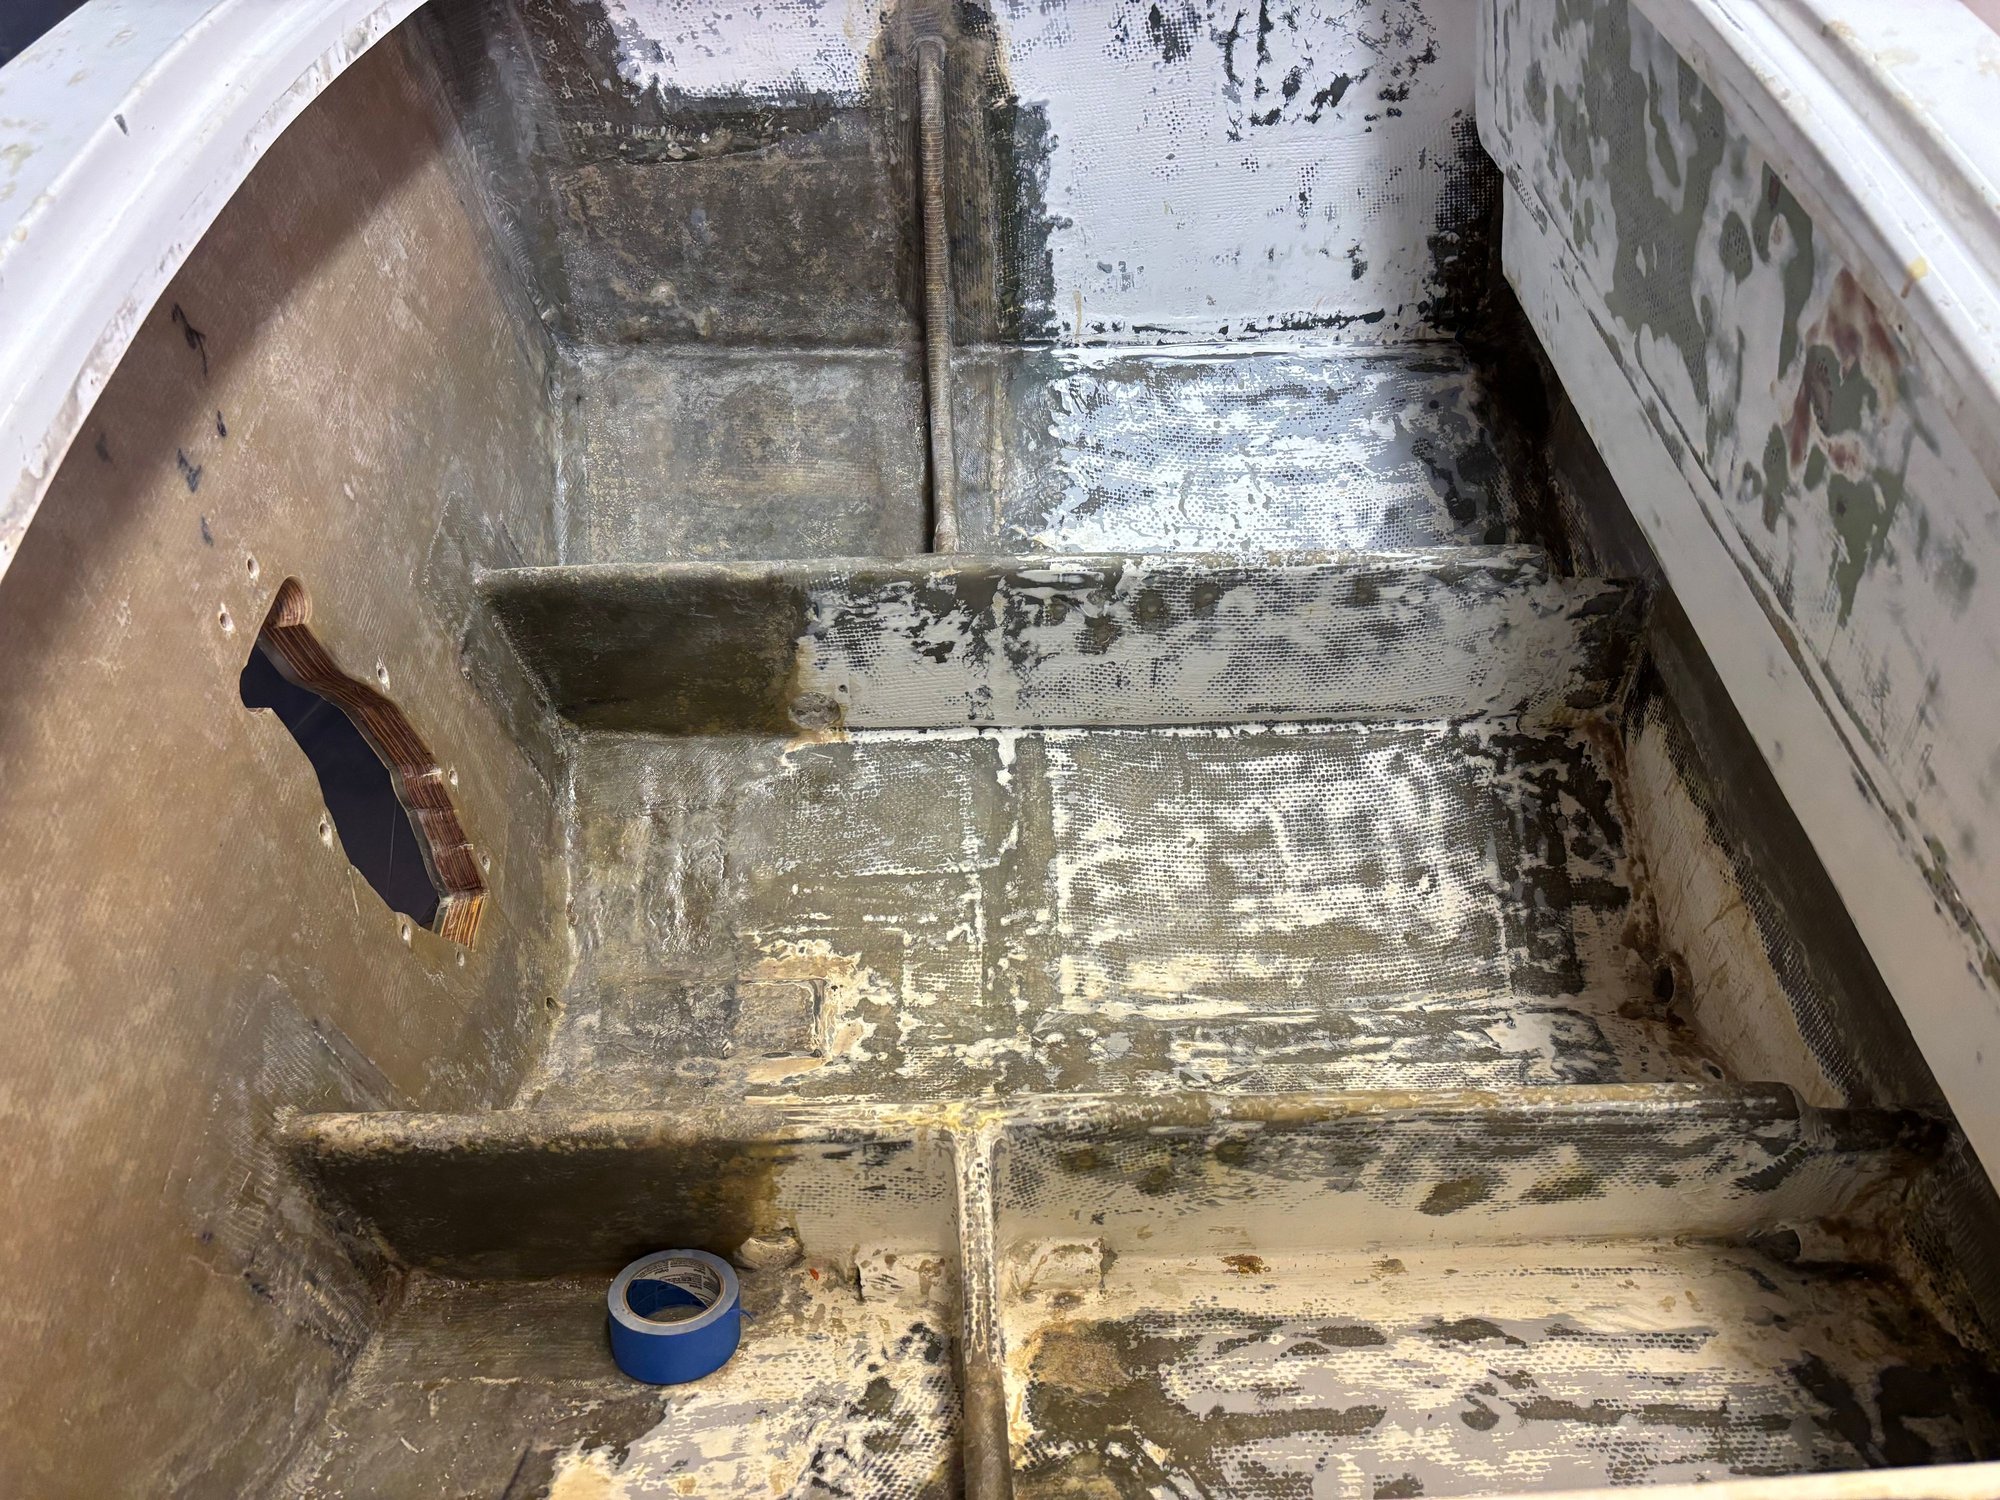
I was going to leave these holes because i just did not want to fill them but decided i would kick myself if i left these ghetto holes. Squared them off put a backer in it and glassed/filled them shut
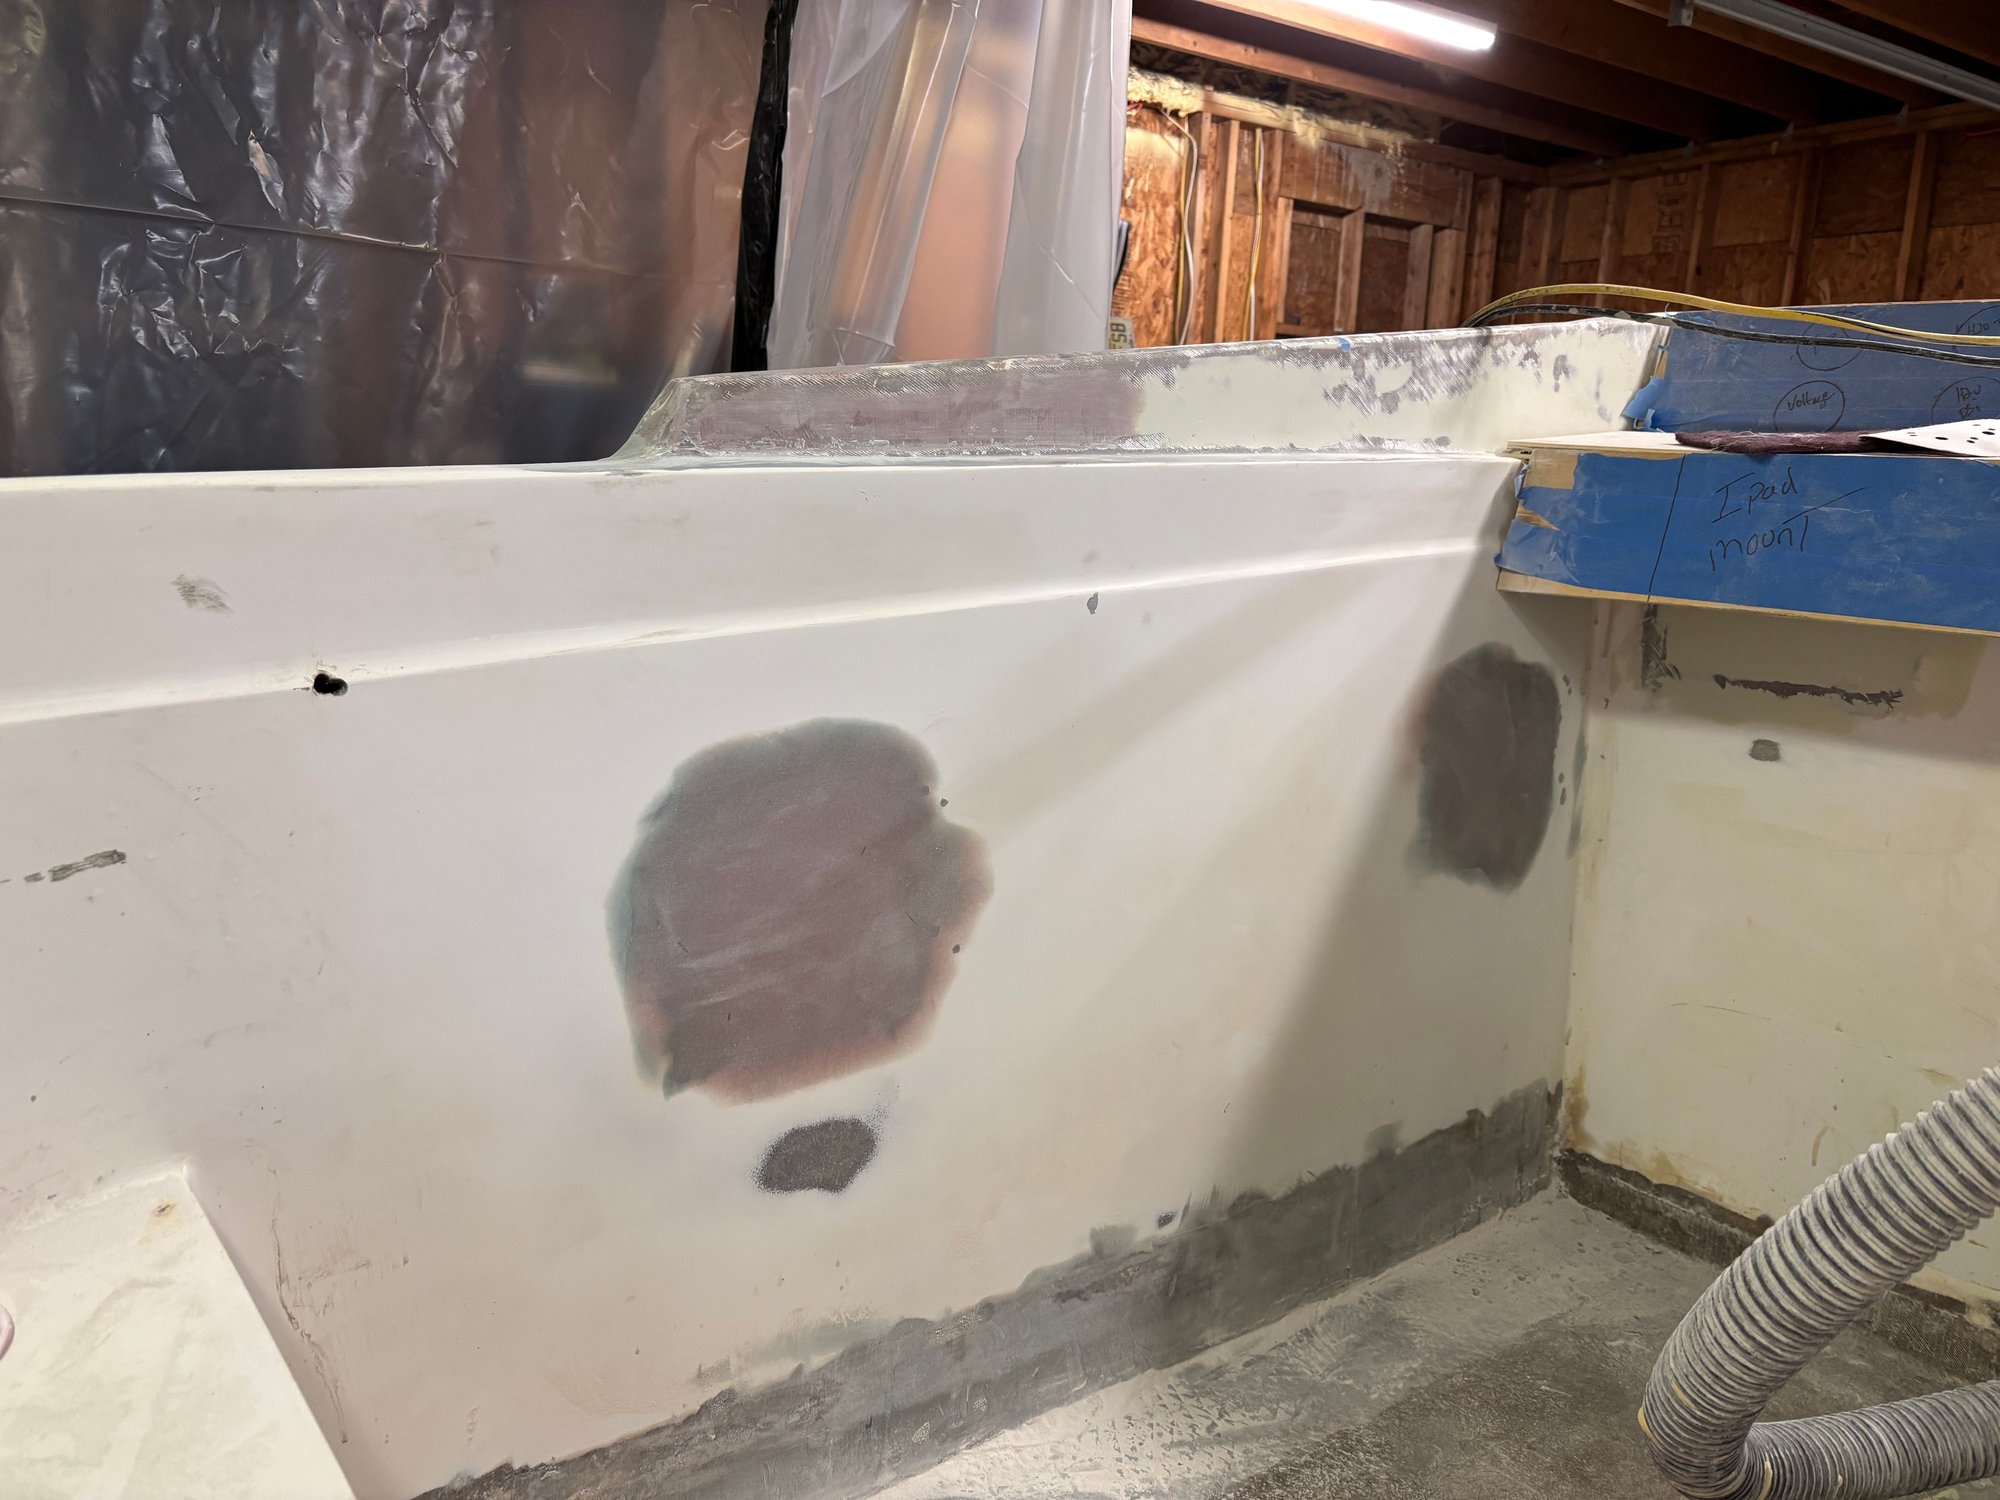
Filler over the glass layer and sanded
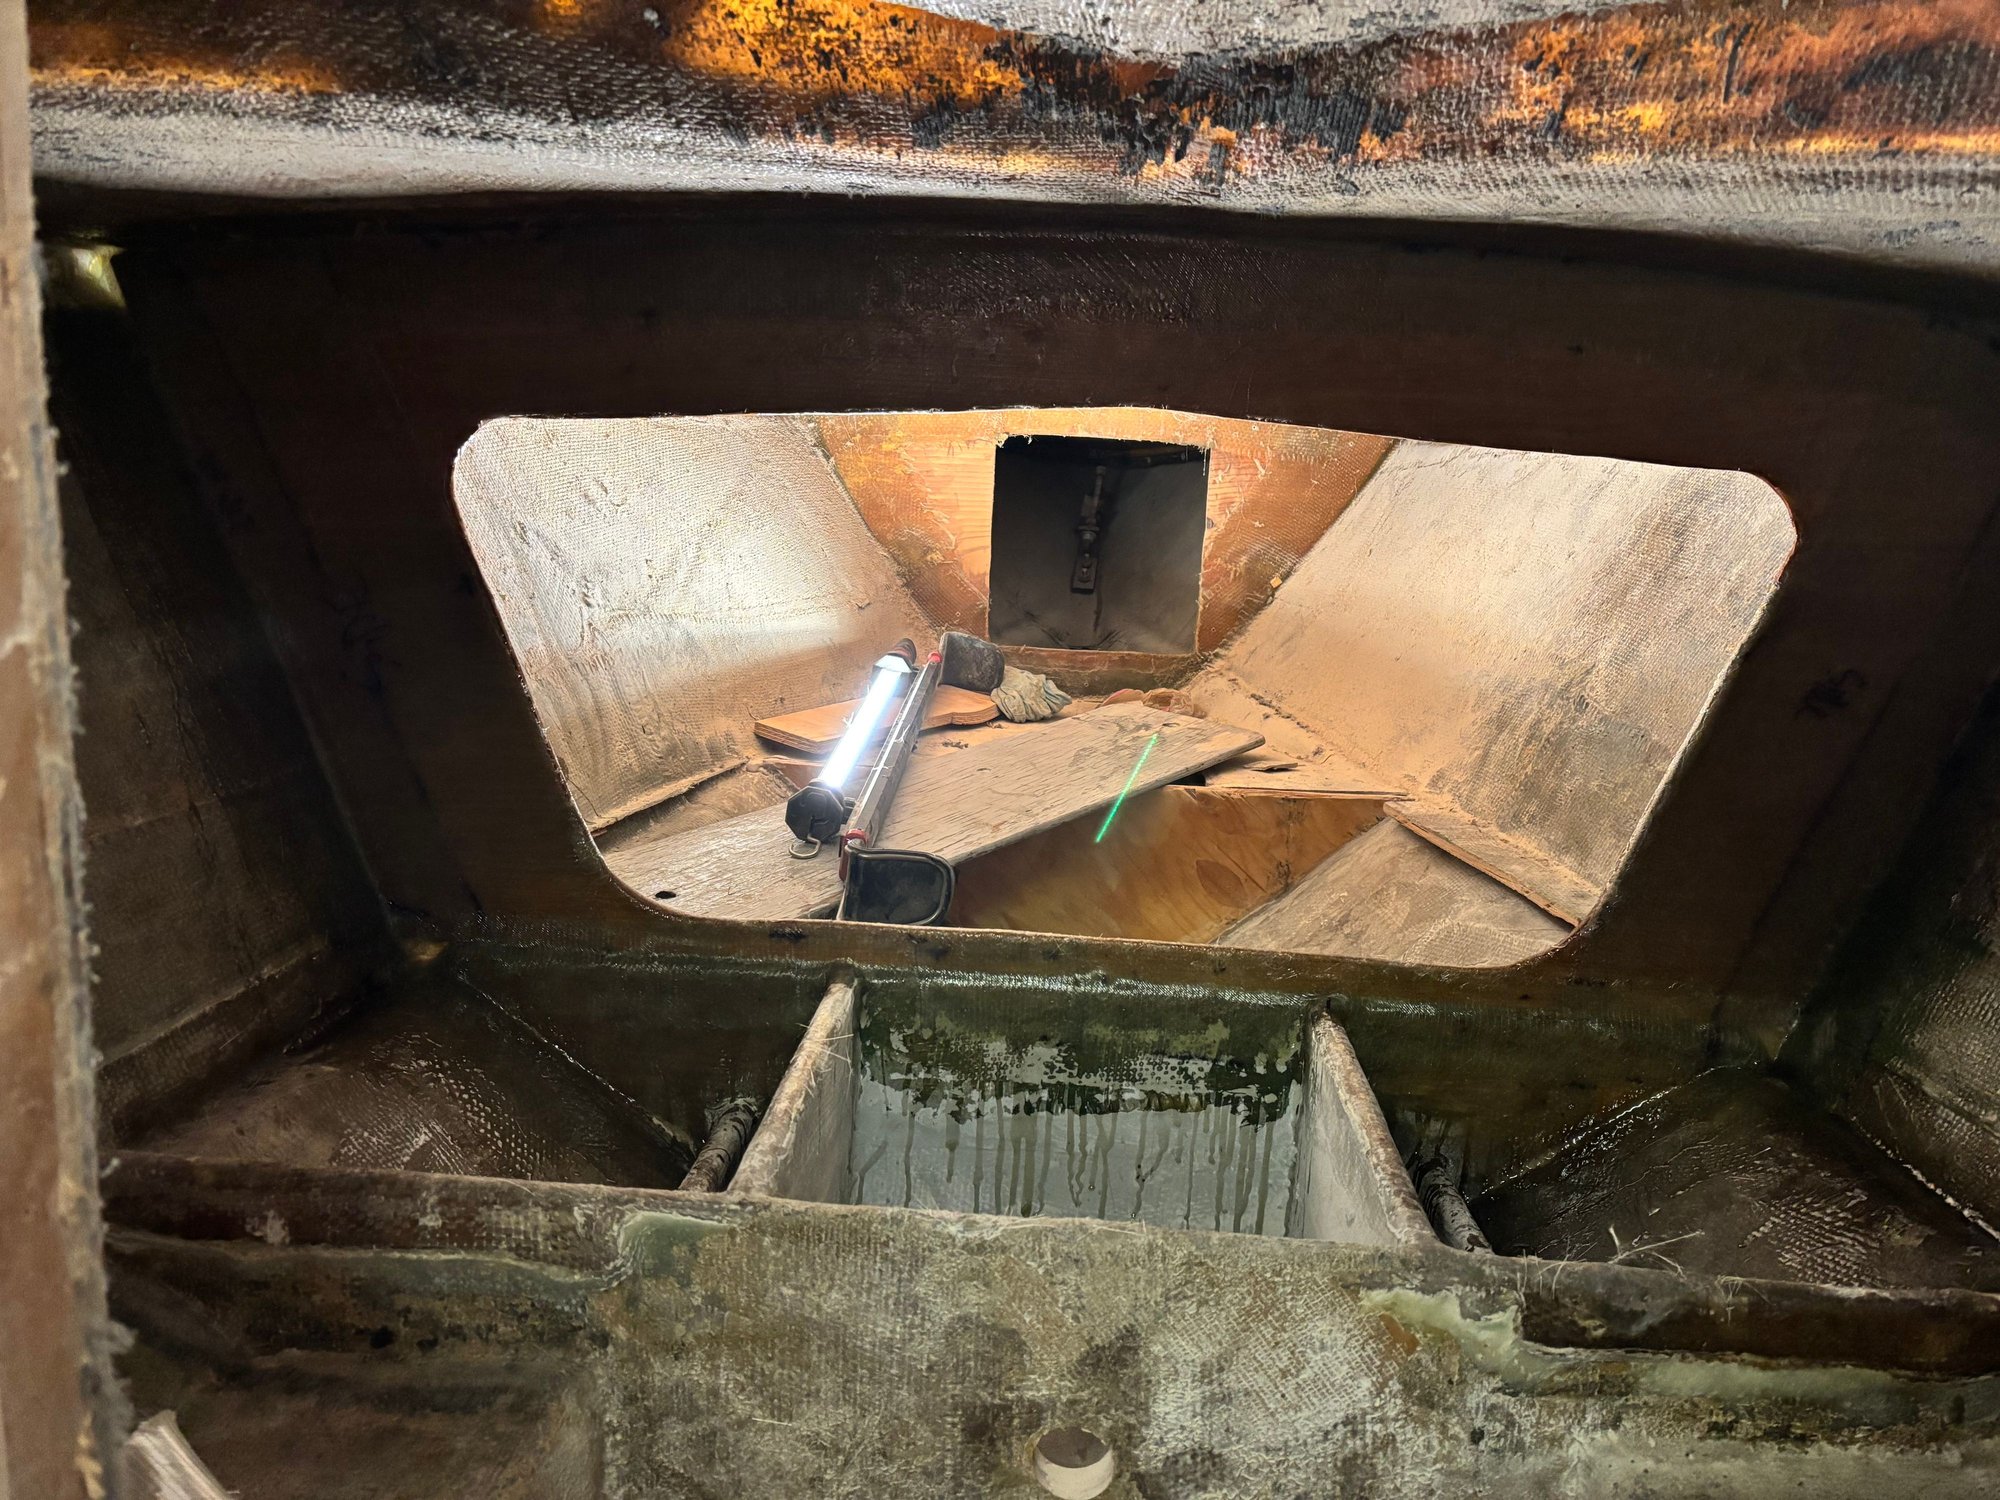
Heres where things got bad. Test drilled a hole in the bulkhead and stringers originally and where i drilled seemed decent so i figured it was dry. Turns out it wasnt and i already added the top bulkhead to the originally. Found how rotted it was when we went to mount the crane lifters.
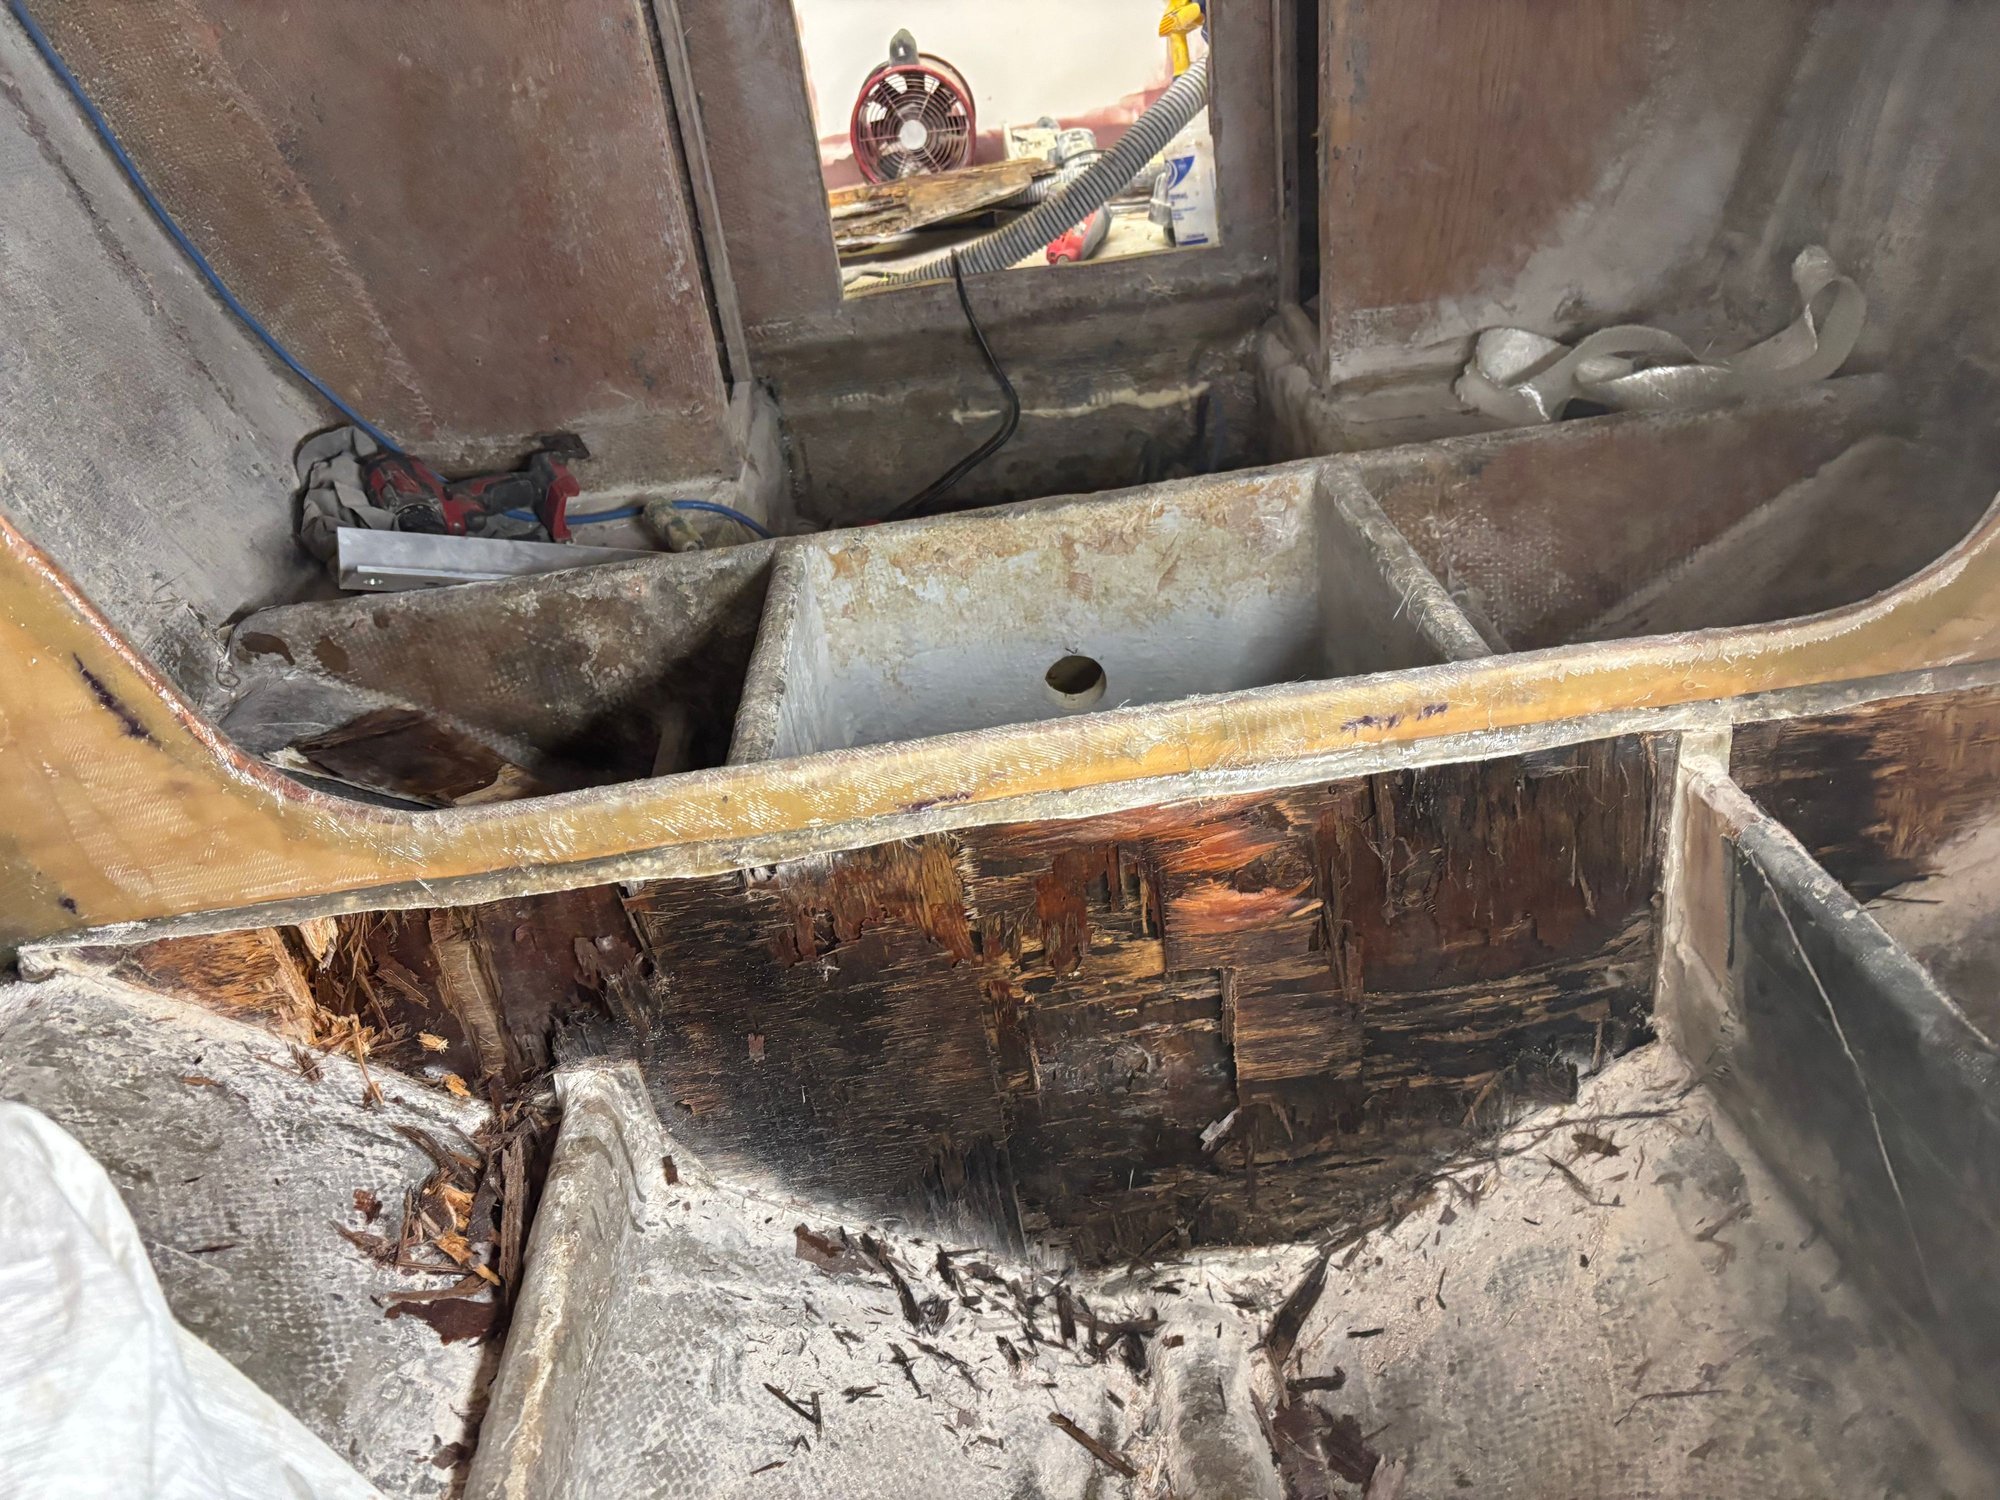
This was a friday night i cut it all open found how bad it really was. All stemmed from the porta potty cubby hole floor not being glassed on bottom and it touches this bulkhead so any water that sat in the hull got soaked up. So i chopped it all out cubby floor everything
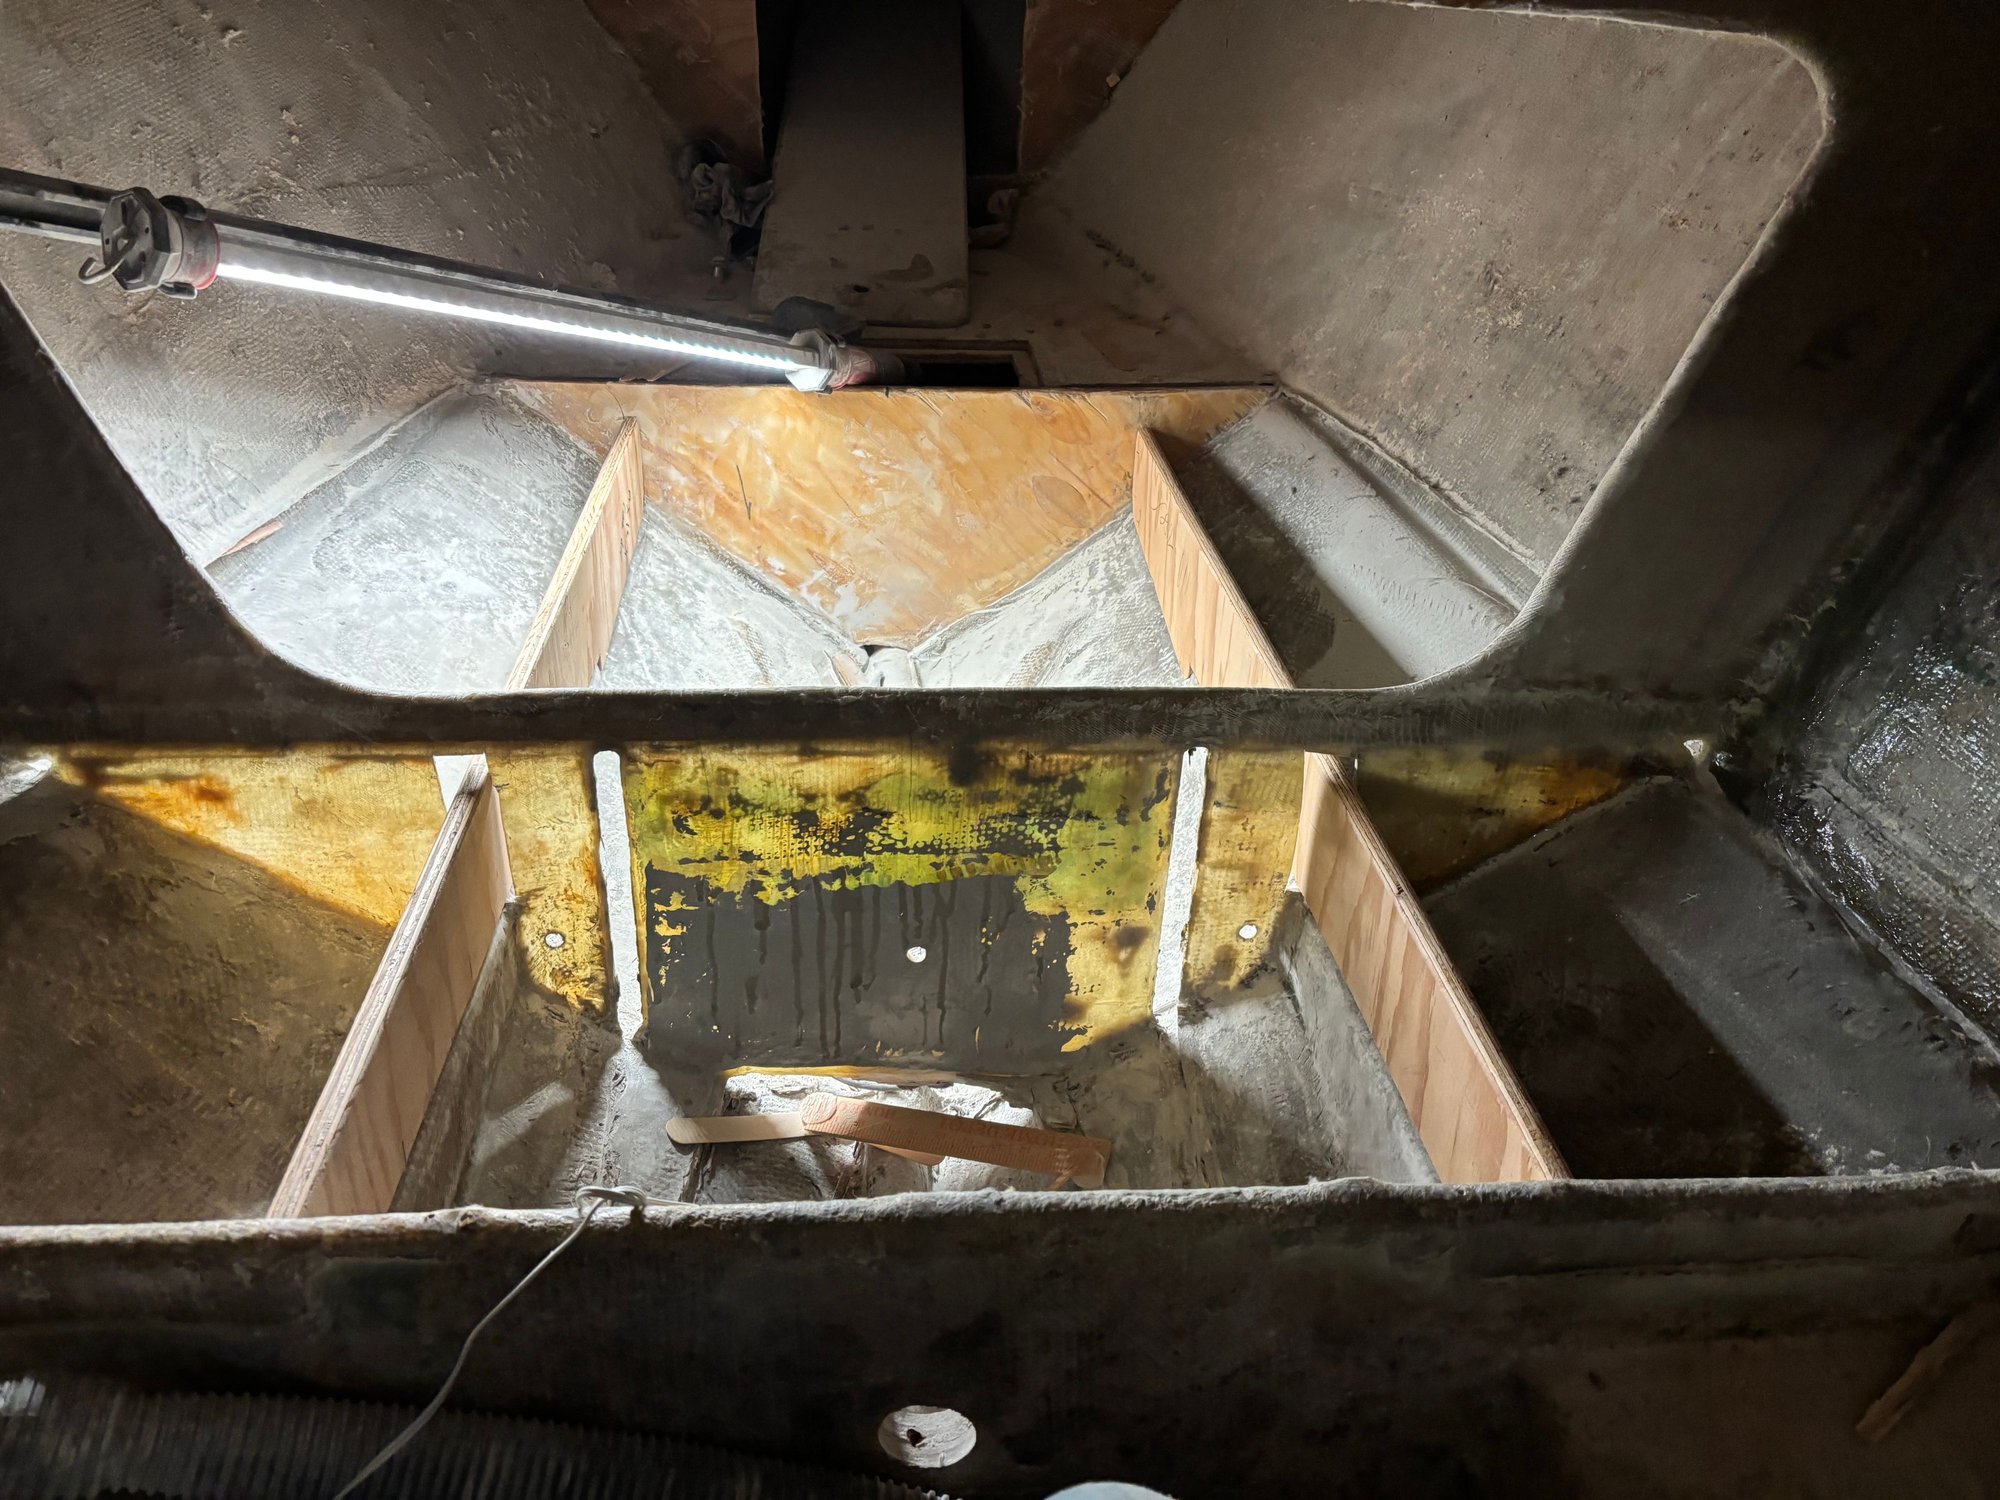
Decided to lay stringers further forward because originally they stopped at the bulkhead and i plan to run a ballast tank up front so it will help hold it
This was saturday night replaced the coring on the bulkhead with 3/4 marine and glassed that and stringers

