1979 24 pantera se restoration/class 6 build
 03-18-2025 | 09:05 PM
#41
Thread Starter
Registered
Joined: Jun 2022
Posts: 91
Likes: 114
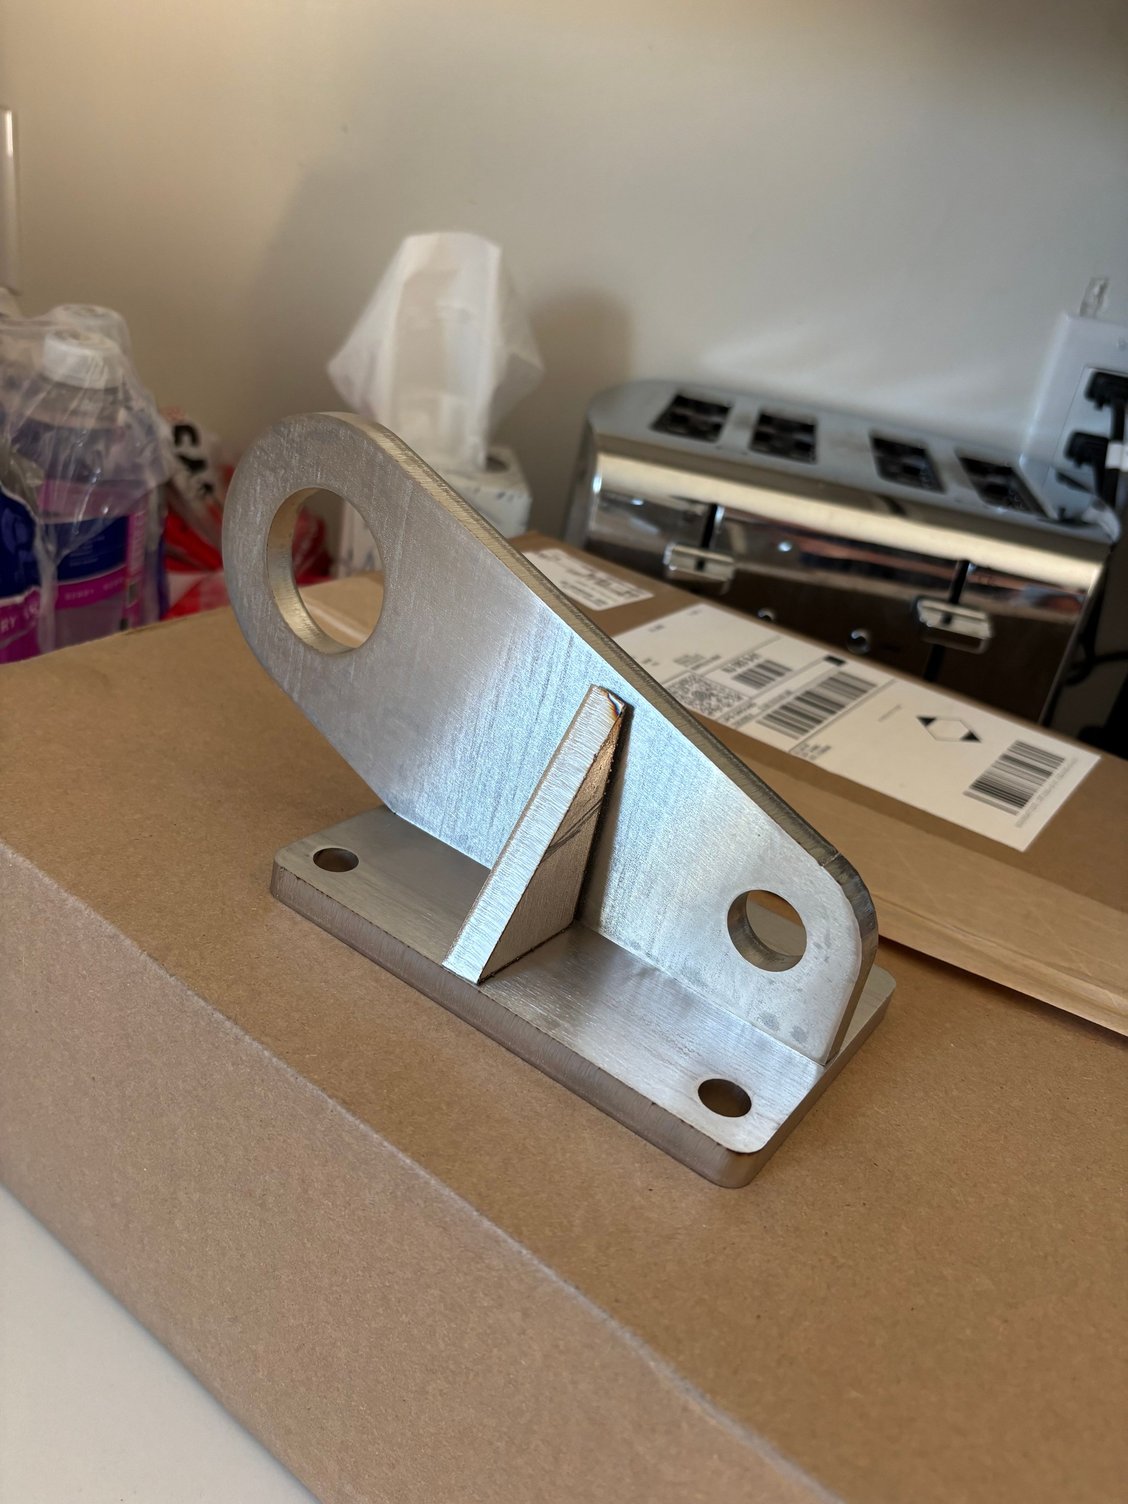
Made a set of crane lifters still need to weld/polish
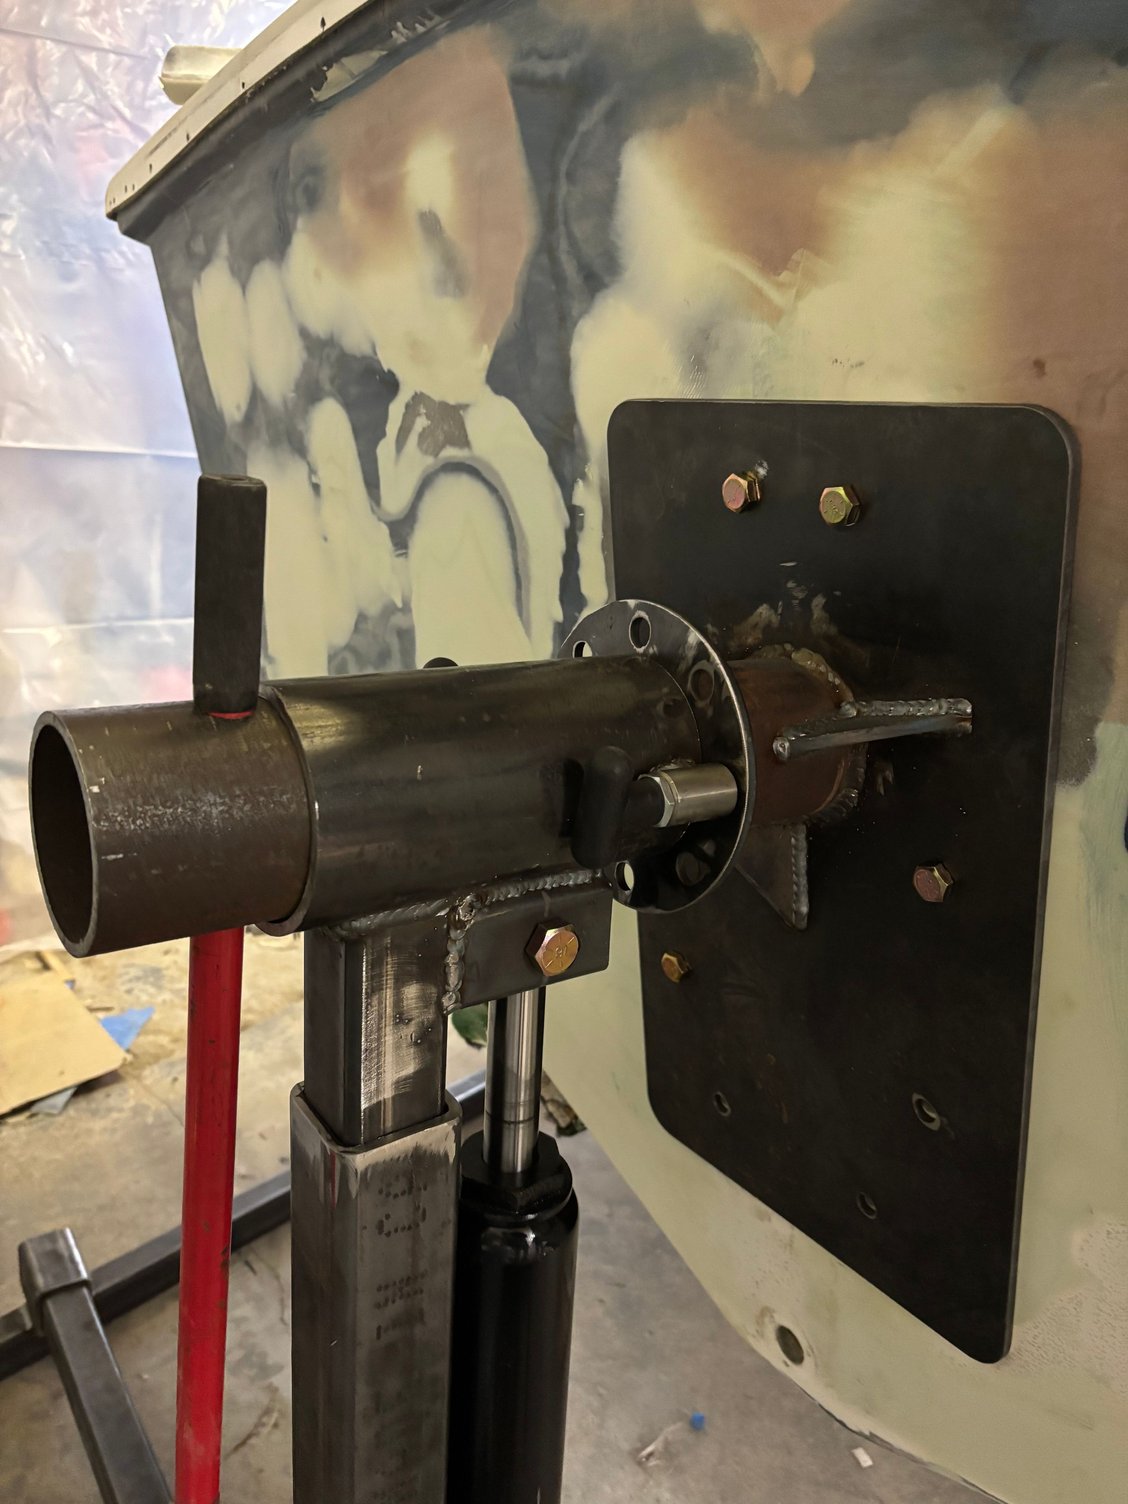
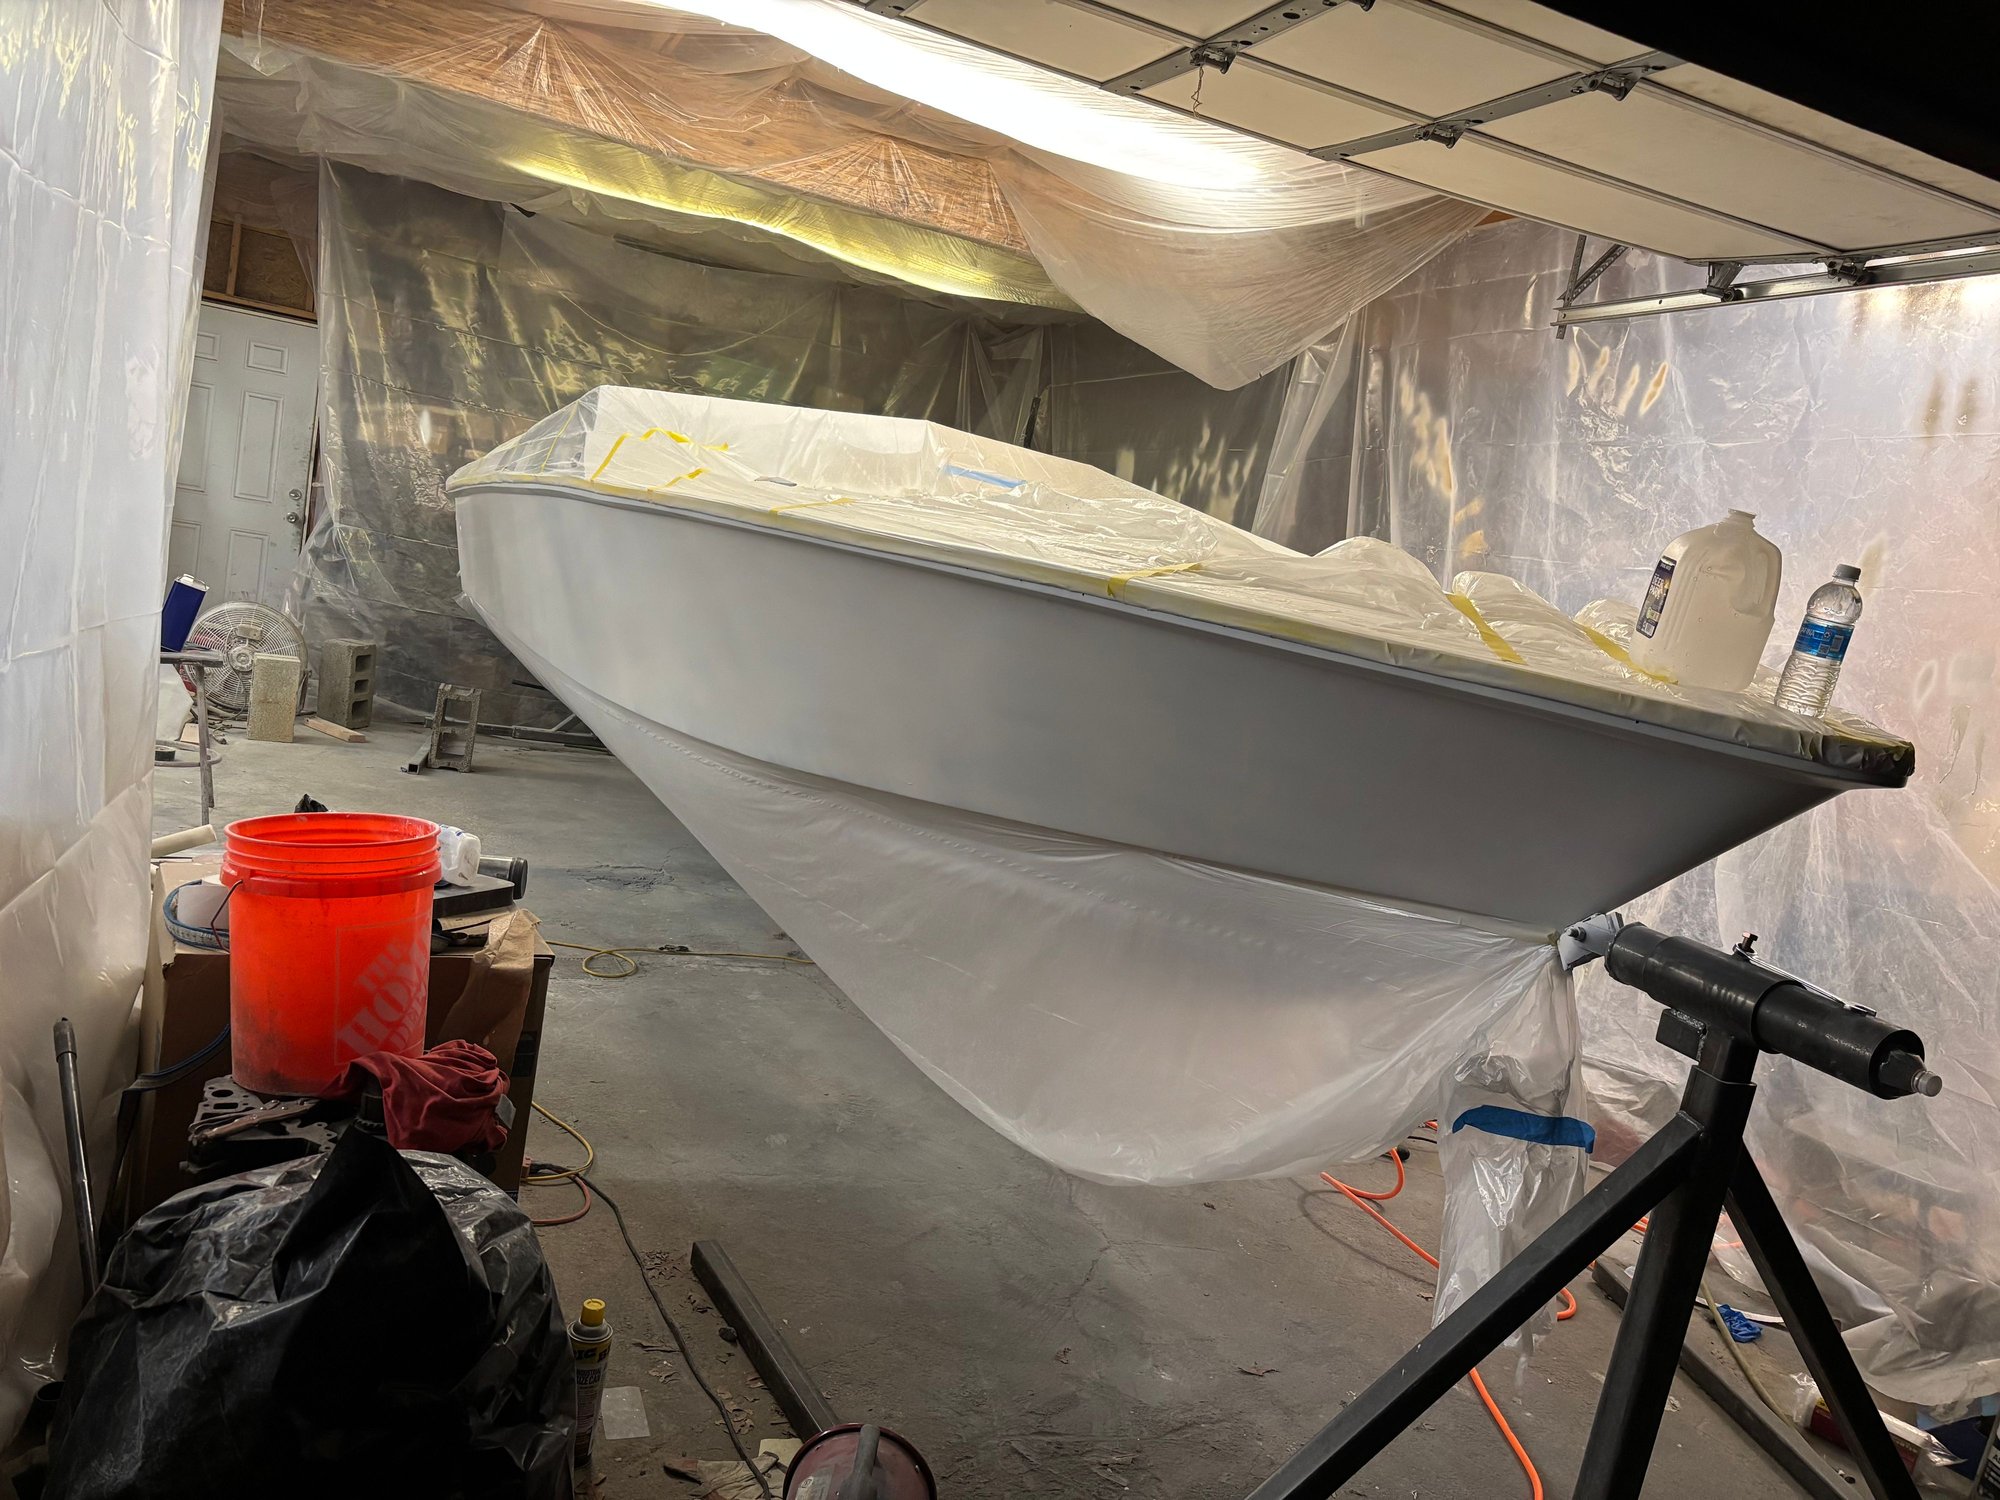
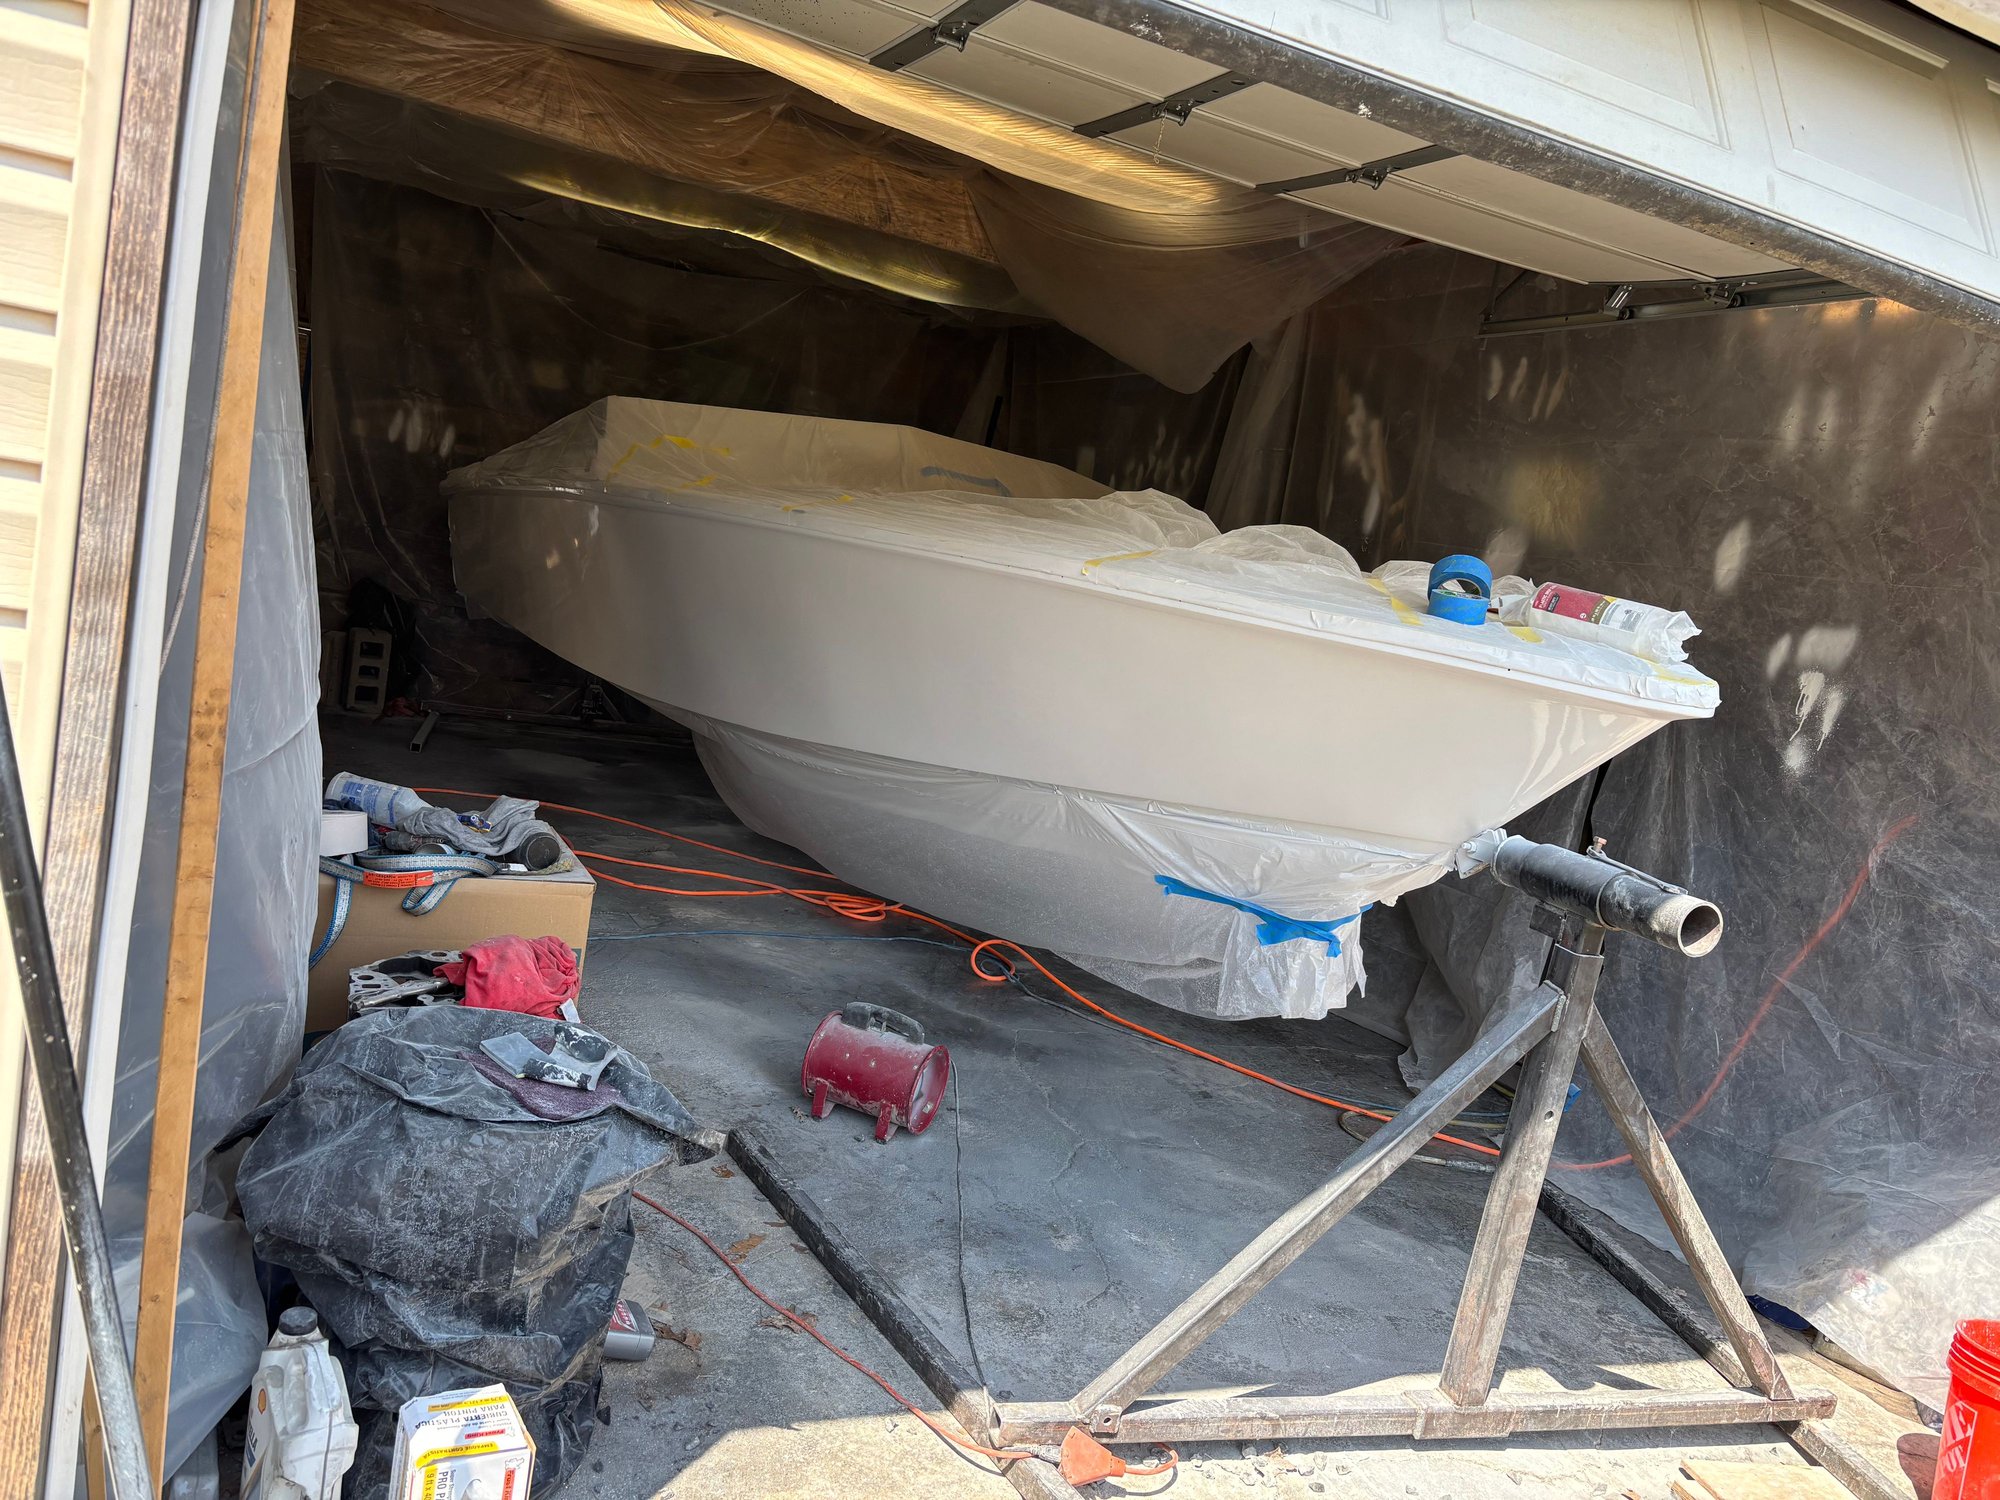
This is where things got fun. I needed a way to pick this boat up and flip it so i didnt need to work on the bottom on my back. Made this up on a saturday and it is honestly impressive how well it works. We hoisted the front off the trailer thru the trusses above to pull trailer out then set the front up. You can grab the boat with 2 hands abd roll it over. I made positioning plates with spring loaded pins to lock it in 16 different positions. Teansom angle was taken into account to make sure when it rolls it rolls even doesnt force bow up and down
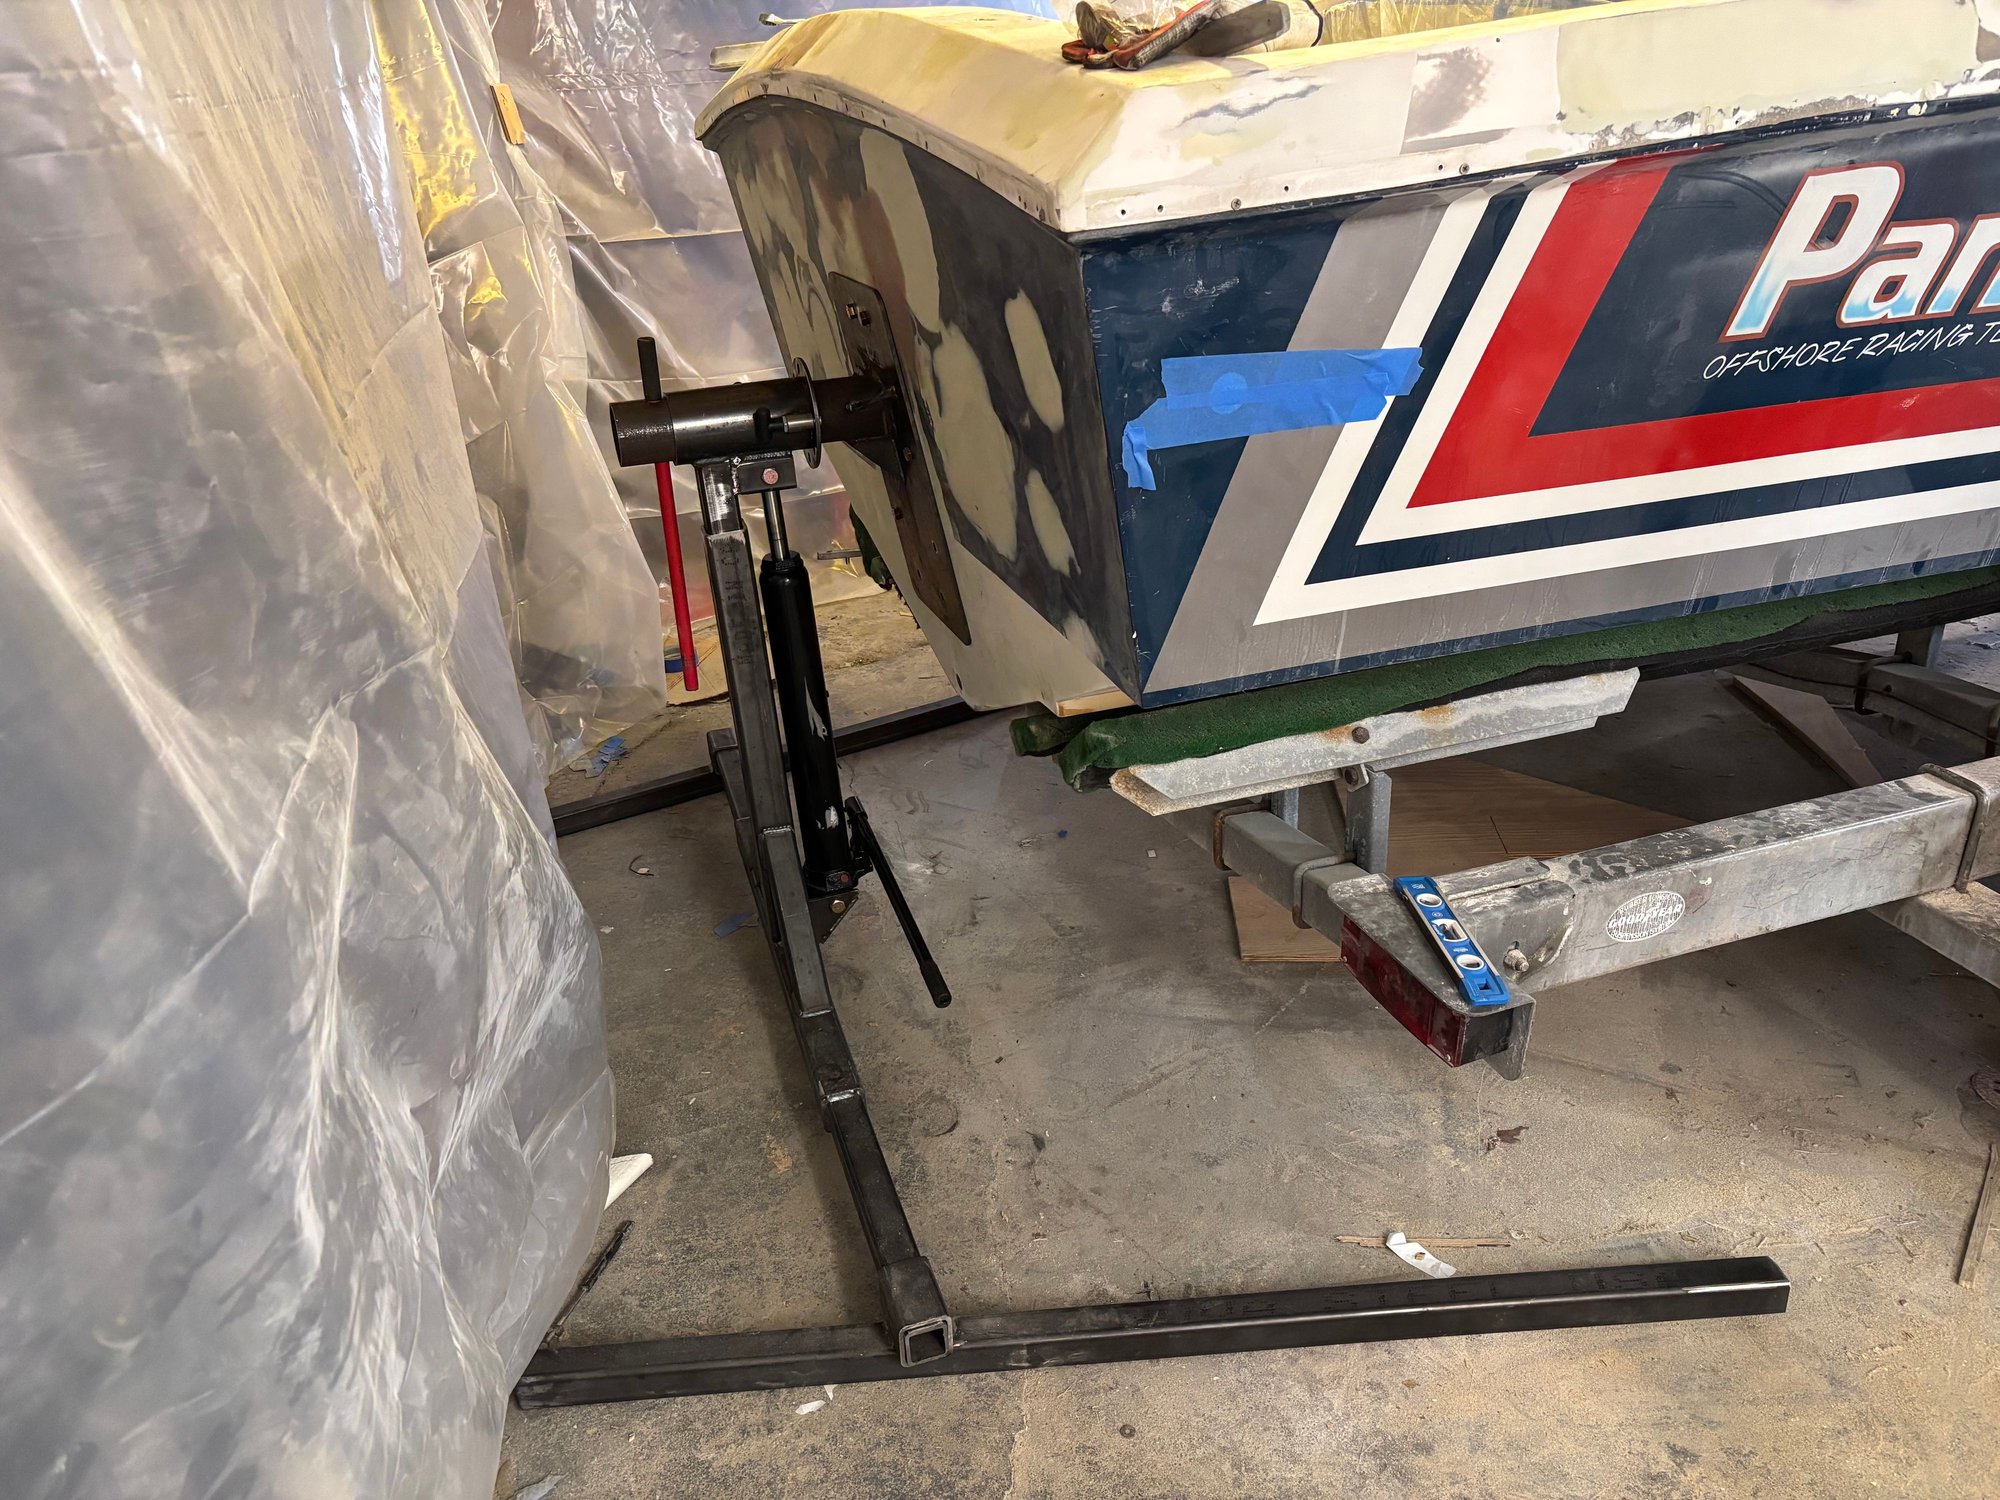
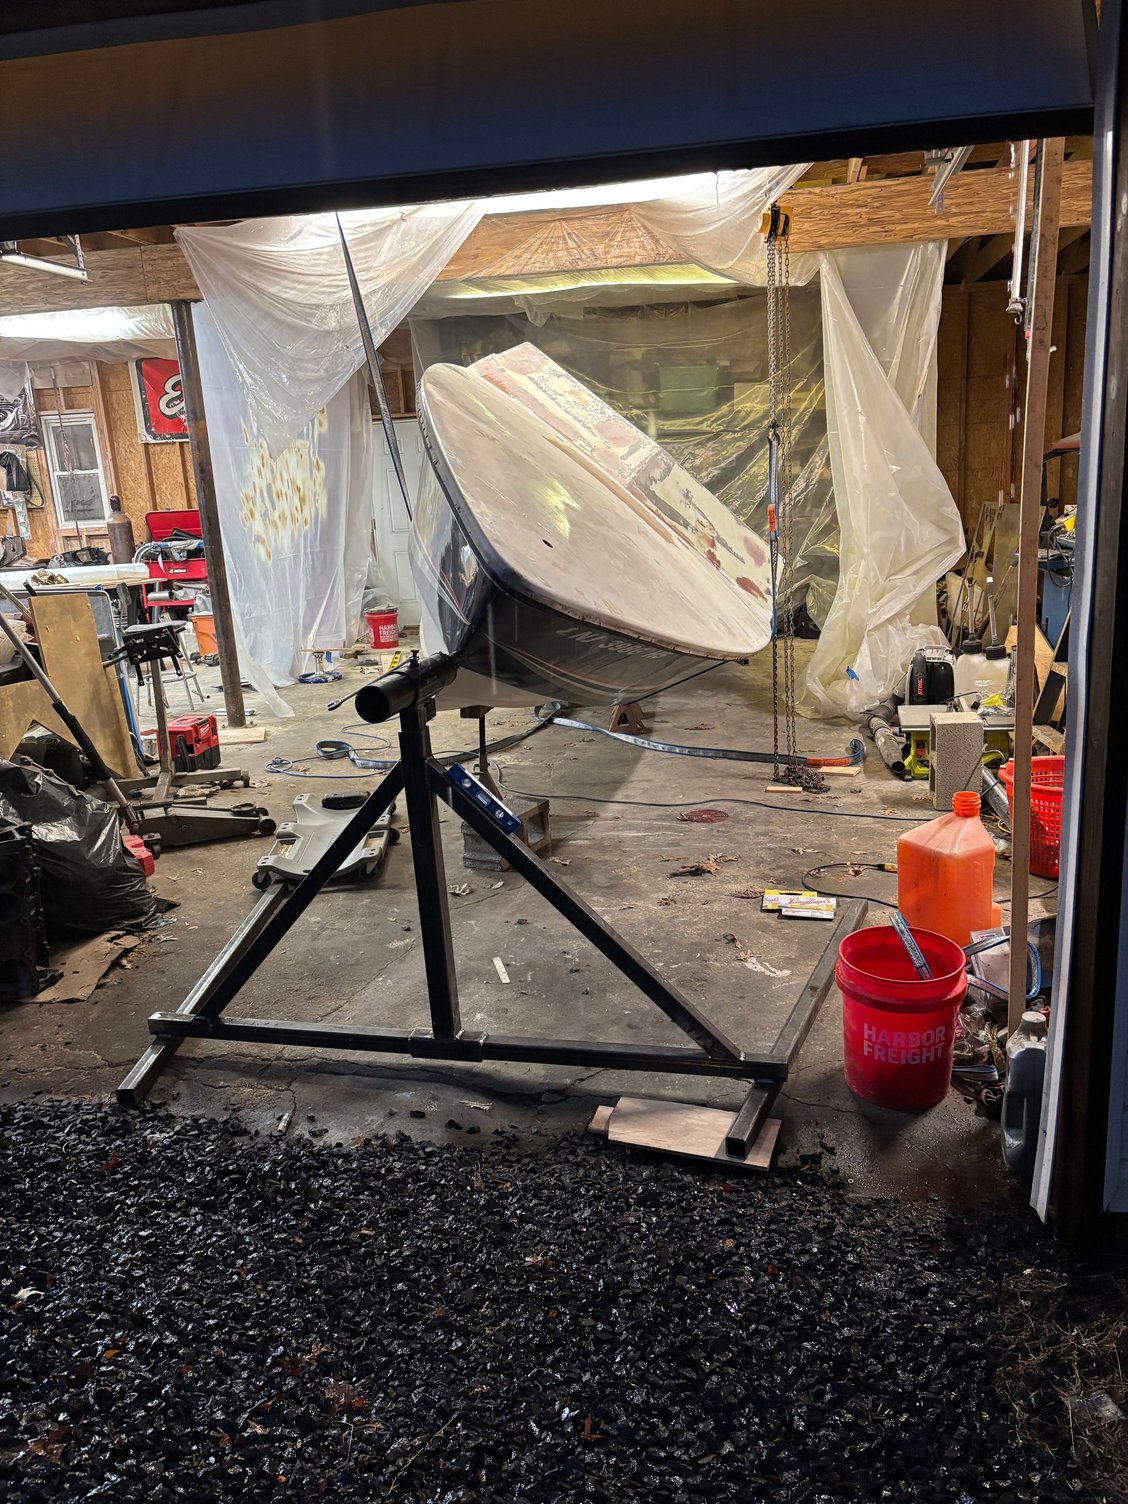
Front stand. The hoist was under it for an �oh ****� moment emergency incase this didnt work but its not needed flips right over and is stiff as hell.
Still goofy walking in to it sideways

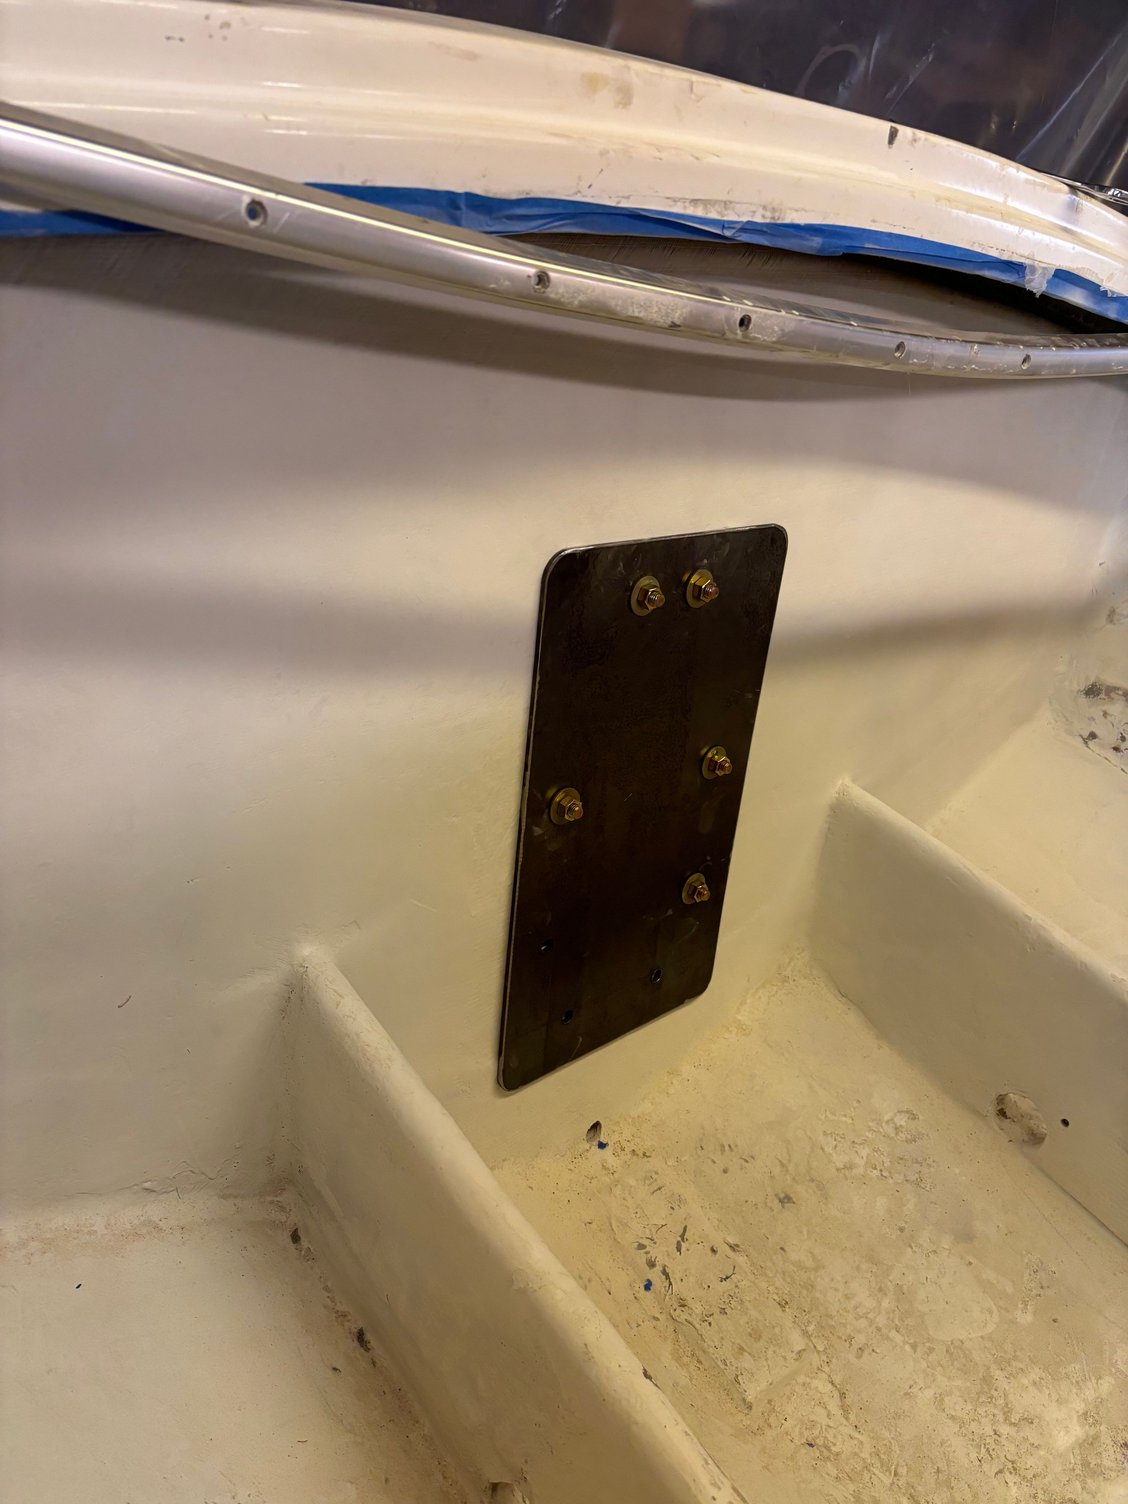
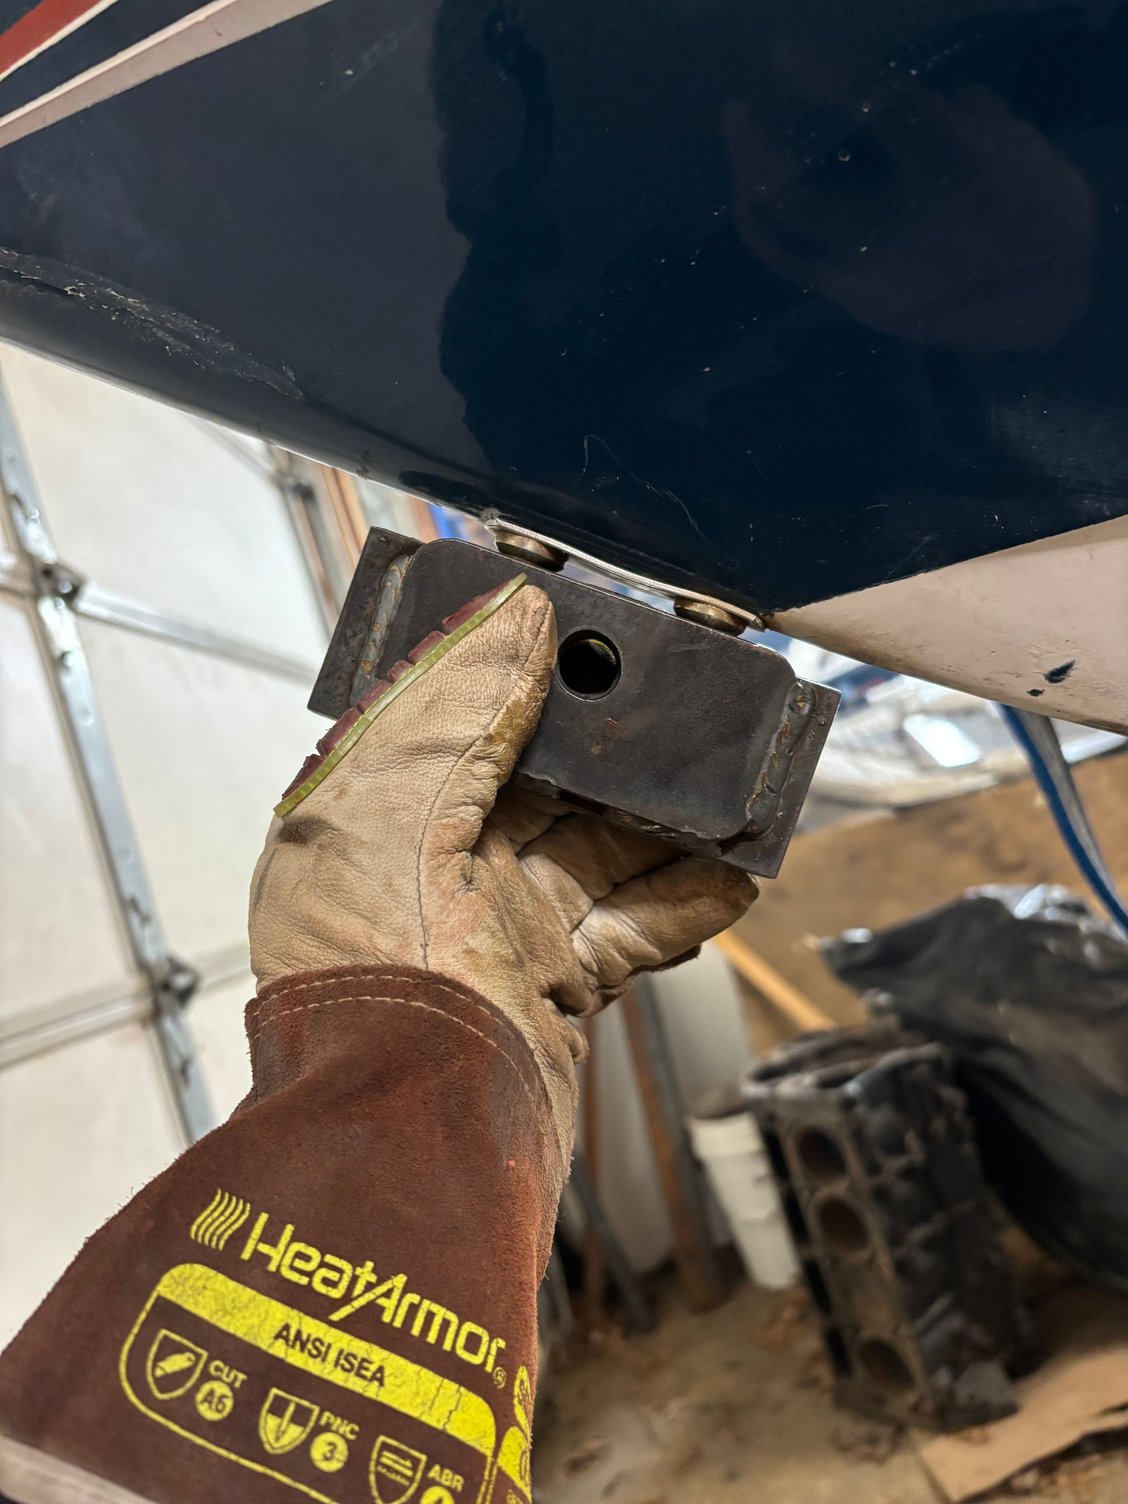
Front is held by the bow ring. Dont have a mill at home so made these plates works great and its held tight no slop.
Bottom of this boat was beat up. It came from washington state to nj site unseen and rode on the crossmembers of the trailer and on a pos laydown bunk trailer that was not setup right. Every where the bumks touched in the back was cracked. Ground them down and thankfully they were only in the gel but still a ton of work. Strakes and keel from banging around on the crossmembers also had giant chunks missing.
 03-18-2025 | 09:17 PM
#42
Thread Starter
Registered
Joined: Jun 2022
Posts: 91
Likes: 114
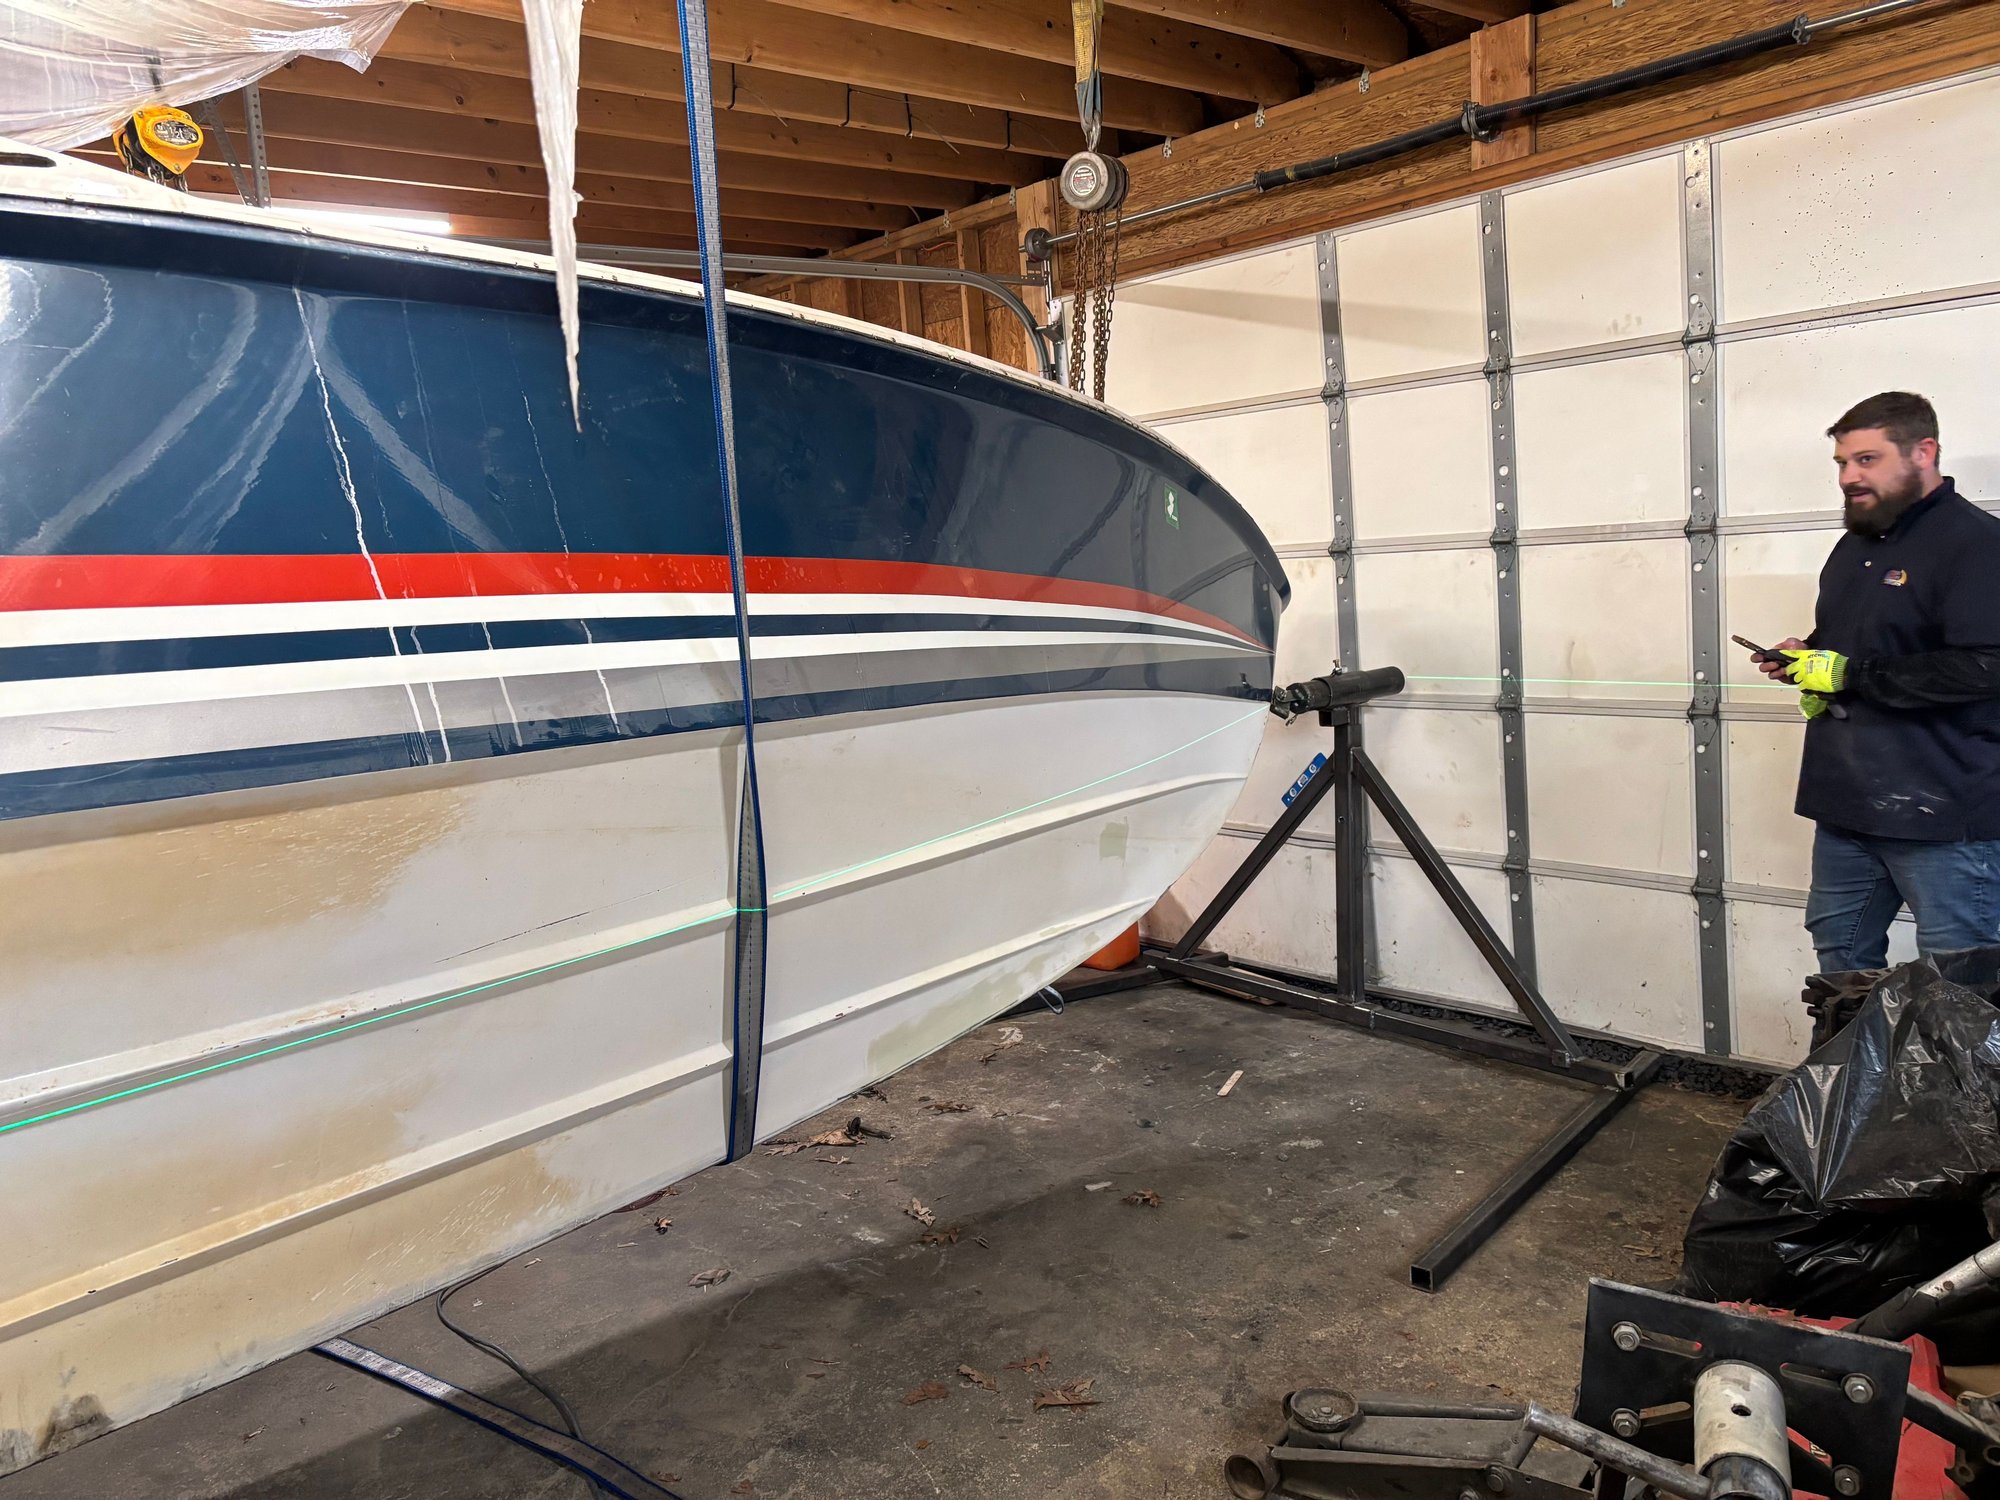
Doig busting out the laser level shocked it was actually dead centered front and back lol
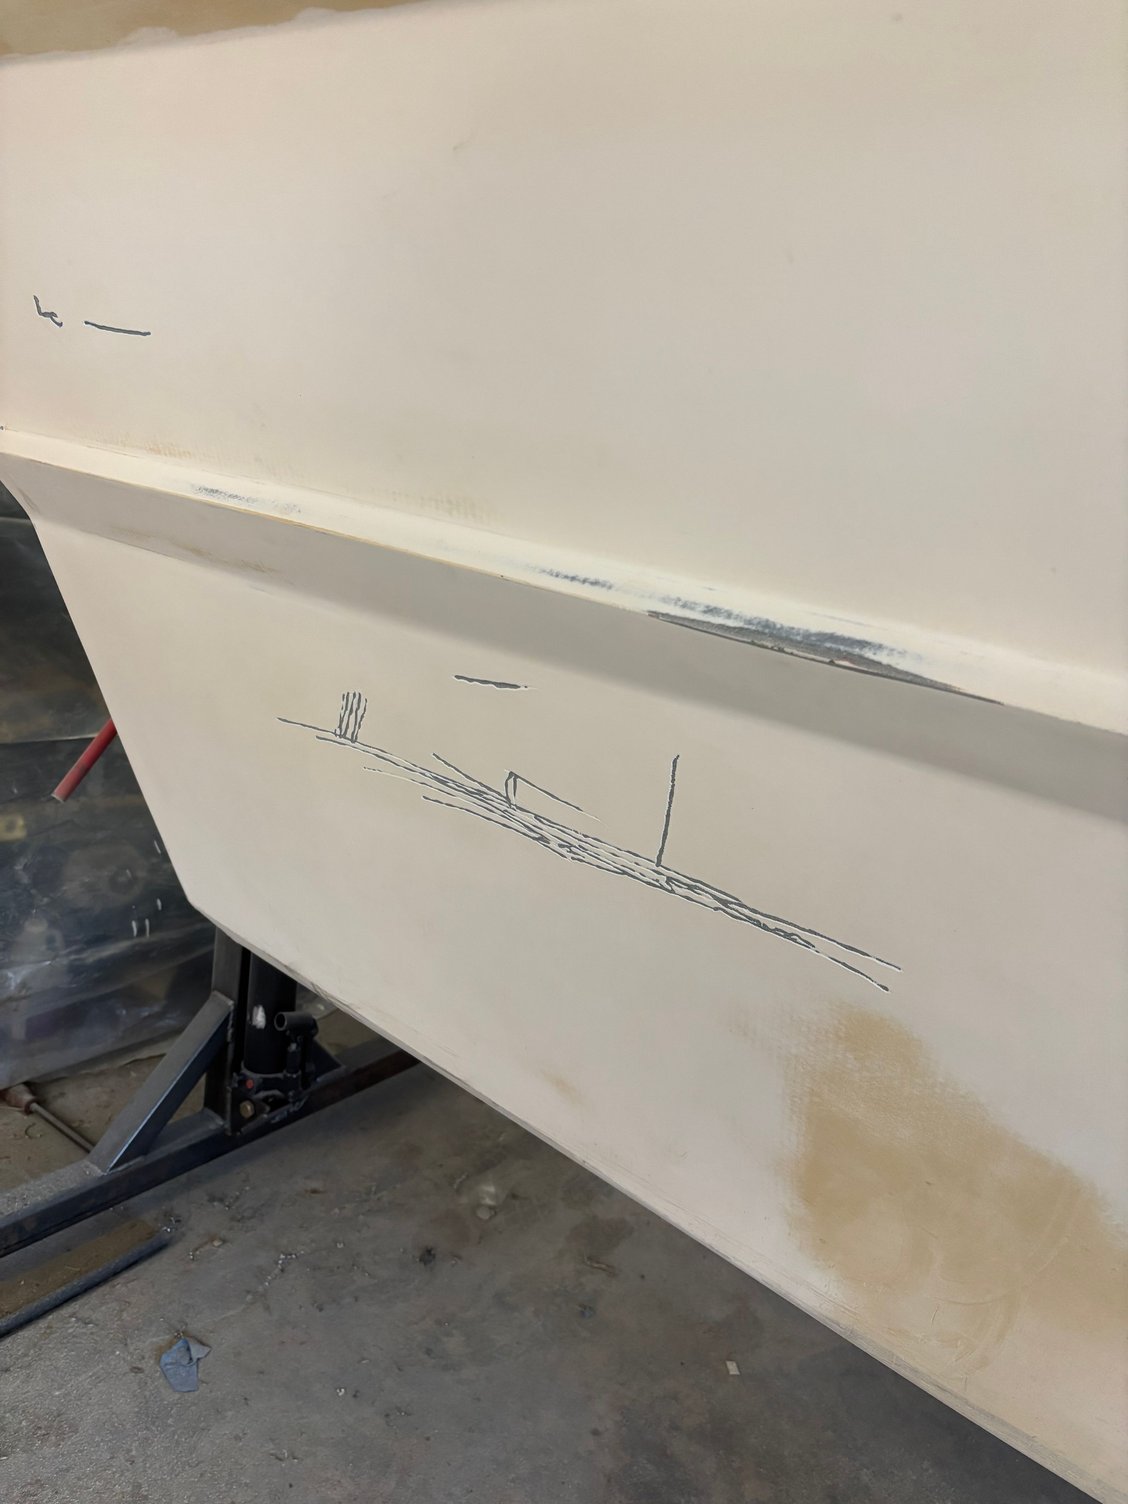
Some bottom damage ground the cracks and filled.
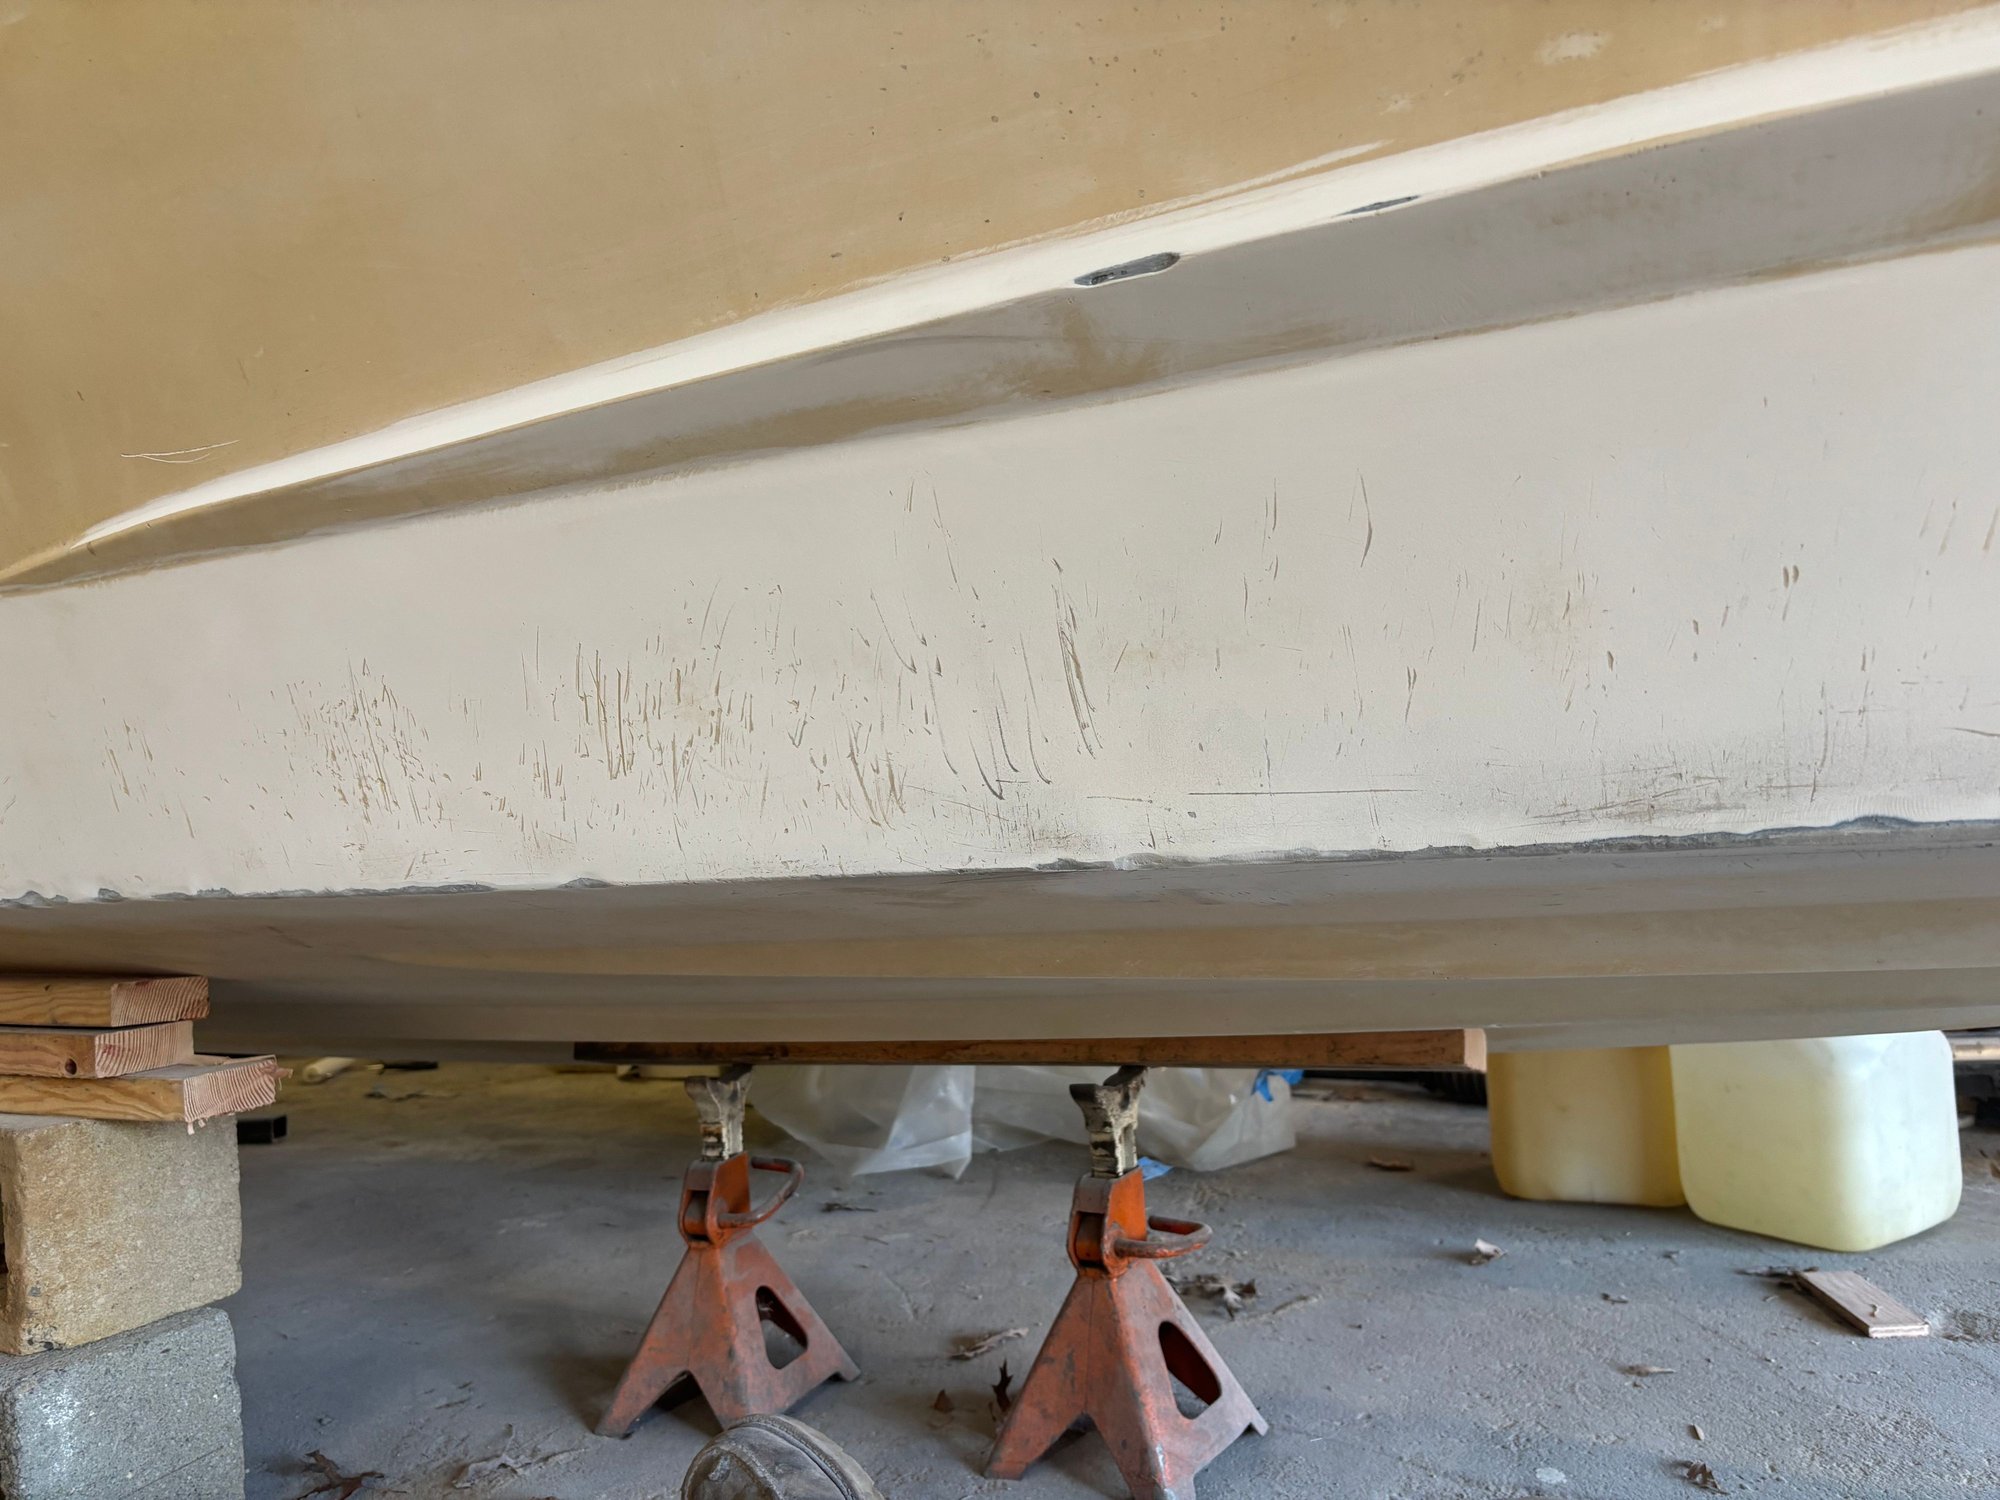
Some of the keel not the worst of it
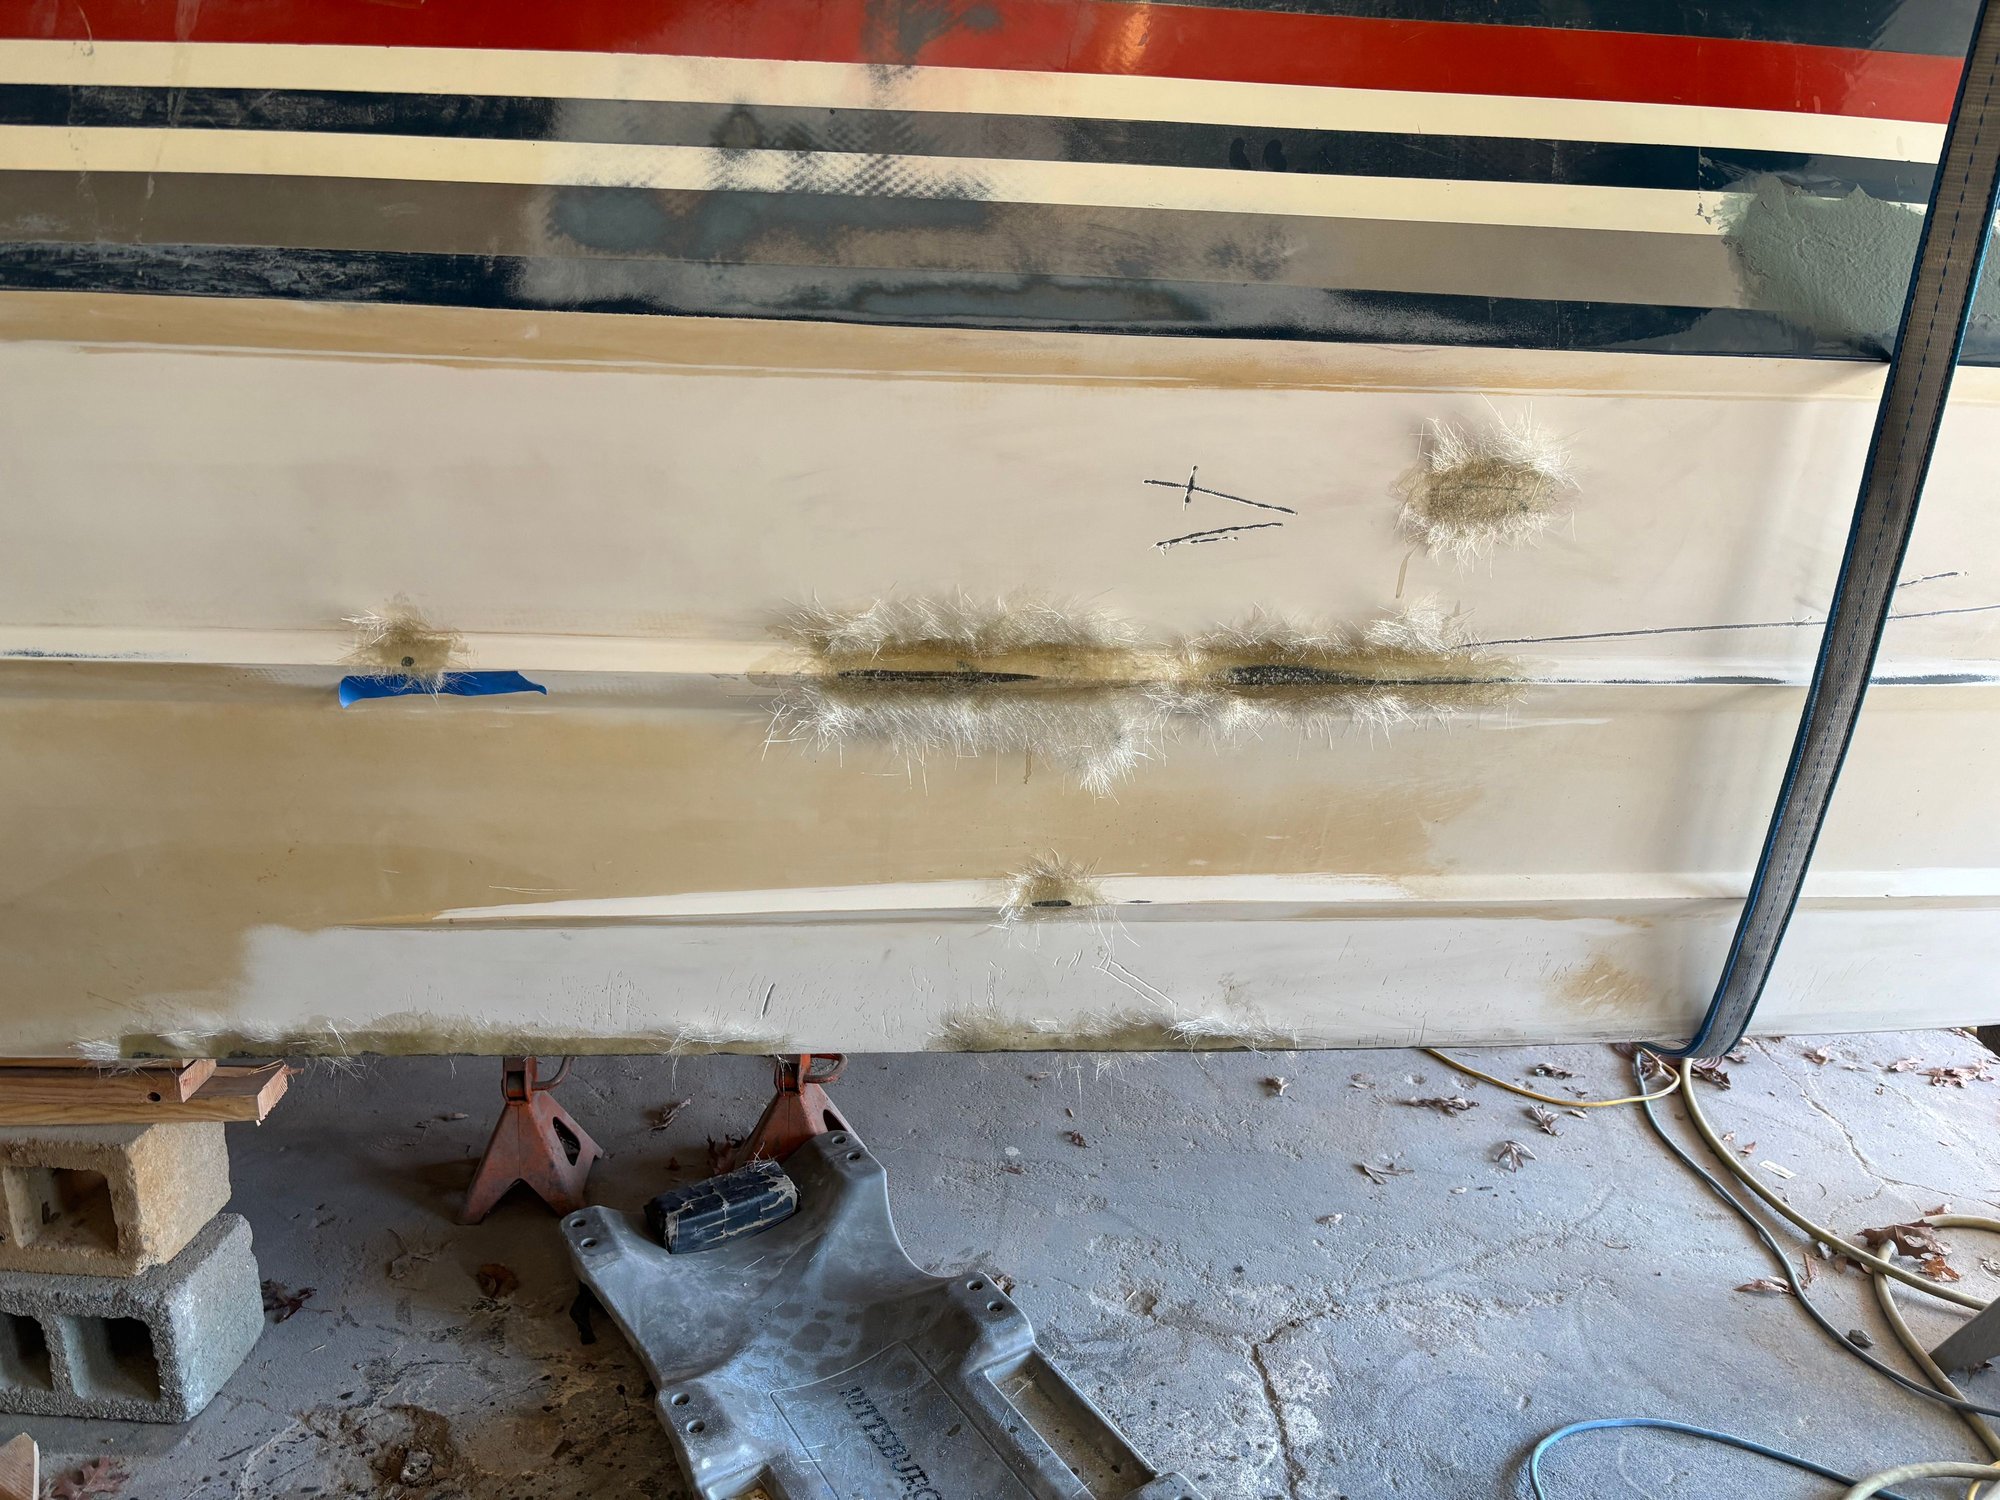
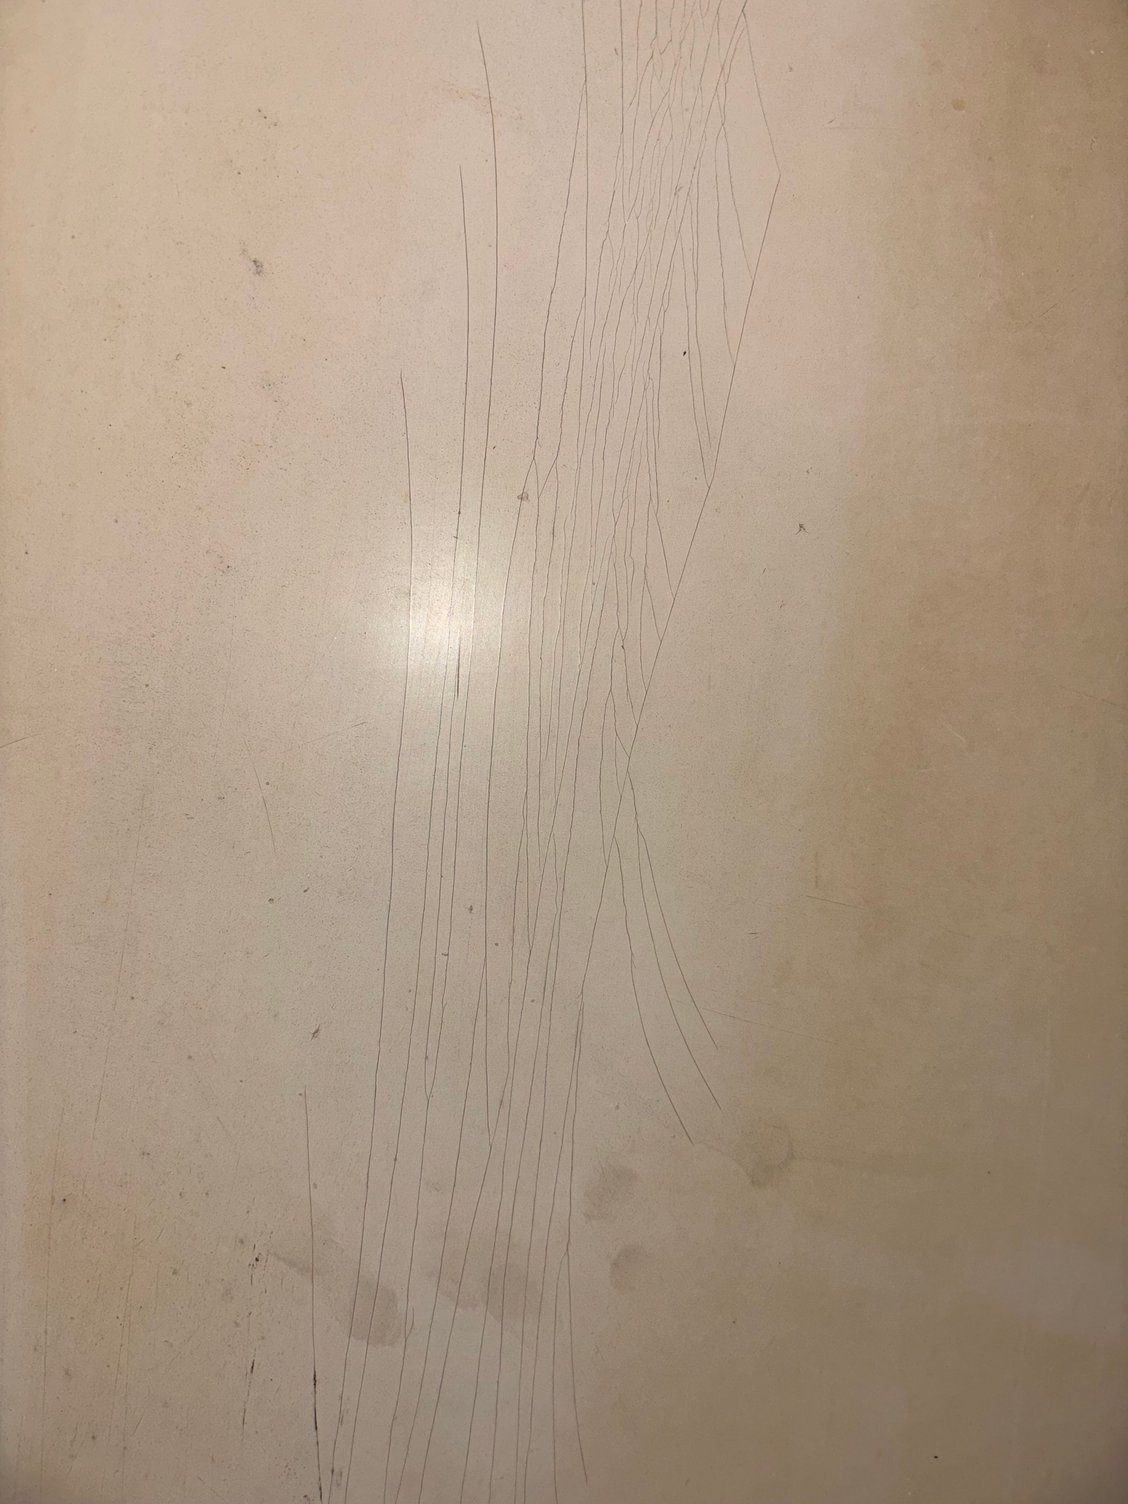
Not the prettiest but build the strakes up with csm didnt trust filler on these hard points looking above side of the boat was all spidered too and i ground and filled them
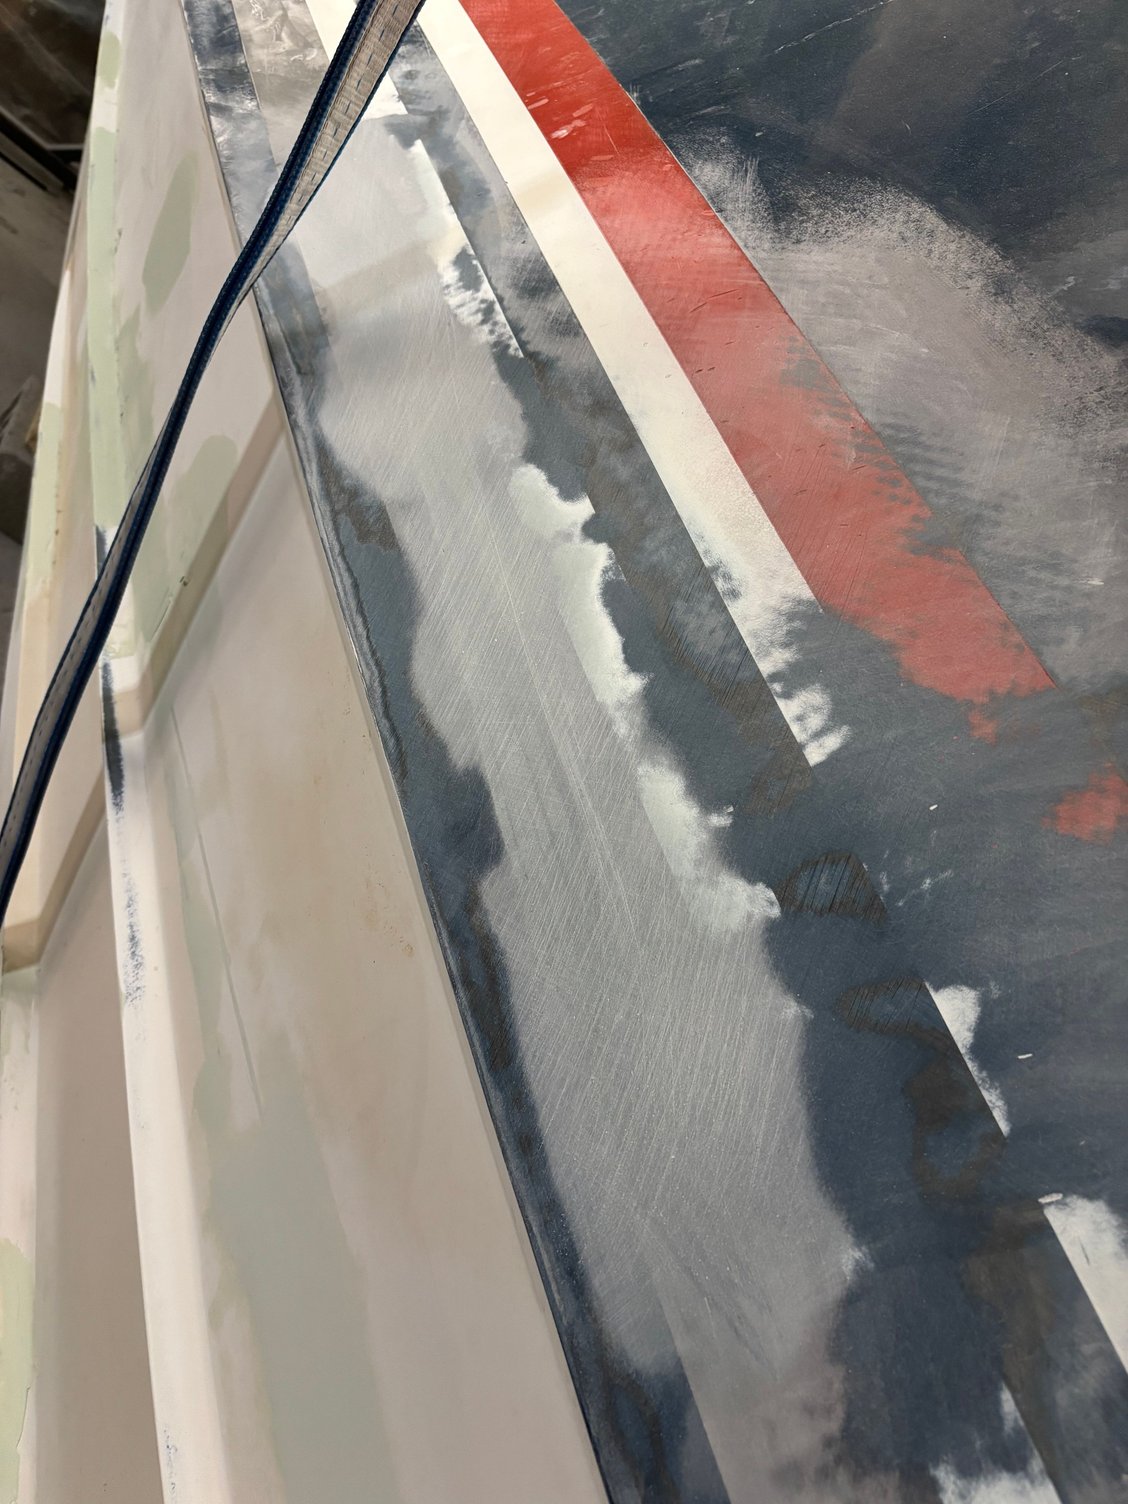
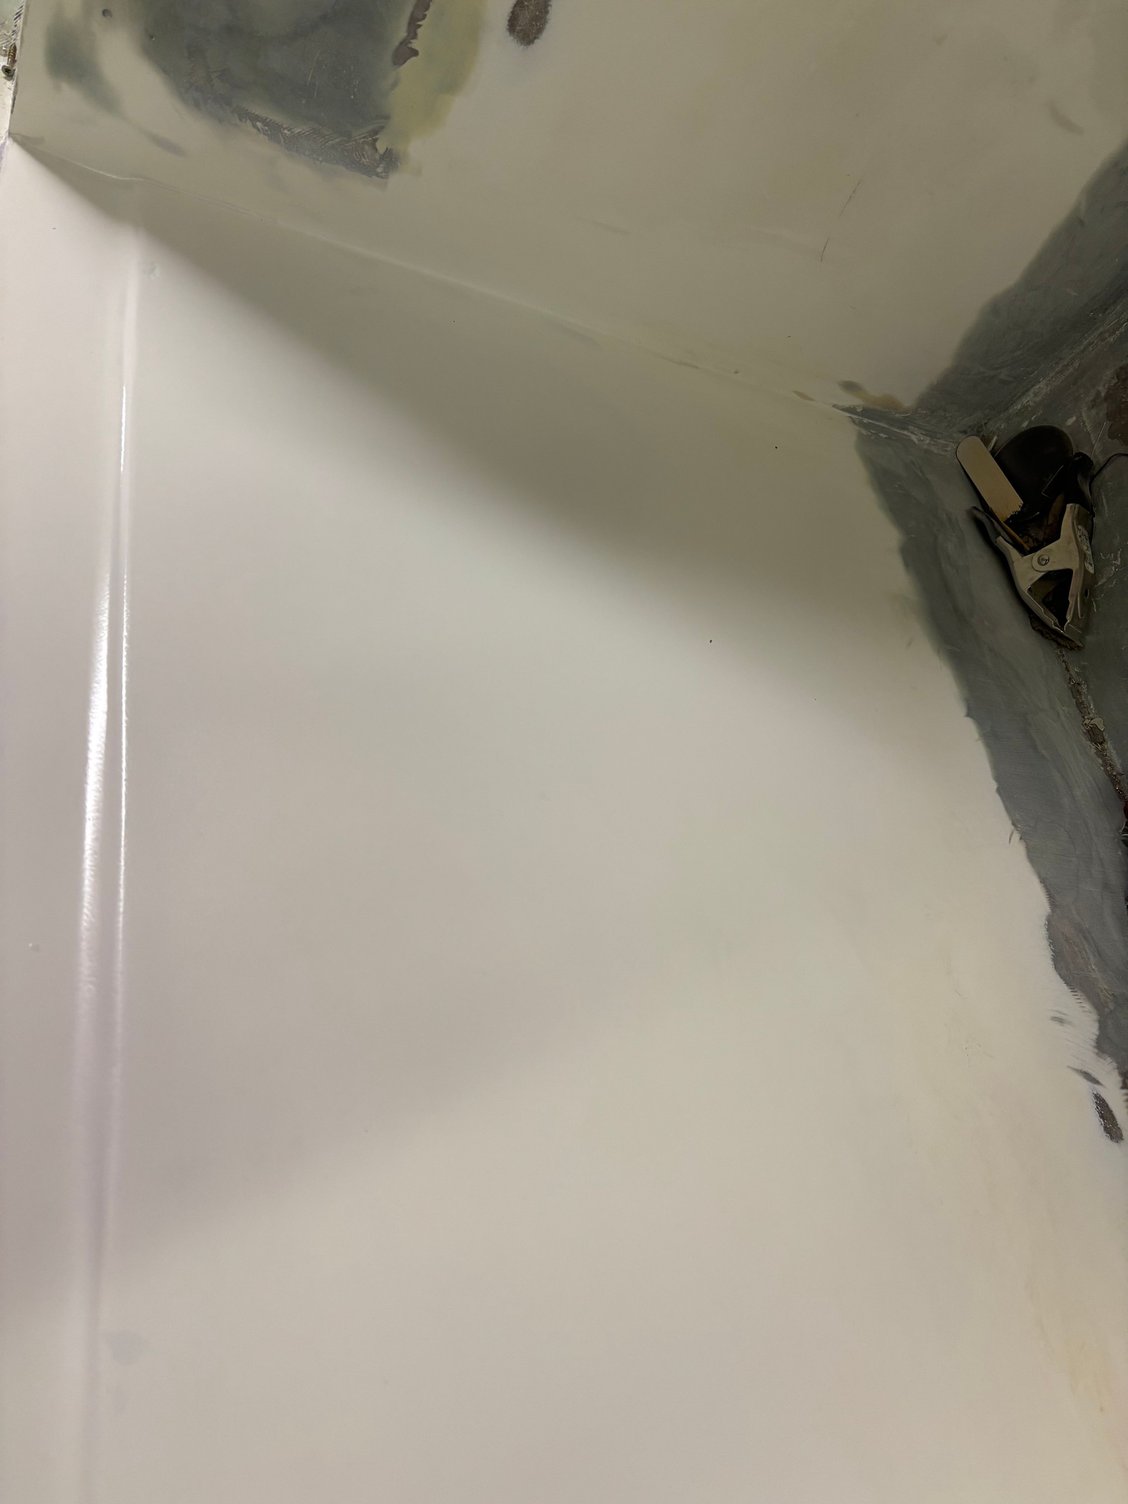
Side cracks first fill coat
Bottom cracks filled
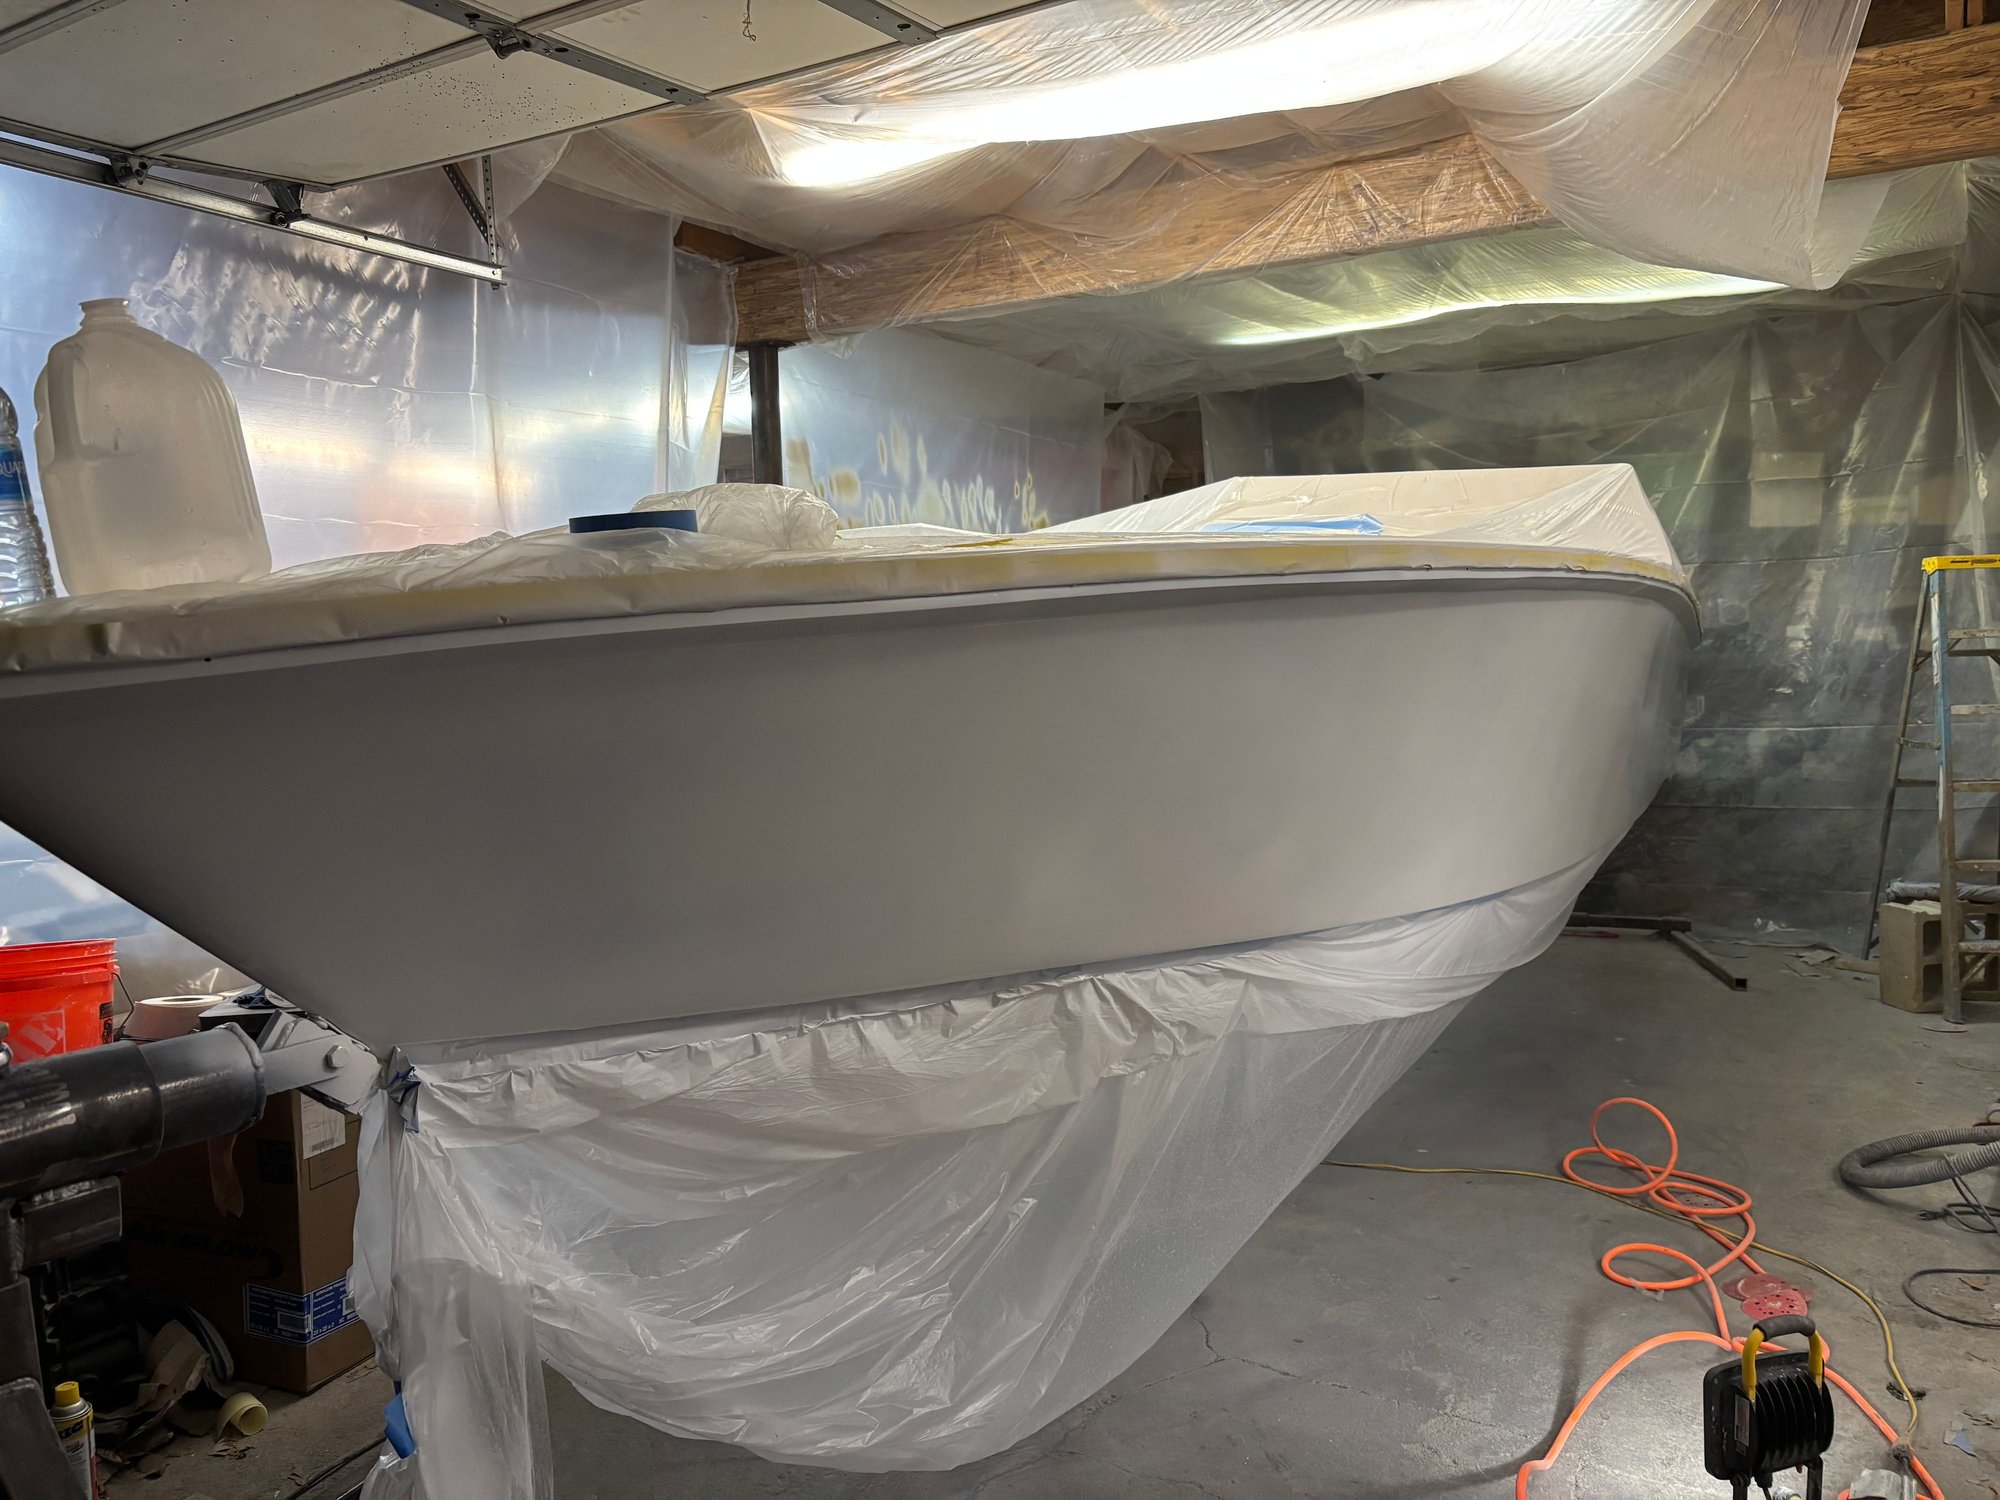
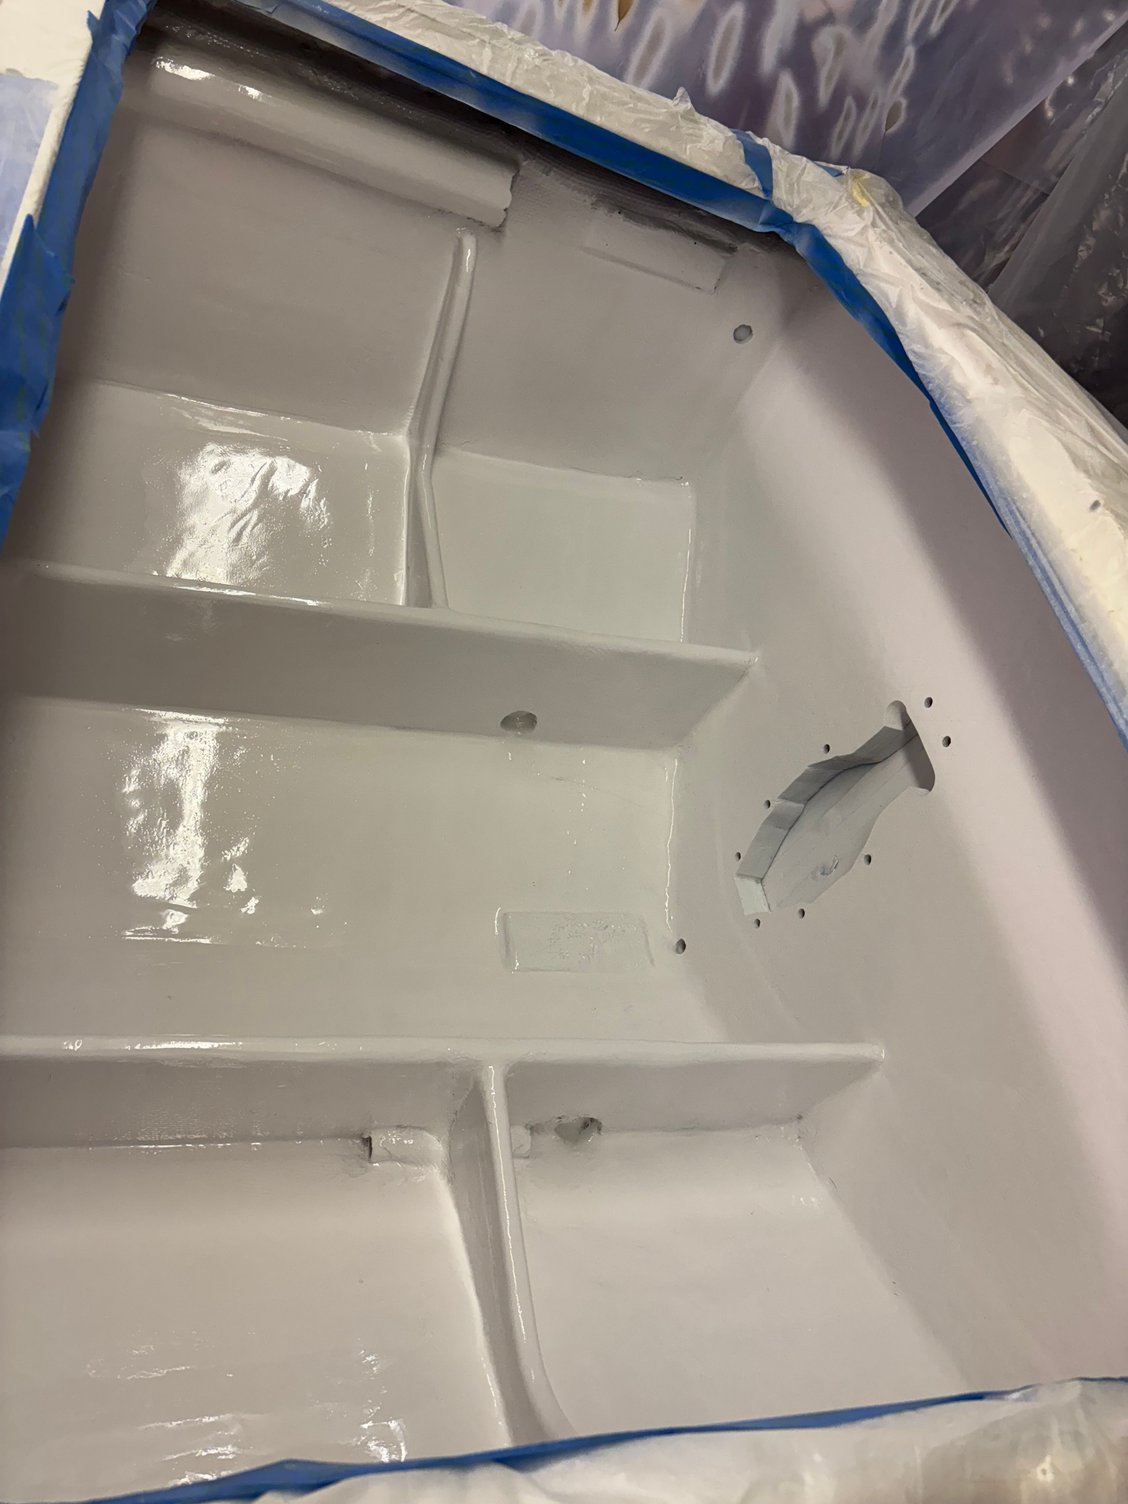
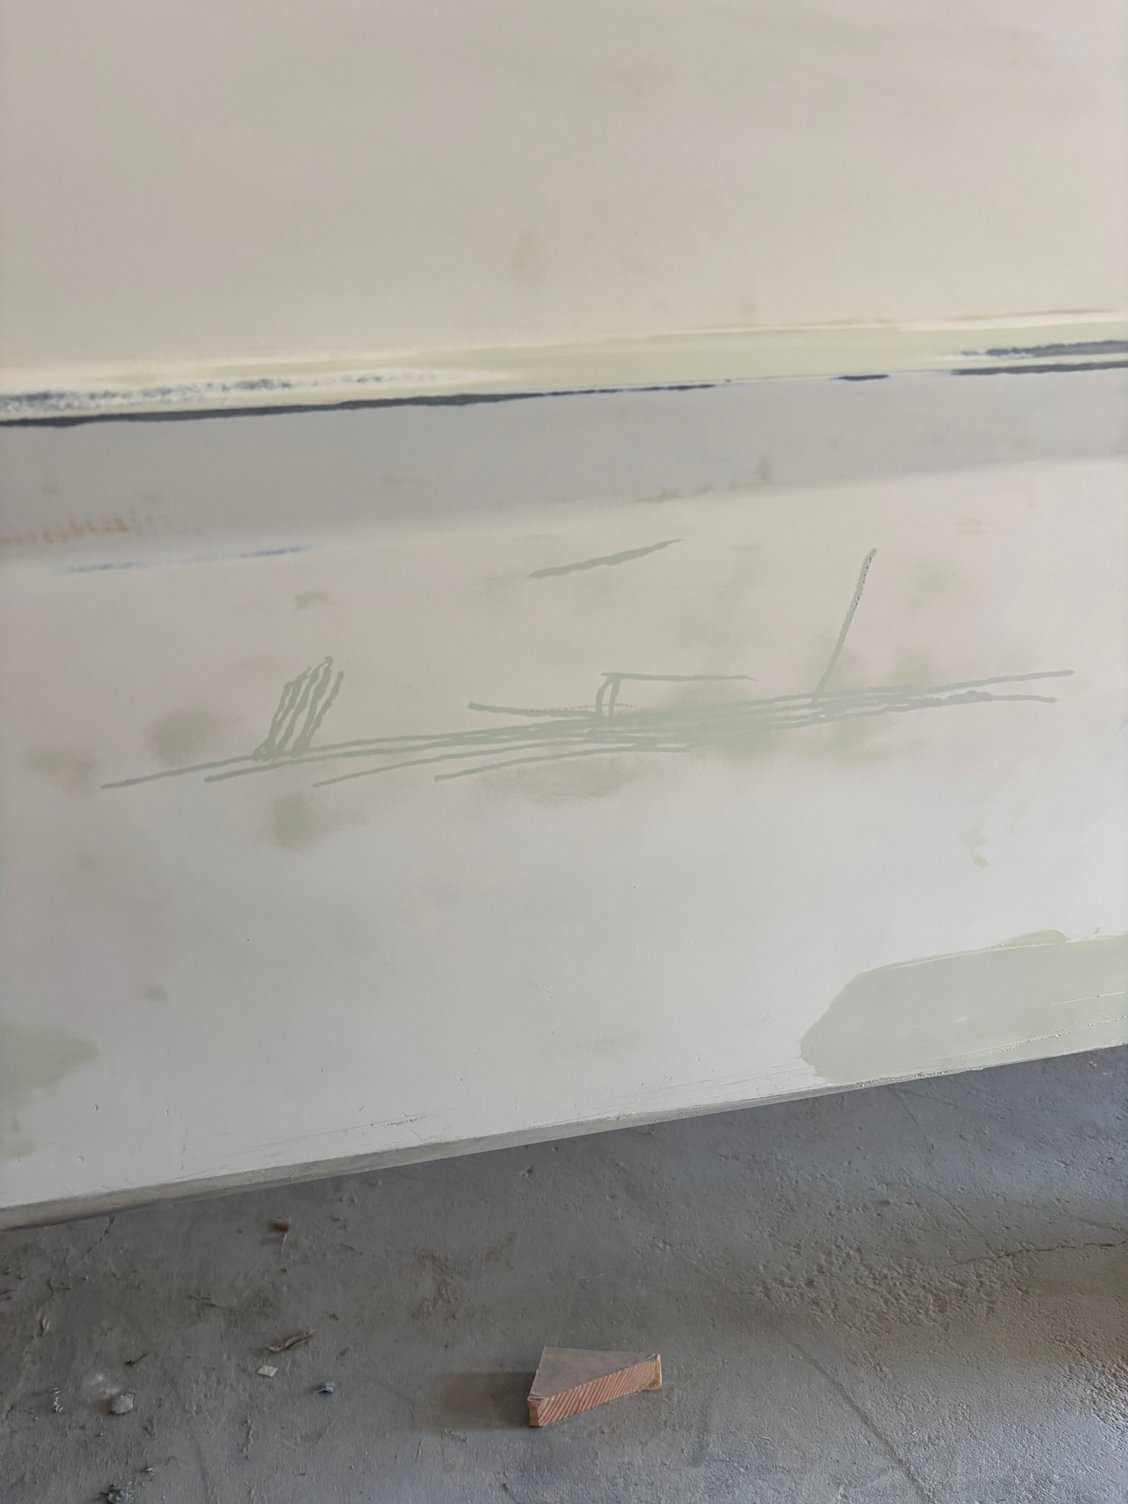
High build first coat then i spot patched/ fixed any spots
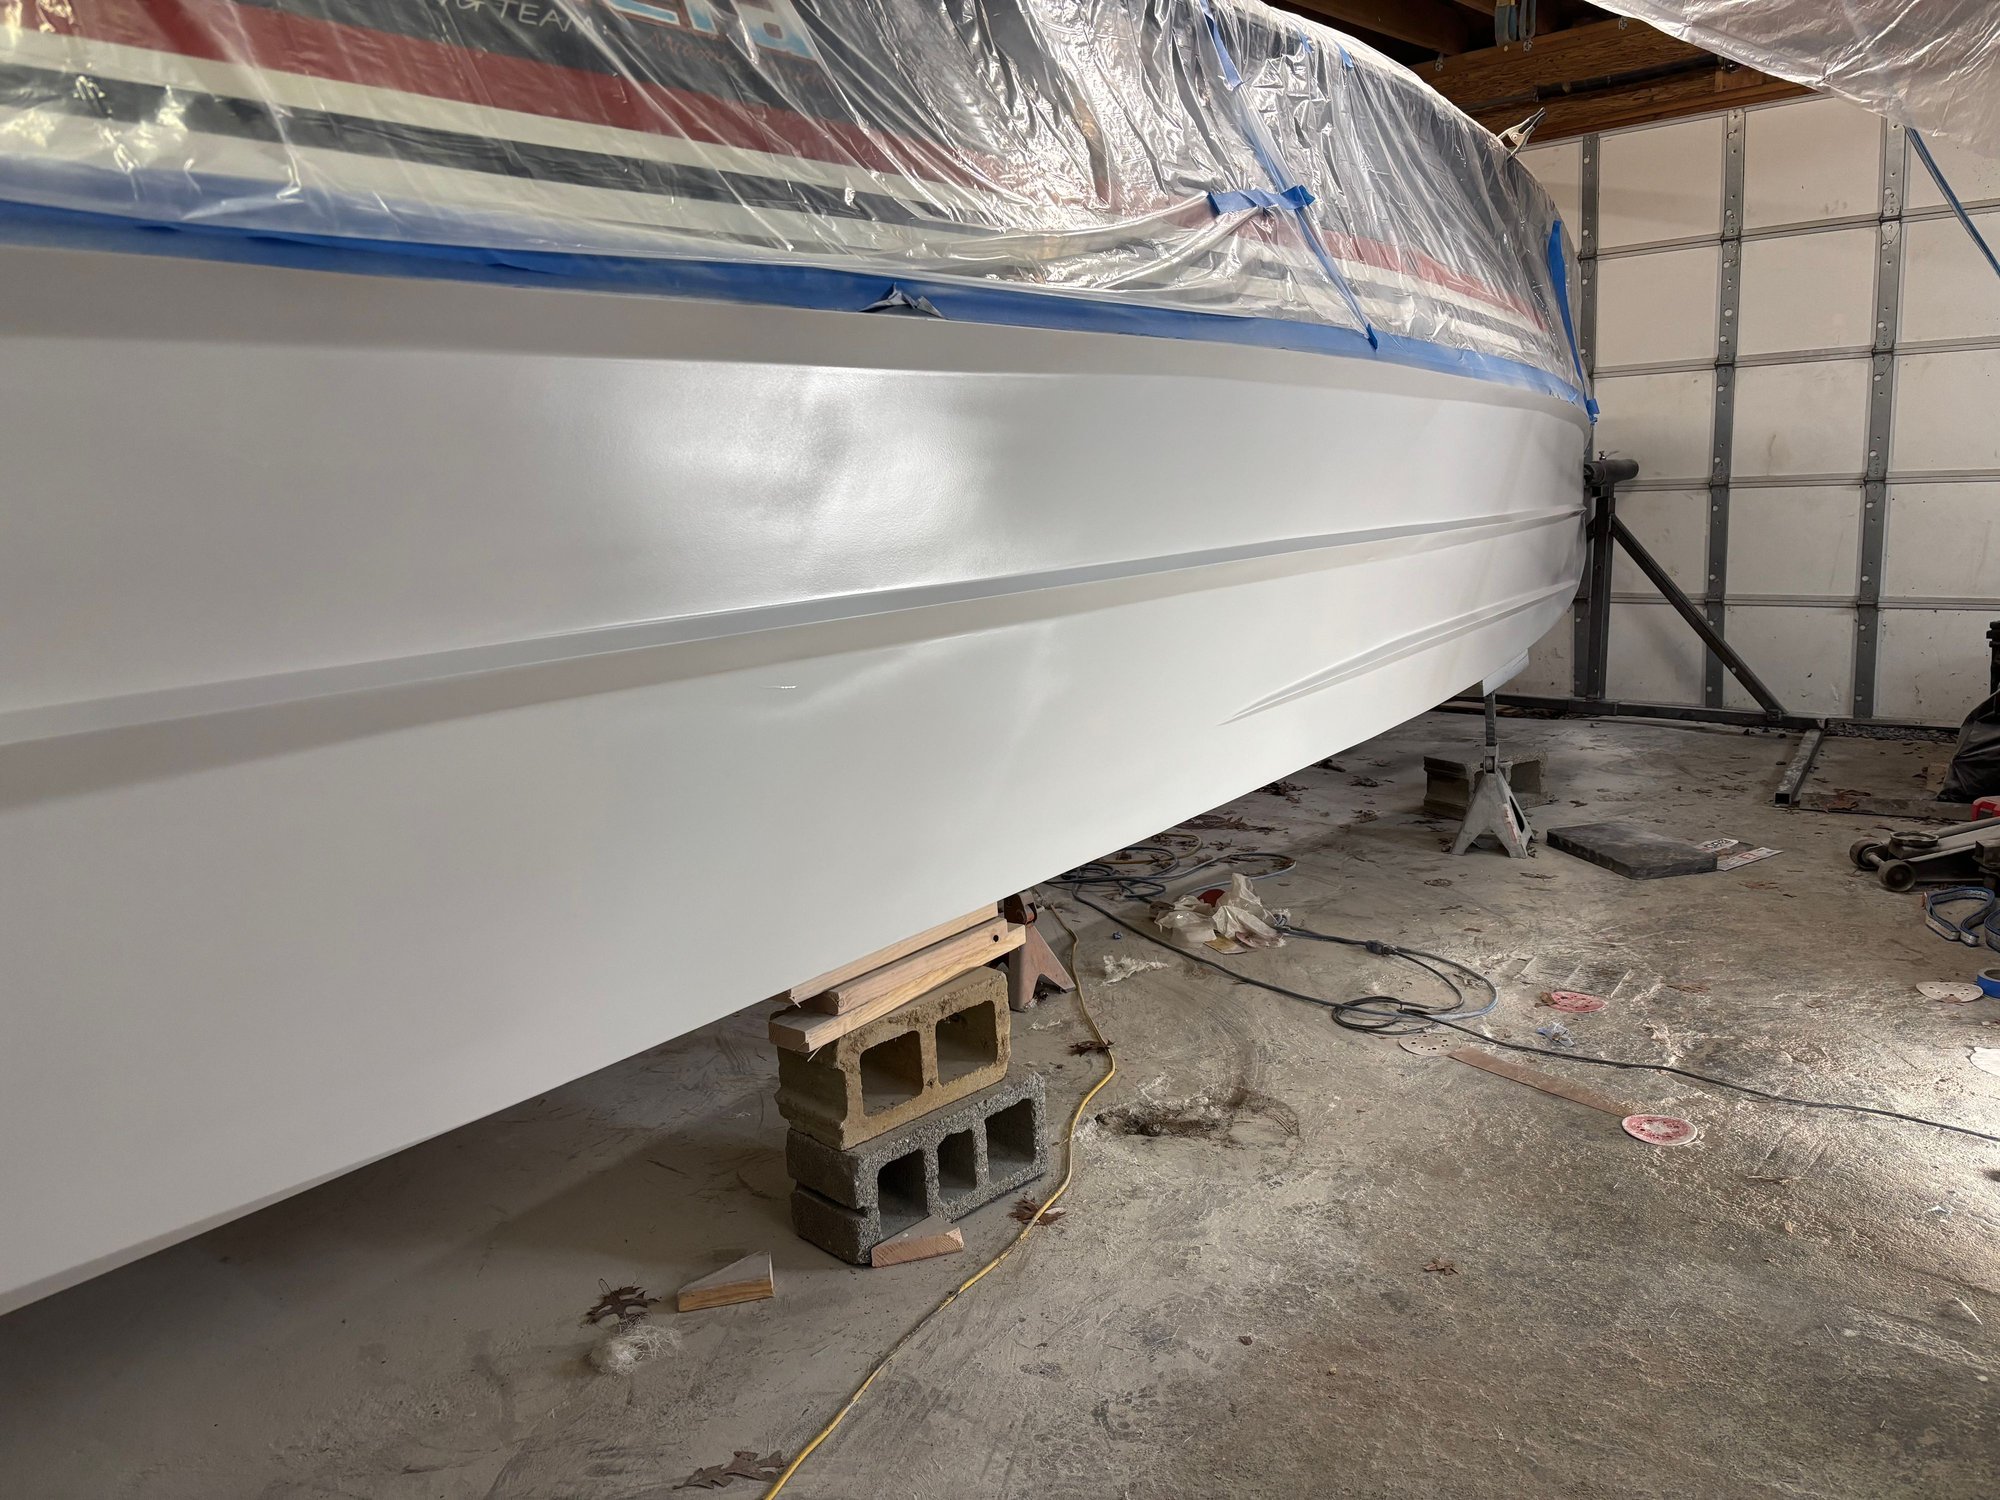
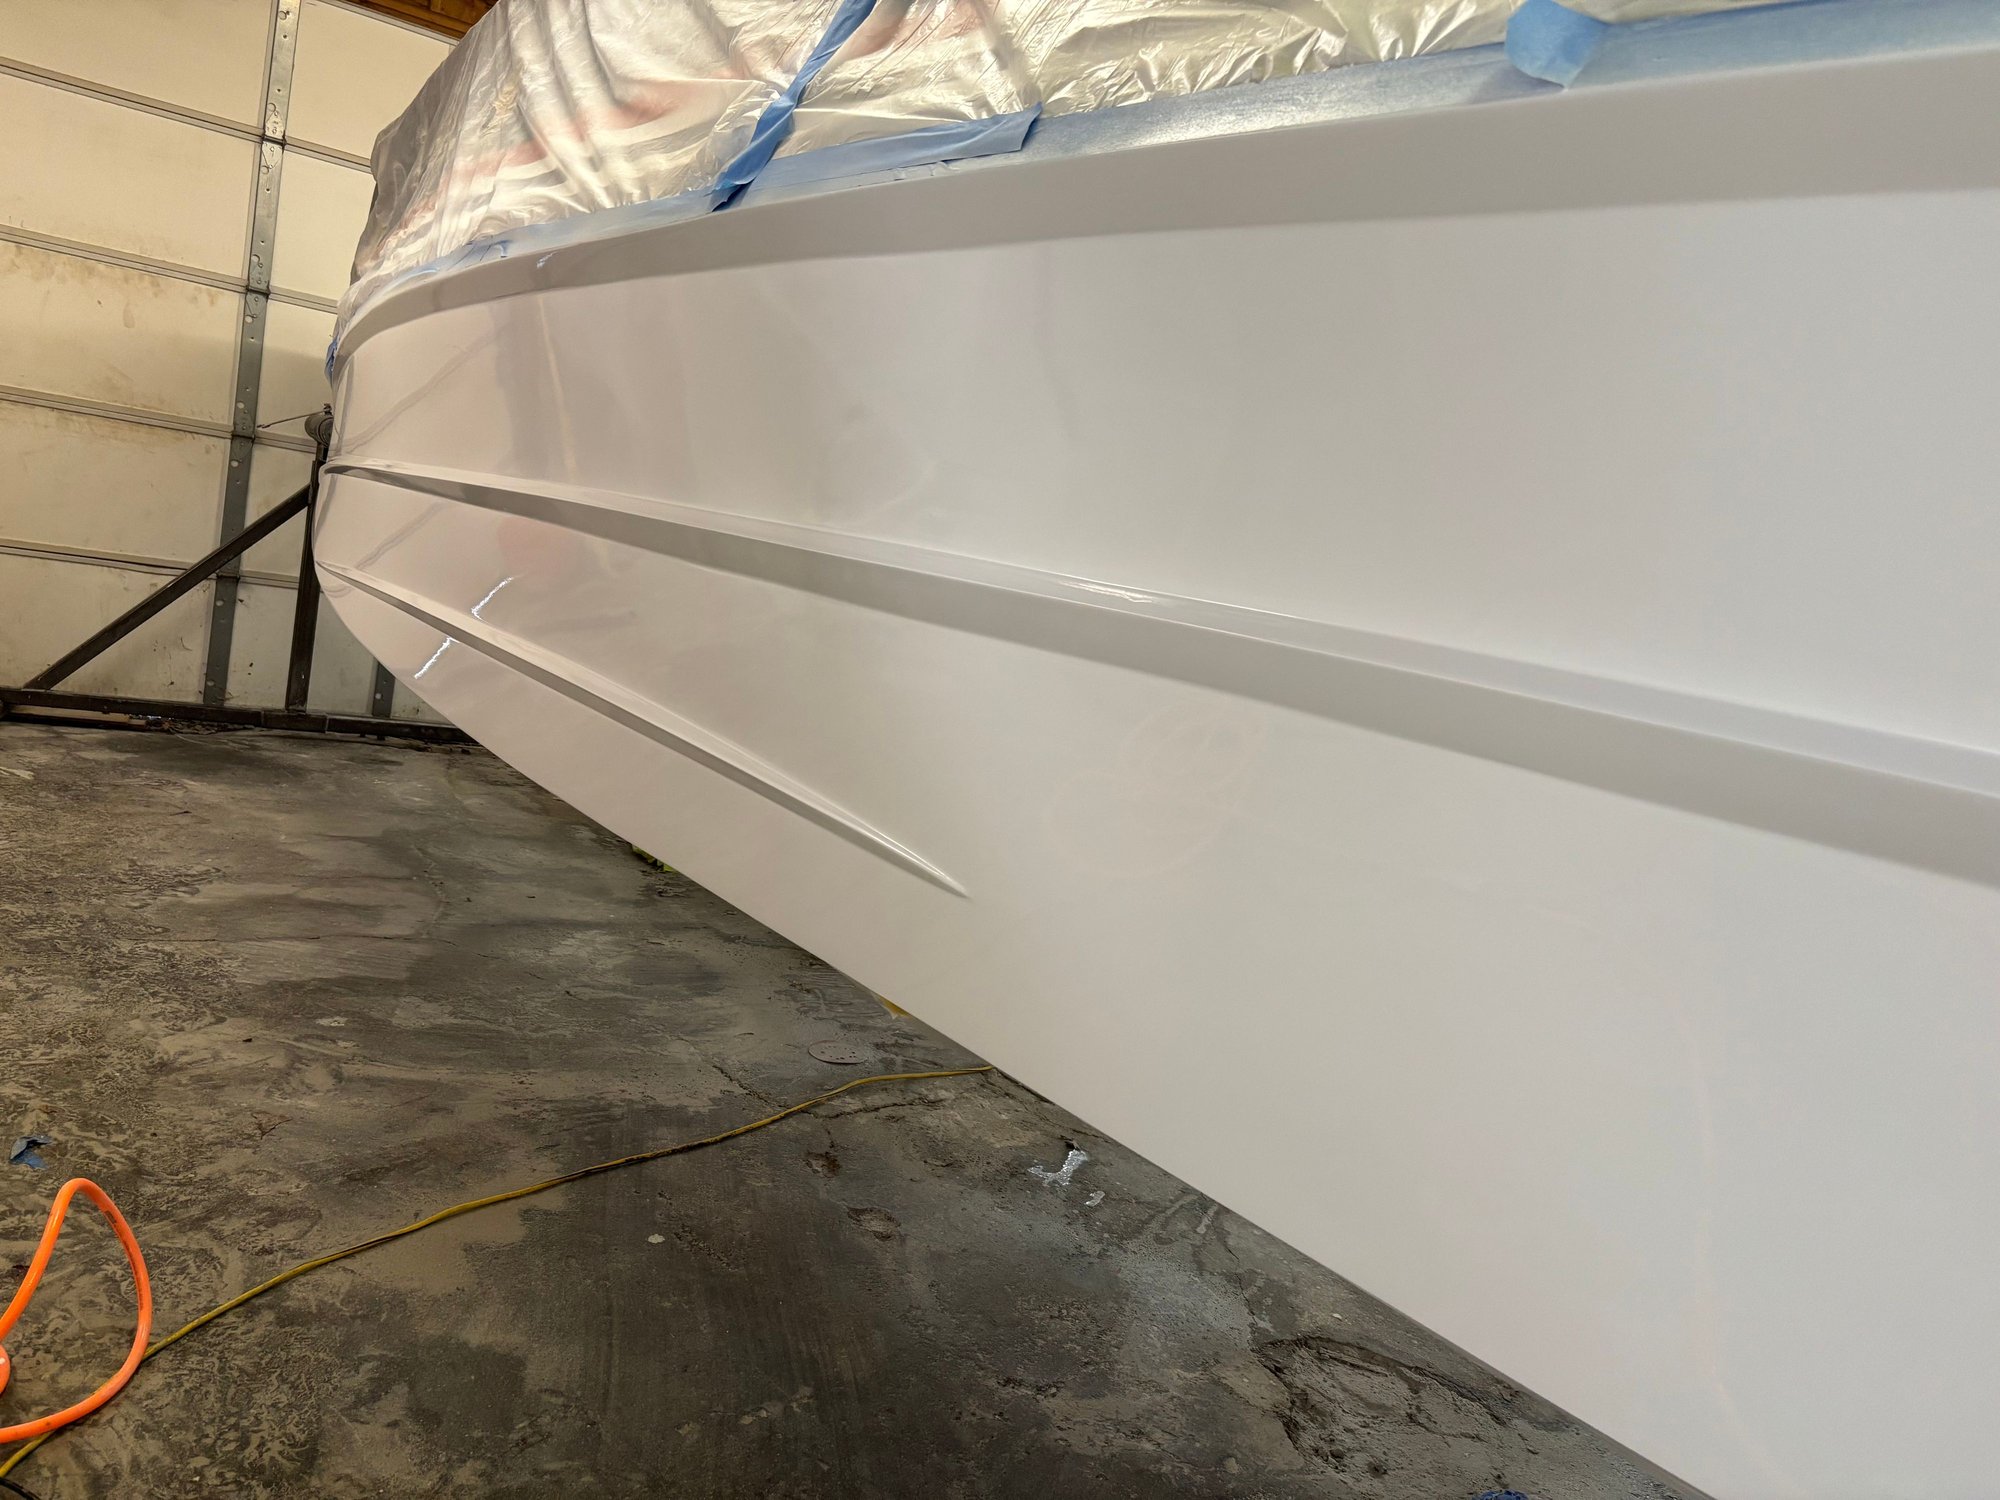
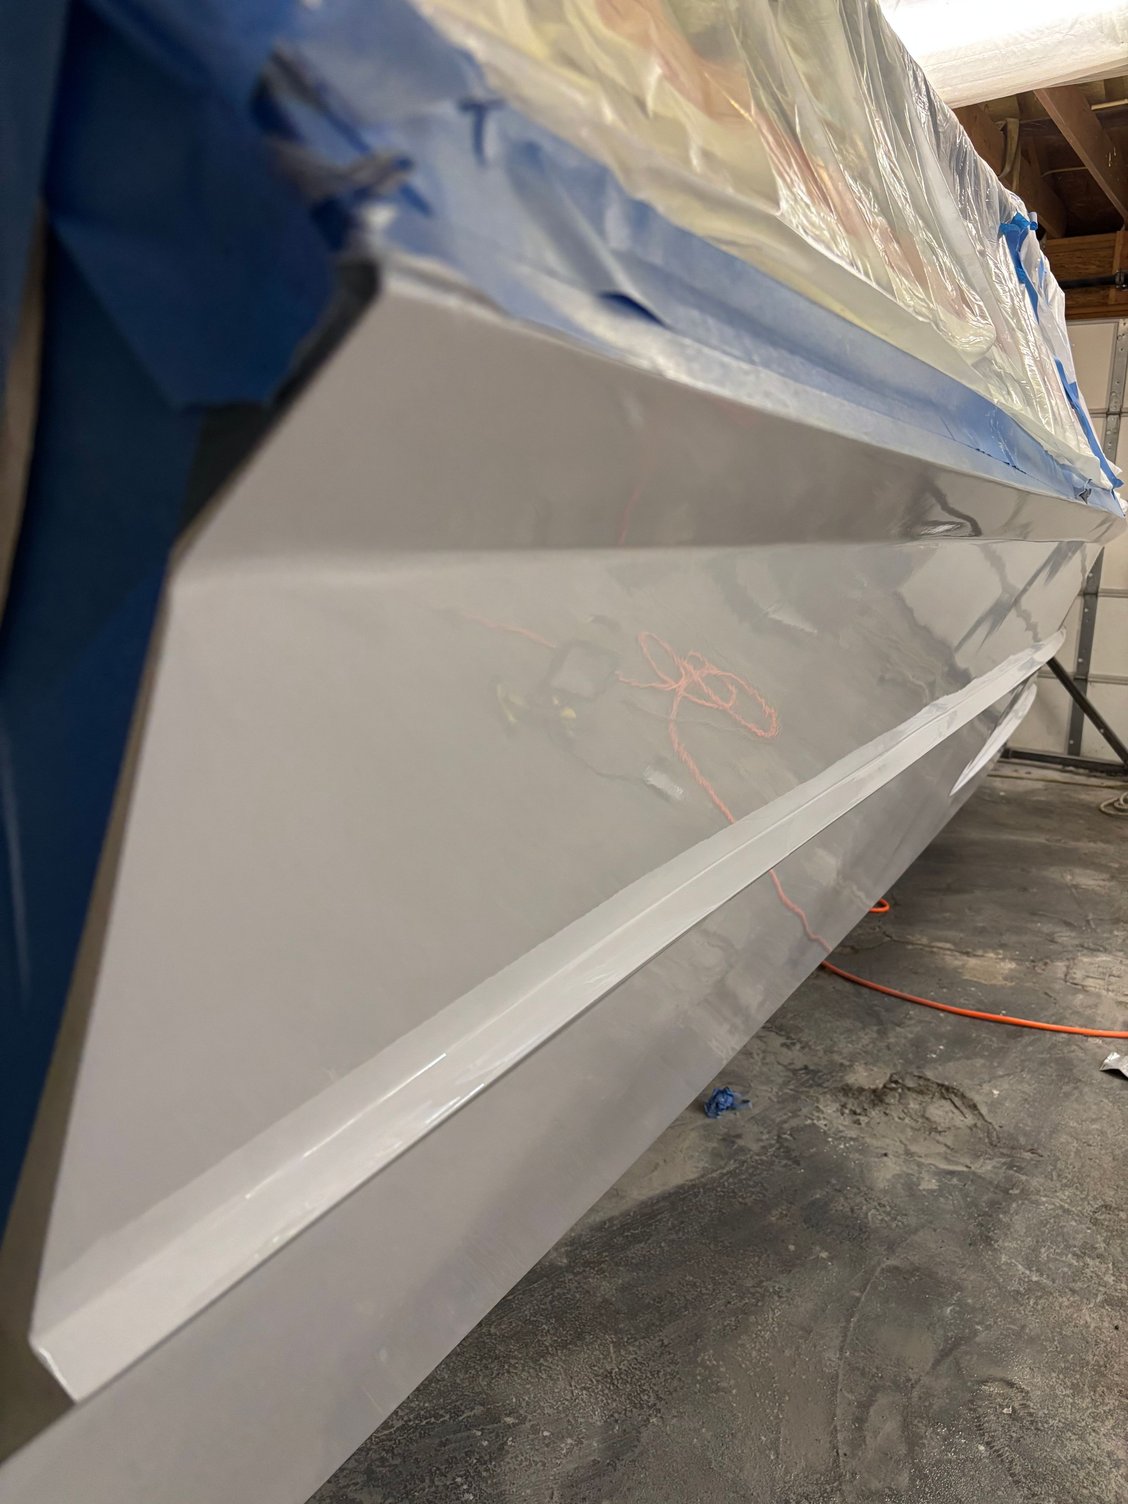
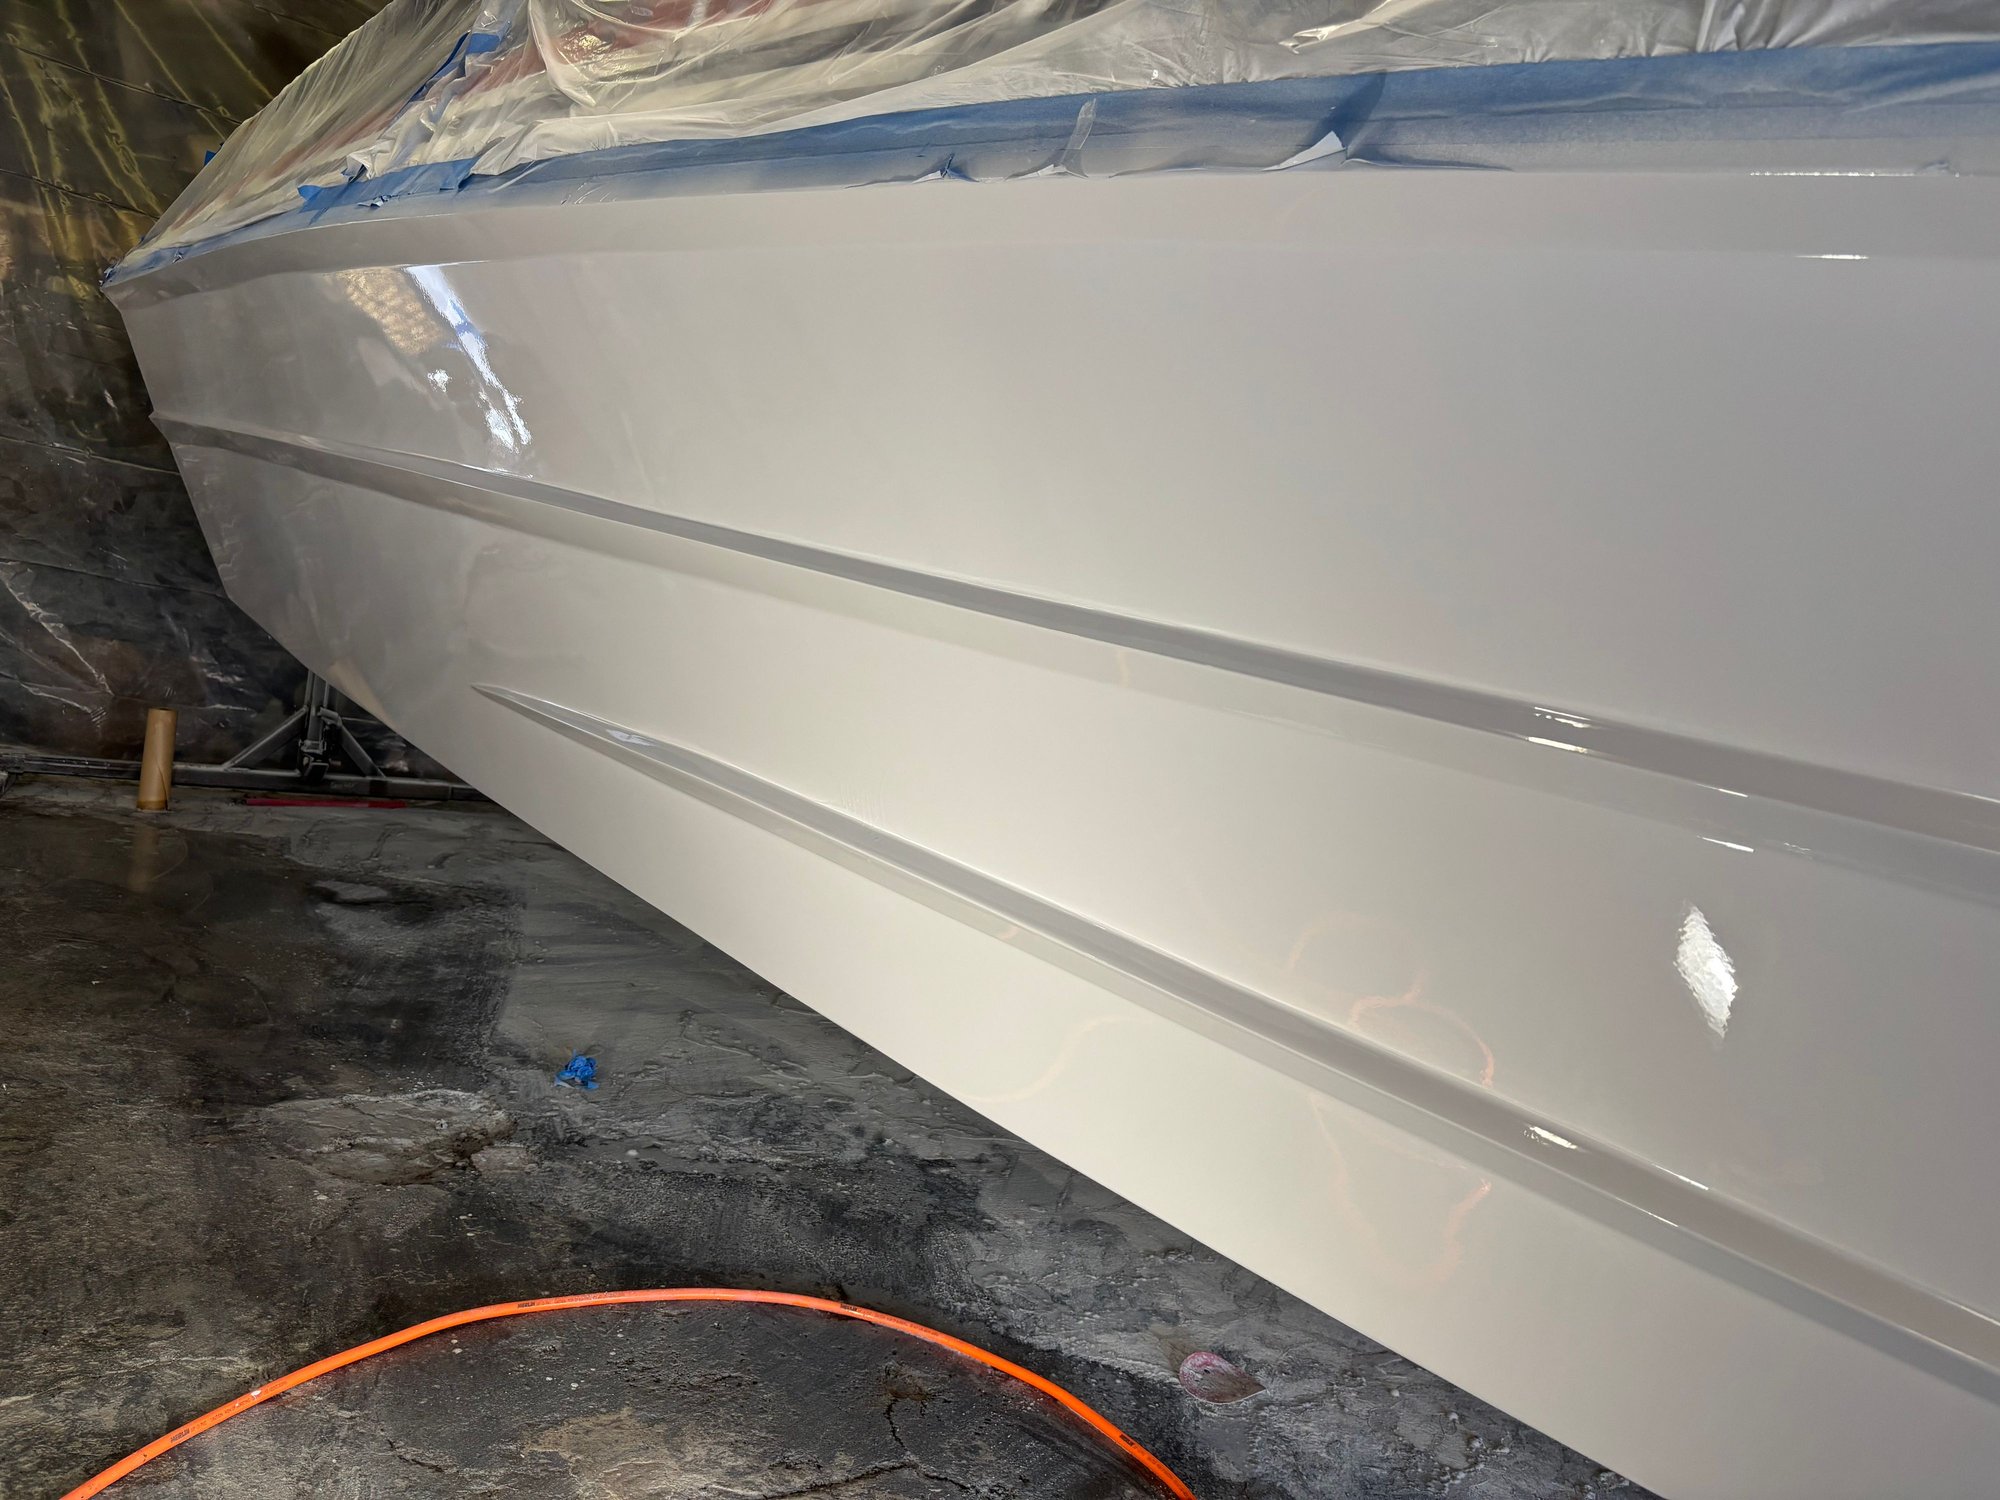
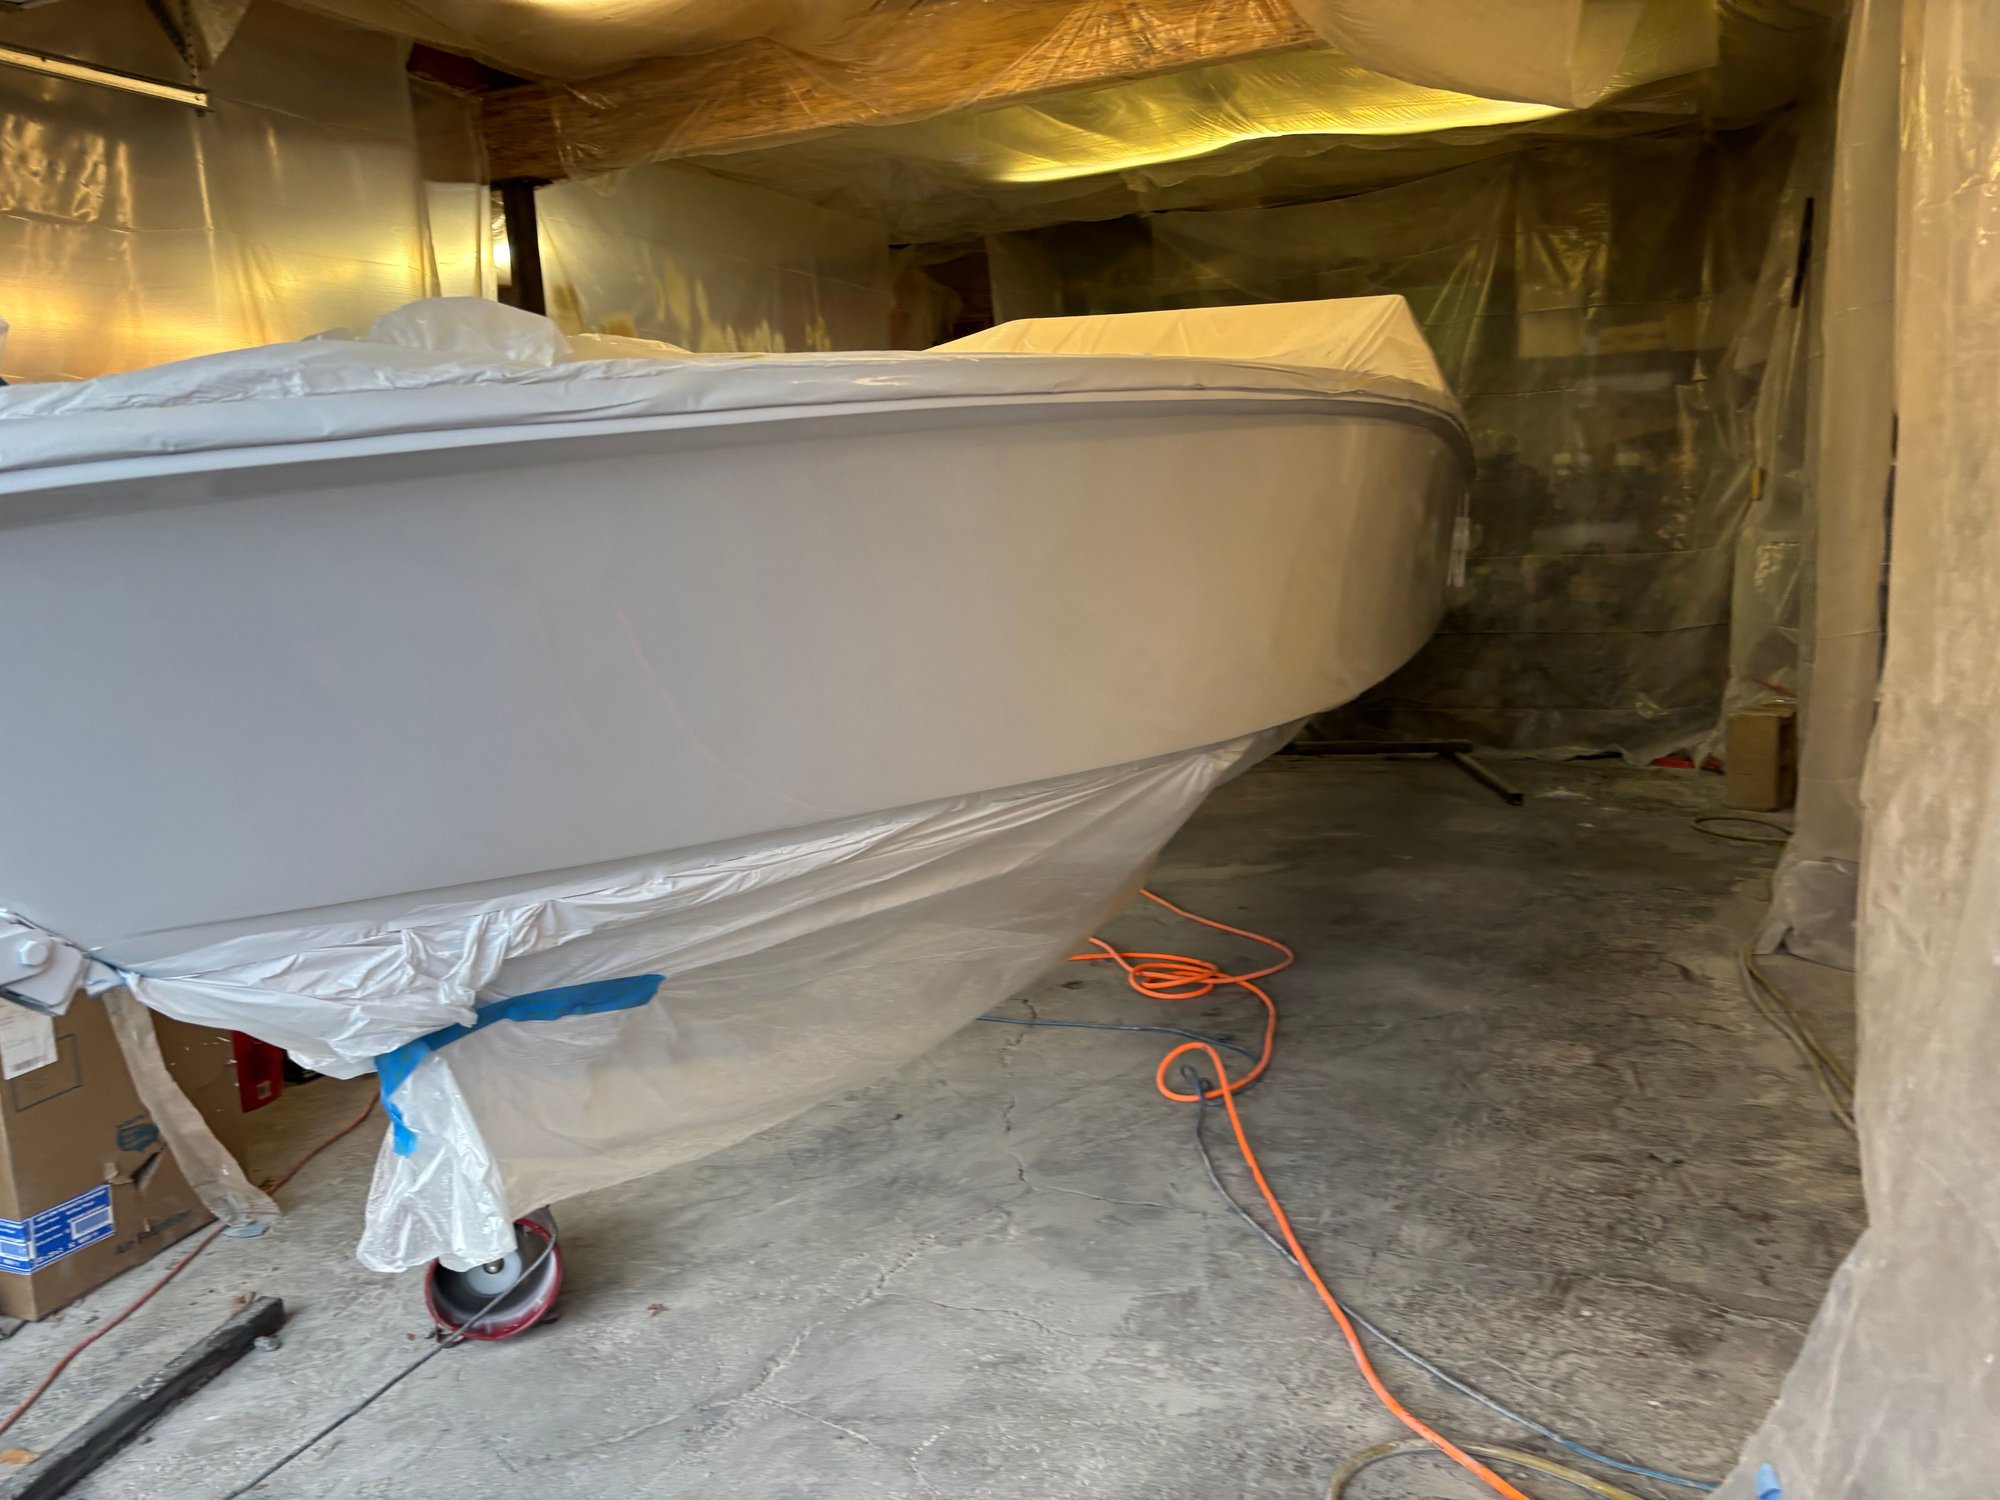
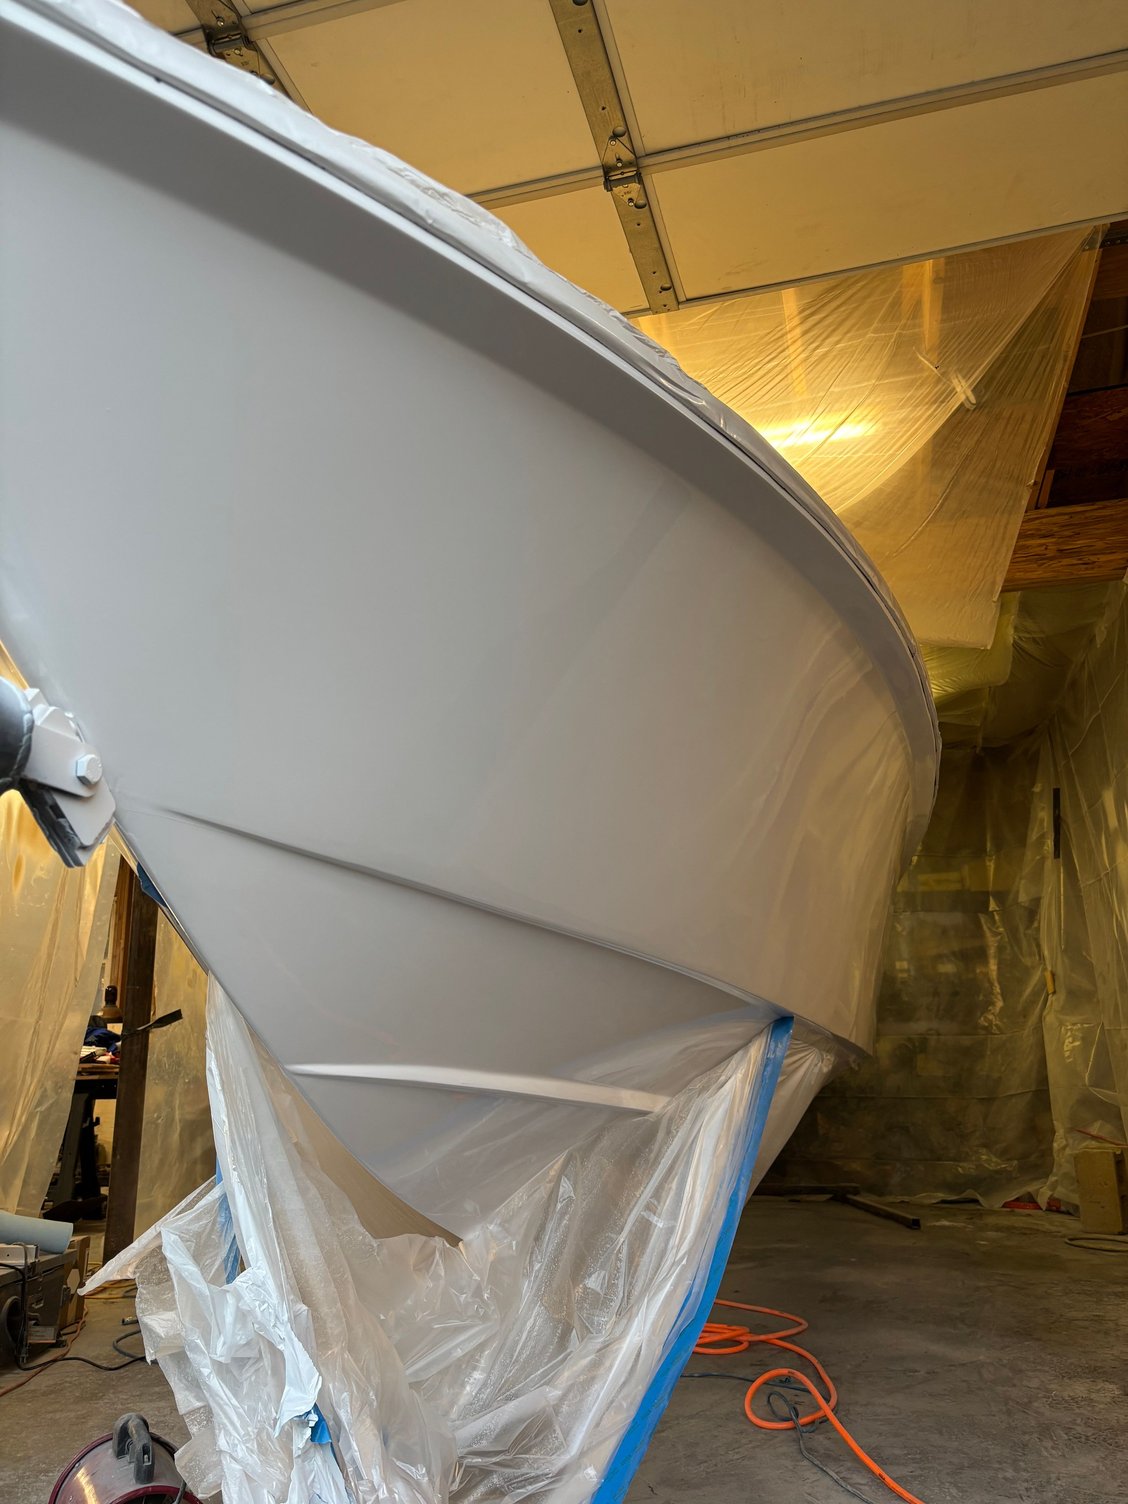
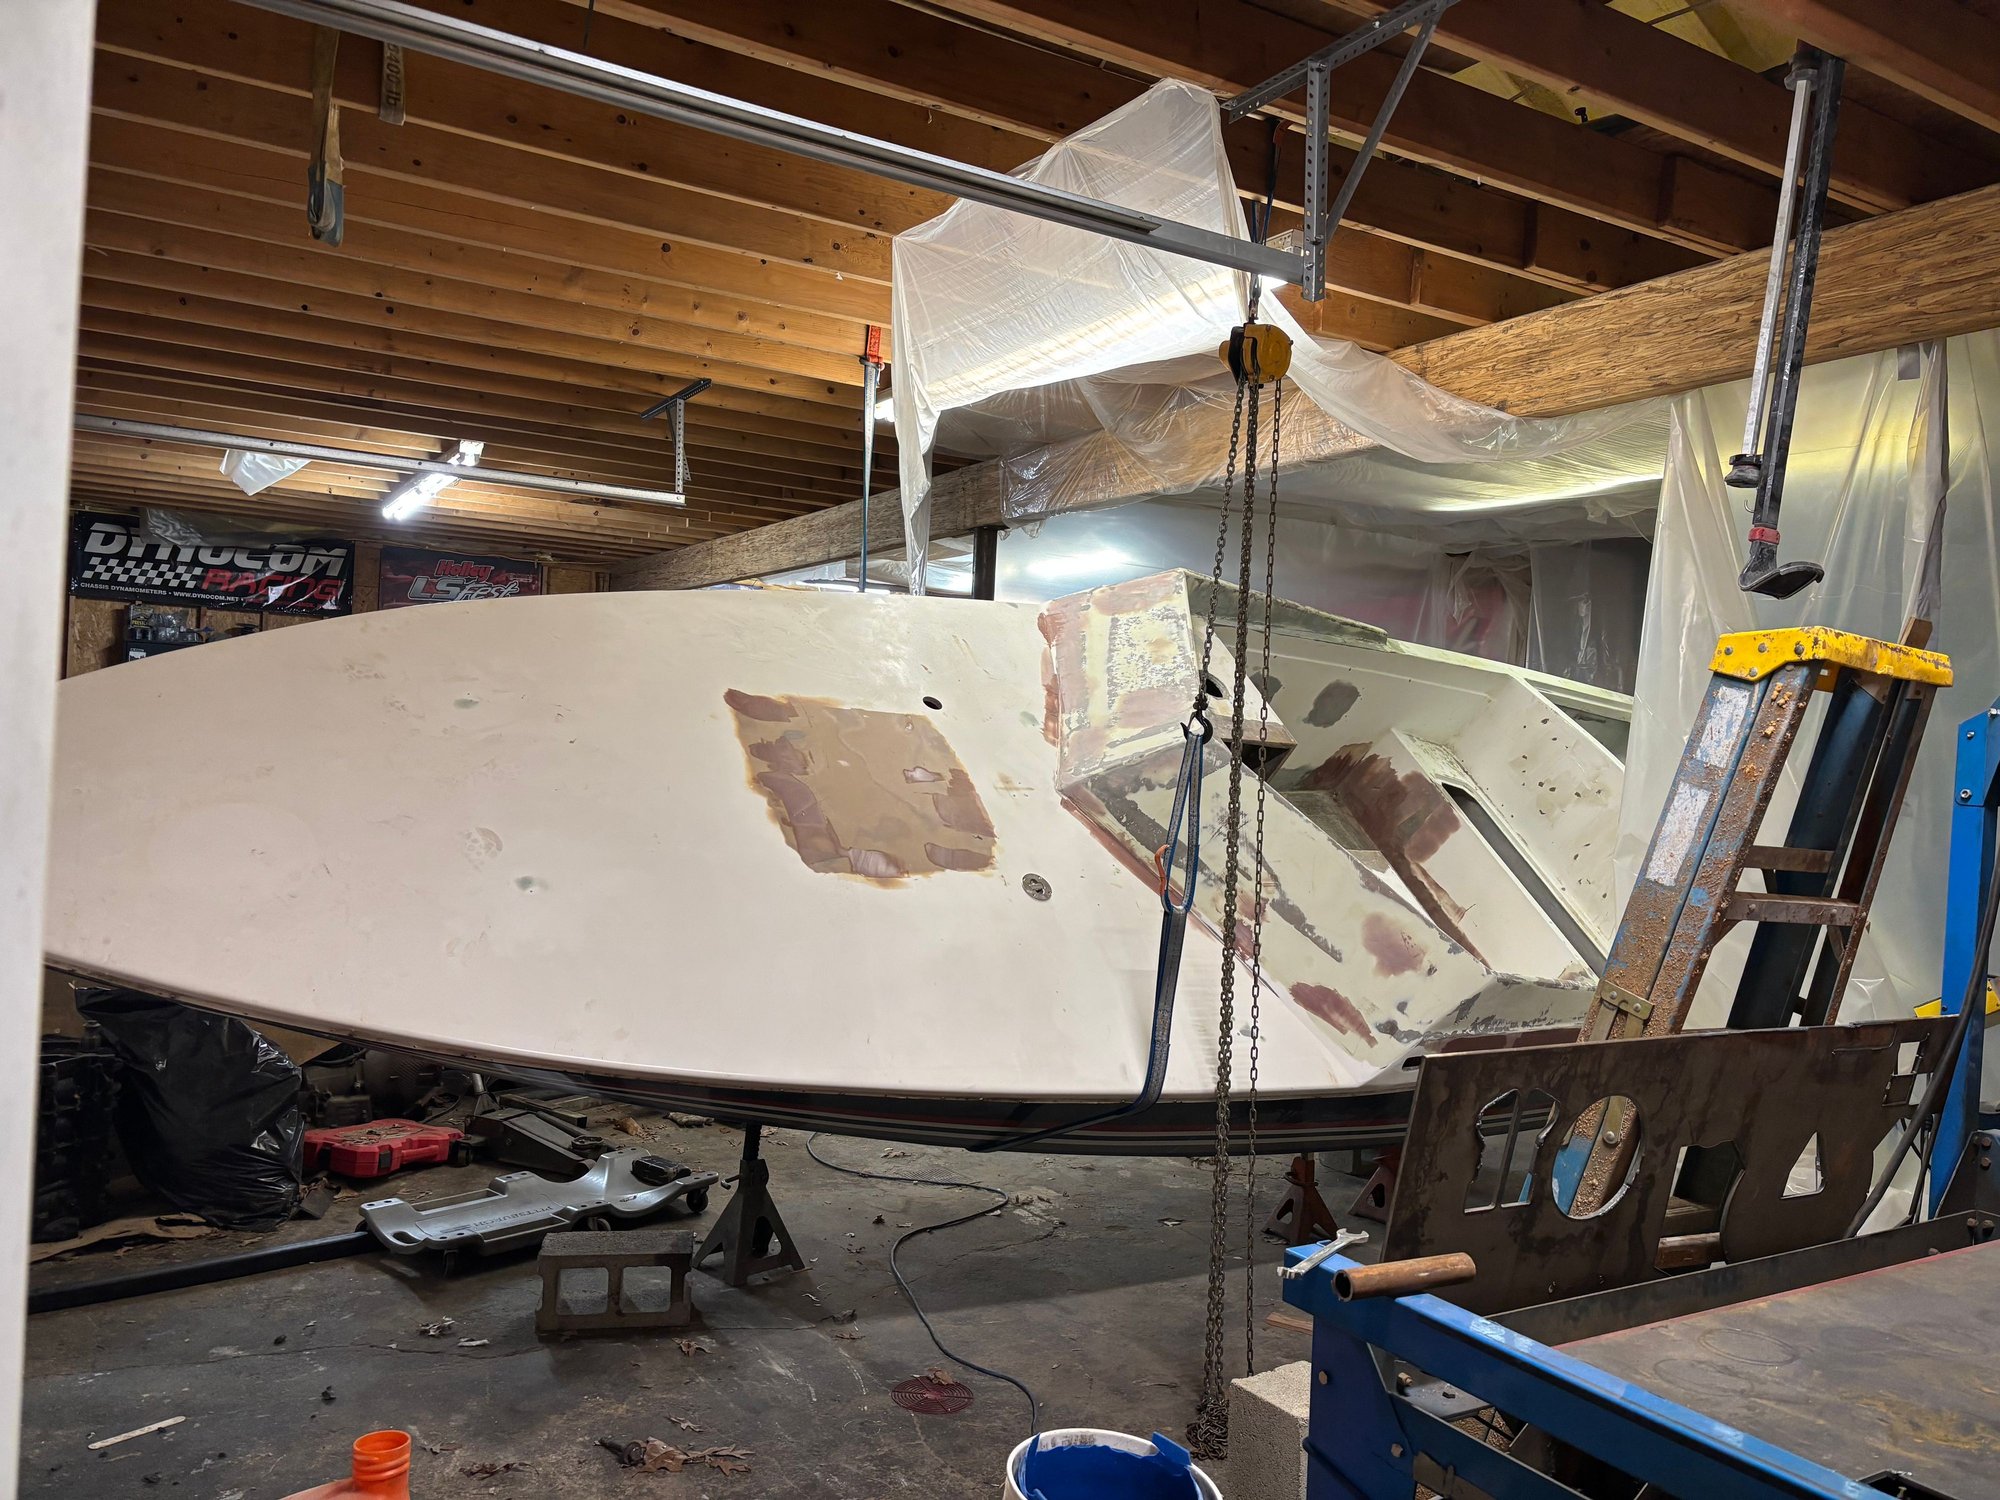
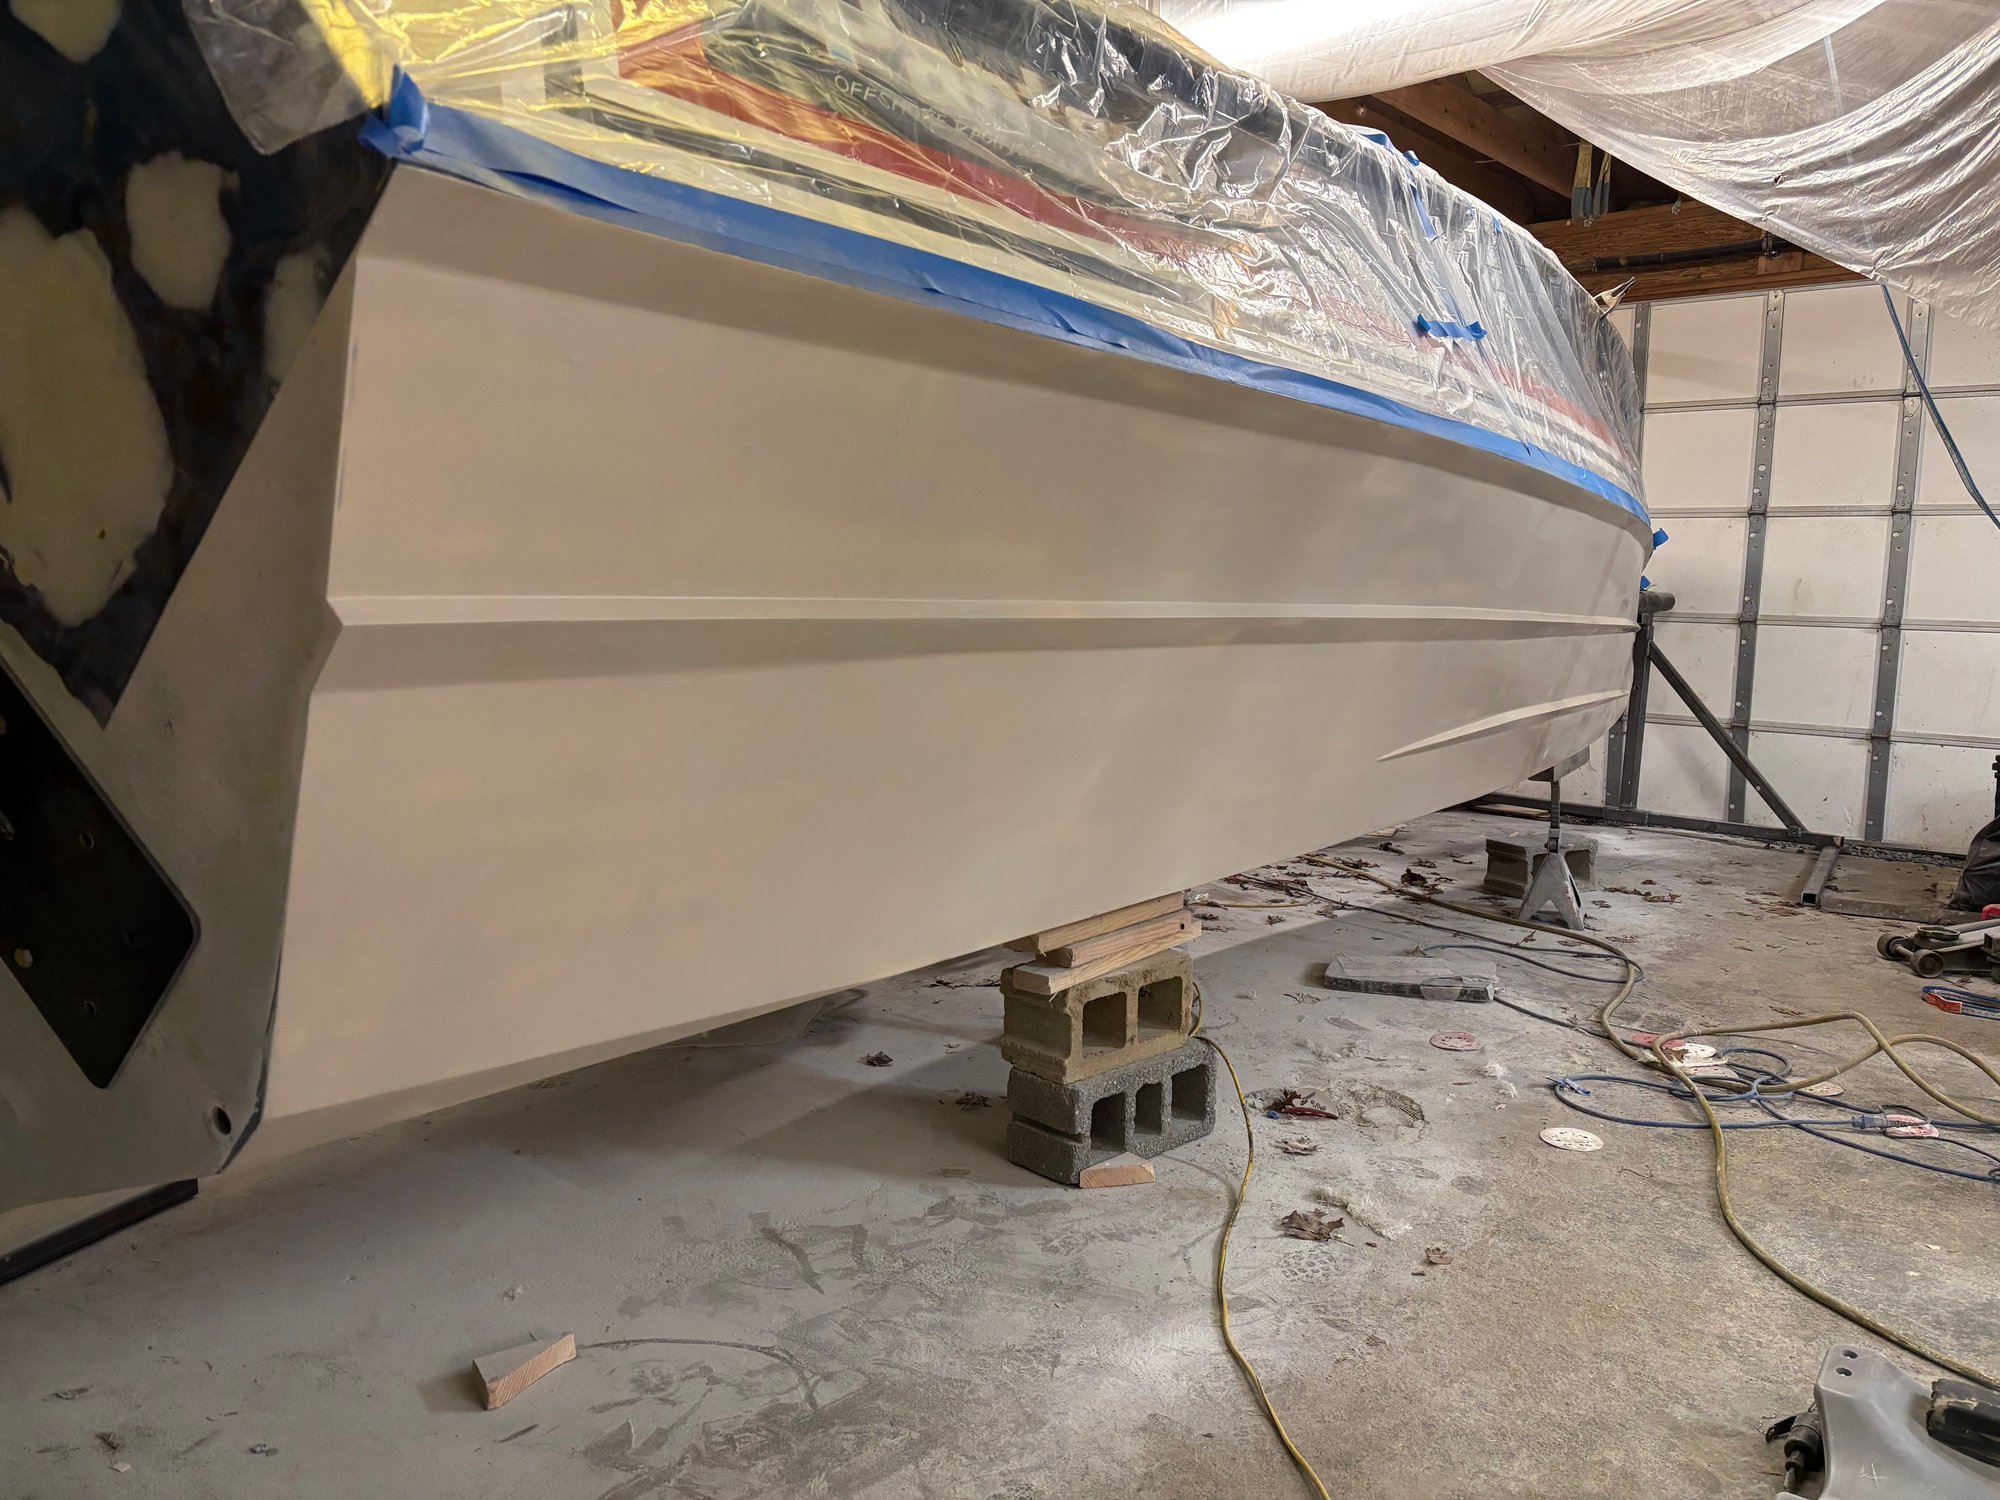
2 coats of 545 spotlight makes it look wavy but its pretty good still need to sand it. This is a race boat so were painting the bottom itll never sit in the water long. And i figure if i like this hull ill send it out get it straightened. However it was actually pretty straight but i wasnt getting into fully working it with the time i have. From flipping to priming one side this was 1 week while working full time. Its been a push to get done. Sharpened the strakes fill all the whoops and chunks with glass.
Those speaker holes i wasnt going to fill sprayed some of the extra primer on i didnt want to waste. Not mad at how they came out still need sanding before paint obviously.
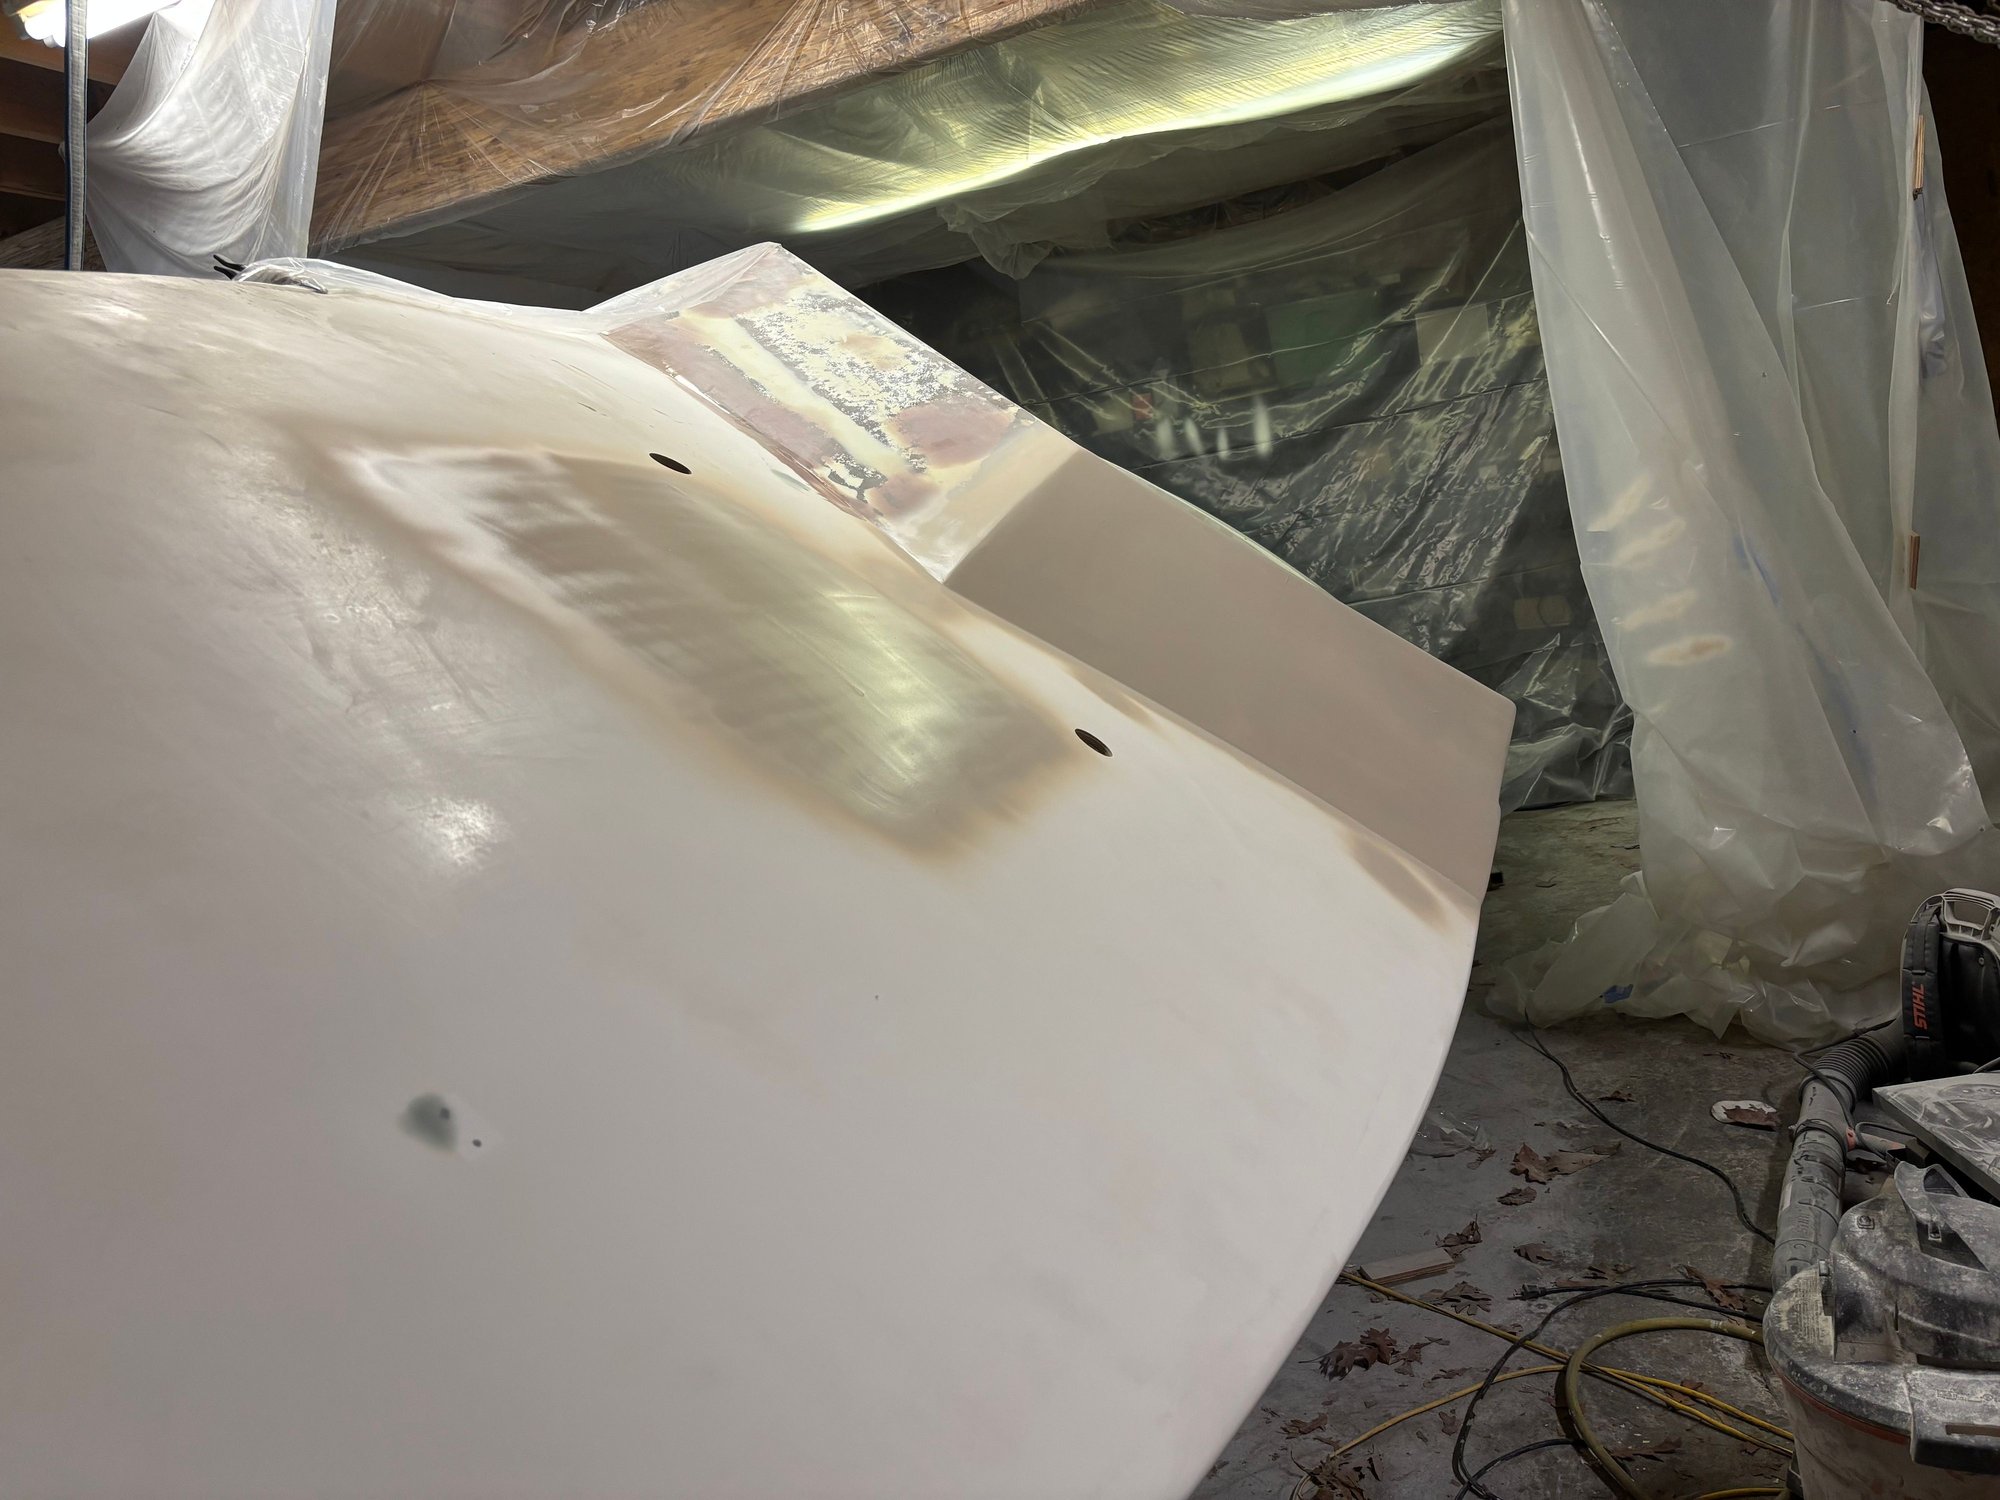
Took advantage of the angle got some highbuild on the hatch patch and the windshield side since it was waist high easy to work. Flipped the boat to the other side and currently working the side of the hull. Pics will come soon. Never thought id be this deep into this can of worms but here we are. This is my first time ever doing fiberglass so its been a learning curve but we are learning a ton and making sure it comes out as good as we can get it.
 03-19-2025 | 06:21 AM
#44
Thread Starter
Registered
Joined: Jun 2022
Posts: 91
Likes: 114
yea the blocks were just for my peace of mind being under a boat being held by the bow eye it hasnt had anything under it for 2 weeks now i just keep the sling when not painting. Same with the jackstands they were just so i felt better but they would end up thru the hull side if something did happen lol