

1979 24 pantera se restoration/class 6 build


 06-08-2025 | 03:39 PM
#62
Thread Starter
Registered
Joined: Jun 2022
Posts: 91
Likes: 114
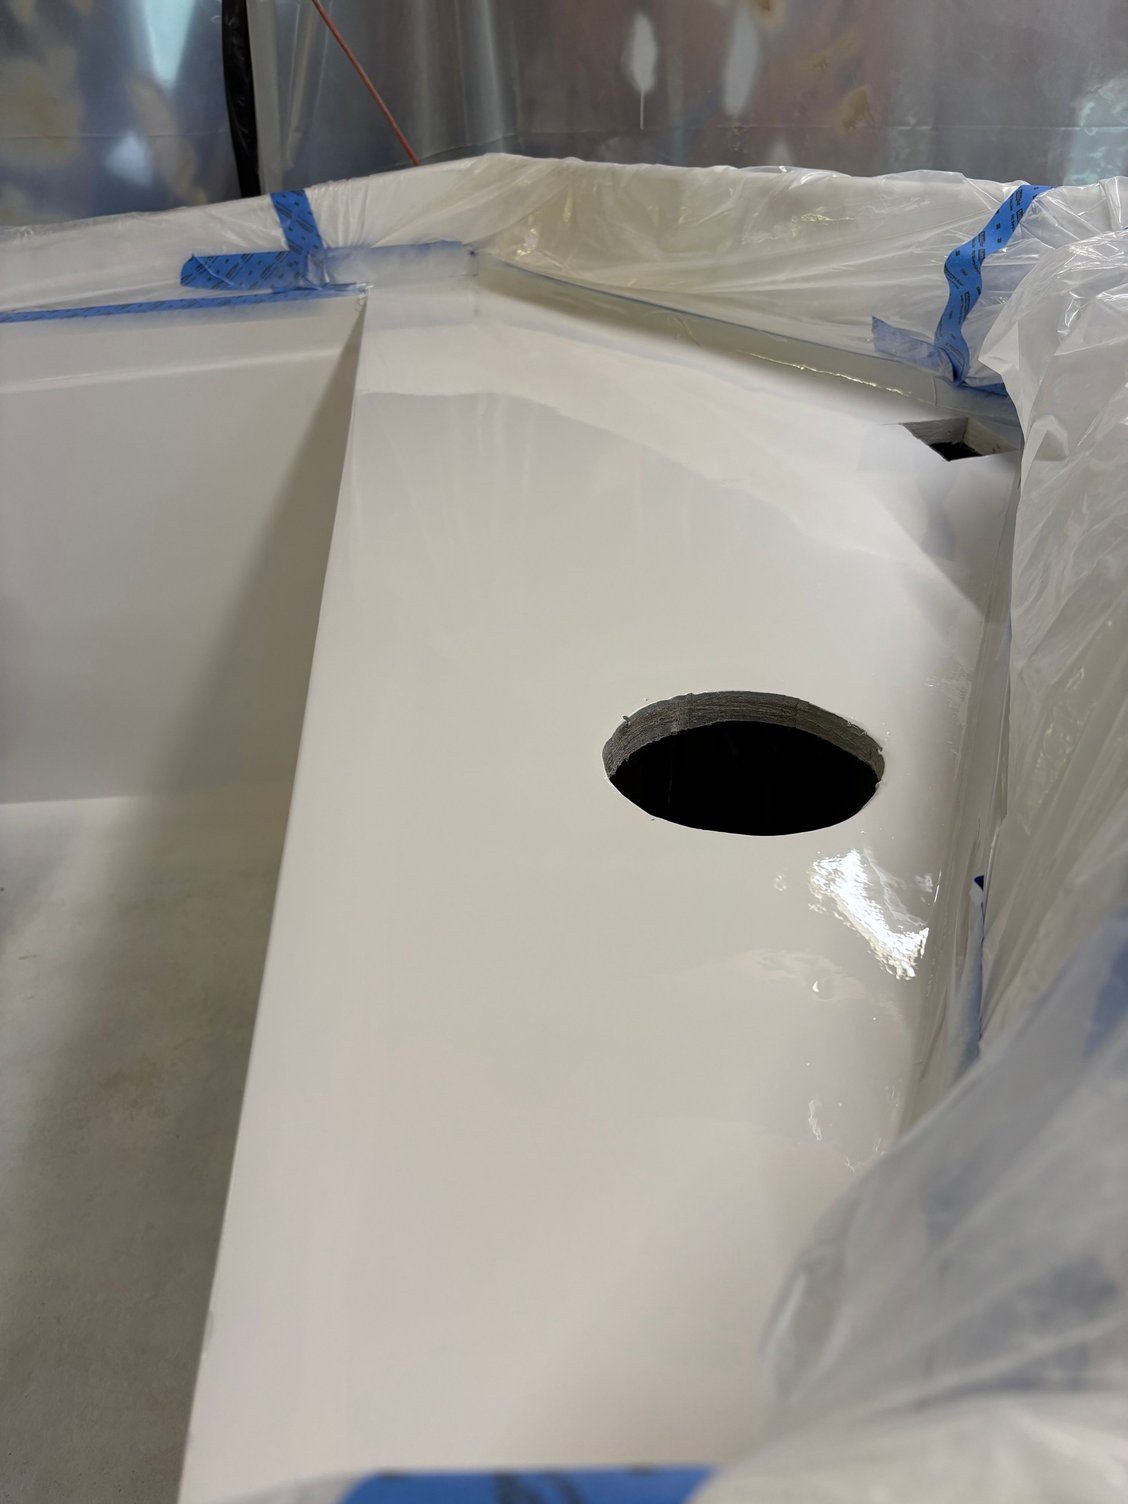
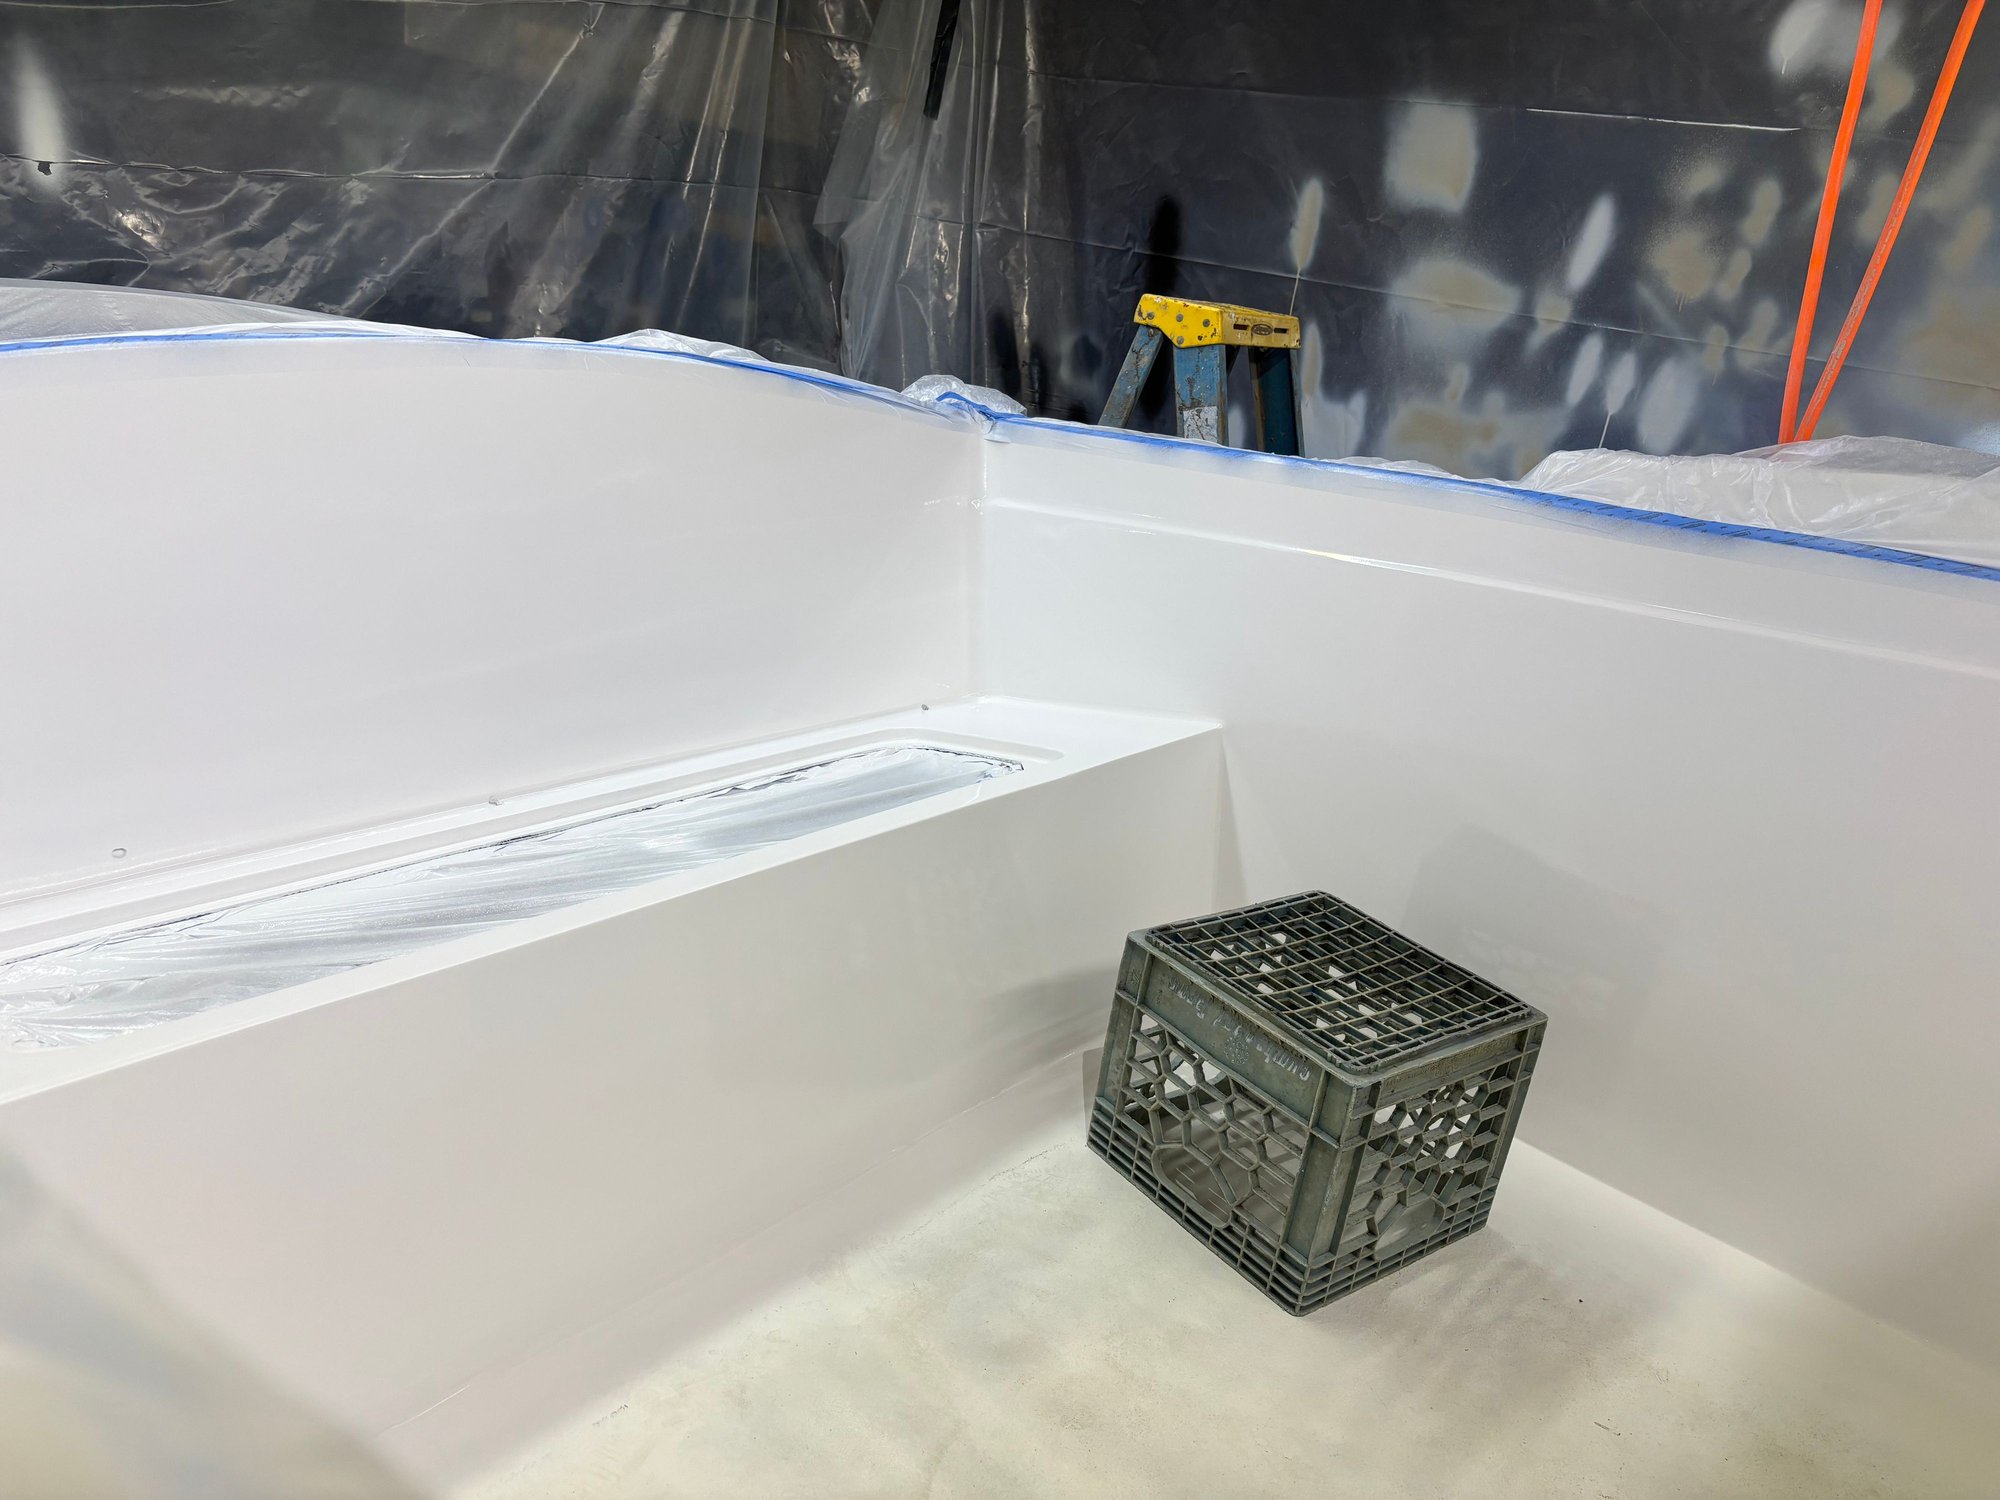
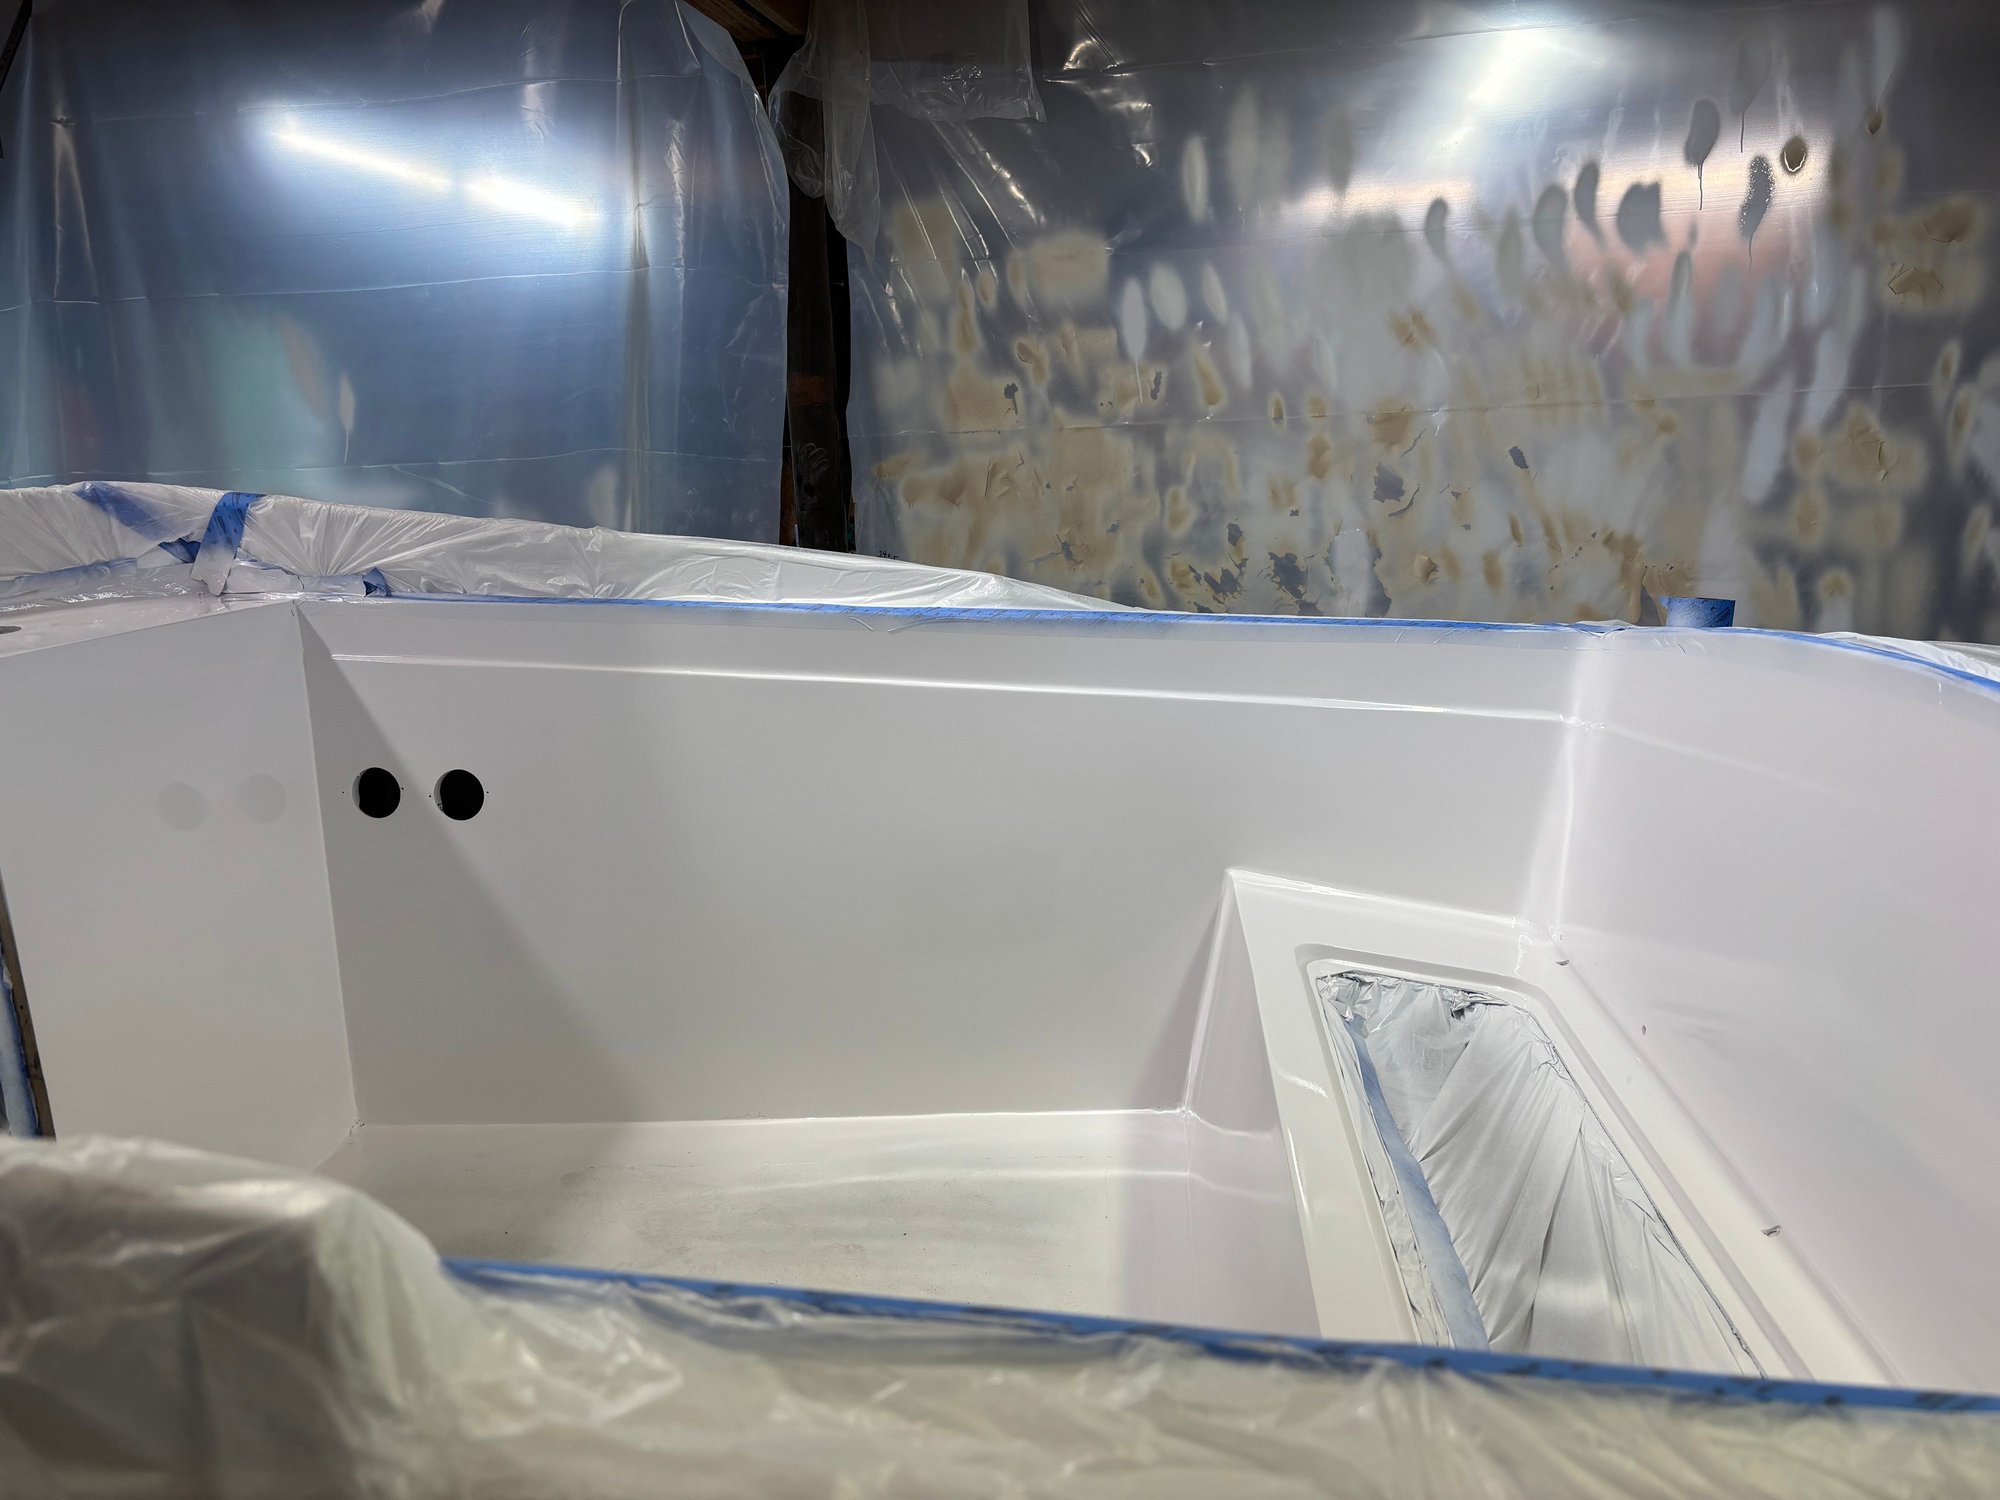
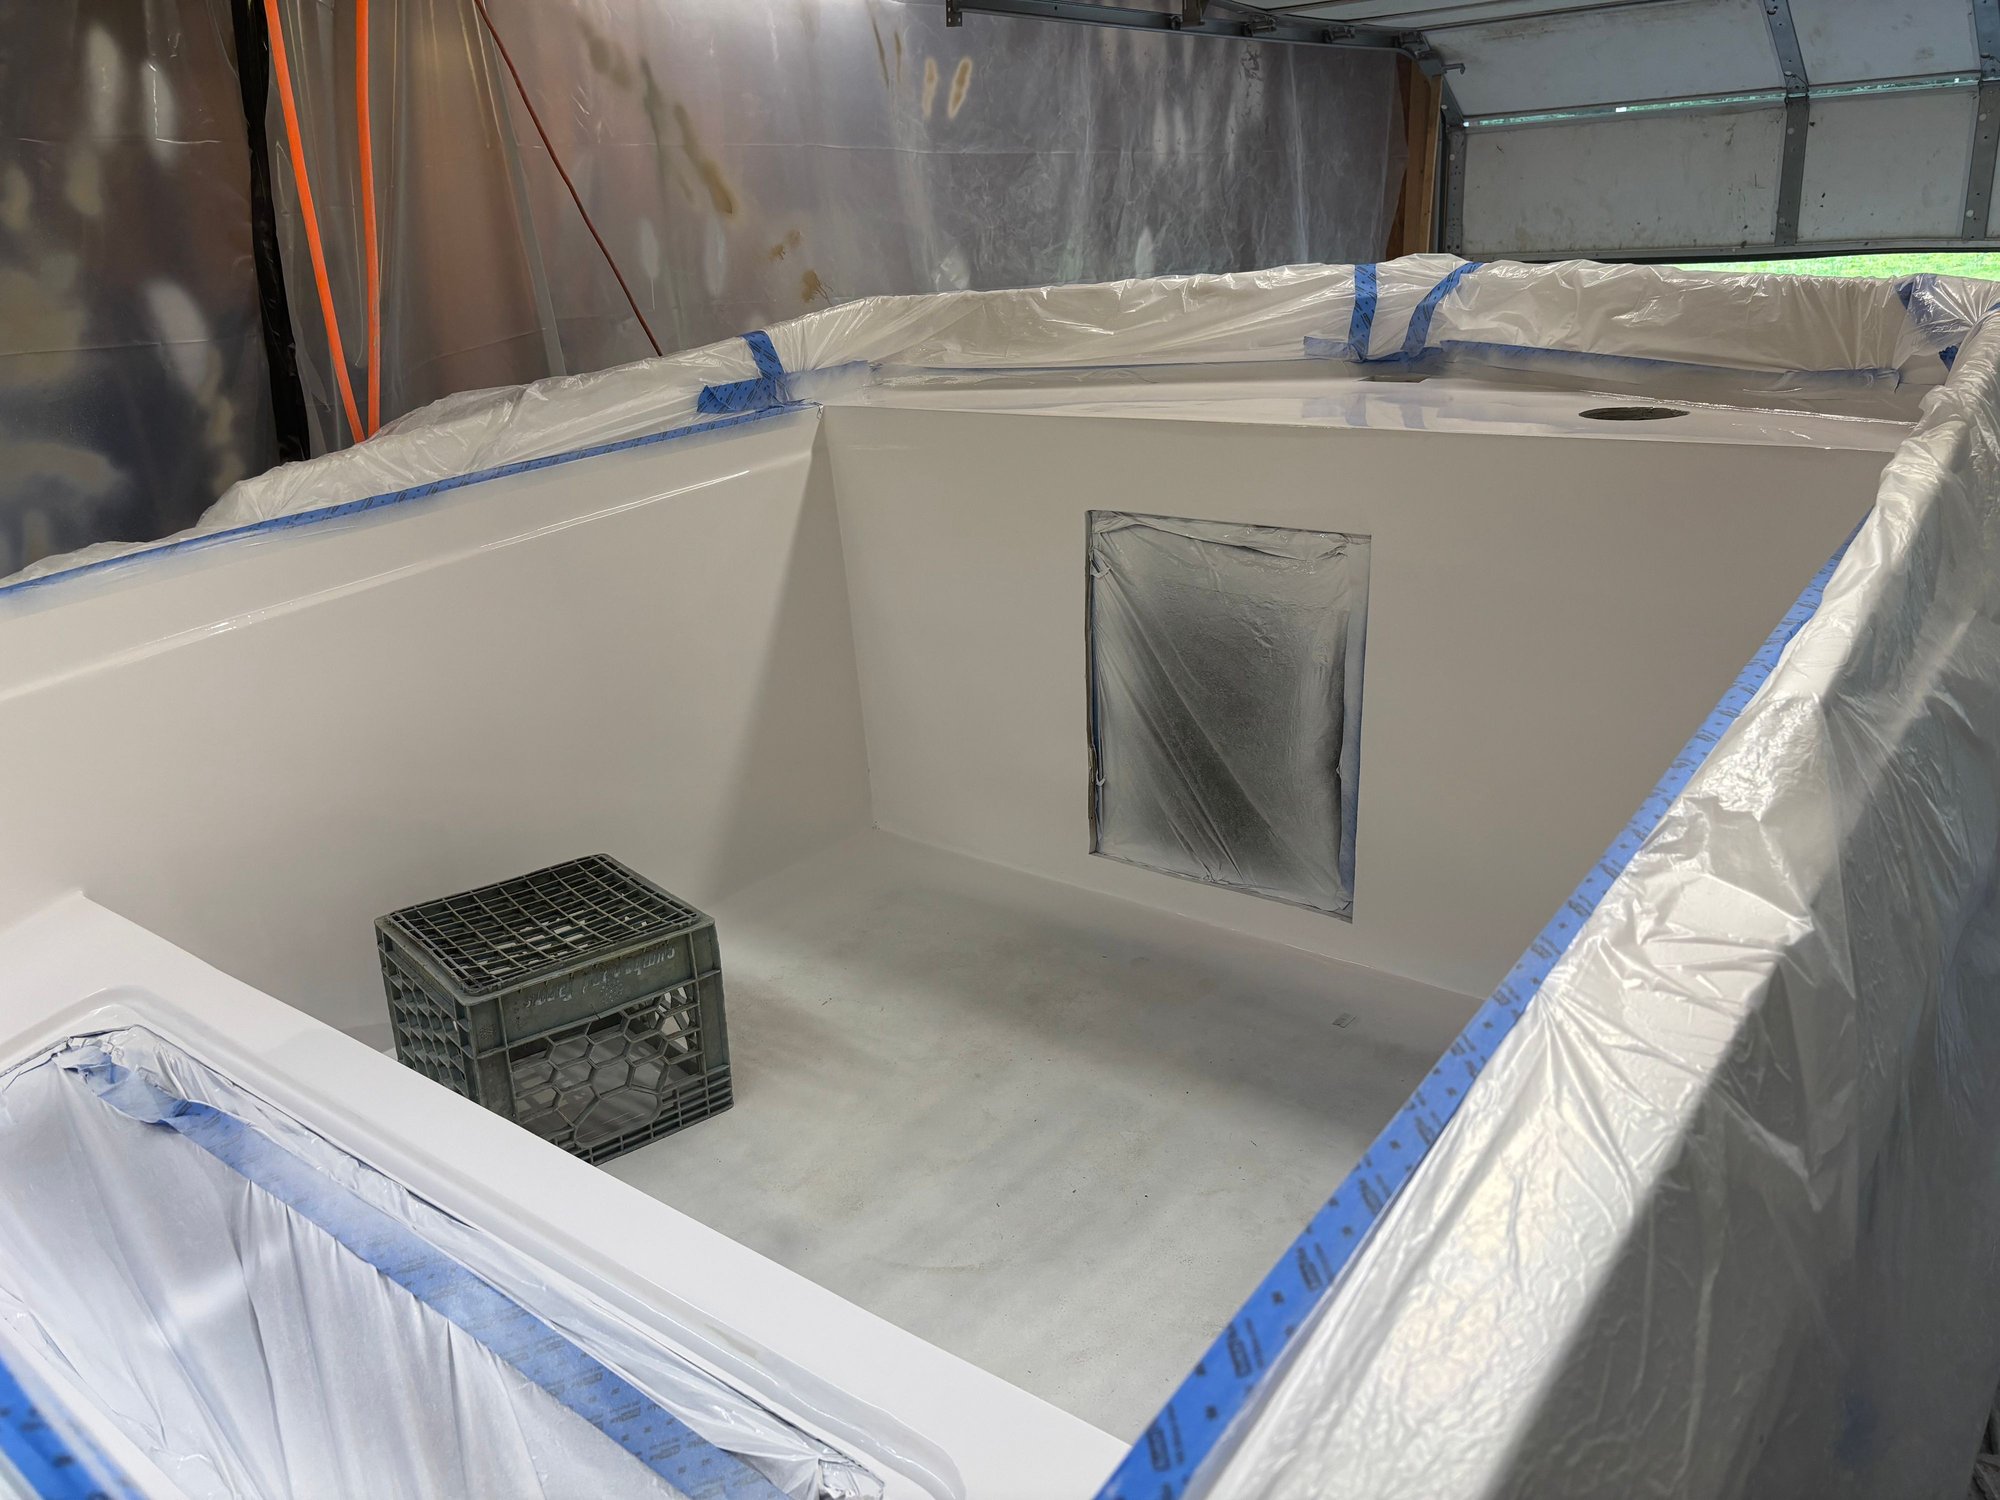
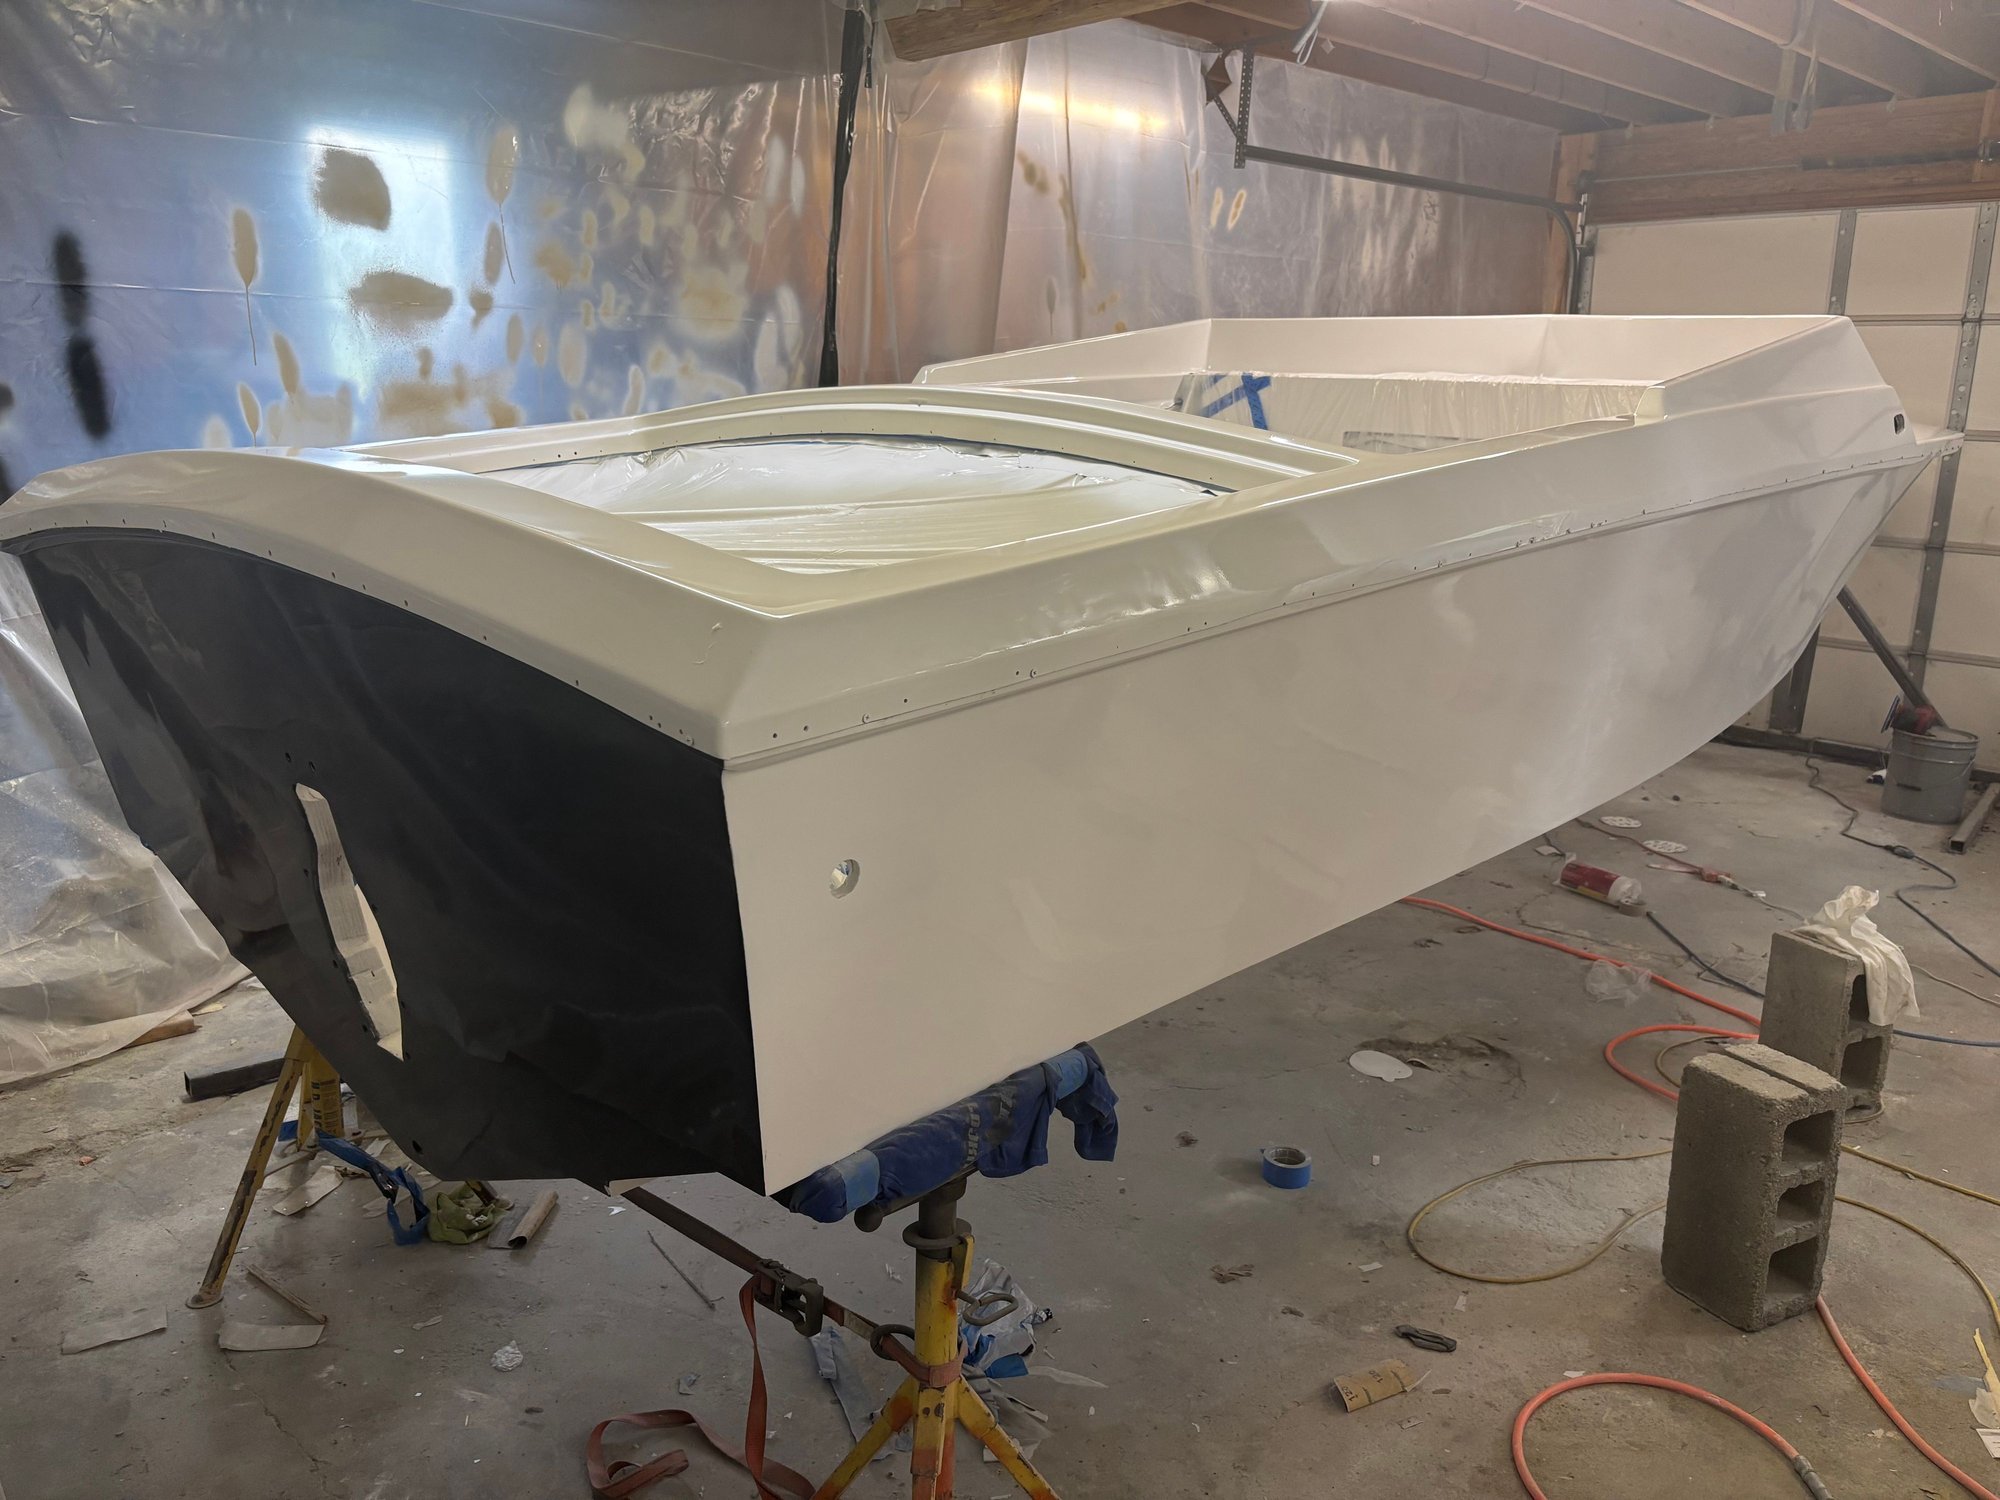
Inside painted decided to spray the inside then do top so im not climbing in and out and spraying awkward angles. Not bad cant tell there was a giant hole in the dash for the cabin door. Alot of reflection from the led lights in ceiling its not blotchy lol
06-16-2025 | 07:35 AM
#63
Thread Starter
Registered
Joined: Jun 2022
Posts: 91
Likes: 114
First time seeing it unwrapped. Came out ok first time ever painting anything. Got some sanding to do.
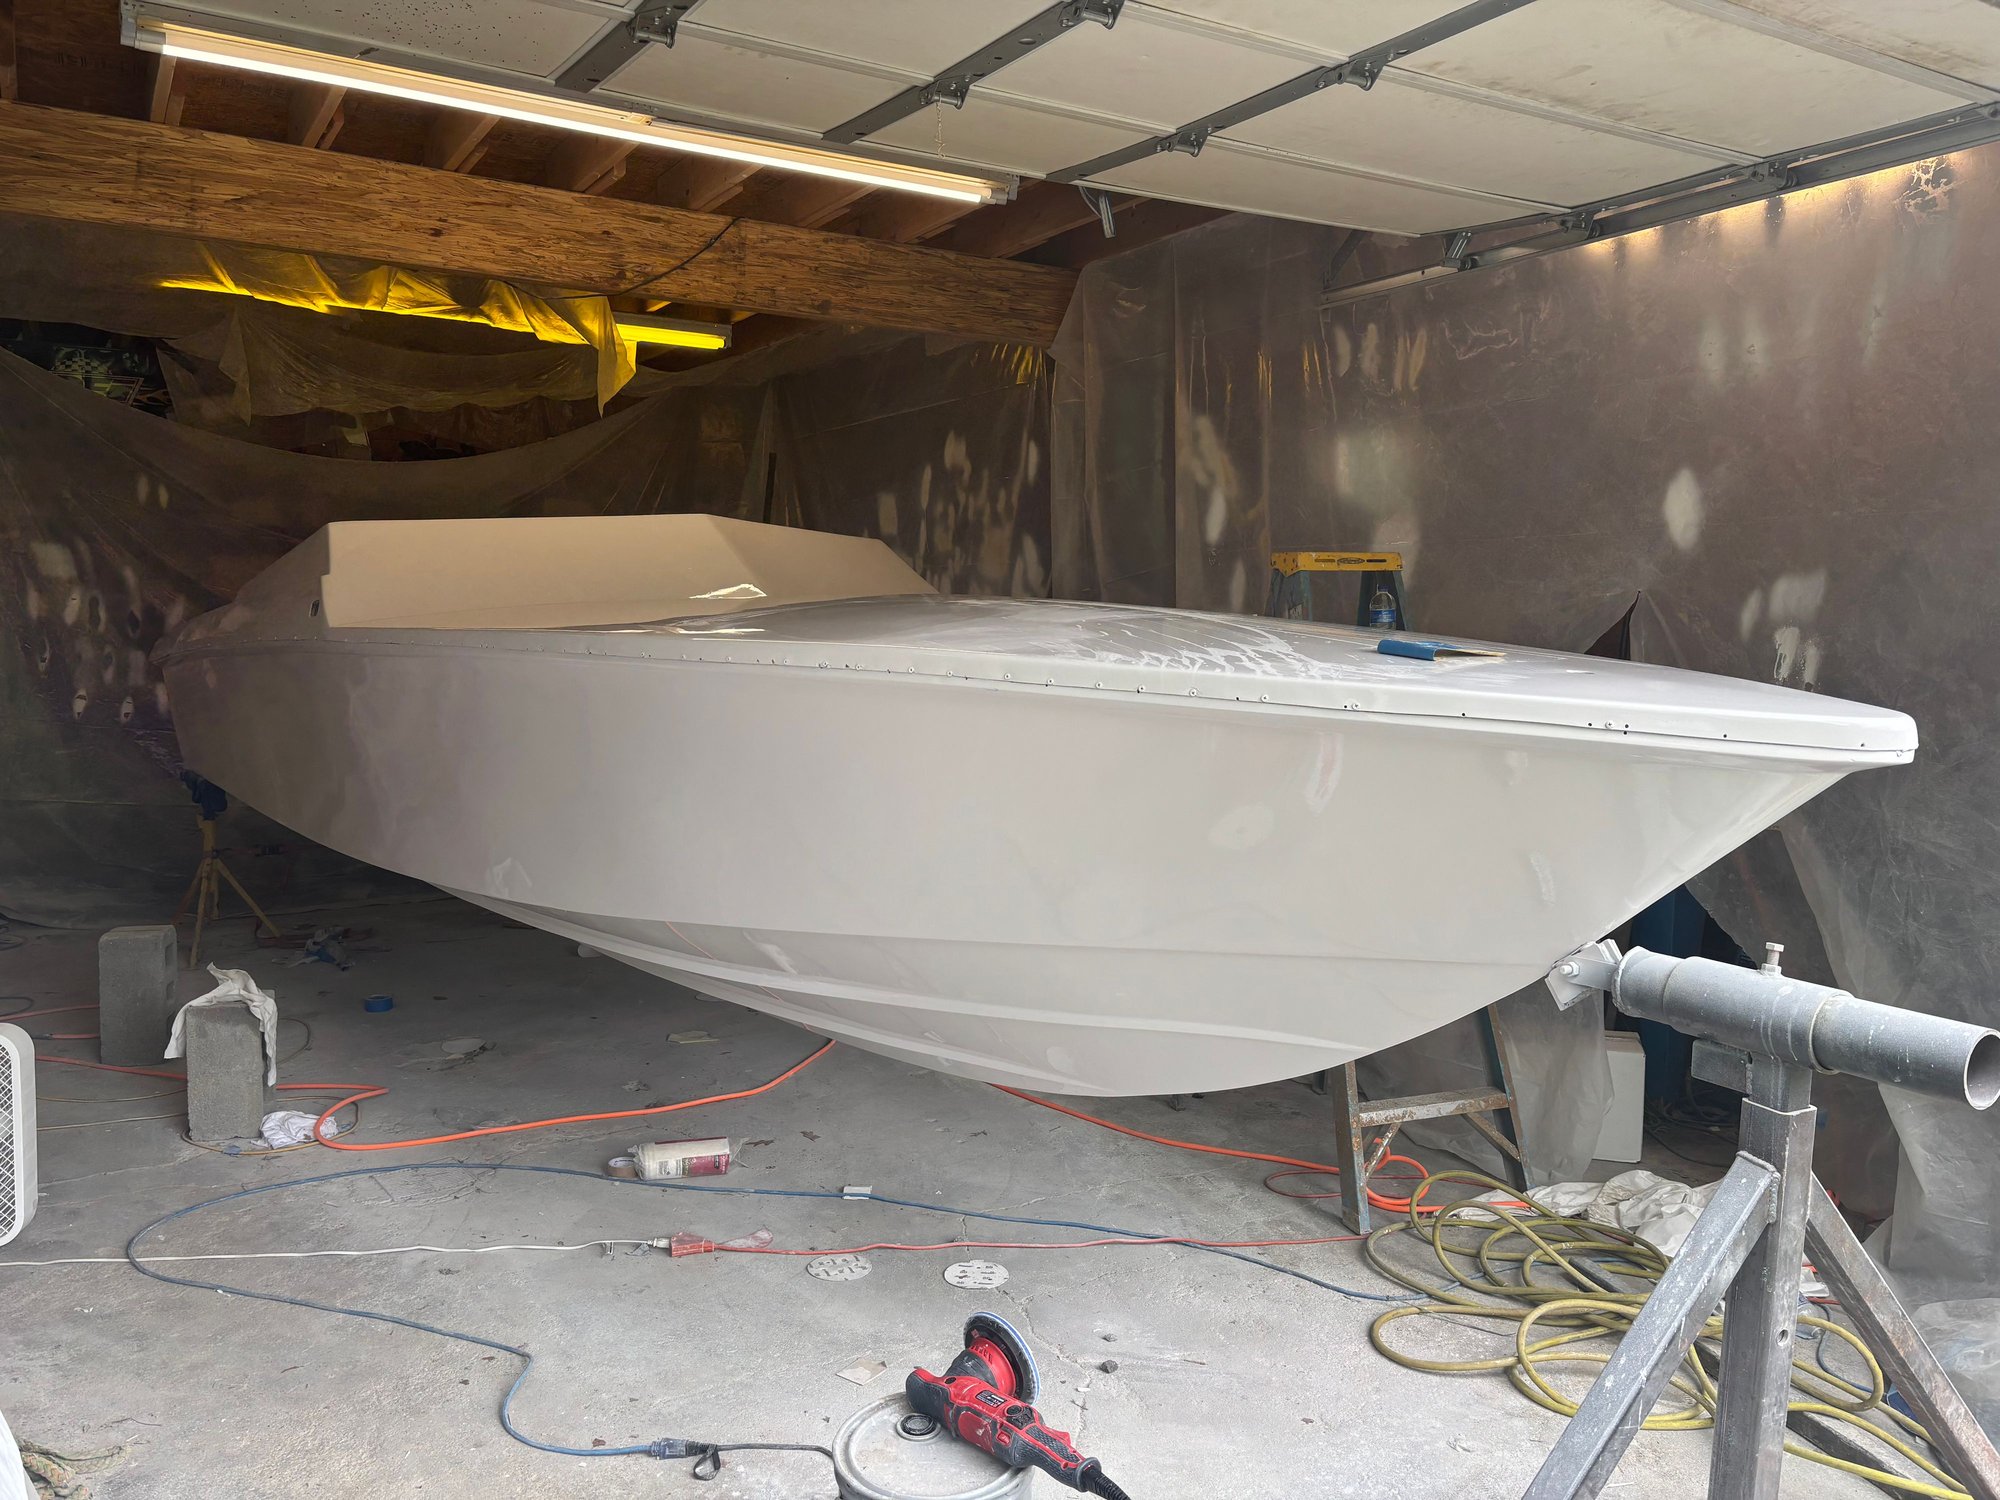
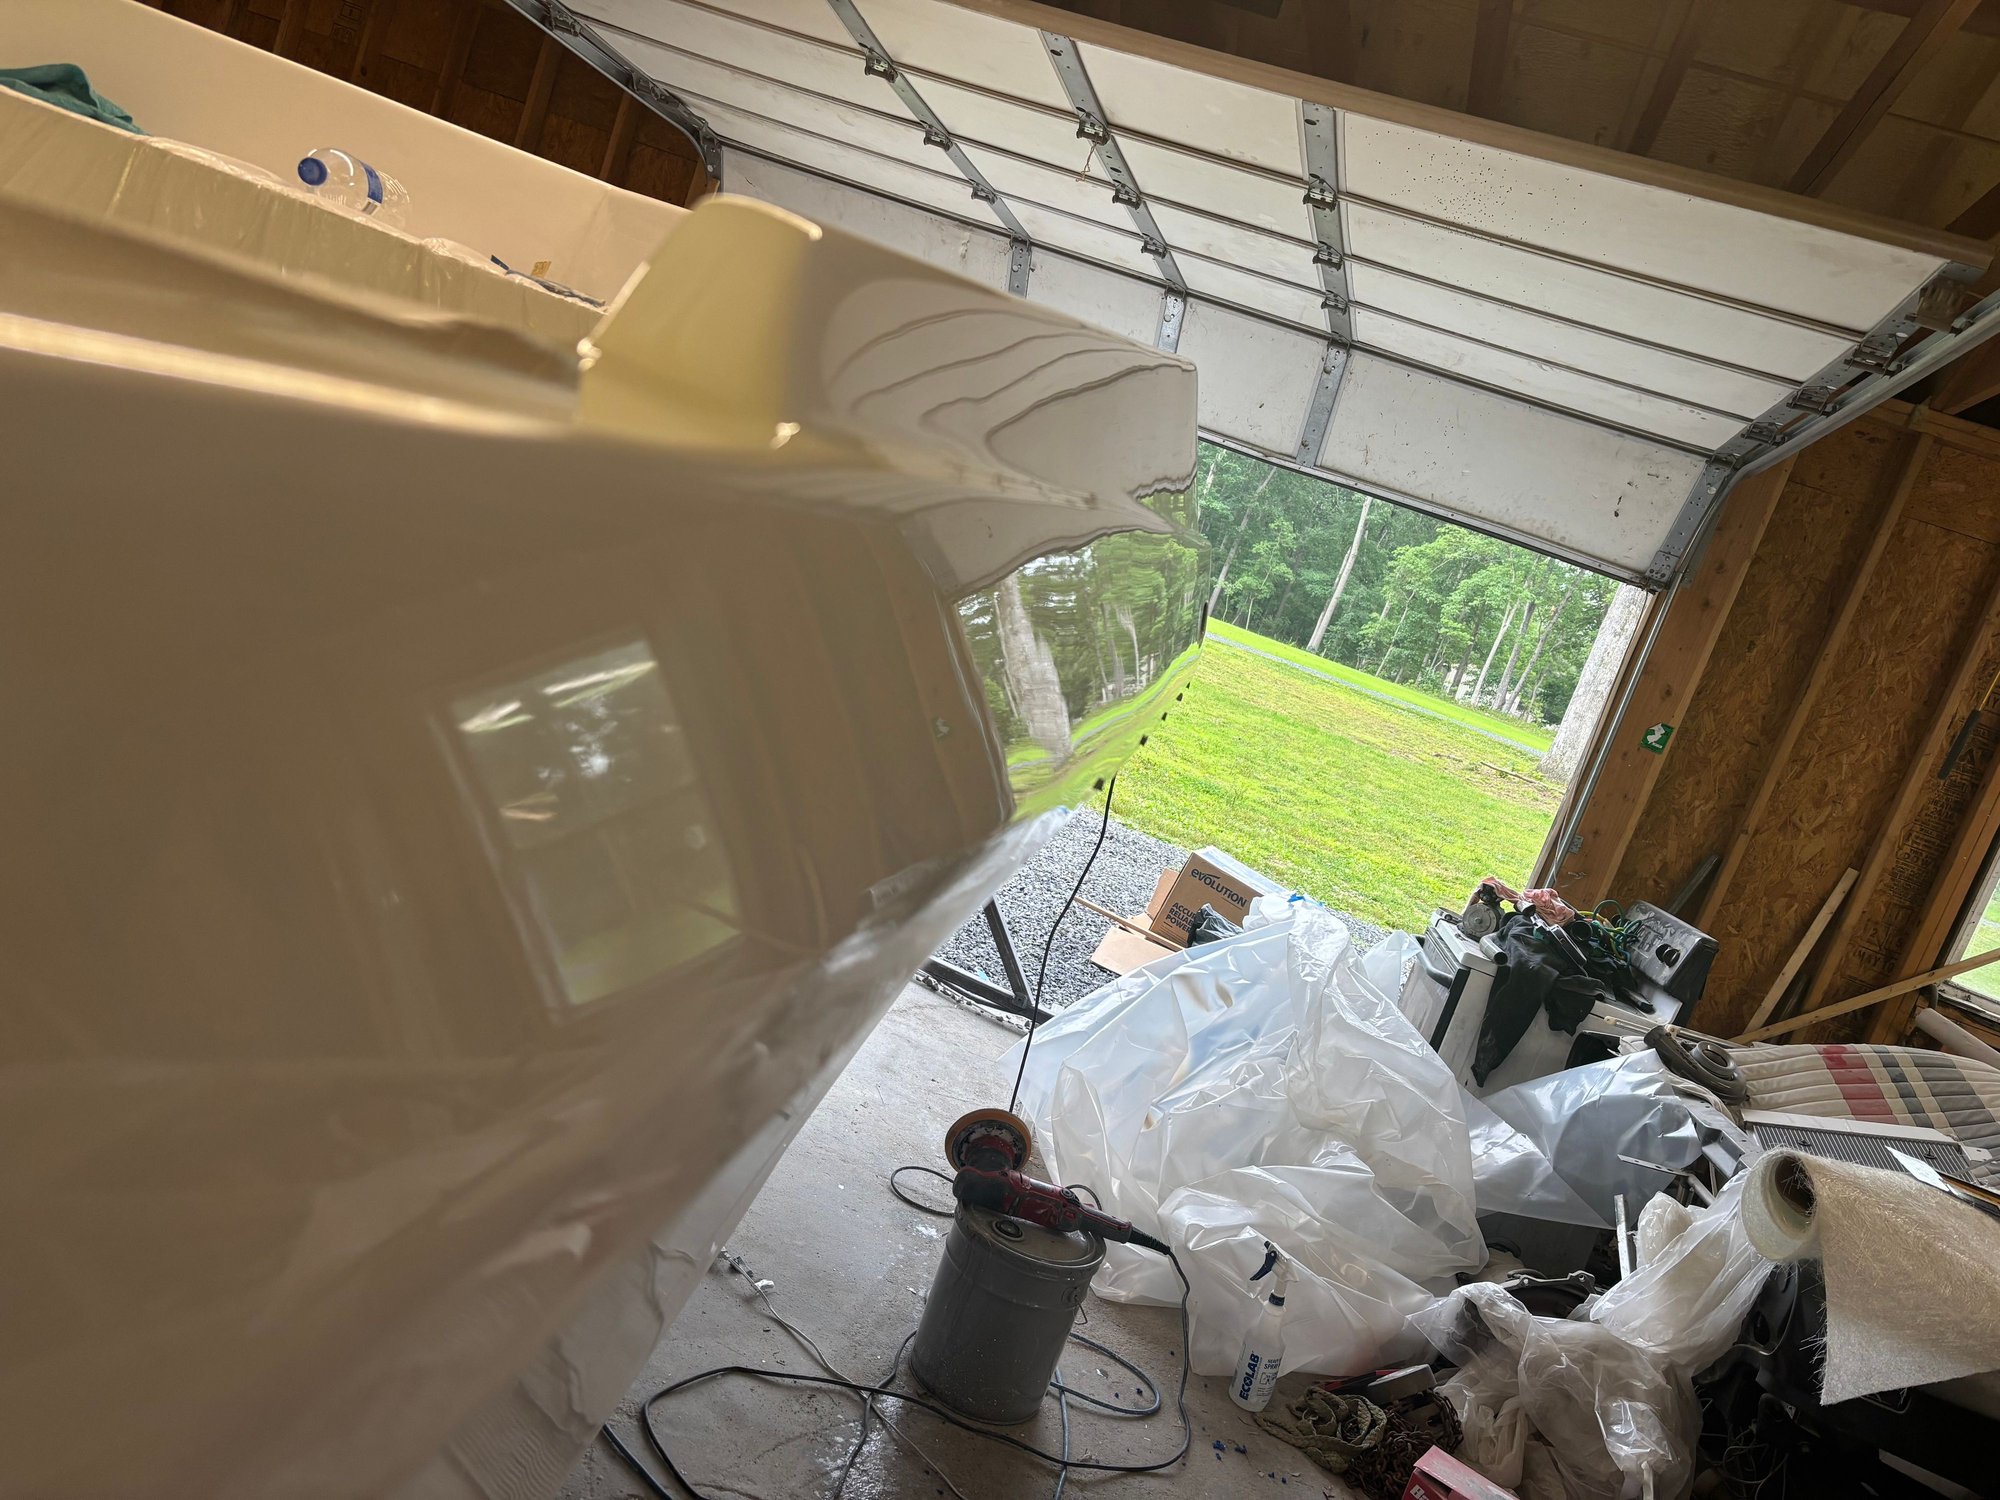
Sanded down and compounded not going too crazy because its single stage but theres plenty of paint on it
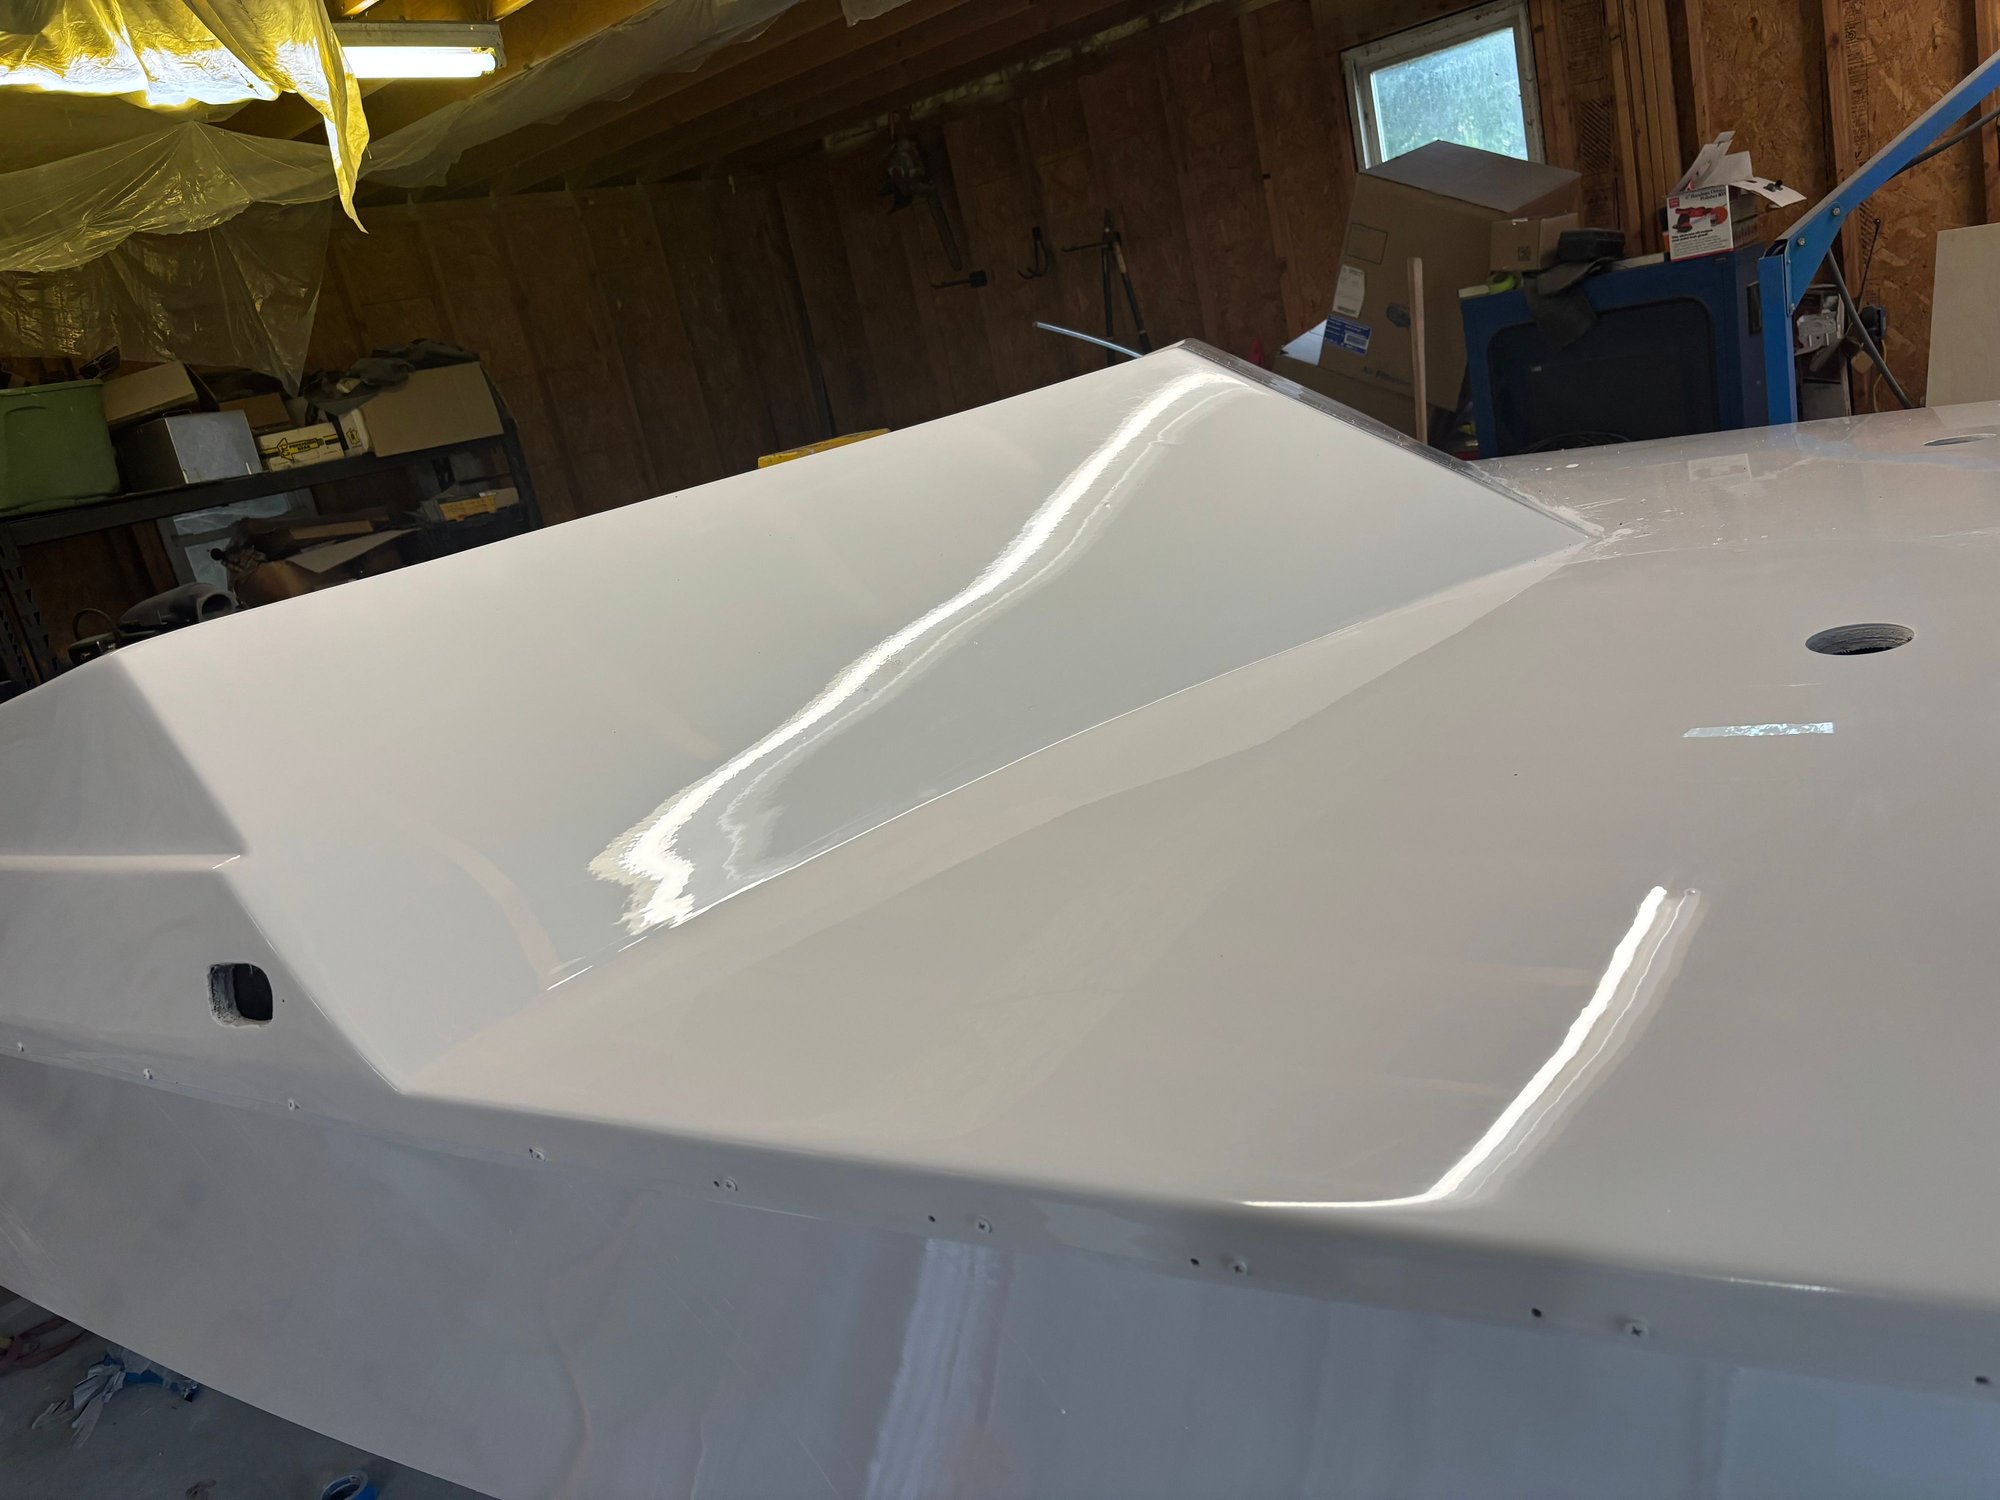
Getting there.
 07-13-2025 | 08:32 PM
#65
Thread Starter
Registered
Joined: Jun 2022
Posts: 91
Likes: 114
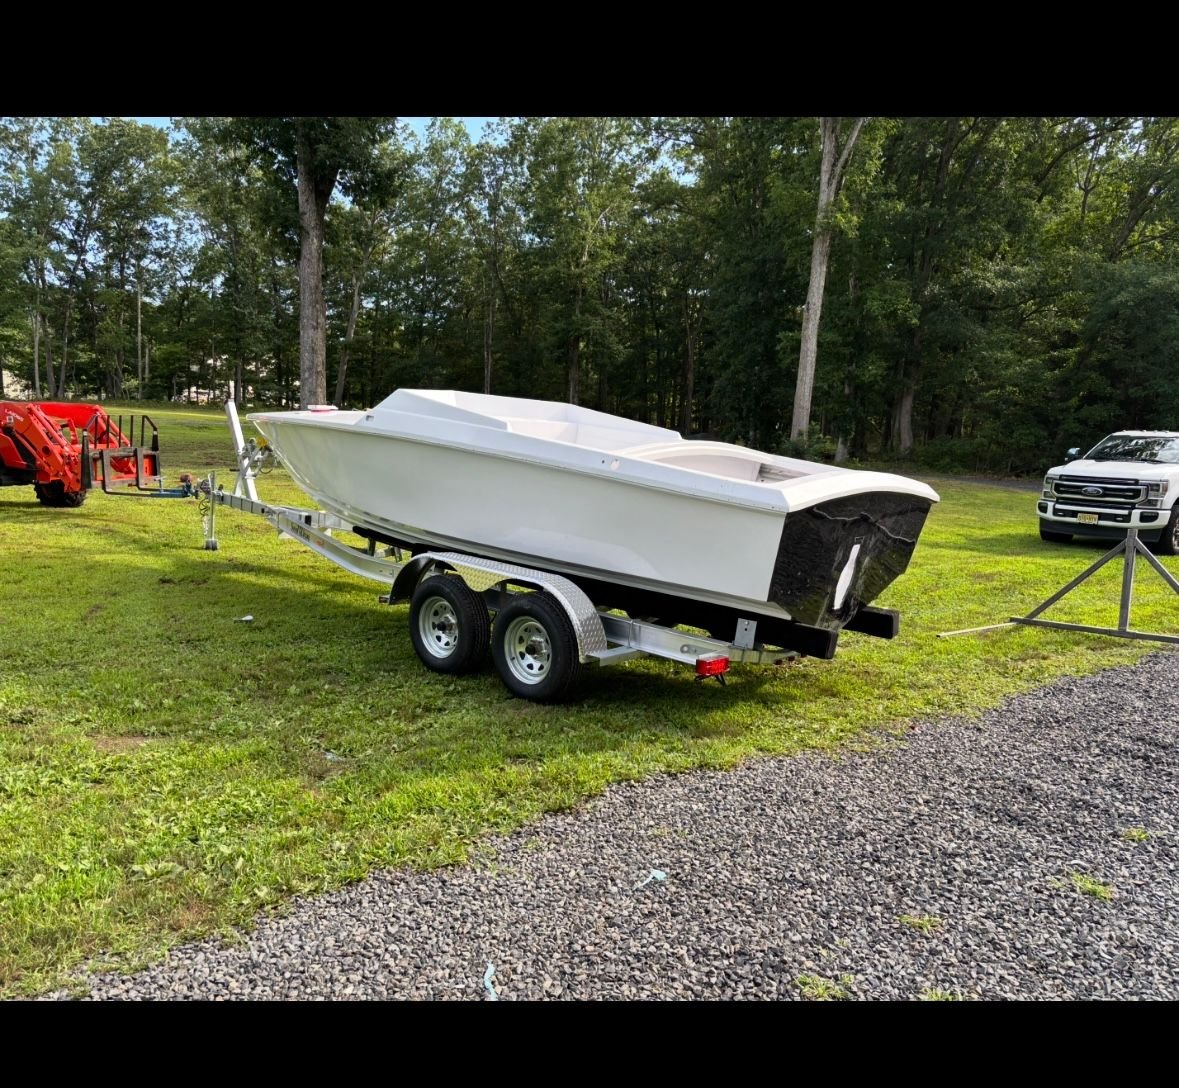

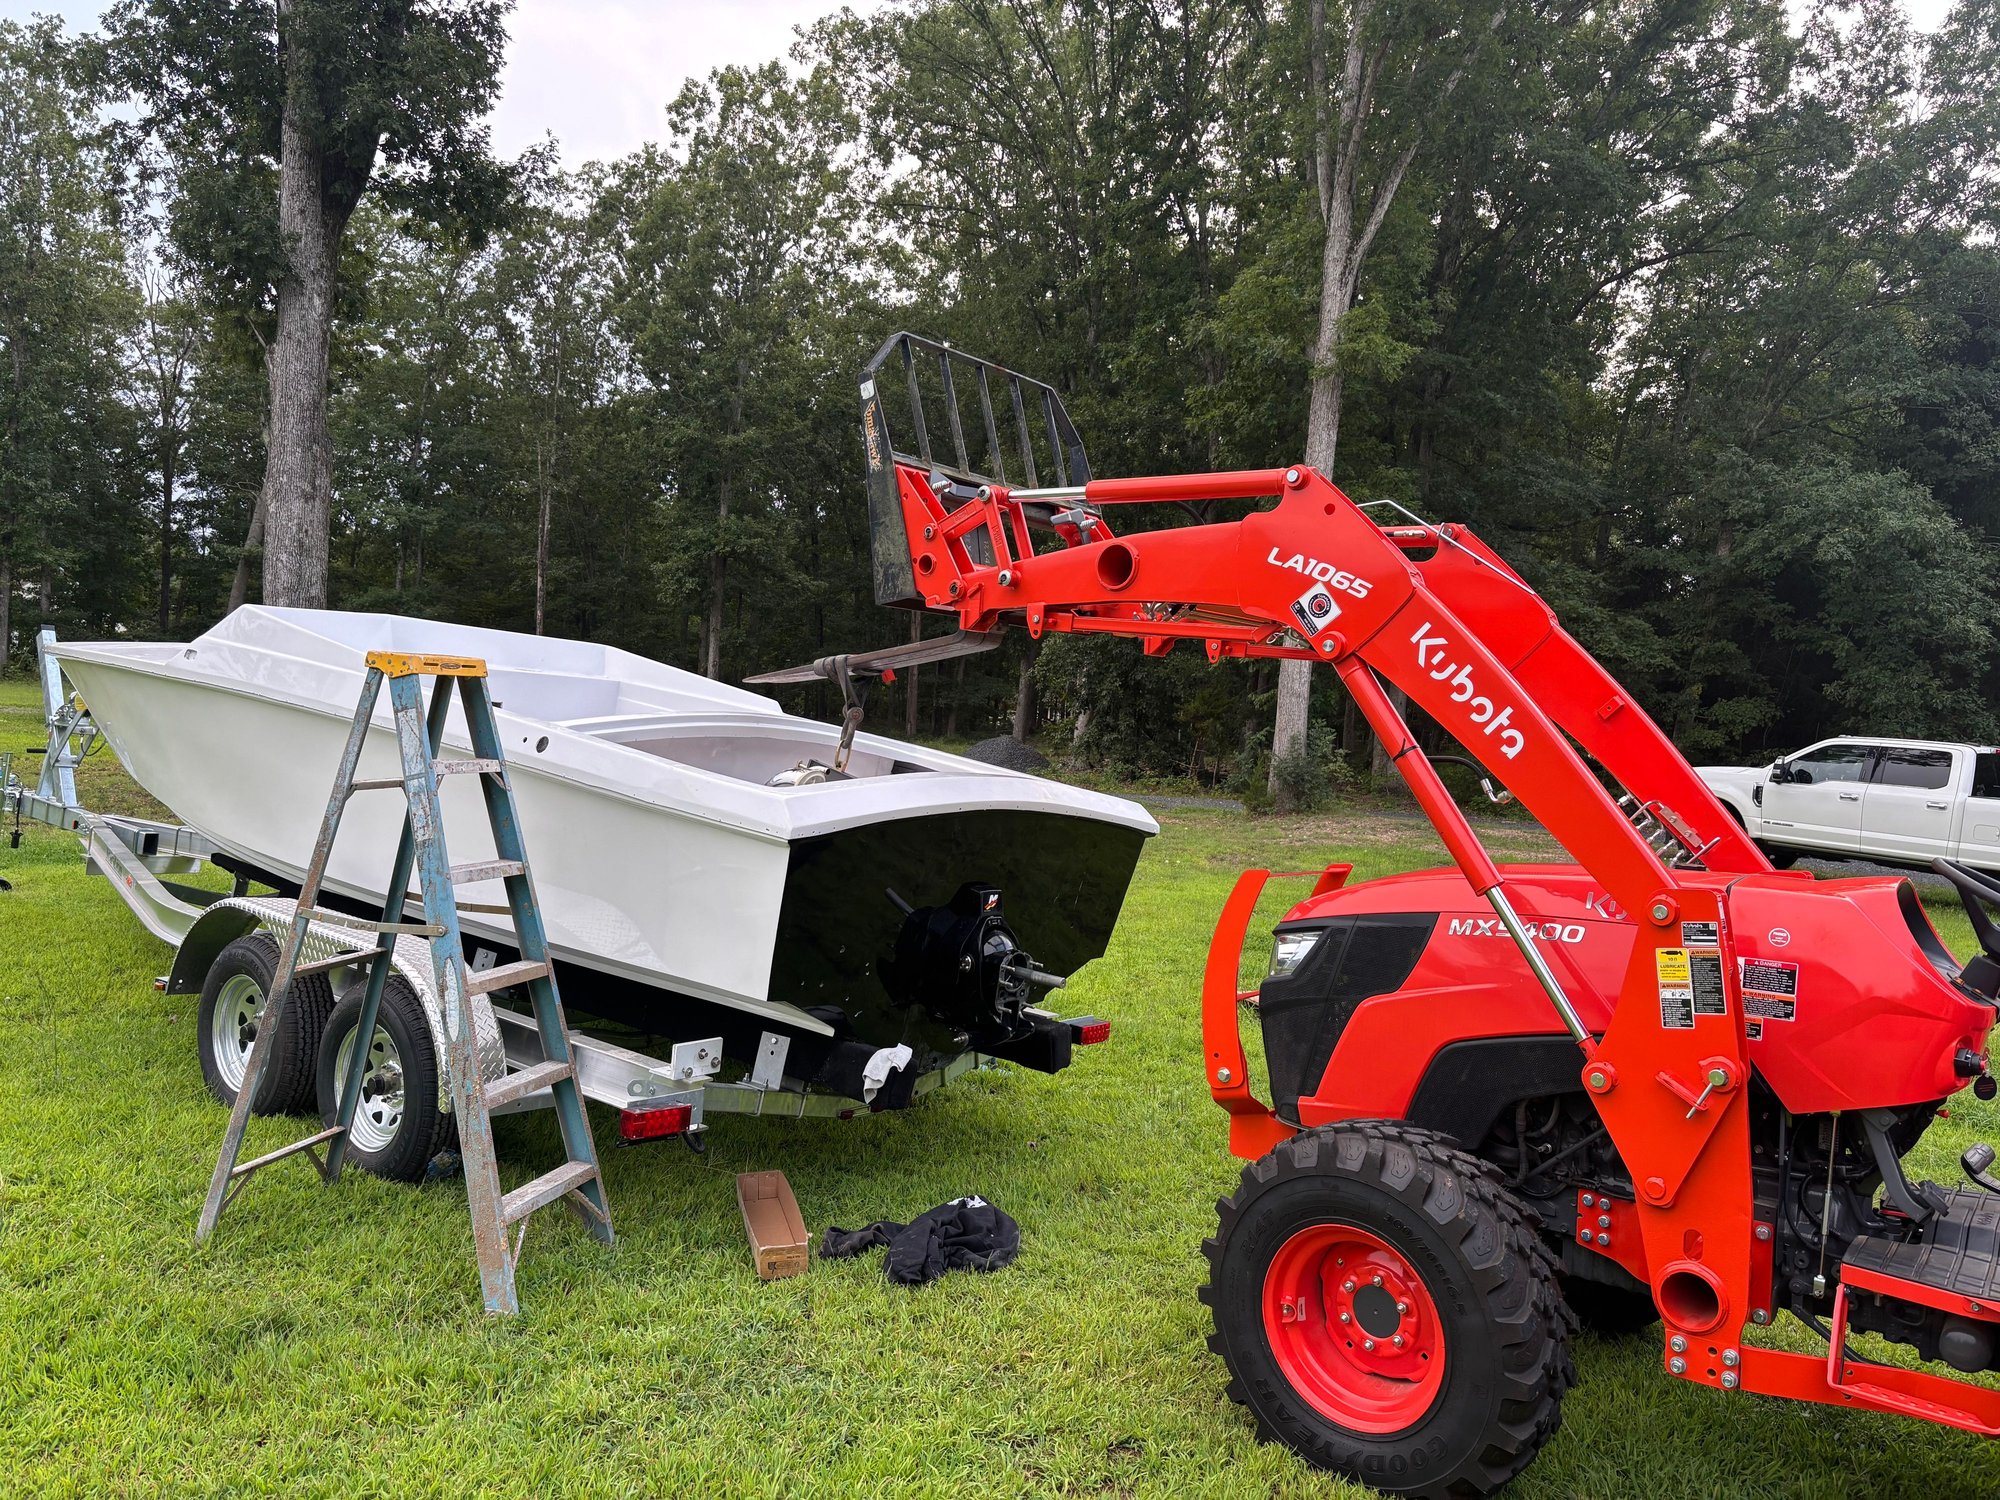
Finally got some time back on the boat got it off the stands and onto the new trailer. Oversized the trailer a hair to put a toolbox on the front. We will adjust how it sits on the trailer when we float it. Motors ready to go in this week.
10-14-2025 | 06:38 AM
#66
Thread Starter
Registered
Joined: Jun 2022
Posts: 91
Likes: 114
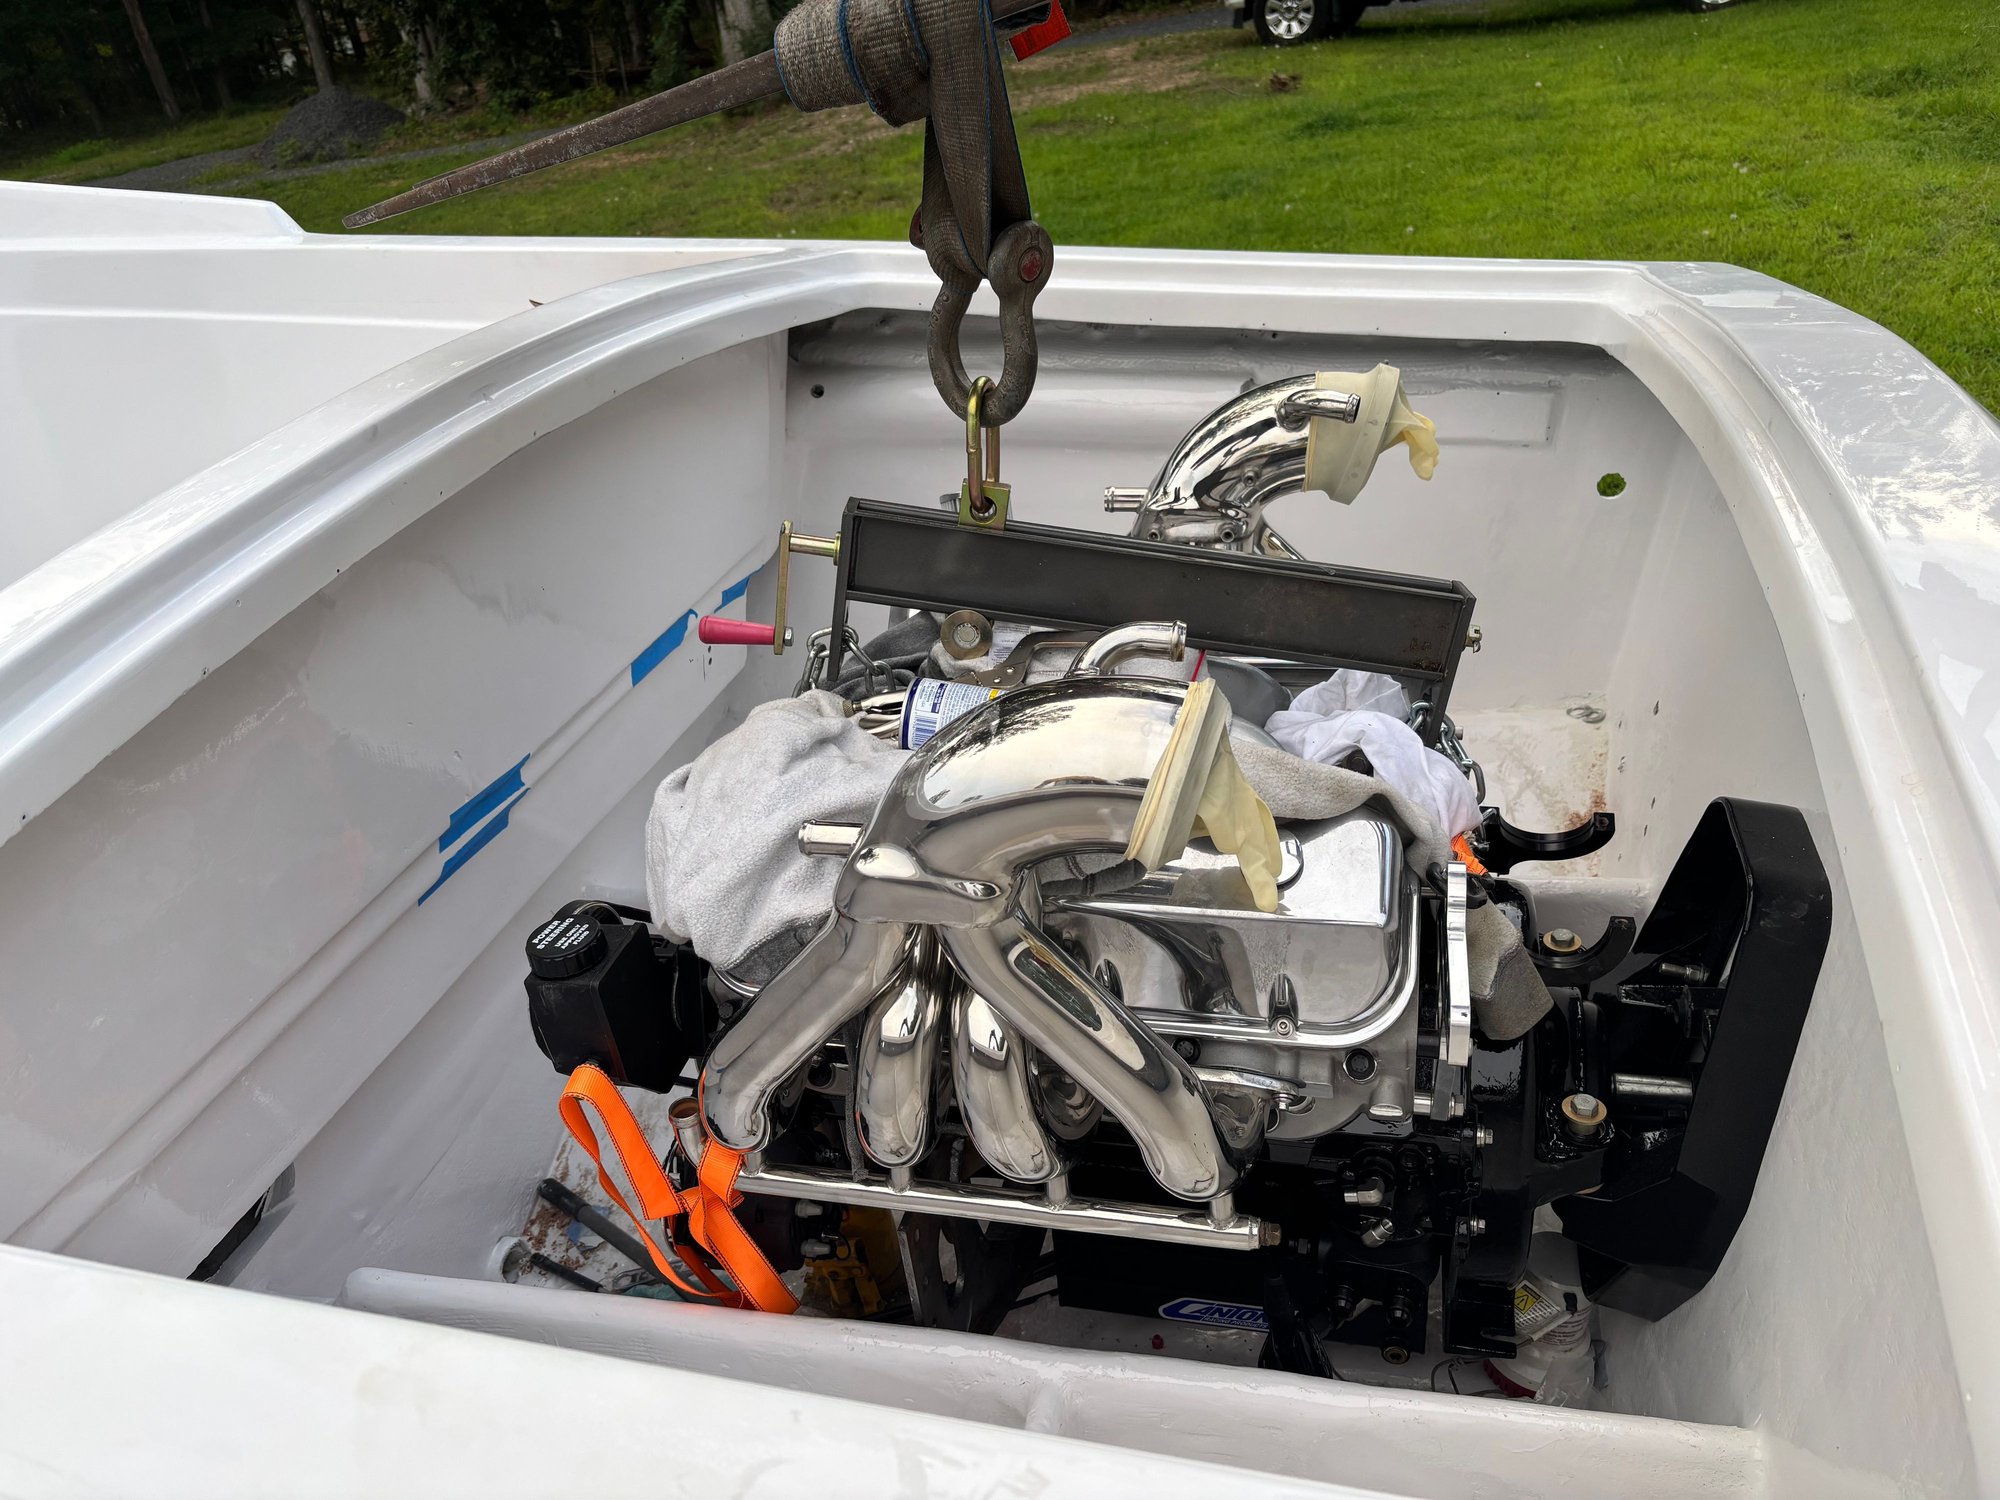
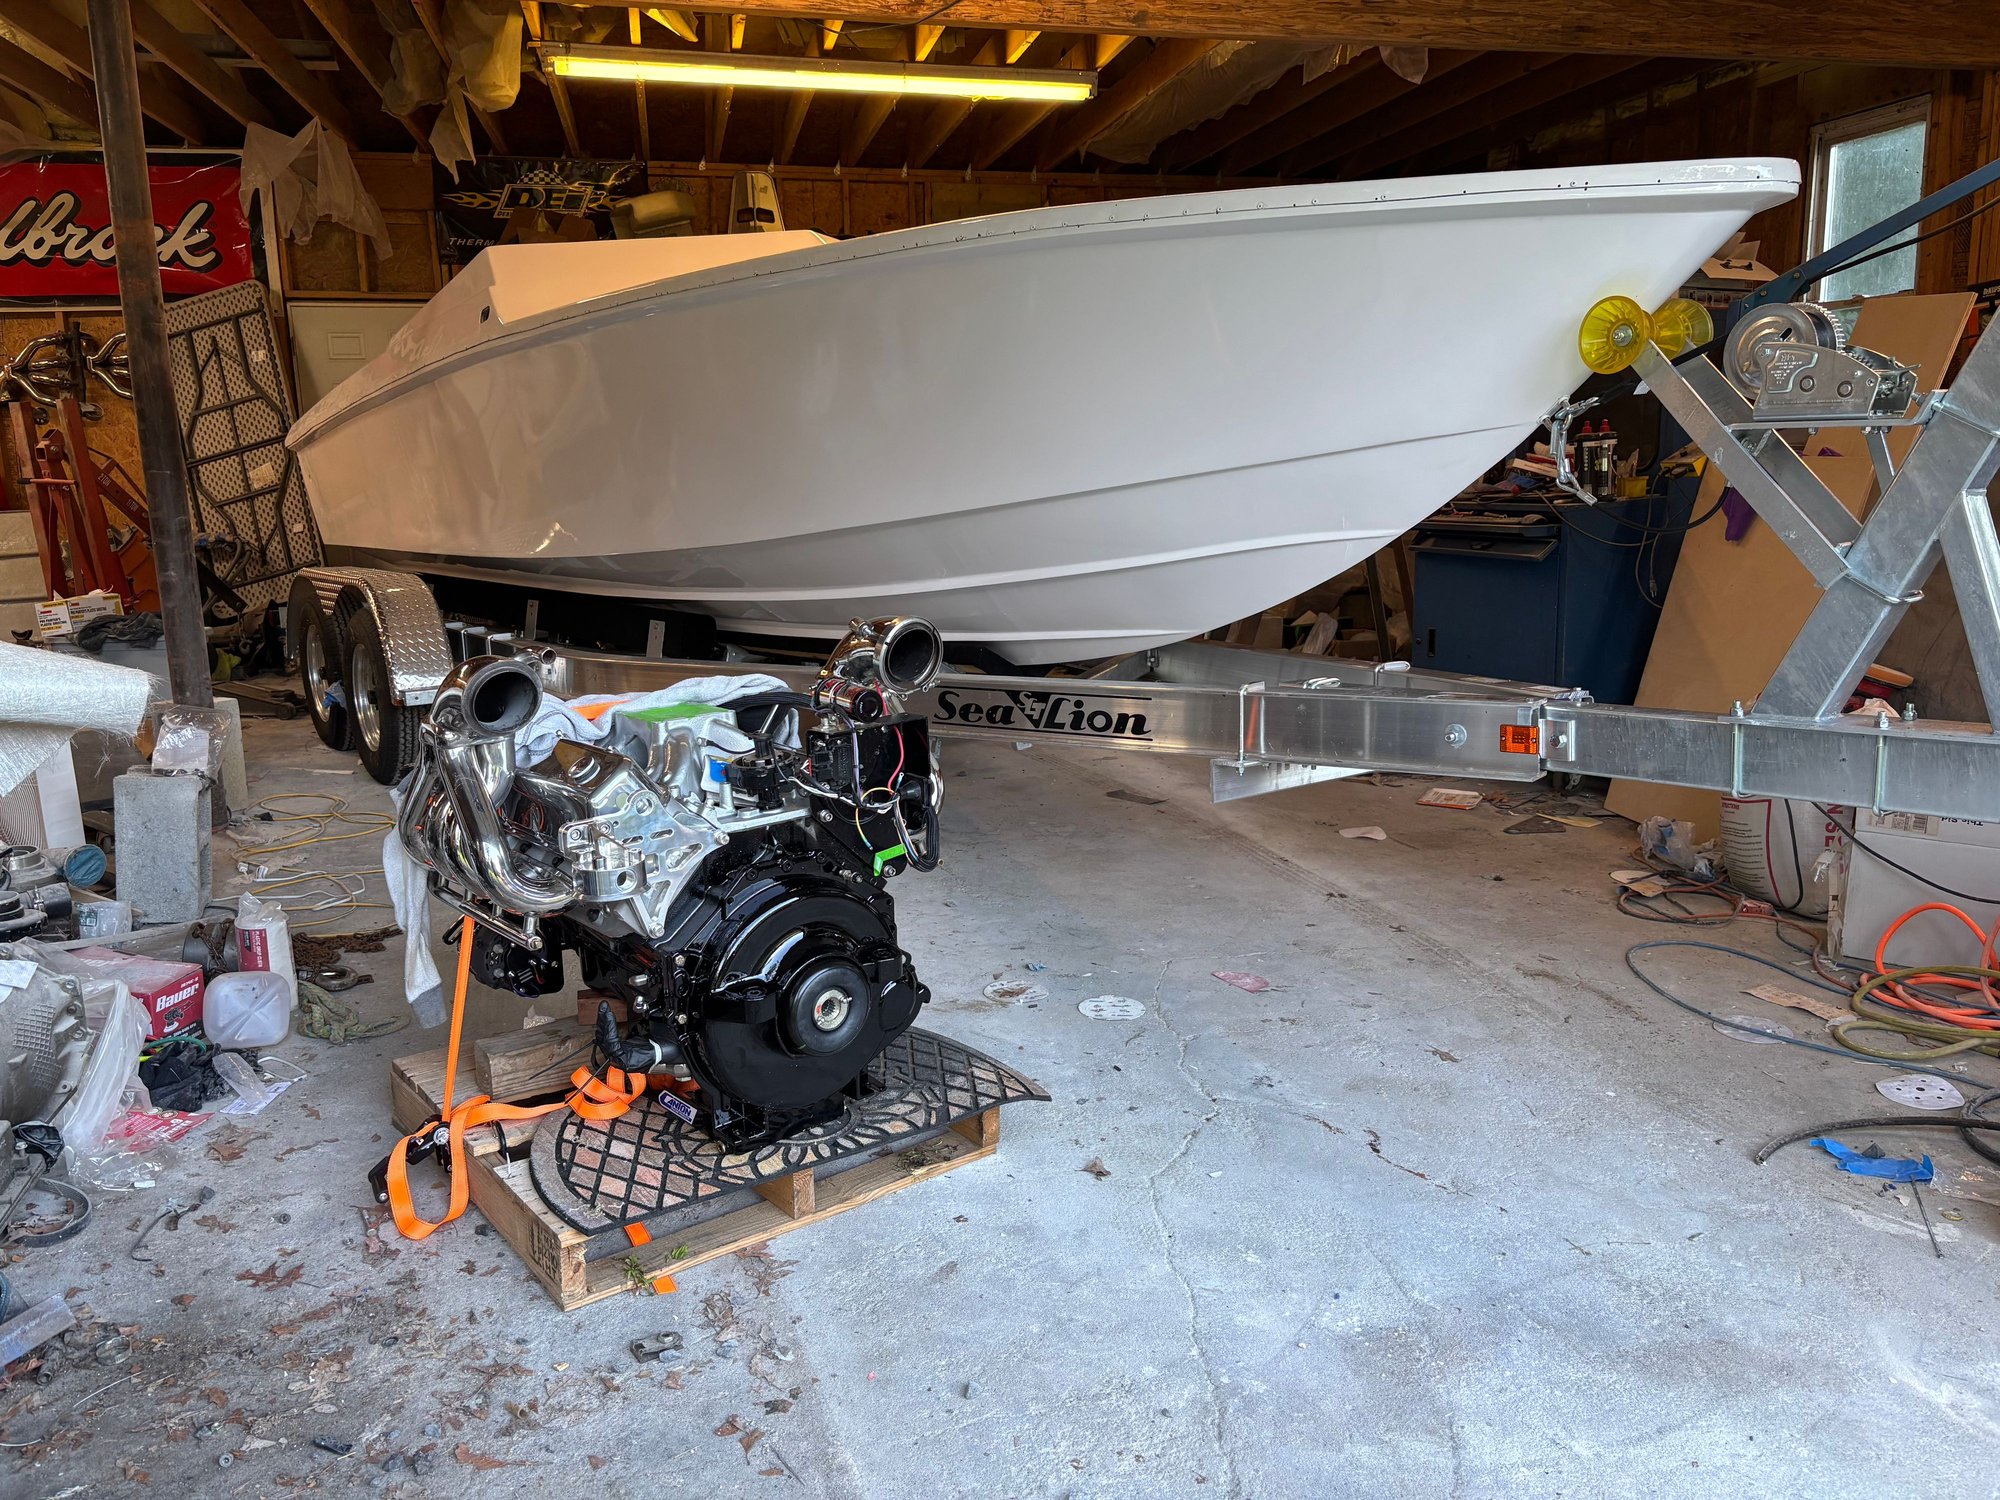
Set the motor to drill the aluminum angle. Had it from the tractor with a bottle jack undder the front got the alignment dead on.
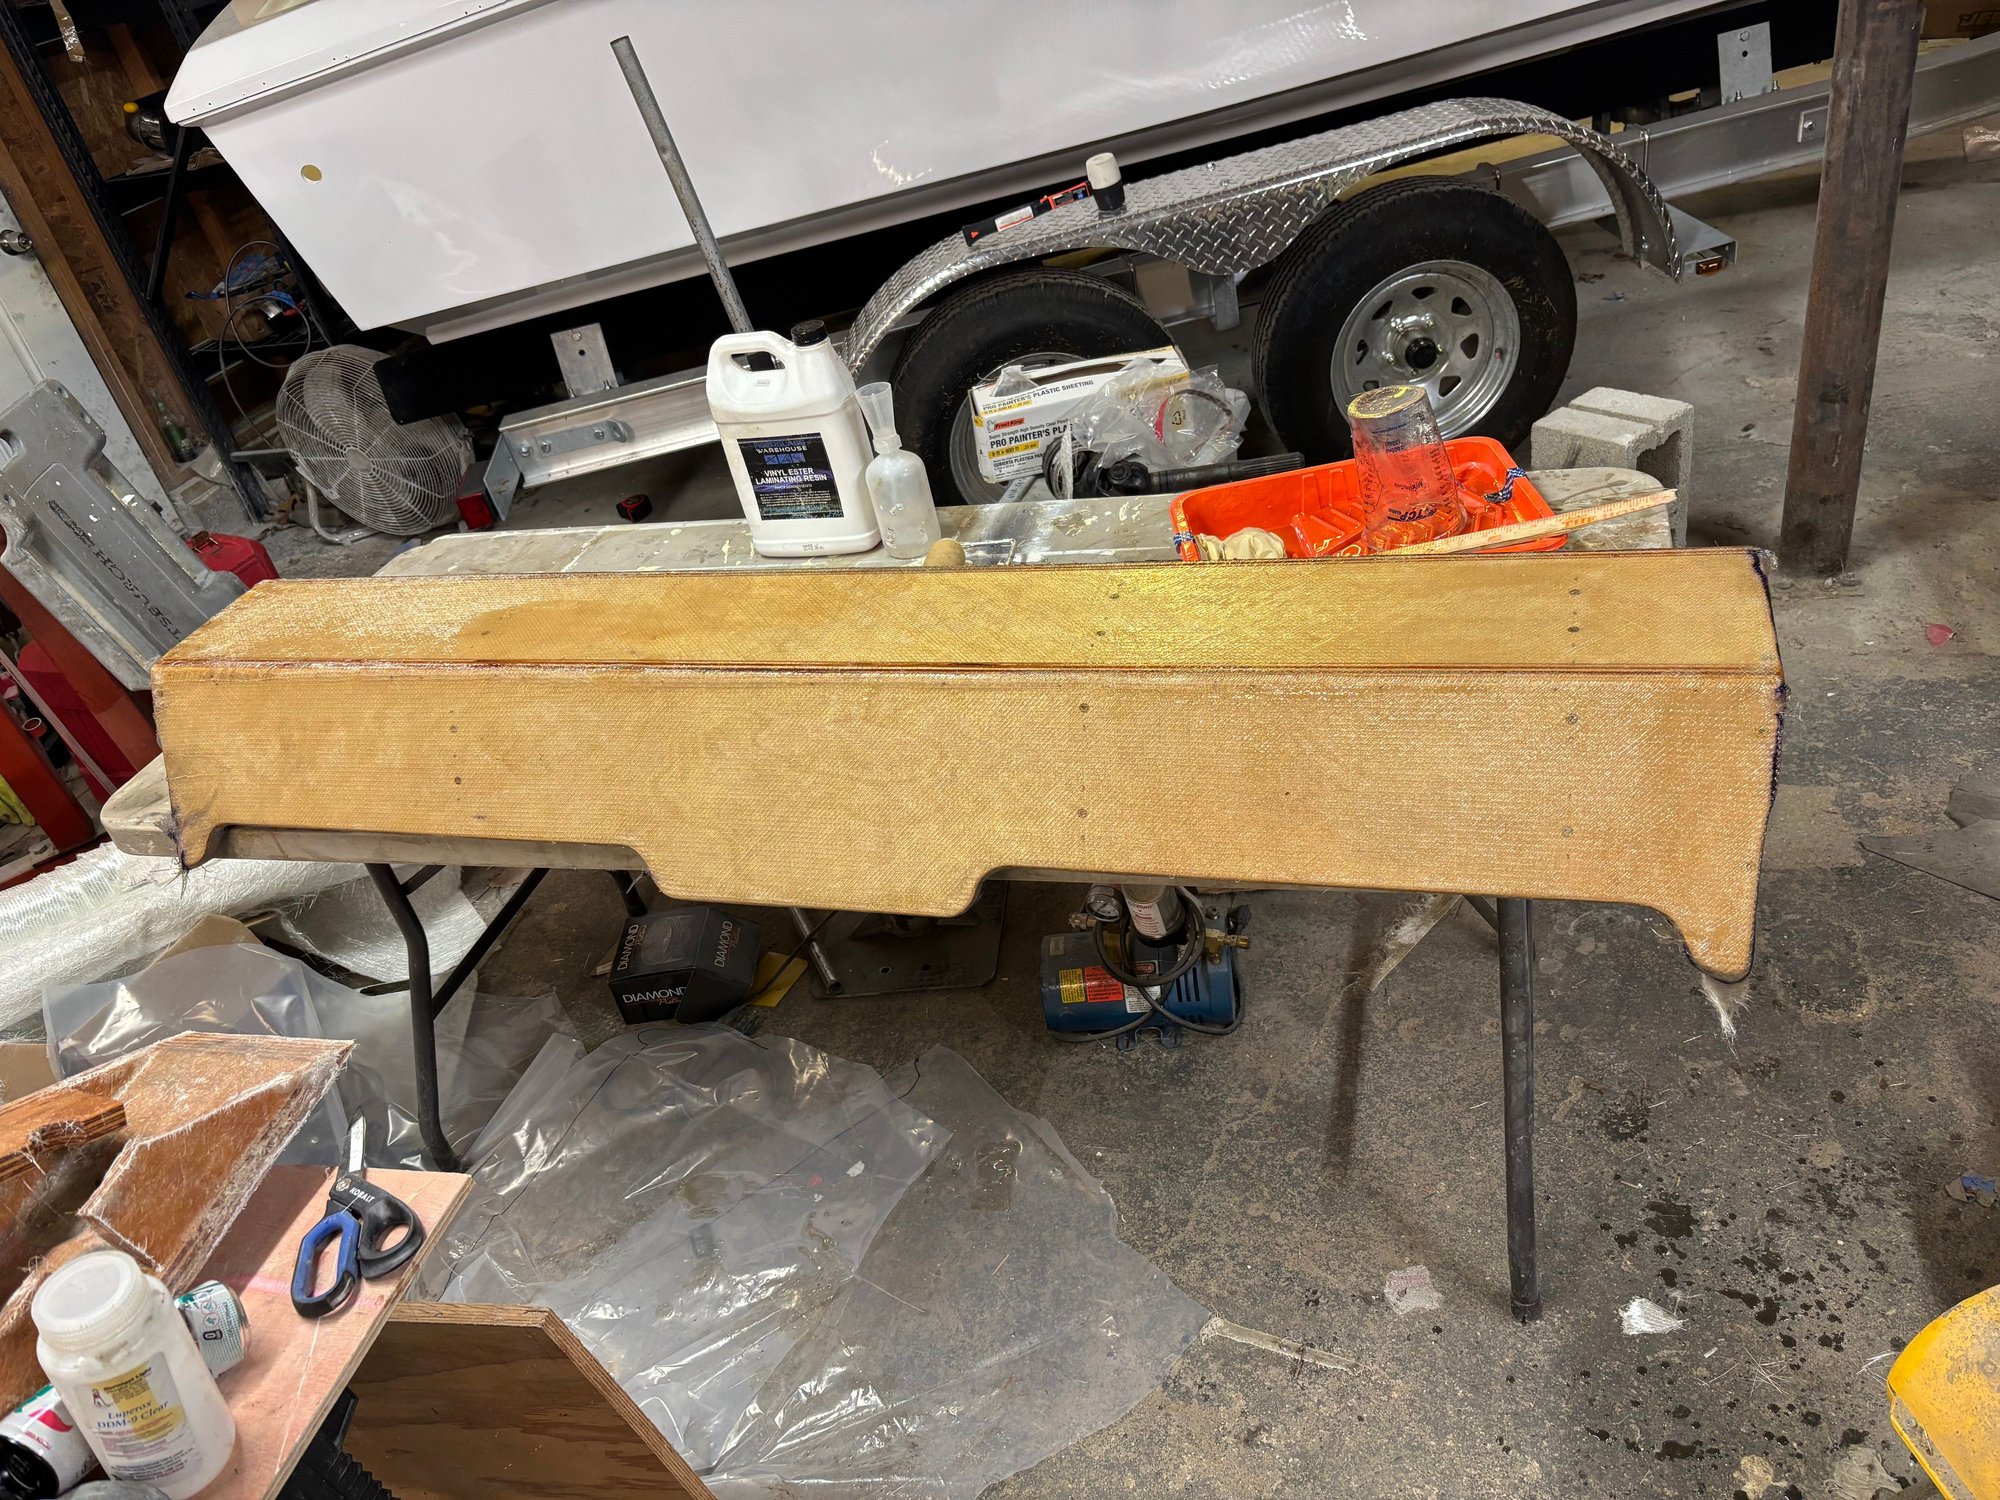
1708 layers on the dash
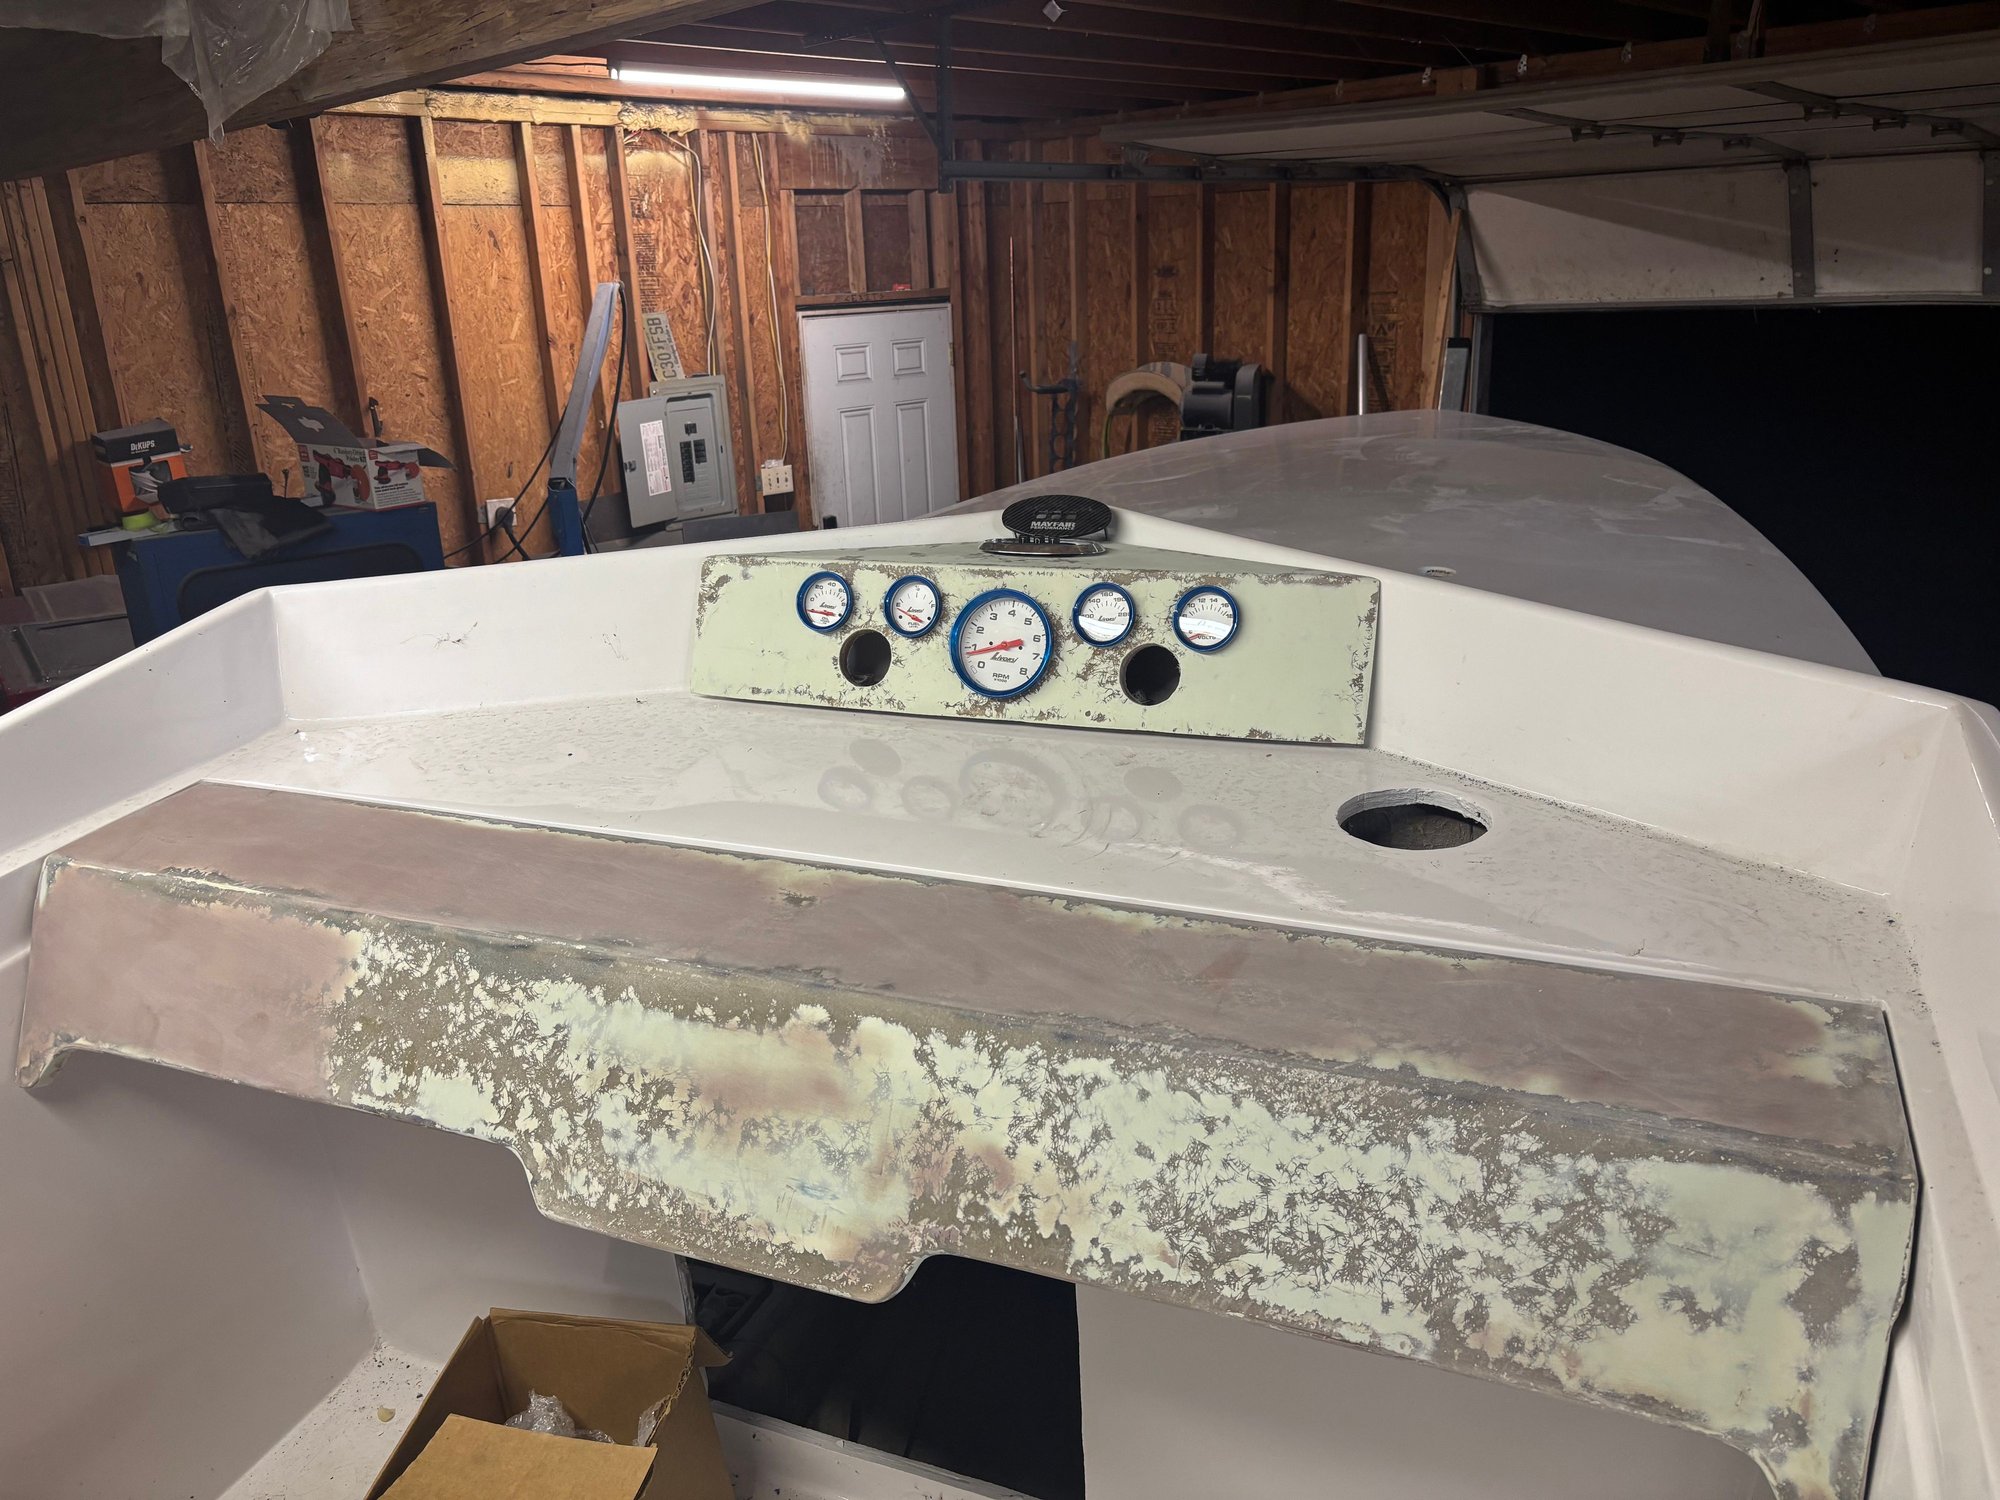
Dash and gauge pod just sitting in. All glassed and faired. Waiting for rain to stop to paint.
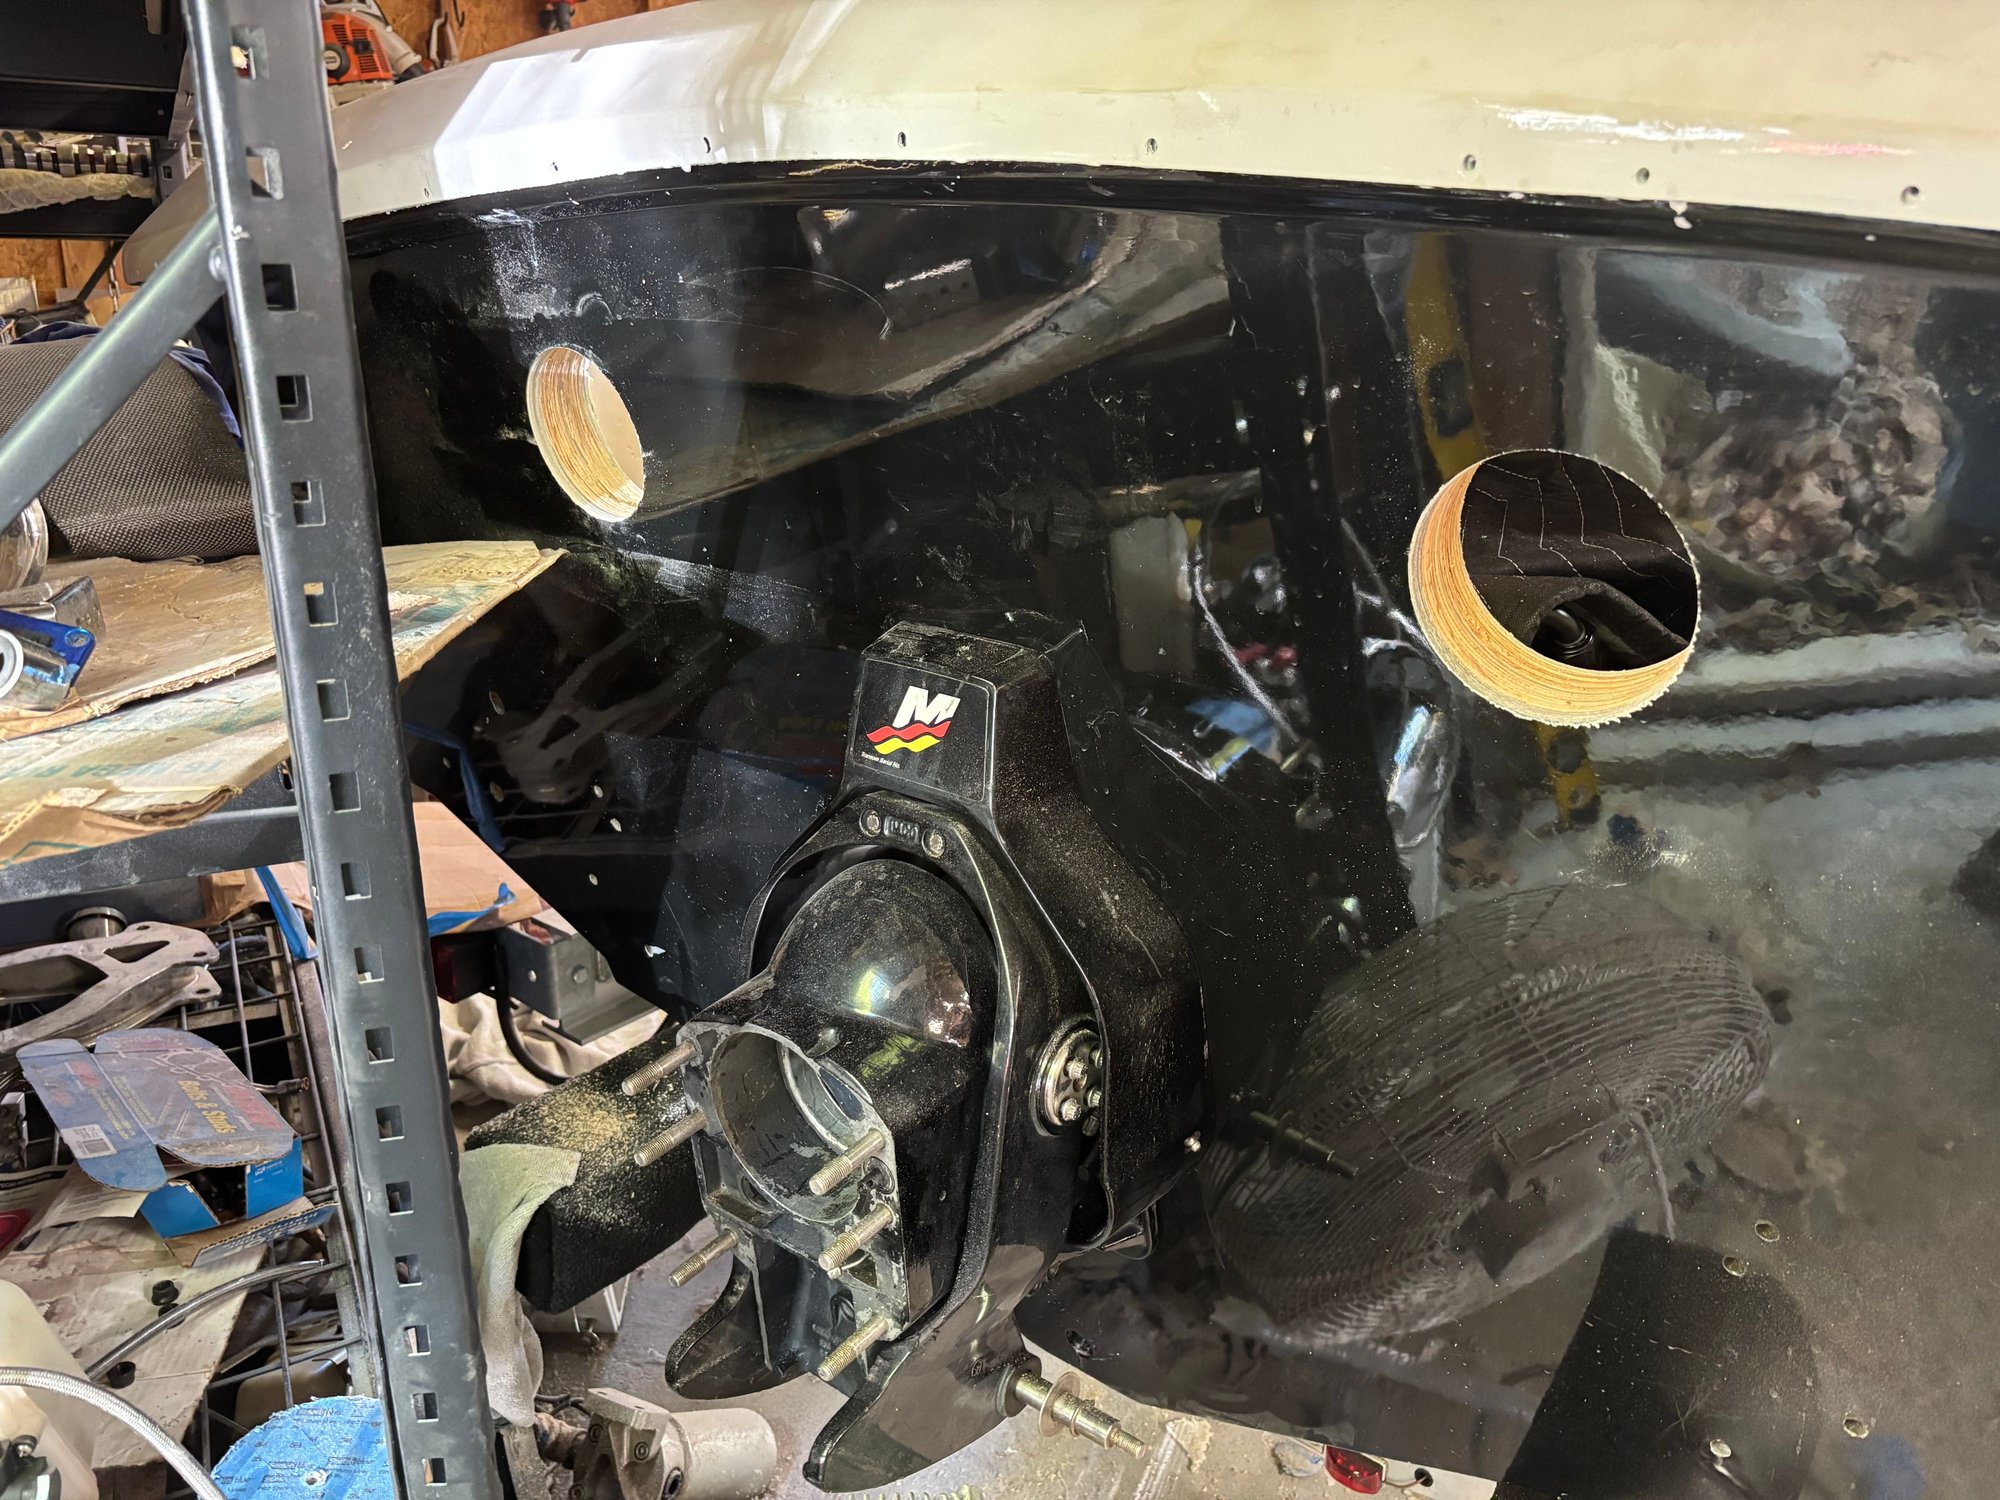
Cut the exhaust holes to factory merc bravo specs. Wish i went a hair higher but more angle wont hurt.
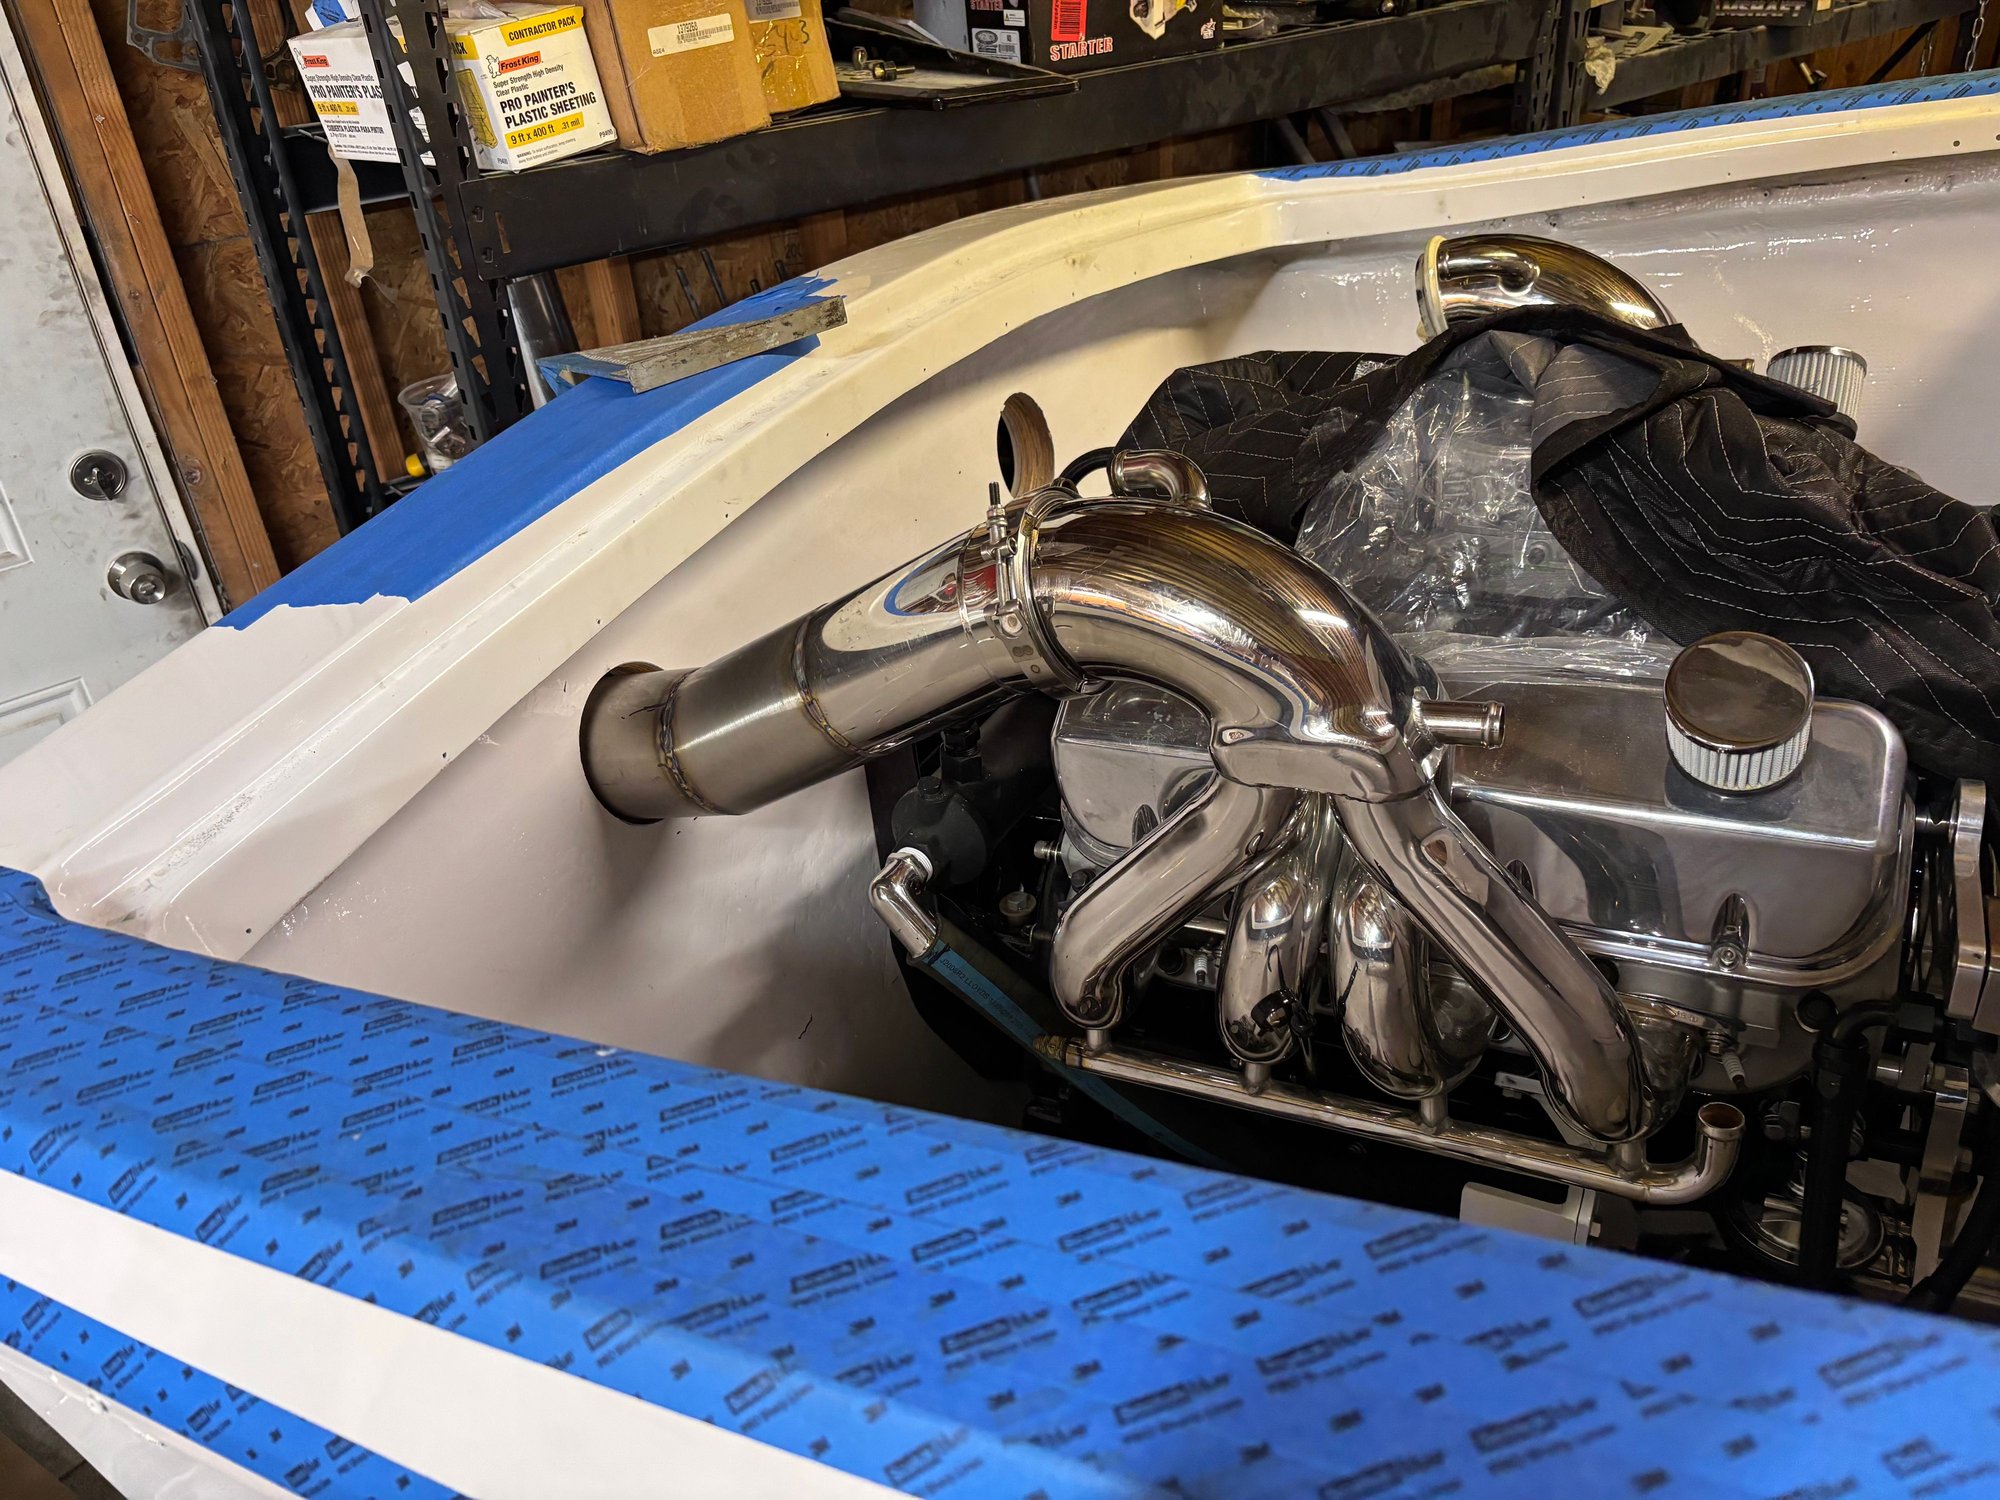
Making the tail pipes. Going dry on this since its a race boat and im tired of fighting reversion on my 28 was going to go dry to the tip but think i am going to pinch off the ends and weld them shut. Still up in the air but that can be the last change made.
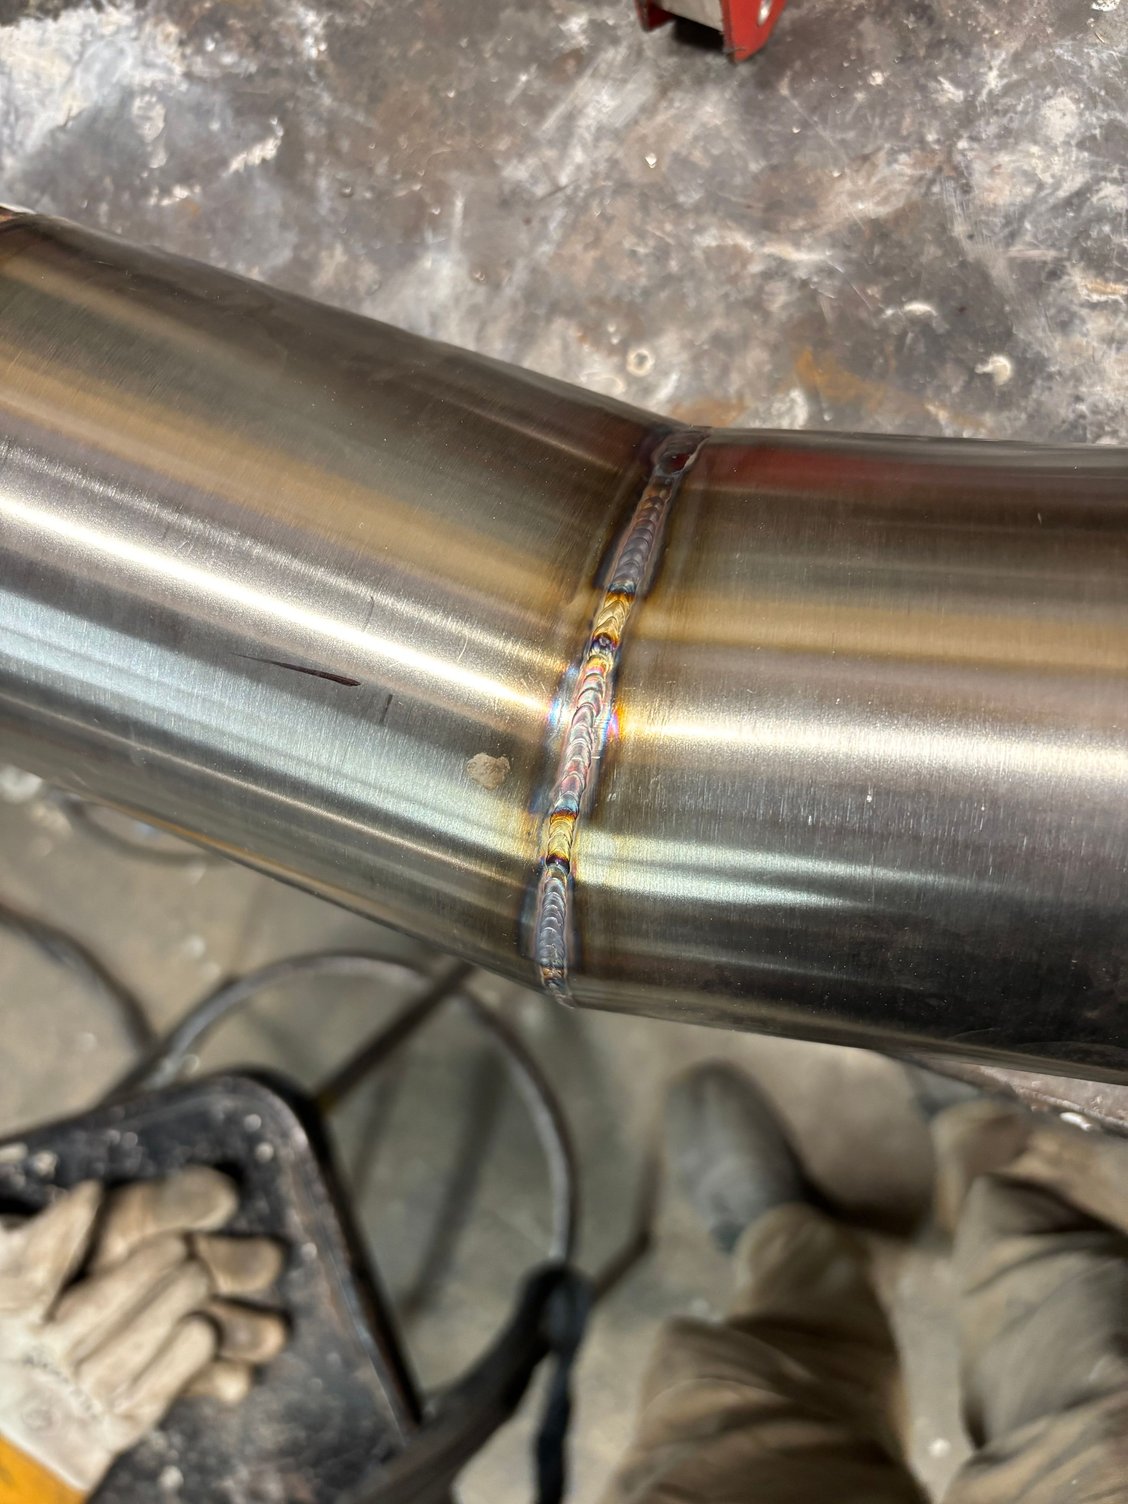
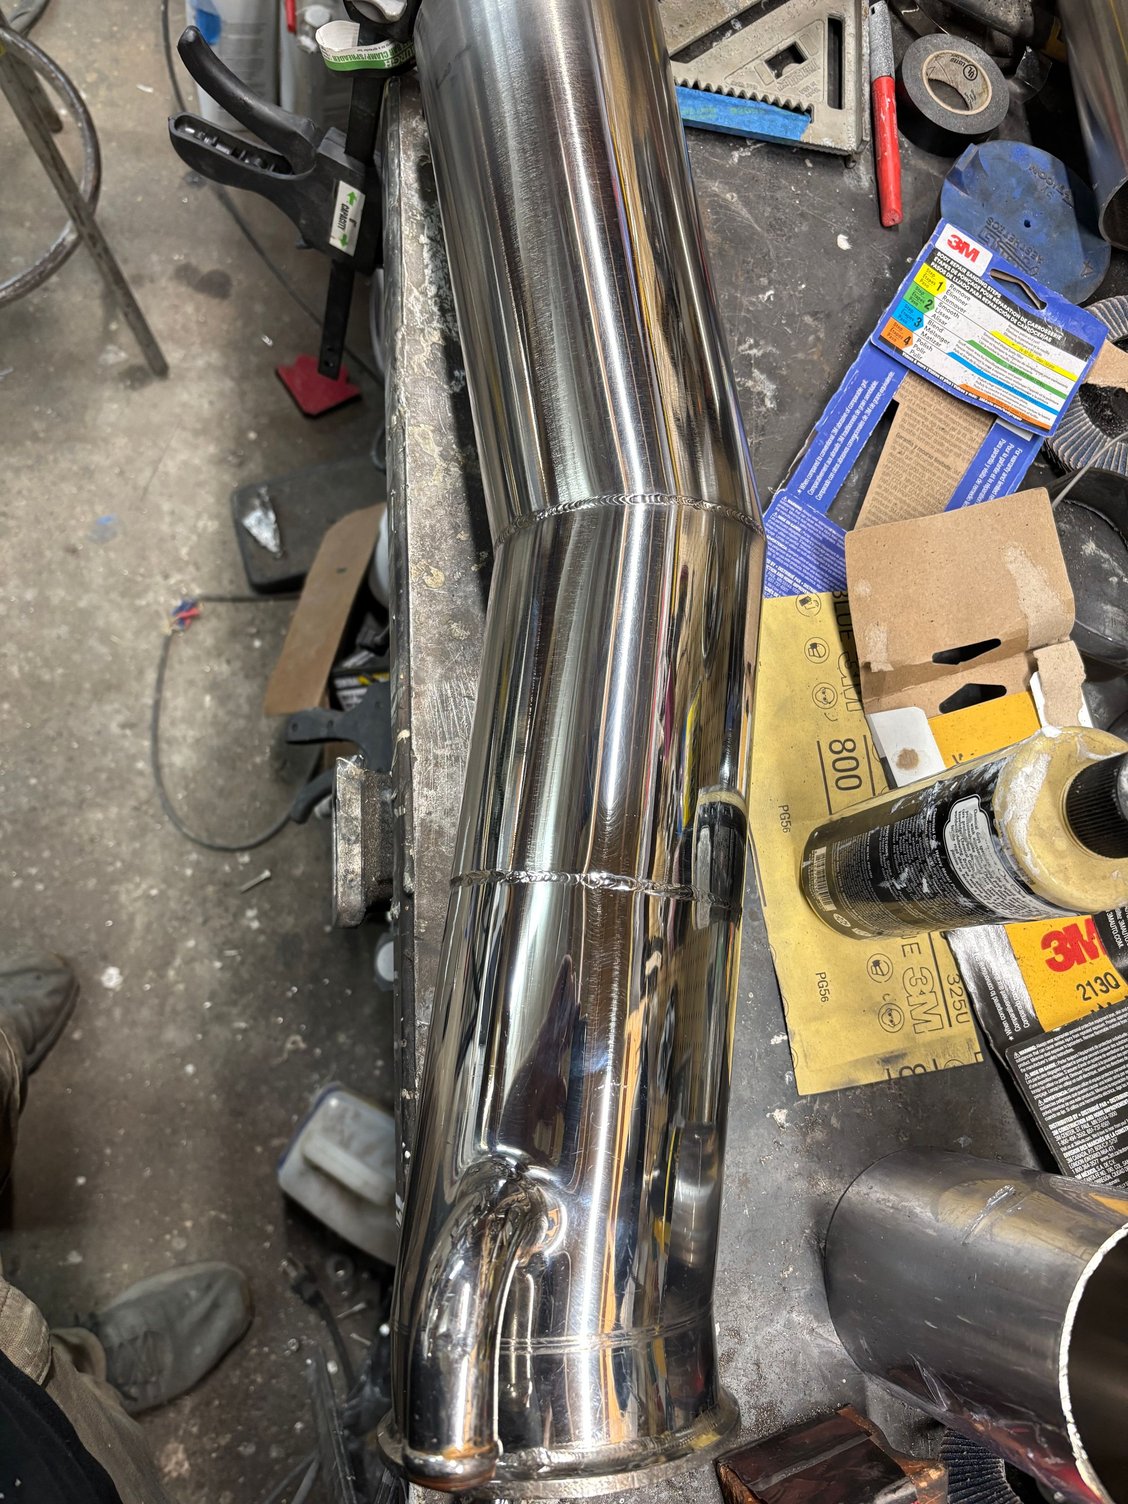
Have to sand them but ran a test patch with a polisher and comes out decent.
10-22-2025 | 06:57 AM
#67
Thread Starter
Registered
Joined: Jun 2022
Posts: 91
Likes: 114
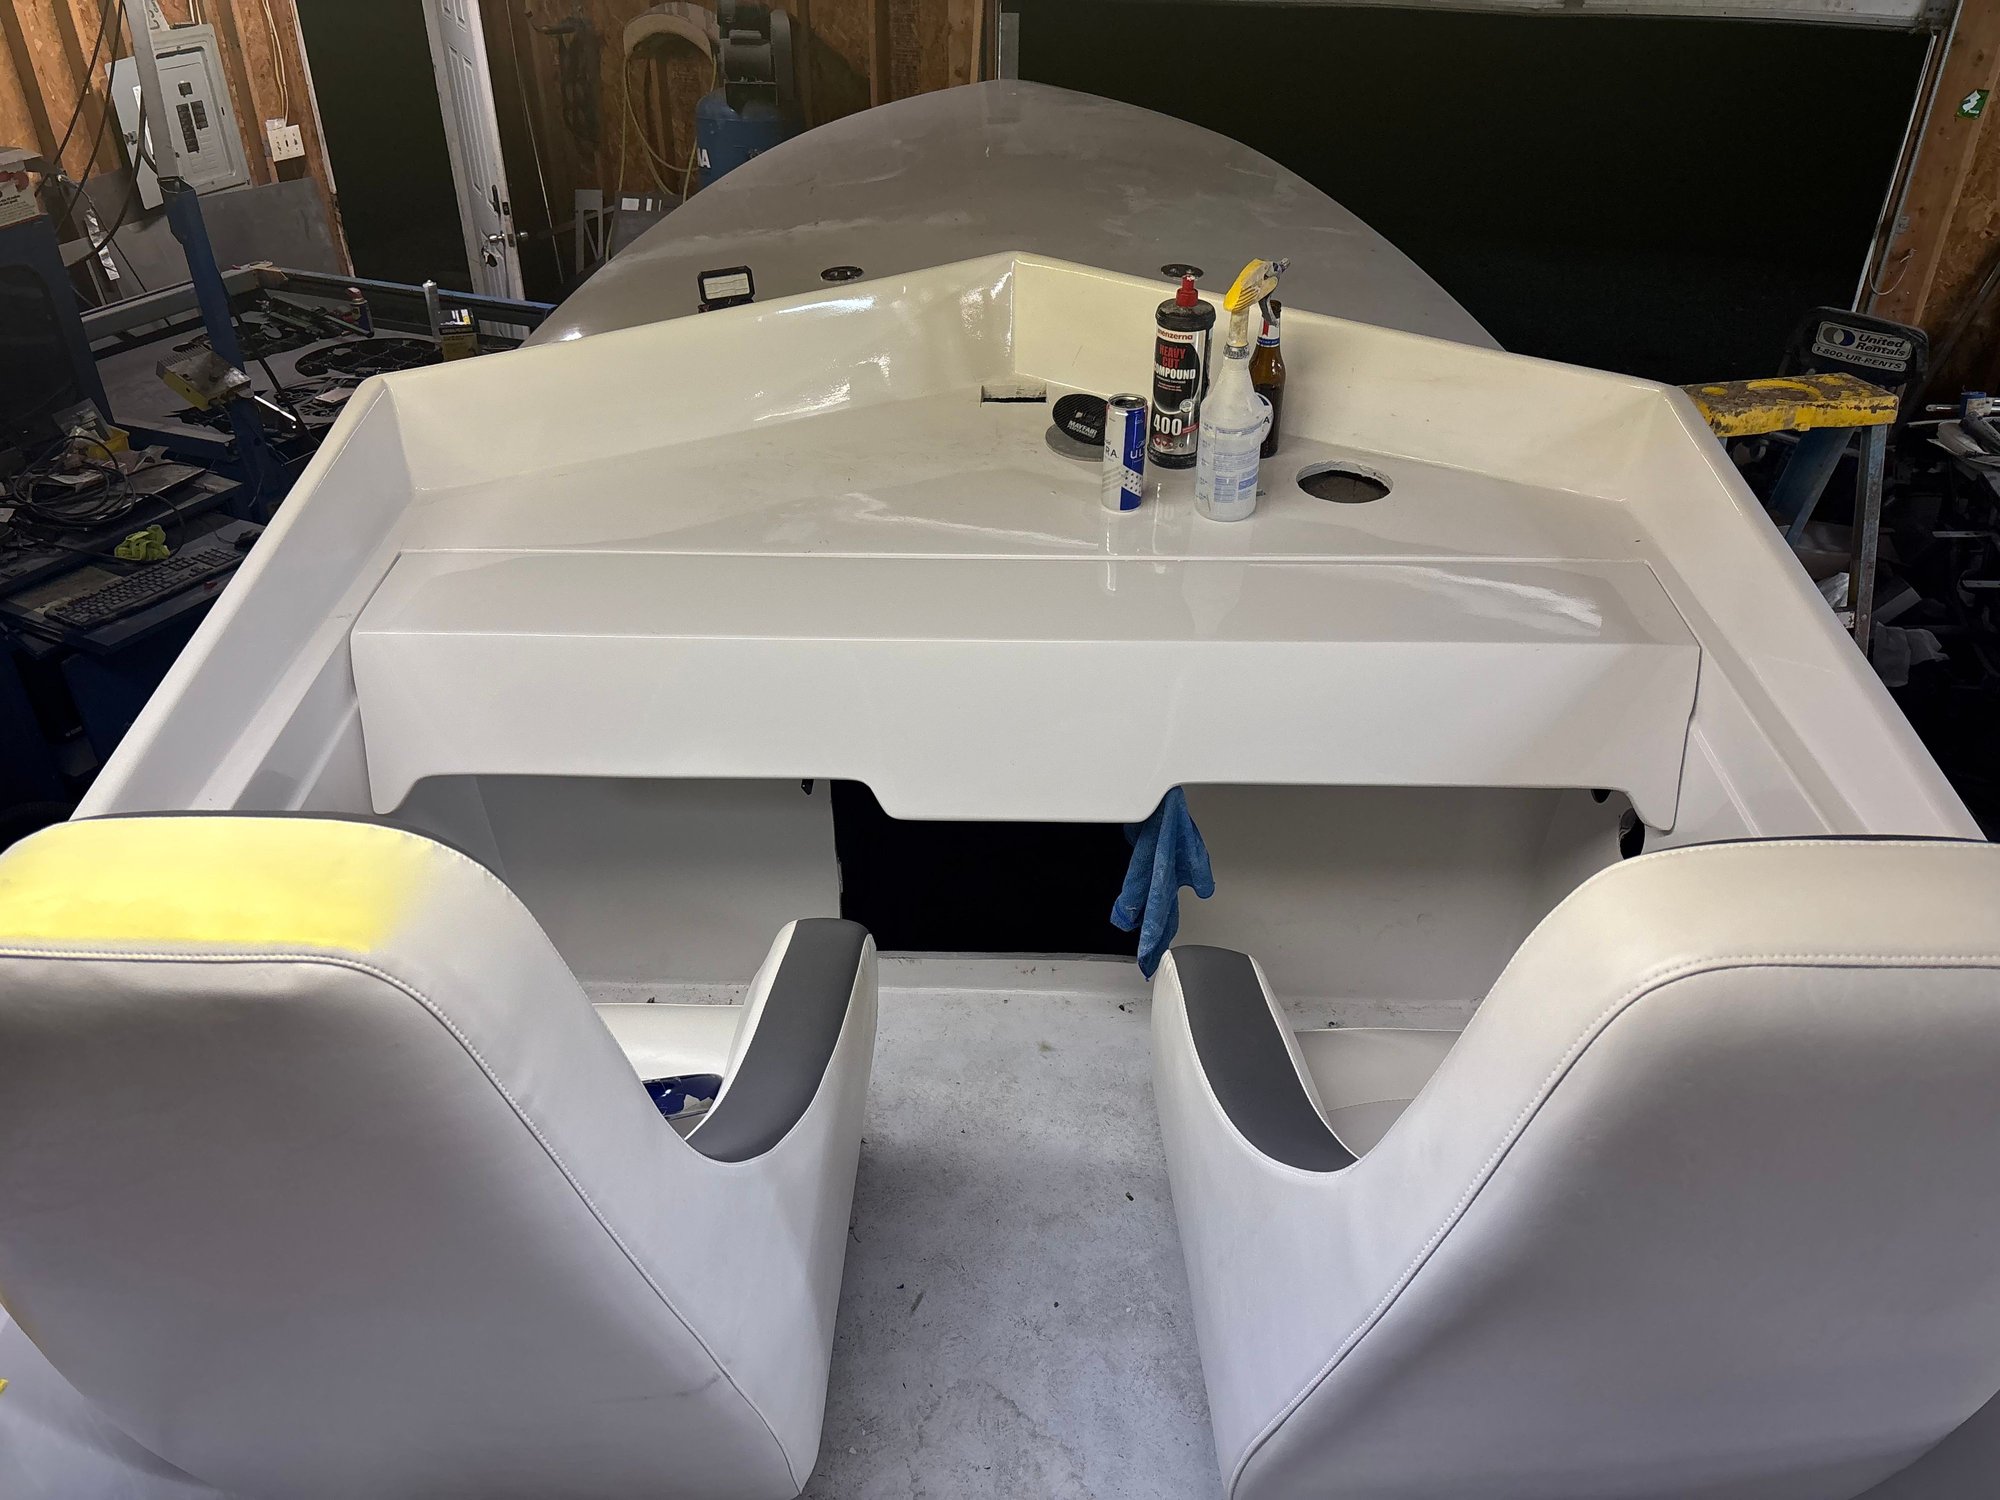
Dash set in finding the seats home. Never liked the look of big buckets hanging out of the top of a small boat but i have no choice.
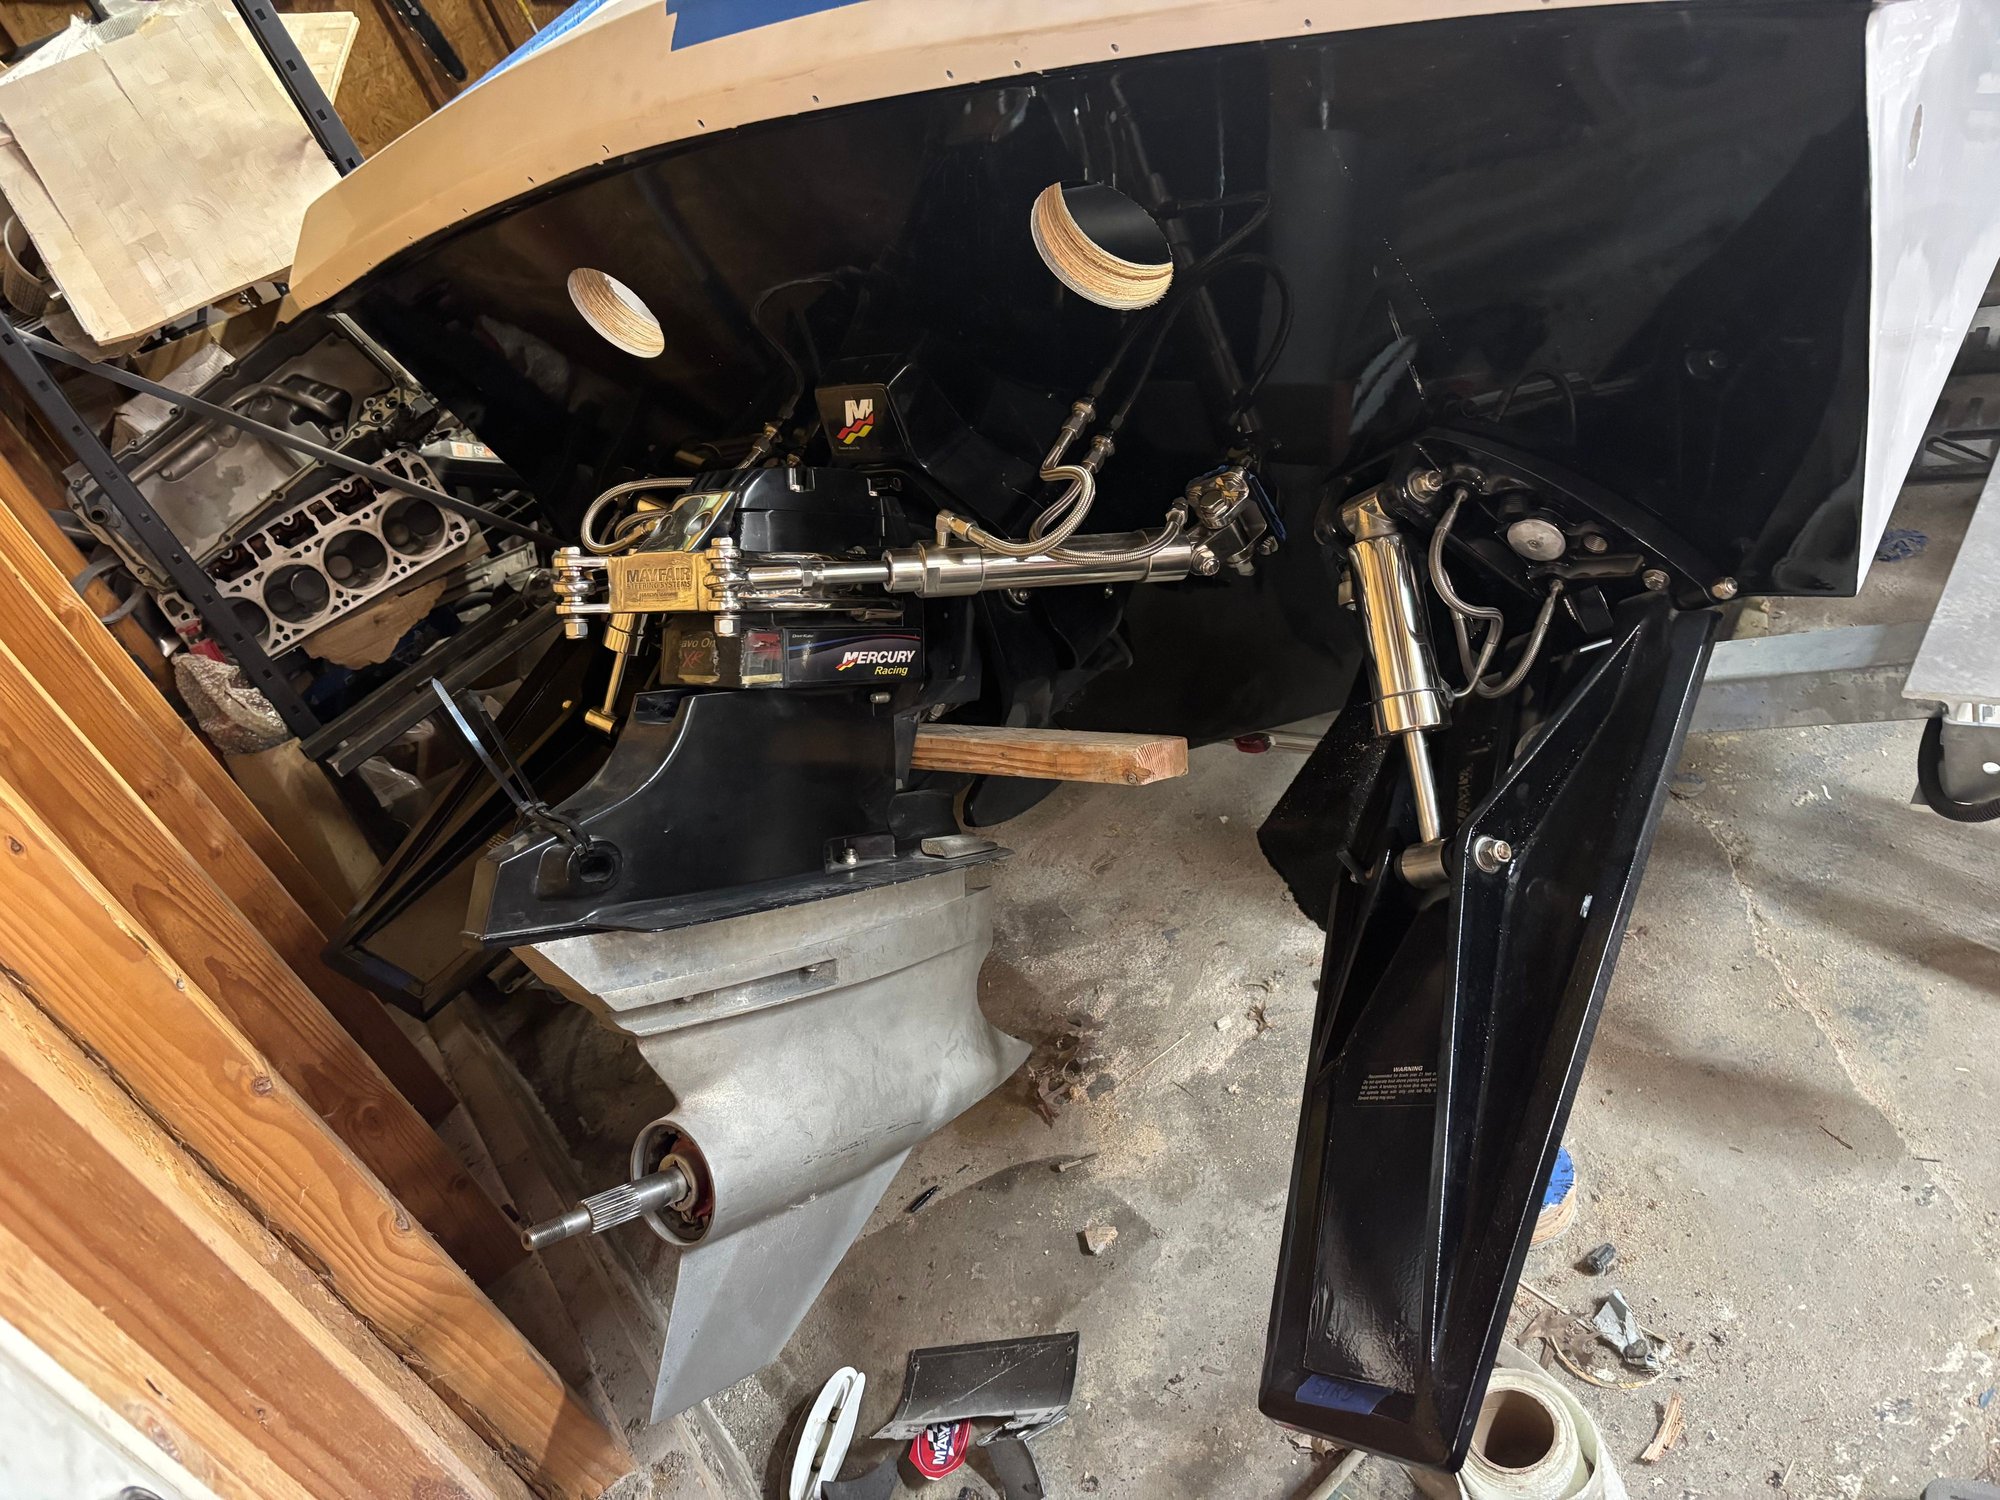
Transoms most of the way rigged. Got massive 380s because we plan to run a box but i have 280 plates for them as well.
10-29-2025 | 06:05 AM
#68
Thread Starter
Registered
Joined: Jun 2022
Posts: 91
Likes: 114
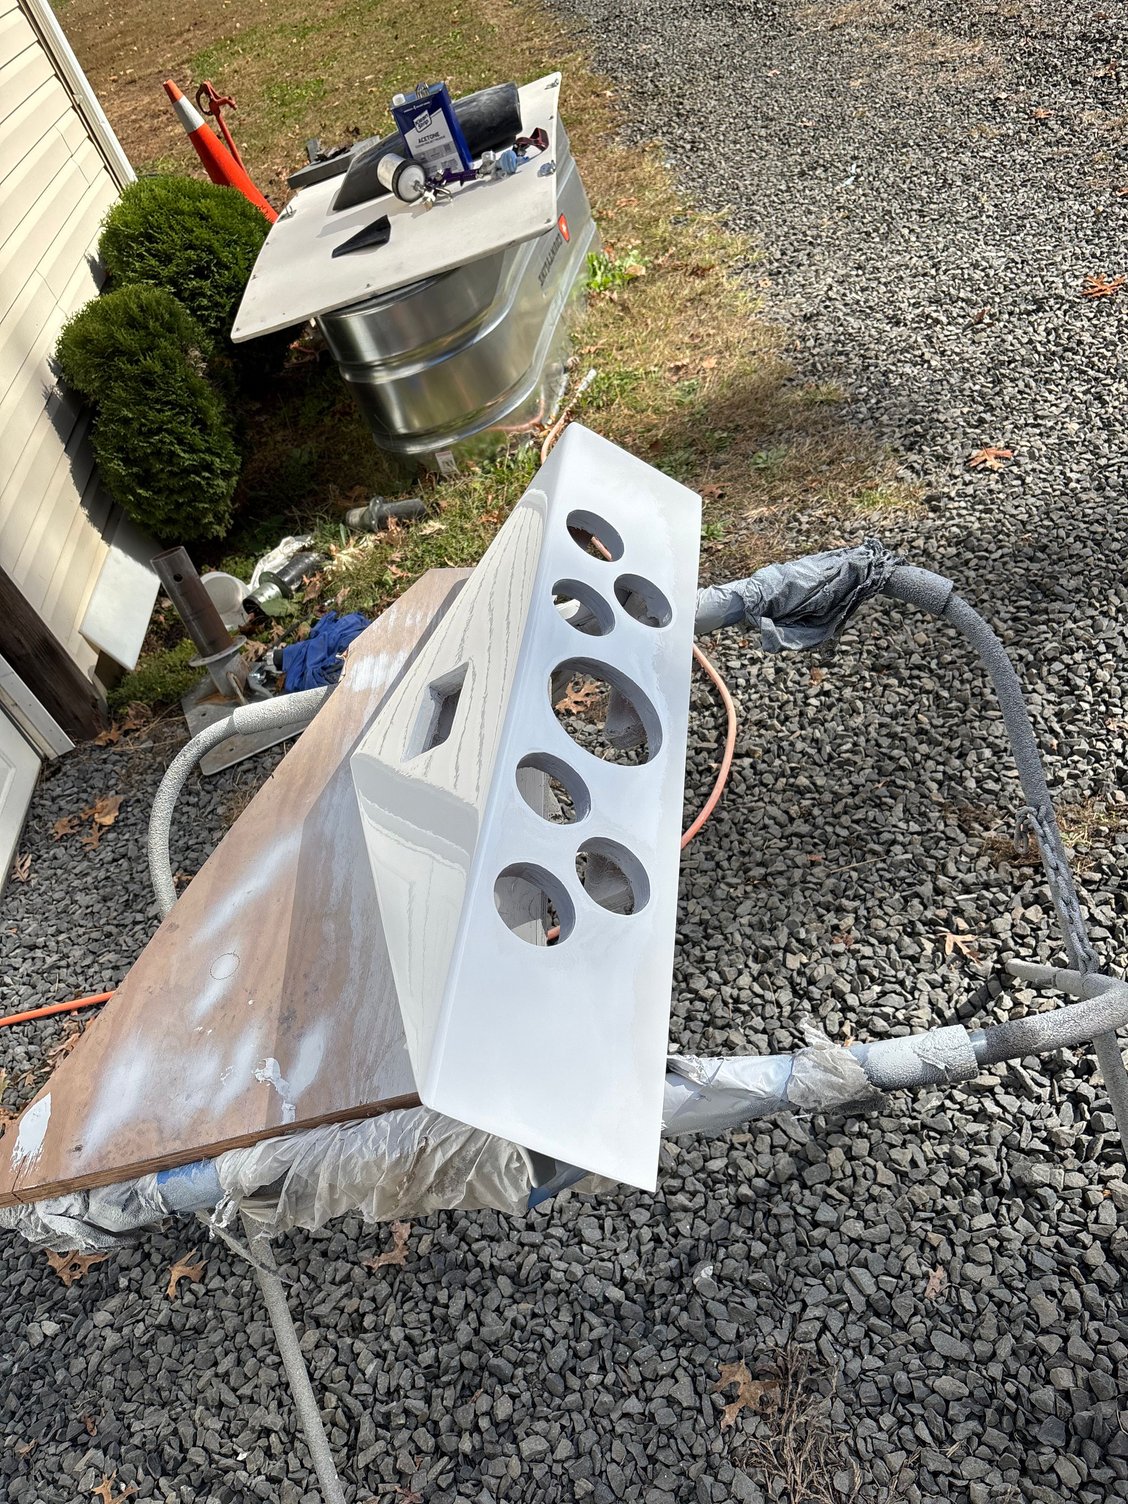
Gauge pod painted and ready to go
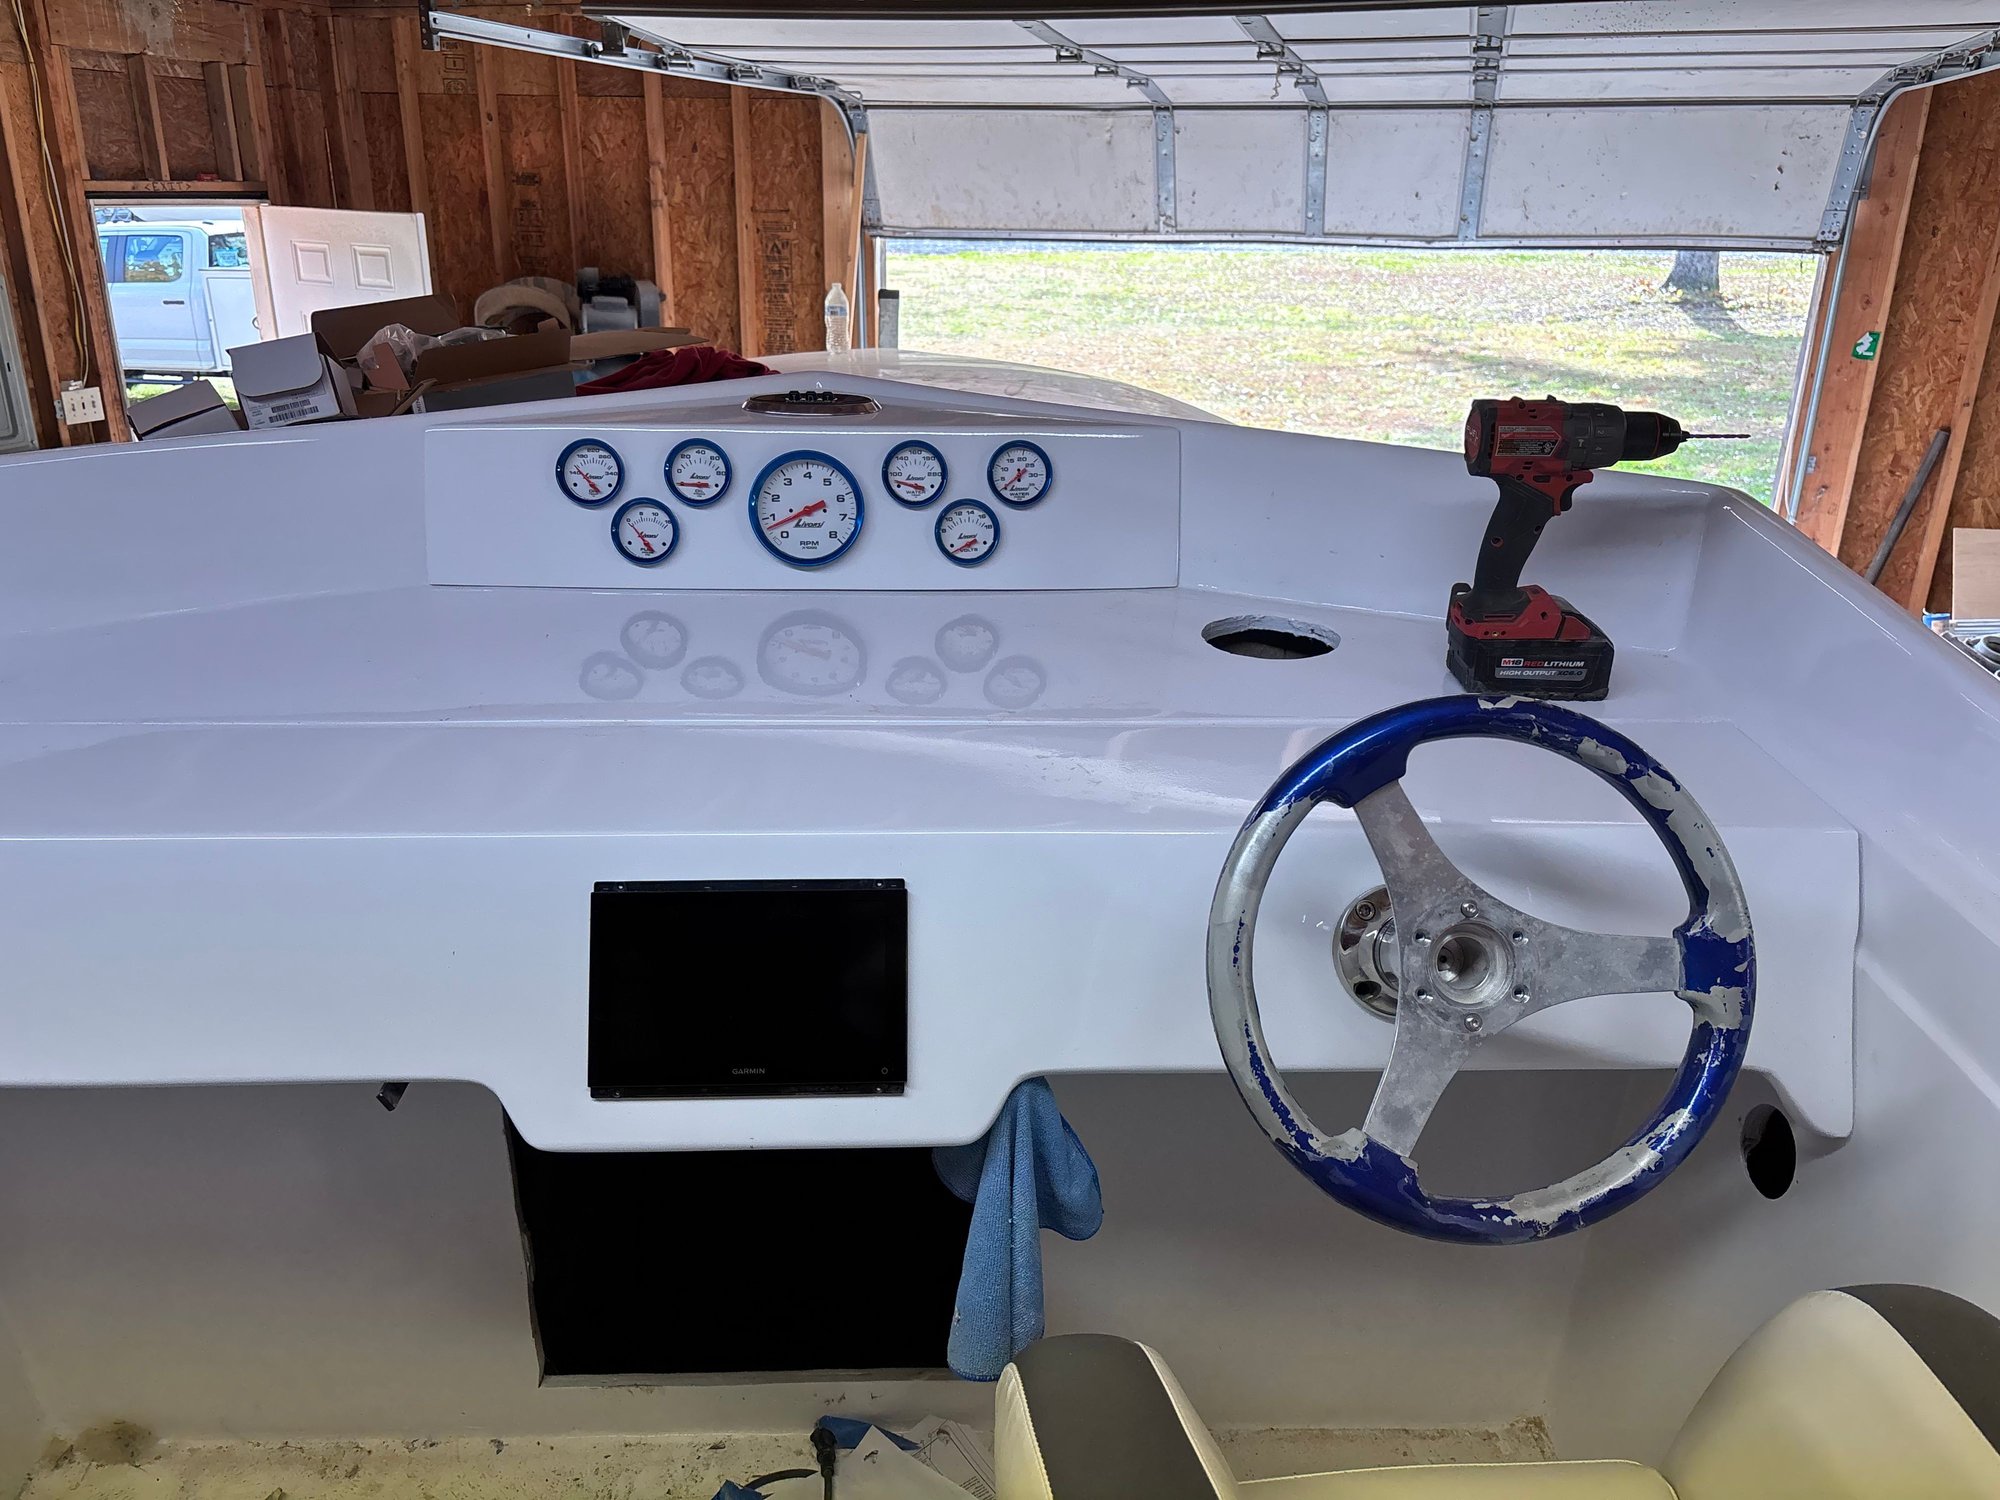
Garmin 9� installed along with the helm. Not the steering wheel were using just a test fitter. Lays out nicely
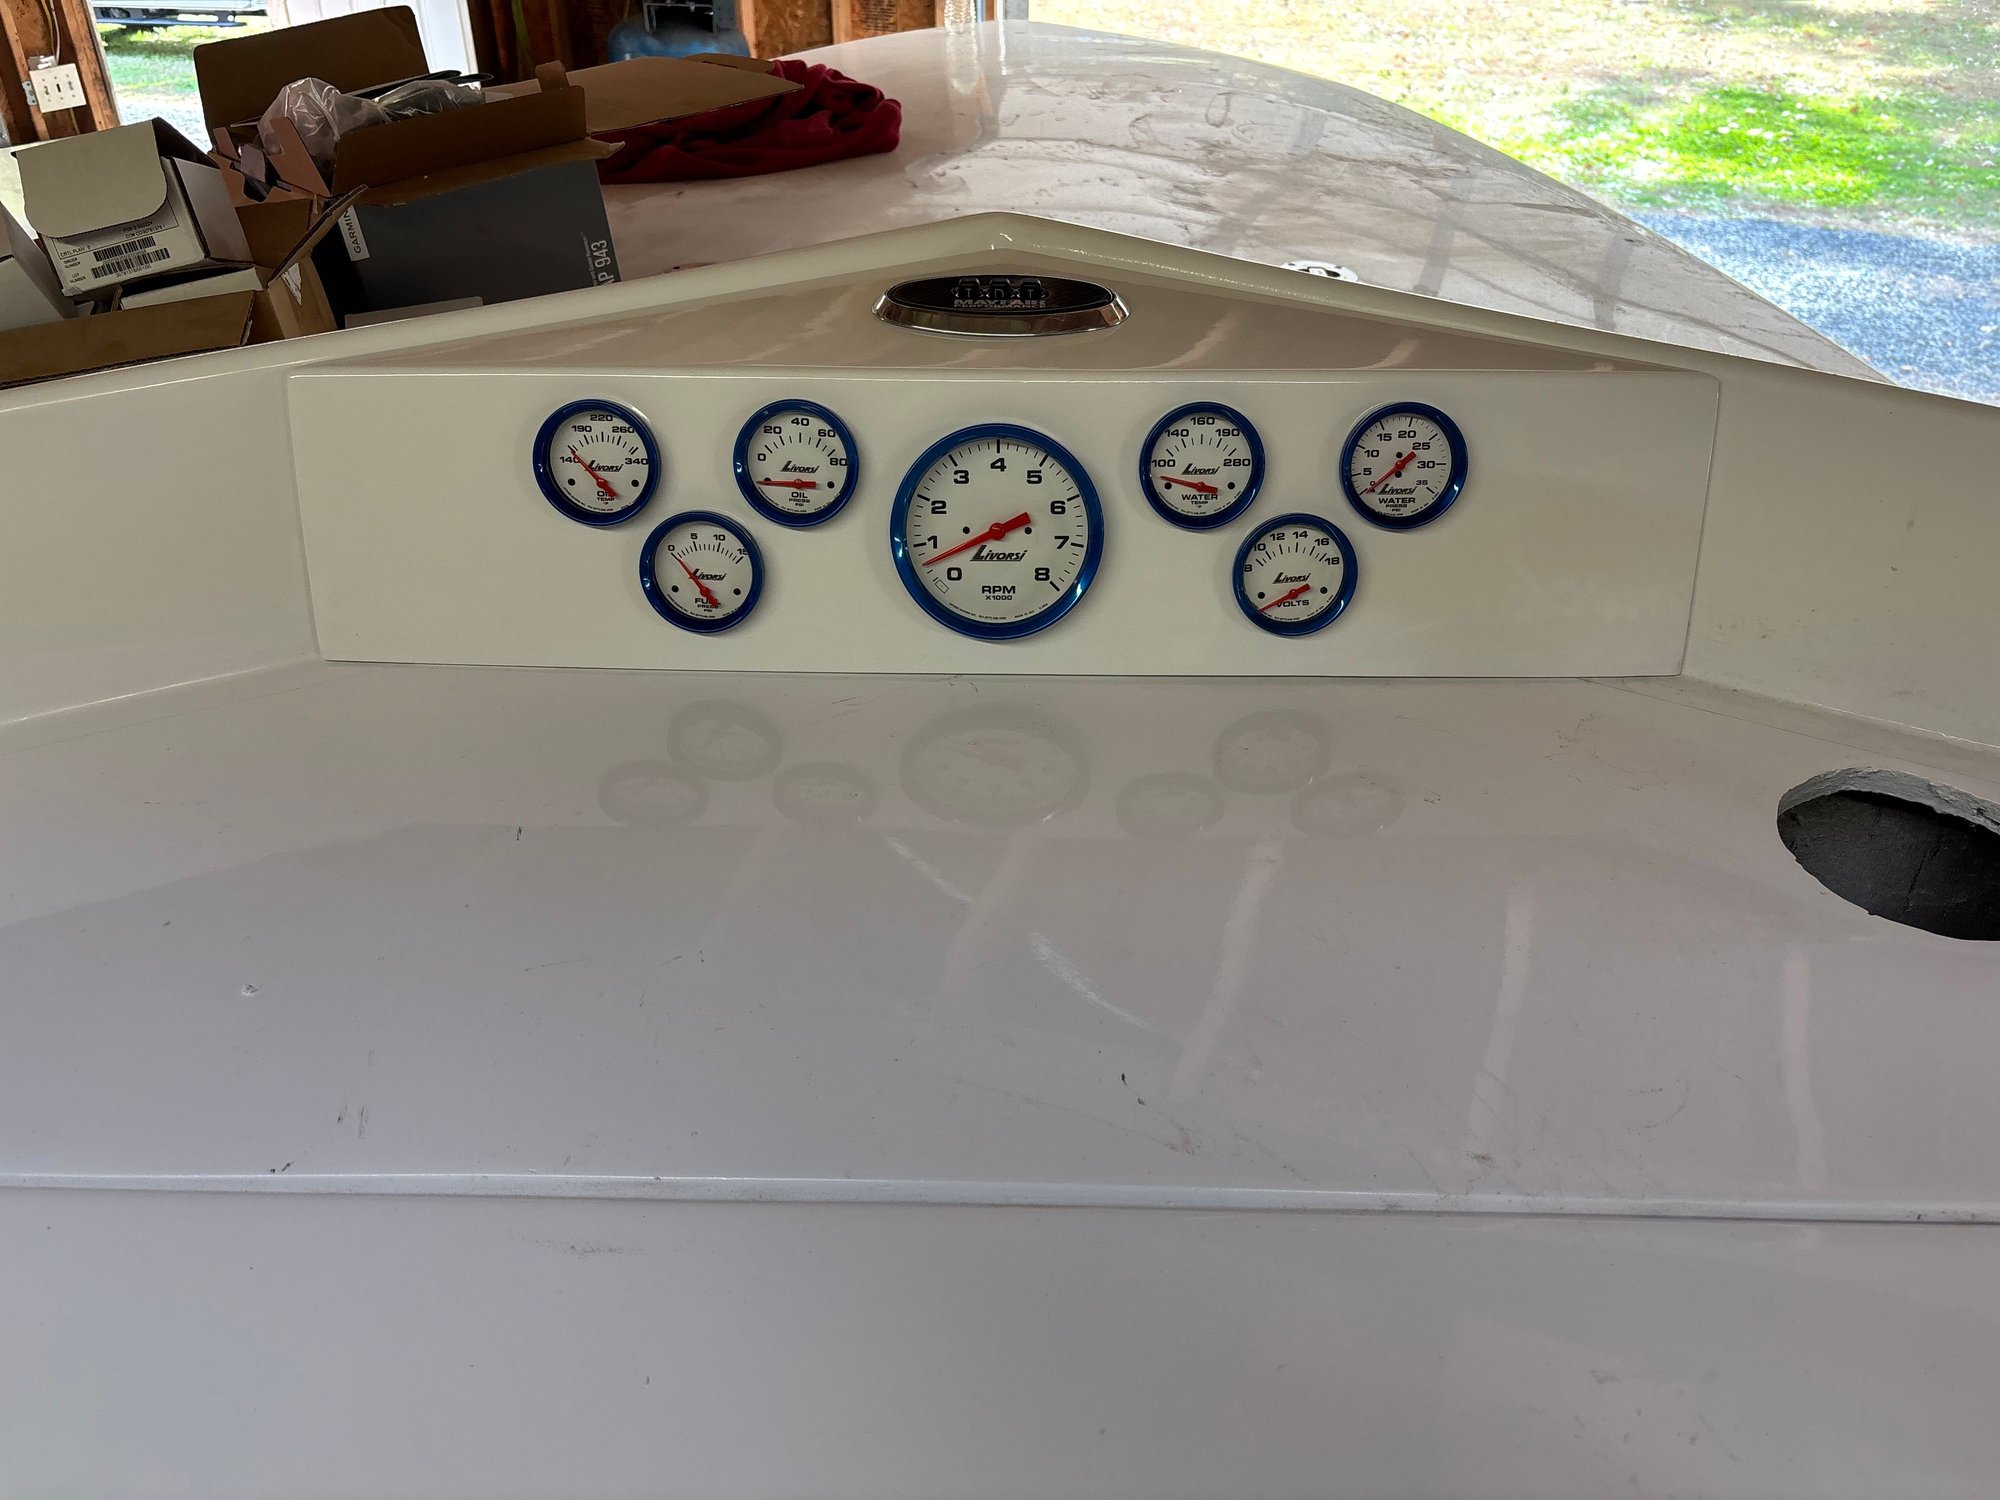
Gauges and pop up indicators installed. Left the hole for the compass because some rules state you need one. Going to make a block off plate for it incase we ever need it back in it will be easy. On to wiring and firing it up!

 02-15-2026 | 07:11 AM
#70
Thread Starter
Registered
Joined: Jun 2022
Posts: 91
Likes: 114
thanks rob! Your thread was viewed plenty before starting this saying man it cant be that bad 😂 some with tomceis thread on my 28. We should be racing in march in st pete. Need to upload some more progress pics. Hows your 24 holding up?

