

Full Hydraulic Steering Conversion
 11-13-2025 | 04:07 PM
#1
Thread Starter
VIP Member

Joined: Jun 2021
Posts: 3,518
Likes: 2,137
From: SW Ohio
Guys,
I have begun the steering conversion on the PQ. This is gonna take me a hot minute, as I am working it in when I have time here at the shop and I�m taking my time, doing it right.
So far:
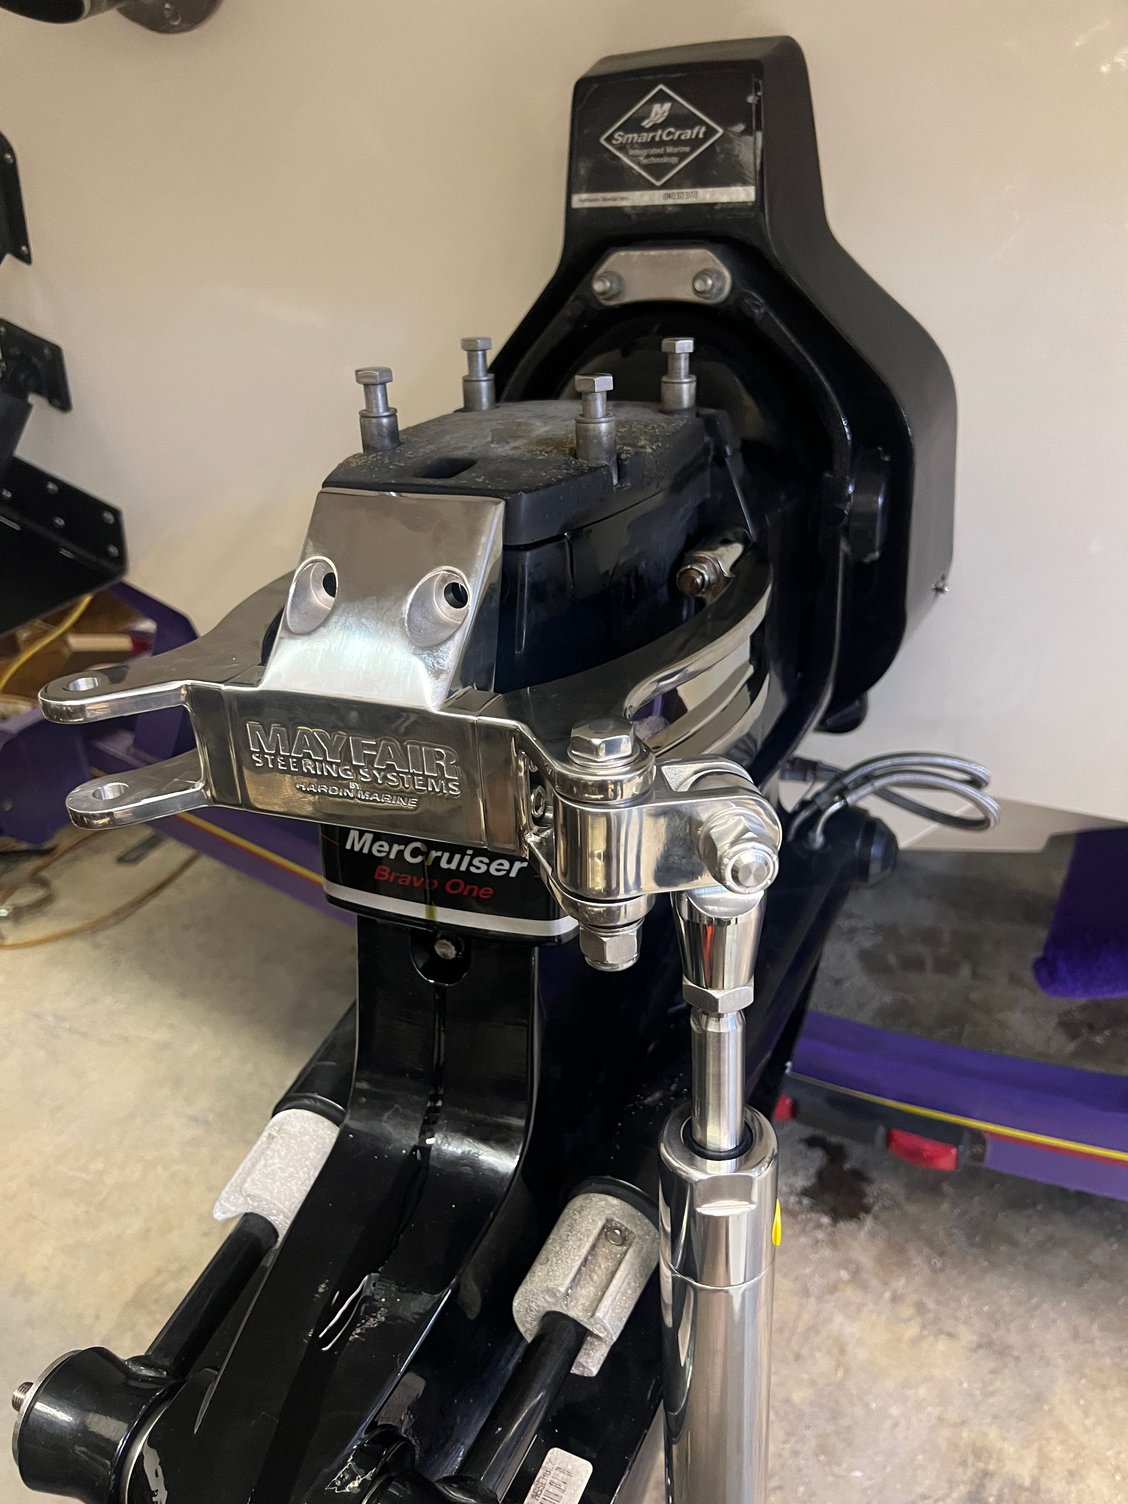
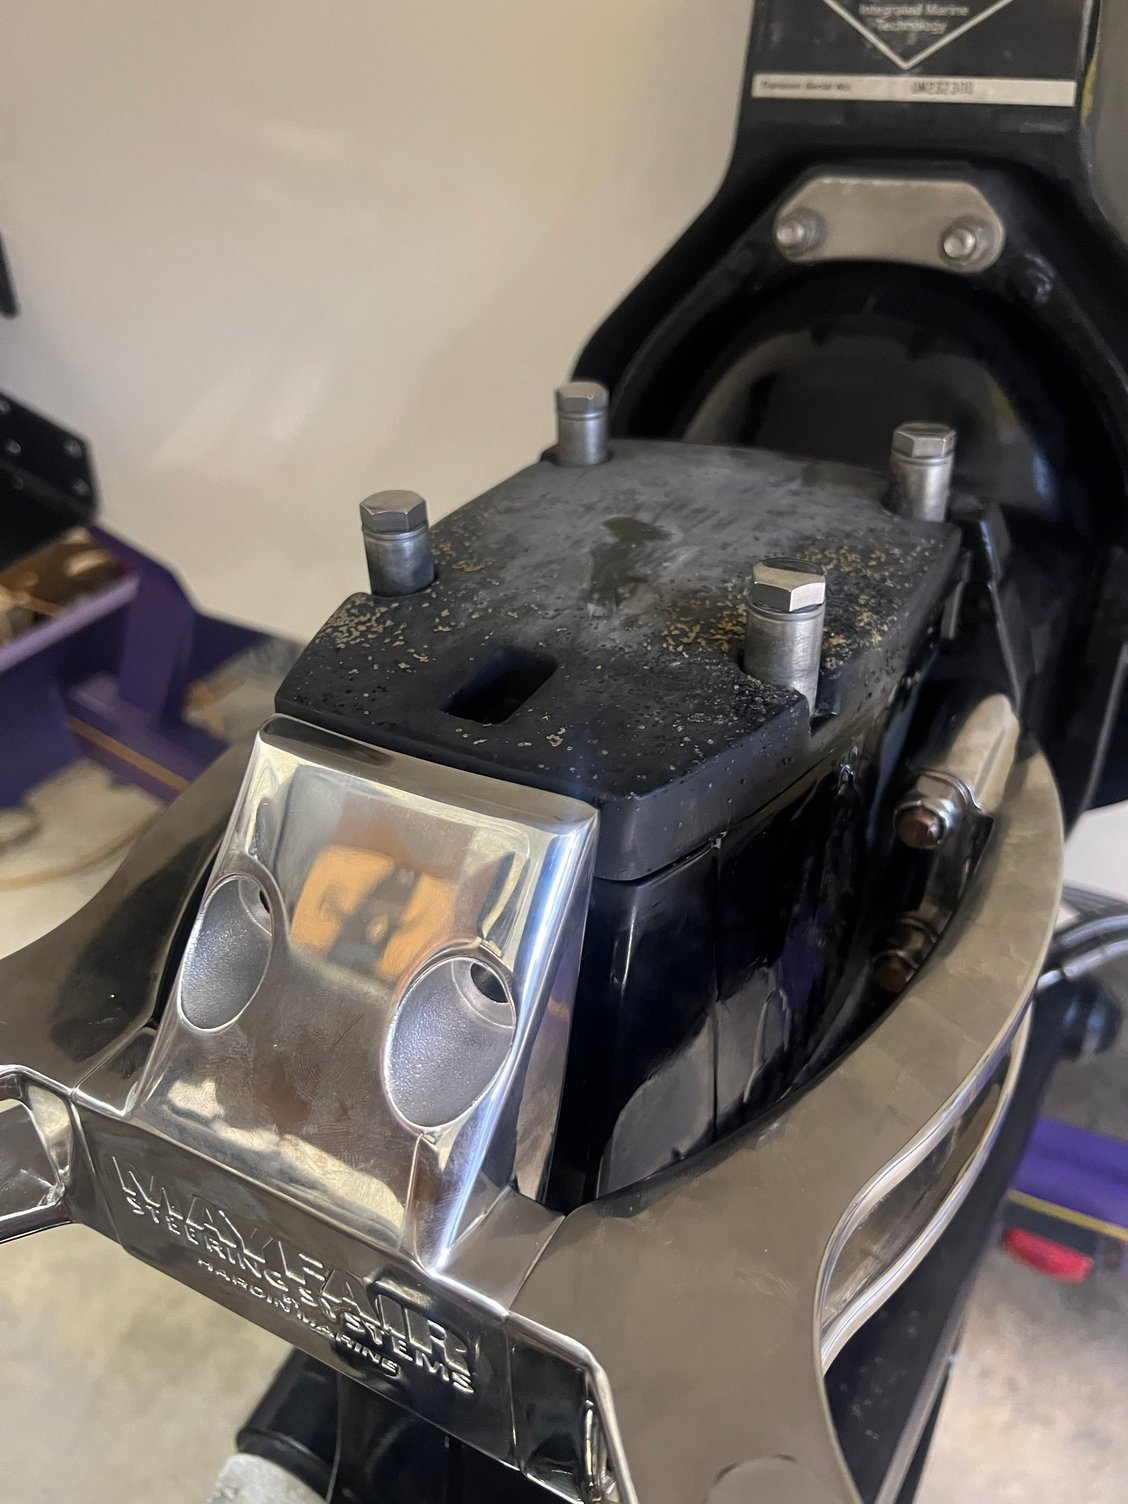
I�ve got the drive bracket installed.

I already had to deal with the grounding washer that the Mayfair kit doesn�t take into account with the drive bracket mounting bosses. I machined 1/16� off the pertinent boss, to account for the thickness of this washer, and the bracket lines up perfectly.
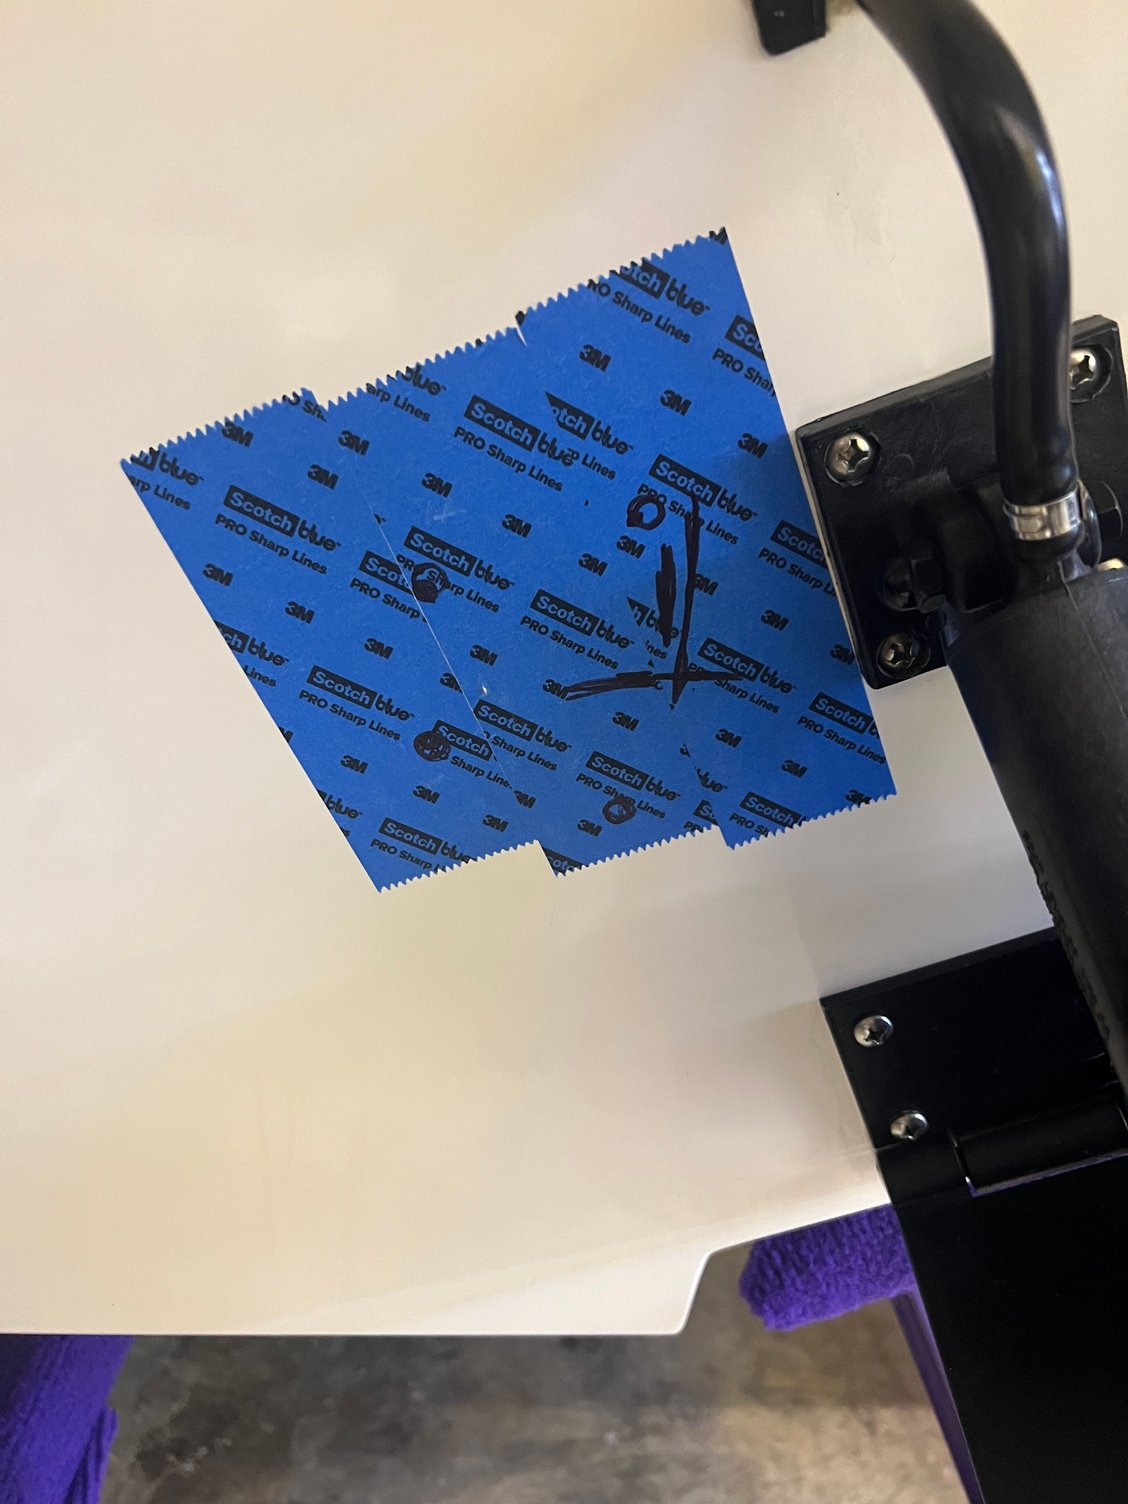
And the transom bracket bolt holes are marked. Pretty sure I�m going to have to cut away some of the floor panel that is attached to the top of the stringer on the side of the engine well, because, as best I can measure, that appears to be right where the thru-transom bolt holes are going to break through, and I�ll need some space for the washer plate on the inside. We�ll find out soon enough.
Any advice for a layman on drilling these holes without chipping the gelcoat? Specific type of drill bit? Learned techniques?
My intention is to seal the newly exposed raw wood with WestSystems epoxy before installing the bracket with a proper sealant. Speaking of which�.
Mayfair�s instructions say to use 3M 5200, but that makes me a bit nervous. That sh!t seems to be forever (not that I think this bracket is ever coming back off). It�s been suggested I use BoatLife Life Seal, which appears to be about the same as 4200, only clear and more expensive. Suggestions here?
Feel free to chime in with advice, critiques, whatever.
Thanks. Brad.
I have begun the steering conversion on the PQ. This is gonna take me a hot minute, as I am working it in when I have time here at the shop and I�m taking my time, doing it right.
So far:
I�ve got the drive bracket installed.
I already had to deal with the grounding washer that the Mayfair kit doesn�t take into account with the drive bracket mounting bosses. I machined 1/16� off the pertinent boss, to account for the thickness of this washer, and the bracket lines up perfectly.
And the transom bracket bolt holes are marked. Pretty sure I�m going to have to cut away some of the floor panel that is attached to the top of the stringer on the side of the engine well, because, as best I can measure, that appears to be right where the thru-transom bolt holes are going to break through, and I�ll need some space for the washer plate on the inside. We�ll find out soon enough.
Any advice for a layman on drilling these holes without chipping the gelcoat? Specific type of drill bit? Learned techniques?
My intention is to seal the newly exposed raw wood with WestSystems epoxy before installing the bracket with a proper sealant. Speaking of which�.
Mayfair�s instructions say to use 3M 5200, but that makes me a bit nervous. That sh!t seems to be forever (not that I think this bracket is ever coming back off). It�s been suggested I use BoatLife Life Seal, which appears to be about the same as 4200, only clear and more expensive. Suggestions here?
Feel free to chime in with advice, critiques, whatever.
Thanks. Brad.
 11-13-2025 | 04:38 PM
#3
Registered

Joined: Oct 2000
Posts: 3,802
Likes: 662
From: Lakewood, NY, USA
I can't help with the tech but I can say you will be worth the effort. Years ago I had a 1998 Velocity 280 that did not have hydraulic steering. After owning it for years I had full hydraulic steering installed. WOW...what a difference.
Padraig
Padraig
11-13-2025 | 04:46 PM
#4
Thread Starter
VIP Member
Joined: Jun 2021
Posts: 3,518
Likes: 2,137
From: SW Ohio
That�s what I keep hearing. The CFO isn�t convinced, but I think she will be.
Thanks. Brad.
11-13-2025 | 05:00 PM
#5
Registered


Joined: Aug 2007
Posts: 1,422
Likes: 1,062
From: Orlando, FL
Also, I suspect that the reason the Mayfair bracket does not take into account the grounding washer, is that the bracket is bare aluminum and thus will be grounded to the outdrive when assembled, without the need for the grounding washer.
11-13-2025 | 08:29 PM
#6
Registered
Joined: Dec 2022
Posts: 114
Likes: 70
From: Mason, OH
I used the 4200 type sealer when I installed the rams and hose thru hulls on my boat. Funny you mention the part about the location of holes, as when I put my rams on, when went in between my drives, my inner plate I believe was hitting my center stringer which is huge and high up on the formula. I too had to modify my backing plate. In fact one of my 4 bolts ended up being changed to a lag vs a bolt as it went right into where the stringer was.
Good luck. It is quite amazing the difference, handles like it�s on rails.
Good luck. It is quite amazing the difference, handles like it�s on rails.
11-13-2025 | 08:41 PM
#7
Thread Starter
VIP Member
Joined: Jun 2021
Posts: 3,518
Likes: 2,137
From: SW Ohio
I believe the bracket is stainless; certainly feels considerably heavier than aluminum.
Apparently, the stud isn�t a reliable conductor into the helmet. If it were, Merc wouldn�t have incorporated the grounding washer. With that said, the bracket isn�t going to change that.
Machining an equivalent of the washer from the mounting boss of the bracket allowed me to keep the washer as Merc intended, and didn�t affect the fit and alignment of the bracket segments.
Thanks. Brad.
11-14-2025 | 05:45 AM
#8
Registered
Joined: Aug 2007
Posts: 1,422
Likes: 1,062
From: Orlando, FL
DrFeelgood,
I believe the bracket is stainless; certainly feels considerably heavier than aluminum.
Apparently, the stud isn�t a reliable conductor into the helmet. If it were, Merc wouldn�t have incorporated the grounding washer. With that said, the bracket isn�t going to change that.
Machining an equivalent of the washer from the mounting boss of the bracket allowed me to keep the washer as Merc intended, and didn�t affect the fit and alignment of the bracket segments.
Thanks. Brad.
11-14-2025 | 08:10 AM
#9
Thread Starter
VIP Member
Joined: Jun 2021
Posts: 3,518
Likes: 2,137
From: SW Ohio
Guys,
Interesting discovery, getting back in the shop this morning�.
I had to remove the drive shower, as it�s in conflict with the rear plate of the drive steering bracket. And, I guess the lack of tension on the bolts lead to this:
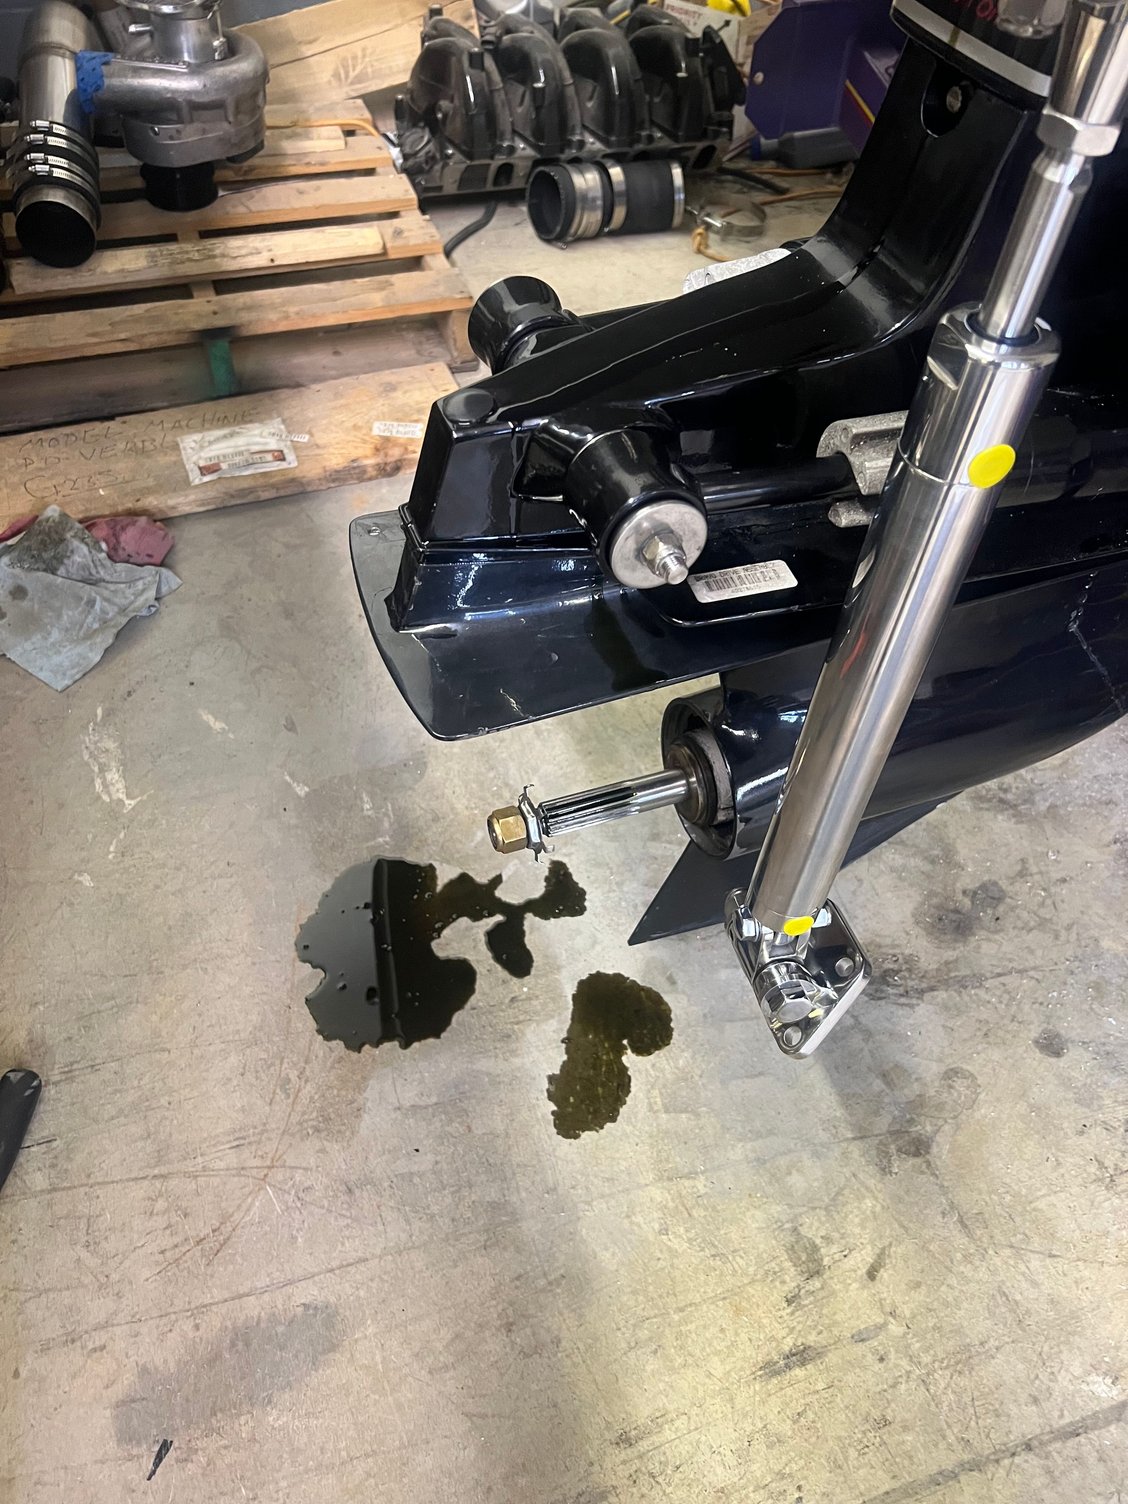
Oops�.
I guess my drive oil reservoir lines are flowing freely enough.") I obviously snugged the bolts down and wiped up the mess.
I obviously snugged the bolts down and wiped up the mess.
On a better front�.
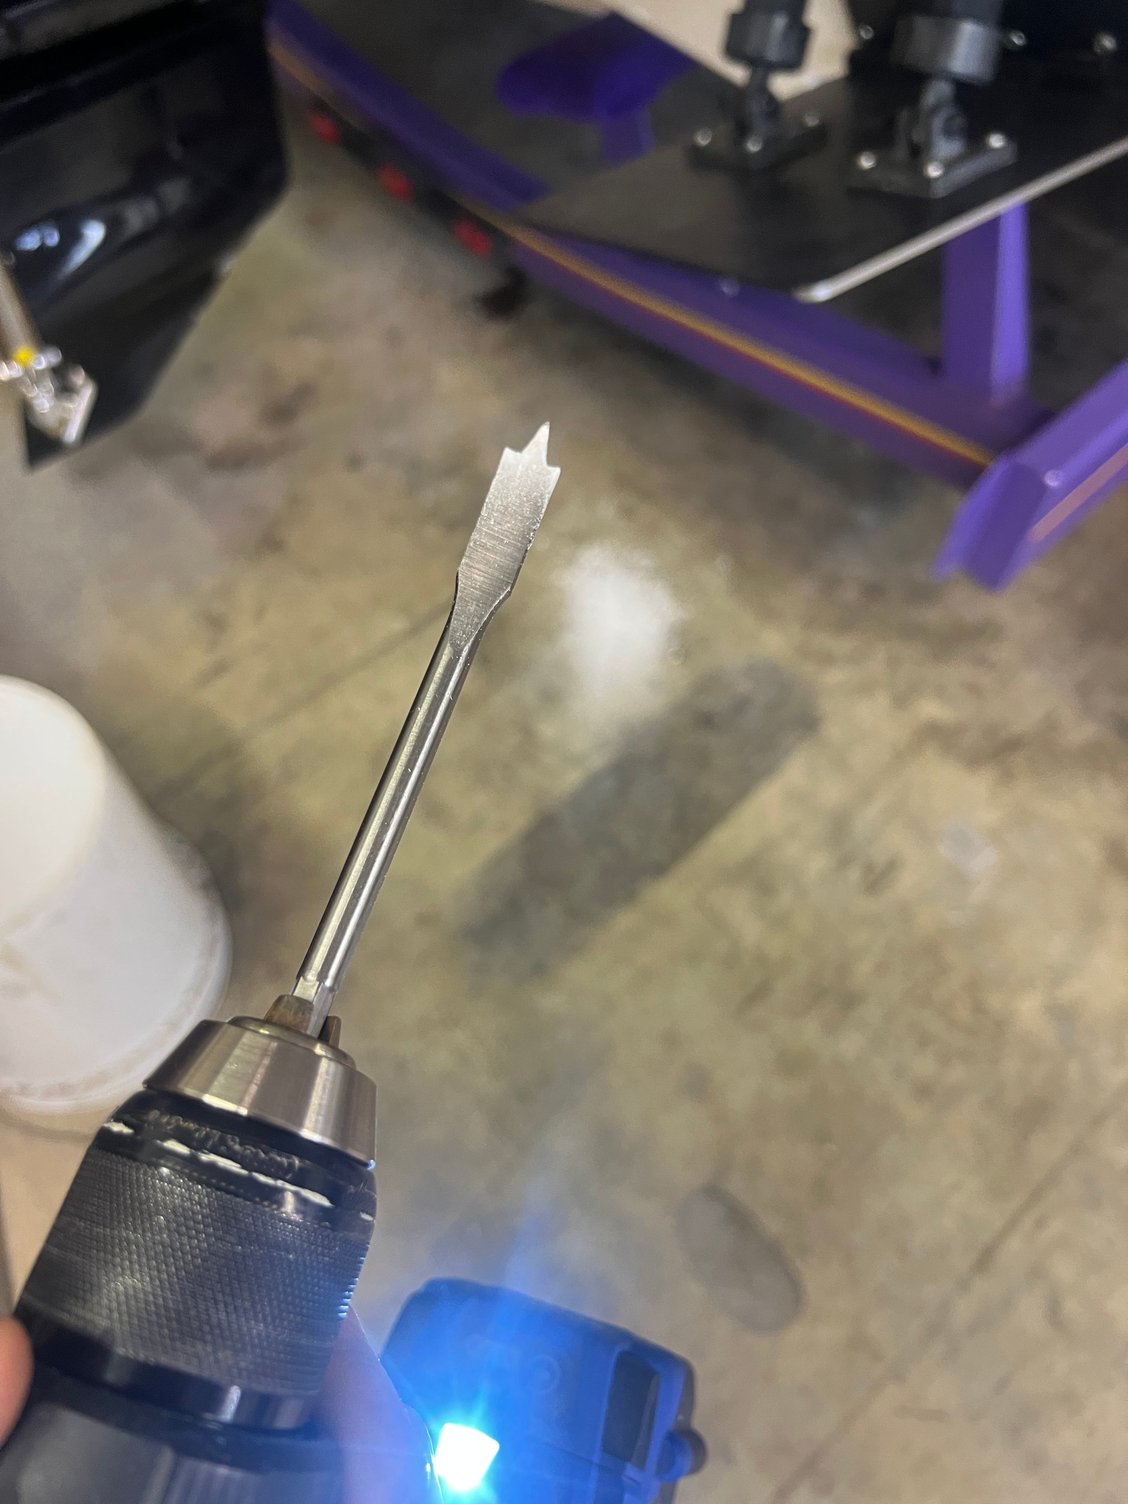
I used a 7/16� speed bore to spot face through the gelcoat without chipping.
Worked great. Next, I�ll use a drill guide to drill through nice and square with a 13/32� drill bit.
Thanks. Brad.
Thanks.
Interesting discovery, getting back in the shop this morning�.
I had to remove the drive shower, as it�s in conflict with the rear plate of the drive steering bracket. And, I guess the lack of tension on the bolts lead to this:
Oops�.
I guess my drive oil reservoir lines are flowing freely enough.
I obviously snugged the bolts down and wiped up the mess. On a better front�.
I used a 7/16� speed bore to spot face through the gelcoat without chipping.
Worked great. Next, I�ll use a drill guide to drill through nice and square with a 13/32� drill bit.
Thanks. Brad.
Thanks.

