Never again, probably !
 12-12-2020 | 03:15 PM
#61
Thread Starter
Registered

Joined: May 2009
Posts: 1,942
Likes: 527

it should be in the water this spring and is turning out to be good practice and learning for the next project !!!
Last edited by outonsafari; 12-12-2020 at 03:18 PM.

 12-17-2020 | 04:21 PM
#63
Thread Starter
Registered
Joined: May 2009
Posts: 1,942
Likes: 527
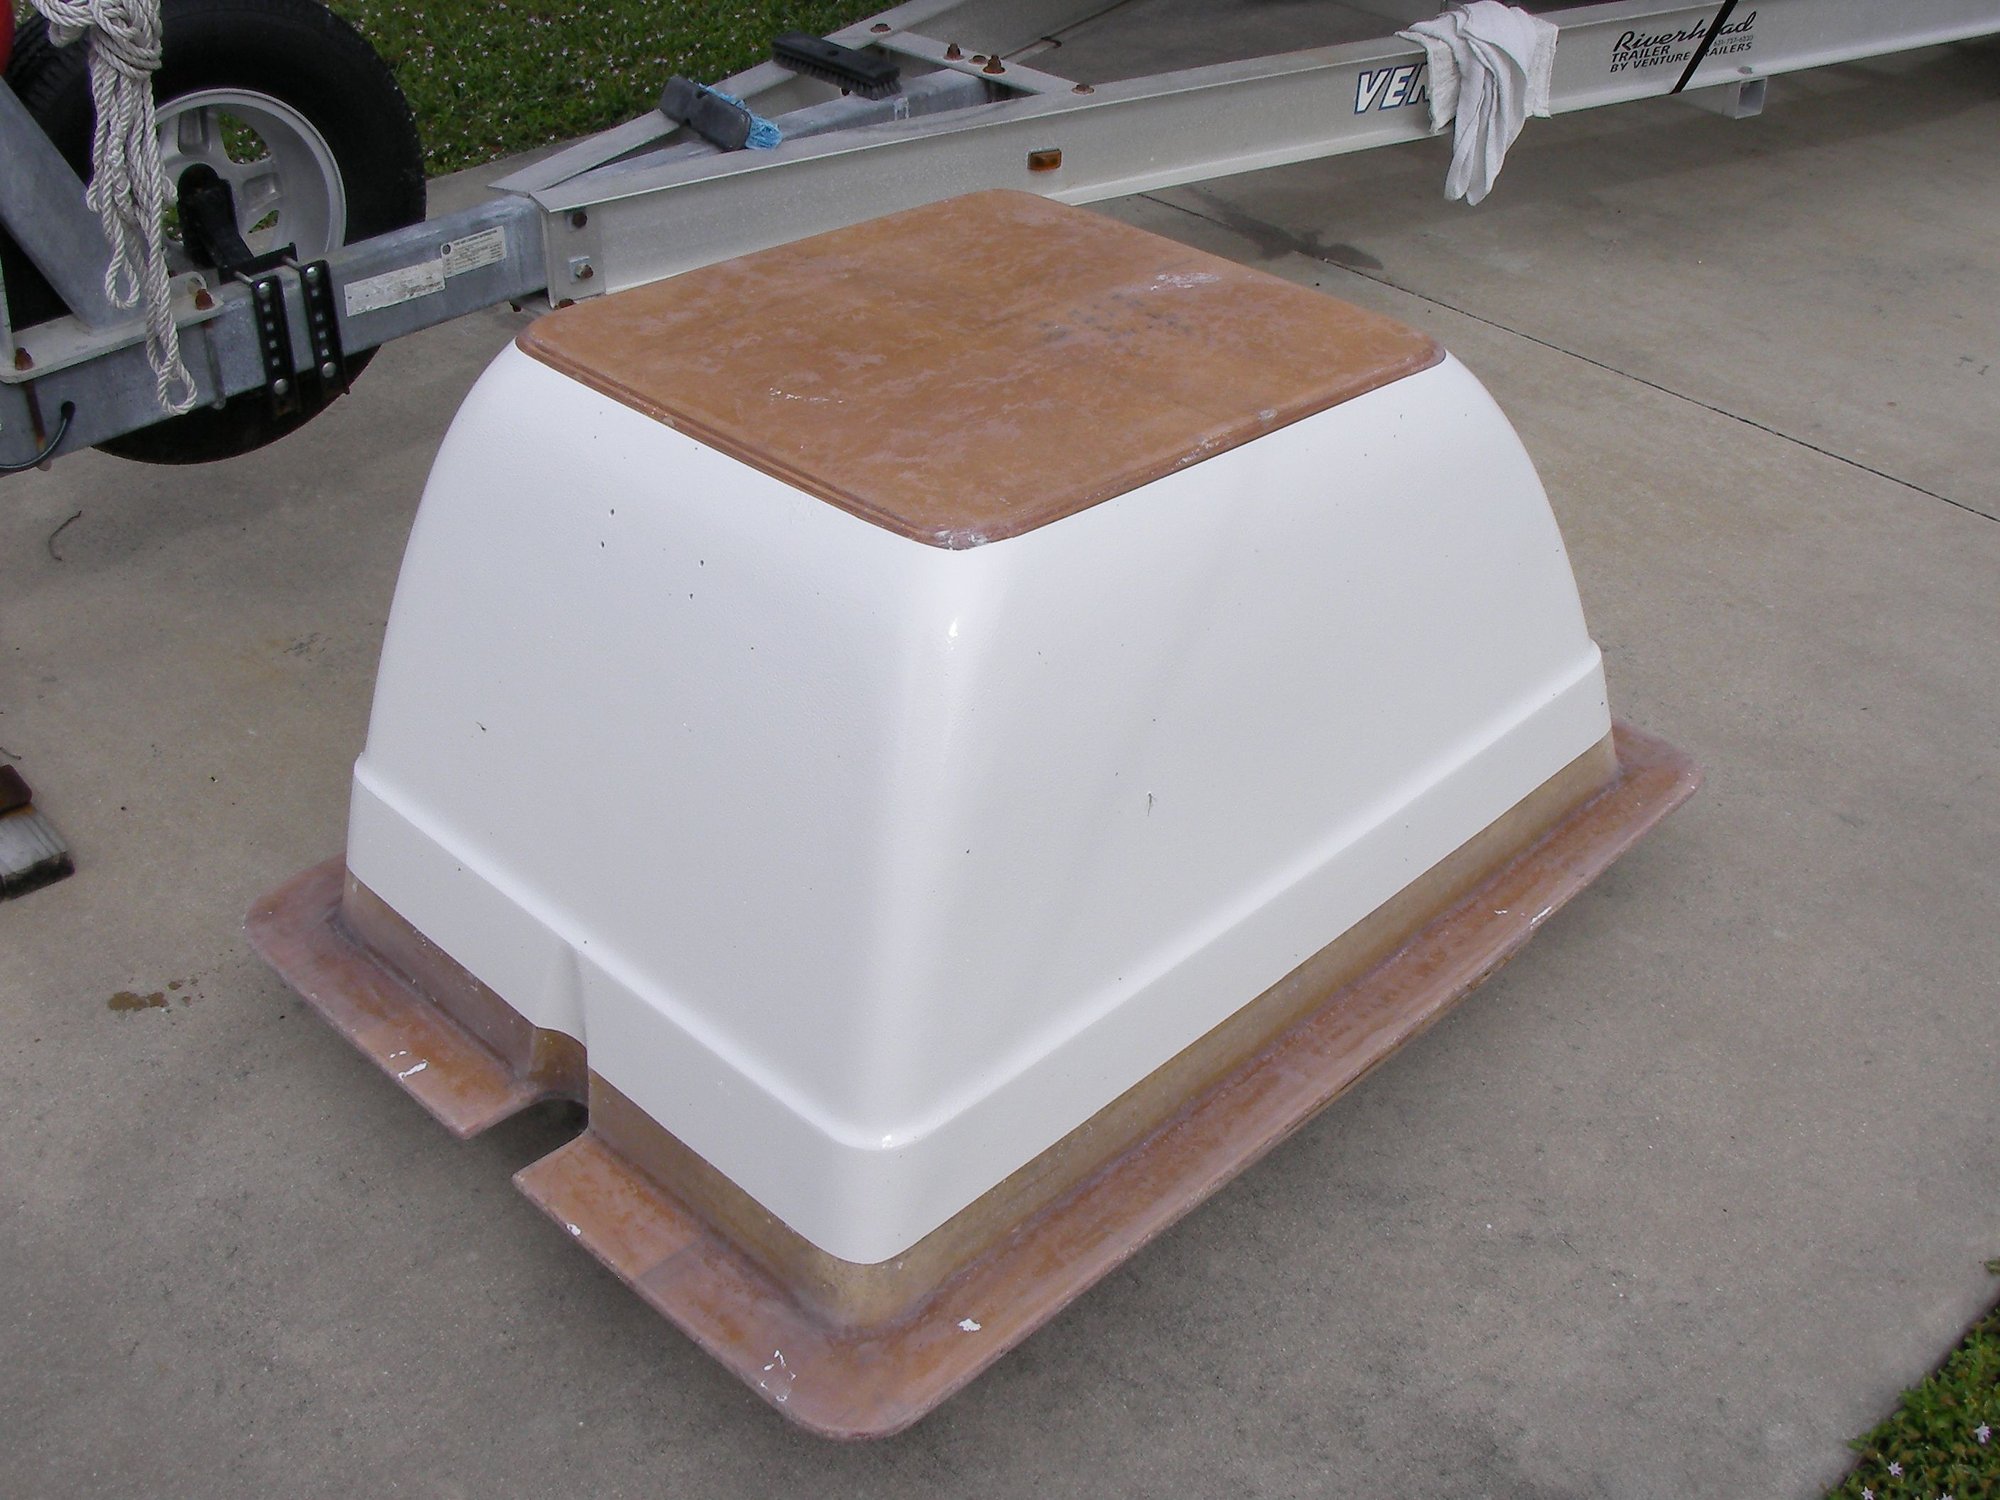
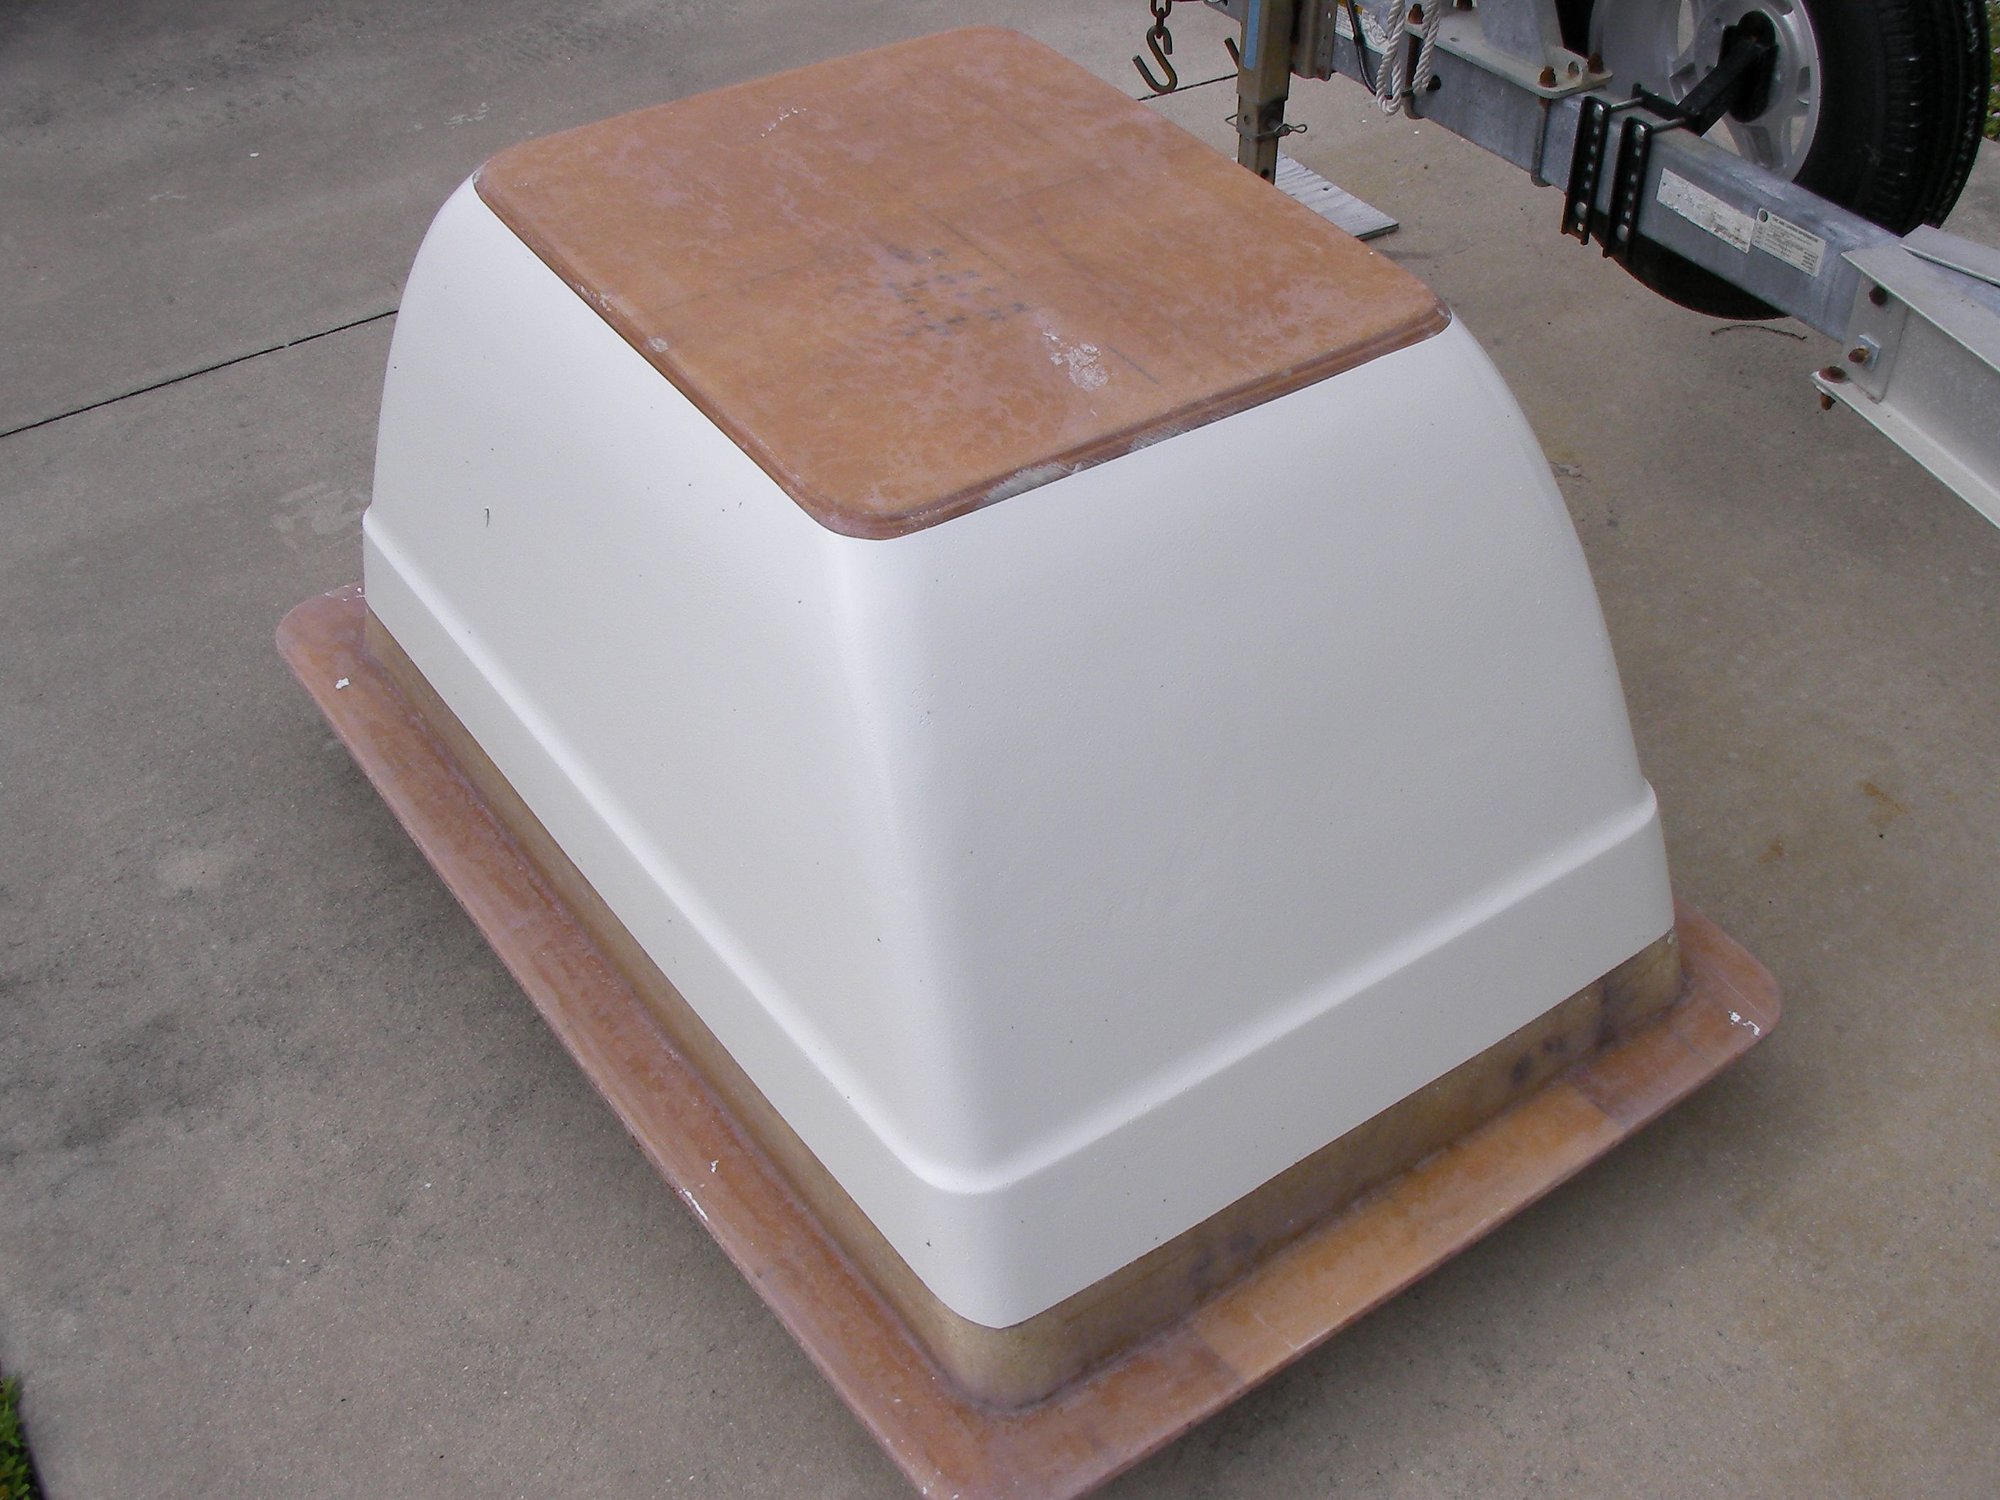
shot it on sunday, might get to knocking it down and filling/fairing/swiping this weekend.
Just gonna thicken up about 8 ounces of gel to use as filler.
Last edited by outonsafari; 12-17-2020 at 04:30 PM.
12-18-2020 | 06:18 AM
#64
Platinum Member

Joined: Jan 2005
Posts: 1,157
Likes: 520
From: Owen Sound Ont.
Looking fantastic! Thank you for posting your progress.
For fairing compound I have used vinyl-ester resin mixed with microballons, it makes a very light sandable mix that does not clog up paper
For fairing compound I have used vinyl-ester resin mixed with microballons, it makes a very light sandable mix that does not clog up paper
12-18-2020 | 04:49 PM
#65
Thread Starter
Registered
Joined: May 2009
Posts: 1,942
Likes: 527
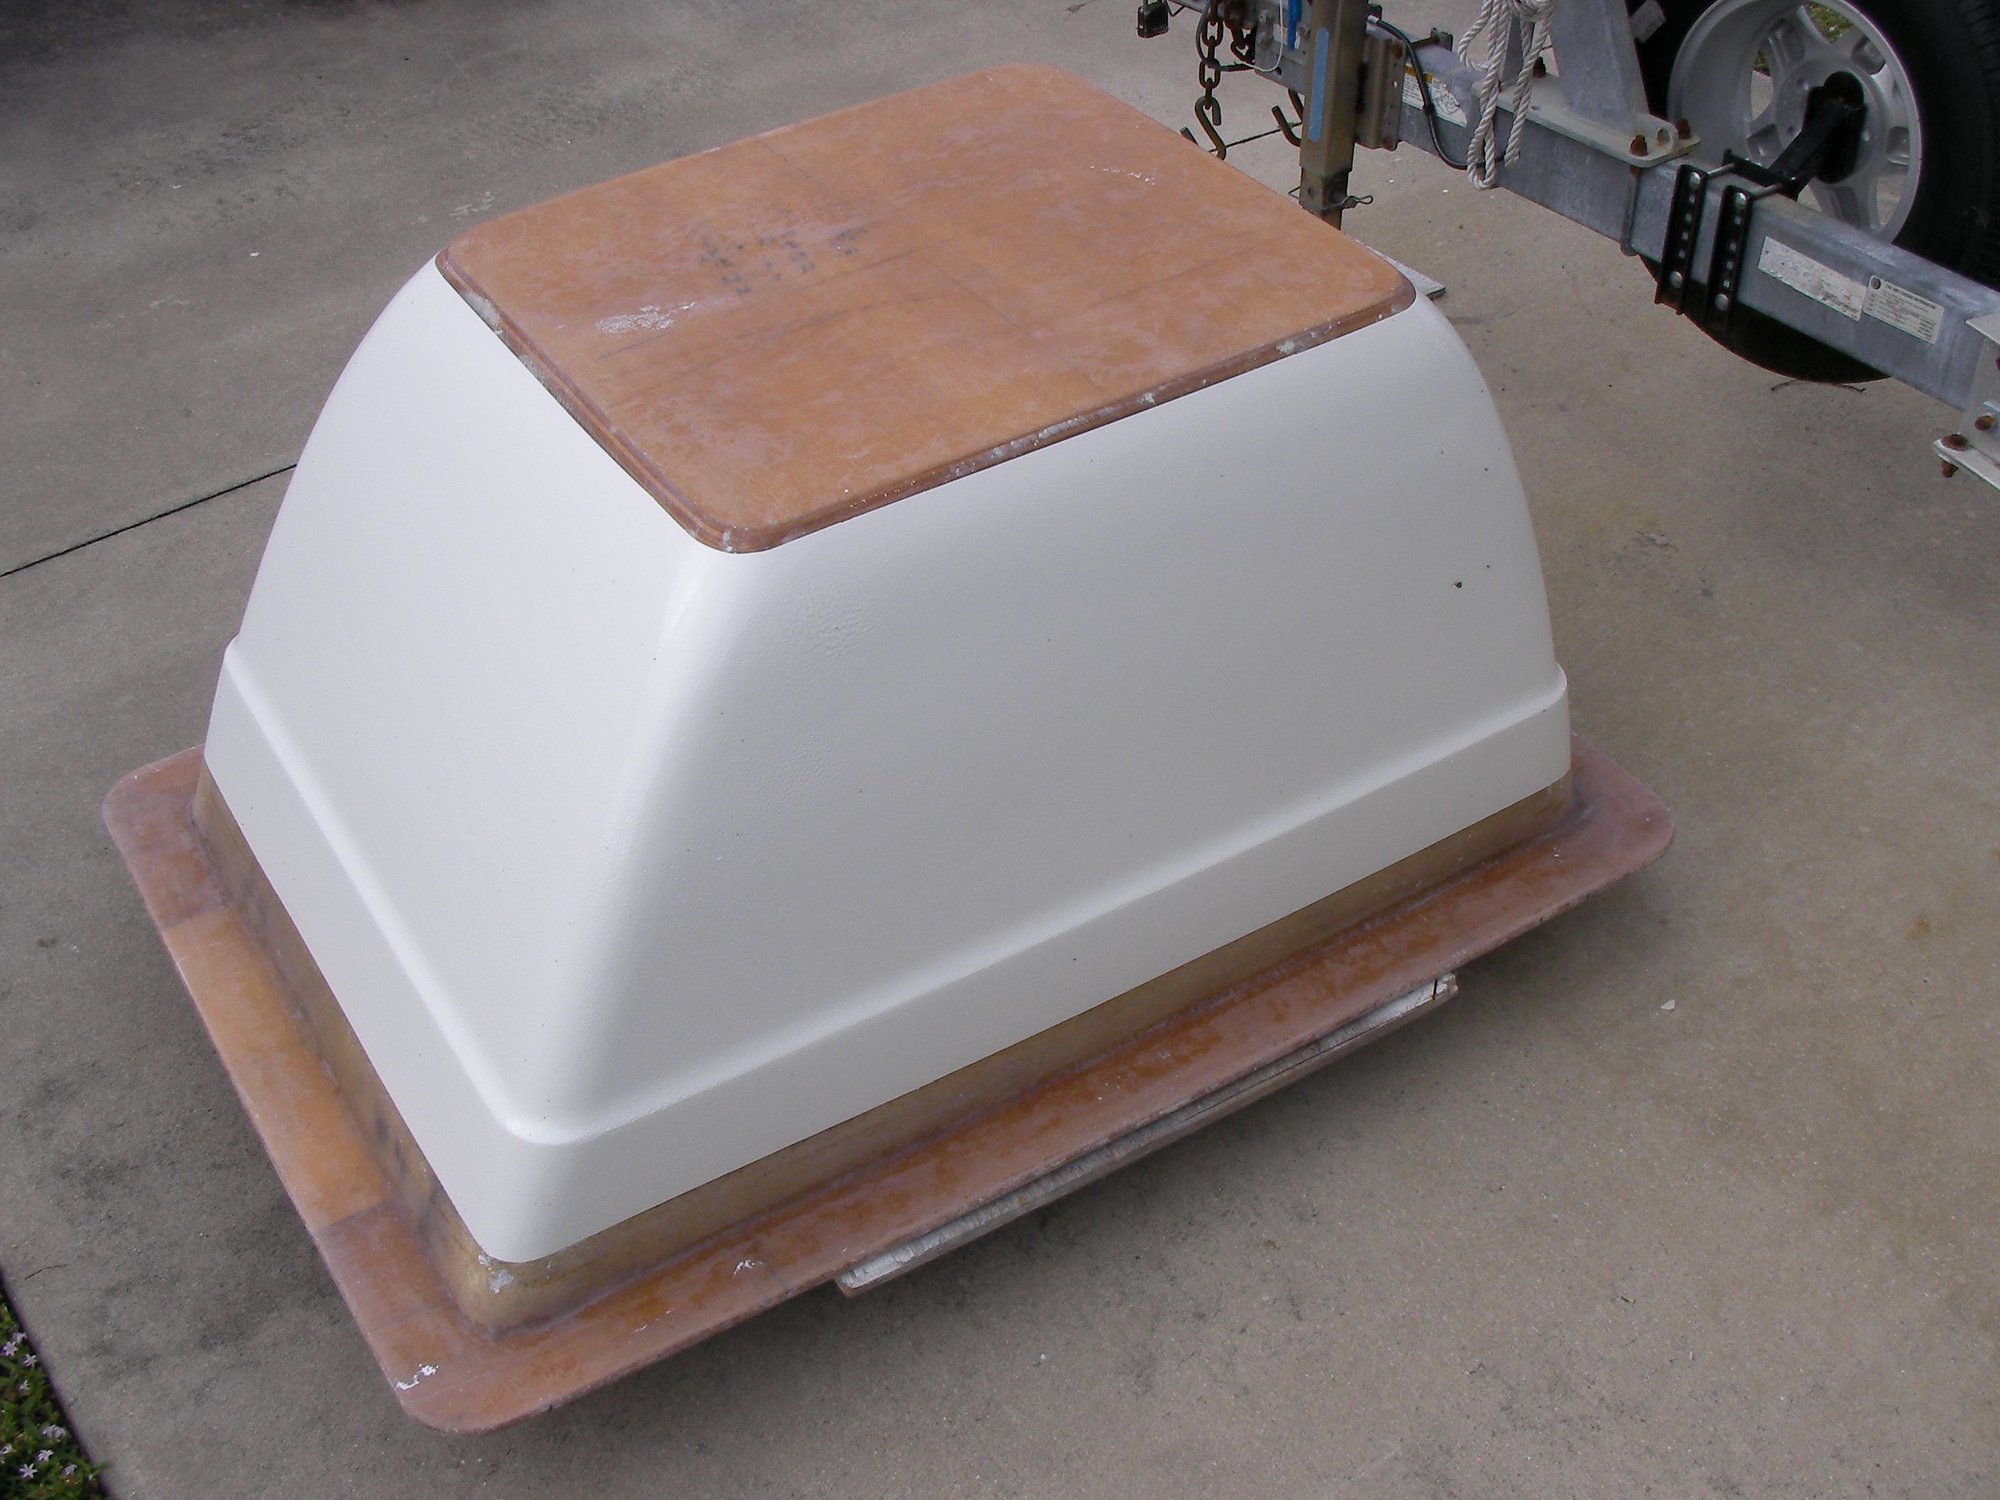
Thanks, yeah i like that sandable stuff. Reason i went gel was to expose all the imperfections, using thickened gel as filler should pay off in the end because the box is 16-18 sq ft approx so 1 qaurt covered it. After the touch up i'll spray on another qaurt, since its all round, curved and so on if i sand thru while boarding it wont expose filler and need to be re shot.
got the gas tank in today, temperature dictates what happens day by day now and curse the bad luck, dog box wont fit in the house or i could be sanding and filling right now
got the gas tank in today, temperature dictates what happens day by day now and curse the bad luck, dog box wont fit in the house or i could be sanding and filling right now
02-15-2021 | 11:16 AM
#66
Thread Starter
Registered
Joined: May 2009
Posts: 1,942
Likes: 527
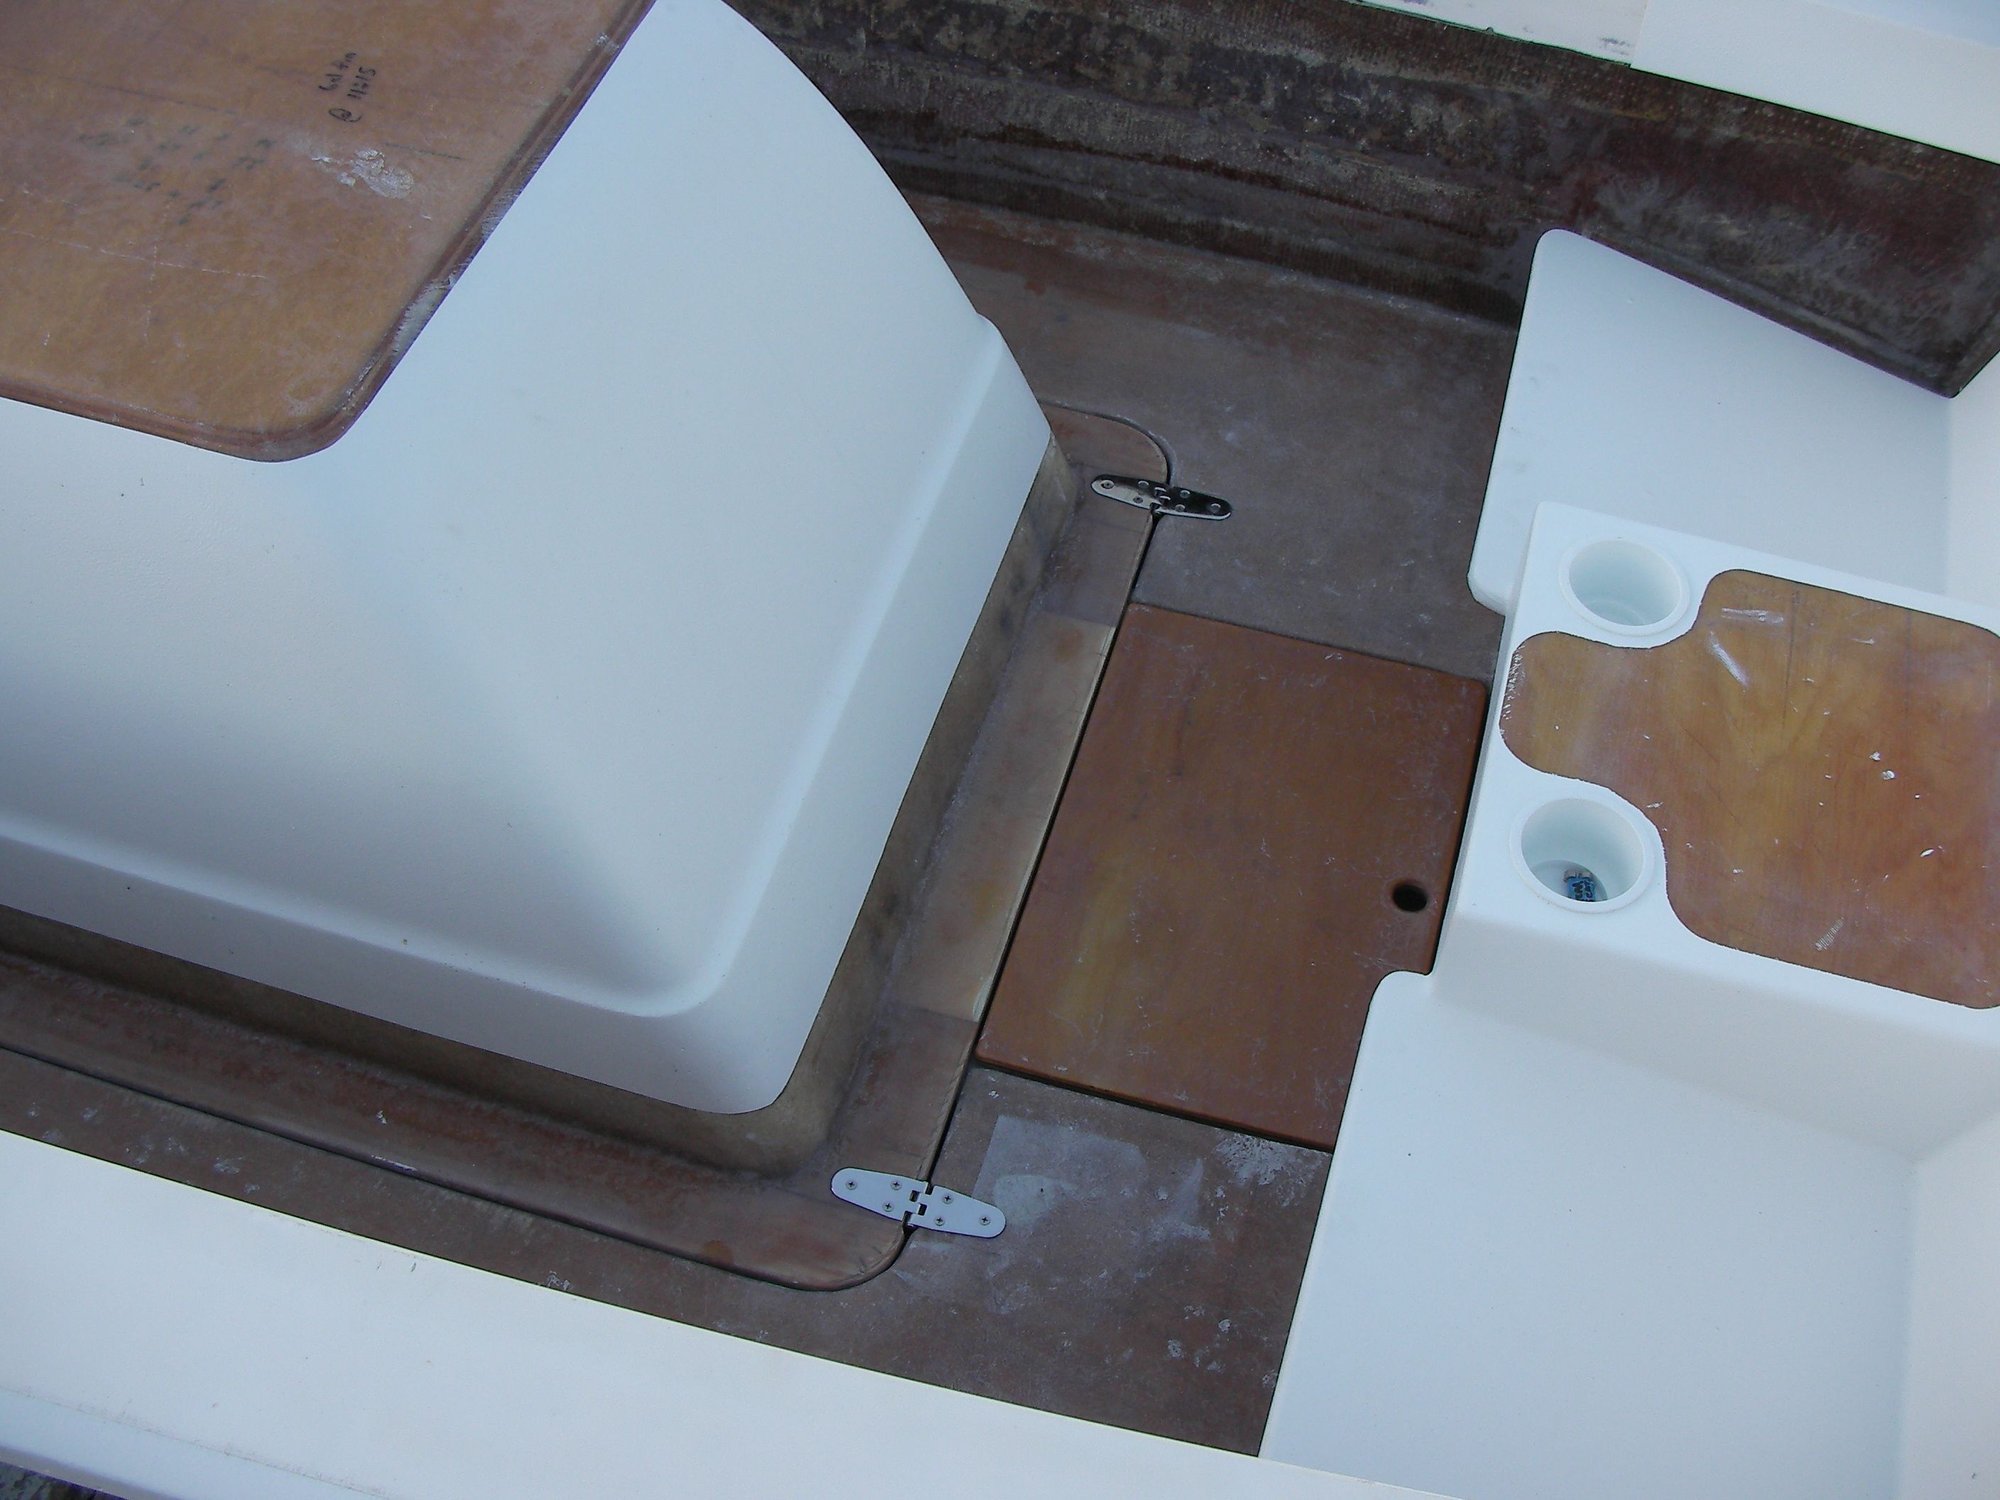
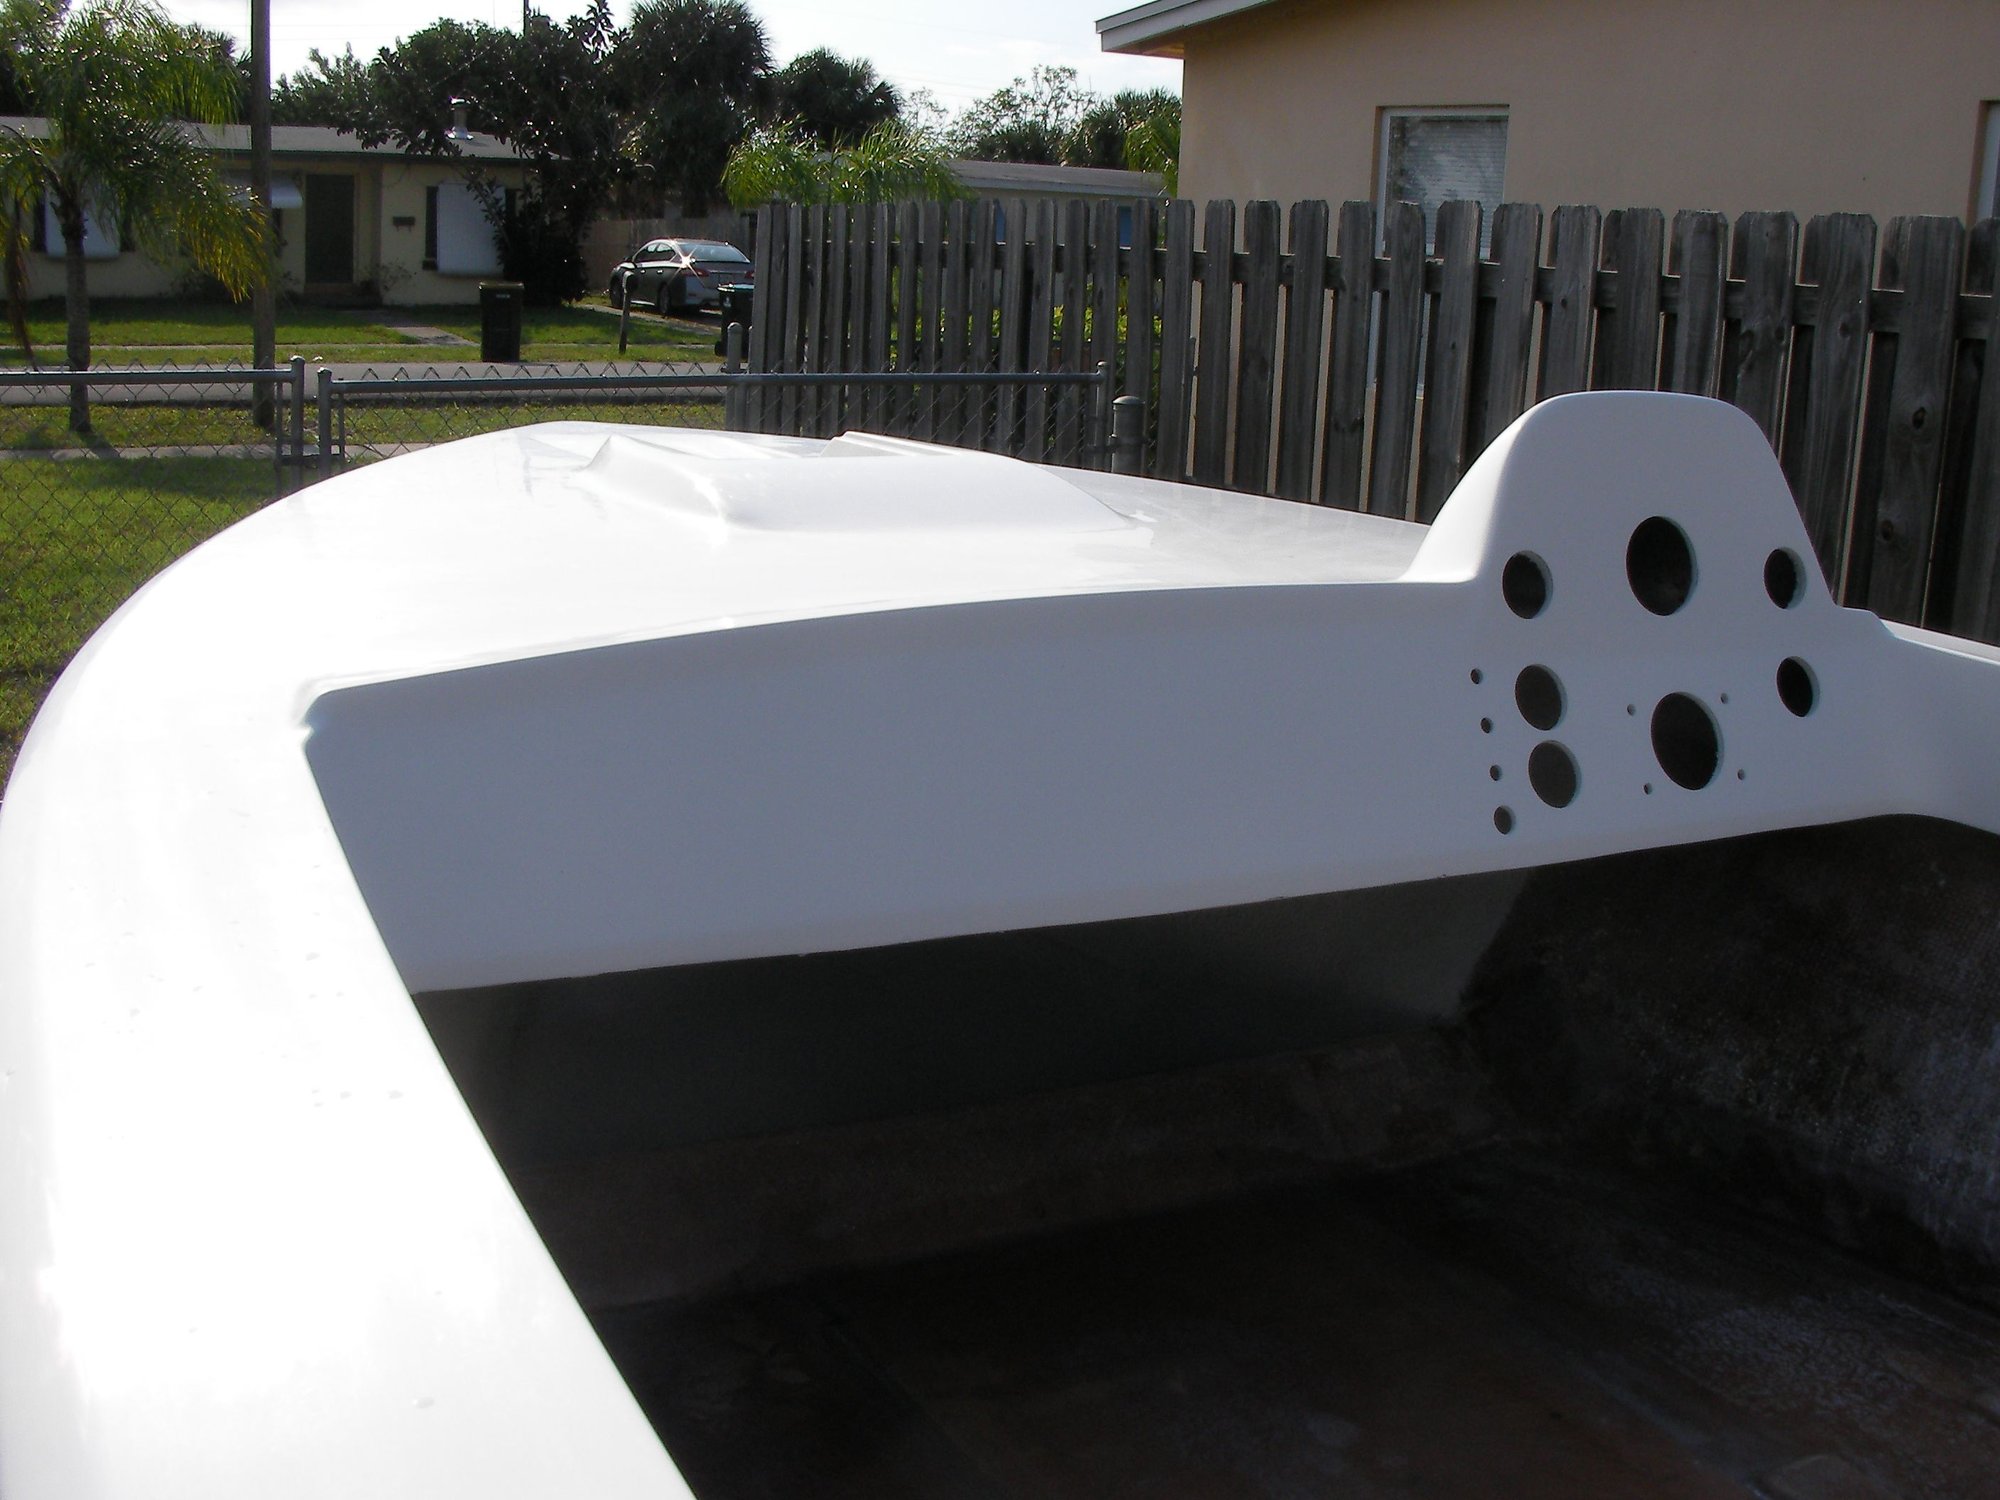
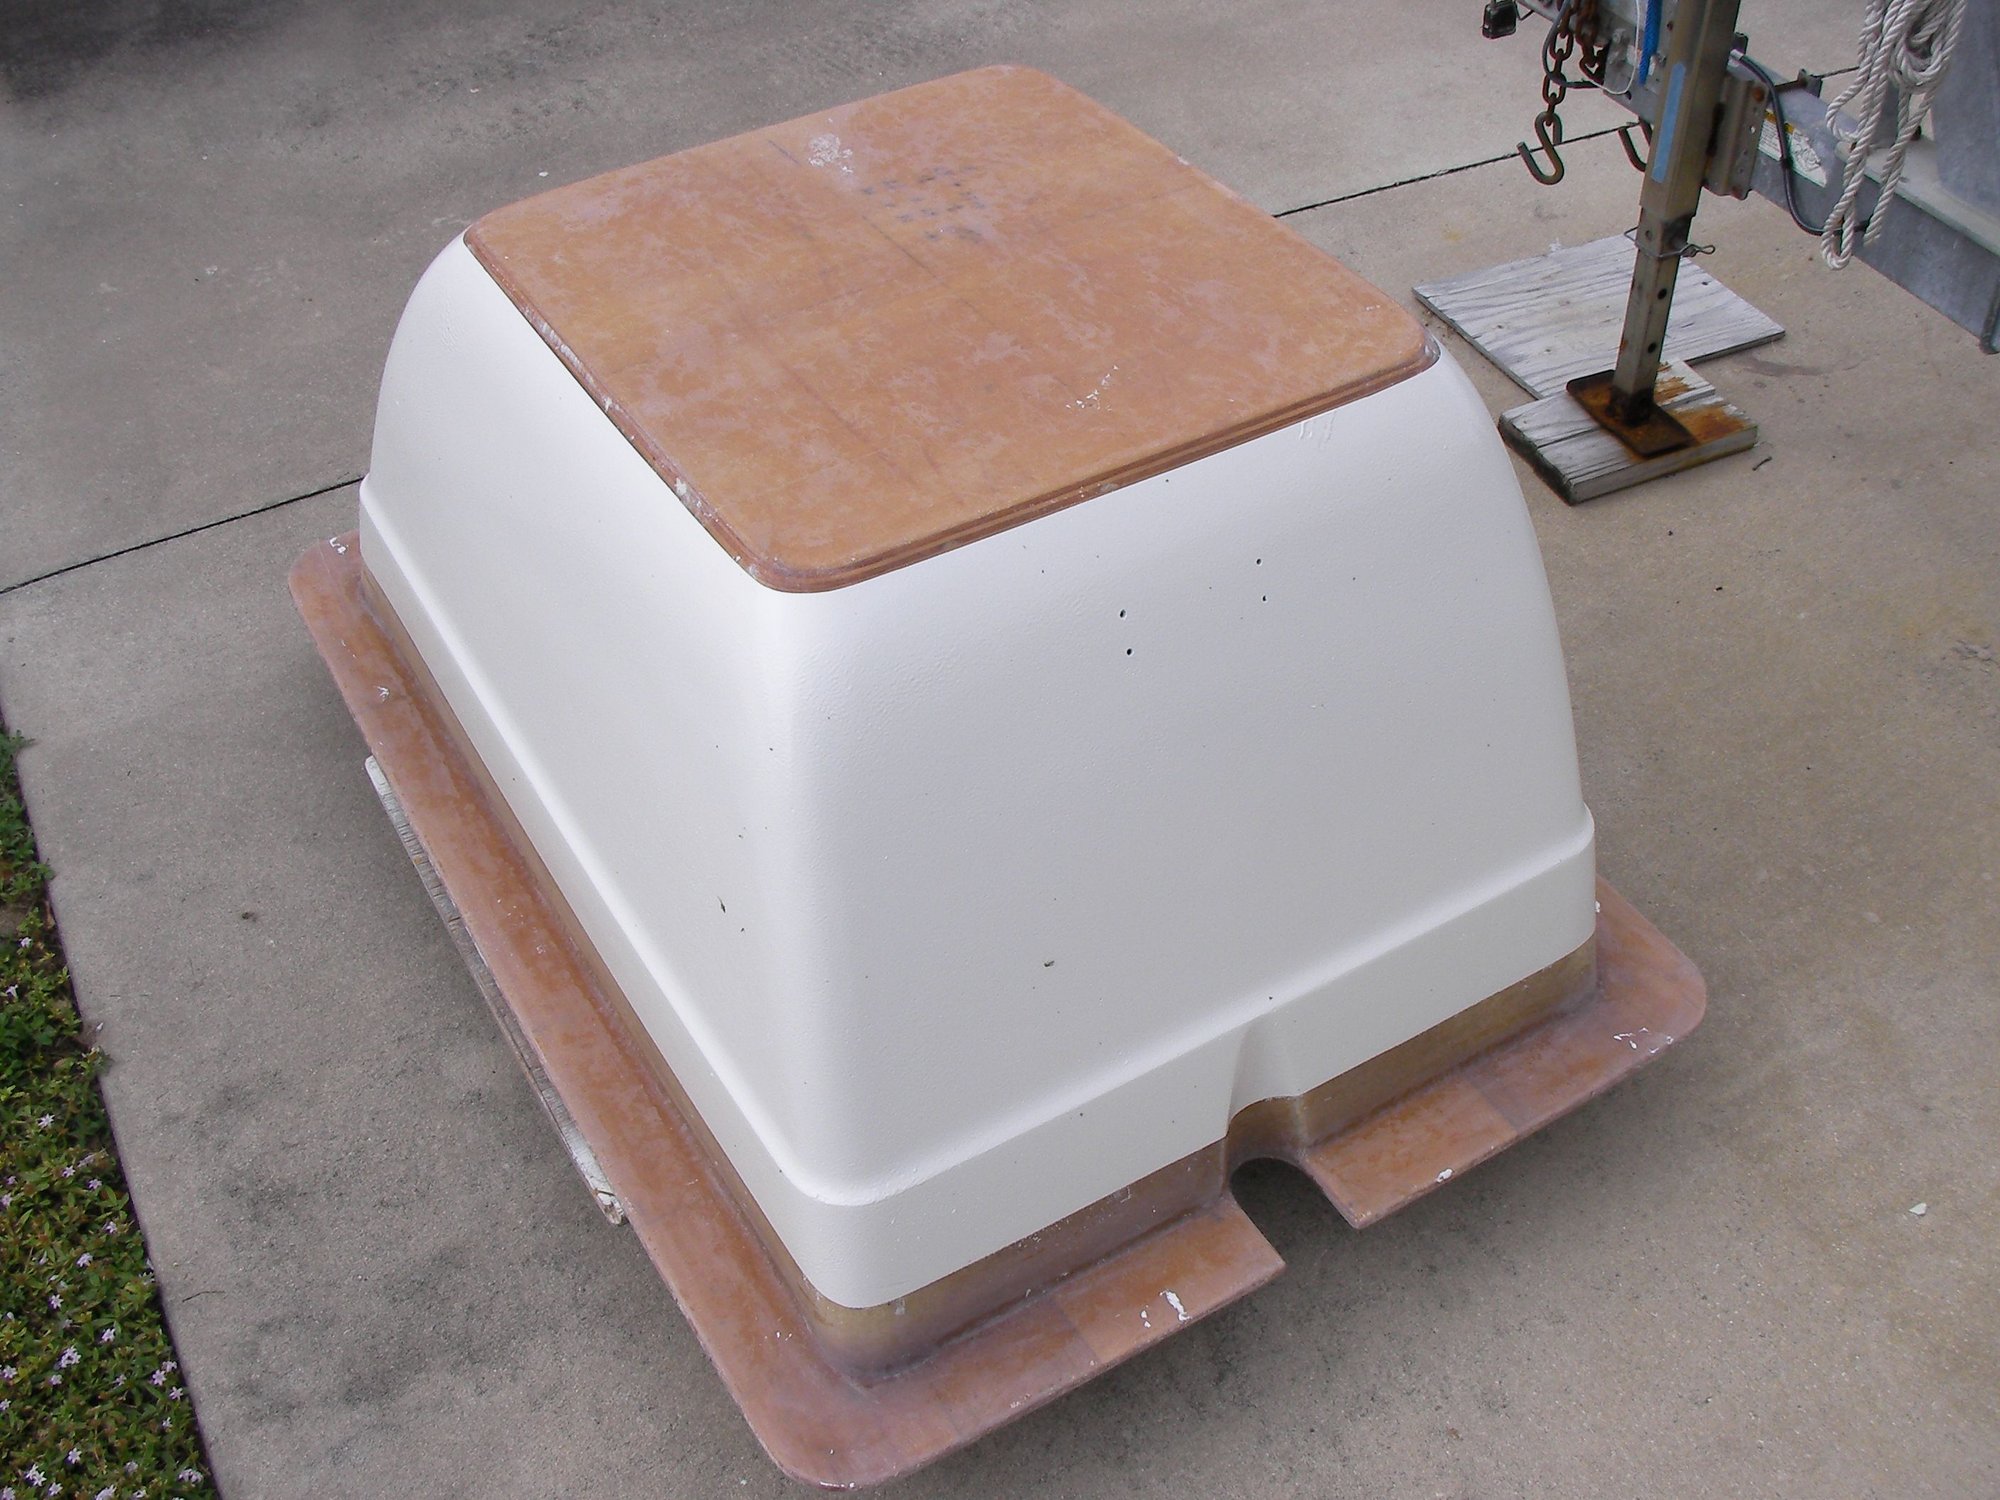
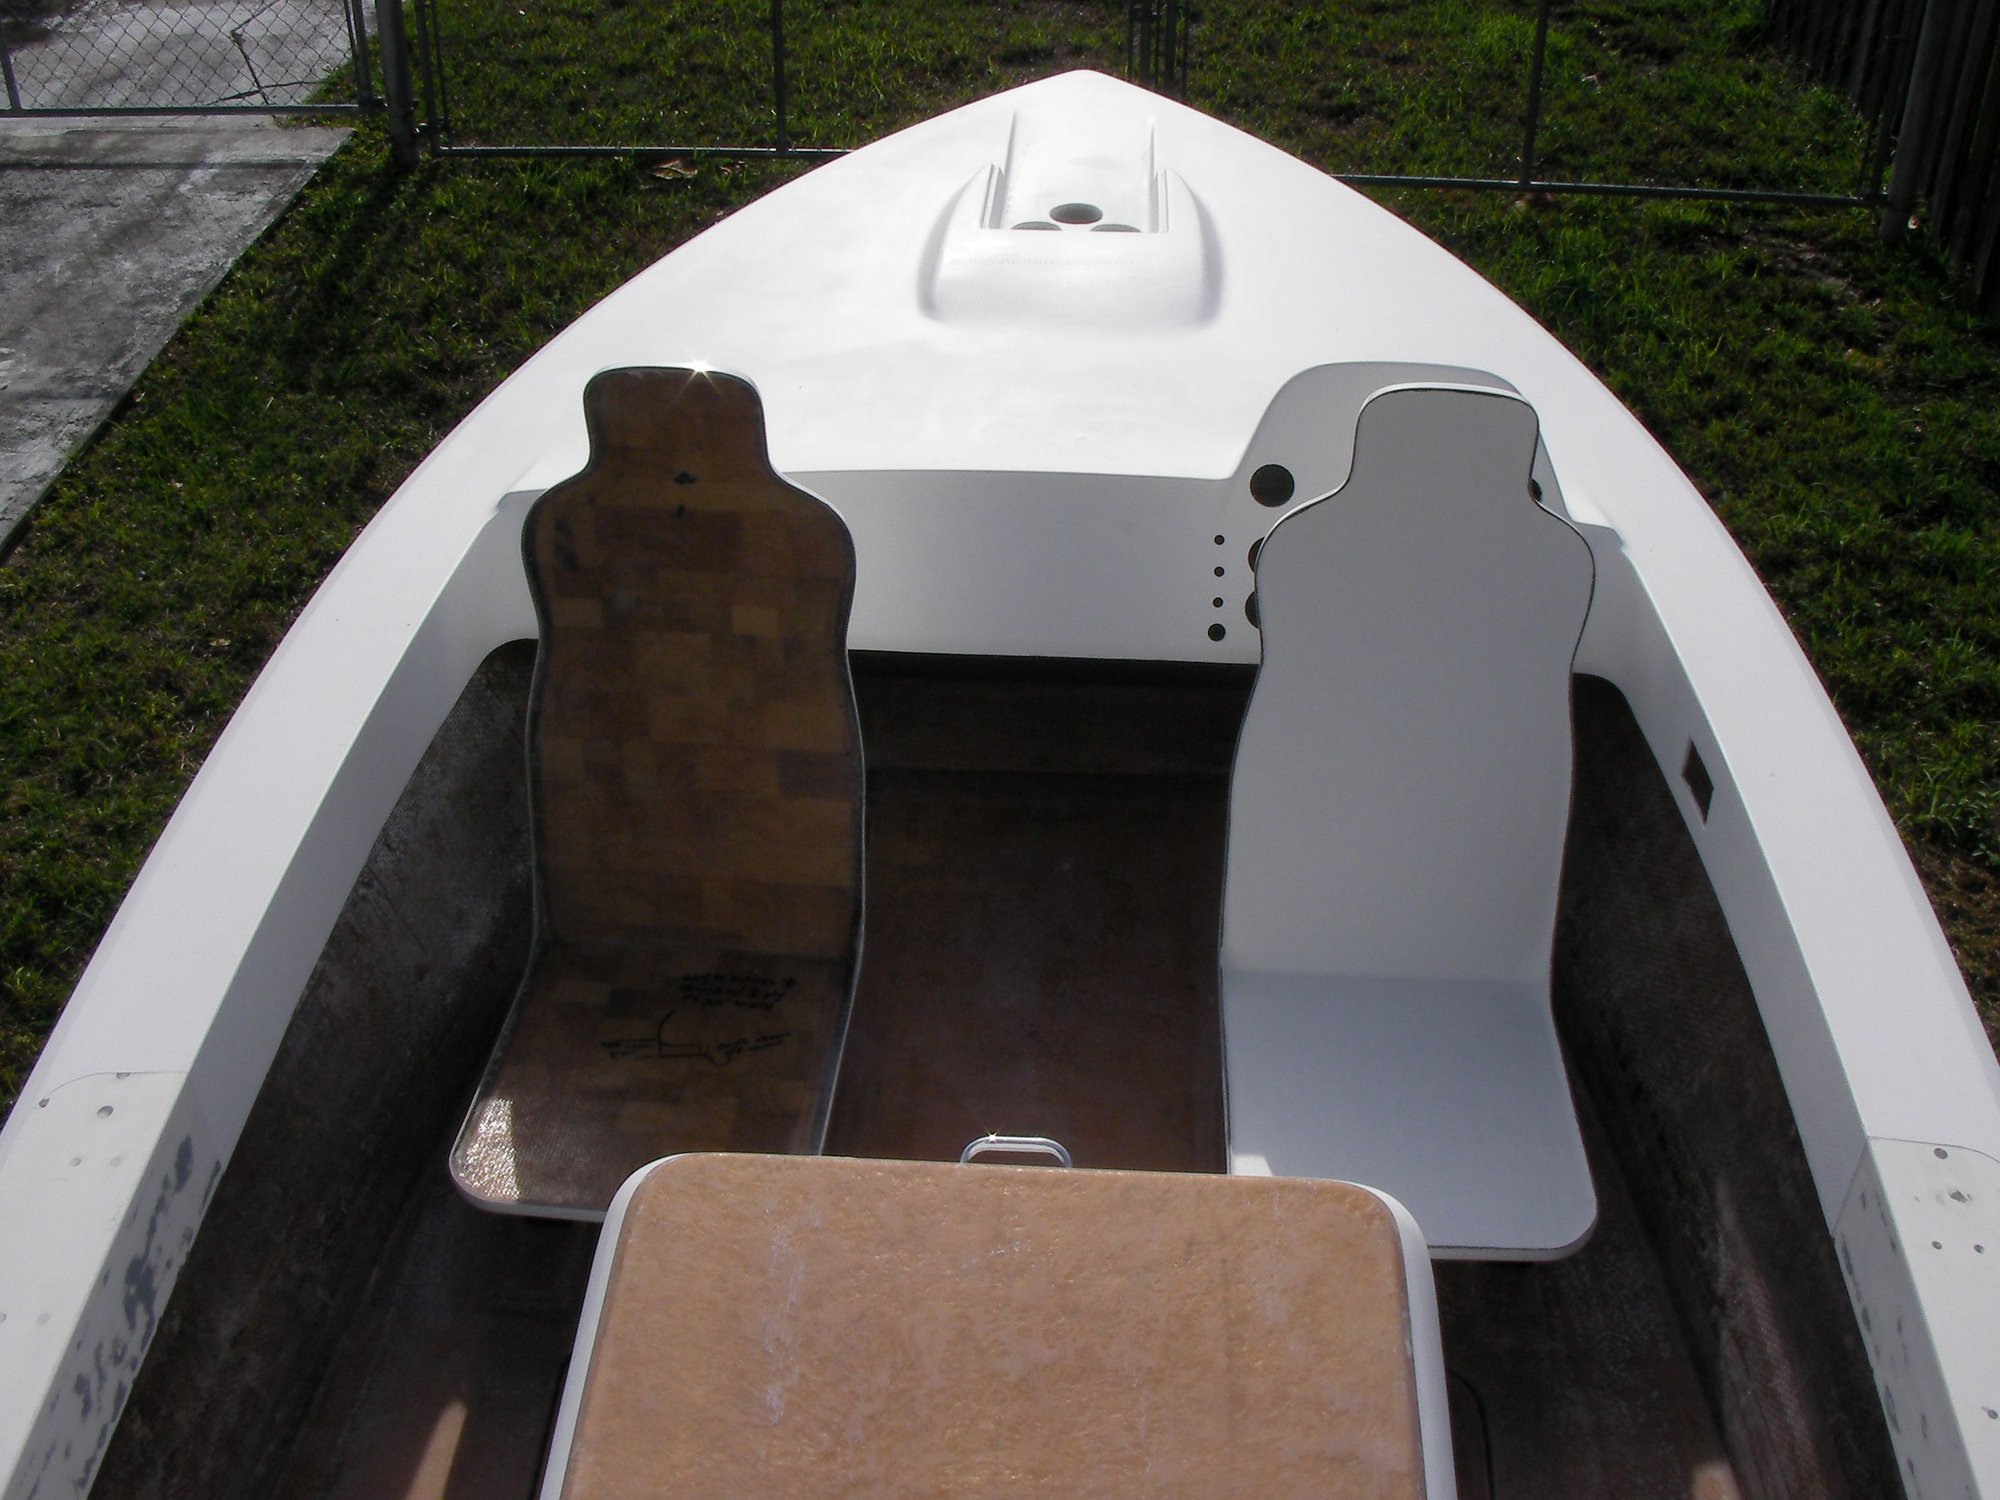
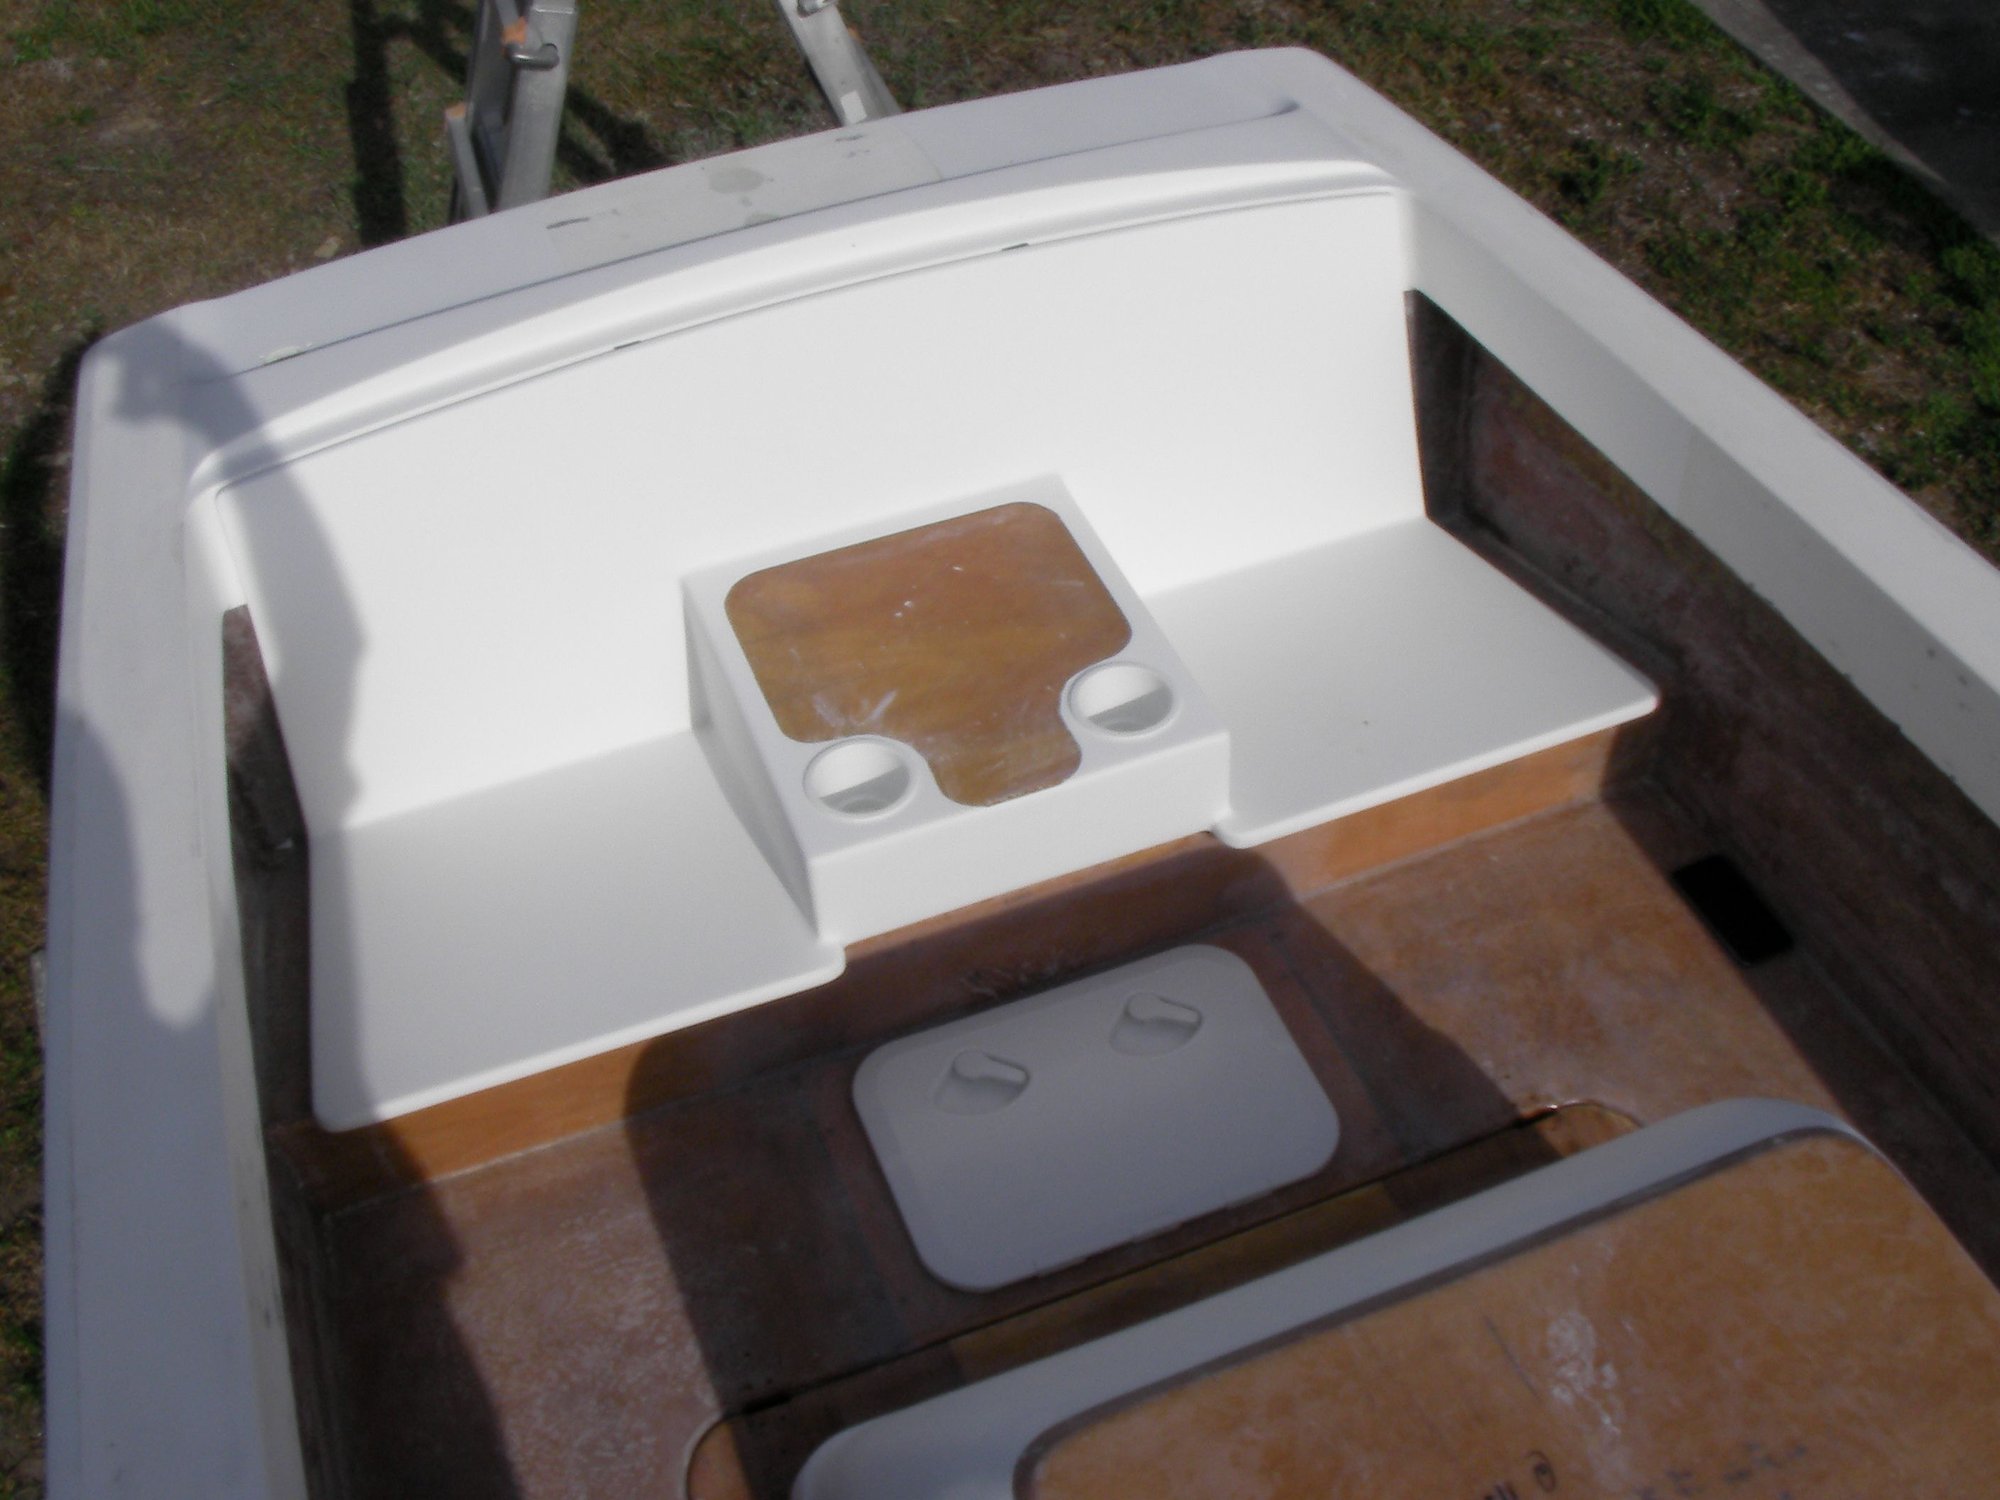
final shape on dogbox hatch and flush hinges installed

Gap looks pretty good all around
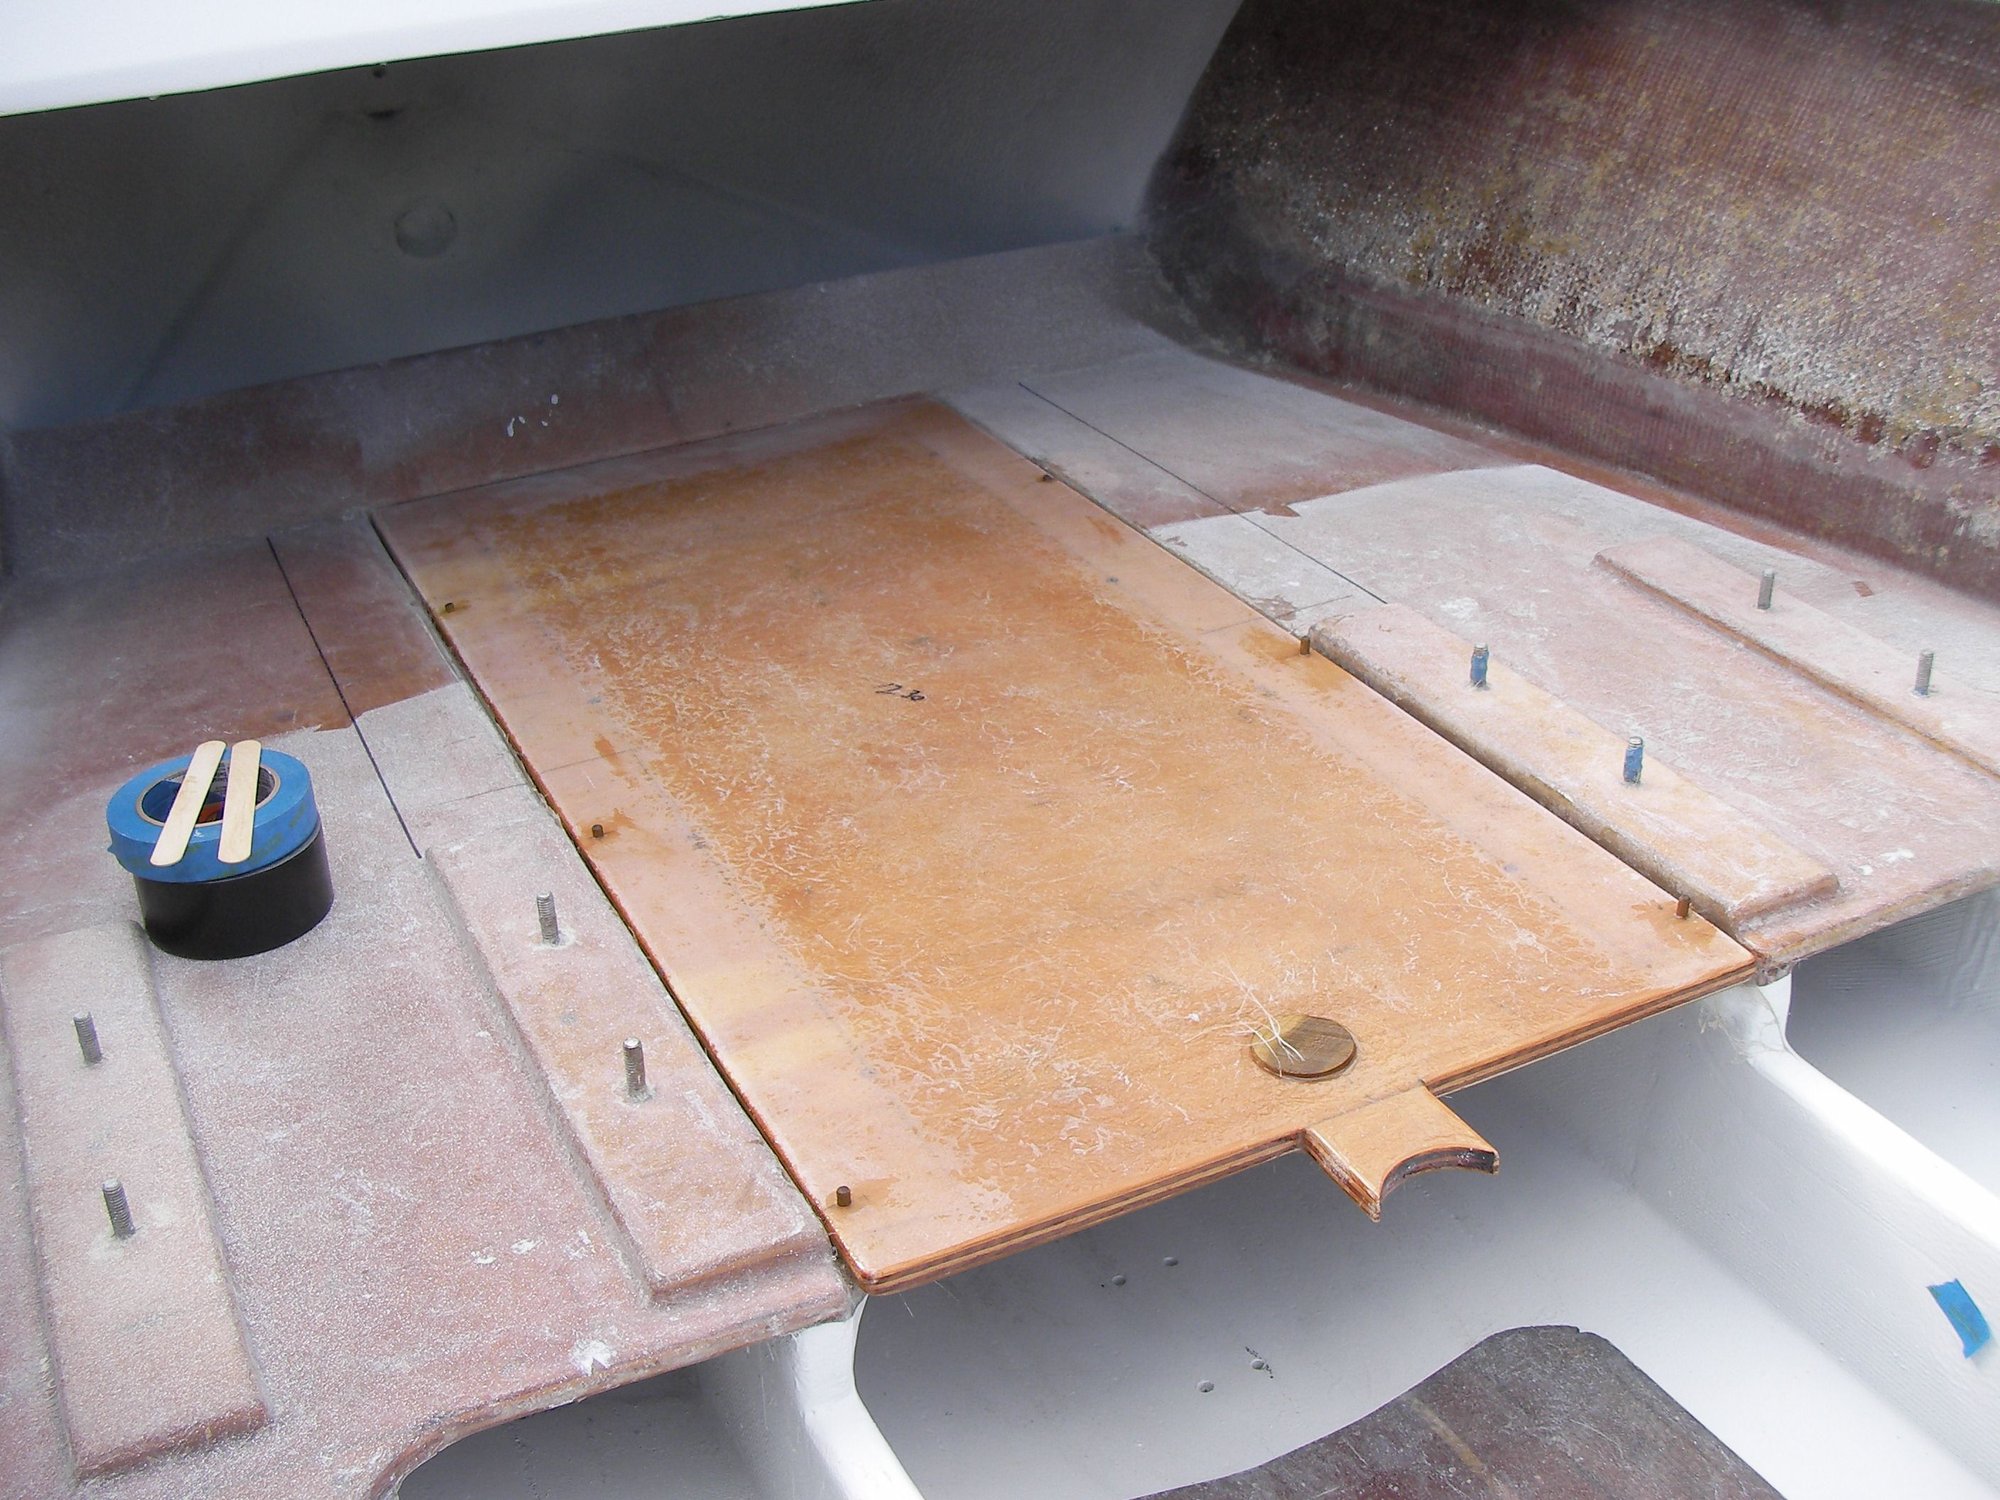
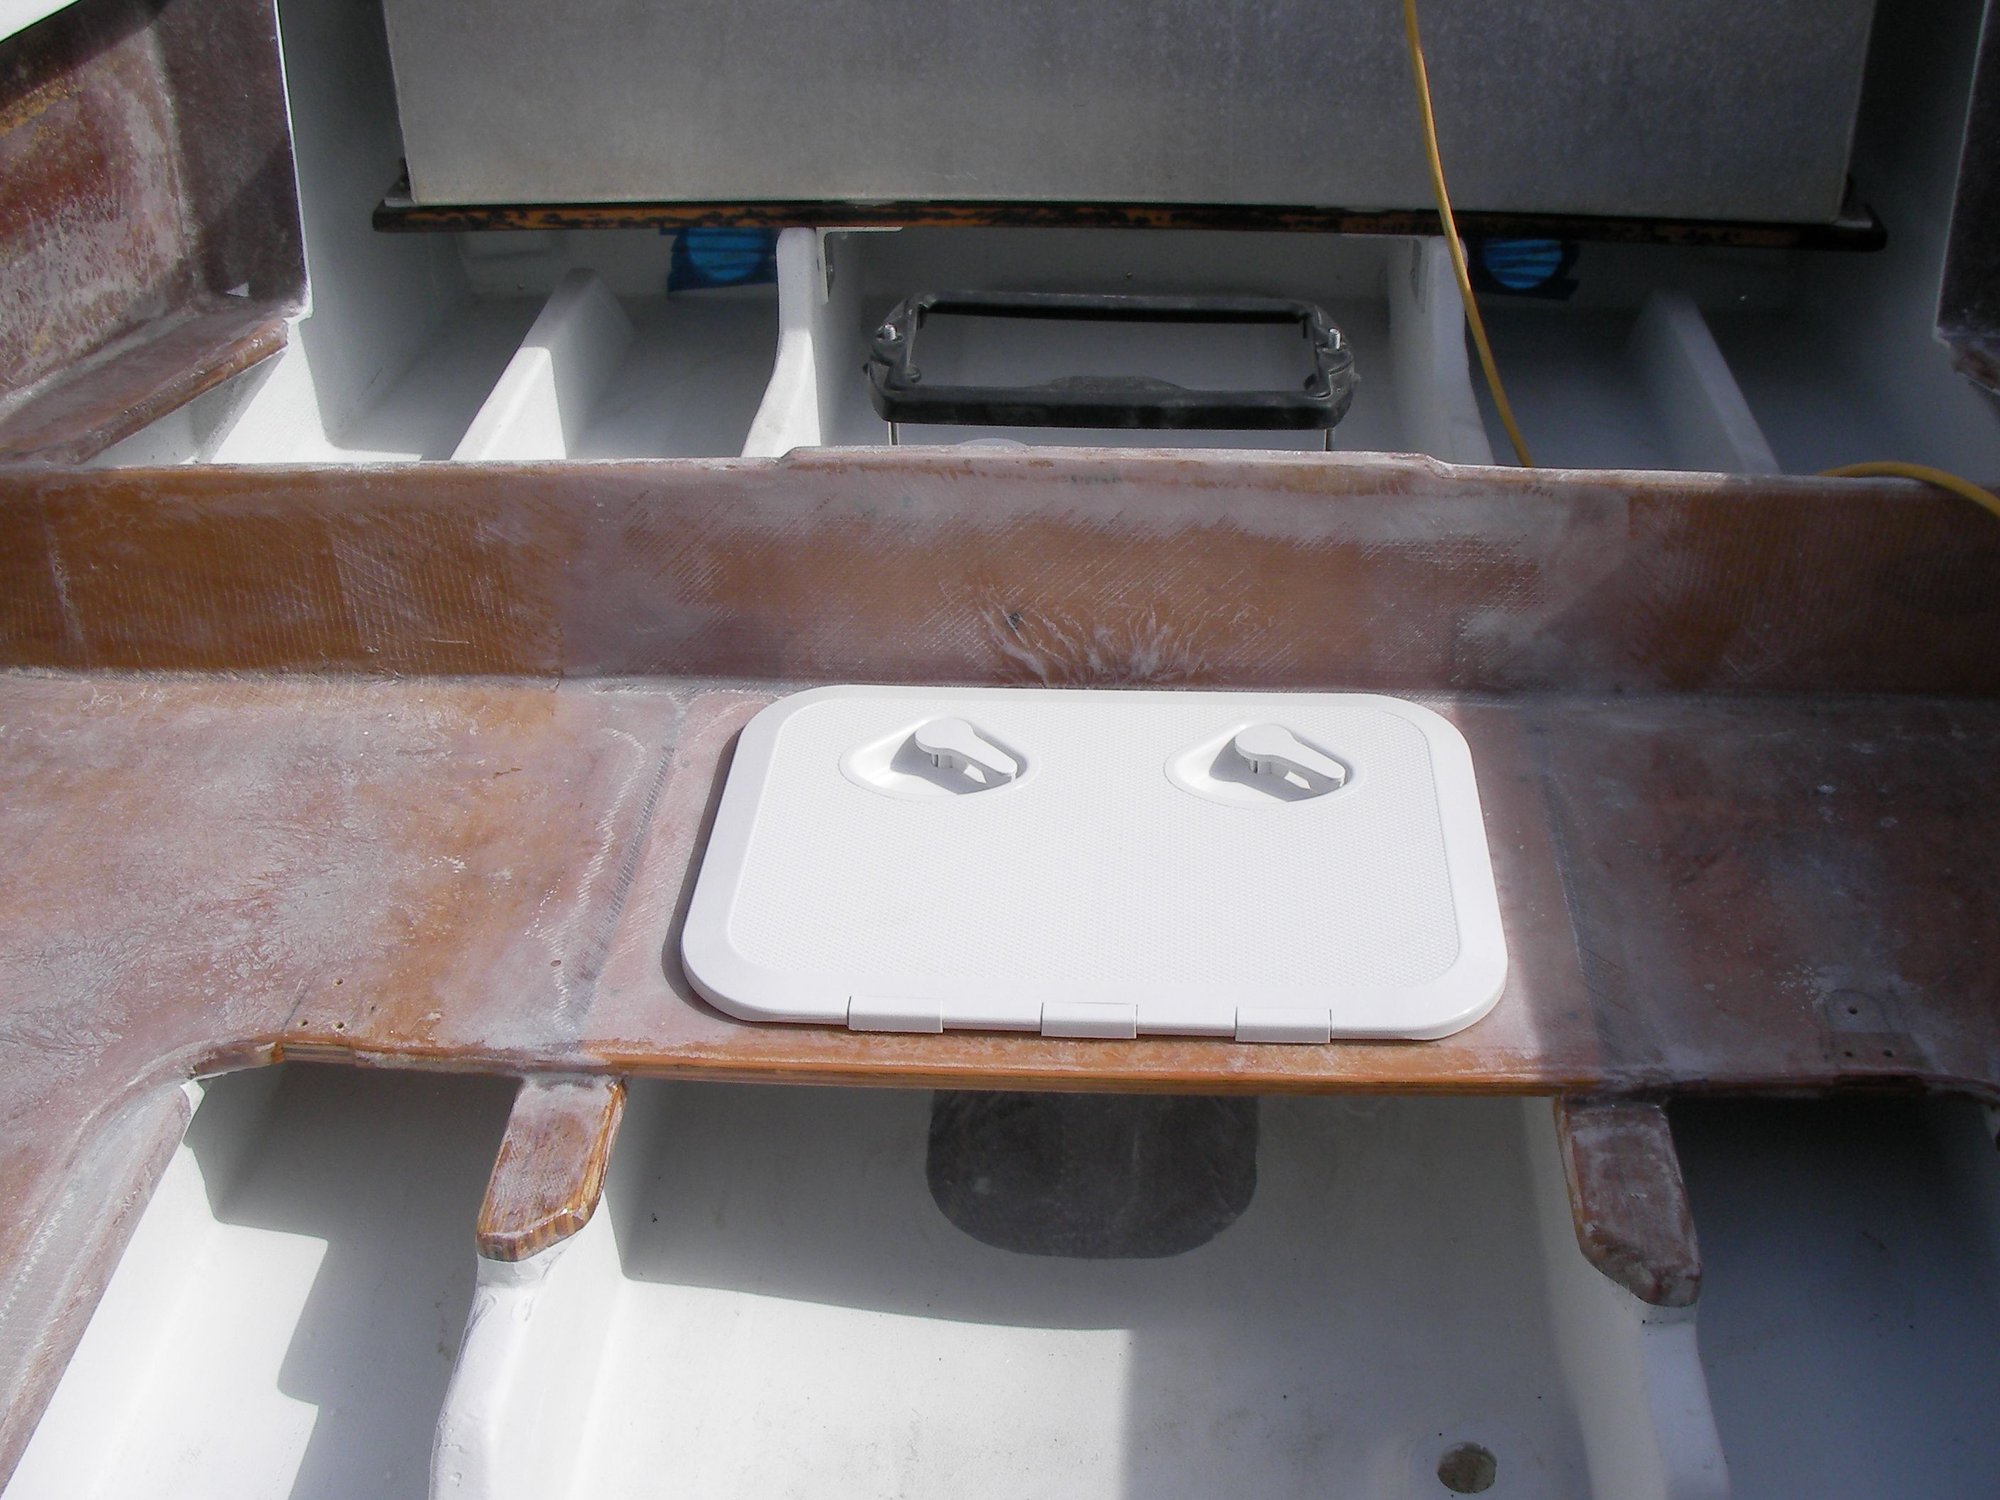
Front and rear hatches got ground down underneath, bedded down on glass, doweled and glassed over. It'll look better this way, and she needs all the fit finish help it can get
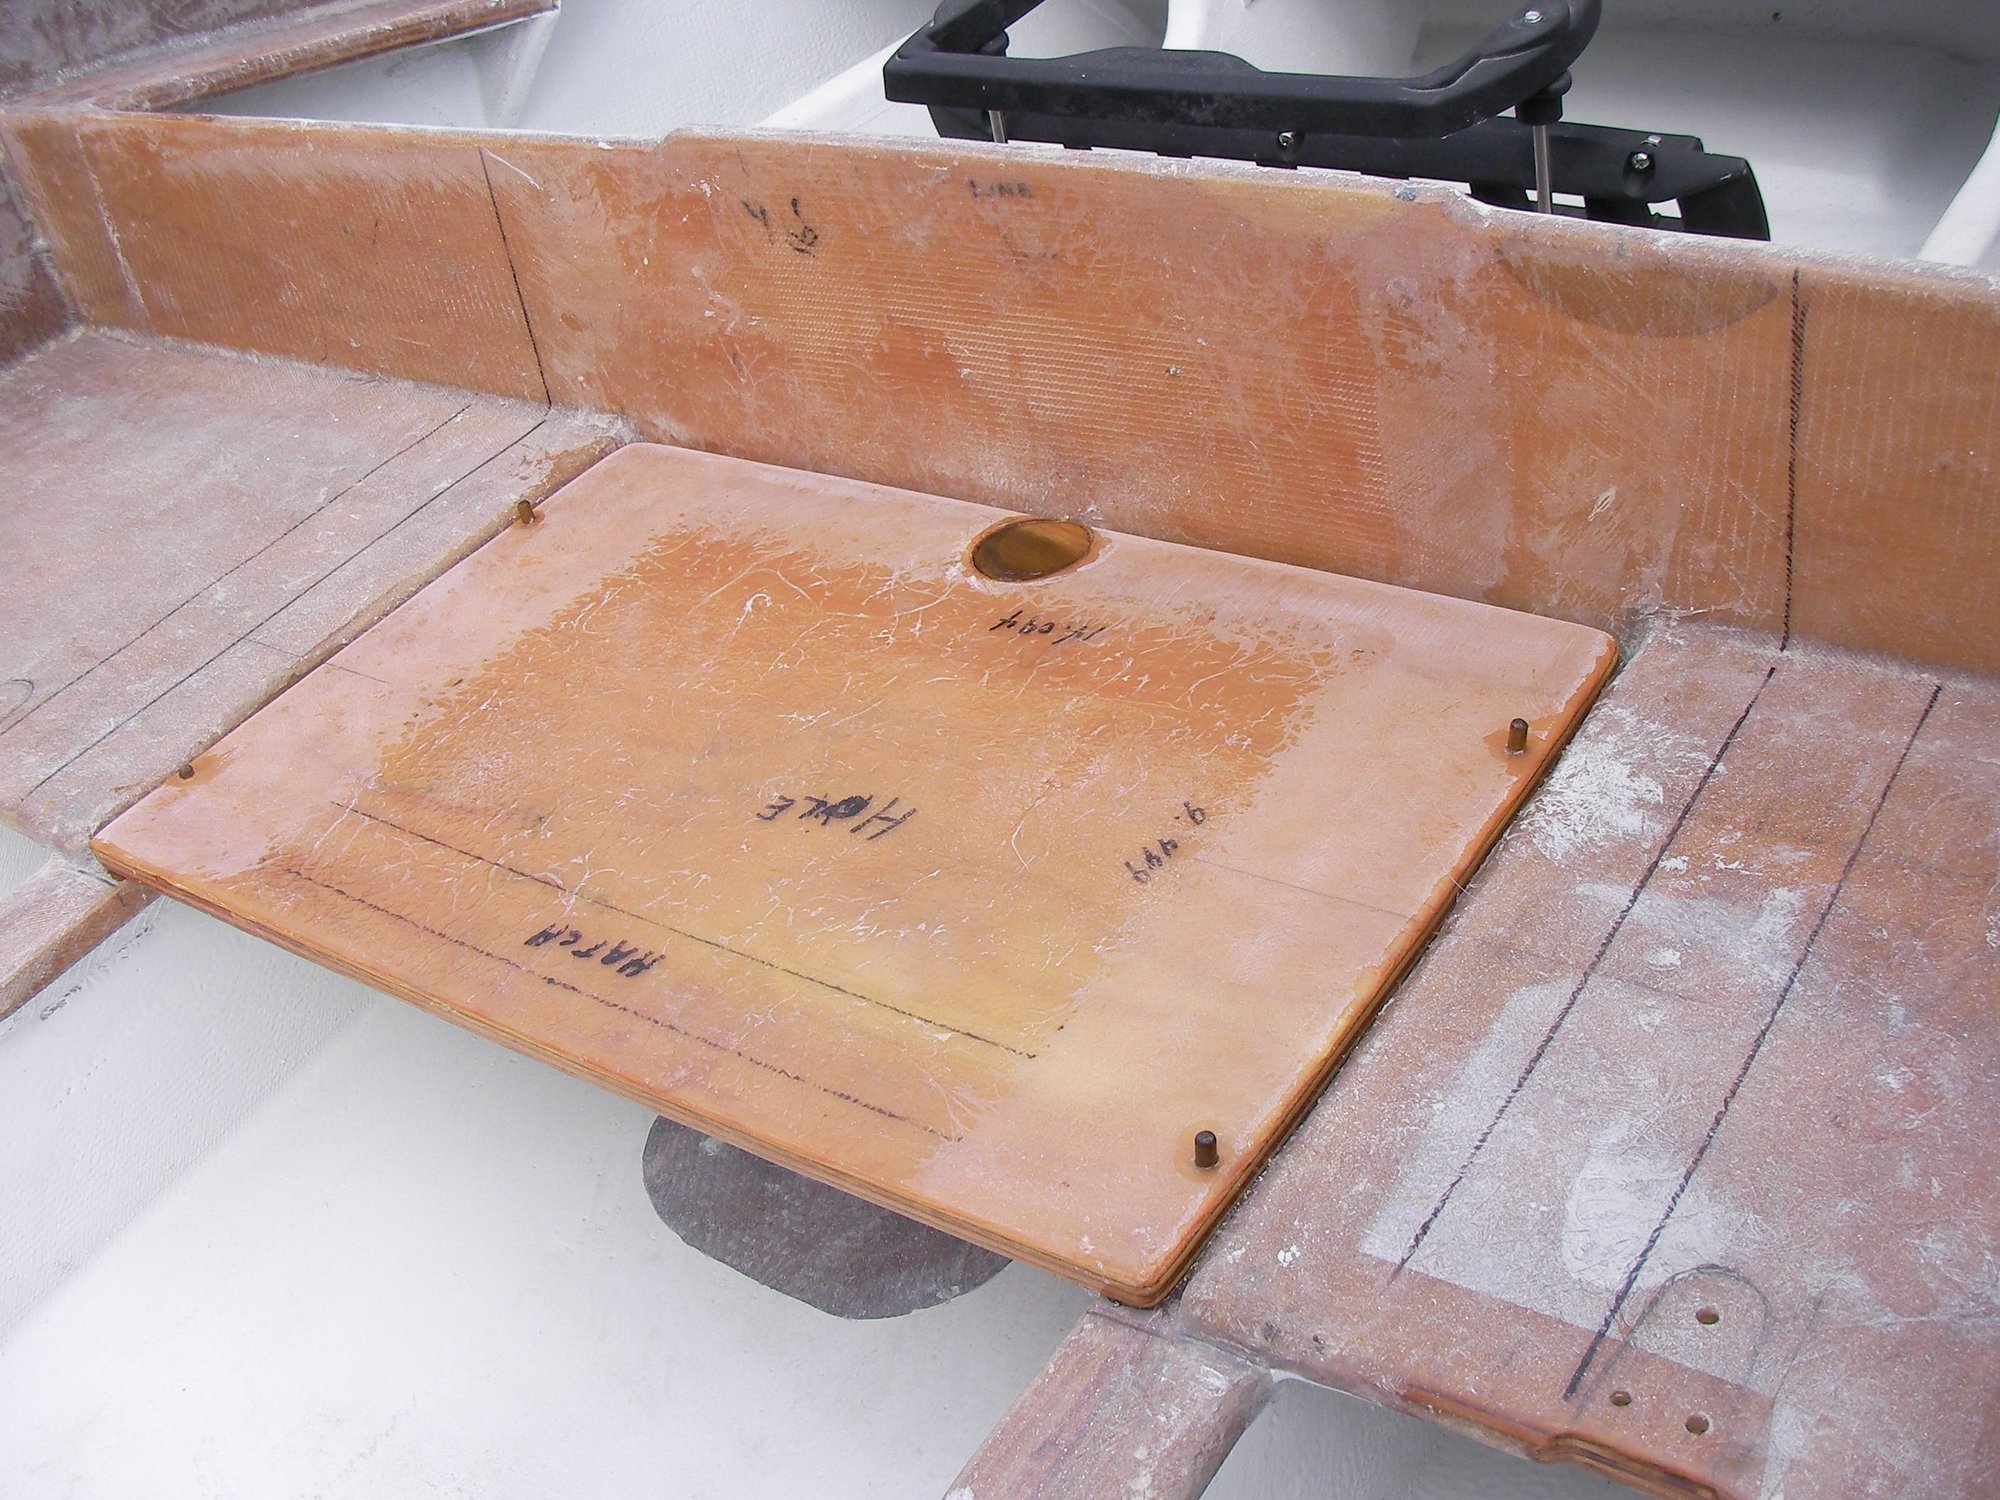
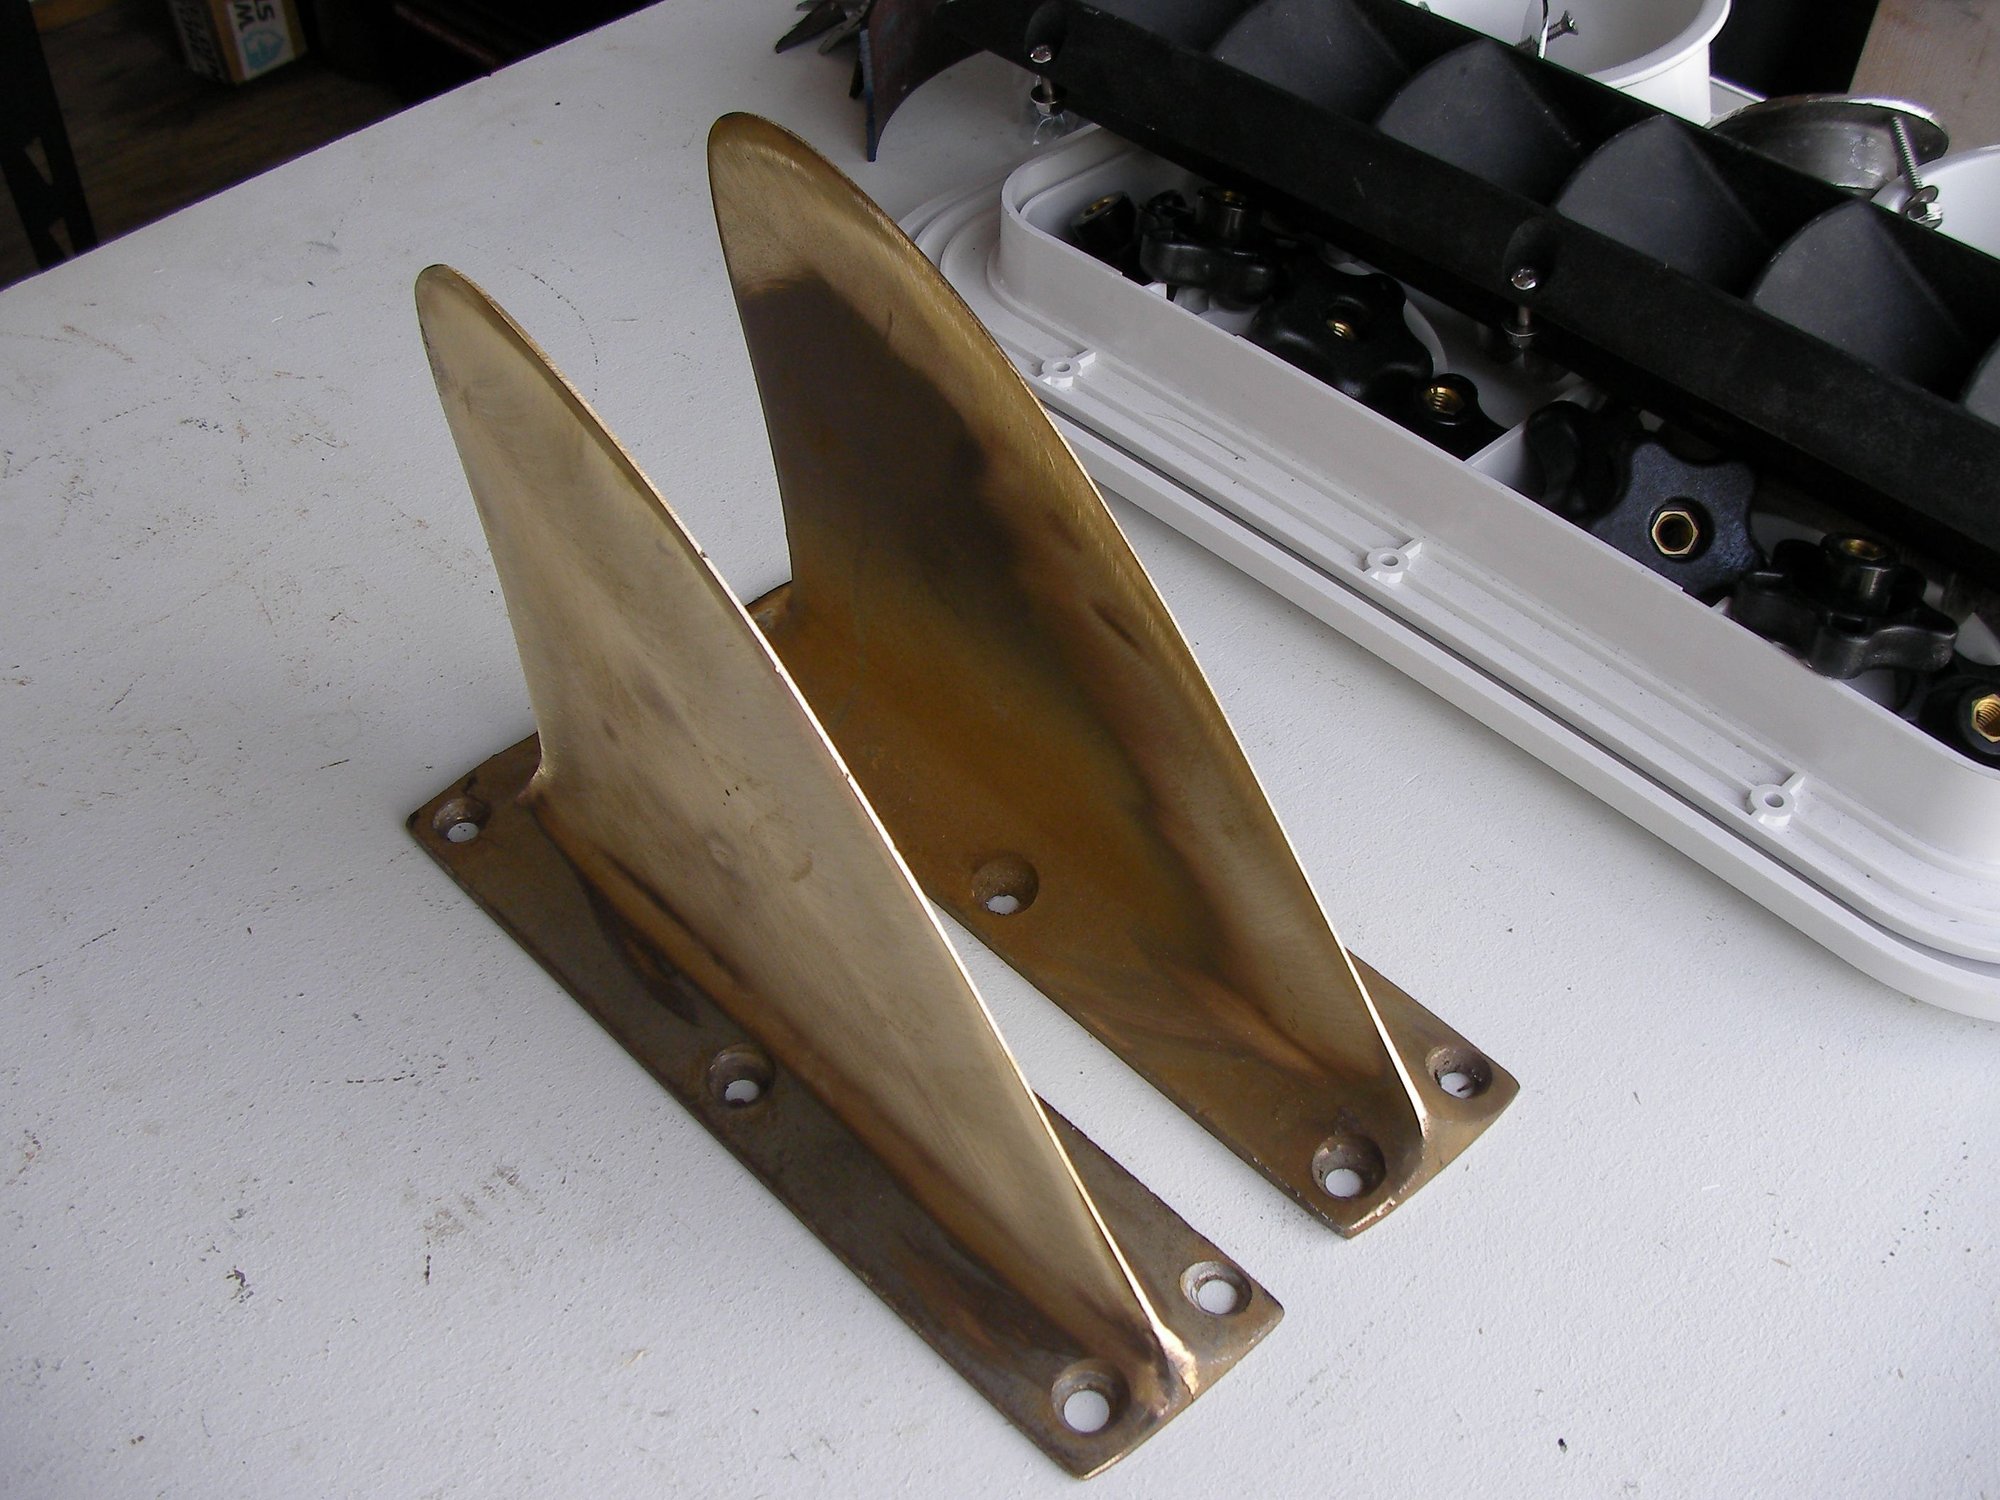
More than enough room to access the shaft log and packing gland
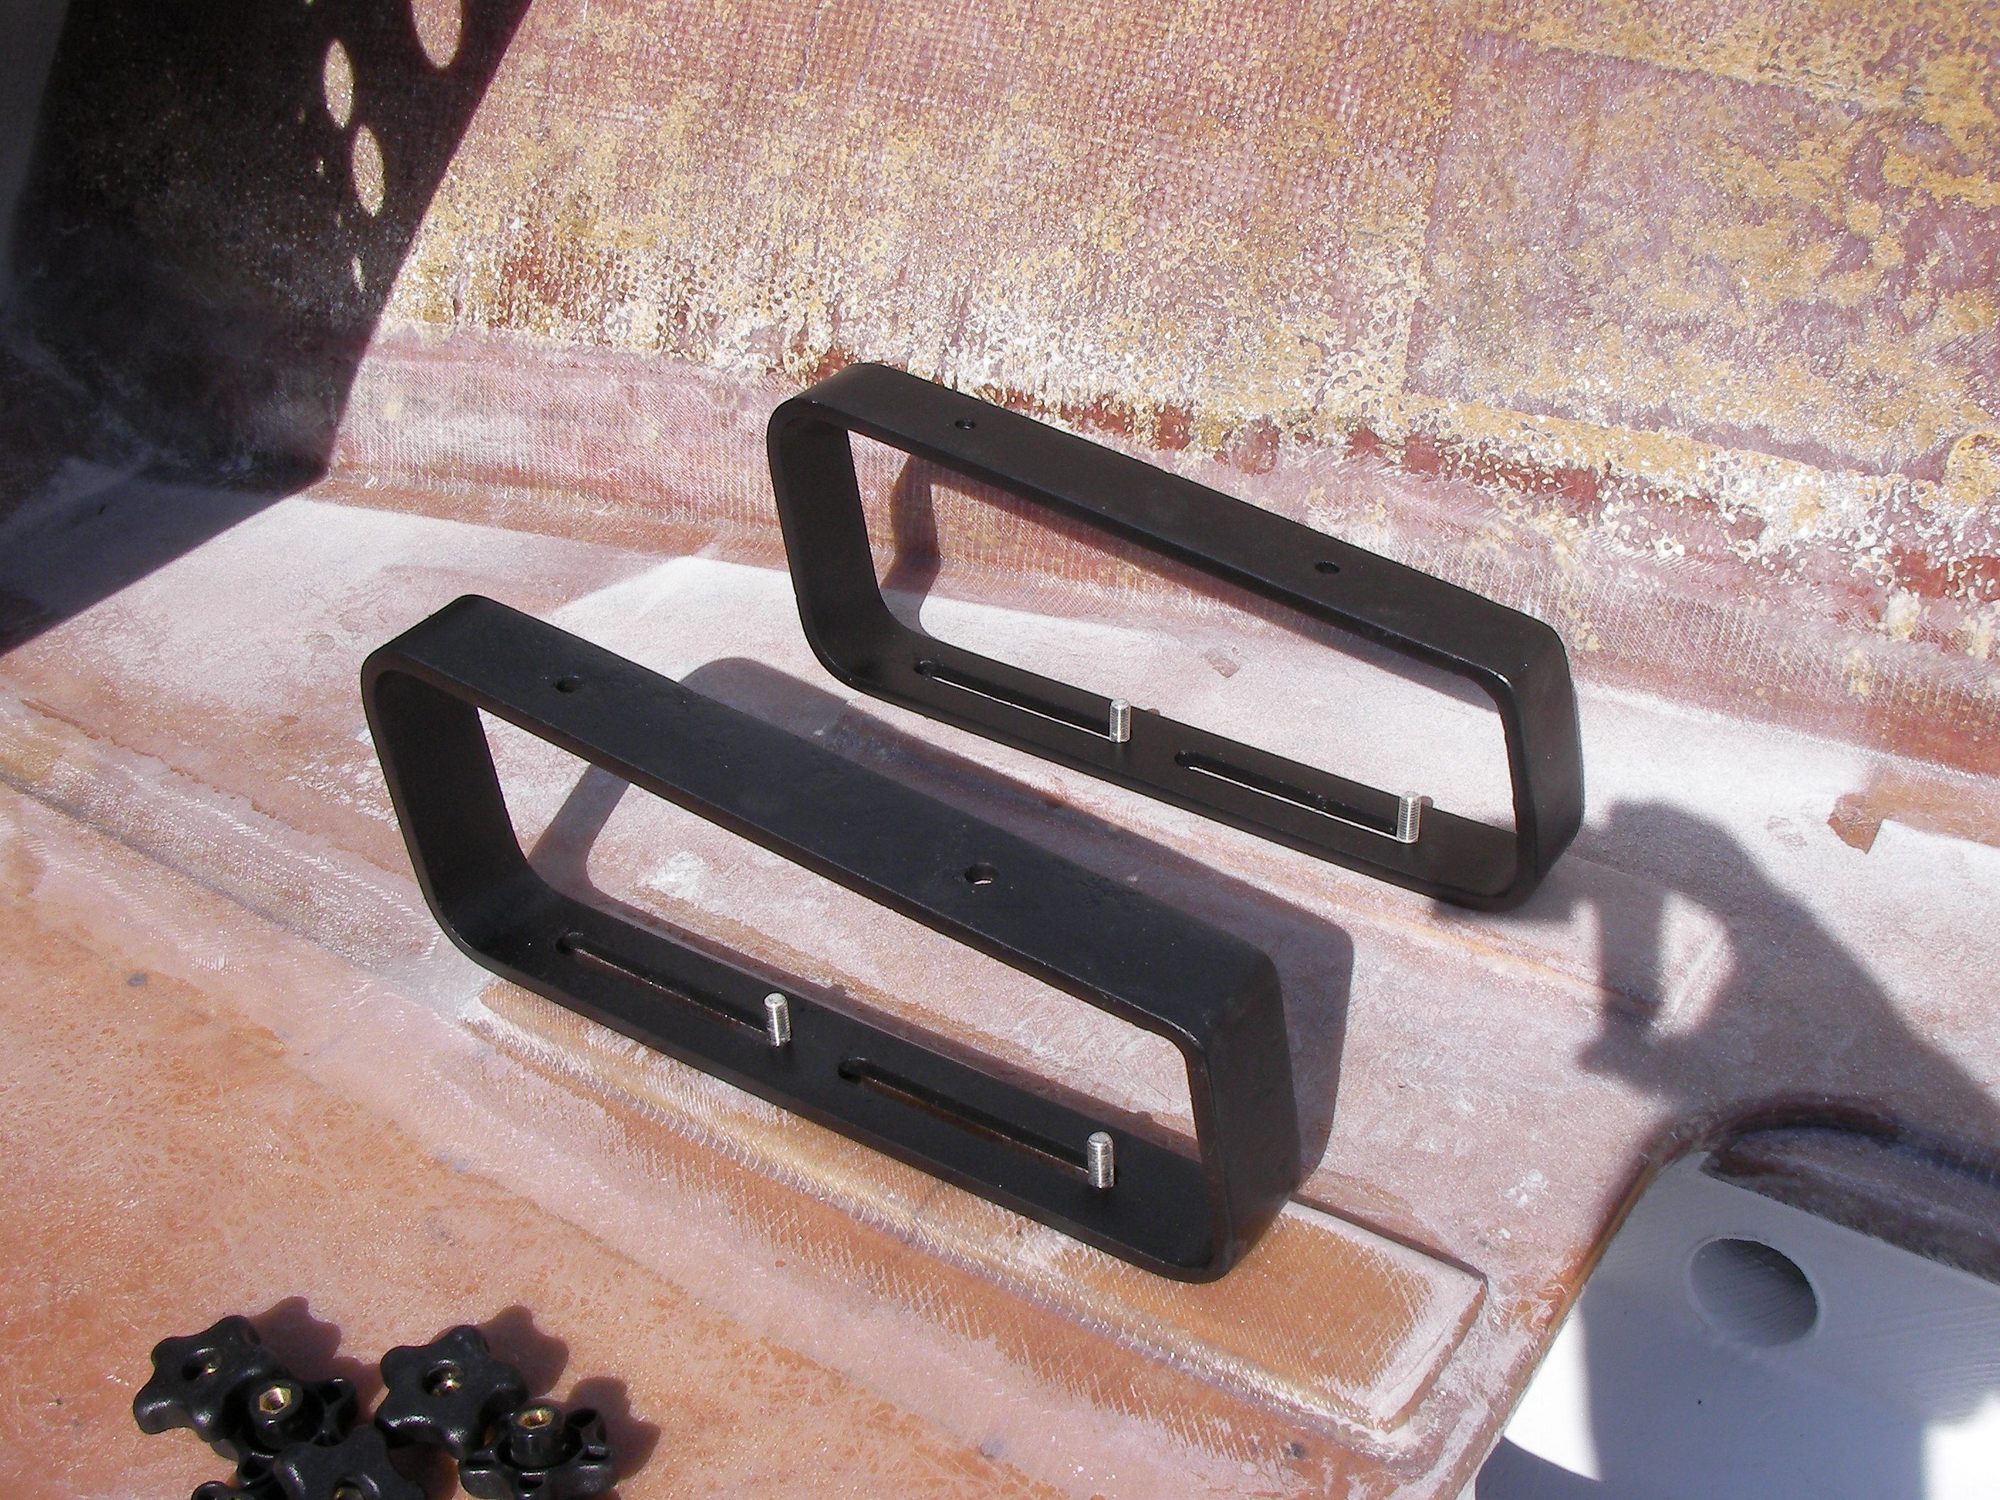
Cut the back off the seat frames. Sent them out to class6 (oso member). He tig welded them together beautifully.
He can fab and weld anything, his beads are artwork, look him up if you need something repaired or custom built.
Big thanks Dan !
02-16-2021 | 11:28 AM
#67
Registered
Joined: Oct 2002
Posts: 440
Likes: 14
From: Marblehead/Cleveland, Oh

Bought this 8 years ago, used to sit next to the Skater in the garage, sold the Skater still have this thing.....The kids love it, so simple to maintain. Best money I've ever spent on a boat! Your project looks awesome!!
02-18-2021 | 09:40 AM
#68
Thread Starter
Registered
Joined: May 2009
Posts: 1,942
Likes: 527
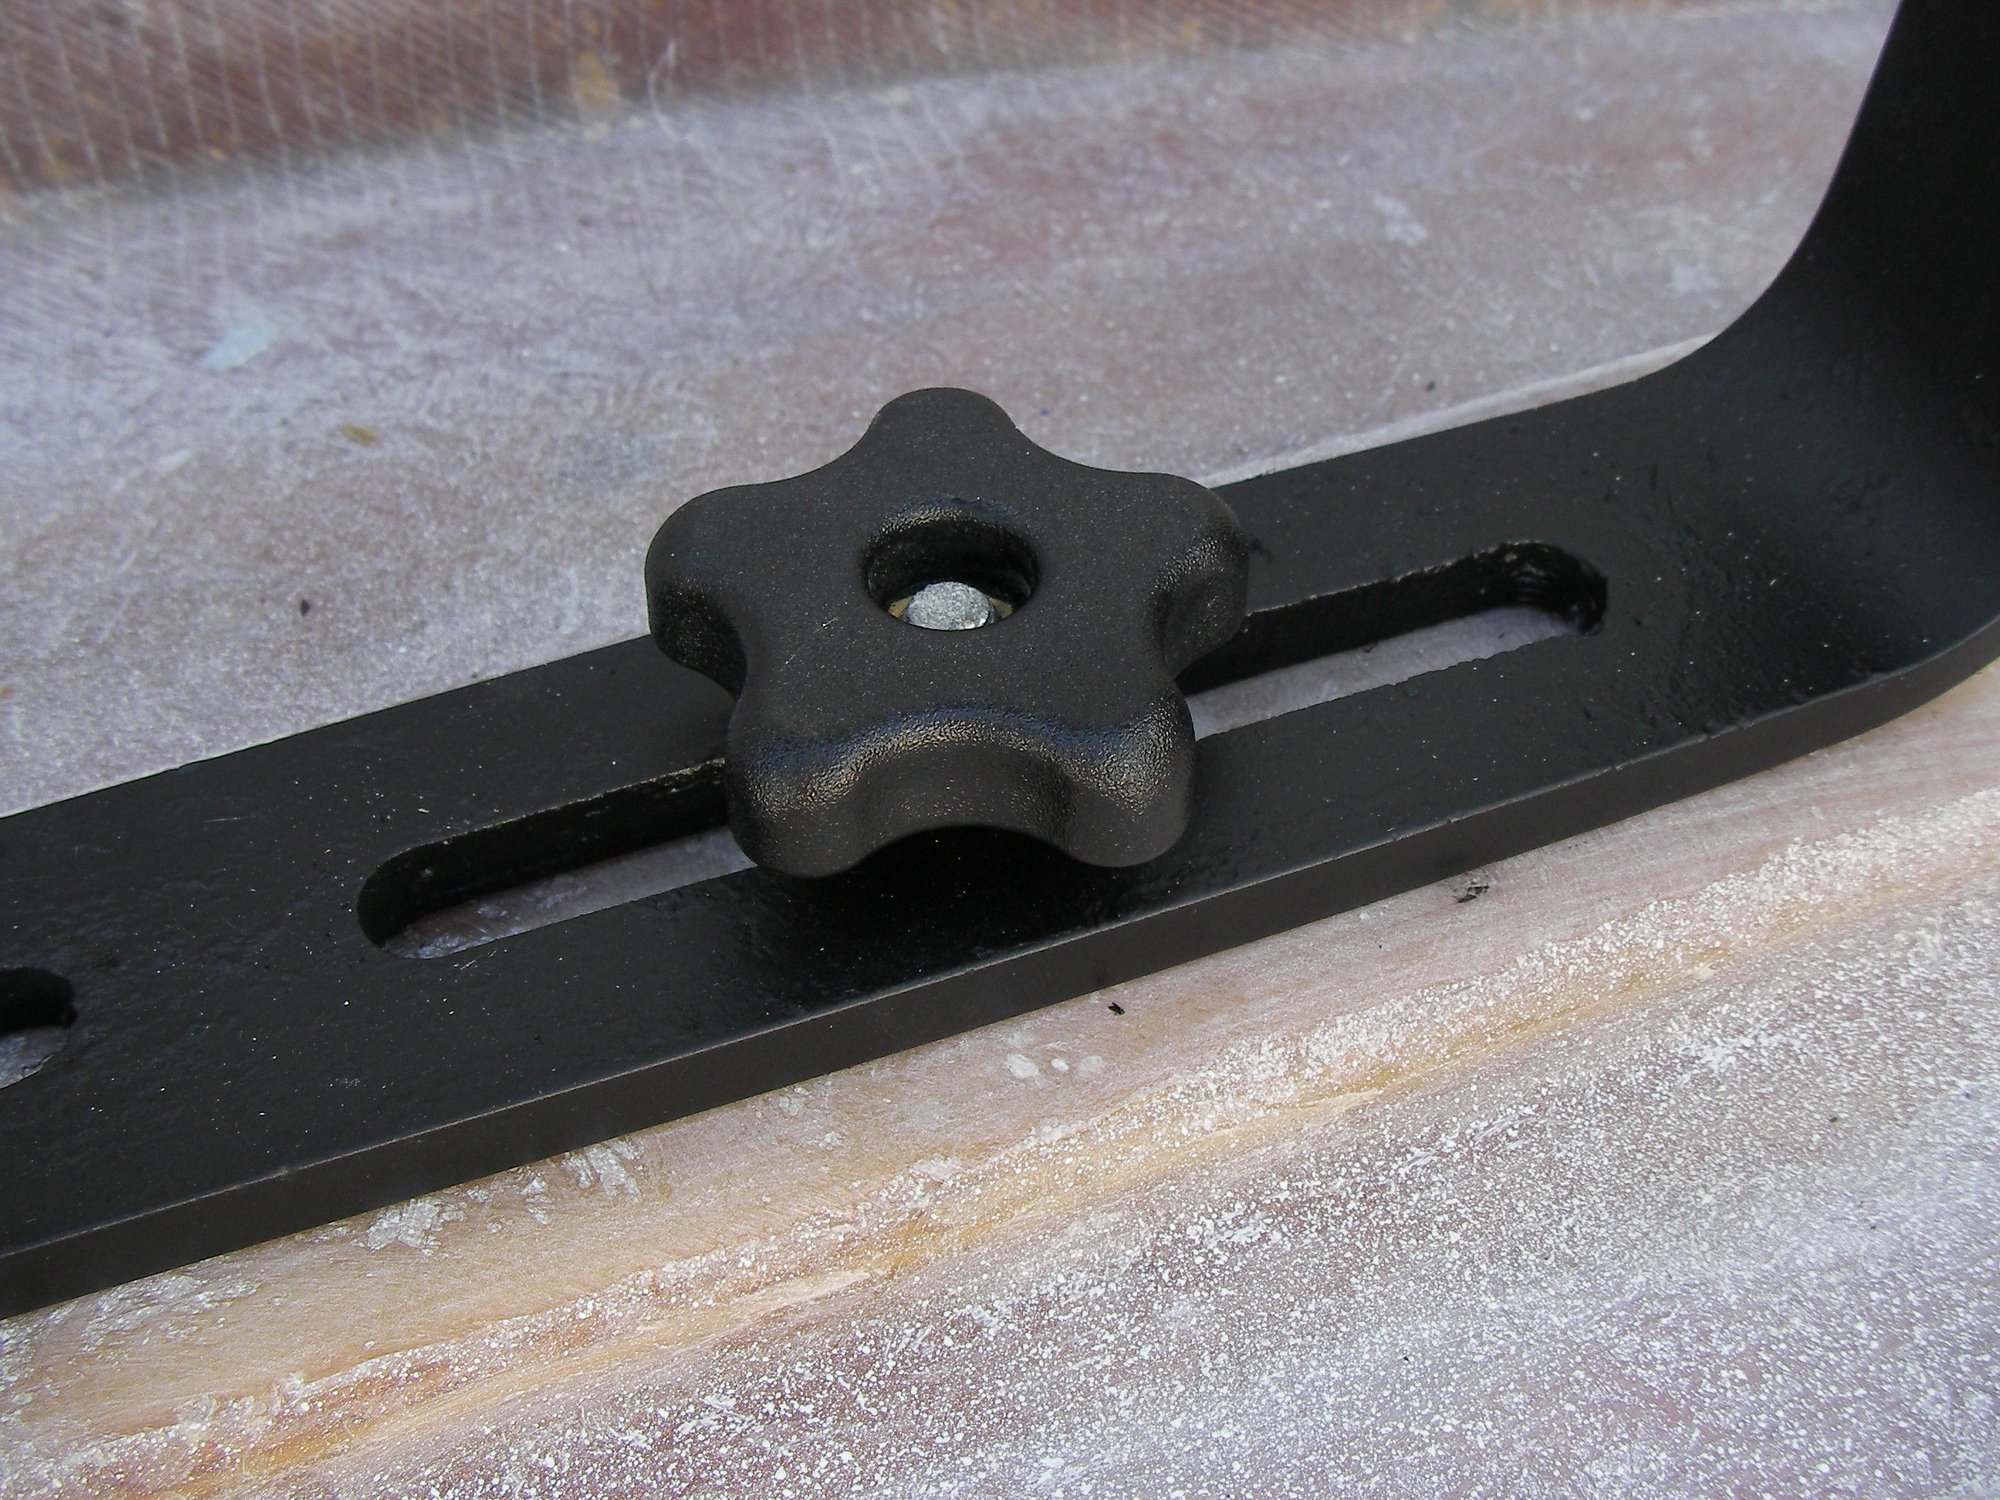
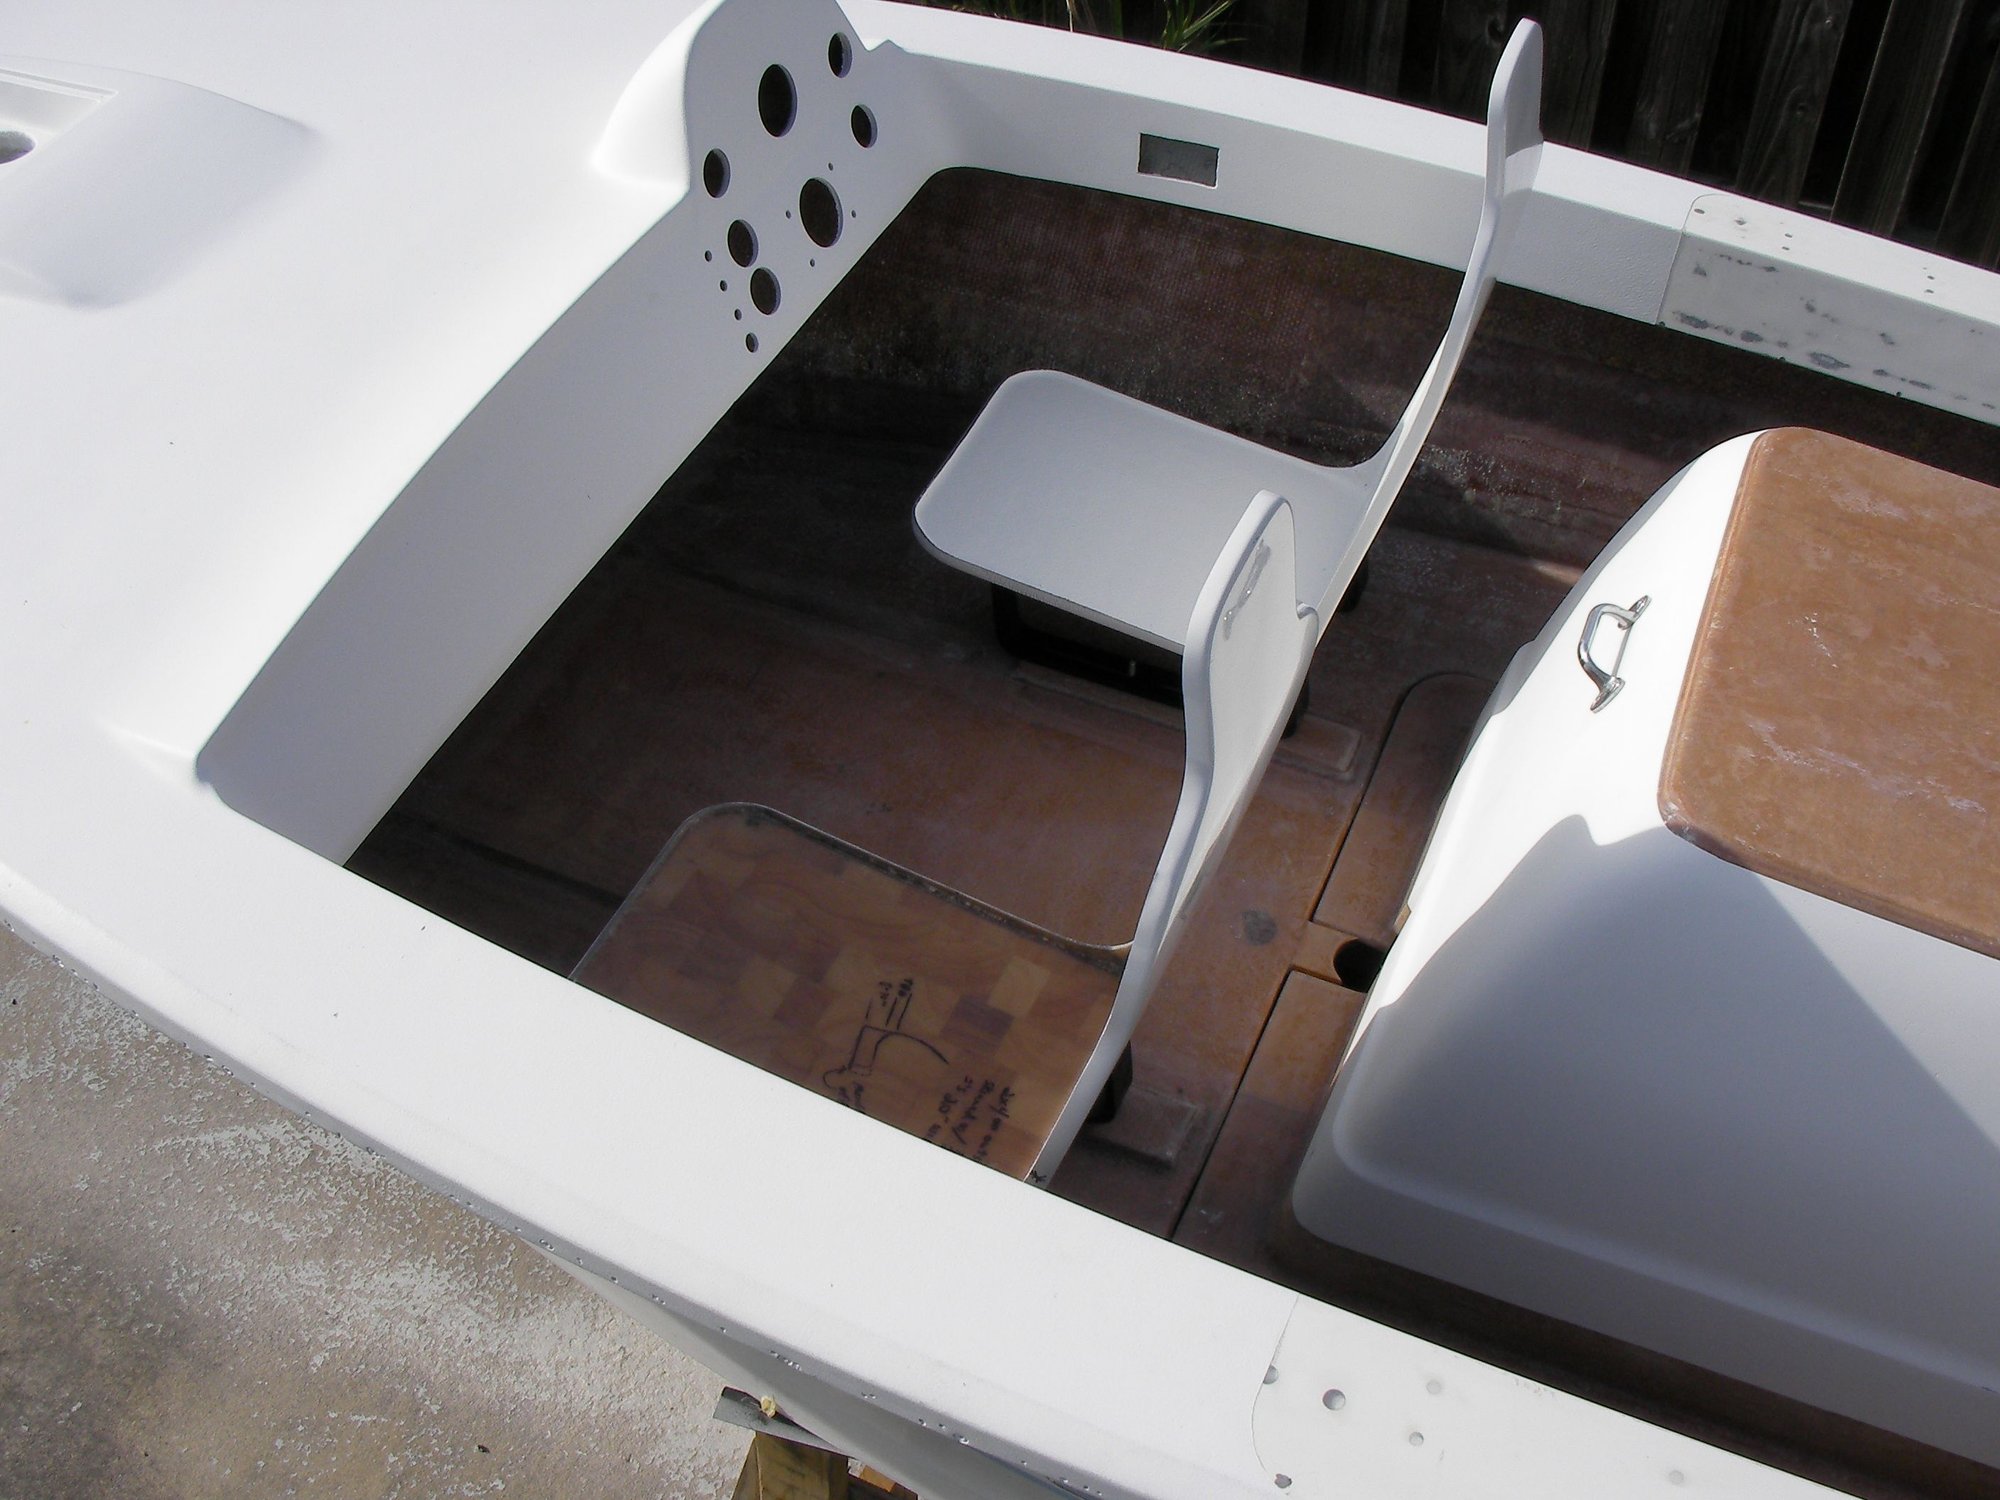
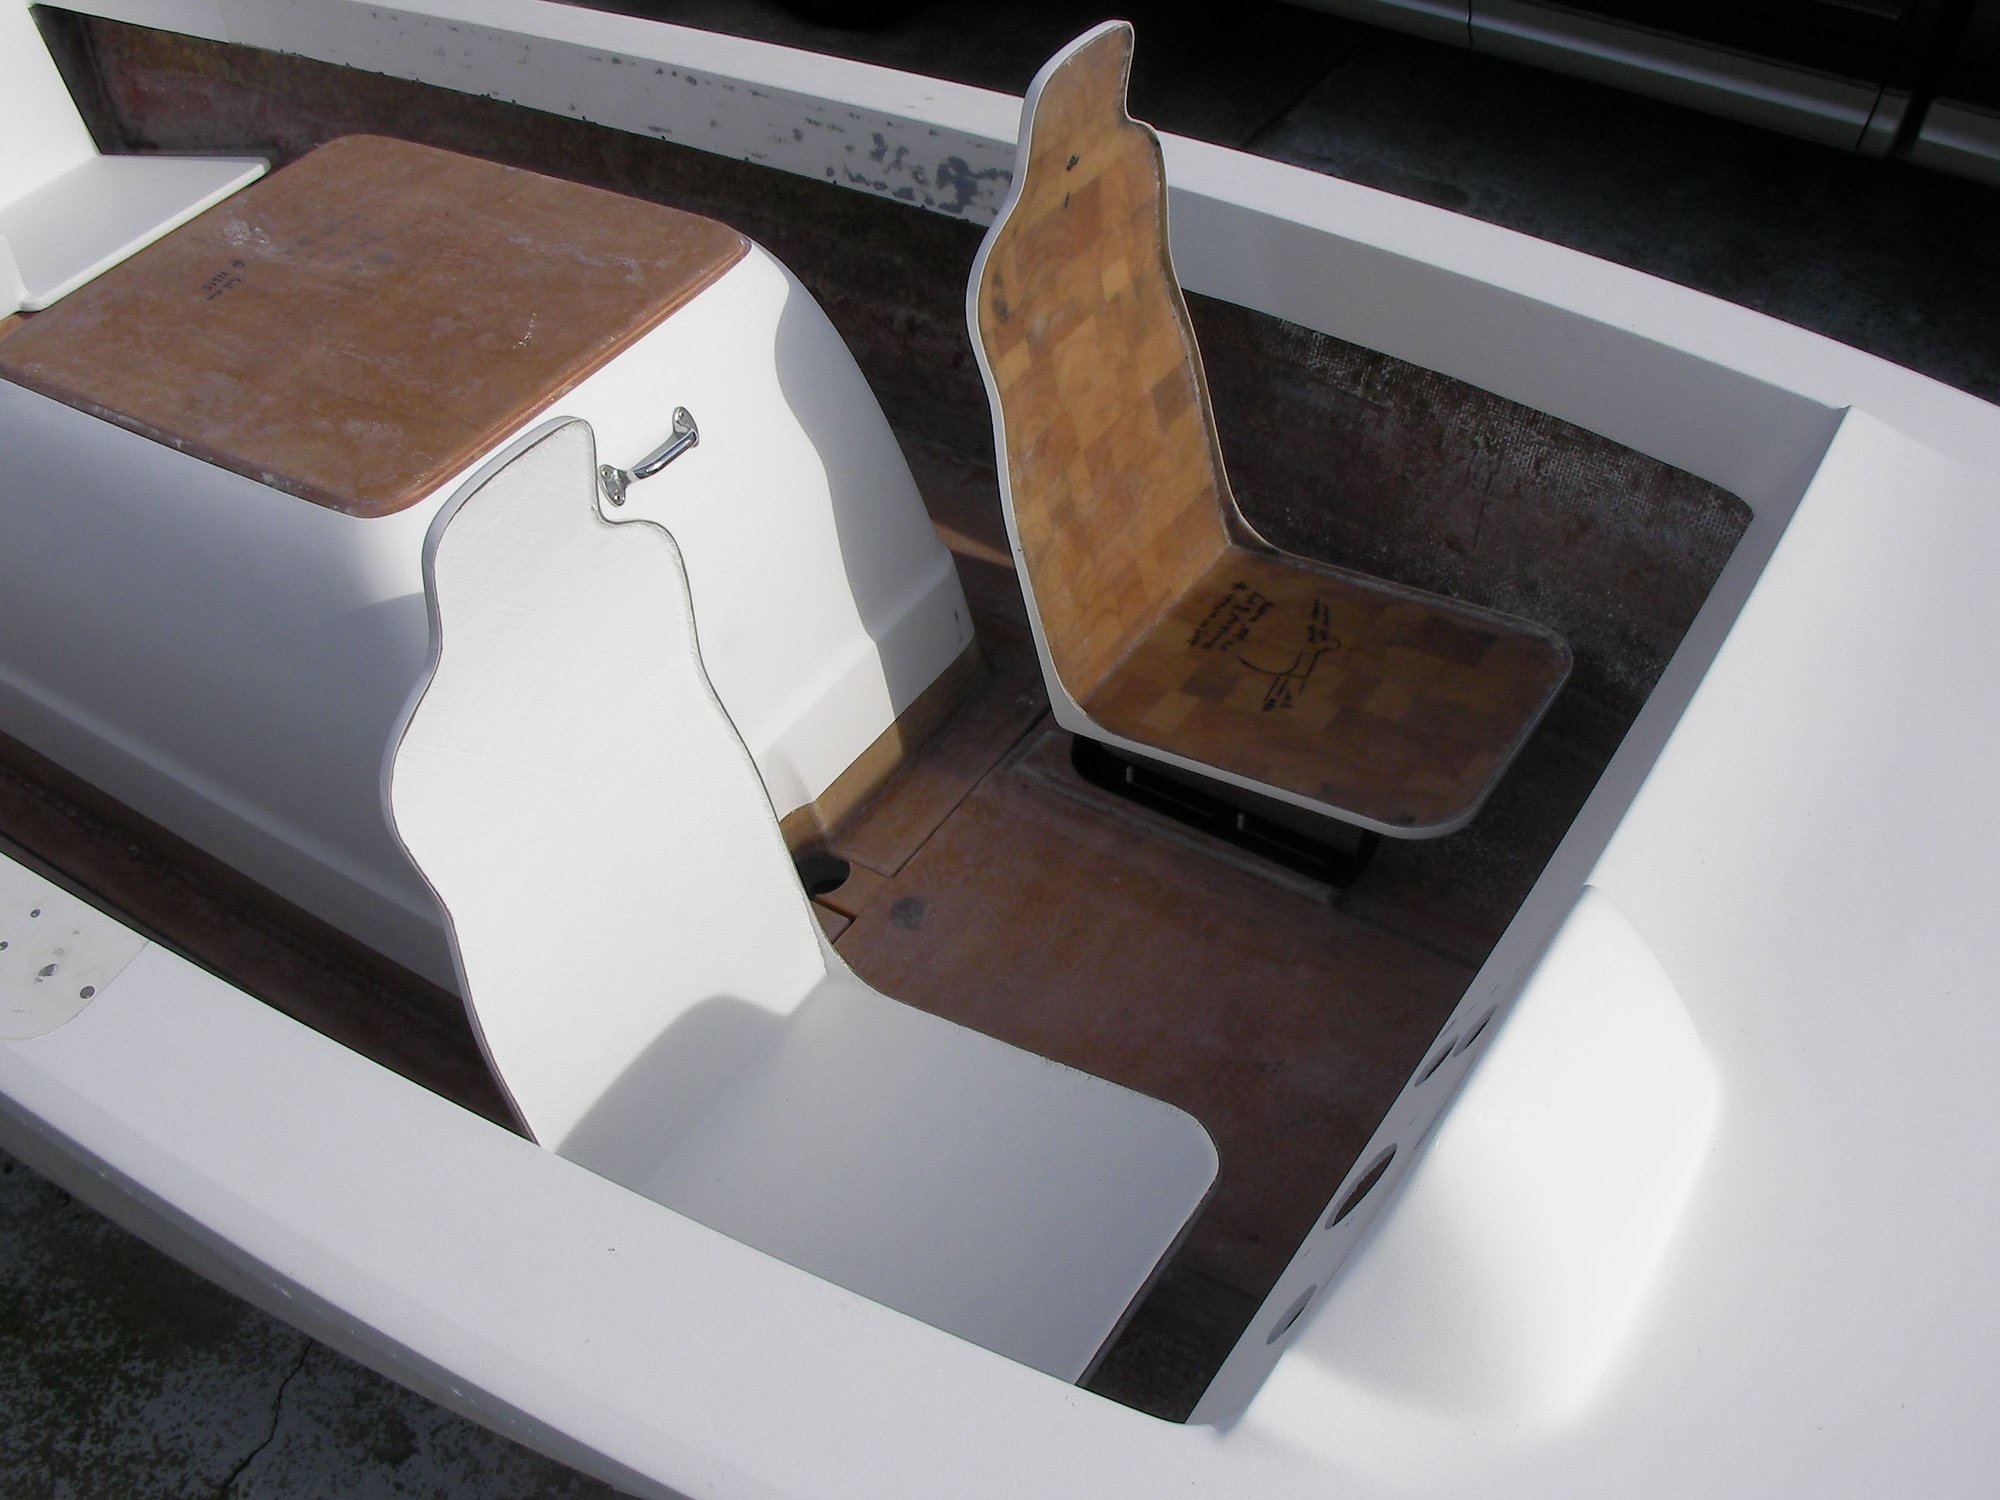
Adjust forward and back

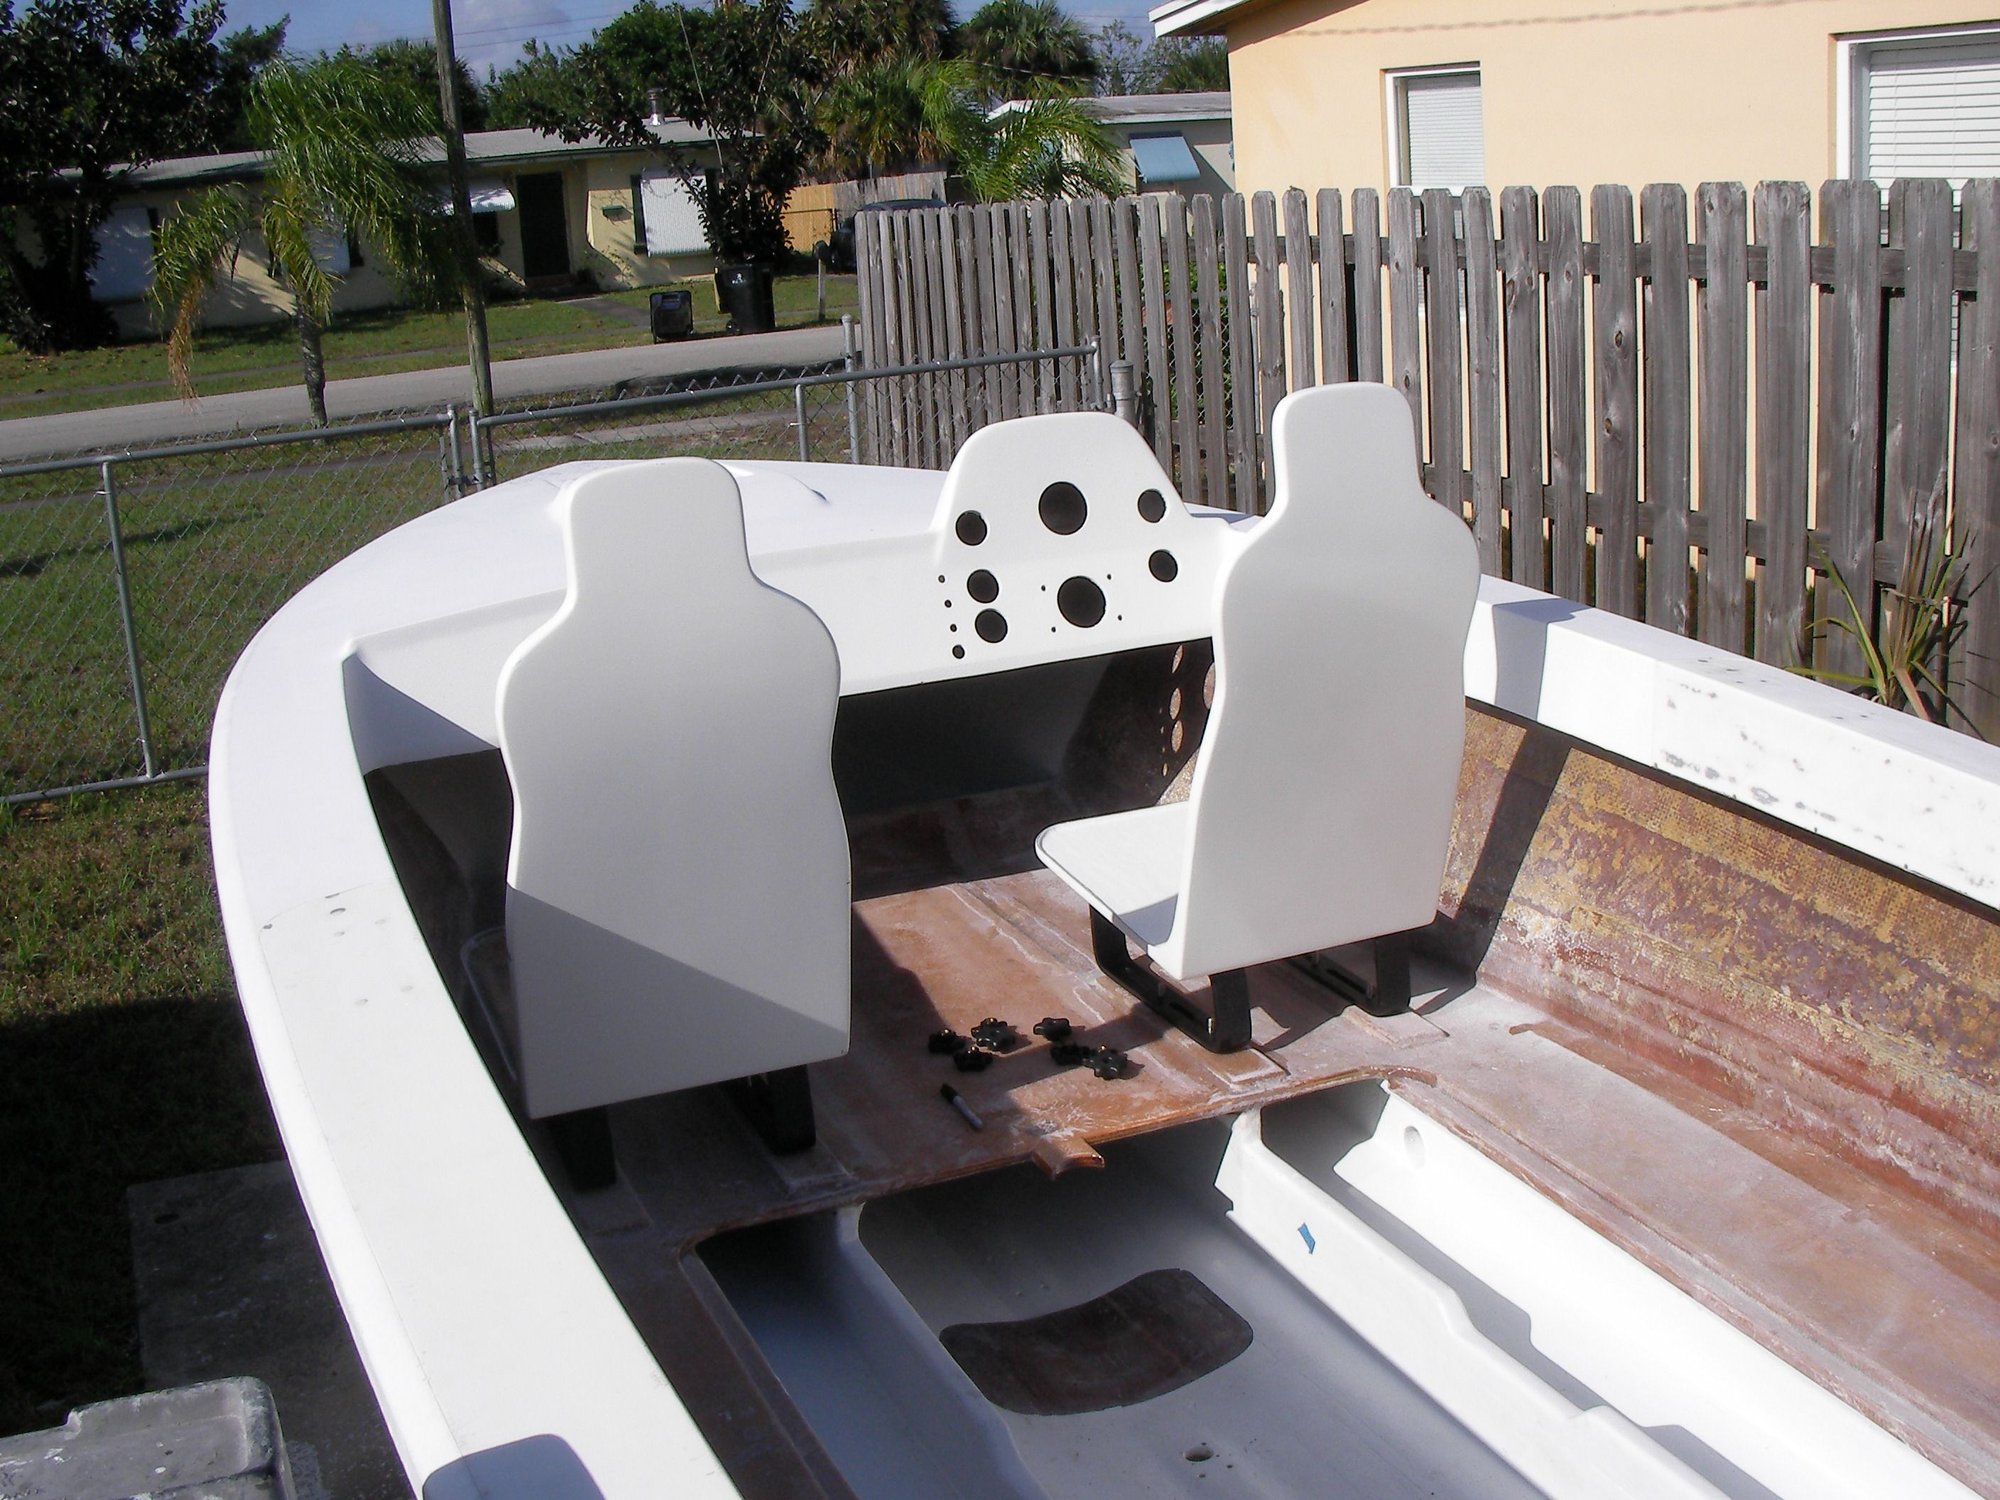
Passenger seat 180 to observe skier
Looks like driver will clear to 180 as well. Wont mount till steering wheel is back in to make sure it can.
Ahh lounging with beer cooler center console
02-18-2021 | 03:53 PM
#69
Thread Starter
Registered
Joined: May 2009
Posts: 1,942
Likes: 527
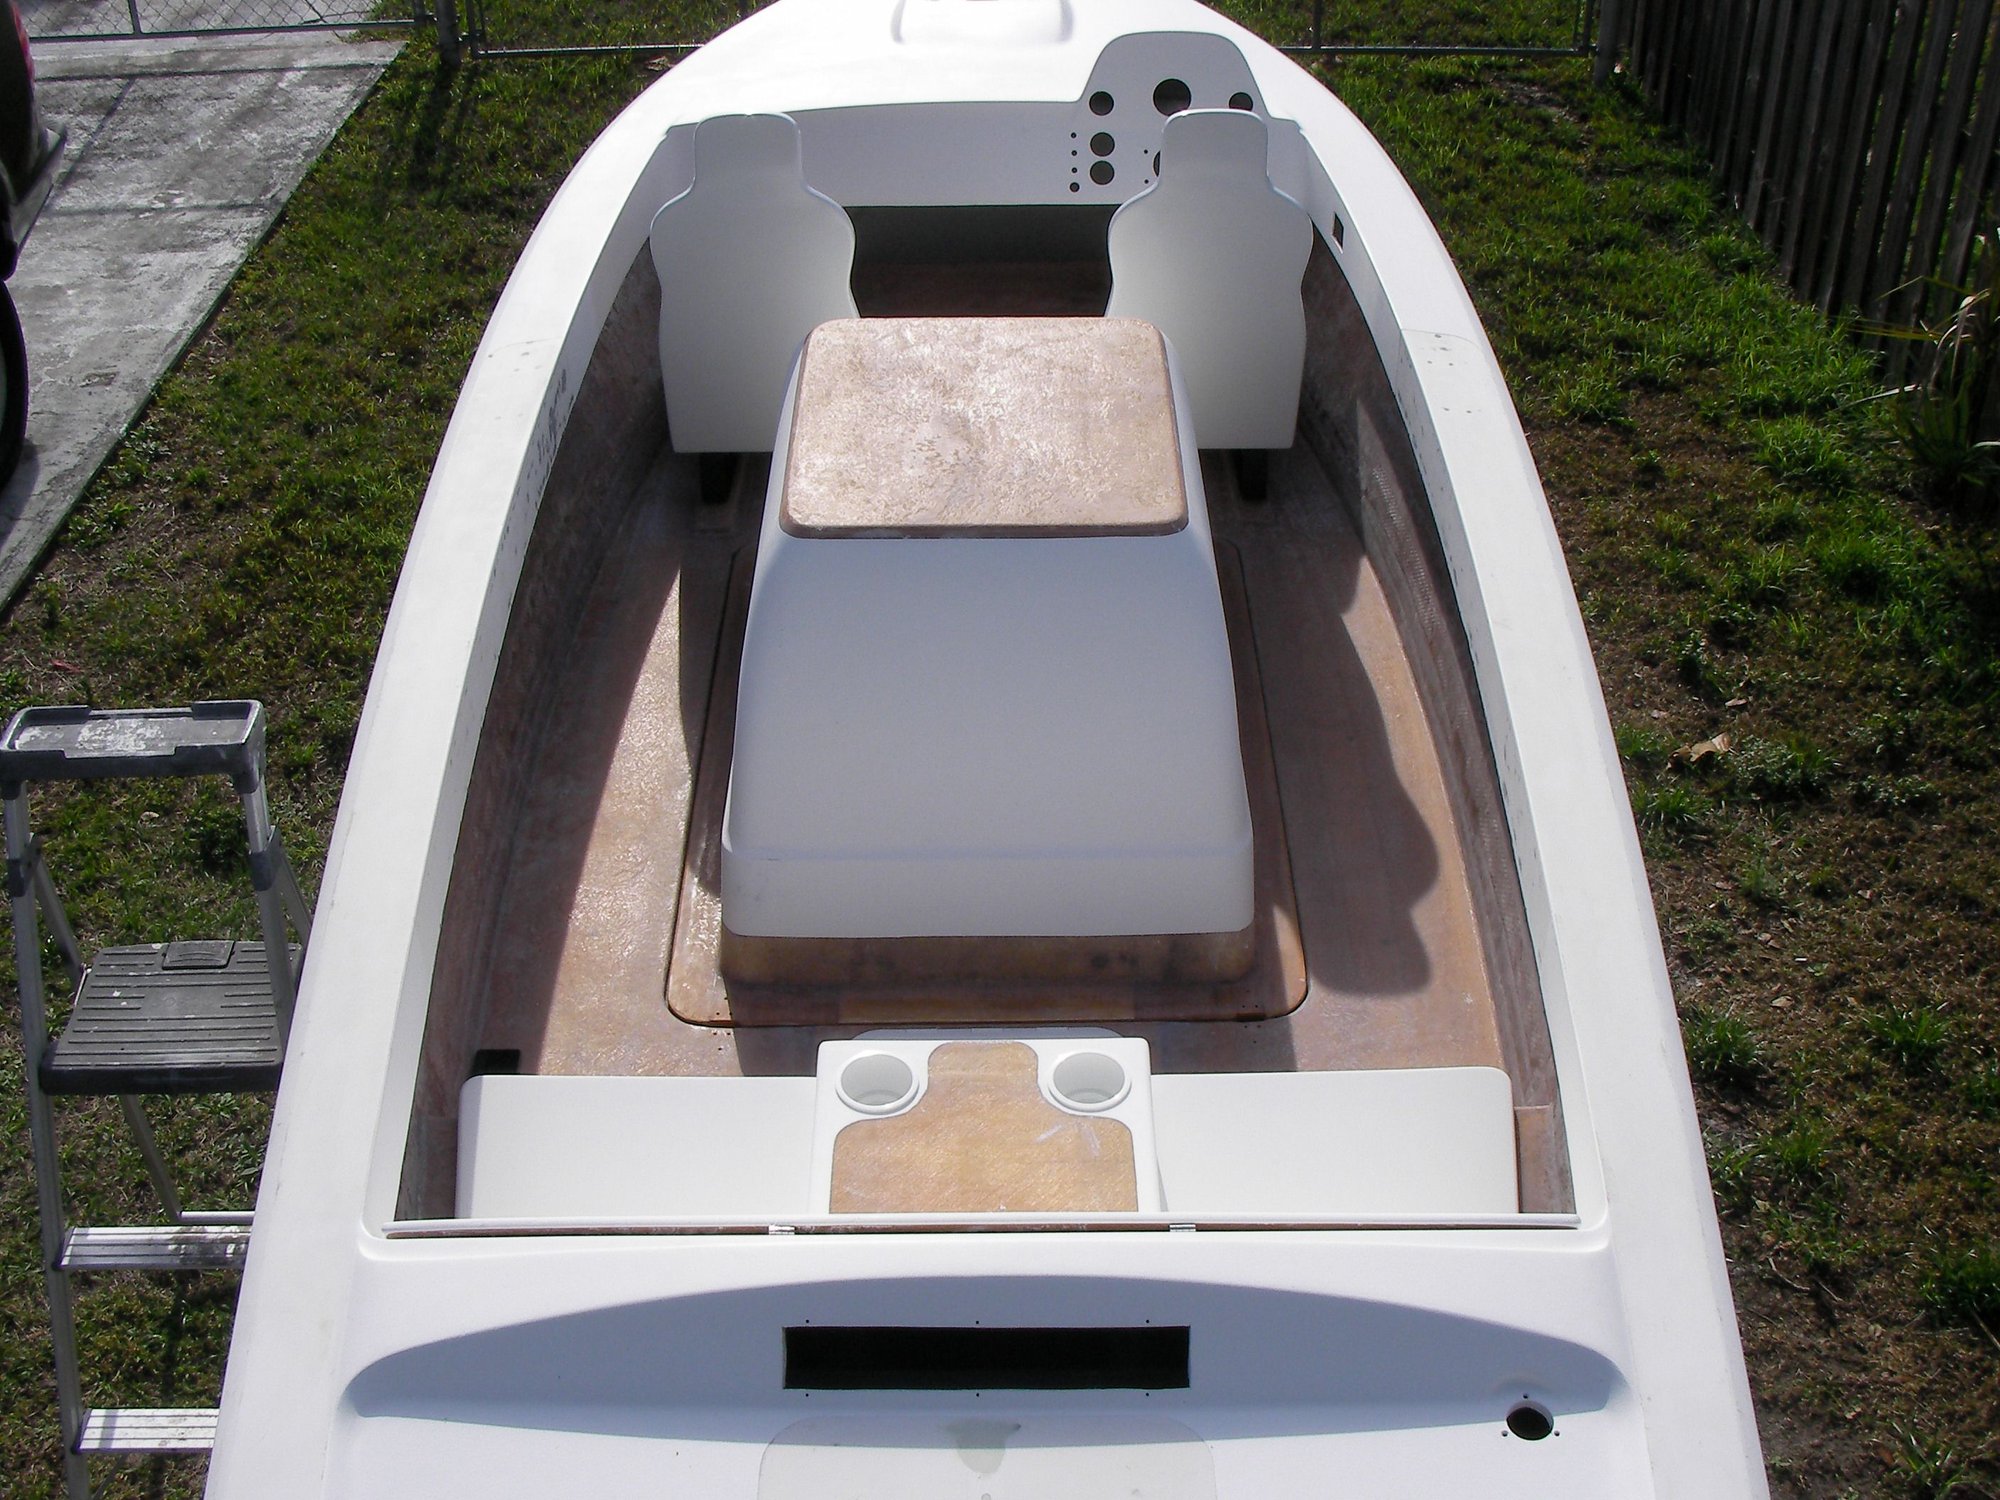
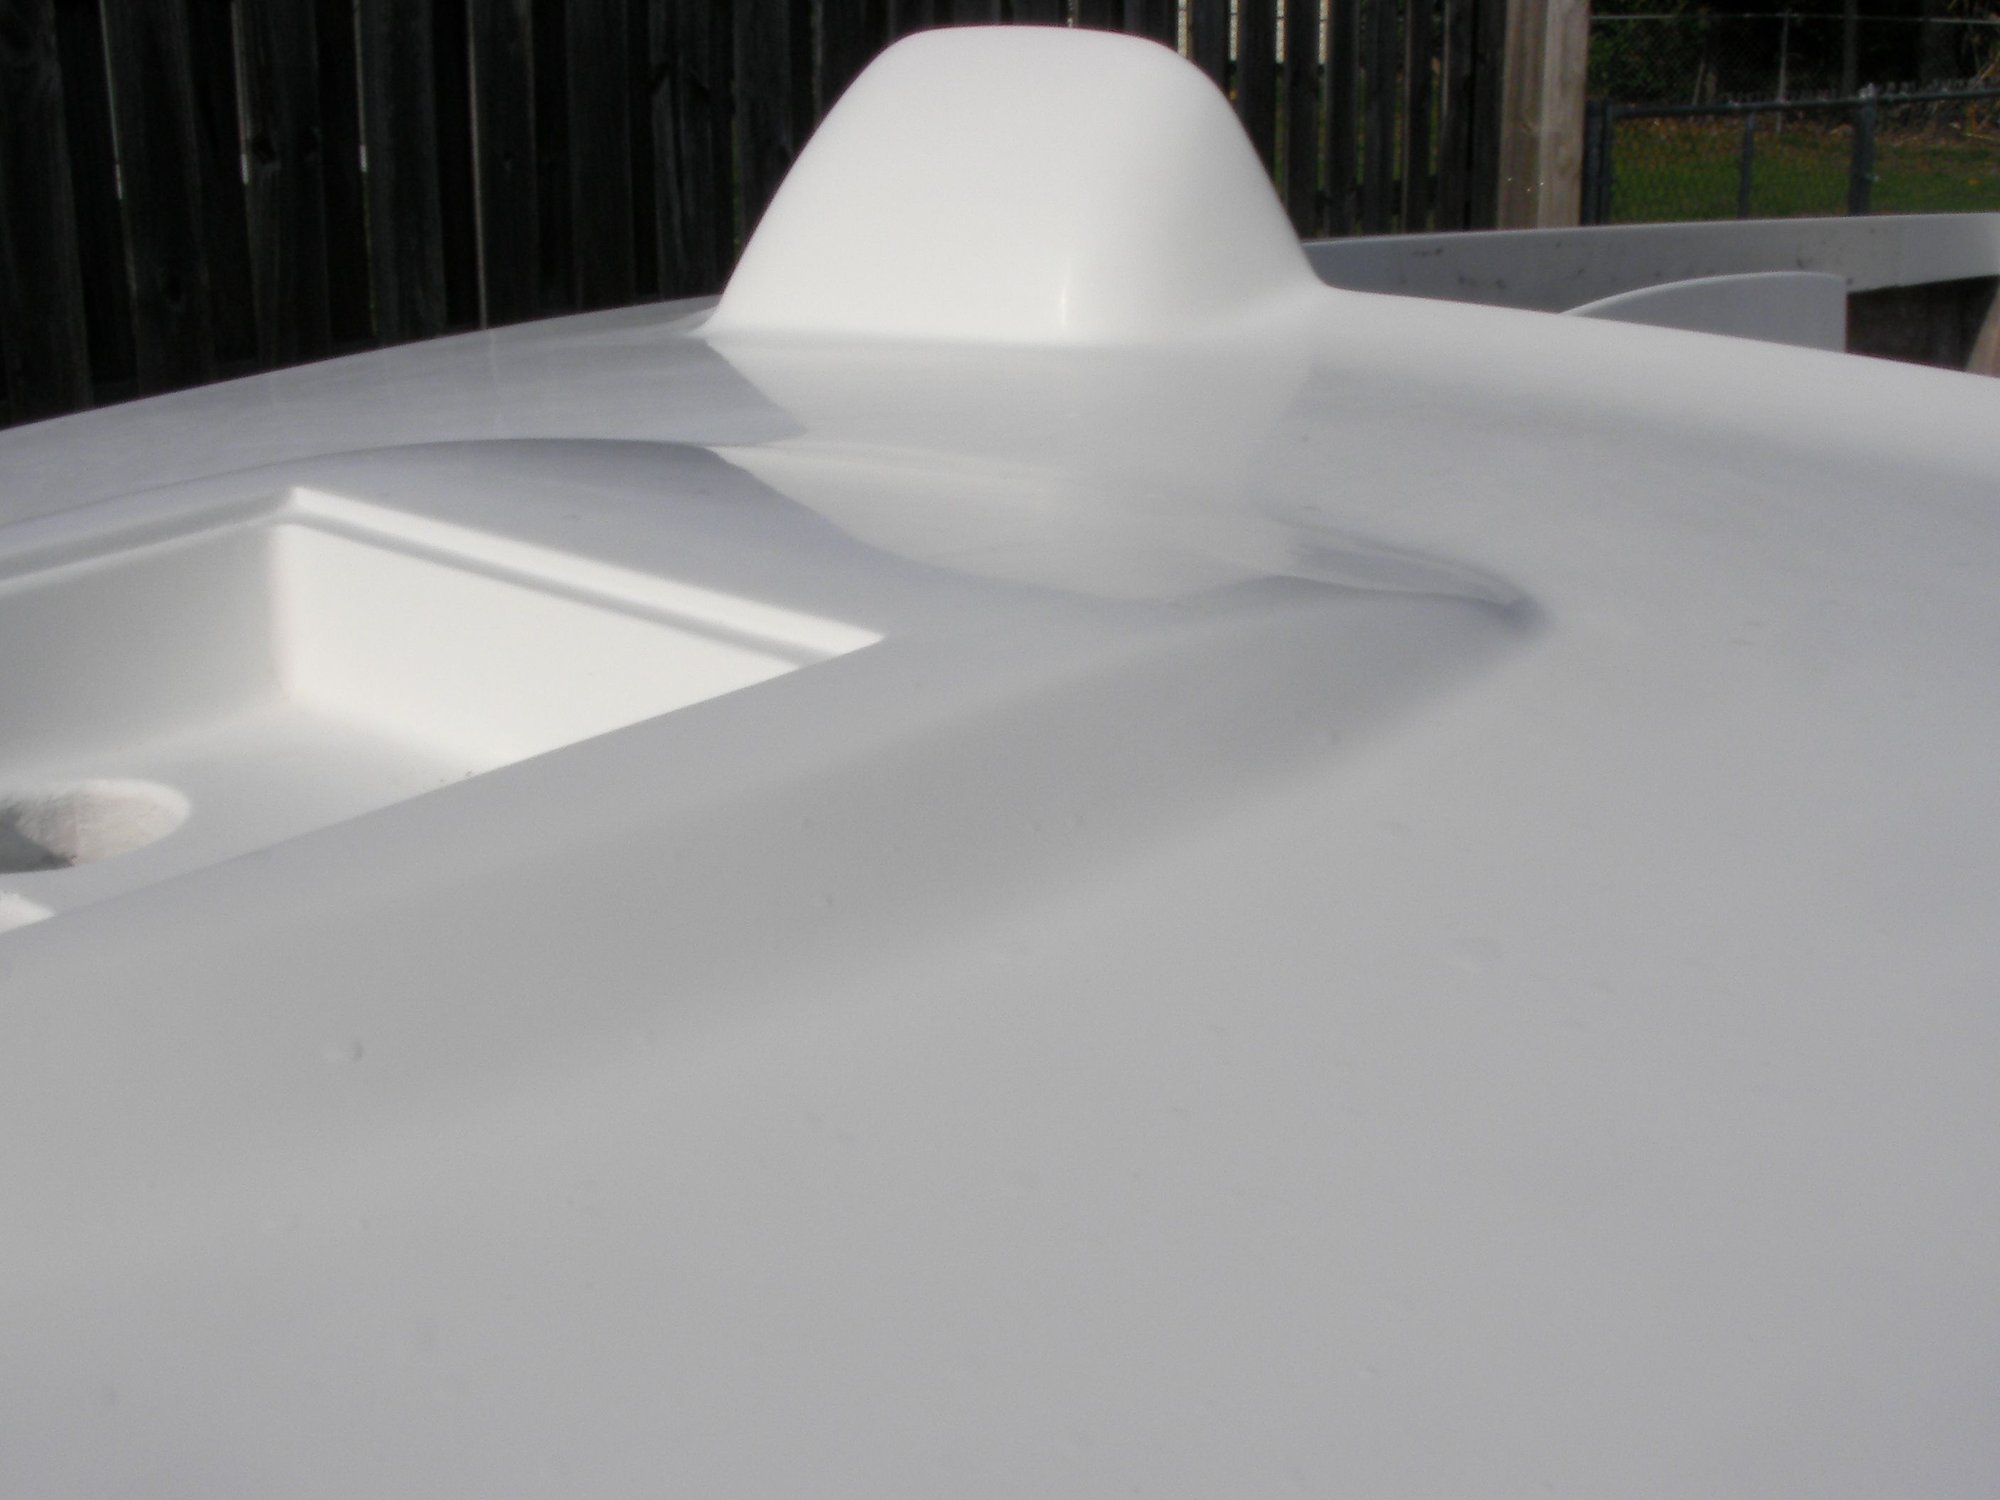
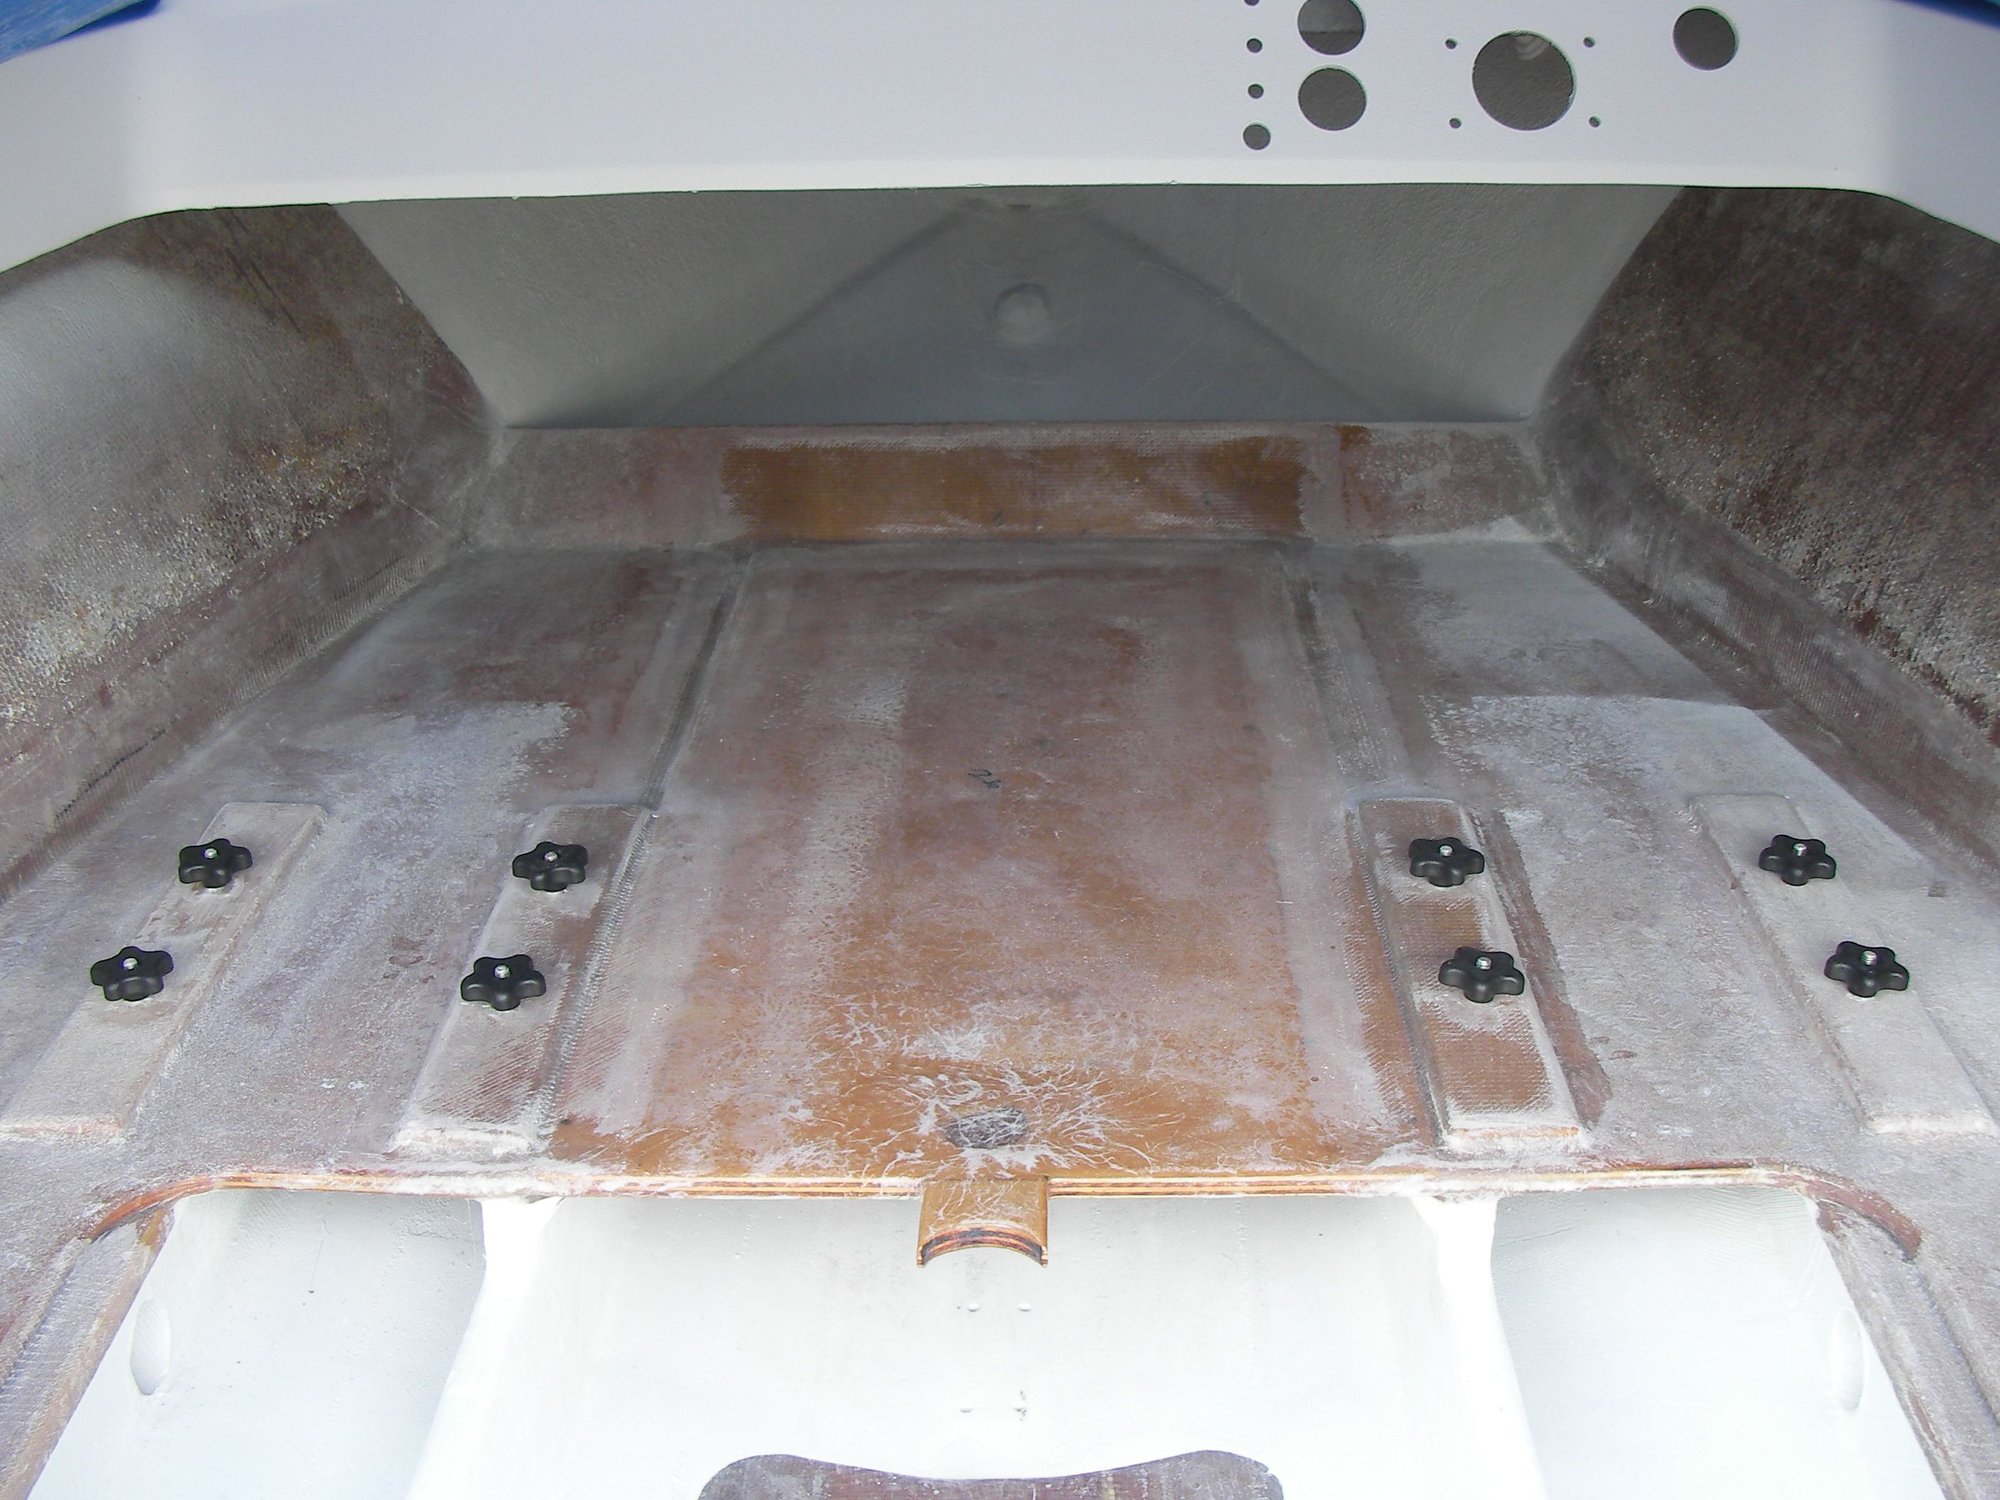
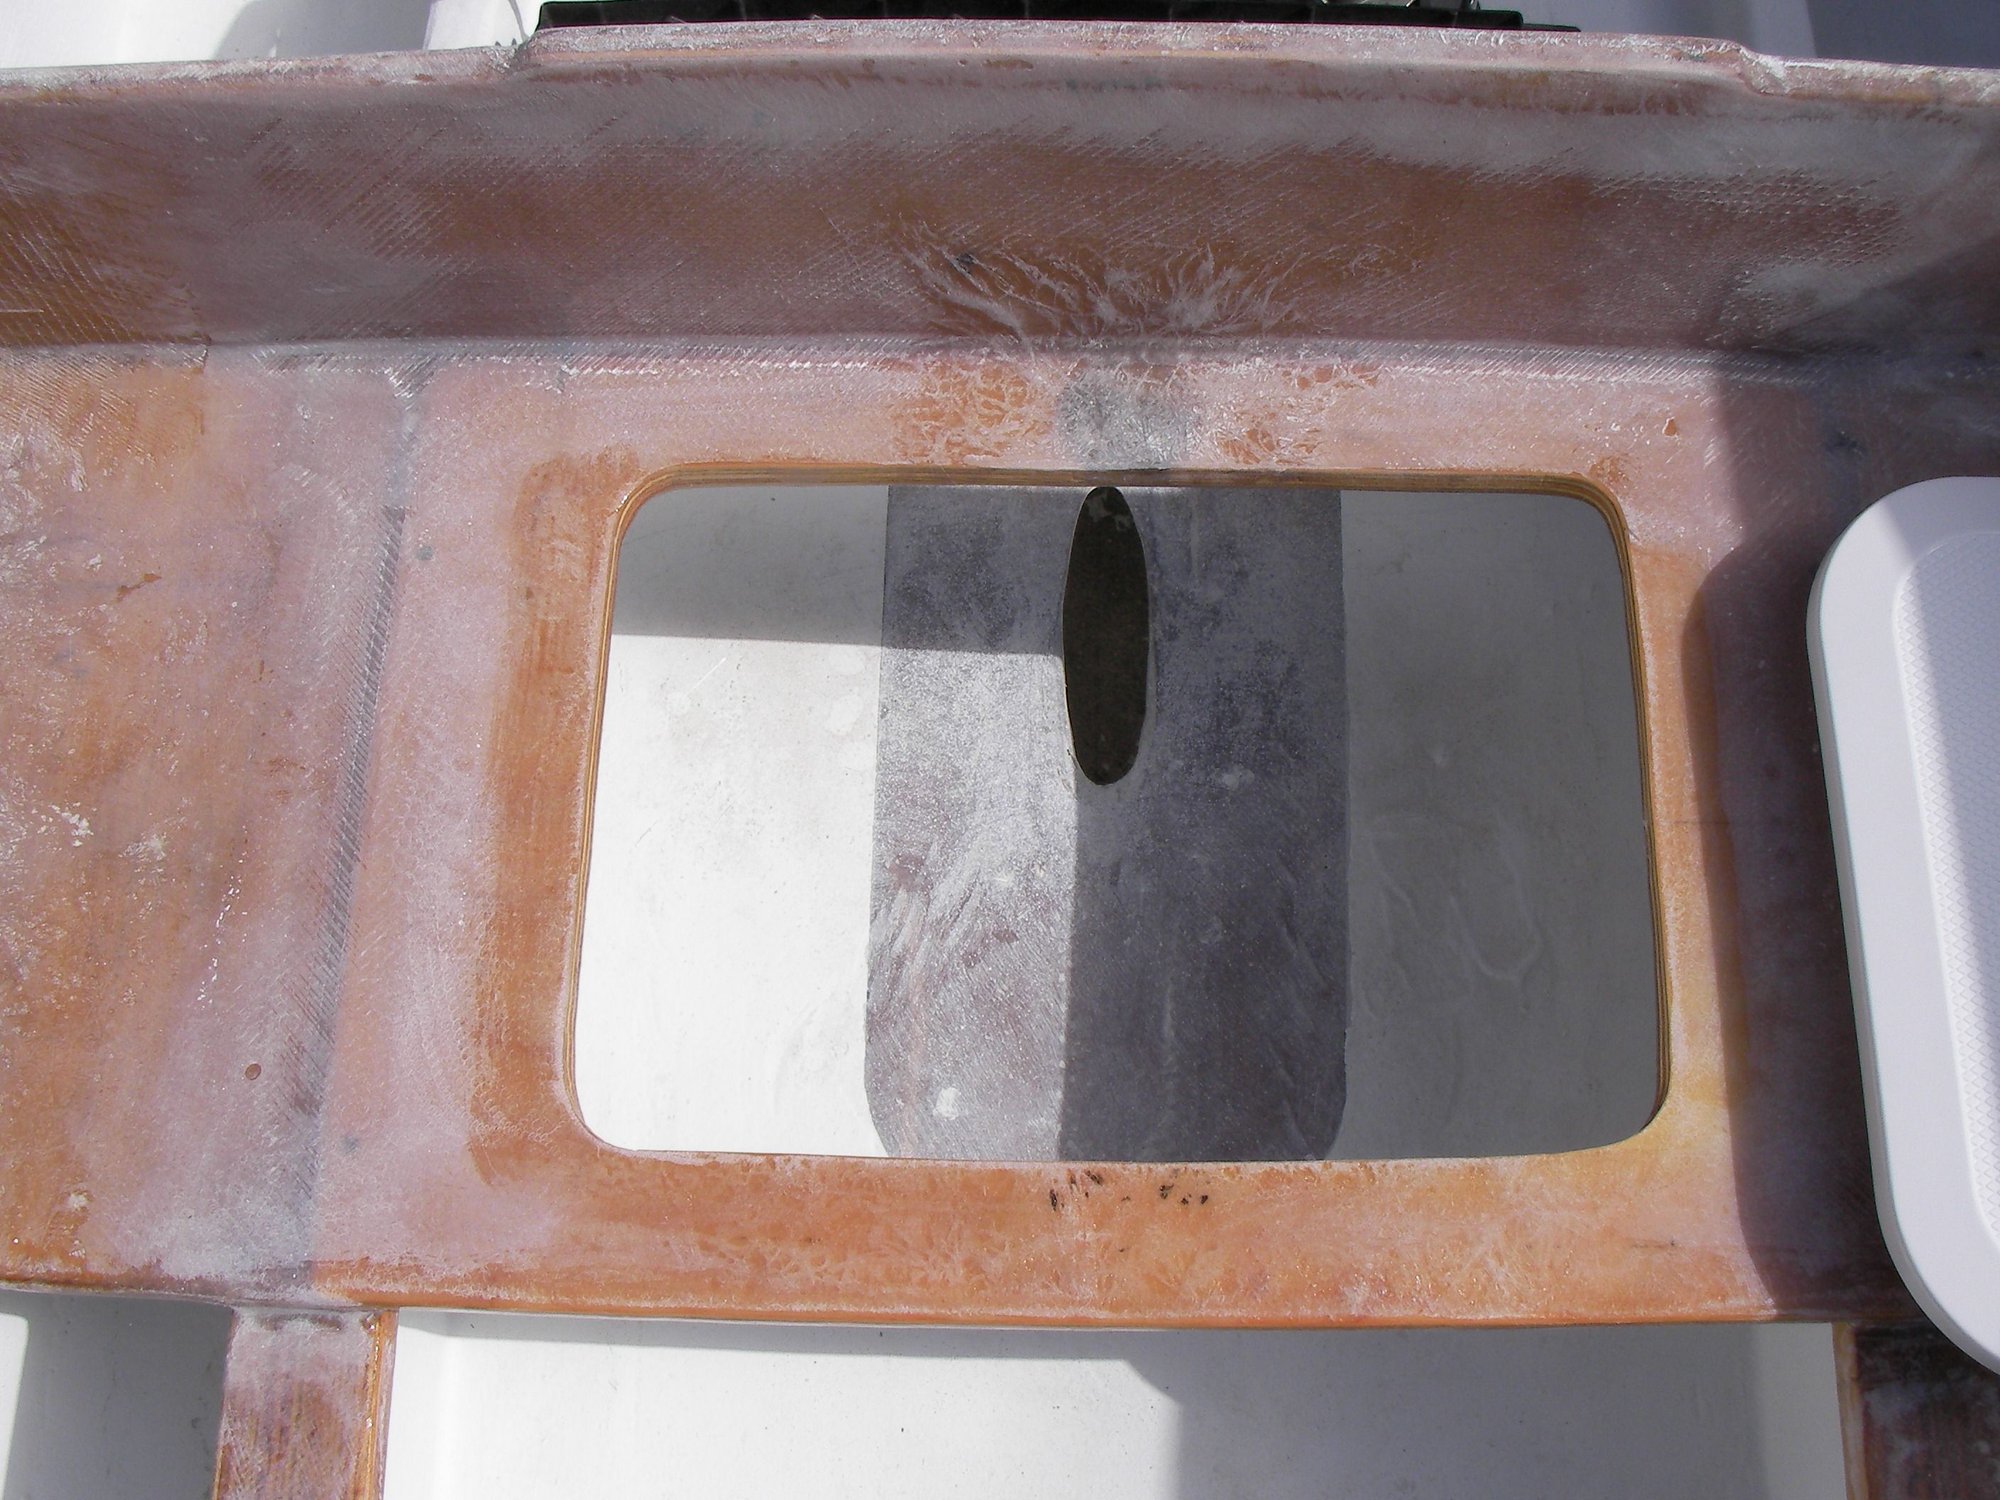
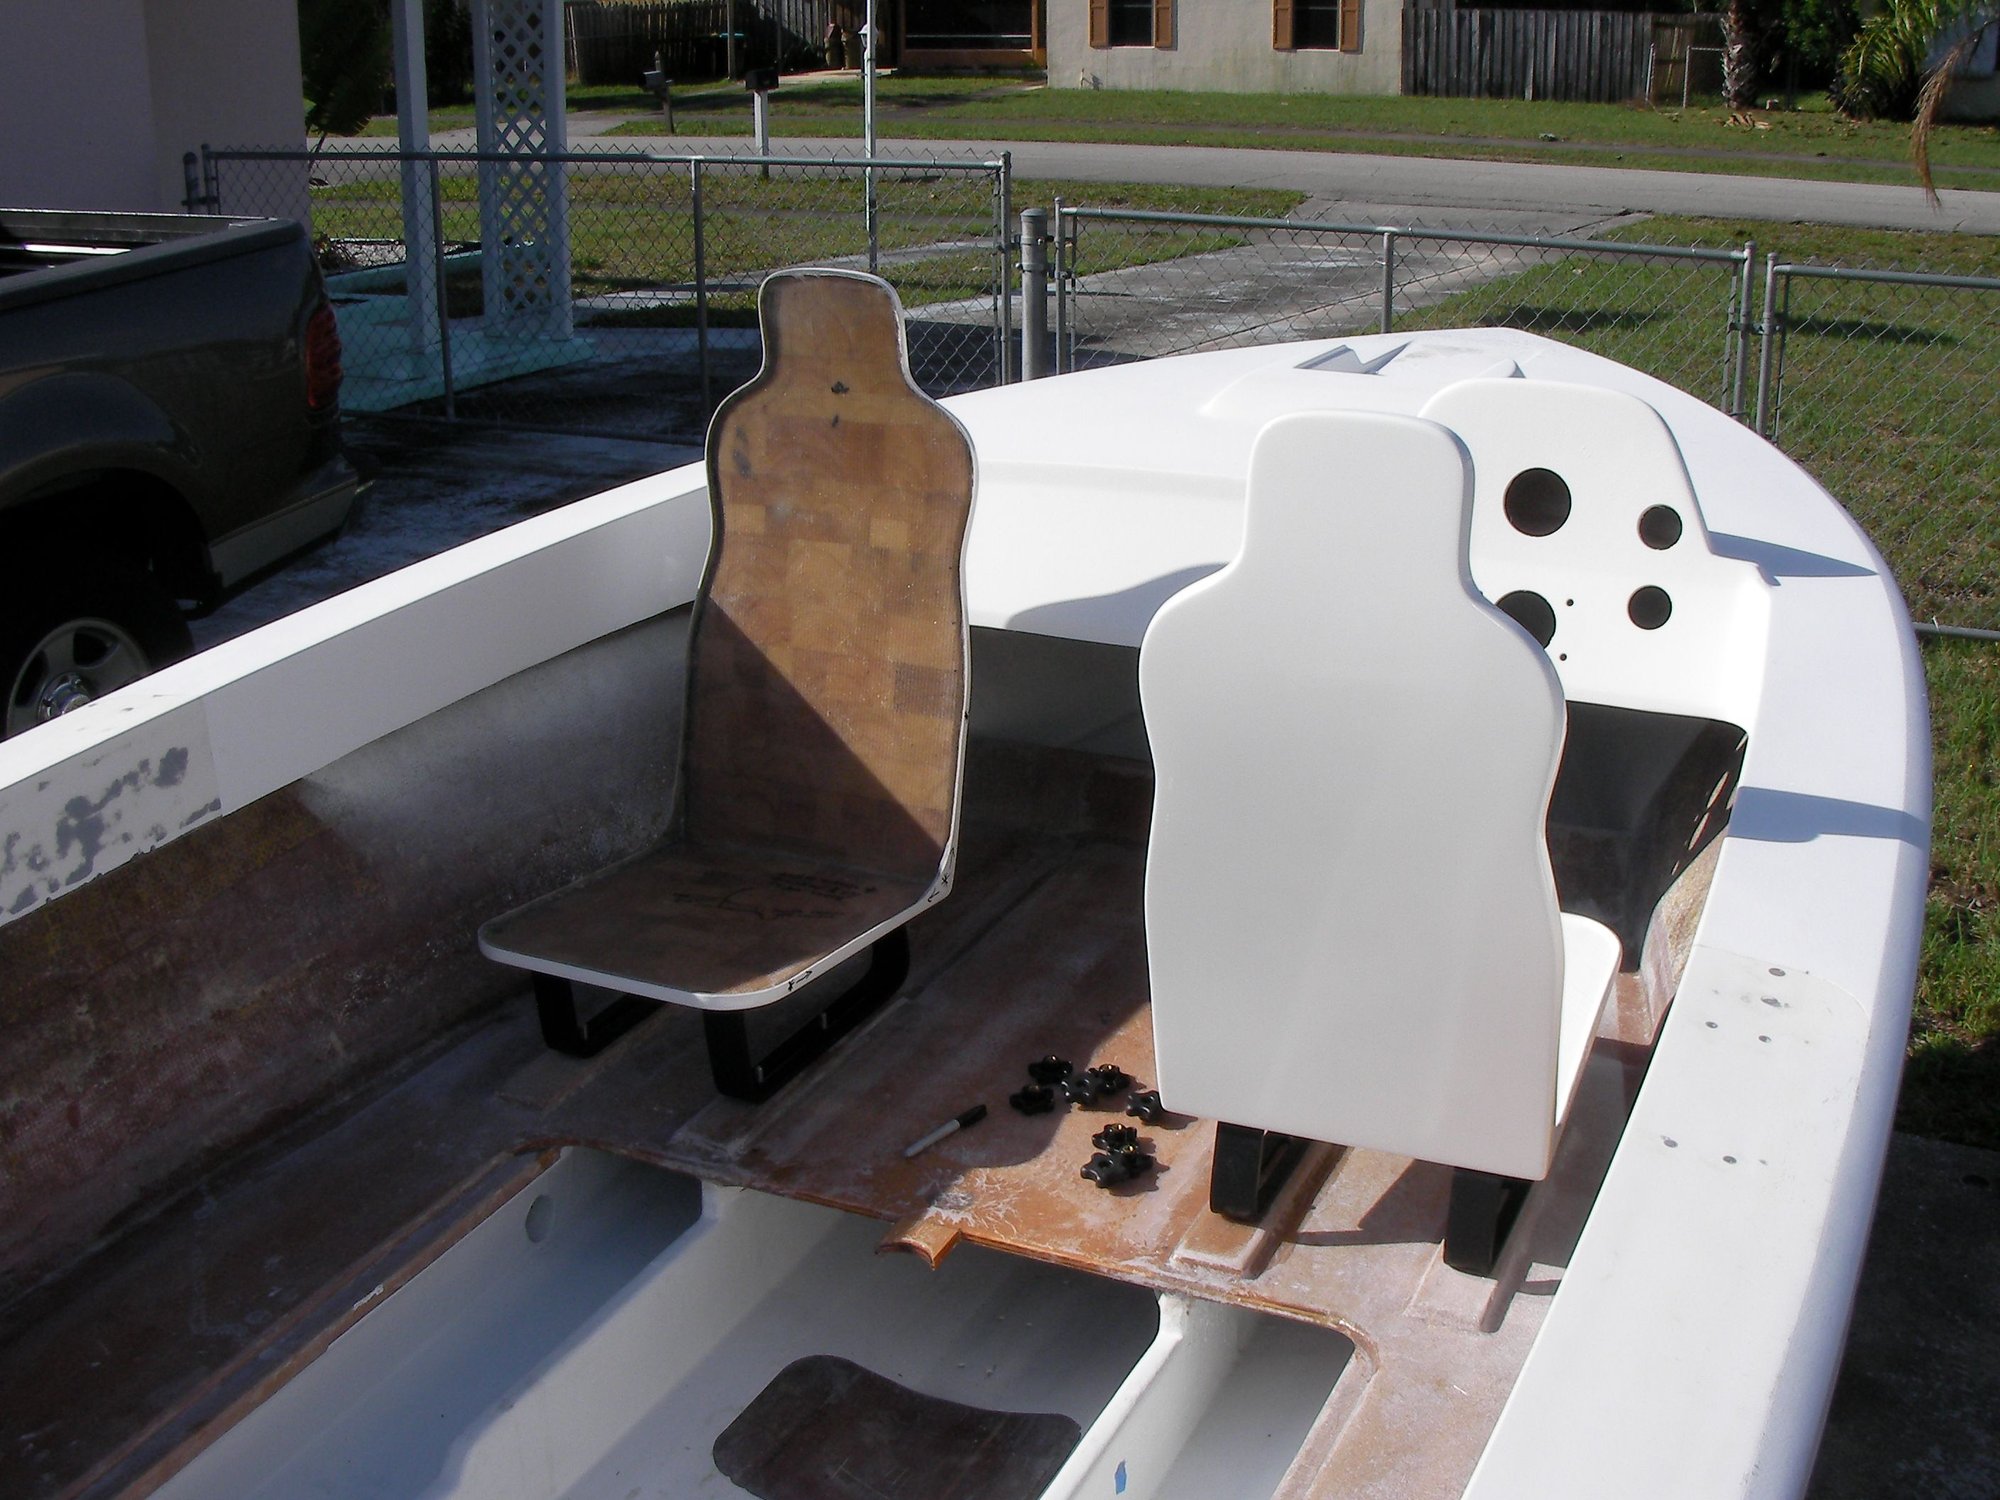
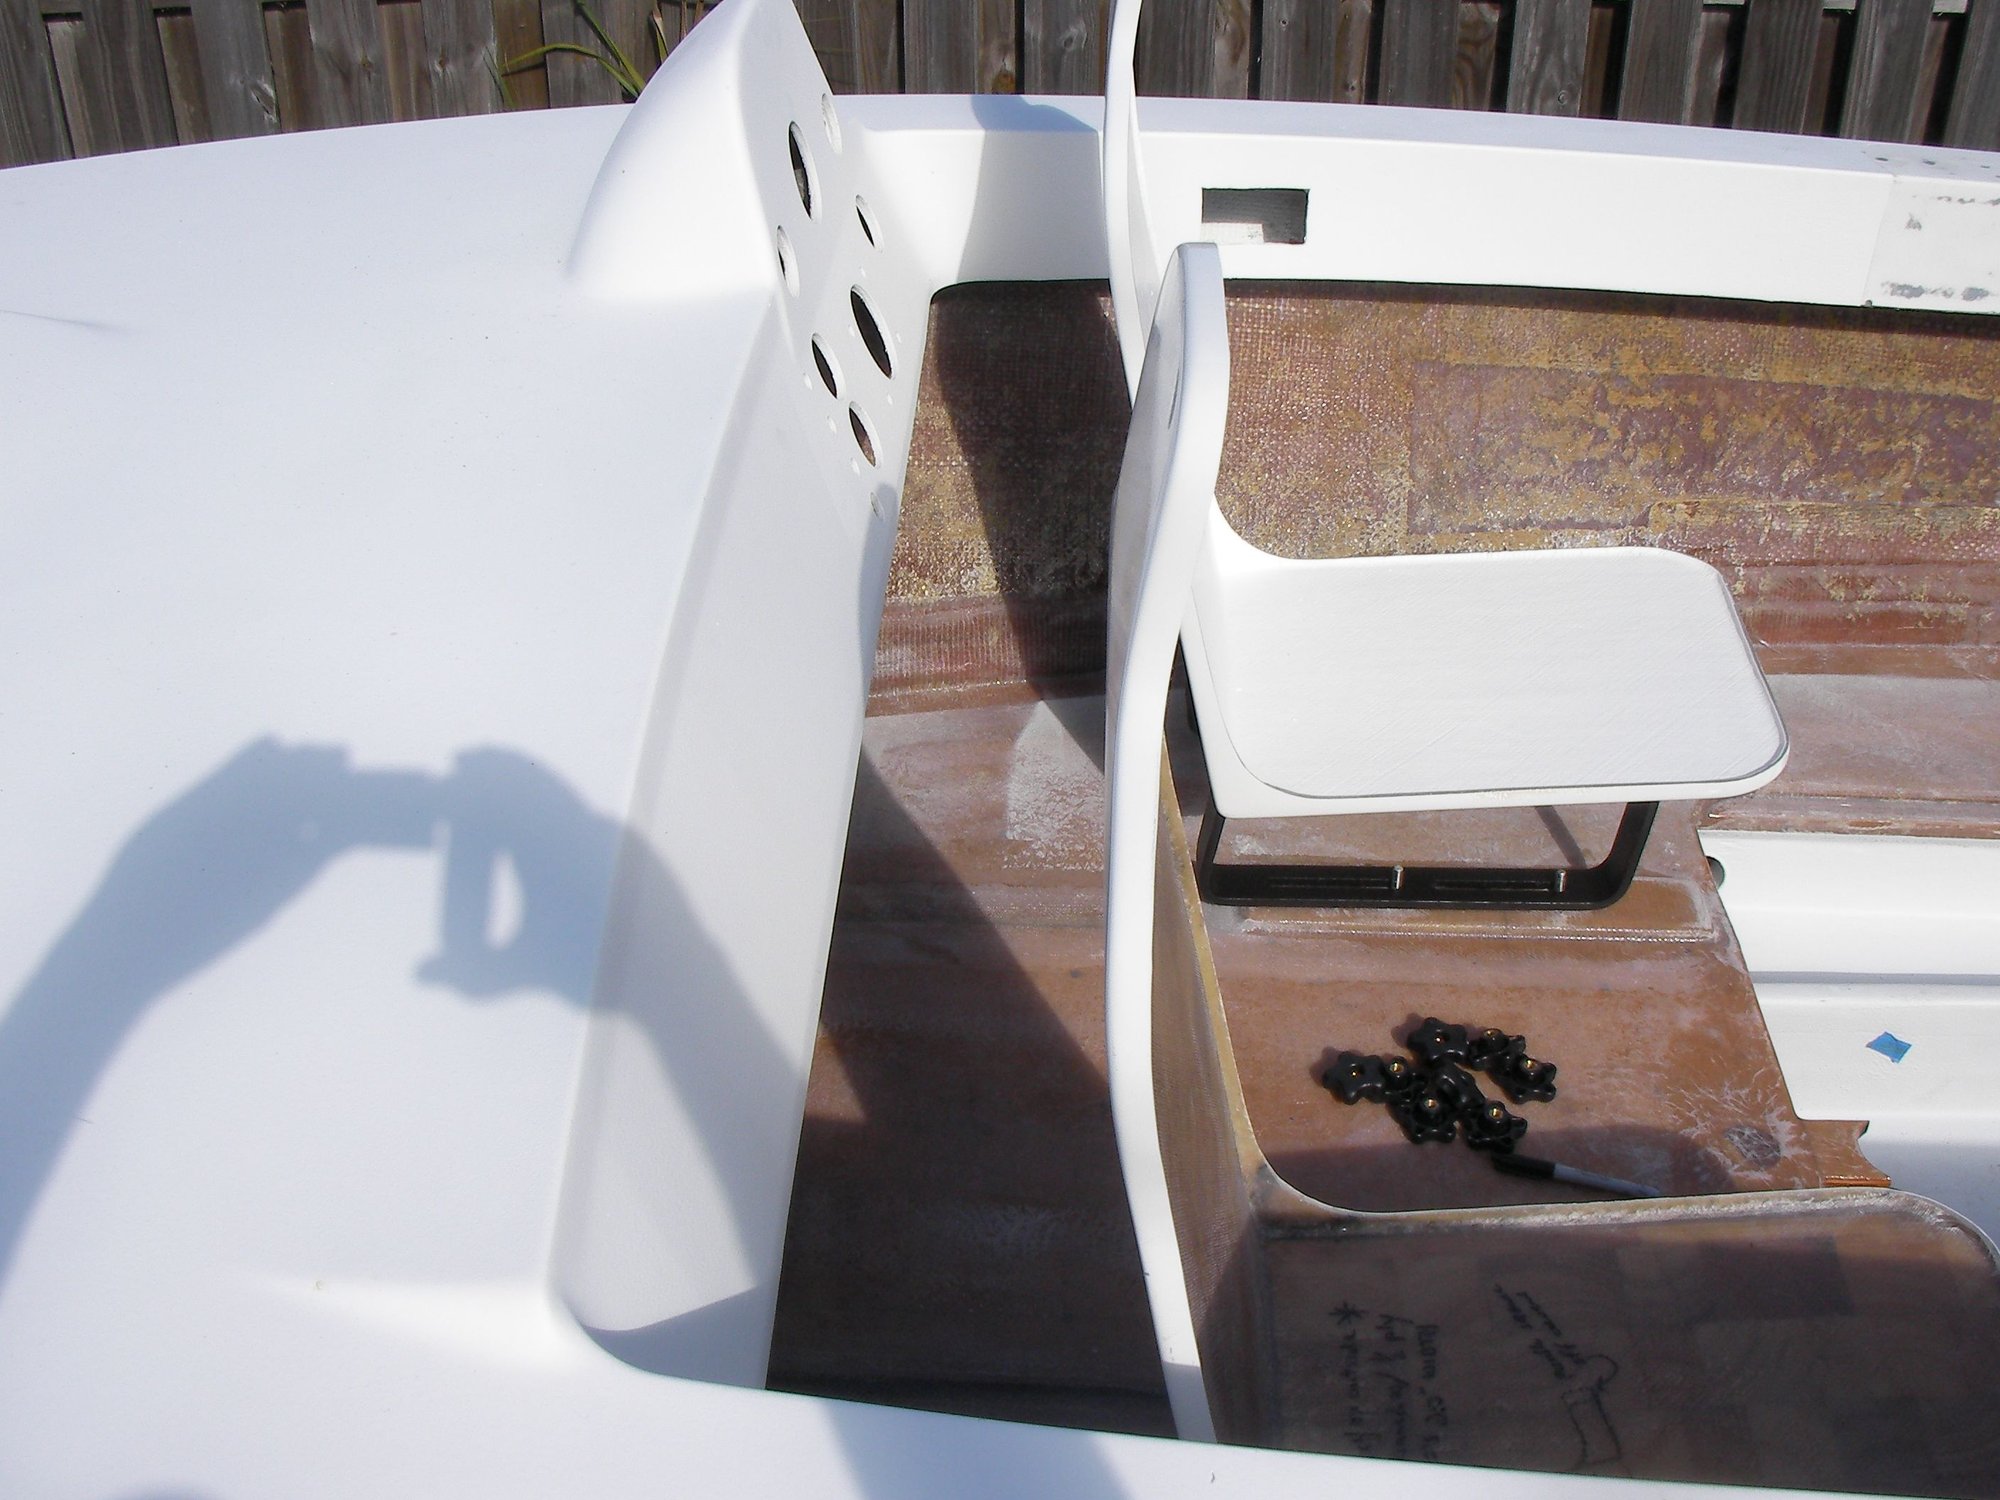
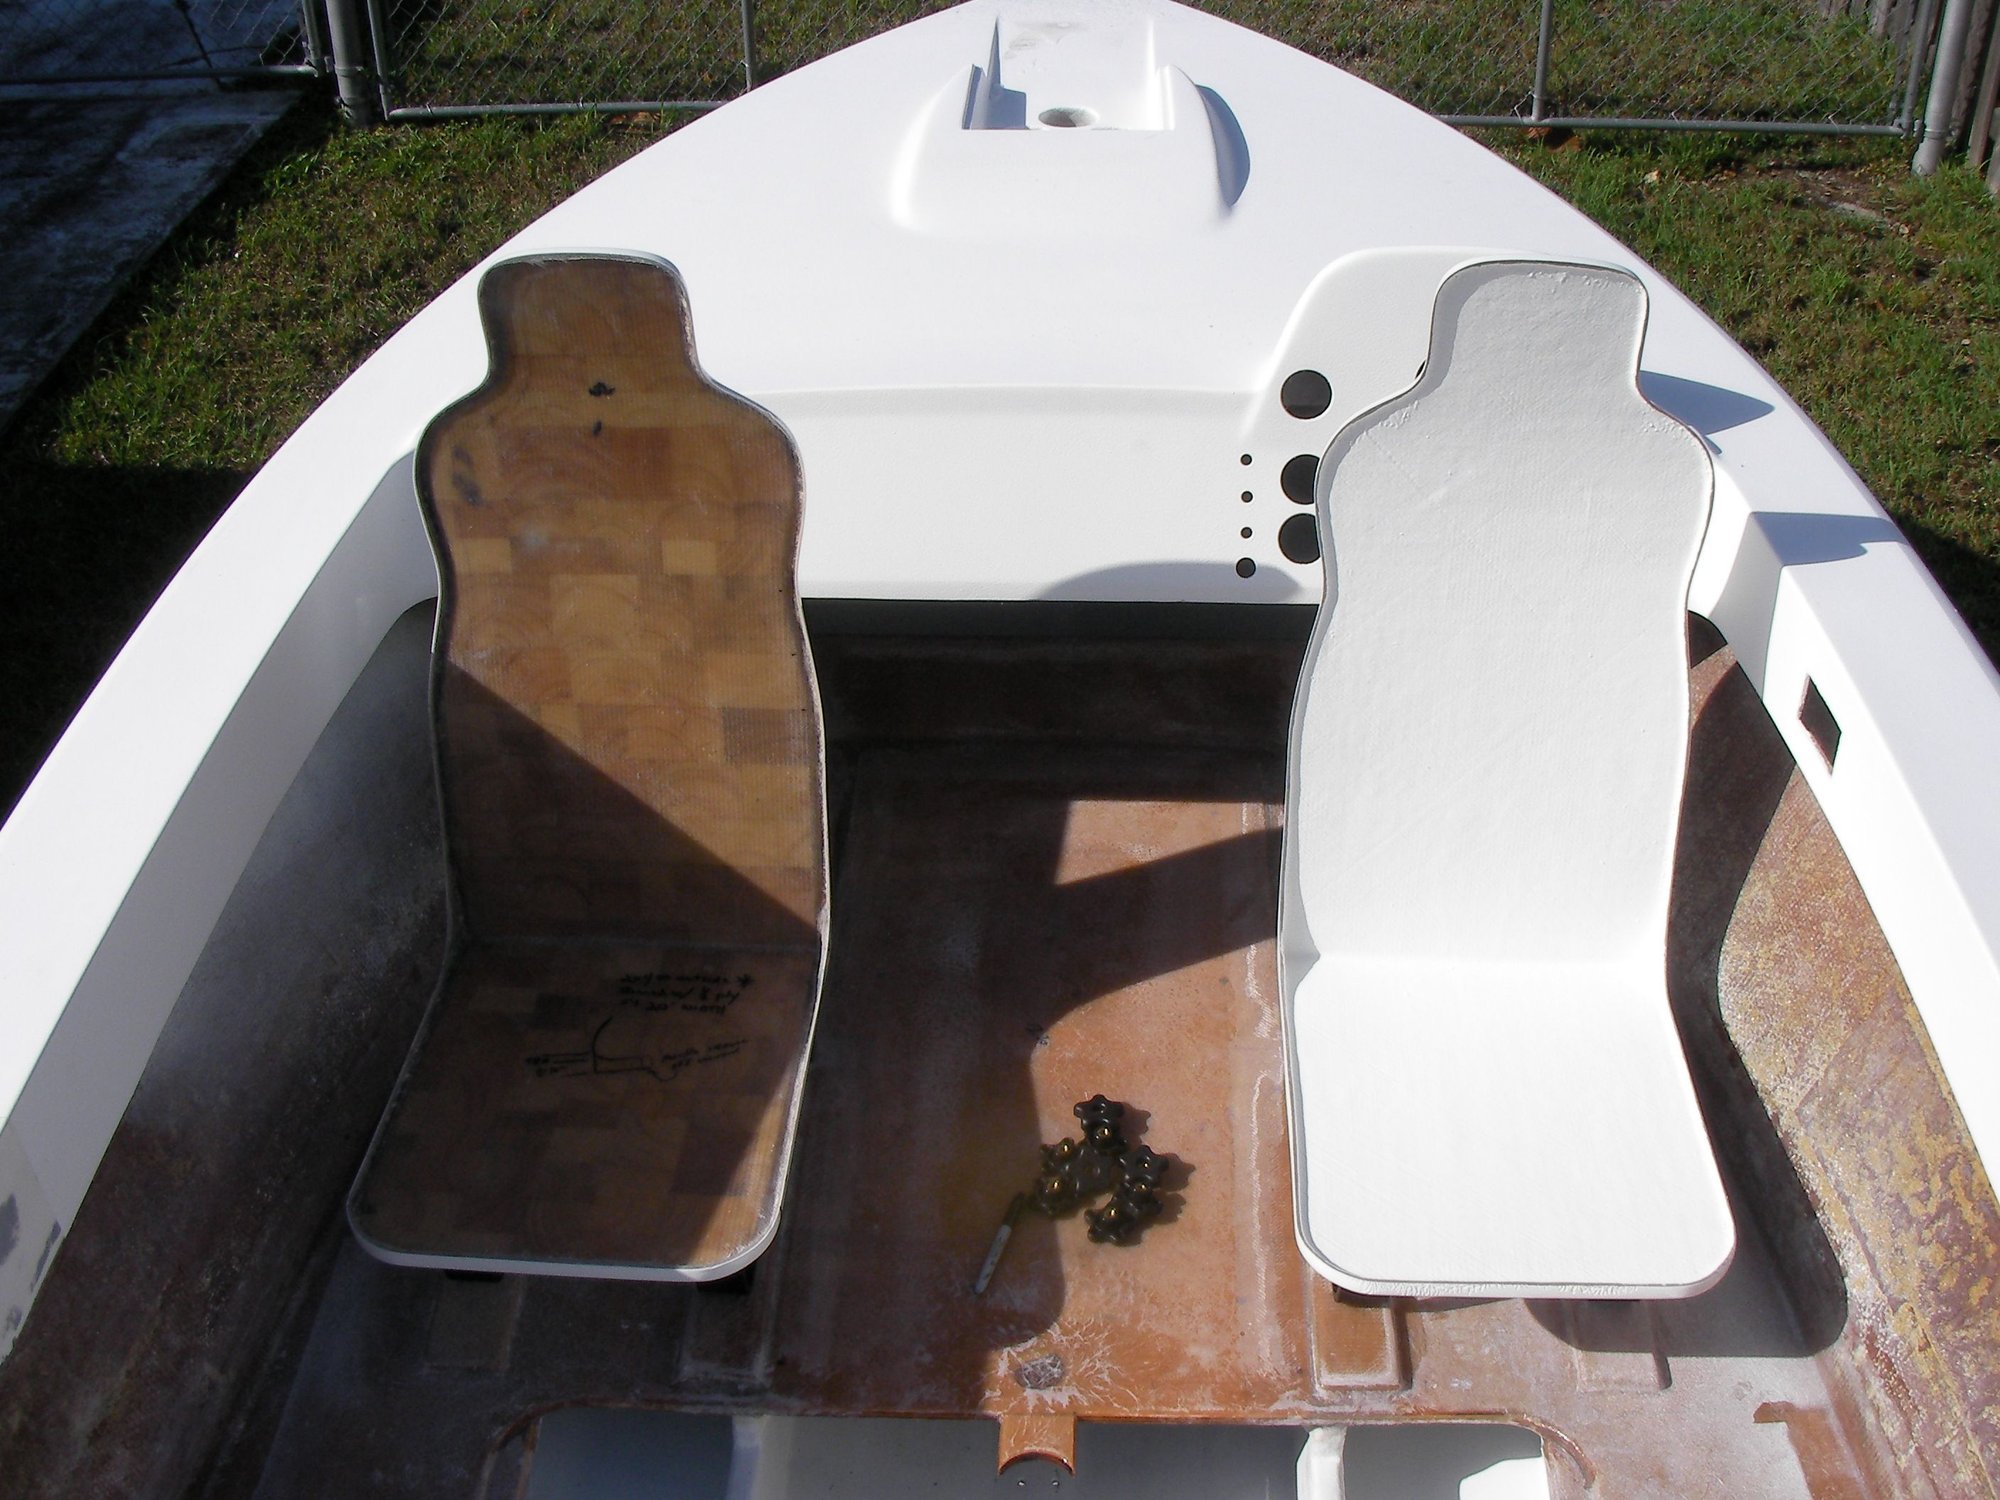
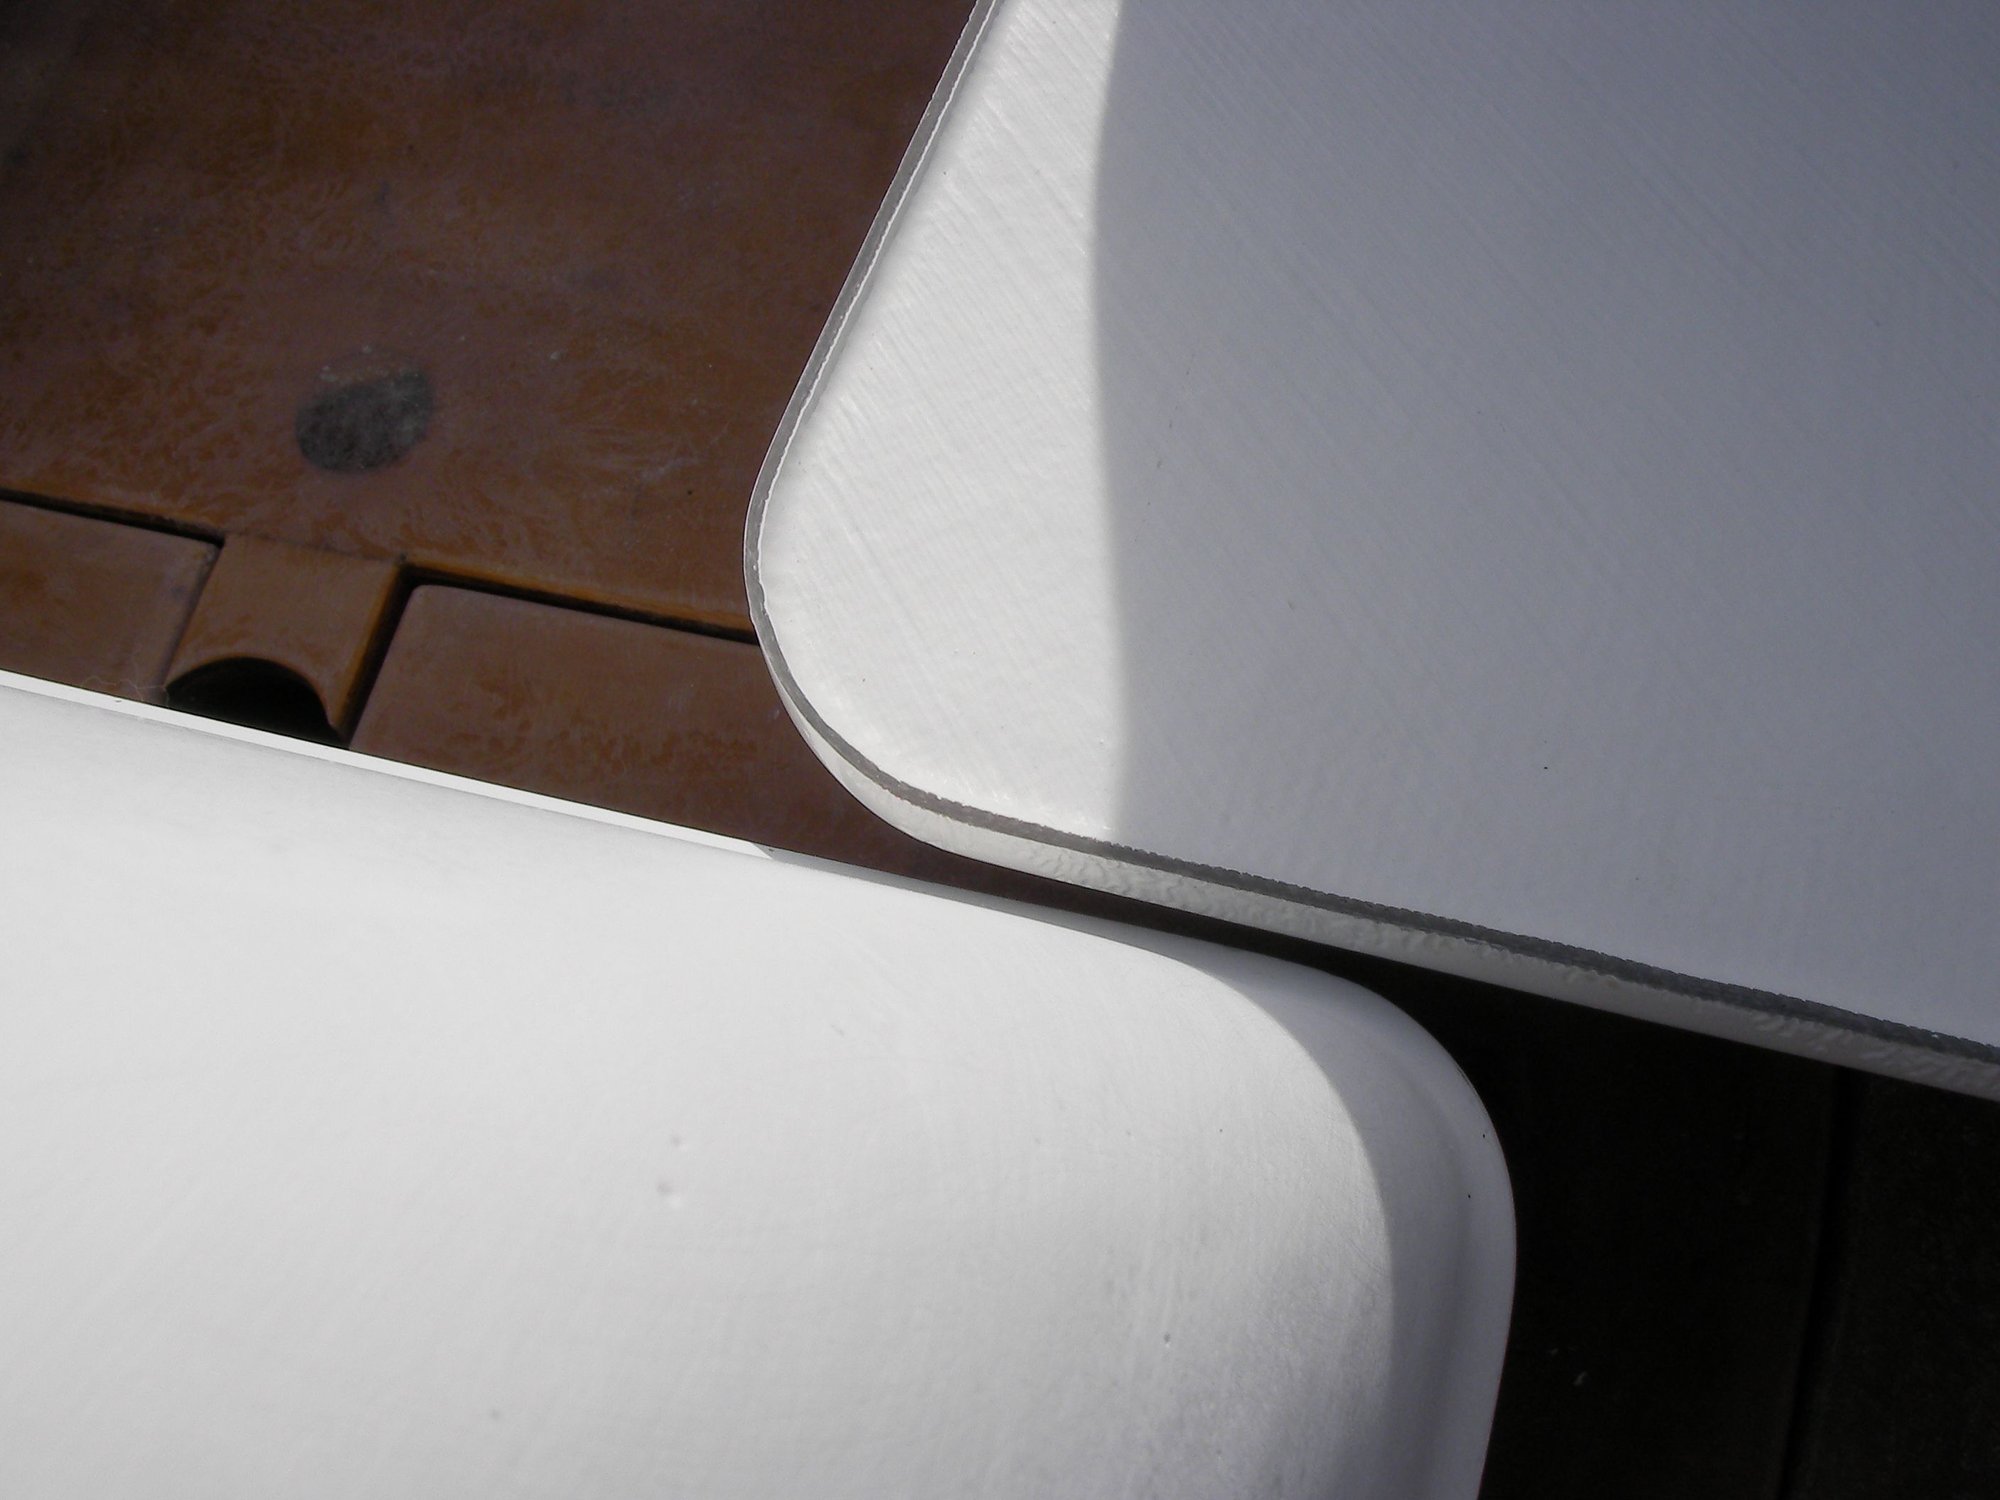
Final grind on interior hullsides and floor. Initial knockdown dog box and back seat gelcoat.
Seats all the way forward fit perfectly, i'm 5'9"
Seats turned around 180 and slid all the way towards stern clear the dogbox. There was no floor in the boat when project started, seat placement was a guess, good to have dumb luck i can tell ya
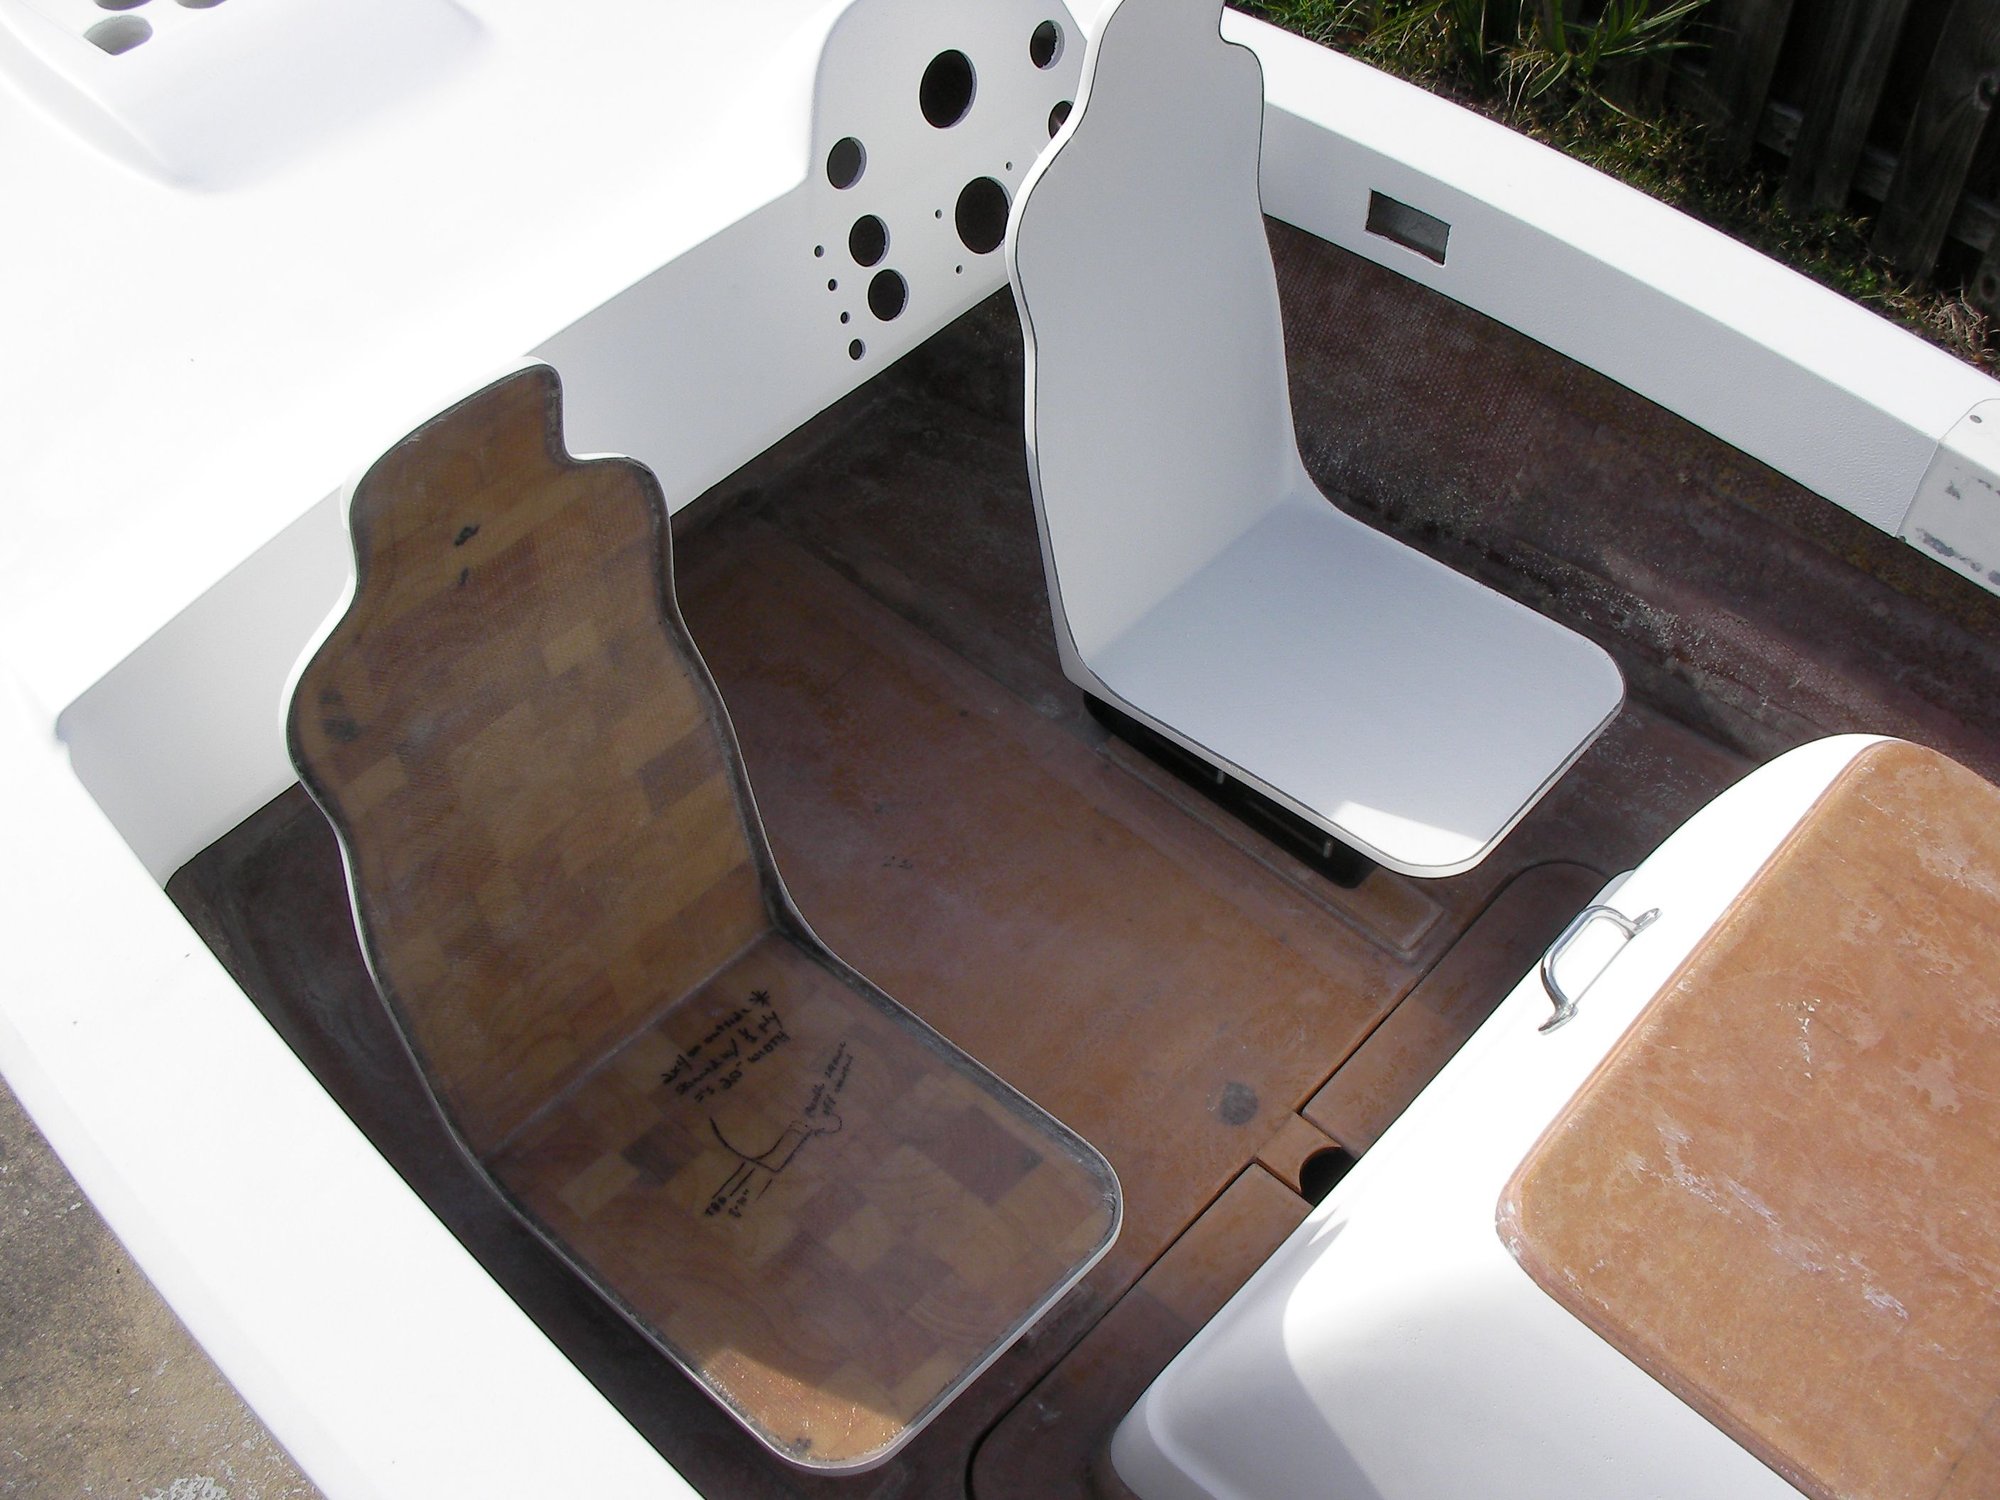
Slid all the way to bow
Last edited by outonsafari; 02-18-2021 at 04:16 PM.