


Silent Thunder Removal 89’ 242 LS

 04-08-2022 | 07:46 AM
#62
Thread Starter
Registered

Joined: Nov 2020
Posts: 131
Likes: 160
From: Grand Haven MI
Thanks, we didn’t really have a final design in the beginning, but we used pics from many other platforms to incorporate the things we liked from each one to make our own. Lots of help here too from guys who have been through it before……especially TomZ…….I owe him a couple!
04-09-2022 | 03:40 PM
#63
Platinum Member

Joined: Feb 2001
Posts: 4,303
Likes: 1,459
From: Virginia Beach
Glad it’s all coming together! The platform design is on another level! I’ll bet you could market that for the old boats pretty well.
And thank you for the kind words. We have a lot of great contributors in this group… we all just pay it forward.
Can’t wait to see the finished product on your boat!
And thank you for the kind words. We have a lot of great contributors in this group… we all just pay it forward.
Can’t wait to see the finished product on your boat!
04-16-2022 | 08:29 PM
#64
Thread Starter
Registered
Joined: Nov 2020
Posts: 131
Likes: 160
From: Grand Haven MI
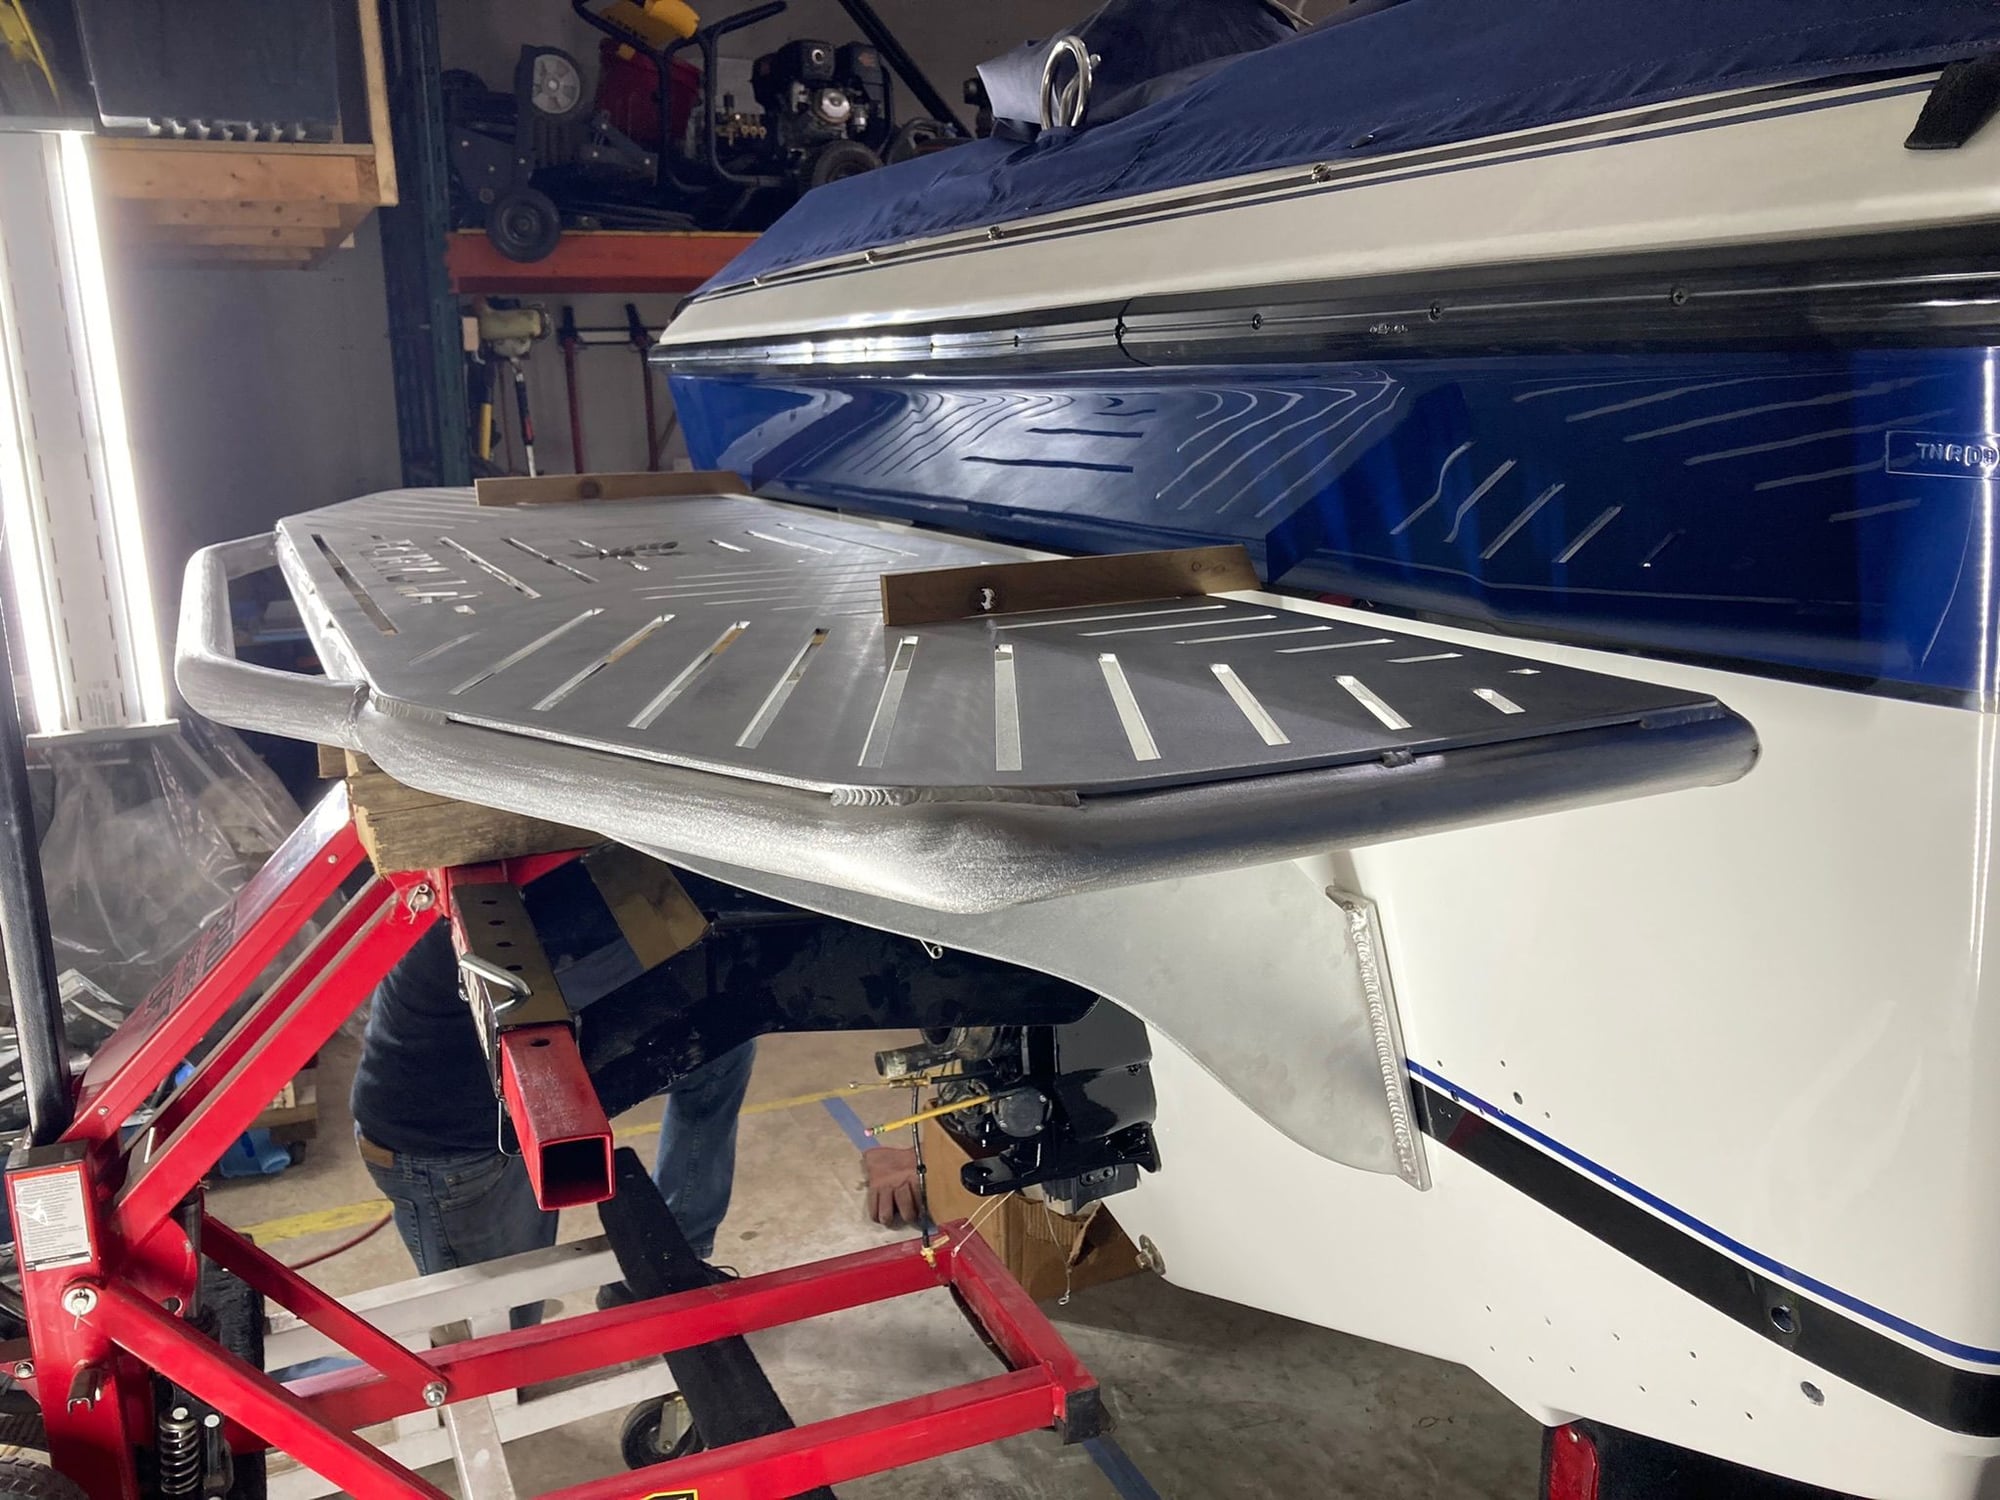
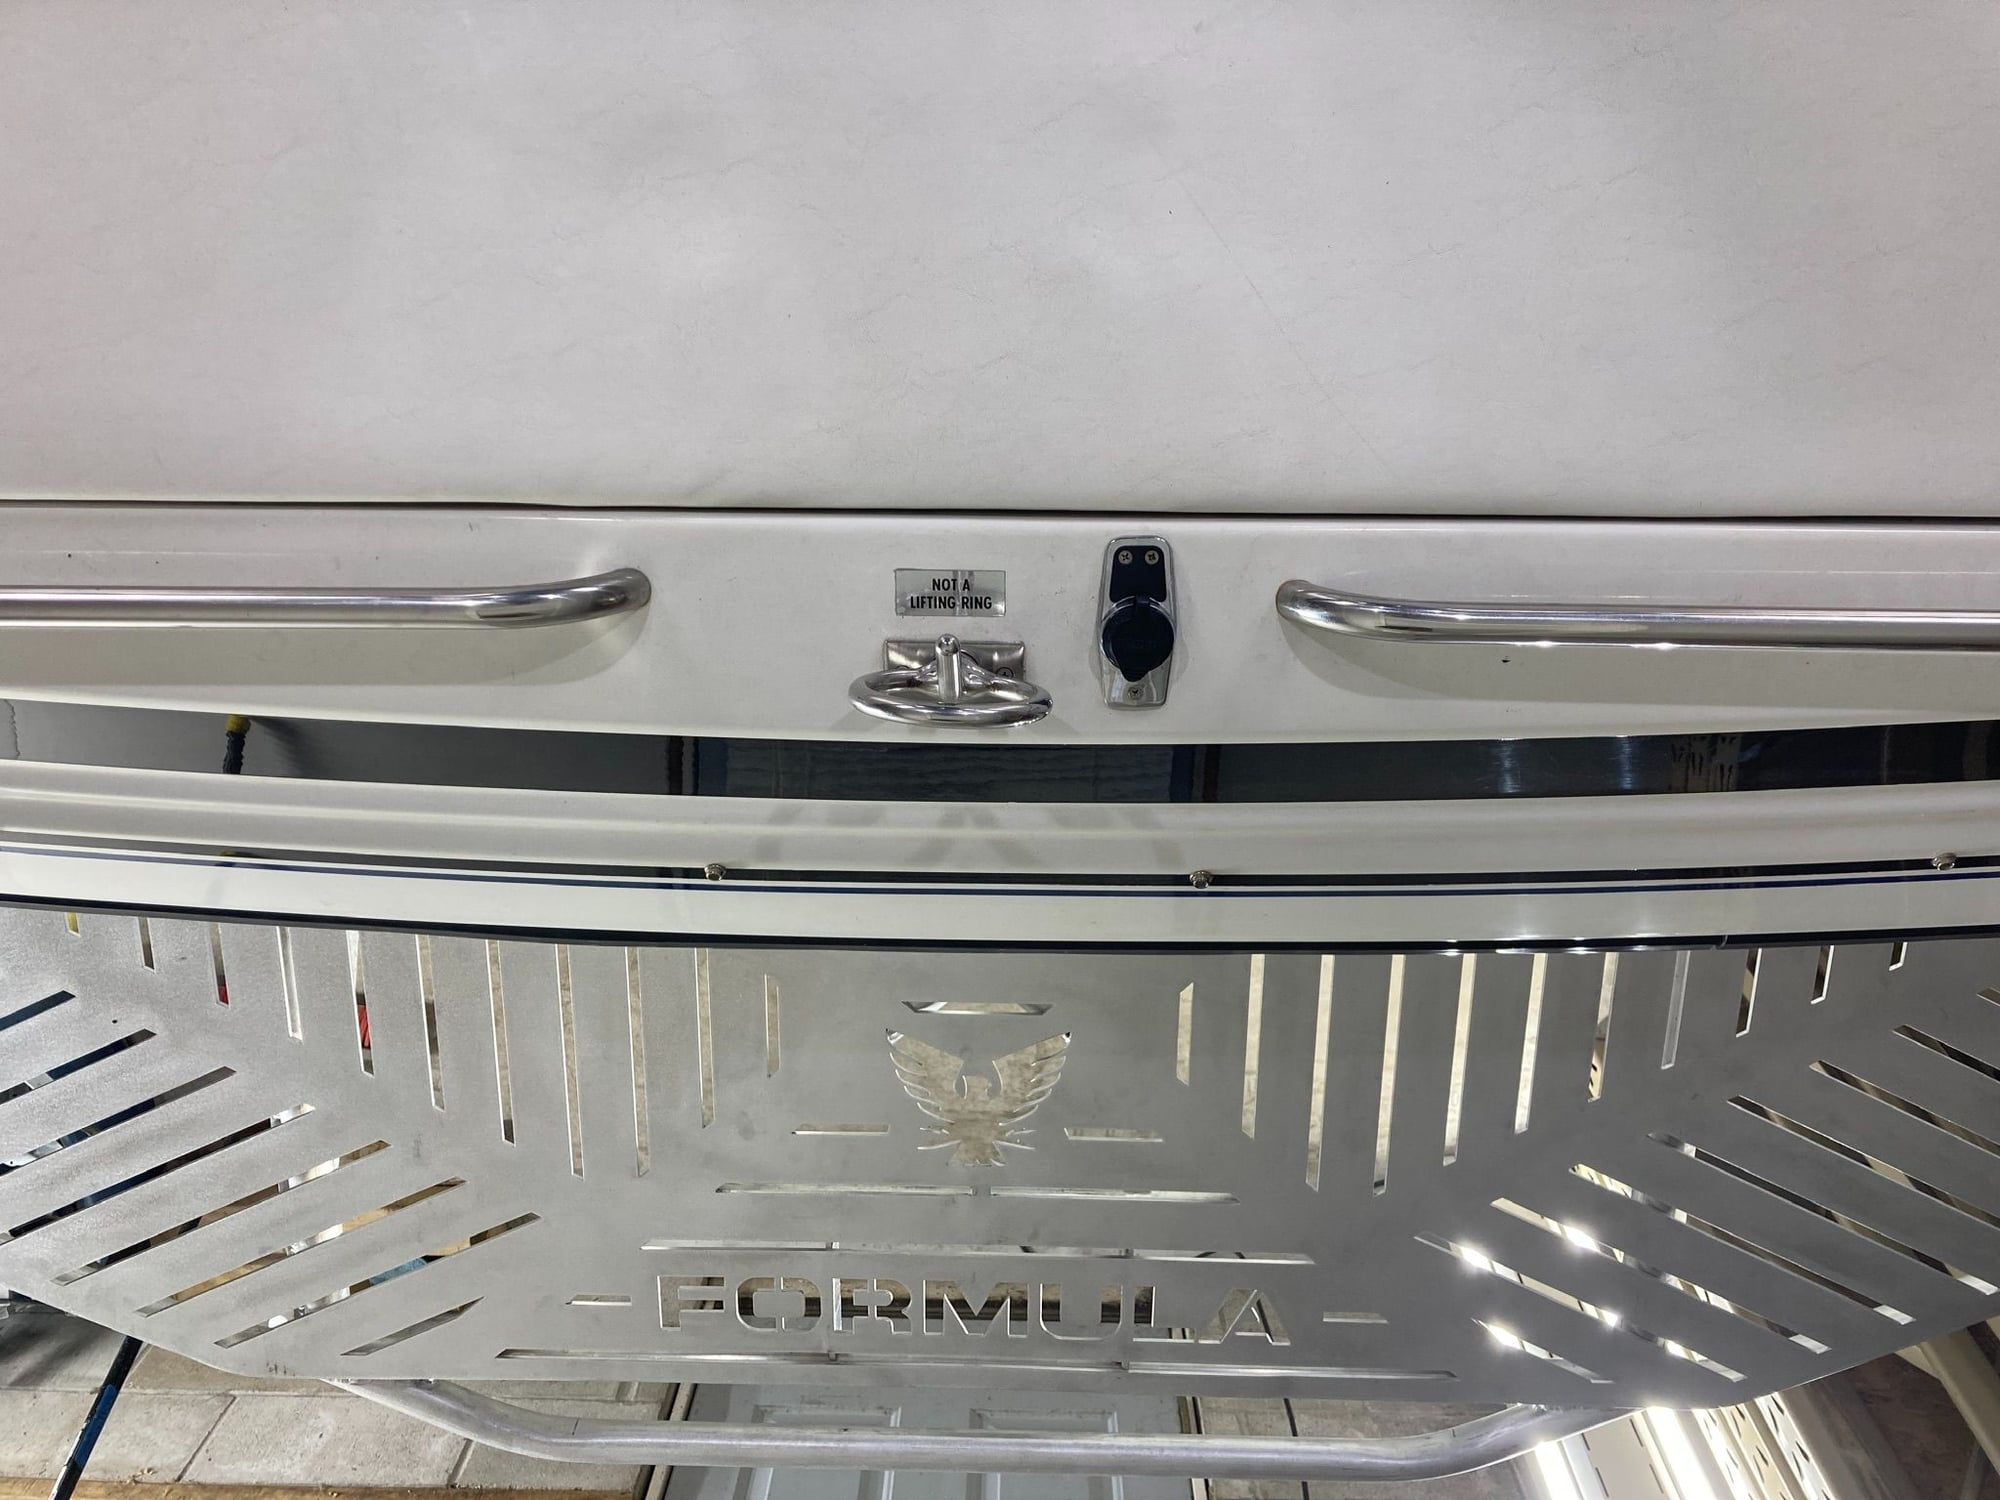
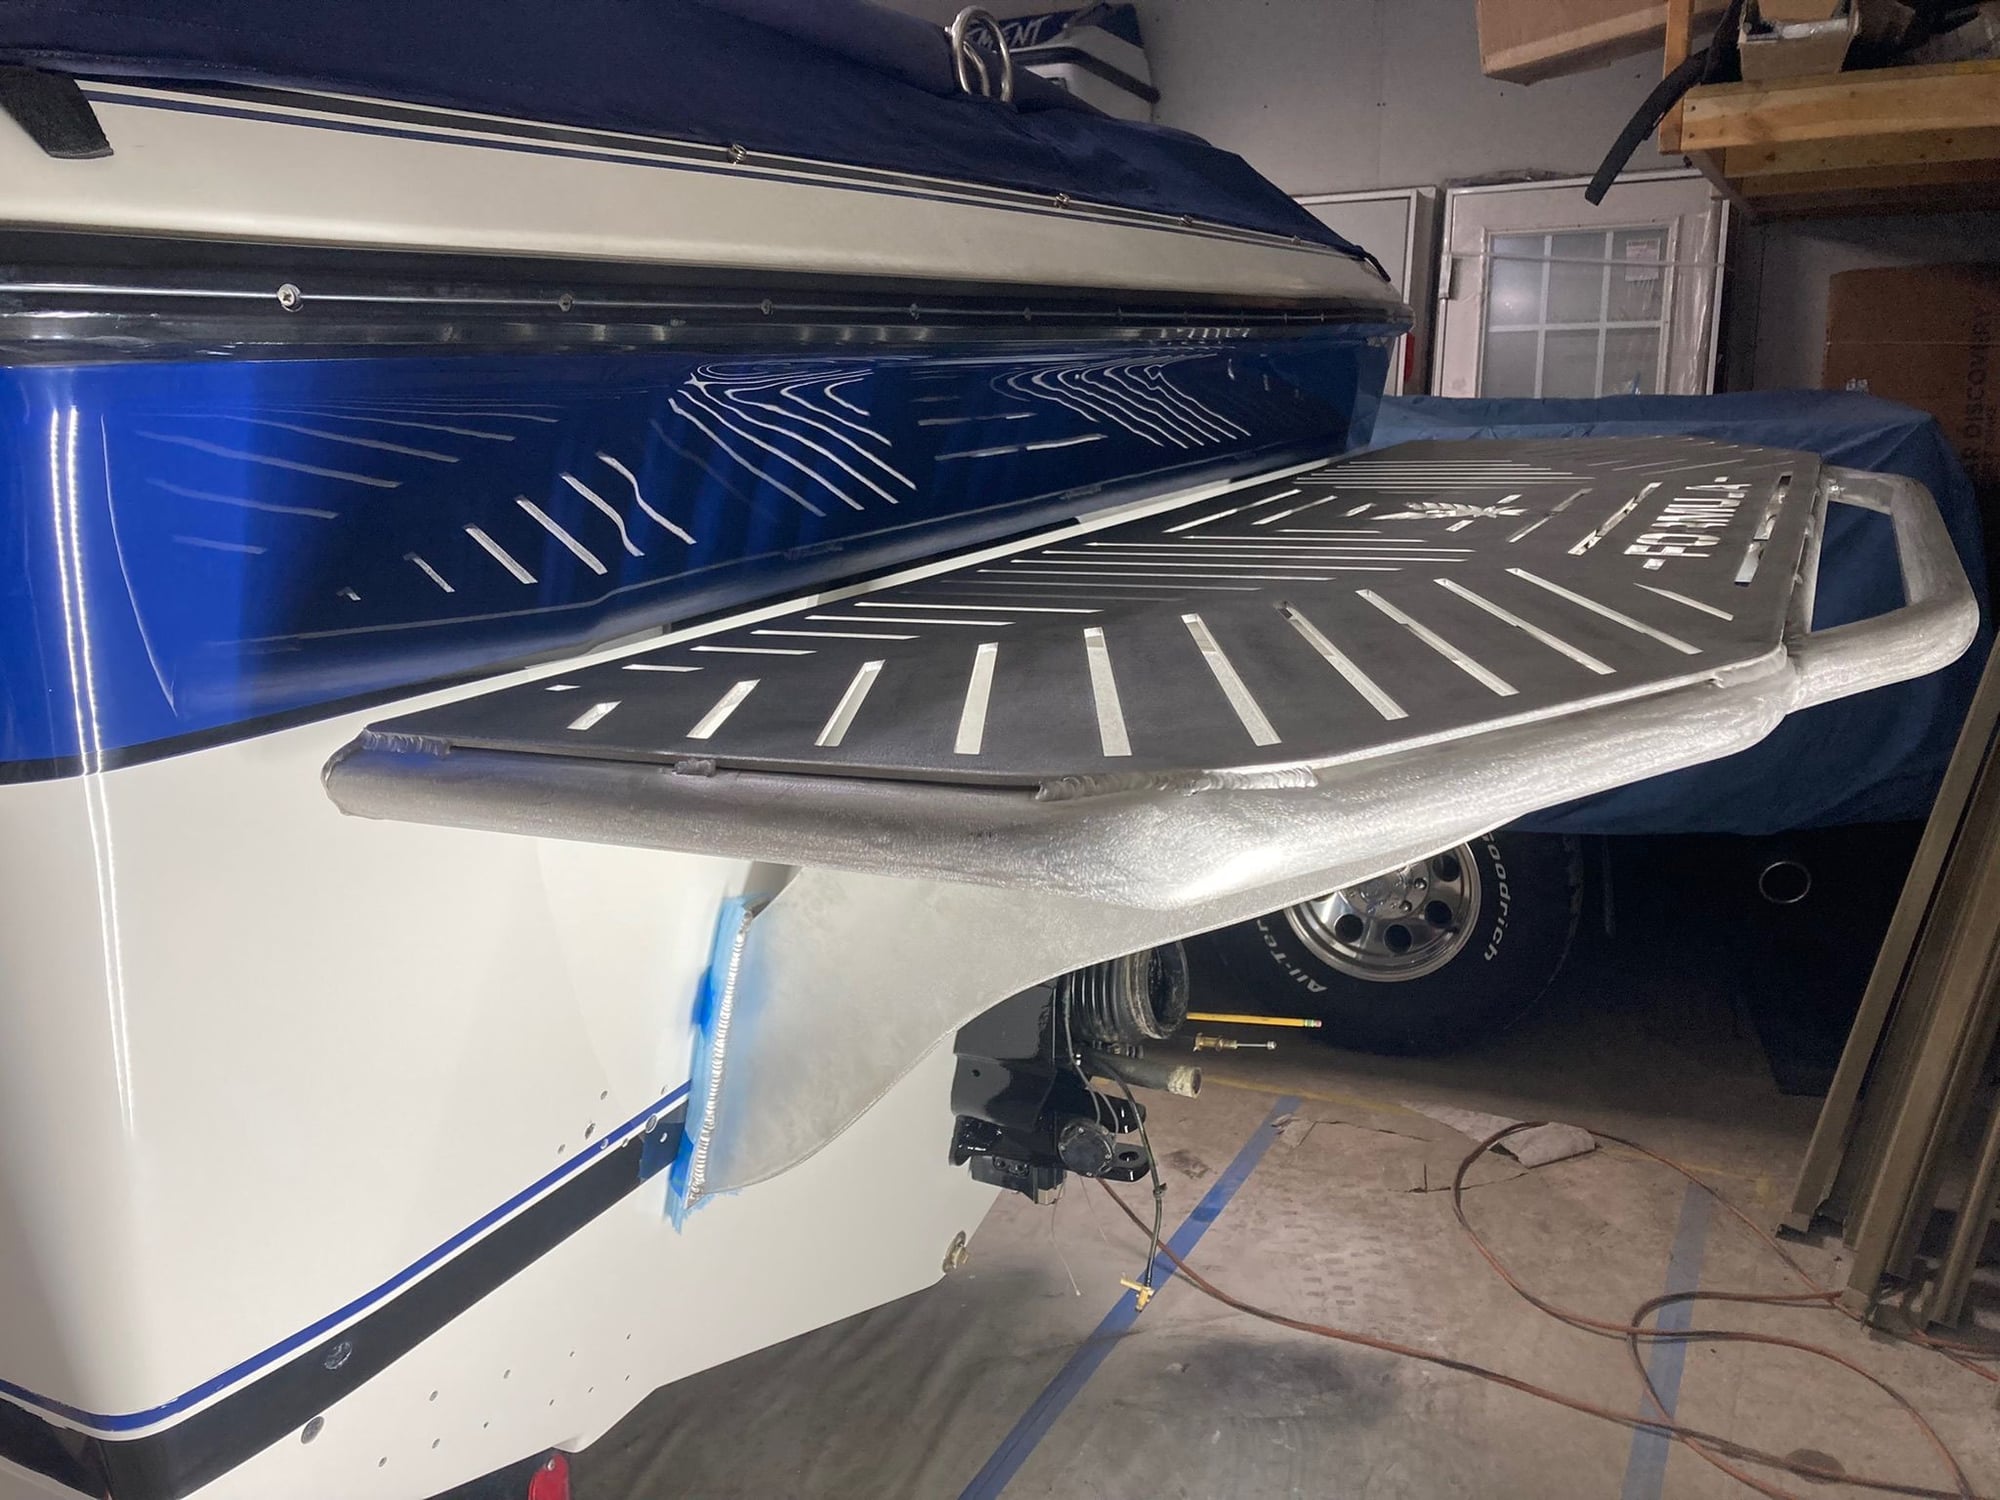
We were able to get the platform mounted today to make sure all was good with it before paint. Seems to be ok, so far so good, now we will remove and get it into the paint booth.
We did 4 bolts on each side and it was solid as a rock.....thanks TomZ.
Hopefully we will get time soon to start putting rest of hardware on transom while platform is being painted.
i can’t wait to get back out again but I don’t think it even reached 40 degrees here today....hopefully in a month or so.
 05-08-2022 | 06:26 PM
#66
Thread Starter
Registered
Joined: Nov 2020
Posts: 131
Likes: 160
From: Grand Haven MI
A little update……
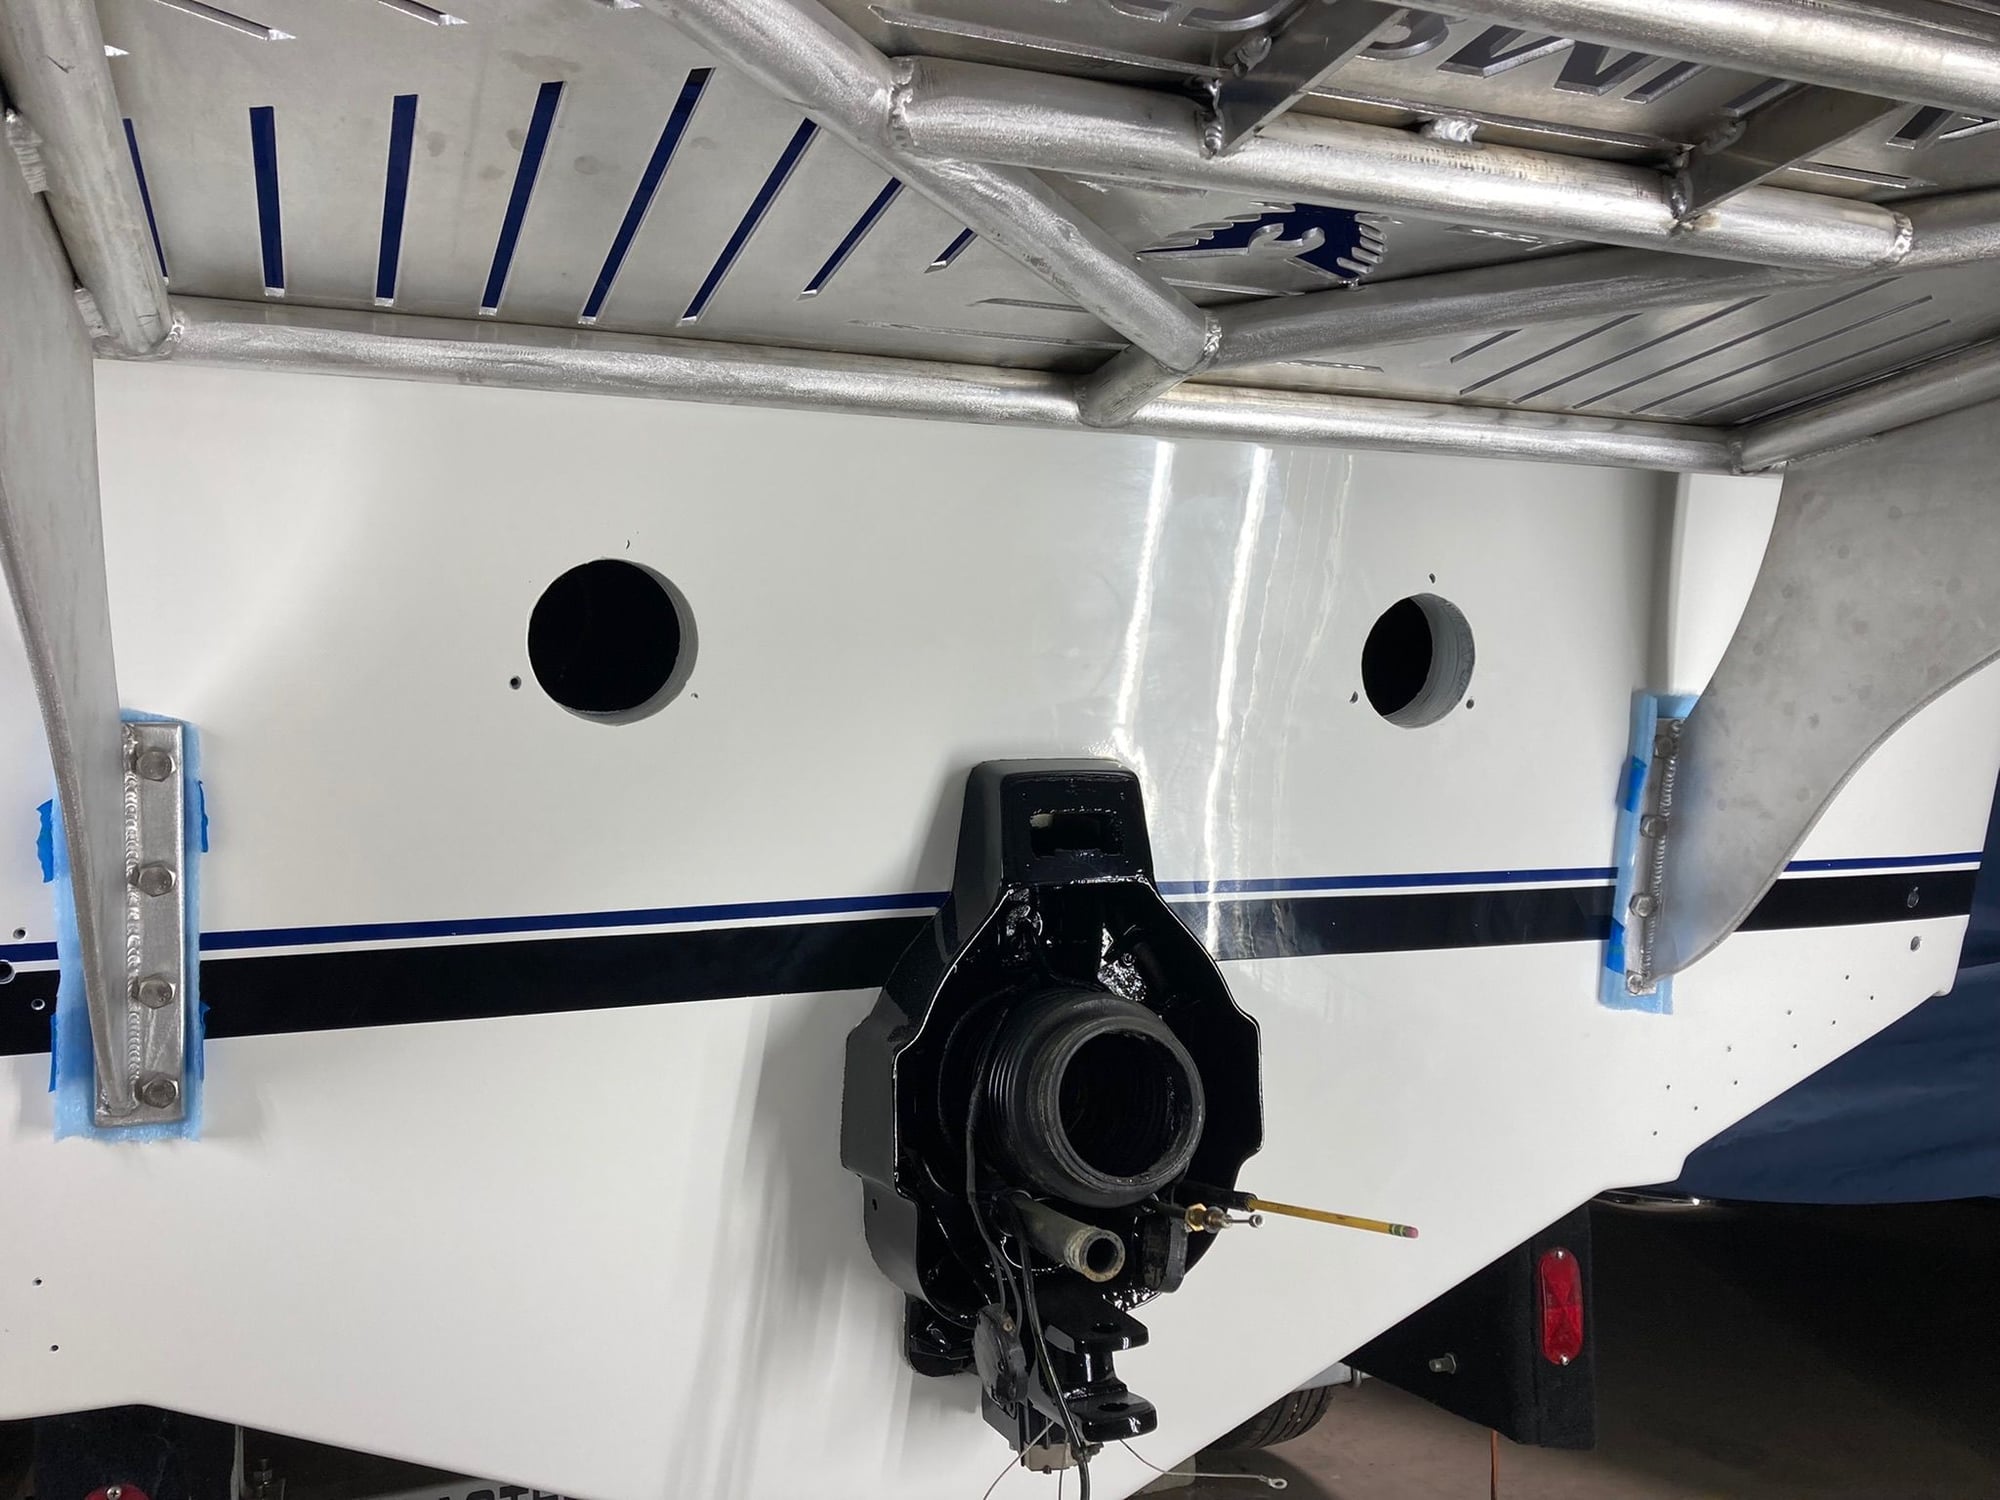
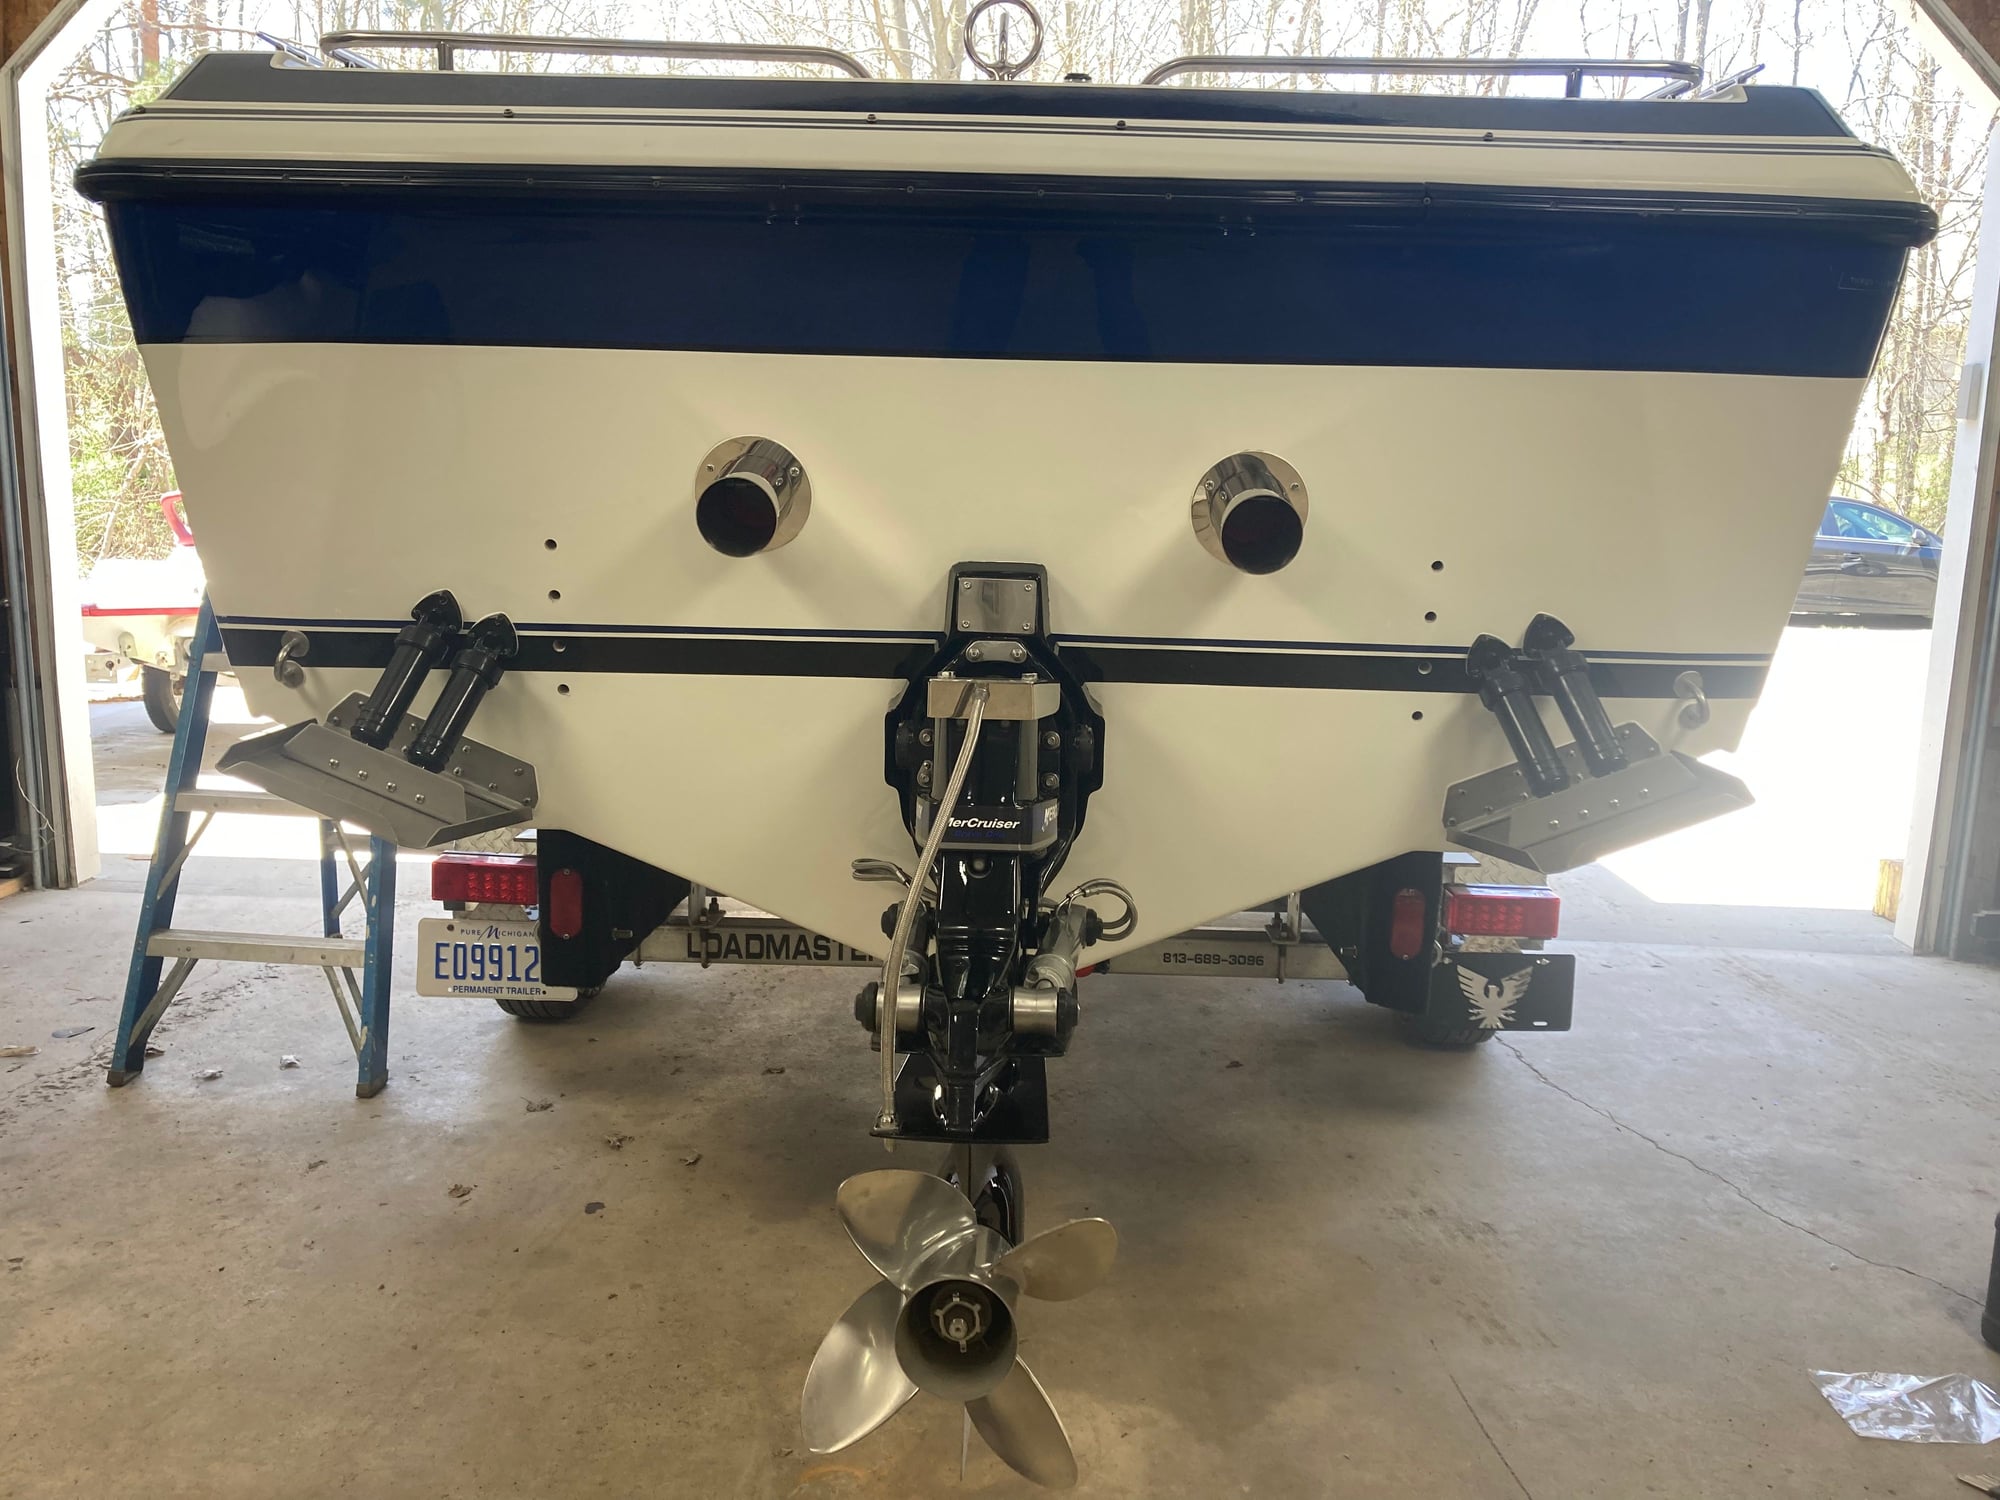
Platform has been removed and sent to the paint booth for finishing.
The gimbal ring and drive was reinstalled.
Tabs and rams reinstalled/sealed along with eye hooks.
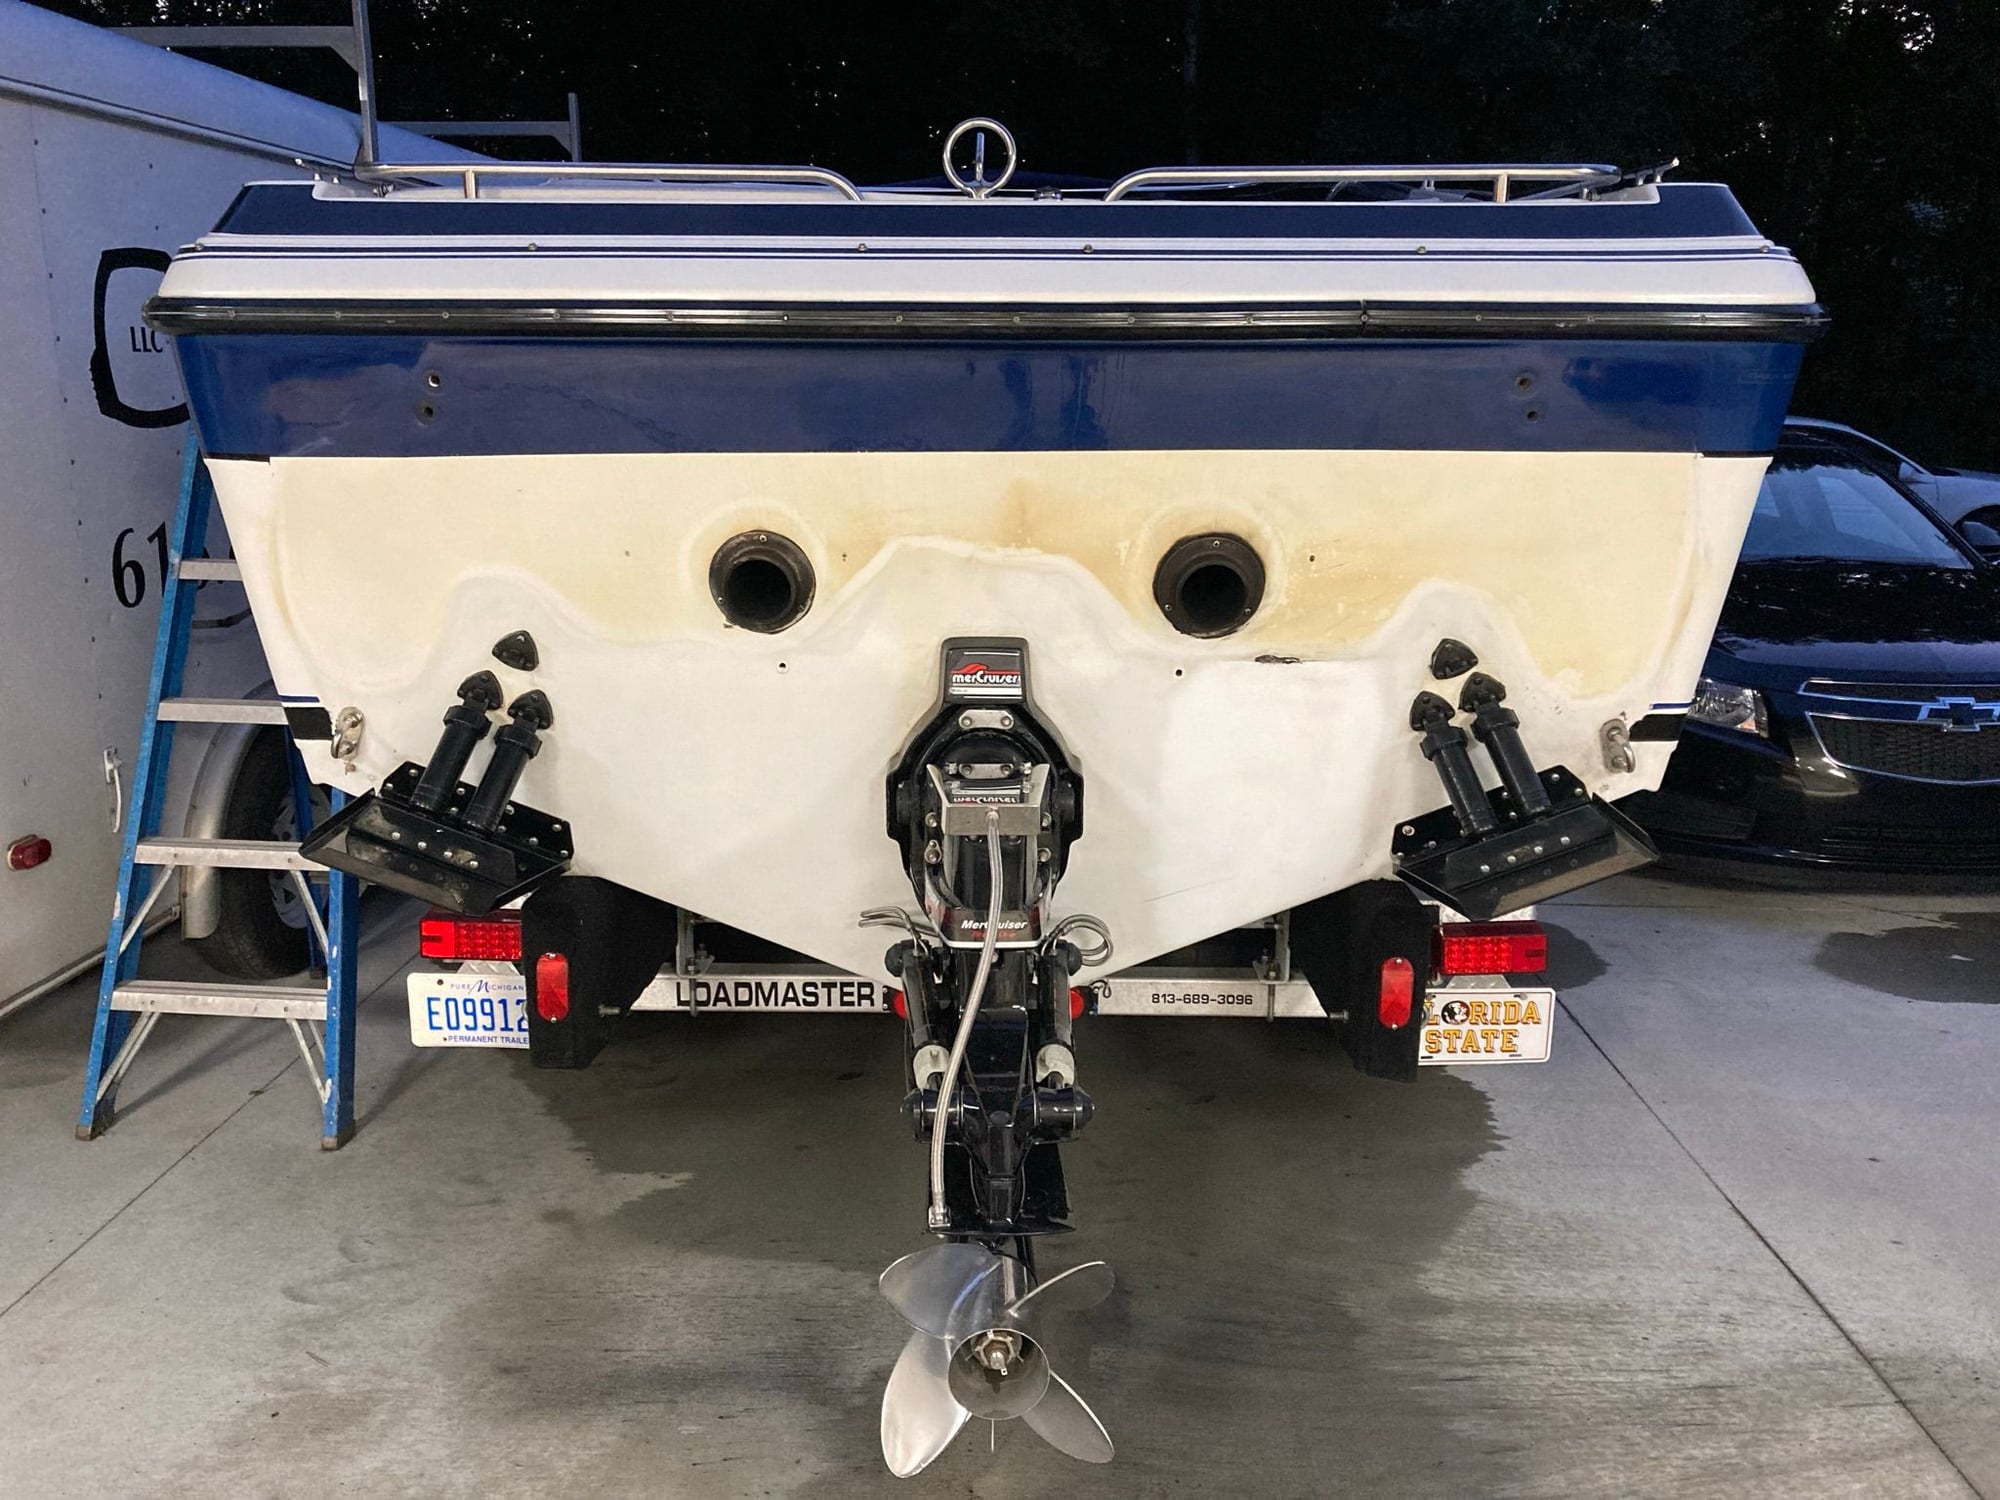
Attached are pics of the before and after of the transom.
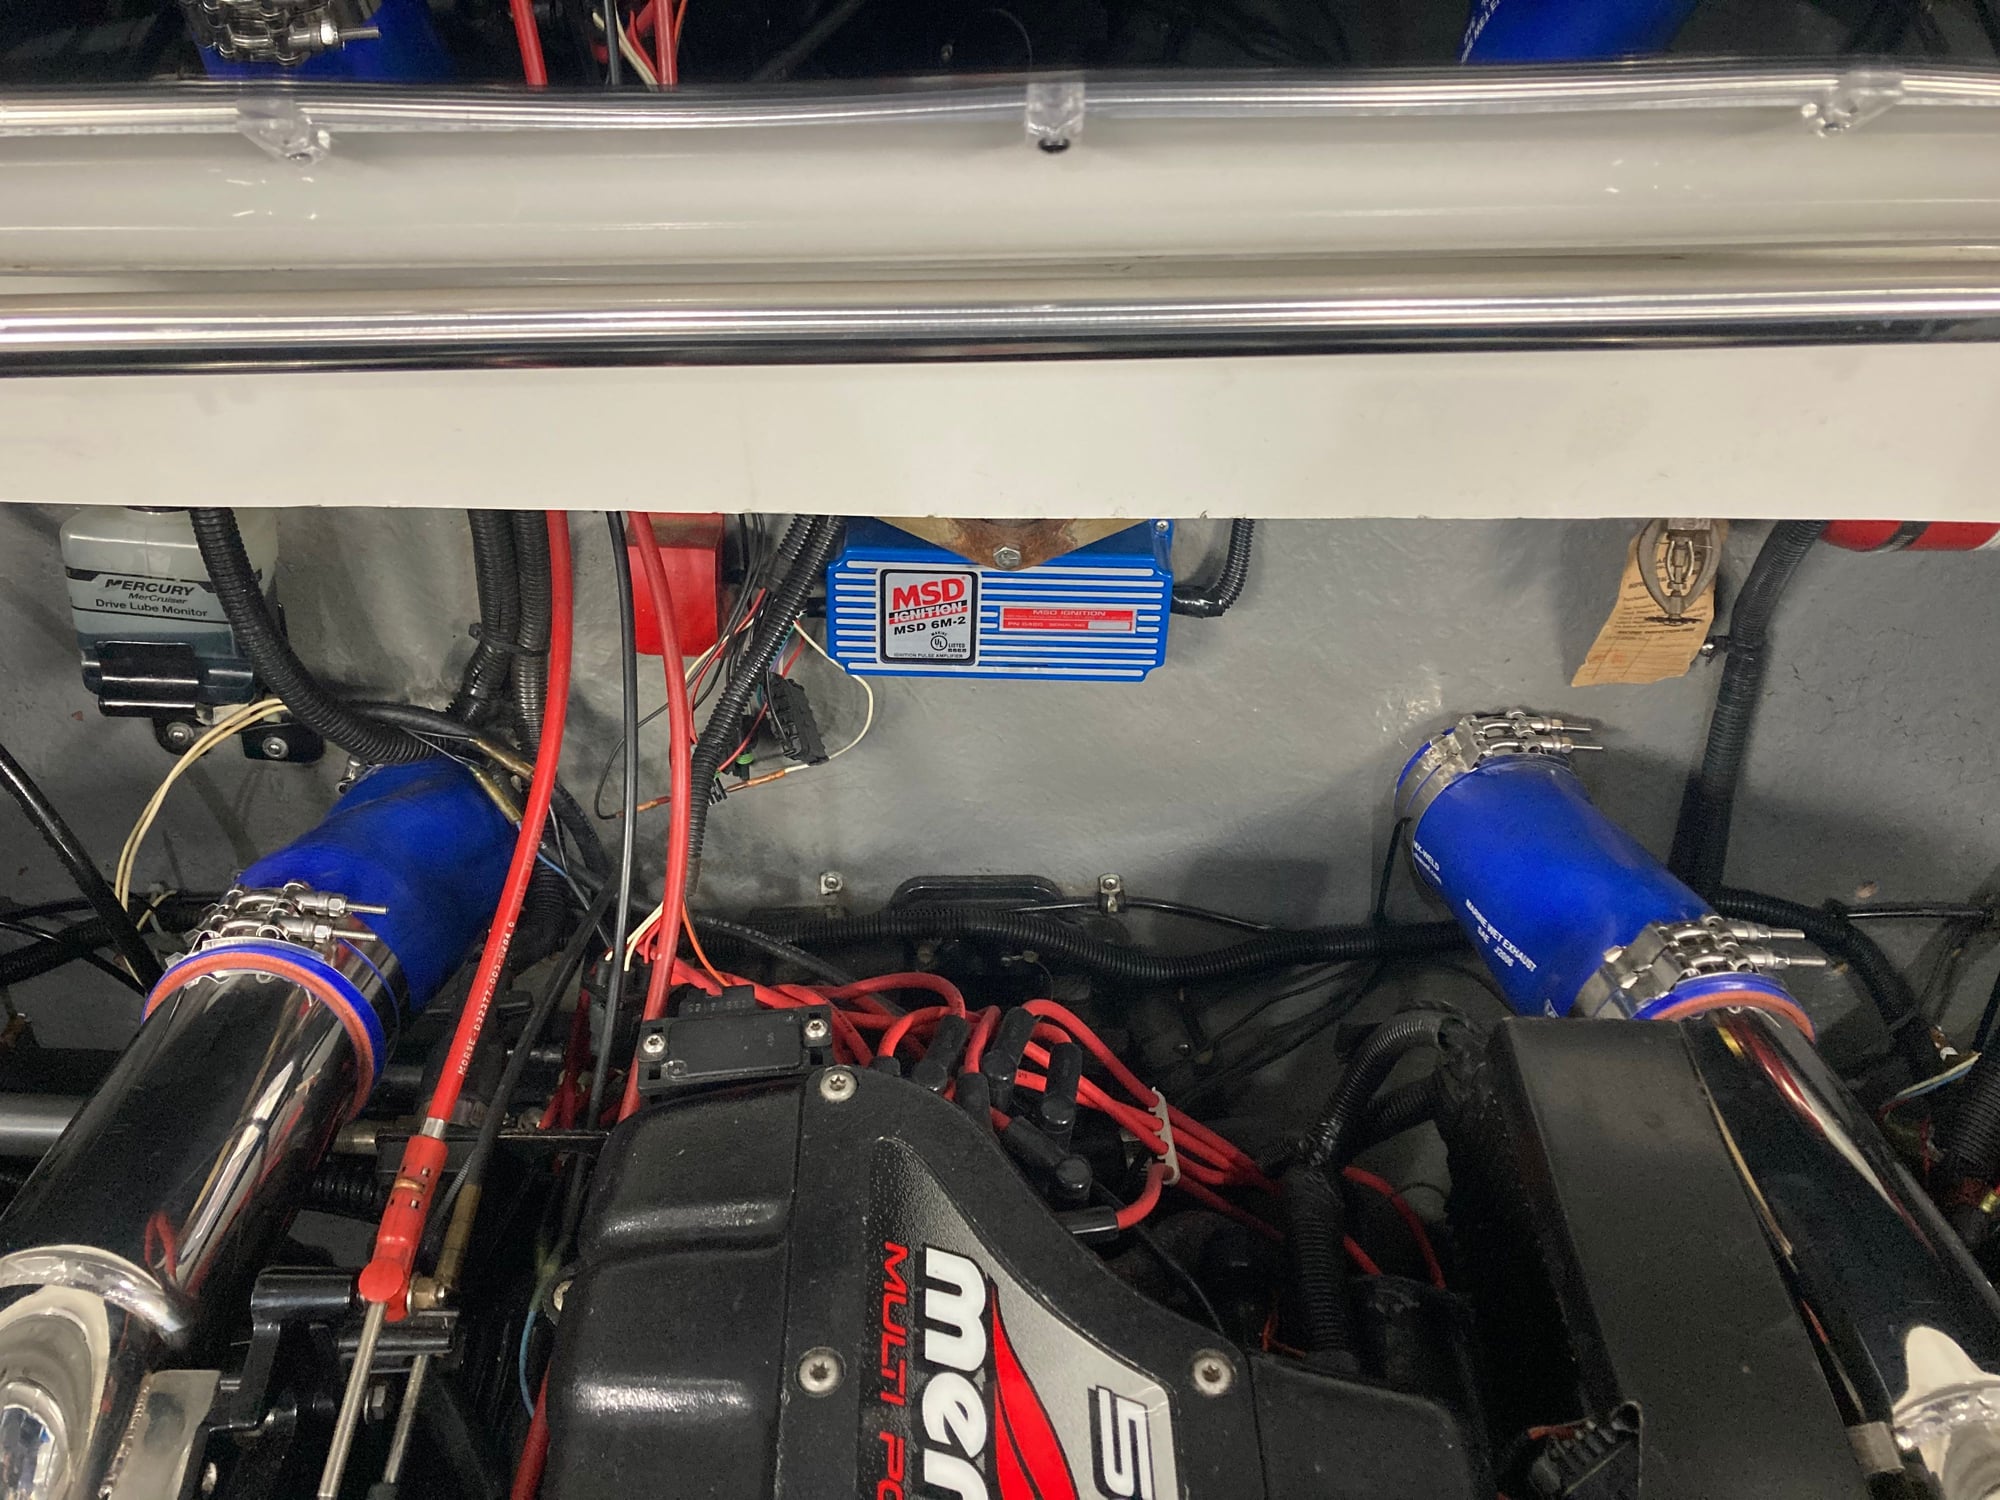
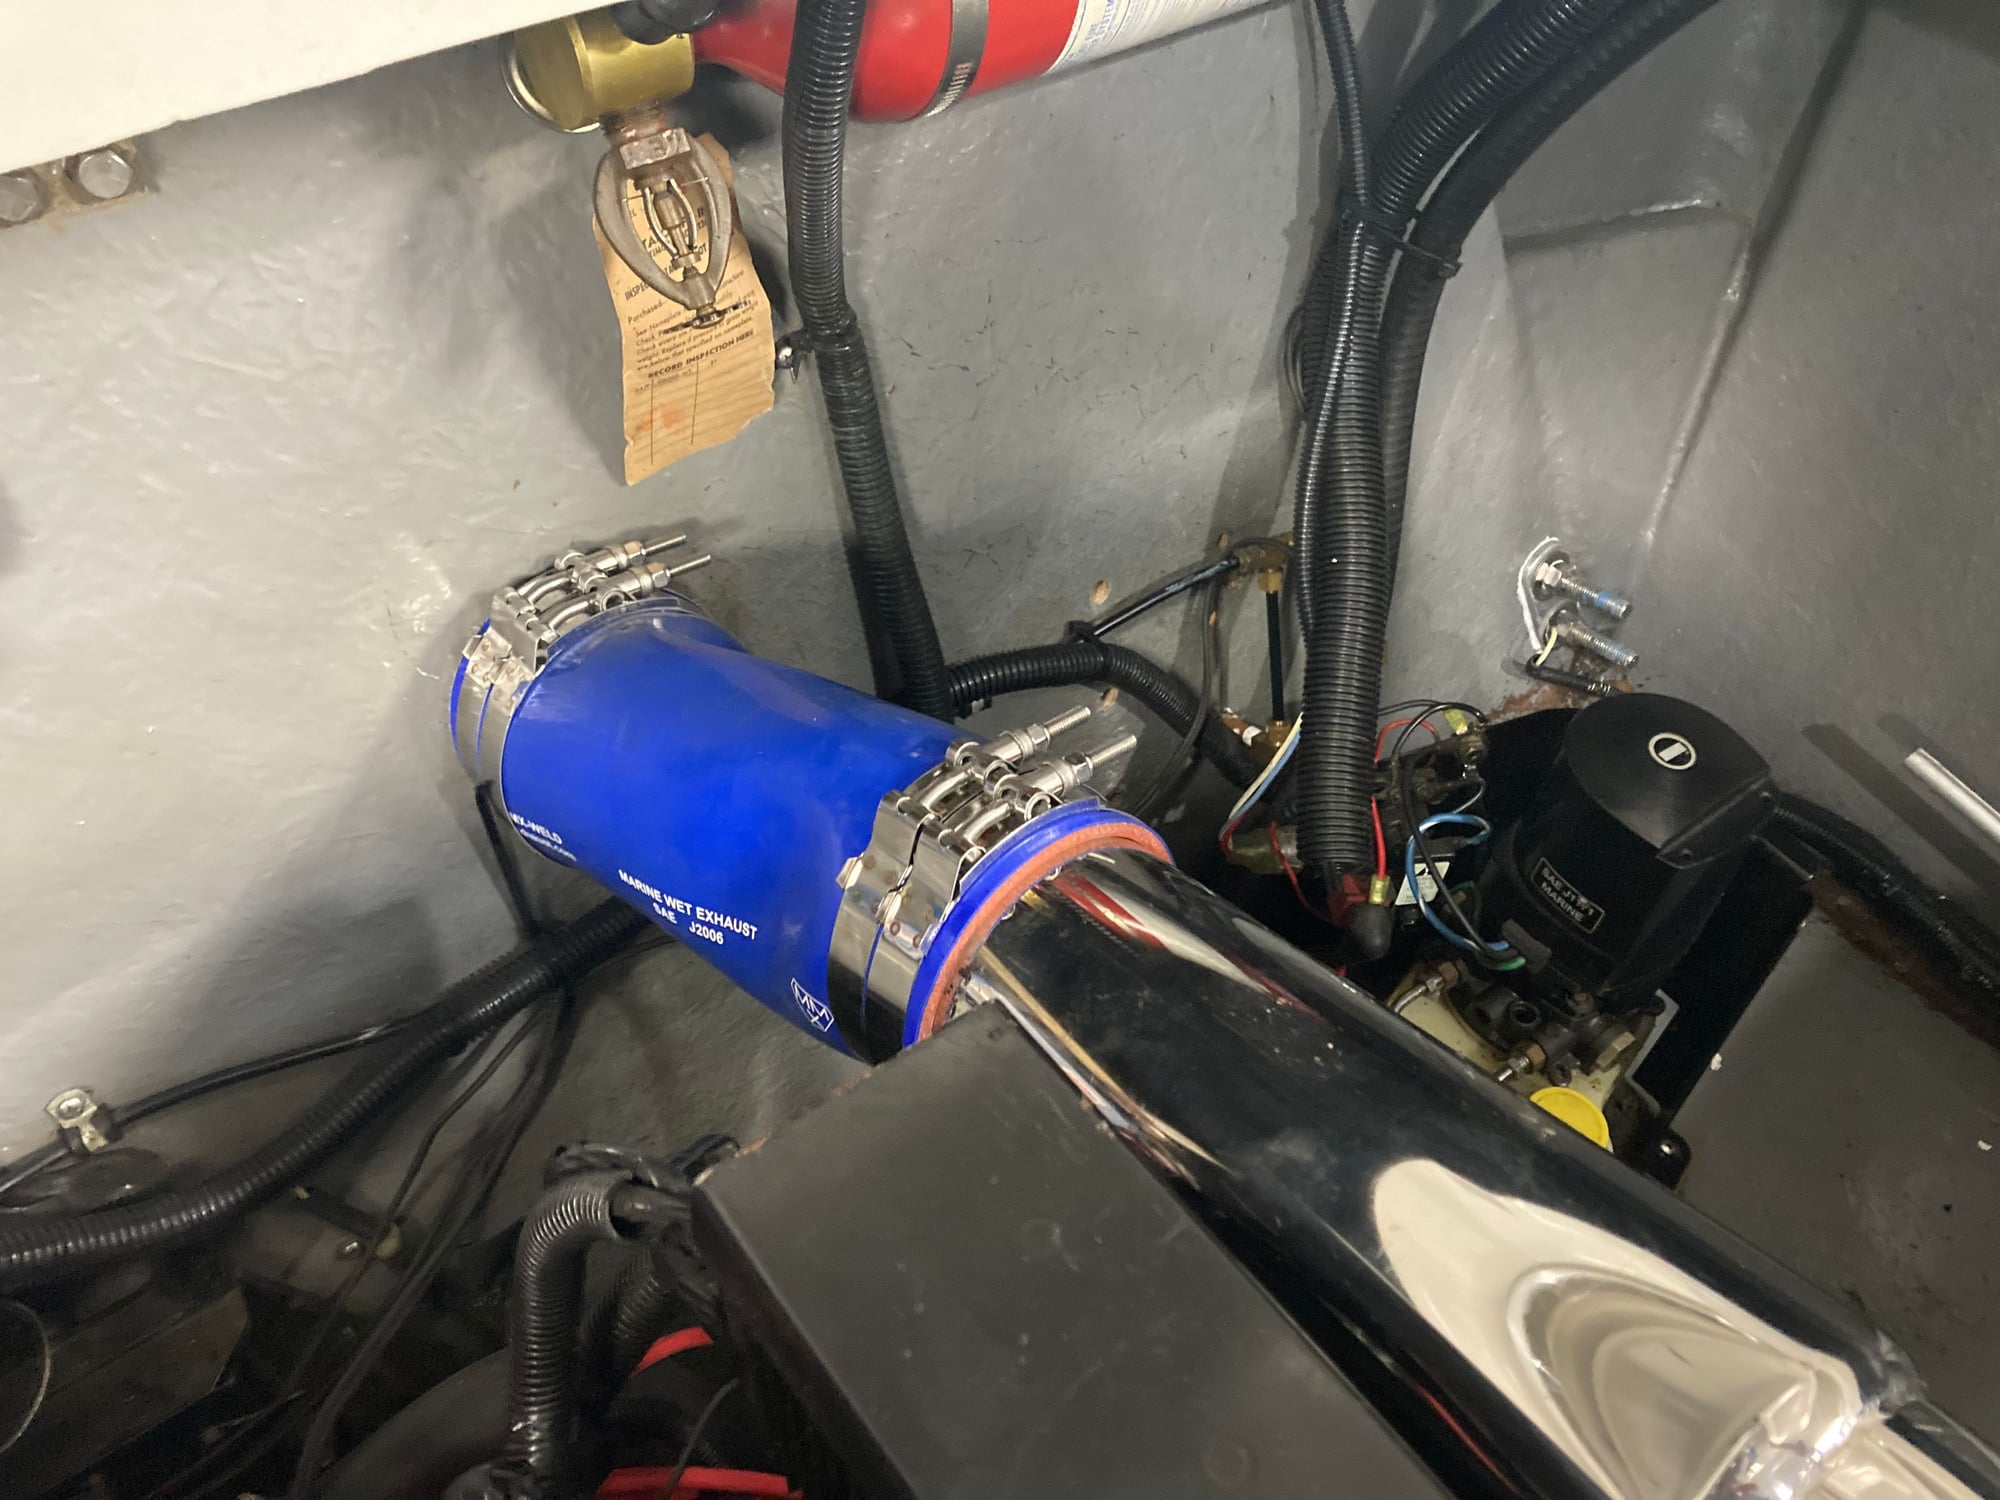
Also attached are pics of the wet exhaust hose (I believe silicone or something like that) that was previously on the boat. I pulled it up the exhaust header to get the old formula brass tips off. They sat much of the winter up and when I went to reinstall, they did not want to offset like they did before. I fired her up yesterday for the first time and thought the exhaust heat would get the indentations out…..not the case. They did not leak, but before they were solid without any indentations. Any suggestions on what I need to do?
Thanks guys! Getting closer to sea trial, hopefully Memorial Day Weekend!
05-10-2022 | 05:33 PM
#68
Registered

Joined: Apr 2014
Posts: 650
Likes: 123
From: North Florida
The exhaust ports are not cut on standard bravo location on the 242. They are cut in the alpha location which is down and in about 3/4 of an inch in each direction. It isn’t a big deal unless you have long tails. It really turns into a ***** when you have CMI fusions that end about a half inch from the transom. I had to cut the holes in standard Bravo location to make it work and not look goofy. Nice thread!
05-10-2022 | 09:00 PM
#69
Thread Starter
Registered
Joined: Nov 2020
Posts: 131
Likes: 160
From: Grand Haven MI
The exhaust ports are not cut on standard bravo location on the 242. They are cut in the alpha location which is down and in about 3/4 of an inch in each direction. It isn’t a big deal unless you have long tails. It really turns into a ***** when you have CMI fusions that end about a half inch from the transom. I had to cut the holes in standard Bravo location to make it work and not look goofy. Nice thread!
05-11-2022 | 07:05 AM
#70
Registered
Joined: Apr 2014
Posts: 2,350
Likes: 191
The exhaust ports are not cut on standard bravo location on the 242. They are cut in the alpha location which is down and in about 3/4 of an inch in each direction. It isn’t a big deal unless you have long tails. It really turns into a ***** when you have CMI fusions that end about a half inch from the transom. I had to cut the holes in standard Bravo location to make it work and not look goofy. Nice thread!

