

'82 38 KAAMA Scarab
 02-25-2018 | 05:55 PM
#111
Thread Starter
Registered

Joined: May 2009
Posts: 3,895
Likes: 124
From: Chicago, IL; Onekama, MI
I may just have to do that. I know I'm going to have to do similar work under the cockpit. I don't think it will be nearly as bad, but it will still need to be ground out. Either way, I'm going to take your advice, and give the grinder a shot.
 02-27-2018 | 12:45 PM
#112
Platinum Member
Joined: Oct 2006
Posts: 1,573
Likes: 1,678
Here's what I use to an old fashioned chicago pneumatics air grinder from the early 1980's with a 26 grit disc on it. It'll tear into some fiberglass. W'eve used it in the shop for over 30 years removing damaged door skins and similar jobs, and it shows no signs of slowing down.(made in the USA) 
image2_zpshbo9ktjo.jpg.html
image1_zpsk3ojm0an.jpg.html
(edit: the handle is removed to get into tight places)
image2_zpshbo9ktjo.jpg.html
image1_zpsk3ojm0an.jpg.html
(edit: the handle is removed to get into tight places)
Last edited by hblair; 02-27-2018 at 12:48 PM.
02-27-2018 | 07:24 PM
#113
Thread Starter
Registered
Joined: May 2009
Posts: 3,895
Likes: 124
From: Chicago, IL; Onekama, MI
Last night I went out and bought a Bosch 7" and 4 1/2" angle grinder. I'm going to give the flap disk a shot and see how it works. If I can knock out the bilge in a few hours or even half a day, it was money well spent.
02-28-2018 | 08:01 AM
#114
Registered
Joined: May 2009
Posts: 1,942
Likes: 527
worth every penny,
my grinder is a milwaukee 4 inch, the knuckle gaurd on mine is not there, to me it got in the way, you do what you want
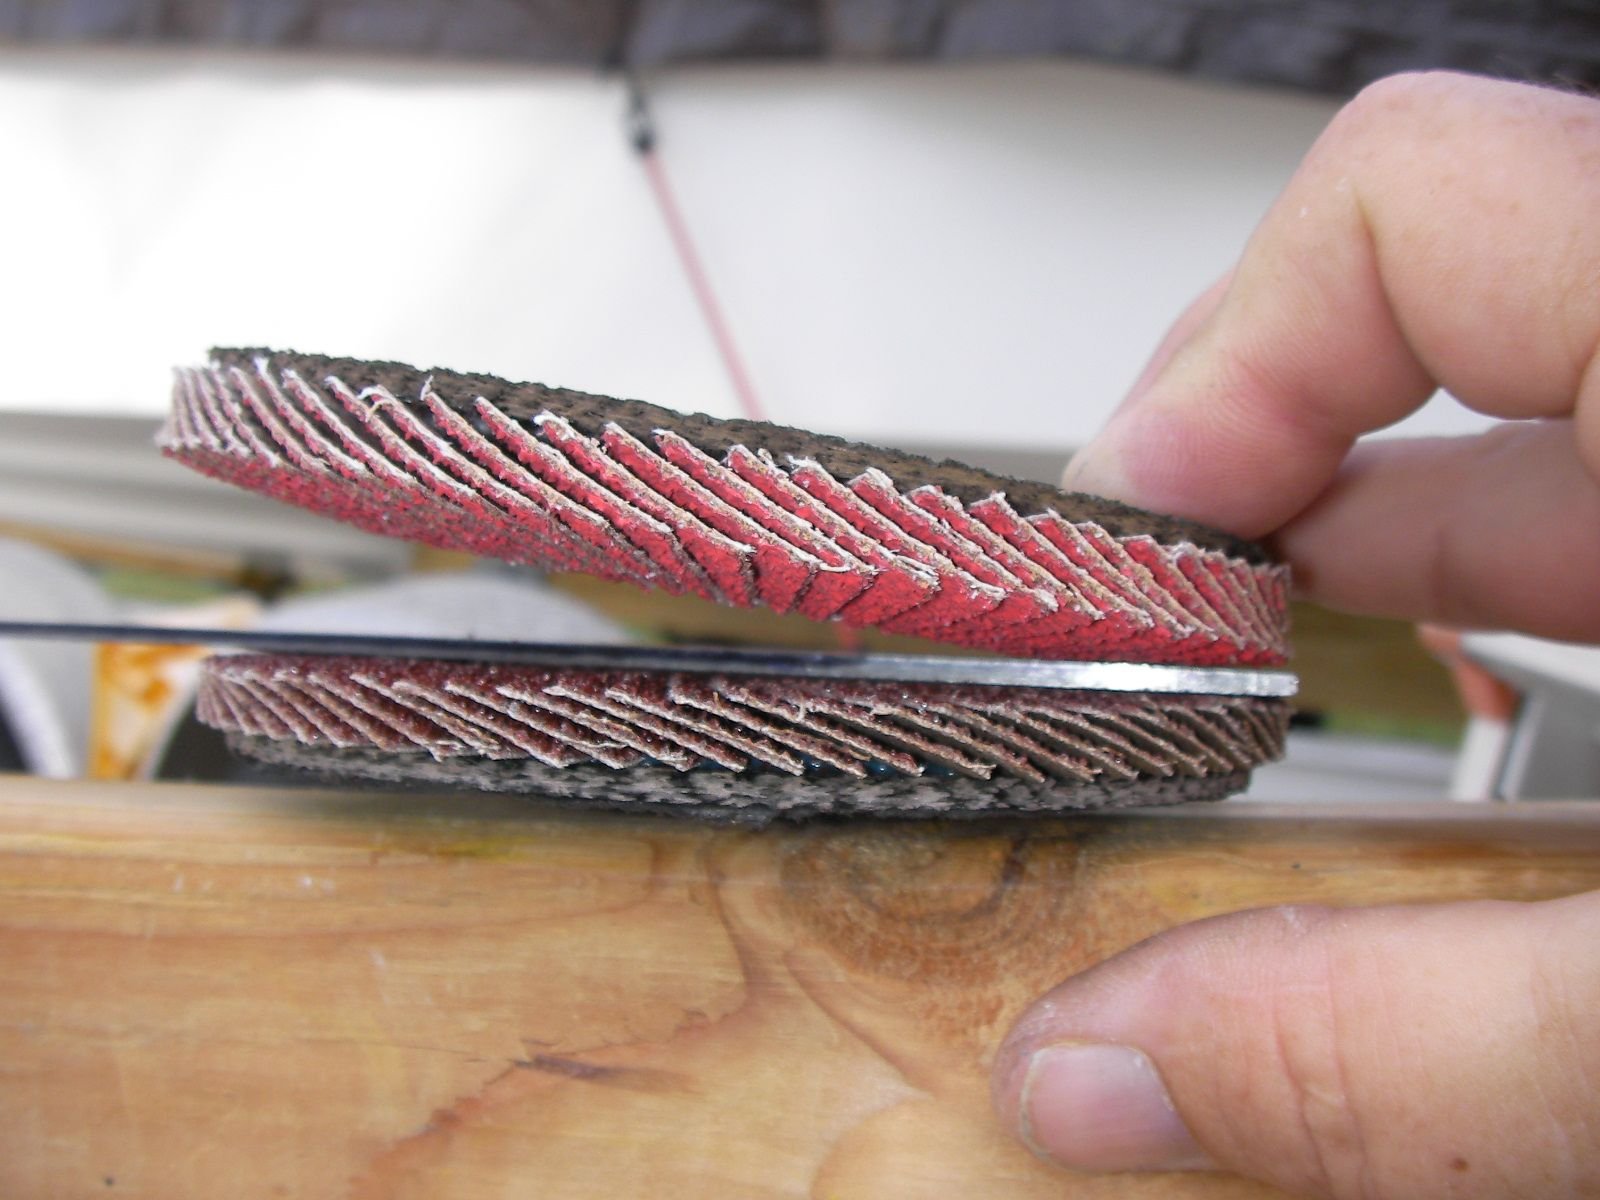
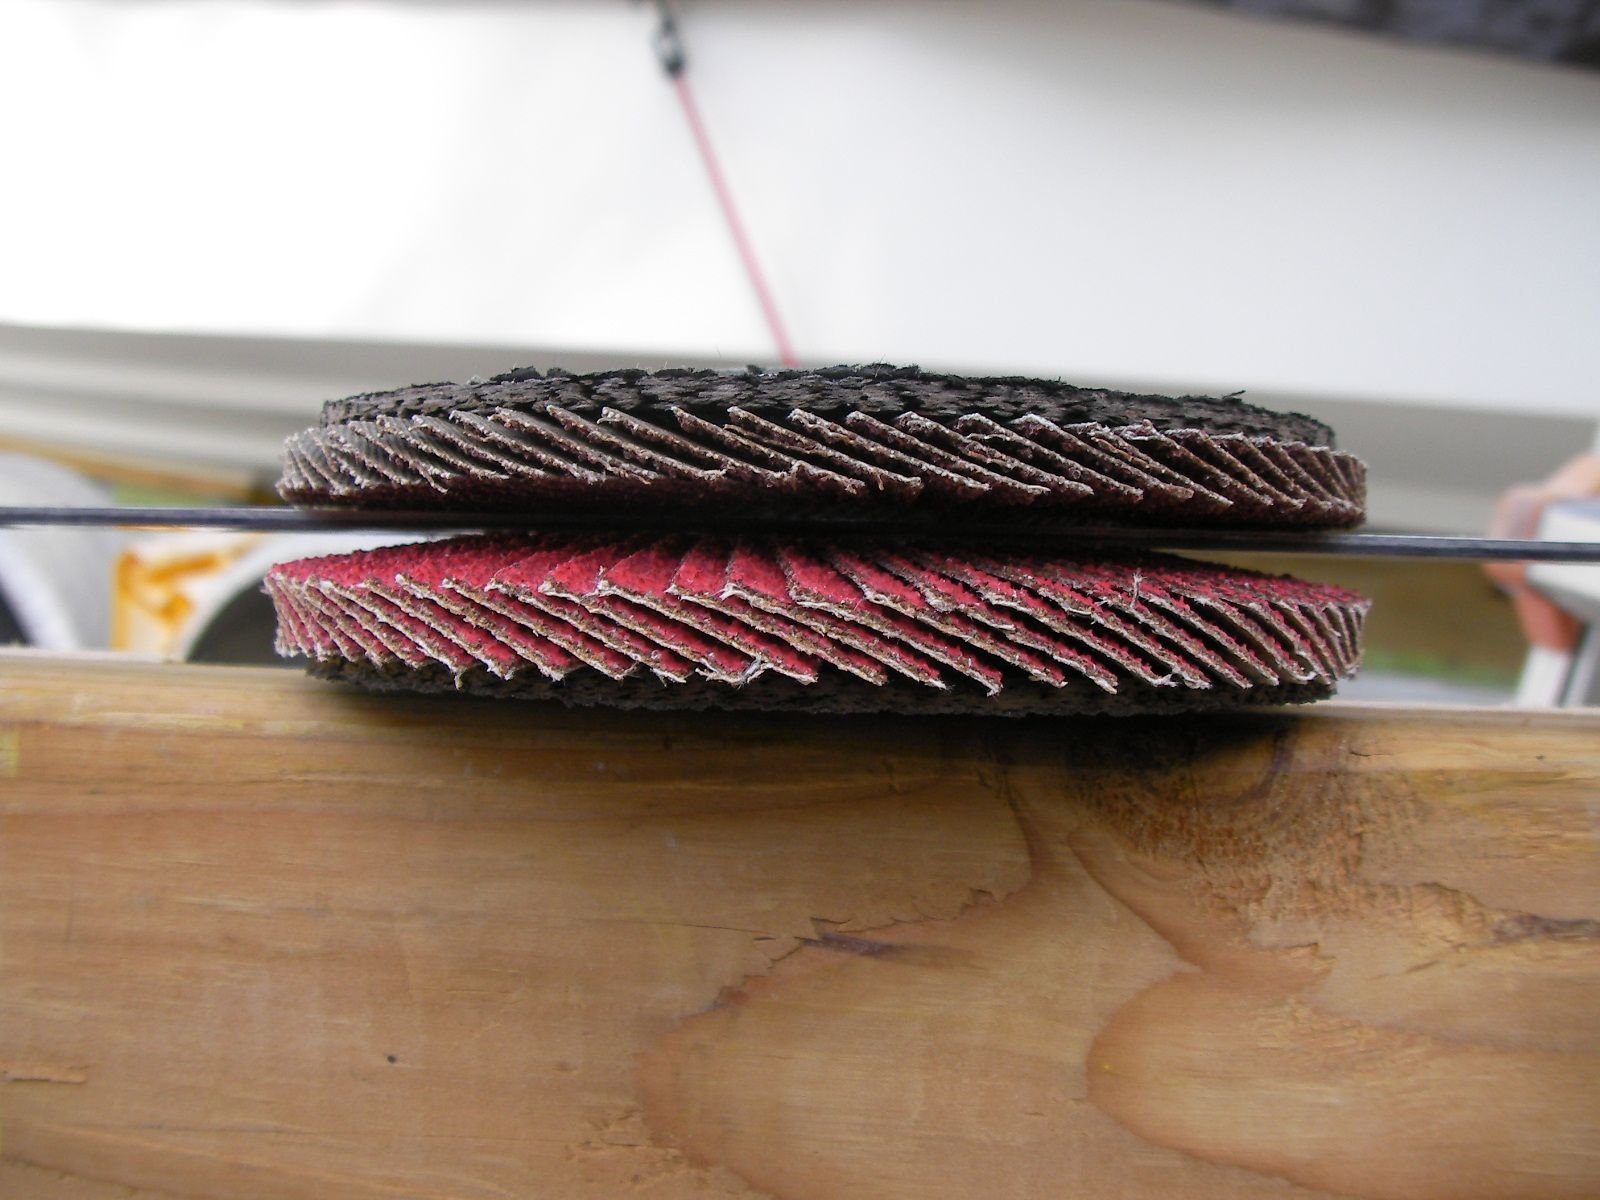
heres the pads, the flat one has a bigger contact patch it's easier to grind flat and harder to take too much
the beveled one might be good to knock down the leftover vertical glass as the contact patch is small and it will really cut.
i only use the flat ones..
Last edited by outonsafari; 02-28-2018 at 08:04 AM.
02-28-2018 | 08:33 AM
#115
Platinum Member
Joined: Oct 2006
Posts: 1,573
Likes: 1,678
I experimented with a norton flapper disc and it did fine on the 37 year old resin in the boat, but with the new vinylester, it clogged up pretty fast. Even though the 3m discs are not cheap I don't feel as bad about clogging them up and grabbing a new one as I do the flappy disc. Those little dudes are not cheap...


 03-04-2018 | 07:31 AM
#116
Thread Starter
Registered
Joined: May 2009
Posts: 3,895
Likes: 124
From: Chicago, IL; Onekama, MI

Ok- Weekend update!
So as I said earlier, I bought a set of 7" and 4 1/2" bosch grinders. I also tried both a flat disc on the 7" and flap disc on the 4.5" While I liked both, I think the flat disc work a little better. It's kind of hard to compare due to the size difference, but the price difference was certainly easy to see.
I do like using the grinder better than the belt sander, BUT it created WAY more of a mess. My shop was so dusty you couldn't see from one end to the other. I had to open the overhead door, to clear the dust out. The belt sander keeps the dust in the bilge, and only a fraction actually floats around the shop.
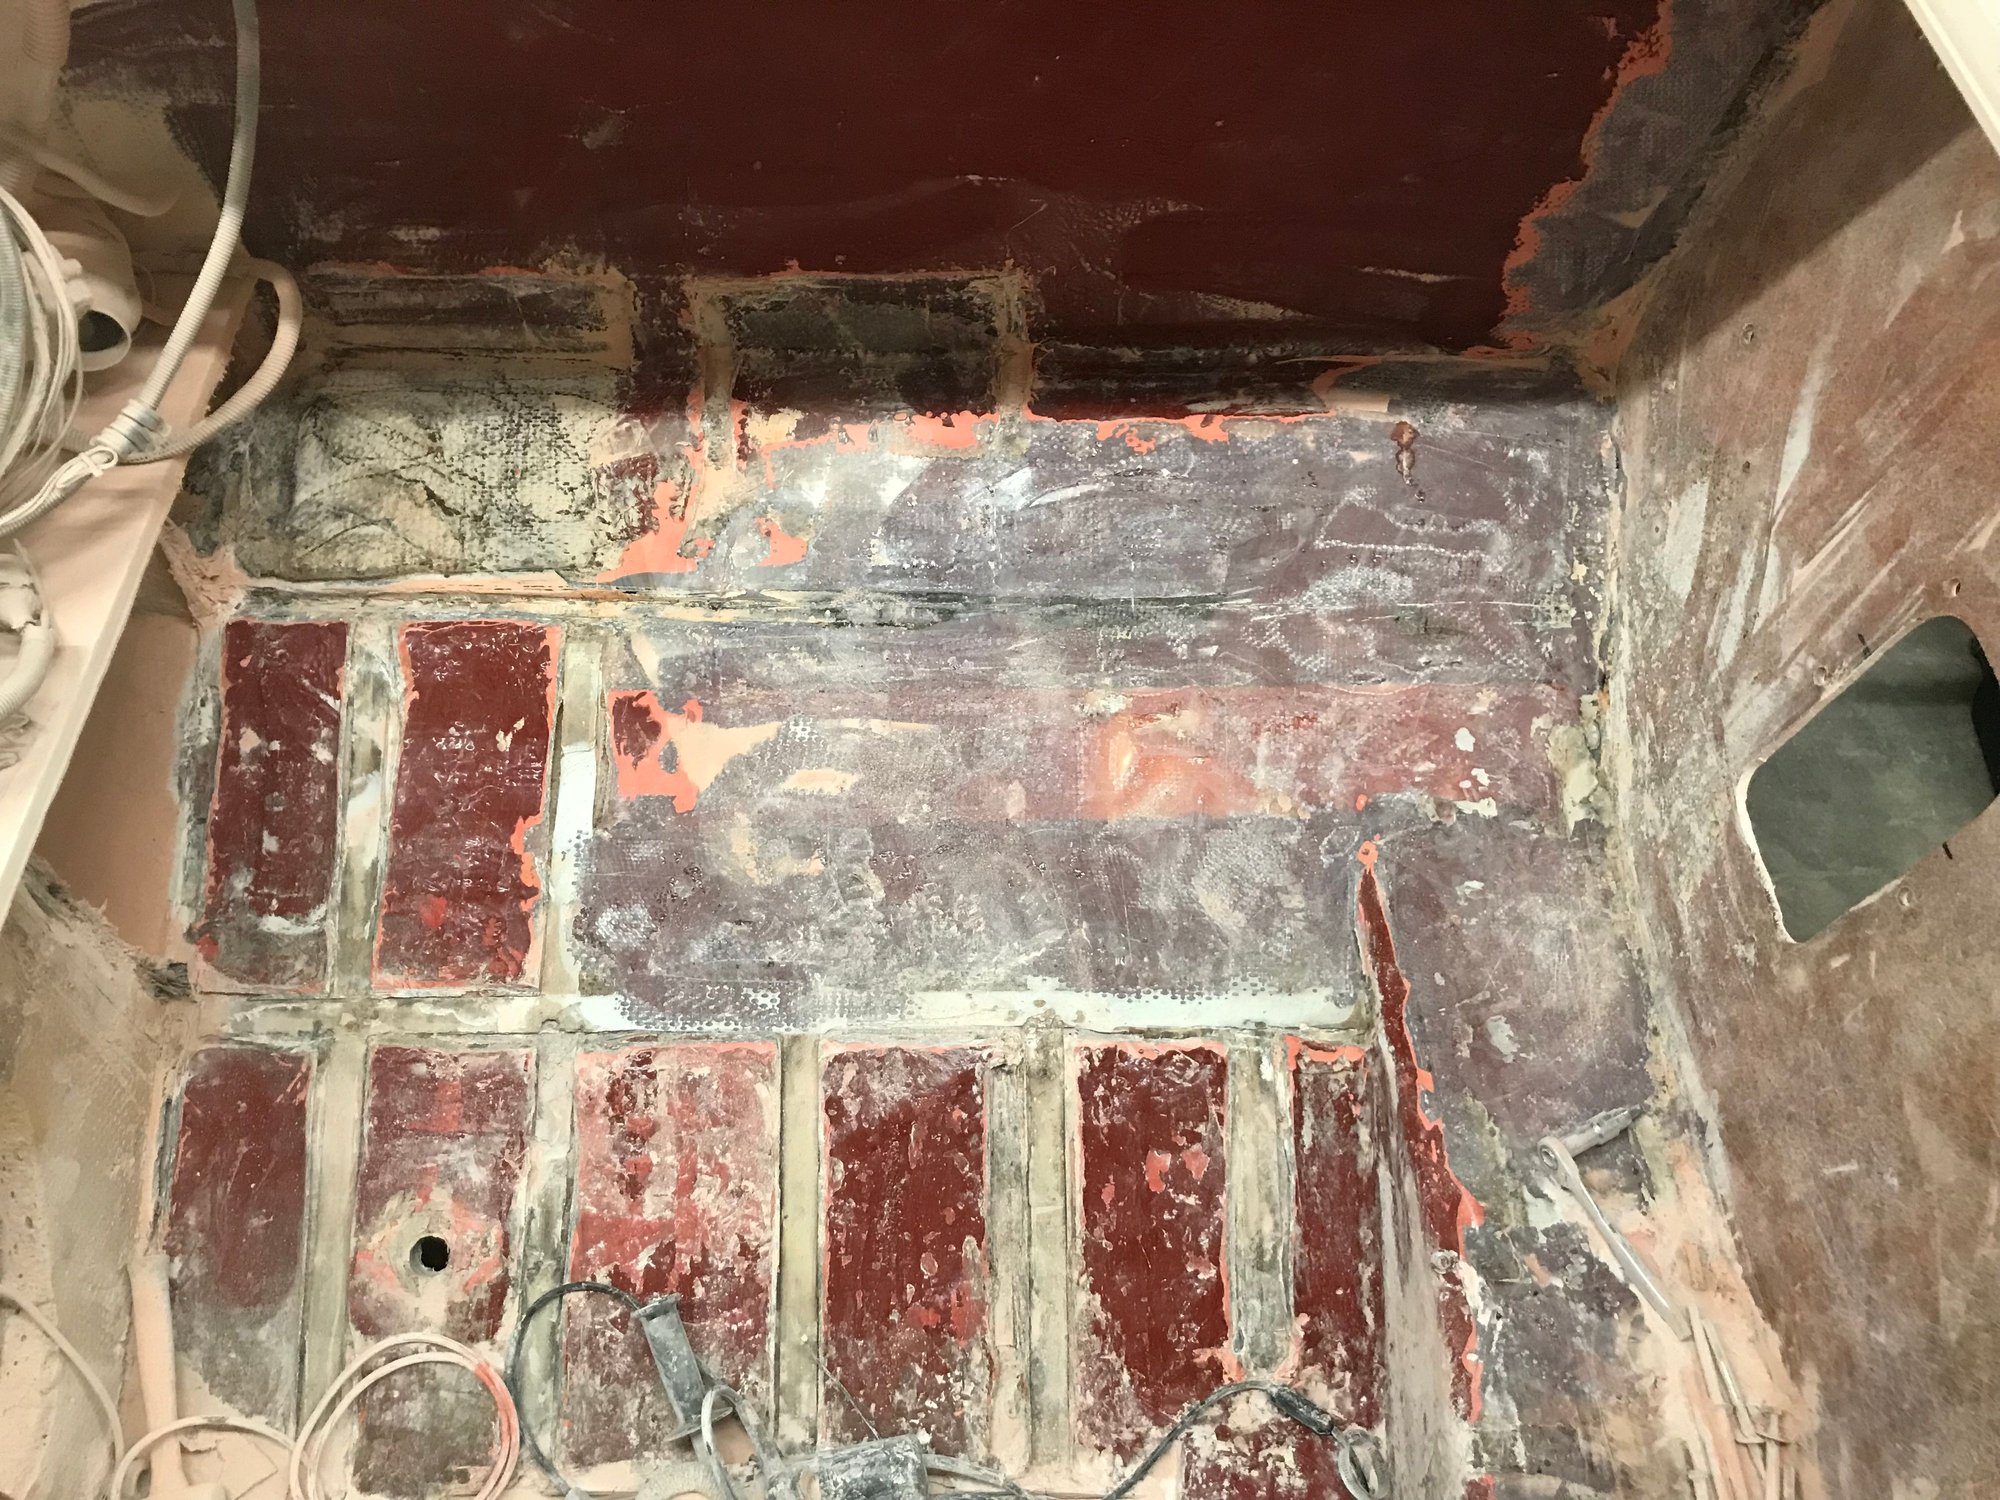
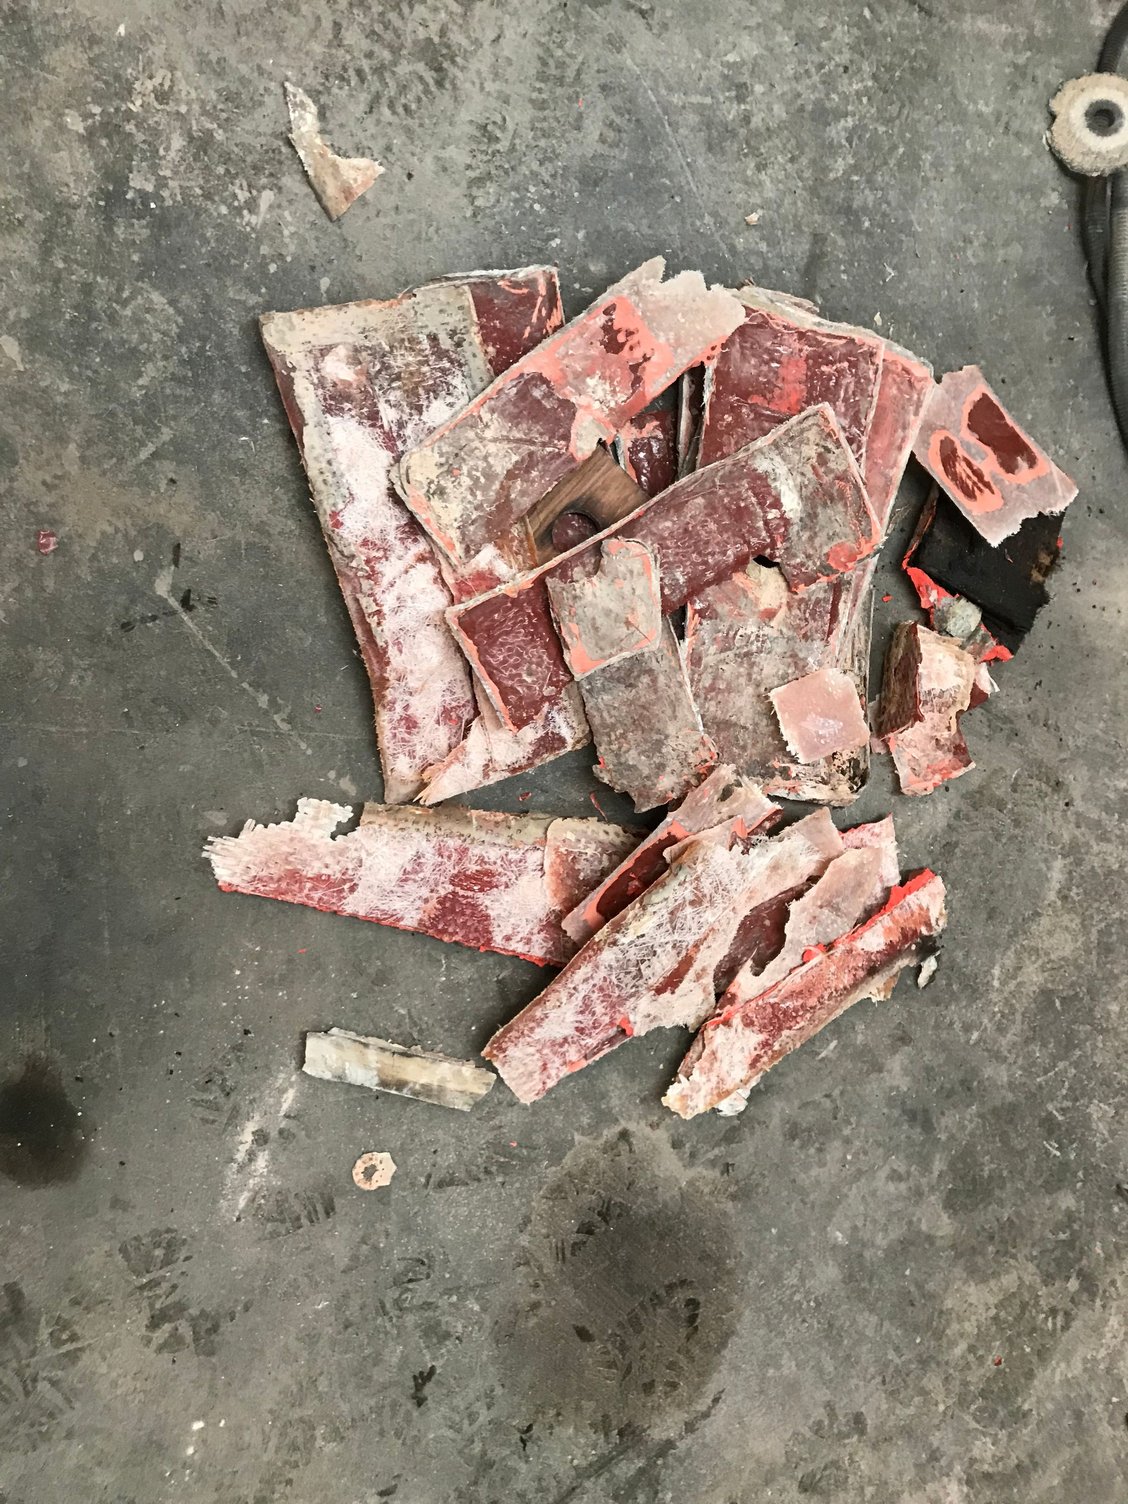
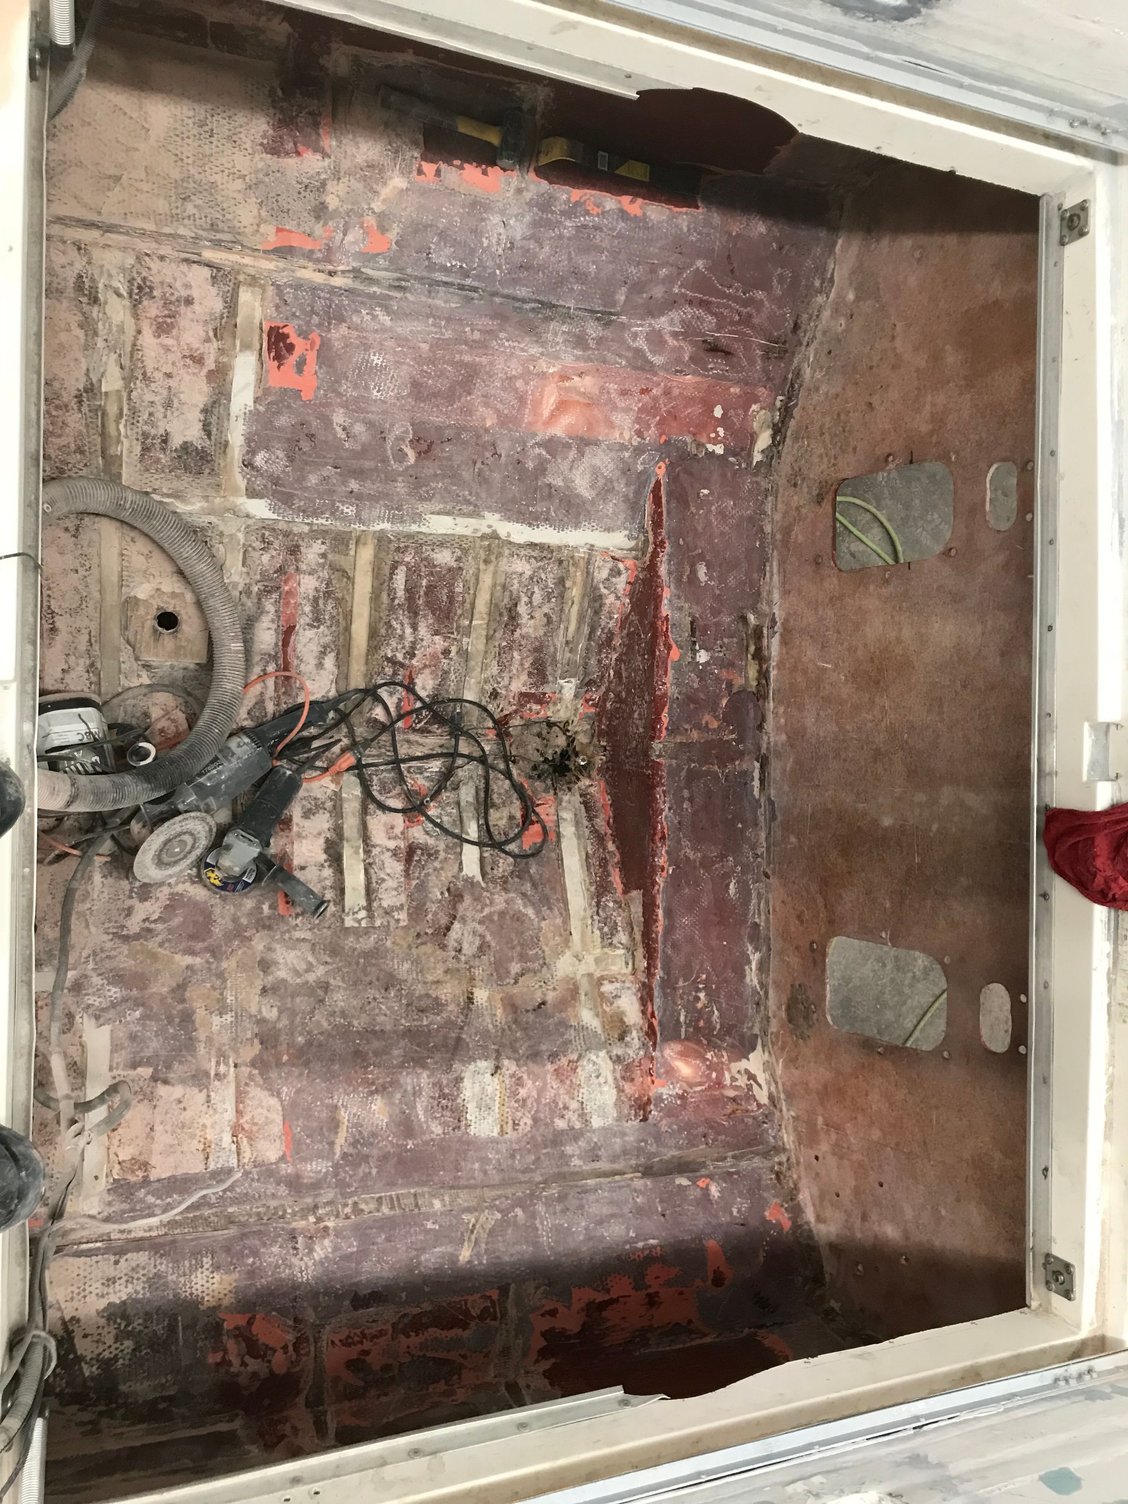
I ended up grinding out way more than I wanted too, but I didn't have much of a choice. Only about 2/3 of the tabbing was actually adhered to the hull. From what I can see, when the boat was laid up, they didn't scuff anything up when glassing in the stringers. Once you got the tabbing thin enough, you could just peel if off the hull. Under was shinny. So I'm going to have to build some area back up, prior to installing the new stringers, but in the end it will be a much better lay-up.
I also I glassed the transom panels together, I'm off the shop soon, so i'll see how it tuned out.
Last edited by endeavour32; 03-04-2018 at 07:38 AM.
 03-04-2018 | 04:31 PM
#118
Thread Starter
Registered
Joined: May 2009
Posts: 3,895
Likes: 124
From: Chicago, IL; Onekama, MI
Jeff,
The old grid is pine. All of it was at a minimum wet, and half of it was at least partly rotted.
Heath- I'm going to give you some good news. When you start removing the grid work in your boat. DON'T grind out the tabbing. Get a cats claw and a 4 pound sledge hammer, and pry it out. Today I was thinking about a comment I made in one of the prior post, that none of the old tabbing was adhering well to the hull. I grabbed my cats claw, and hammered it under some of the other tabbing still in place and out it popped out. I litterally remove the reminder of all the tabbing in under 3 minutes. Yeah, there is a little clean up work I need to do, but that might take an hour. I'll post some pictures later.
 03-05-2018 | 06:45 AM
#120
Thread Starter
Registered
Joined: May 2009
Posts: 3,895
Likes: 124
From: Chicago, IL; Onekama, MI
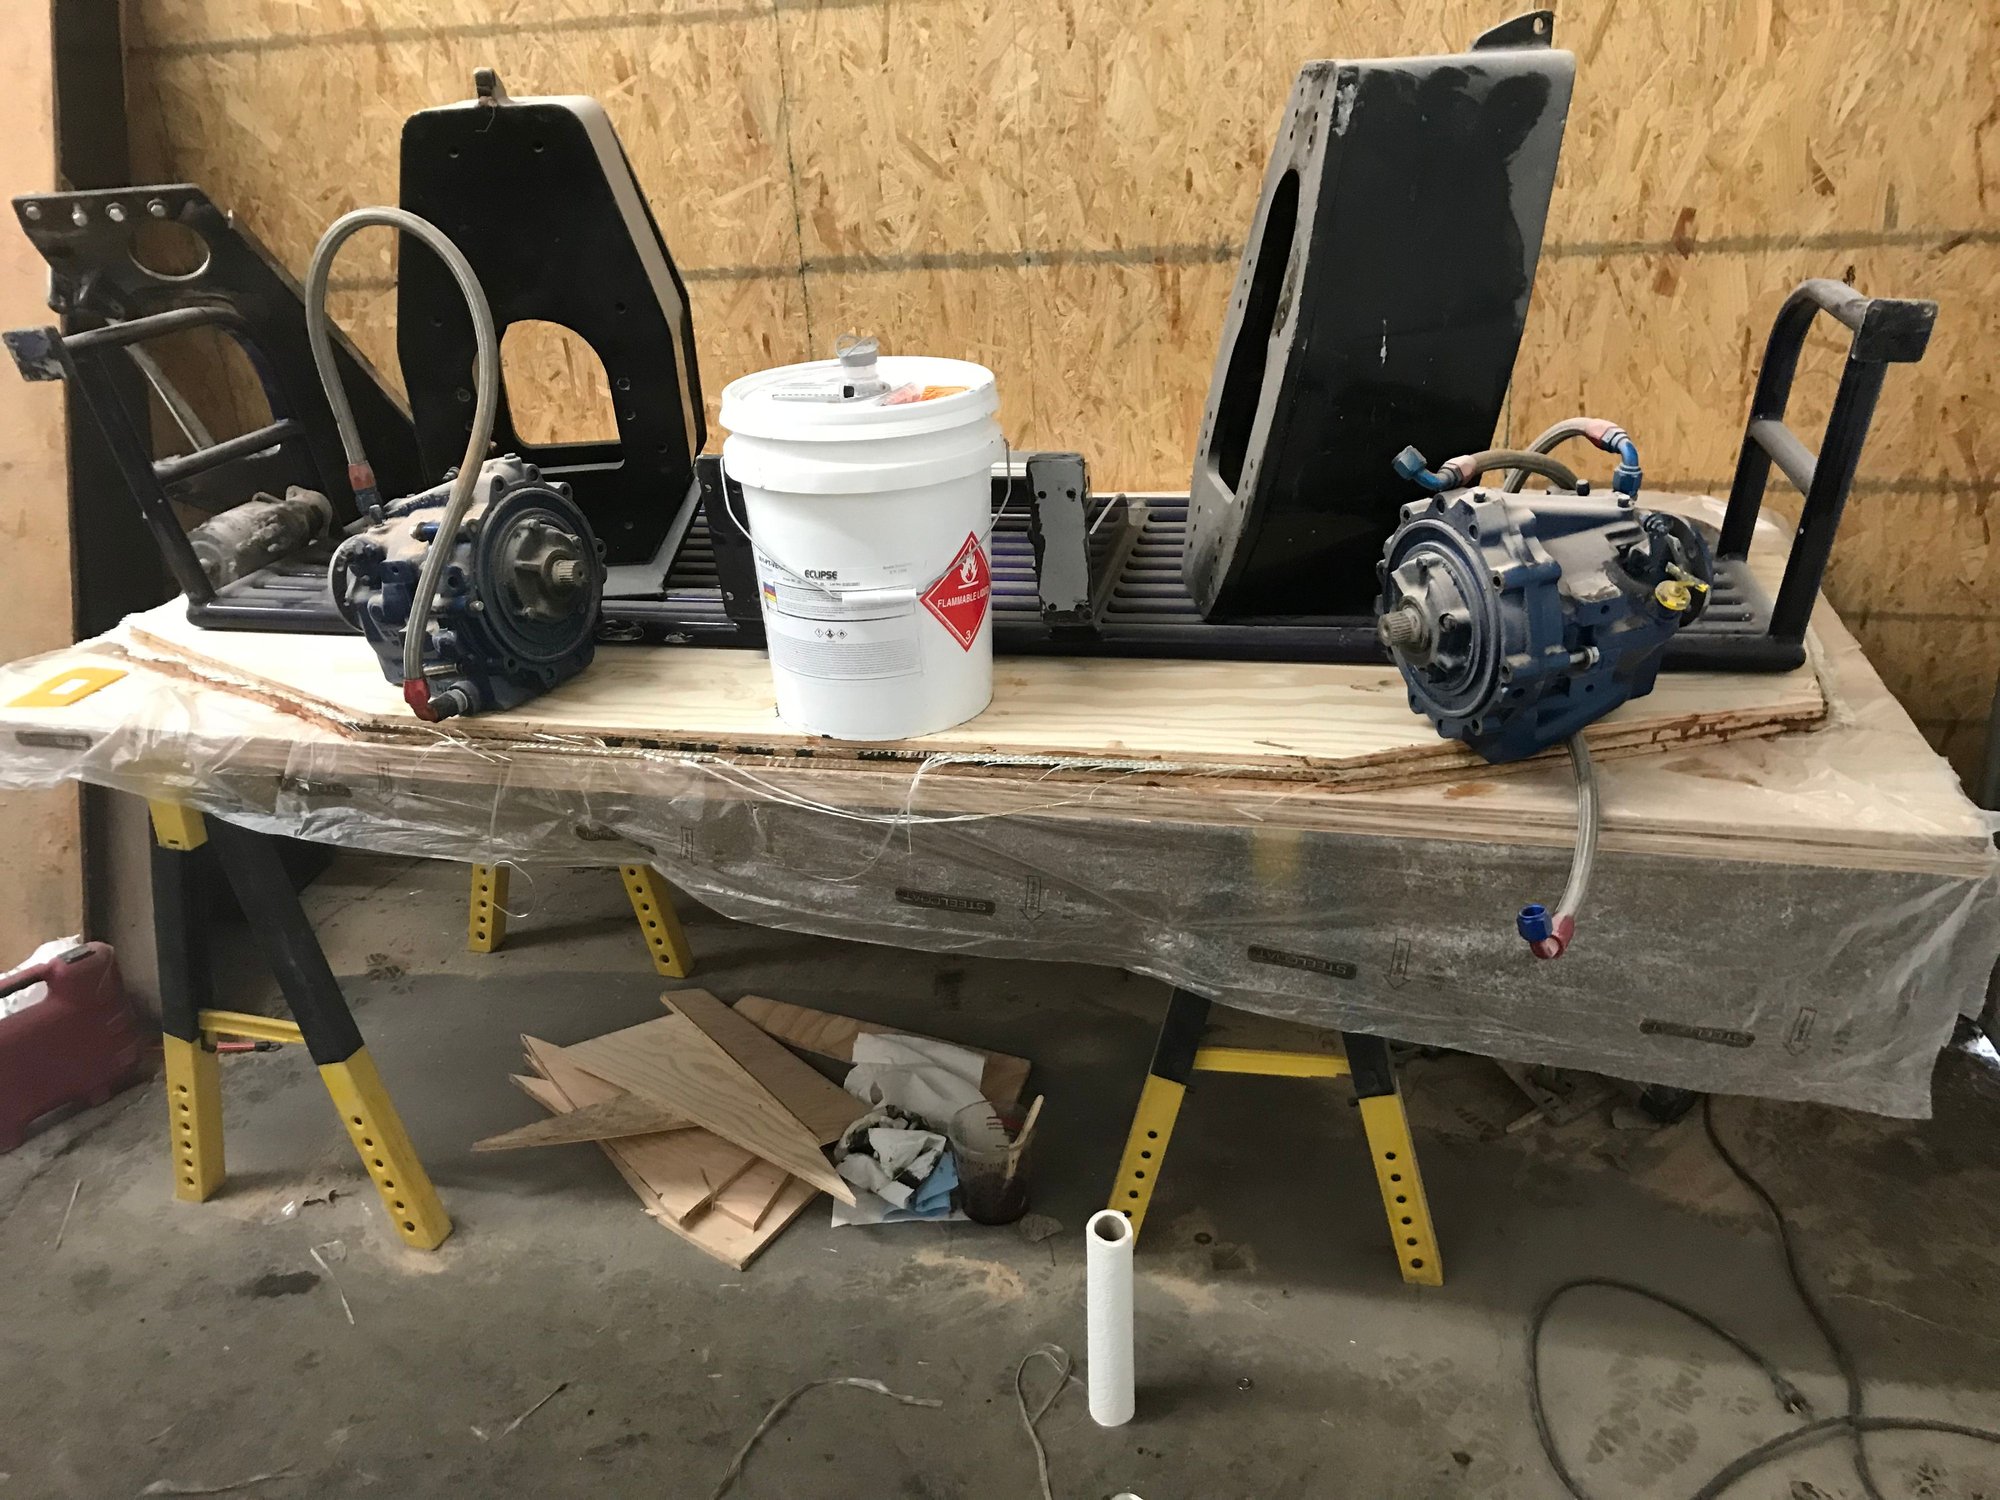
Here is the transom ready to go in. It's 3 layers of 1/2" marine ply, with 1 layer of woven roving between. It's not a light layup, and seem very stout. It turned out great, and with my straight edge on it, it appears perfectly straight. Next weekend, I'll be installing this. Thanks Glass Dave for the tips on how to build this! 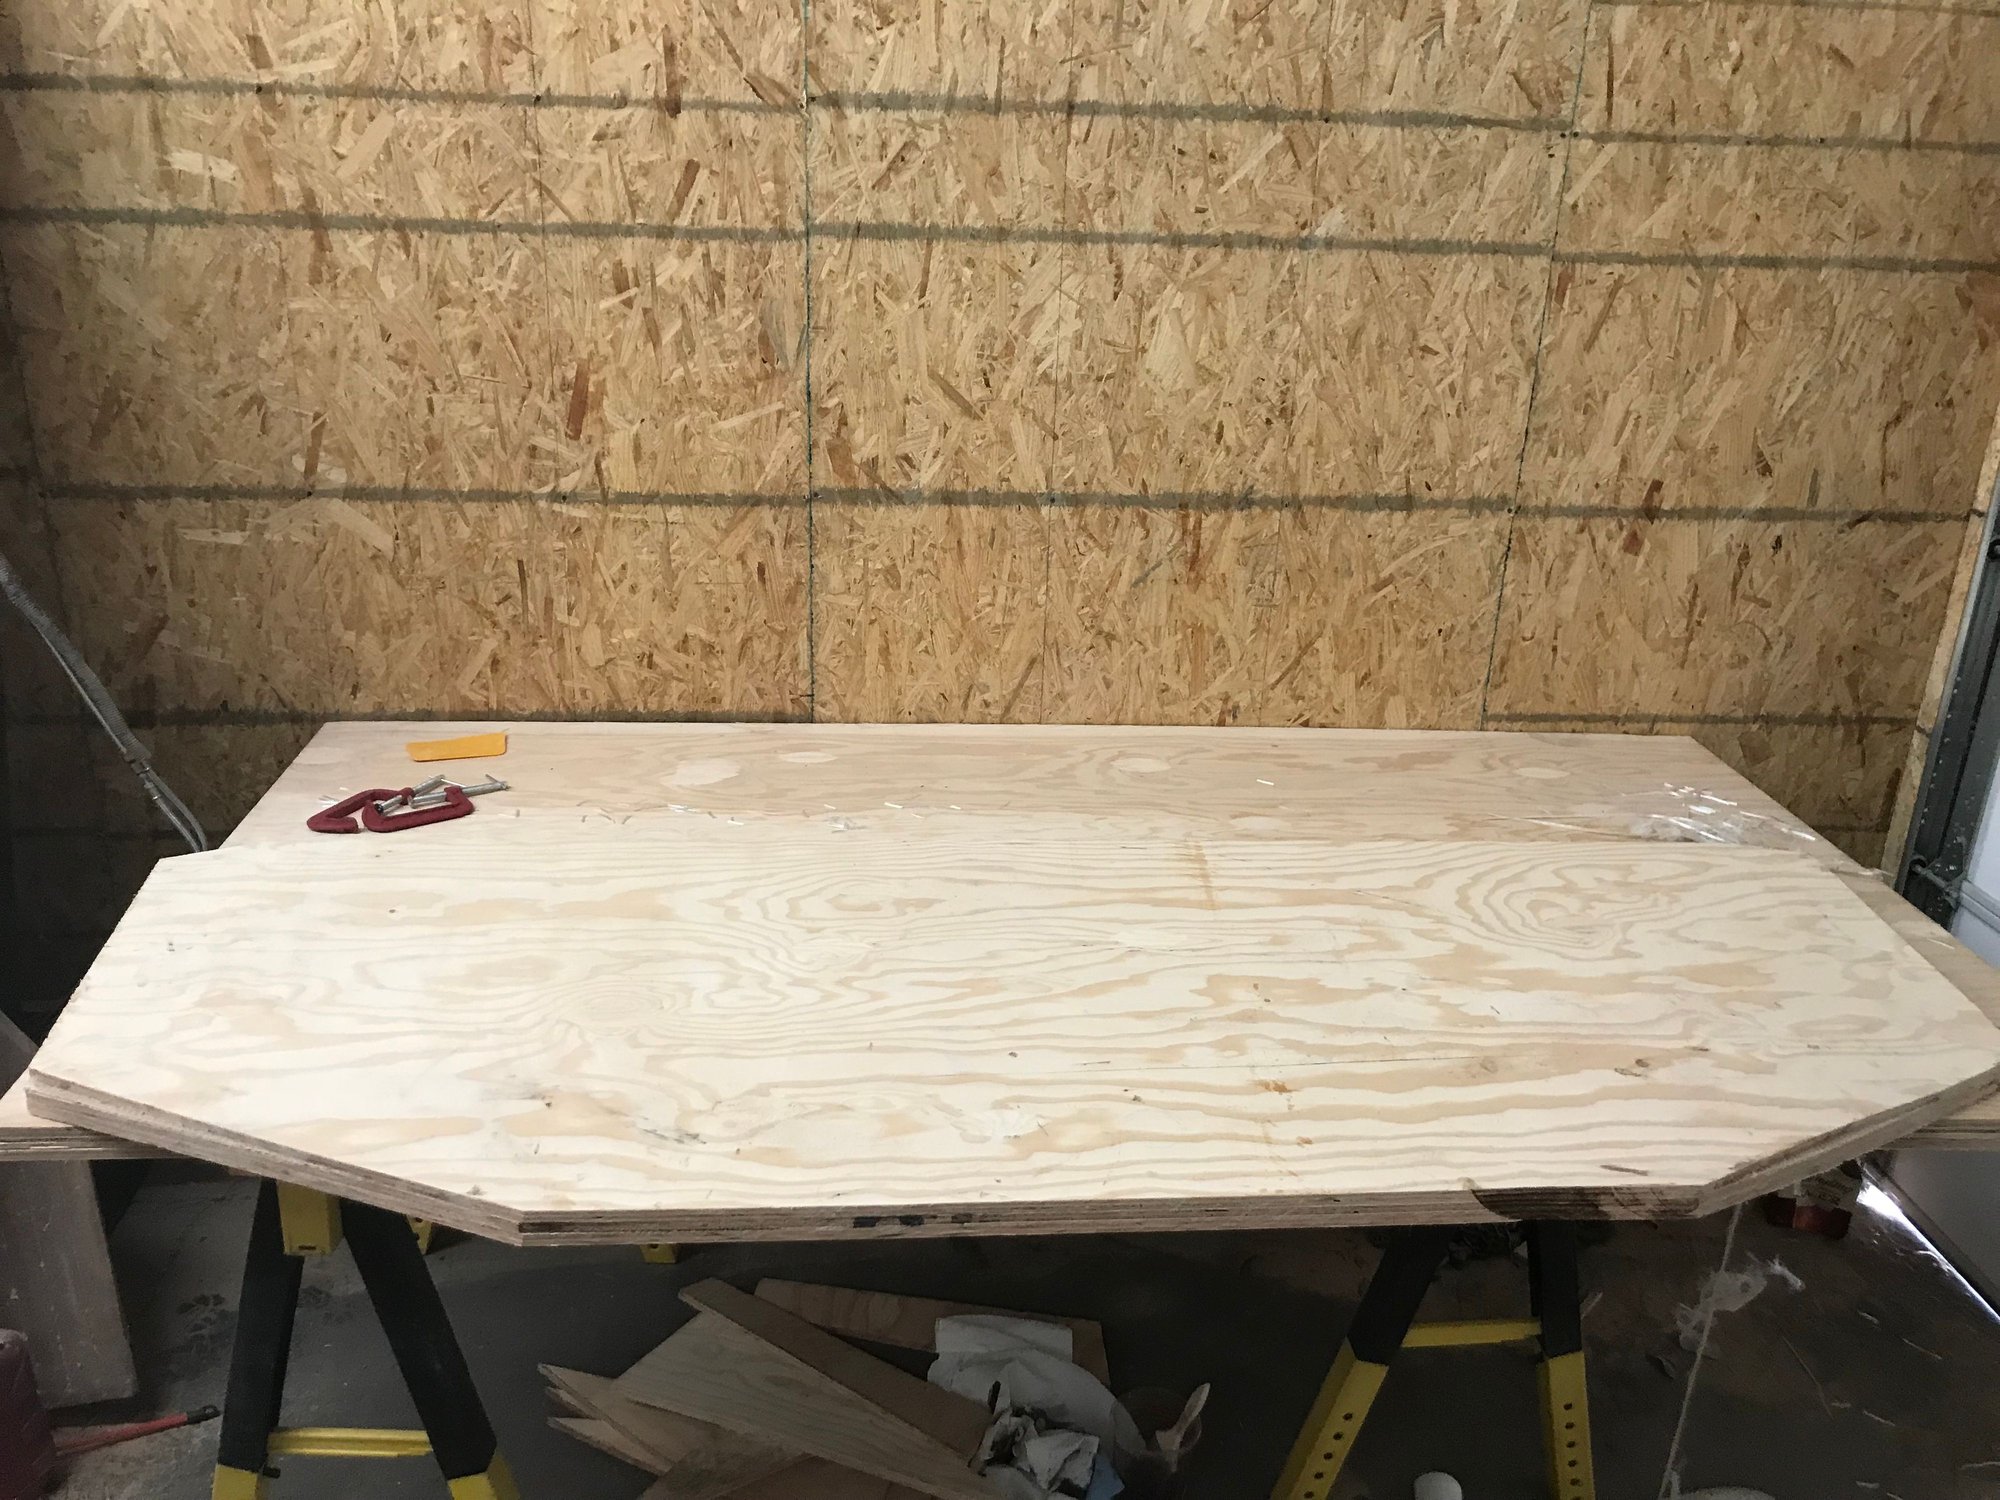
For those of you that have done this. When I use the core bond do I need to prime the glass with Vinyl Ester? Or can I just apply the Core-Bond and then clamp everything down? The reason why I ask about priming, is in a few posts, I've read about doing this first.
For those of you that have done this. When I use the core bond do I need to prime the glass with Vinyl Ester? Or can I just apply the Core-Bond and then clamp everything down? The reason why I ask about priming, is in a few posts, I've read about doing this first.

