

'82 38 KAAMA Scarab
 03-05-2018 | 07:46 AM
#121
Registered

Joined: May 2009
Posts: 1,942
Likes: 527
glad to hear you like the grinder,
do you have a beveled or flat flappy disc on your 4 ?
it's great that the tabbing came off. and now your down to the hull layup, (where it was shiny) what needs build up ?
those boats rode nice imagine how nice one would be today if layed up w/ better materials and bonded together correctly
better ask dave about bedding the transom
Last edited by outonsafari; 03-05-2018 at 07:49 AM.
 03-05-2018 | 11:07 AM
#123
Platinum Member
Joined: Oct 2006
Posts: 1,573
Likes: 1,678
I appreciate the heads up on the bilge. I'll keep that in mind when I get to that part. Not looking forward to the dreaded grid.
Your bilge is looking great, you've made a lot of headway in a short period of time.
I have to admit I laughed when i read this. I've been there too lol <cough cough>
Your bilge is looking great, you've made a lot of headway in a short period of time.
I have to admit I laughed when i read this. I've been there too lol <cough cough>
03-11-2018 | 12:14 PM
#124
Thread Starter
Registered
Joined: May 2009
Posts: 3,895
Likes: 124
From: Chicago, IL; Onekama, MI
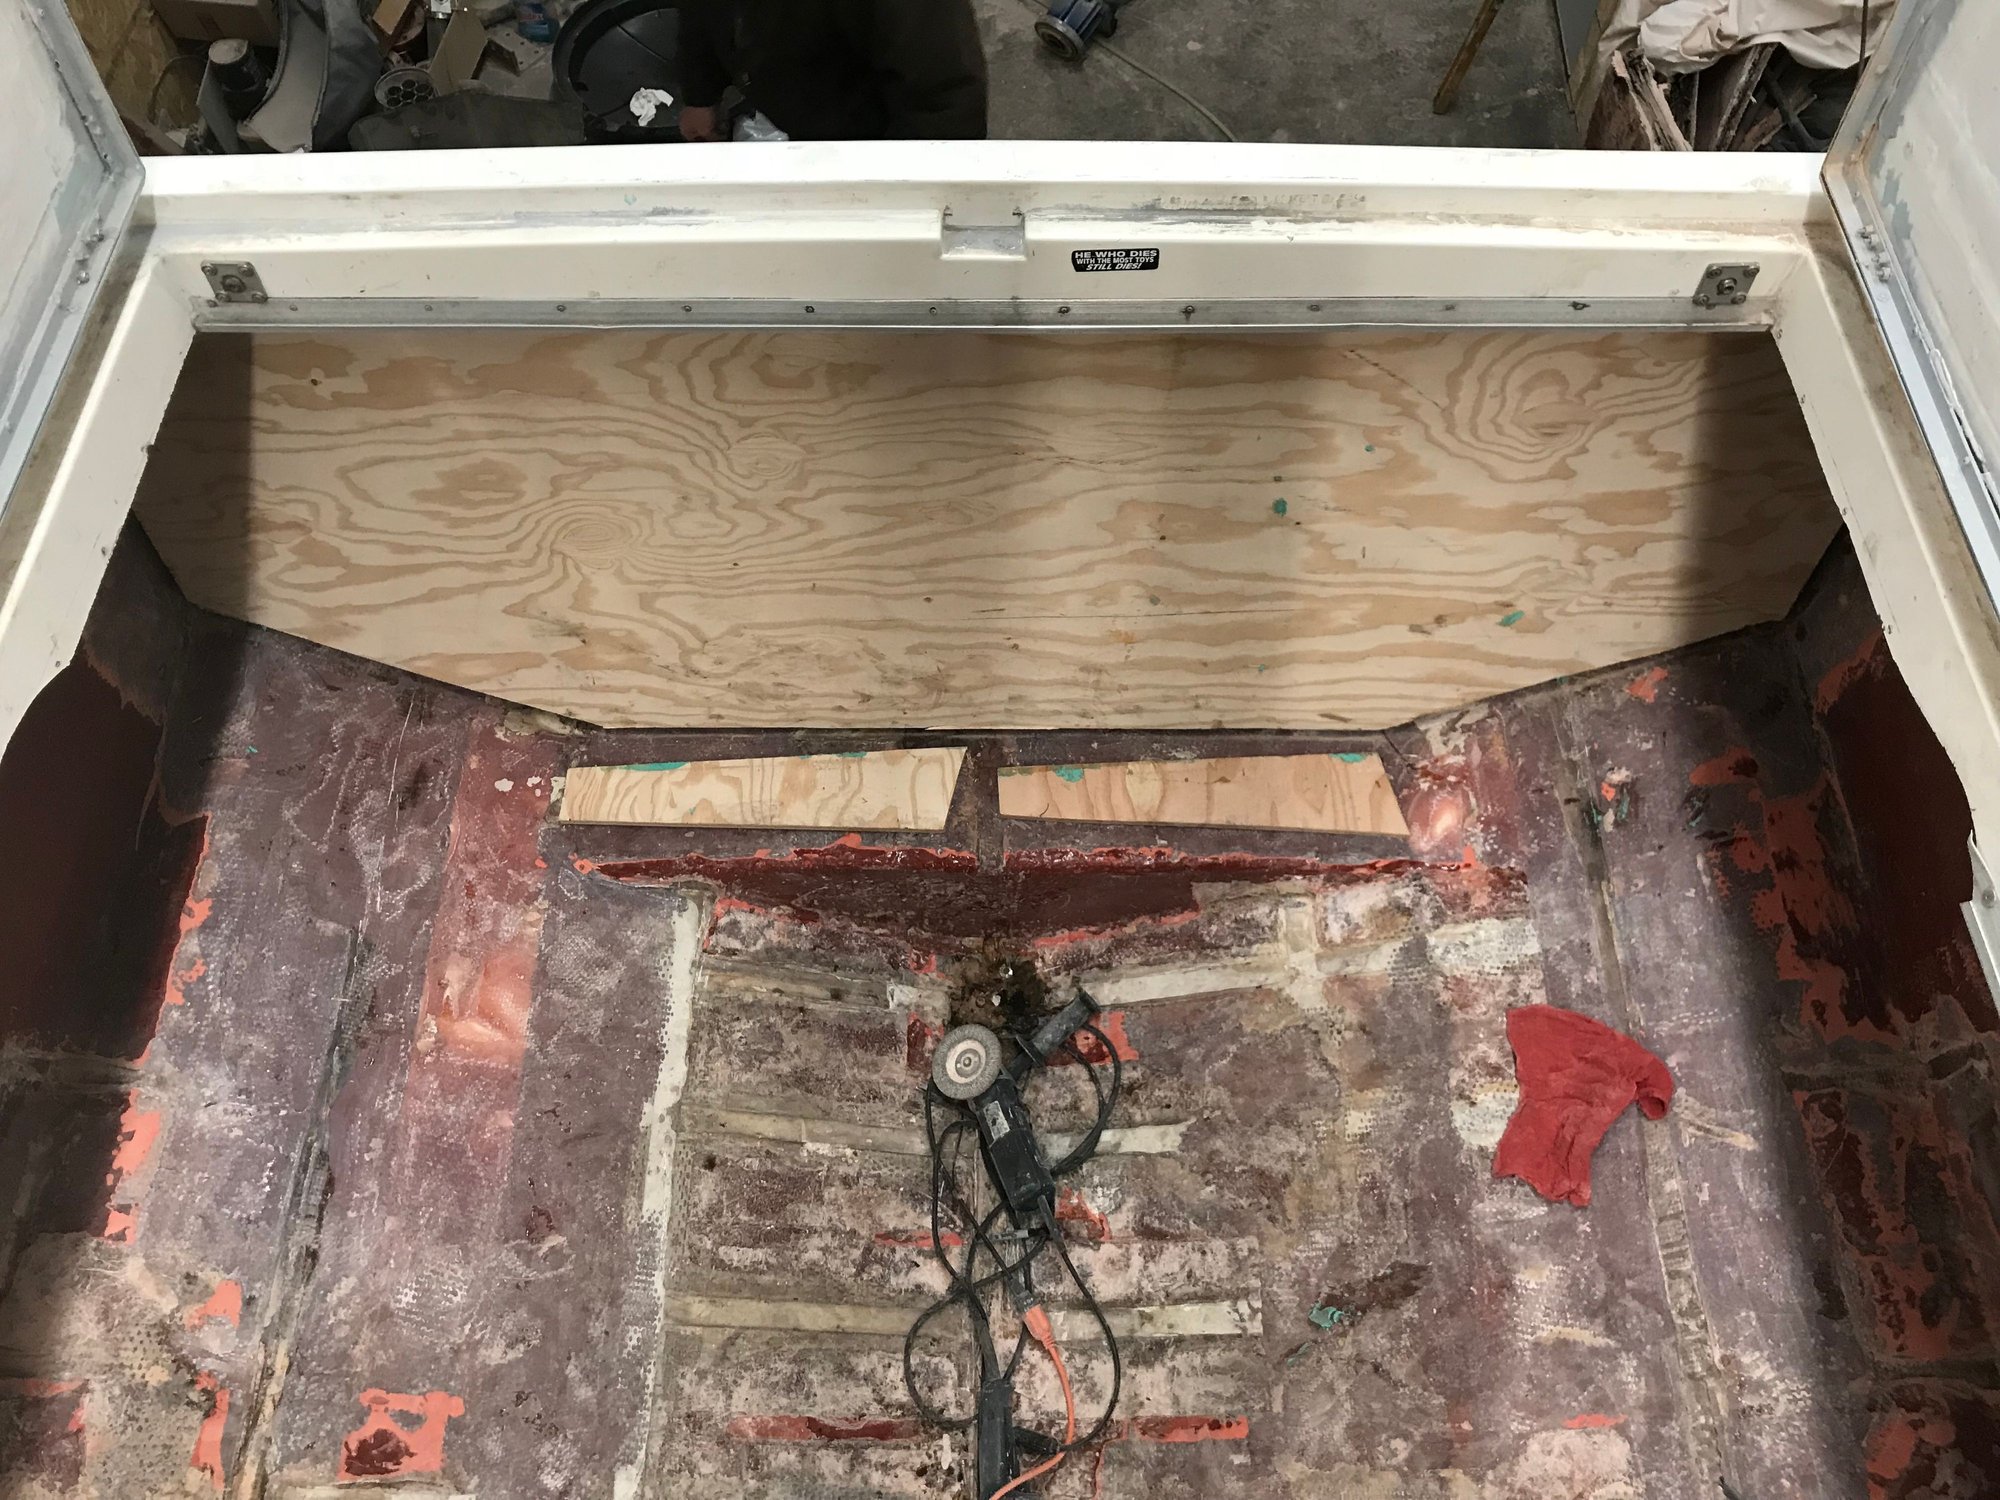
If you can believe it, the transom is finally bonded in. Once all of the prep work was finished, this was pretty easy. I managed to get some assistance on this stage, and I'm glad I did. While I could have done this myself, having an extra set of hands really helped a lot.
 03-11-2018 | 04:34 PM
#126
Registered
Joined: May 2009
Posts: 1,942
Likes: 527
transom looks nice, engine floor looks like it's coming along nicely.
did you end up using resin prior to troweling on the core bond ?
if so, what got the resin, wood side ?
how did you clamp it in place ?
how are you gonna fillet around the perimeter of the transom ?
did you end up using resin prior to troweling on the core bond ?
if so, what got the resin, wood side ?
how did you clamp it in place ?
how are you gonna fillet around the perimeter of the transom ?
03-11-2018 | 05:32 PM
#127
Thread Starter
Registered
Joined: May 2009
Posts: 3,895
Likes: 124
From: Chicago, IL; Onekama, MI
transom looks nice, engine floor looks like it's coming along nicely.
did you end up using resin prior to troweling on the core bond ?
if so, what got the resin, wood side ?
how did you clamp it in place ?
how are you gonna fillet around the perimeter of the transom ?
did you end up using resin prior to troweling on the core bond ?
if so, what got the resin, wood side ?
how did you clamp it in place ?
how are you gonna fillet around the perimeter of the transom ?
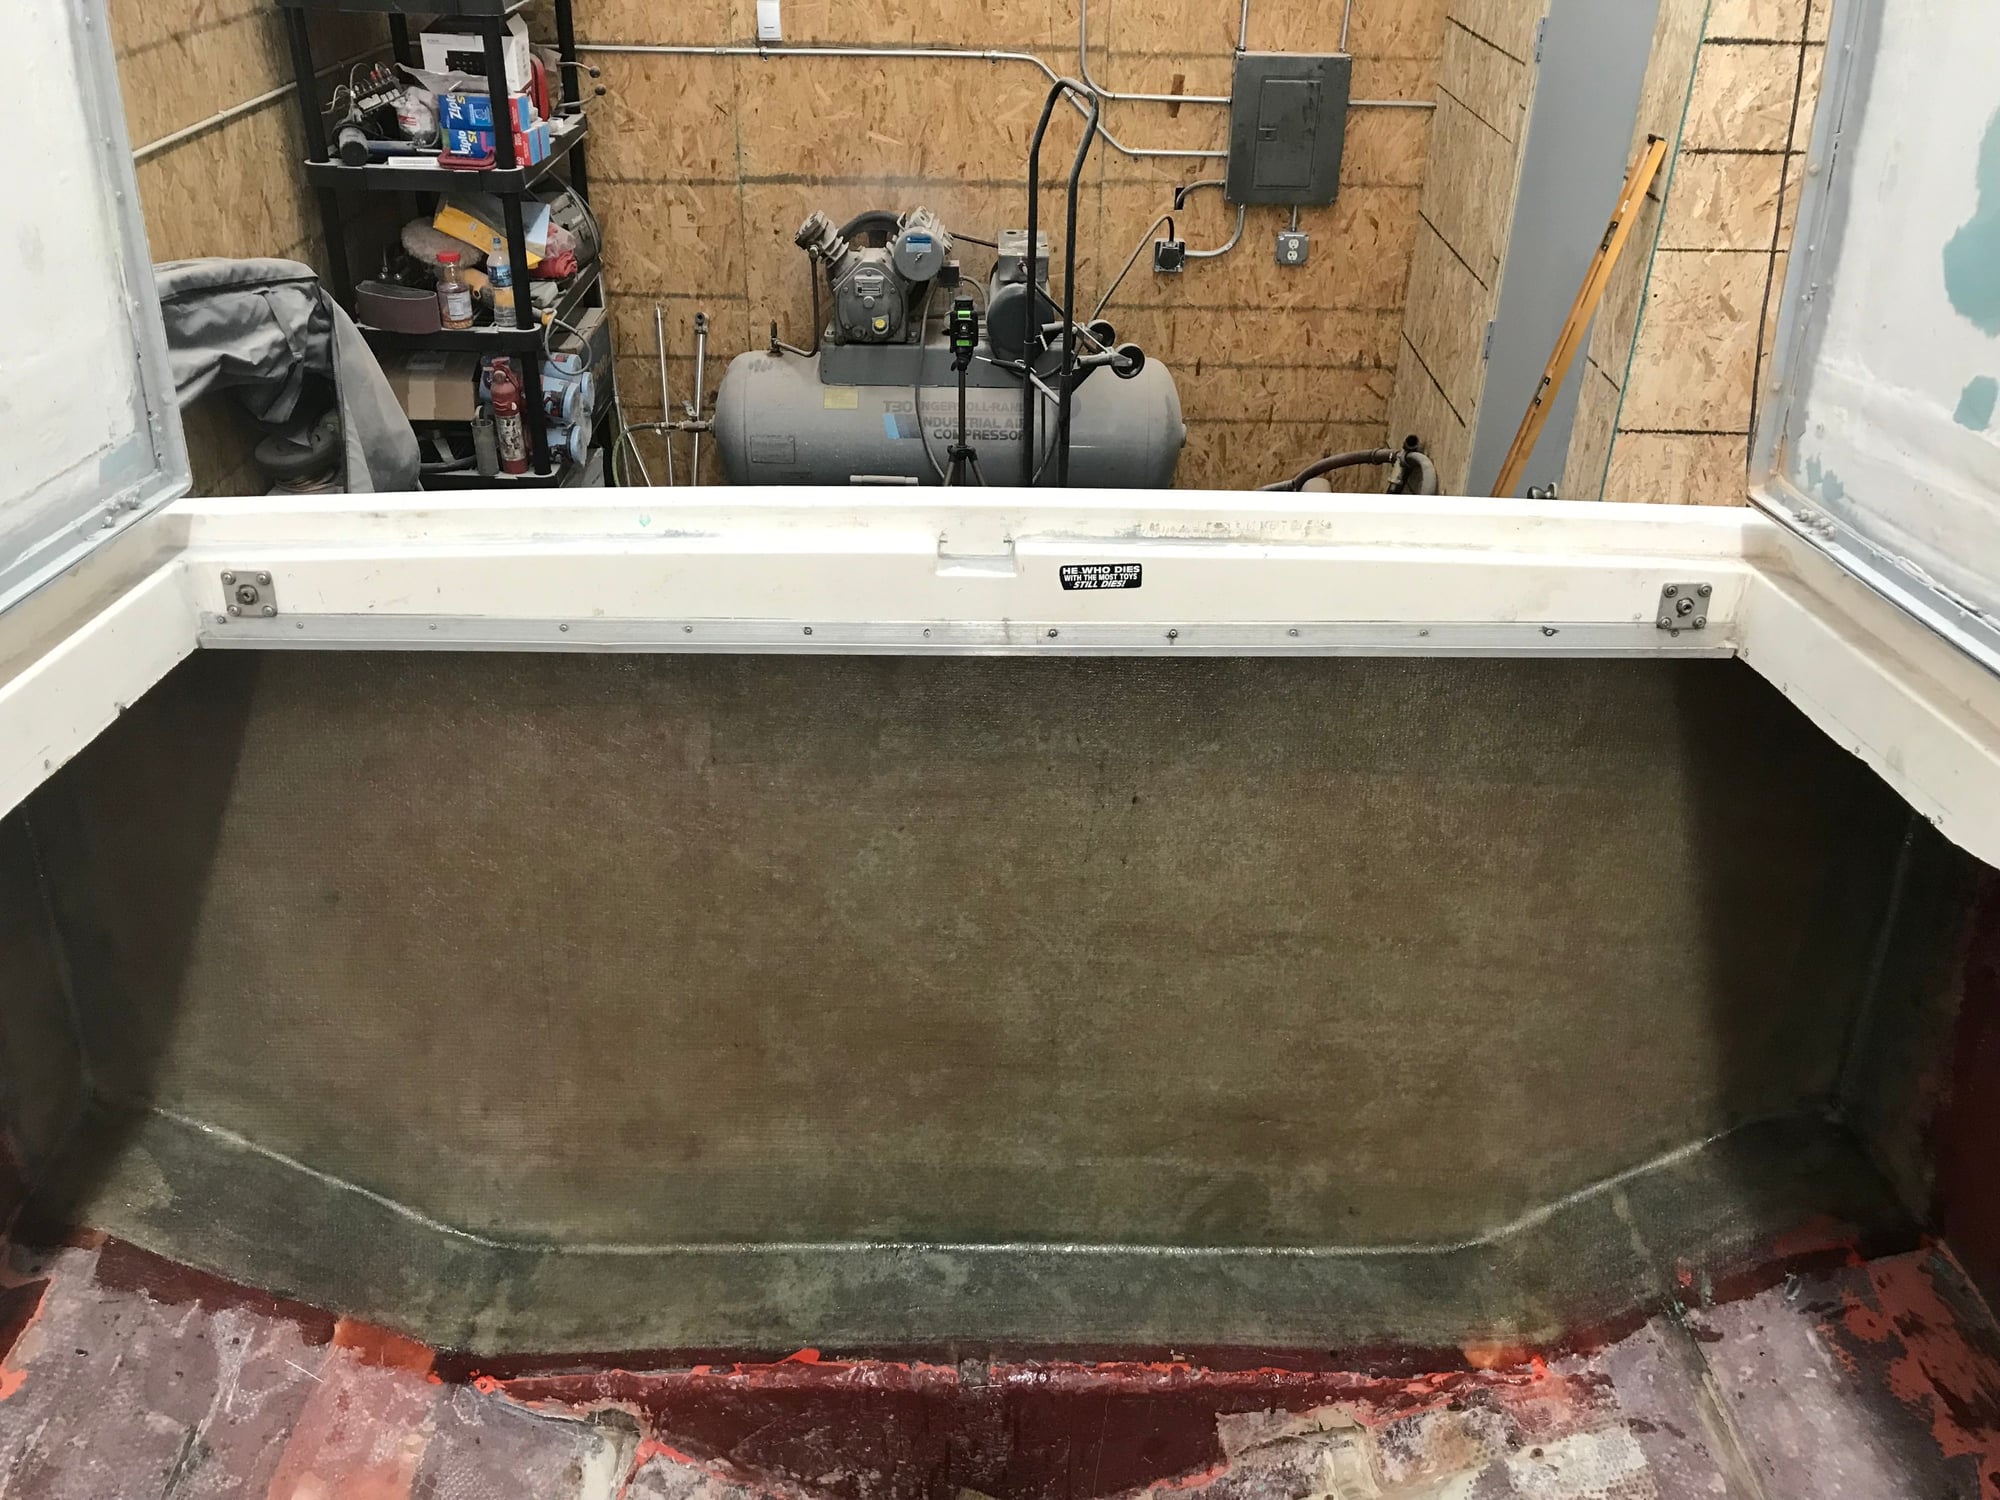
I used roughly 38 3/8" x 2" lag bolts. Anywhere there was a hole, I lagged it in. I added 4 more holes between the drive to secure that area. I need to re-glass a lot of the transom anyway, so a few more holes to glass in isn't going to be a big deal.
Yes, I'm going to fillet in around the transom. I'll knock that out later in the week. I have to be honest, it sure feels great to have one part of this project done.
Last edited by endeavour32; 03-11-2018 at 07:05 PM.
03-11-2018 | 06:43 PM
#128
Platinum Member
Joined: Oct 2006
Posts: 1,573
Likes: 1,678
Looking good, I like how you did your transom. I was just thinking I oughta do mine like that! then I remembered mines already done lol. Like a year and a half ago. These big boat projects take up a lot of time...
03-18-2018 | 04:57 PM
#129
Thread Starter
Registered
Joined: May 2009
Posts: 3,895
Likes: 124
From: Chicago, IL; Onekama, MI
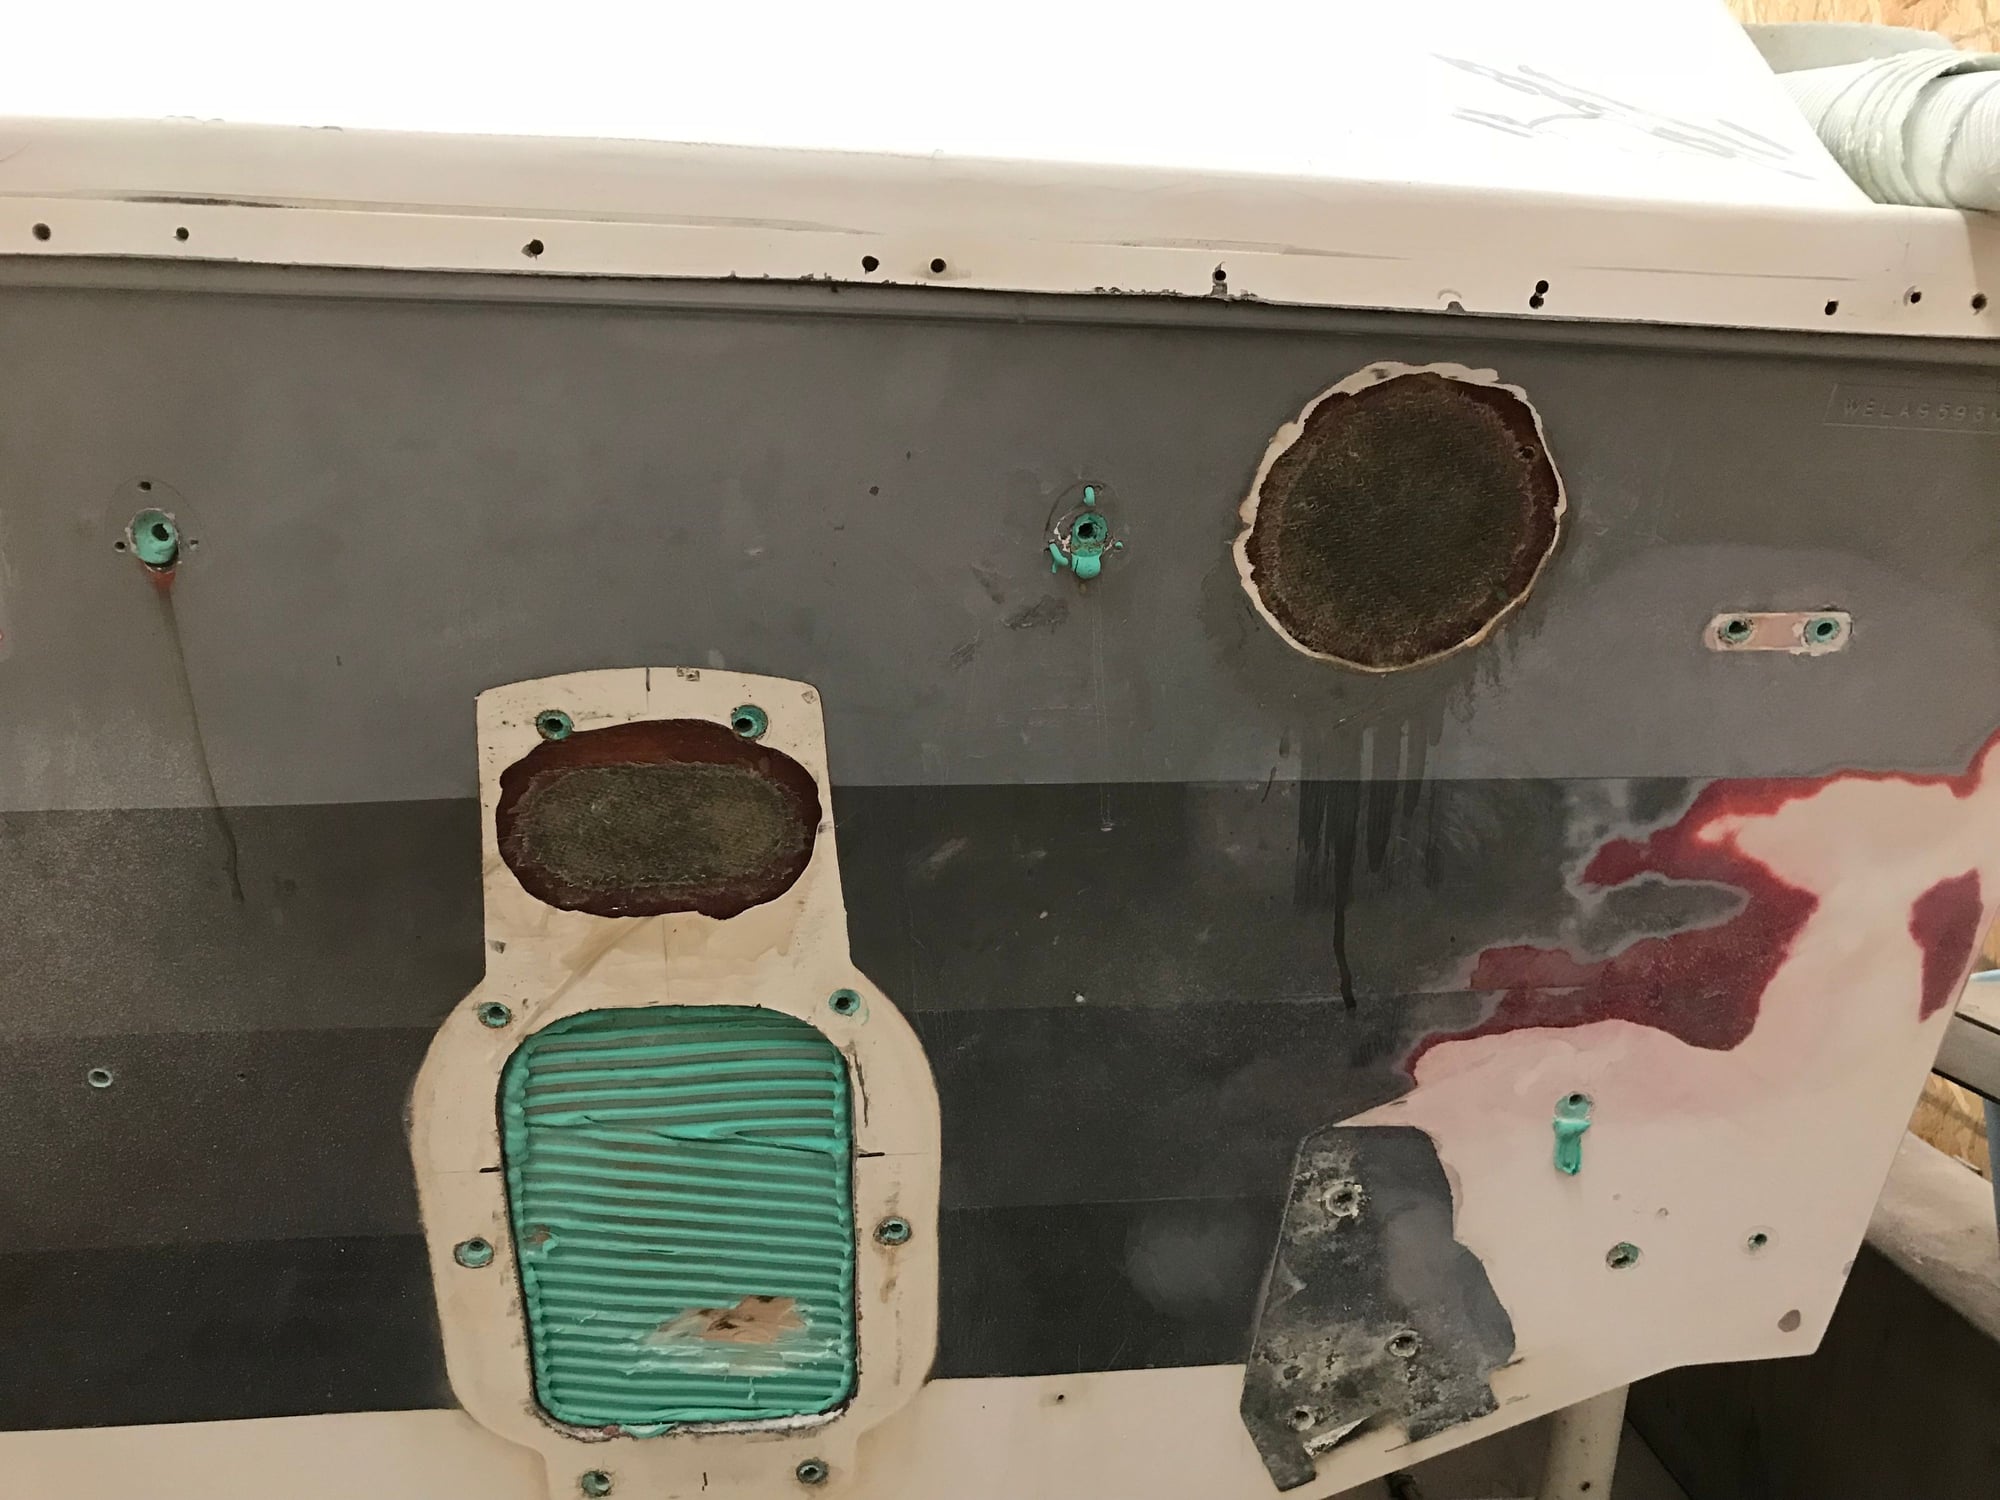
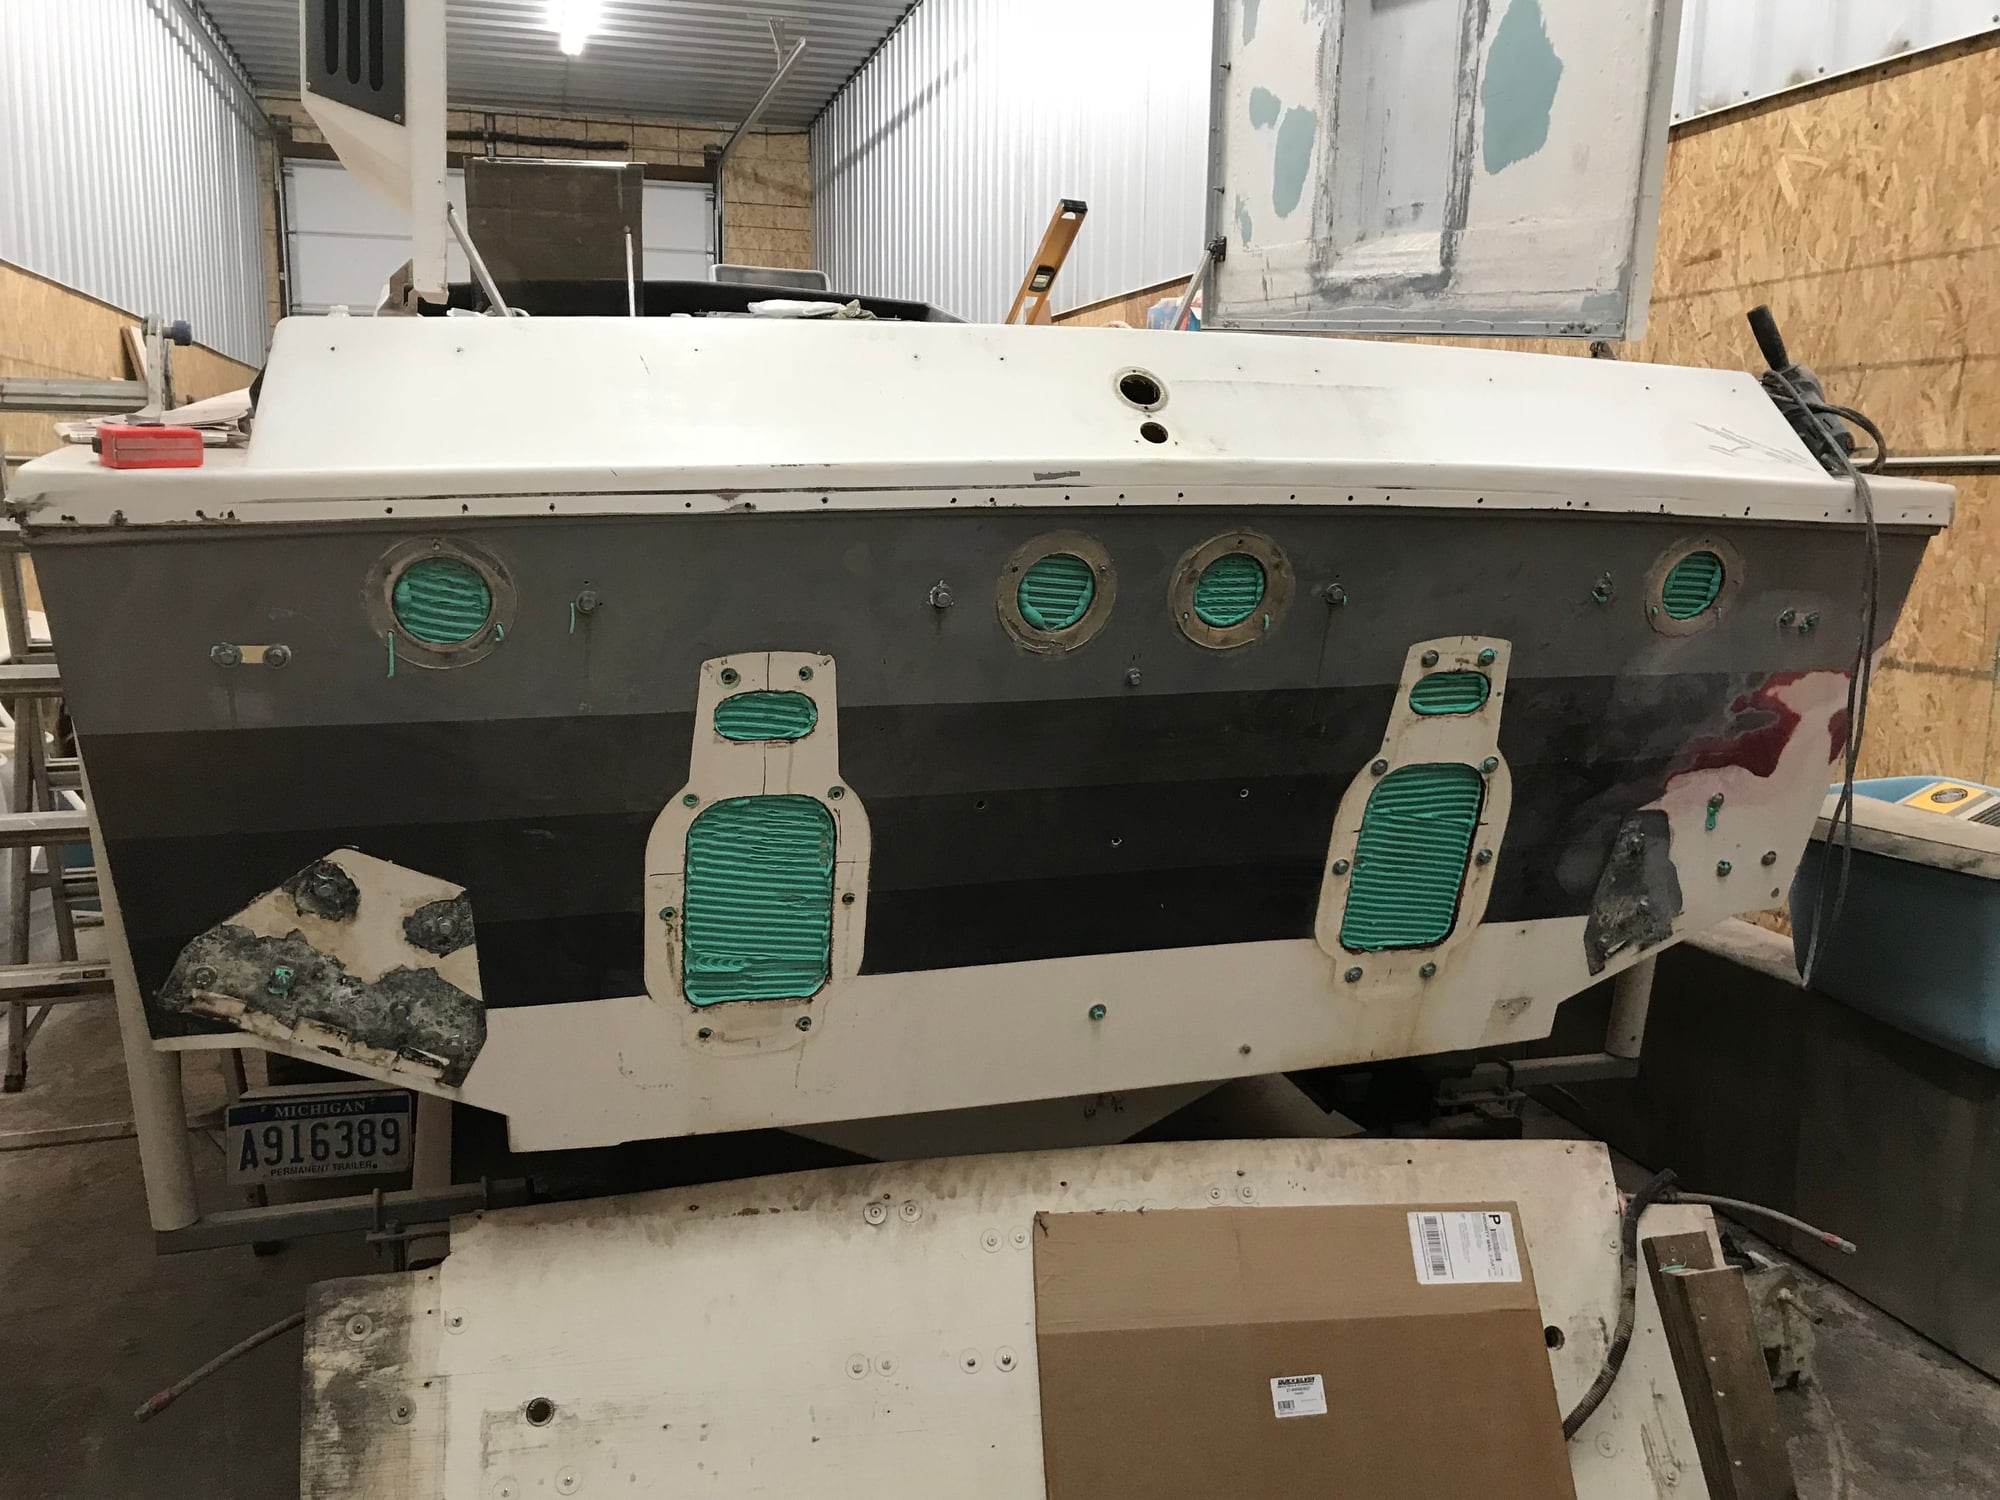
The transom is finally glassed in. Three layers of 1708 and 2 layers of 1708 tabbing. Then I started filling in some of the prior cut outs in the outer part of the transom. The exhaust won't be exiting where it is now, and the gimbles require a slightly different cutout, because I'm going from TRS to SSM.
All in all it was pretty easy. I absolutely love the working time of the VE resin. I'm actually now looking forward to glassing the rest of the boat. Now the next step is getting the cockpit floor out, along with the gas tank. Then I can replace the forward engine room bulkhead. After that, I can go back to the engine room and put the stringers in.

