Just Turbines
SubscribeKNOT-RIGHT
Registered
close

05-12-2026
- Join DateDec 2002
- LocationProvidence,RI
- Posts:3,363
-
Likes:183
-
Liked:165 Times in 88 Posts
back

KNOT-RIGHT
Registered
close
05-12-2026
- Join DateDec 2002
- LocationProvidence,RI
- Posts:3,363
-
Likes:183
-
Liked:165 Times in 88 Posts

KNOT-RIGHT
Registered
close
05-12-2026
- Join DateDec 2002
- LocationProvidence,RI
- Posts:3,363
-
Likes:183
-
Liked:165 Times in 88 Posts
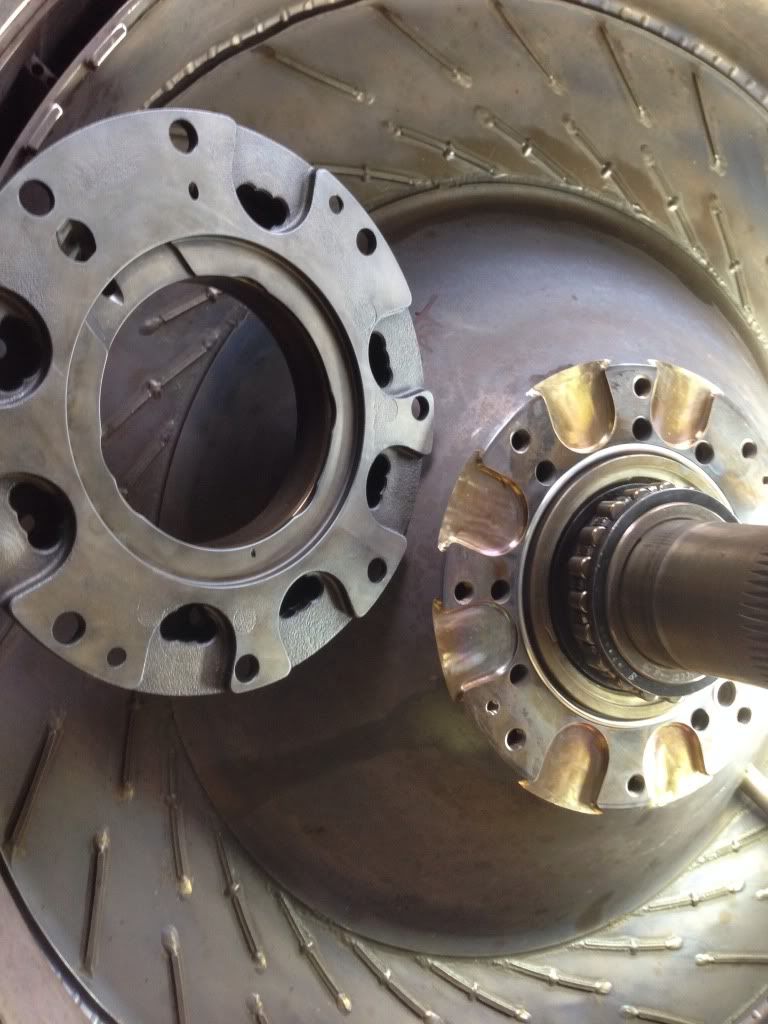
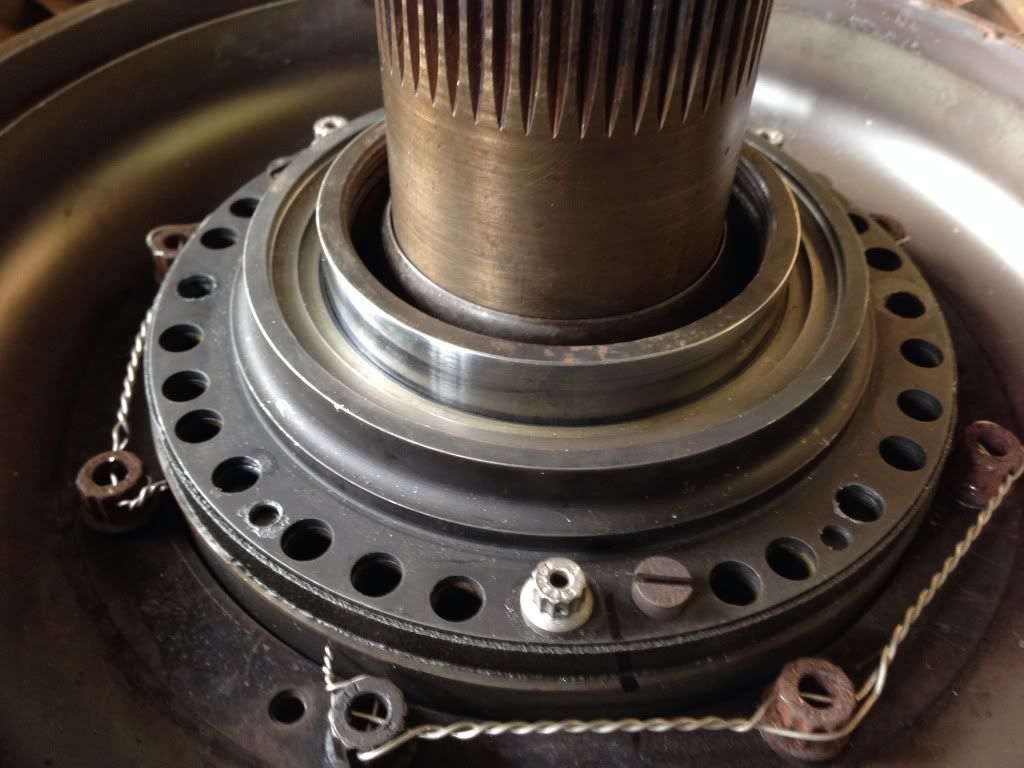
these small screws keep it together for now
use the lager ones torque to 165inch lbs then tighten screws then remove the
big 12 points.
now the screws are holding it
use the lager ones torque to 165inch lbs then tighten screws then remove the
big 12 points.
now the screws are holding it

KNOT-RIGHT
Registered
close
05-12-2026
- Join DateDec 2002
- LocationProvidence,RI
- Posts:3,363
-
Likes:183
-
Liked:165 Times in 88 Posts
drop the deflector over it

KNOT-RIGHT
Registered
close
05-12-2026
- Join DateDec 2002
- LocationProvidence,RI
- Posts:3,363
-
Likes:183
-
Liked:165 Times in 88 Posts
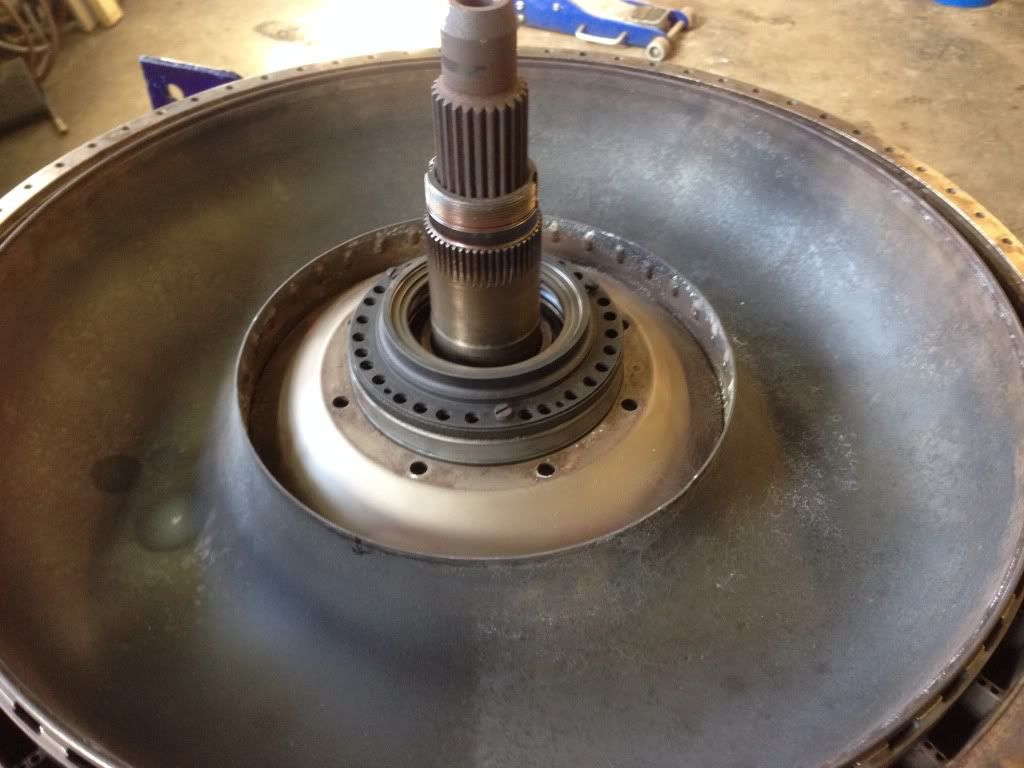
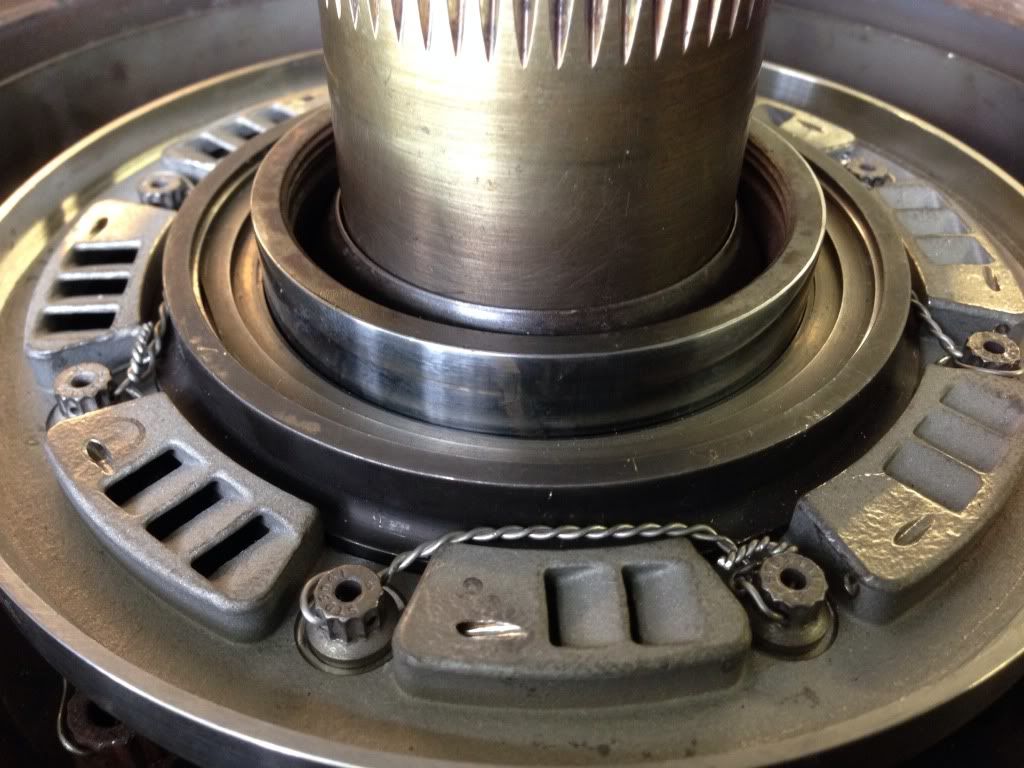
now get your 1st gp nozzle and drop it over that
i got a little ahead of myself in this shot i installed the pinch plate and the forward seal without the seal runner
i removed it and dropped it on there then reinstalled the forward seal
i got a little ahead of myself in this shot i installed the pinch plate and the forward seal without the seal runner
i removed it and dropped it on there then reinstalled the forward seal

KNOT-RIGHT
Registered
close
05-12-2026
- Join DateDec 2002
- LocationProvidence,RI
- Posts:3,363
-
Likes:183
-
Liked:165 Times in 88 Posts
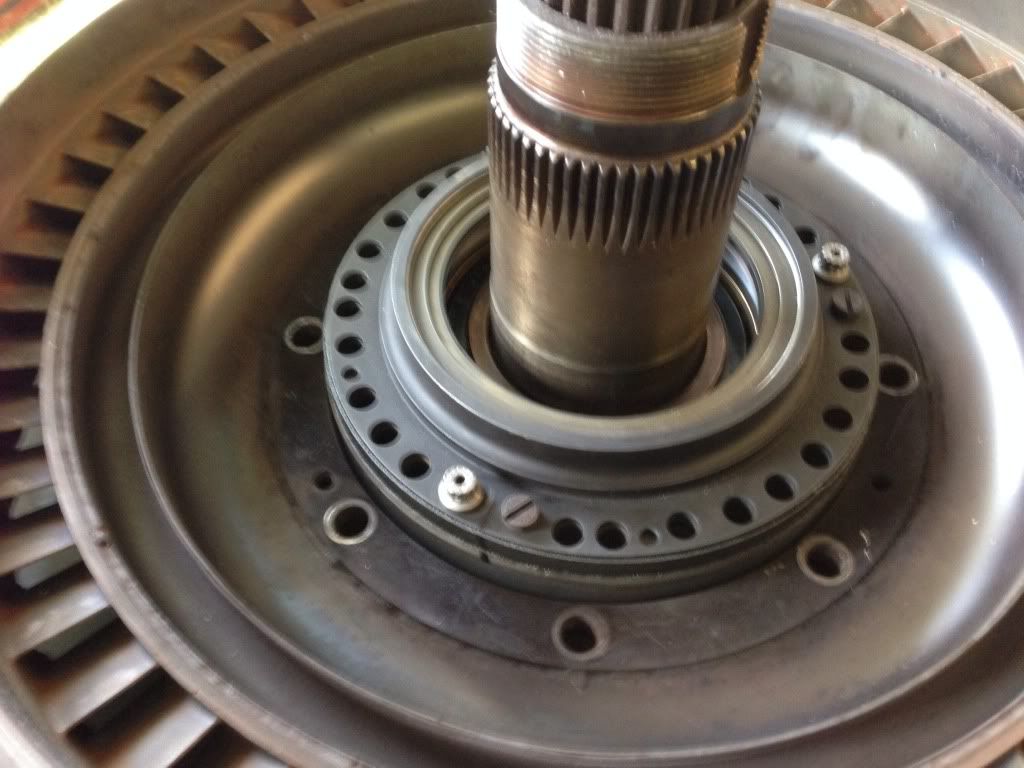
this is how it should look

KNOT-RIGHT
Registered
close
05-12-2026
- Join DateDec 2002
- LocationProvidence,RI
- Posts:3,363
-
Likes:183
-
Liked:165 Times in 88 Posts
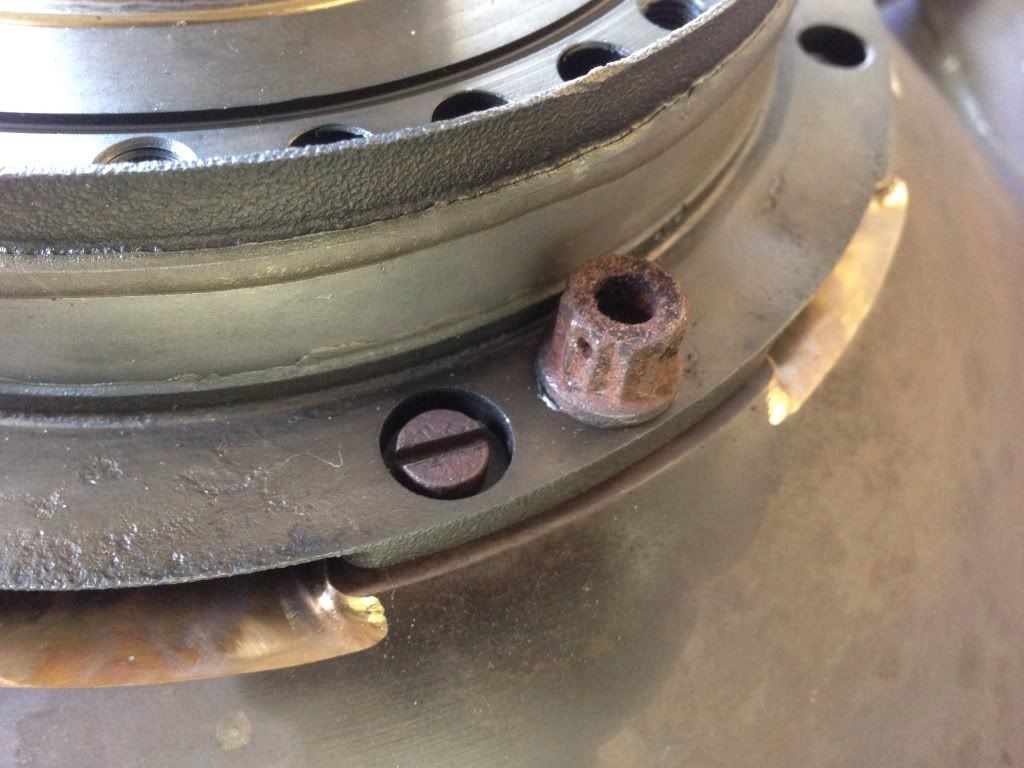
the six bolts are shown here also torque to 165 inch lbs.
the 703 version does not use the stud and nut version that i showed earlier in this thread.
(the one that was snapped off)
the 703 version does not use the stud and nut version that i showed earlier in this thread.
(the one that was snapped off)
KNOT-RIGHT
Registered
close
05-12-2026
- Join DateDec 2002
- LocationProvidence,RI
- Posts:3,363
-
Likes:183
-
Liked:165 Times in 88 Posts
here is the sealing flange louvered that is also a 703 part.
the bolts are torqued to 105 inch lbs.
and safety wired
the bolts are torqued to 105 inch lbs.
and safety wired


Quote:
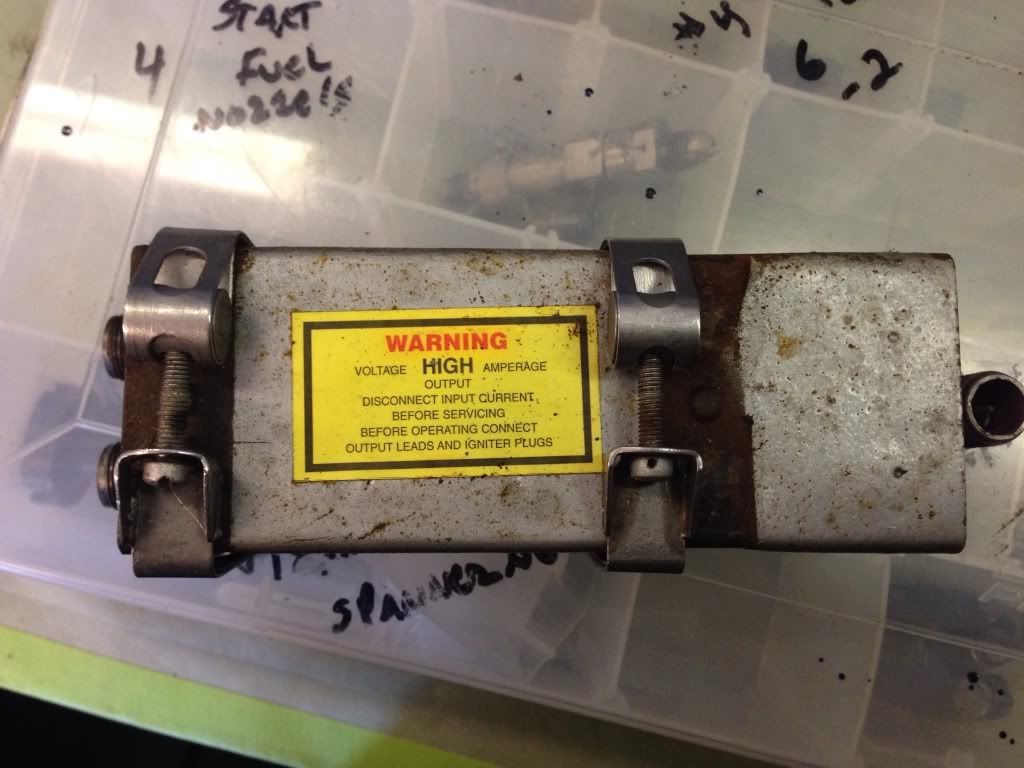
28 vdc input gives approx 2500vdc min.
Its like a MSD box on roids
you should see these spark.
Maybe if you guys are good i will shoot a short video of it tomorrow.
Those would have solved some of my potato shooter issues I had as a kid!!!!!!Originally Posted by KNOT-RIGHT
here is the exciter ignition unit this has two outputs that run two ignitors each28 vdc input gives approx 2500vdc min.
Its like a MSD box on roids
you should see these spark.
Maybe if you guys are good i will shoot a short video of it tomorrow.

KNOT-RIGHT
Registered
close
05-12-2026
- Join DateDec 2002
- LocationProvidence,RI
- Posts:3,363
-
Likes:183
-
Liked:165 Times in 88 Posts
Quote:
and dont forget the oxy acetlyn filled garbage bags.Originally Posted by seafordguy
Those would have solved some of my potato shooter issues I had as a kid!!!!!!

