

We hurt the 496....
 12-24-2024 | 08:50 PM
#371
Thread Starter
VIP Member

Joined: Jun 2021
Posts: 3,533
Likes: 2,142
From: SW Ohio
Guys,


FINALLY!
Still have to verify final stack up under the valve covers. I’ve got the 1/2” valve cover spacers, but I sent them out for black anodize and haven’t gotten them back yet.
Merry Christmas!
Thanks. Brad.
FINALLY!
Still have to verify final stack up under the valve covers. I’ve got the 1/2” valve cover spacers, but I sent them out for black anodize and haven’t gotten them back yet.
Merry Christmas!
Thanks. Brad.

 12-25-2024 | 03:47 PM
#373
Thread Starter
VIP Member
Joined: Jun 2021
Posts: 3,533
Likes: 2,142
From: SW Ohio
Liberator221,
Yup. It was just a matter of finding the right length. I’m still kinda bewildered how one checks roller sweep with hydraulic lifters that don’t have oil in them, though.
I haven’t actually laid eyes on them yet, but he’s pretty happy with how they stack up.
I should be able to pick up the valve cover spacers tomorrow, and I’ll run up and verify the clearance under the valve covers. He says we’re good there, too.
Thanks. Brad.
12-26-2024 | 12:12 PM
#374
Registered

Joined: Aug 2019
Posts: 1,249
Likes: 420
From: BC
Liberator221,
Yup. It was just a matter of finding the right length. I’m still kinda bewildered how one checks roller sweep with hydraulic lifters that don’t have oil in them, though.
I haven’t actually laid eyes on them yet, but he’s pretty happy with how they stack up.
I should be able to pick up the valve cover spacers tomorrow, and I’ll run up and verify the clearance under the valve covers. He says we’re good there, too.
Thanks. Brad.
Yup. It was just a matter of finding the right length. I’m still kinda bewildered how one checks roller sweep with hydraulic lifters that don’t have oil in them, though.
I haven’t actually laid eyes on them yet, but he’s pretty happy with how they stack up.
I should be able to pick up the valve cover spacers tomorrow, and I’ll run up and verify the clearance under the valve covers. He says we’re good there, too.
Thanks. Brad.
12-26-2024 | 01:15 PM
#375
Thread Starter
VIP Member
Joined: Jun 2021
Posts: 3,533
Likes: 2,142
From: SW Ohio
That makes sense. Seems like a lot of work, but that's the game isn't it?

I've seen videos from Steve Morris where he had the heads installed with REALLY light springs and was setting rocker height (solid mount shaft rockers), so he could just tilt the rockers by hand, then back figure the pushrod length from there. I can't see why one couldn't do the same with stud or pedestal mount rockers. I have no idea the method the builder used to get mine set up. He just texted me a couple pics and said, "All set!" Gonna be running up this afternoon to check it out first hand and verify valve cover clearance with the spacers and the exhaust riser blocks and their wonky plumbing (pics to follow).
I'm getting excited. Final assembly of all the peripherals is in sight.

Thanks. Brad.
 12-27-2024 | 11:37 AM
#378
Thread Starter
VIP Member
Joined: Jun 2021
Posts: 3,533
Likes: 2,142
From: SW Ohio
The Scorpions review very well, and the builder likes them. He's used them before. His preference is HarlandSharp, but these were a bit friendlier on the wallet. These Scorpion Race Series rockers are good for 950lbs of spring pressure at full open, and we aren't coming anywhere near that, so I'm not worried about fatigue. He also told me there's a lot more thread engagement with the polylock nut than we initially though, once he had them drawn down on proper length pushrods, so that's not a concern anymore.
Thanks. Brad.
12-29-2024 | 05:22 PM
#379
Thread Starter
VIP Member
Joined: Jun 2021
Posts: 3,533
Likes: 2,142
From: SW Ohio
Guys,

Getting there. Inch by inch….
I had to slightly modify the valve cover bolt spacer sleeves to fit into the grommets without ripping/cutting them, and they weren’t with the builder when he took this pic, which is why the valve cover bolts are not drawn down.
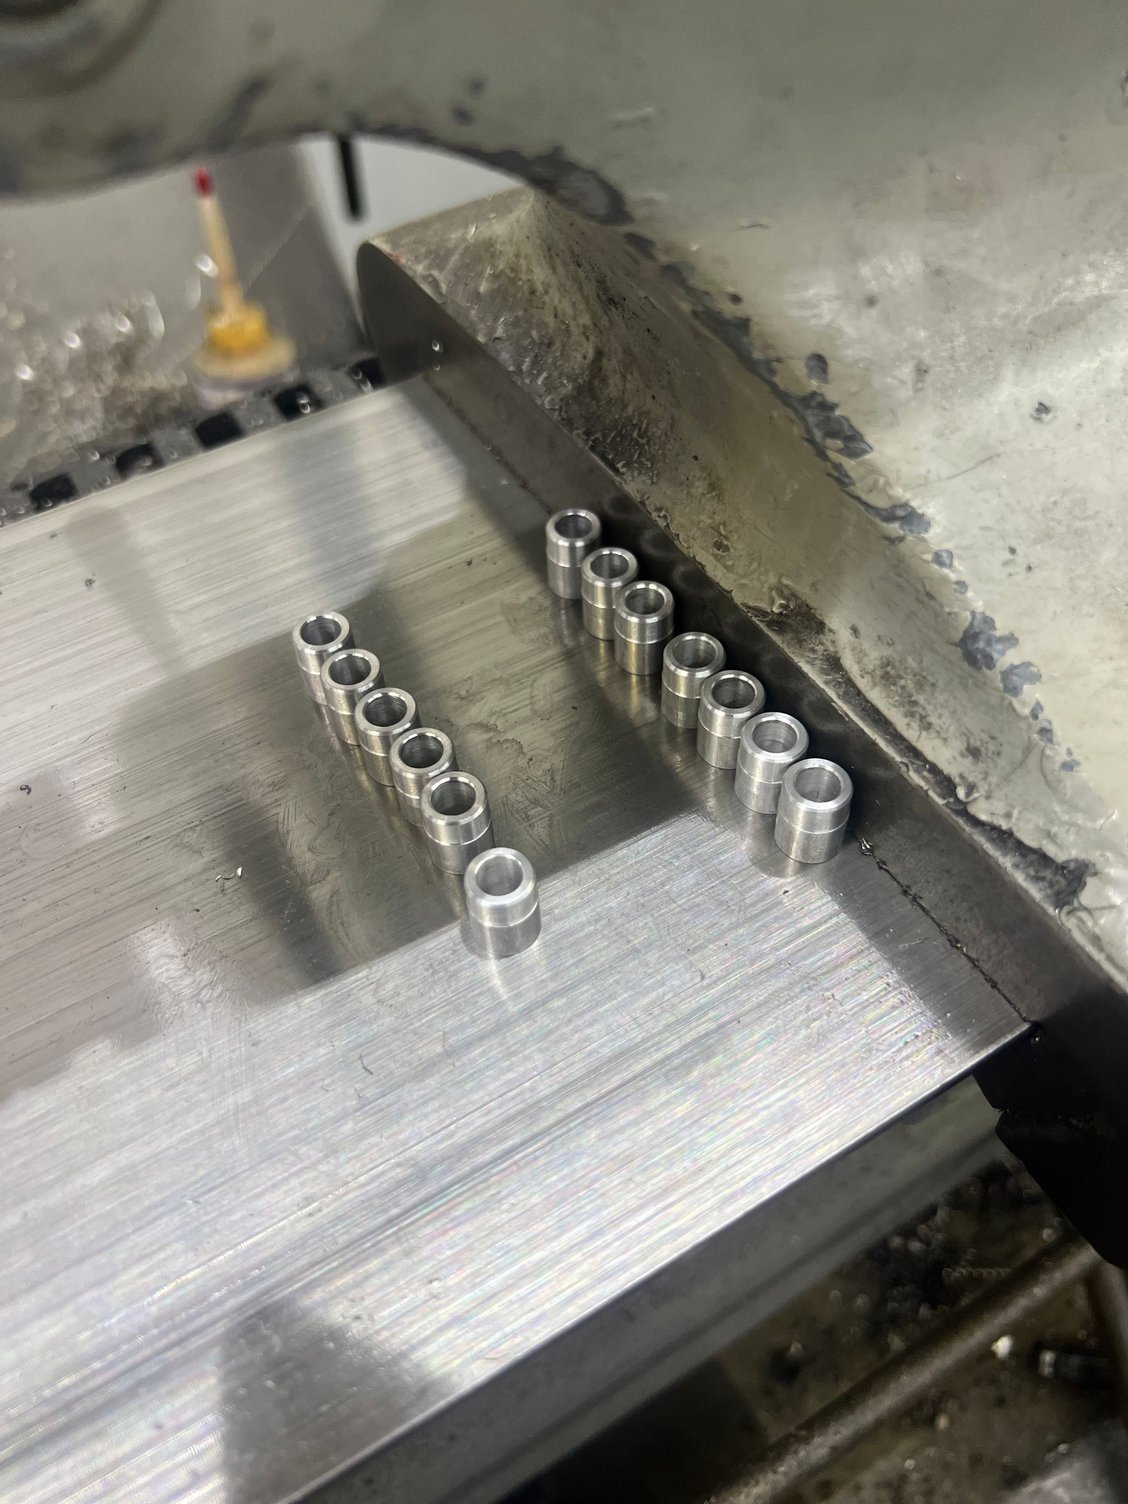
These, made necessary by the addition of the valve covers spacers, will properly locate the valve covers and preset the proper squish on the gasket.
Thanks. Brad.
Getting there. Inch by inch….
I had to slightly modify the valve cover bolt spacer sleeves to fit into the grommets without ripping/cutting them, and they weren’t with the builder when he took this pic, which is why the valve cover bolts are not drawn down.
These, made necessary by the addition of the valve covers spacers, will properly locate the valve covers and preset the proper squish on the gasket.
Thanks. Brad.
Last edited by Brad Christy; 12-29-2024 at 05:24 PM.
12-30-2024 | 04:24 PM
#380
Thread Starter
VIP Member
Joined: Jun 2021
Posts: 3,533
Likes: 2,142
From: SW Ohio
Guys,

Through fitting for the new filter head.
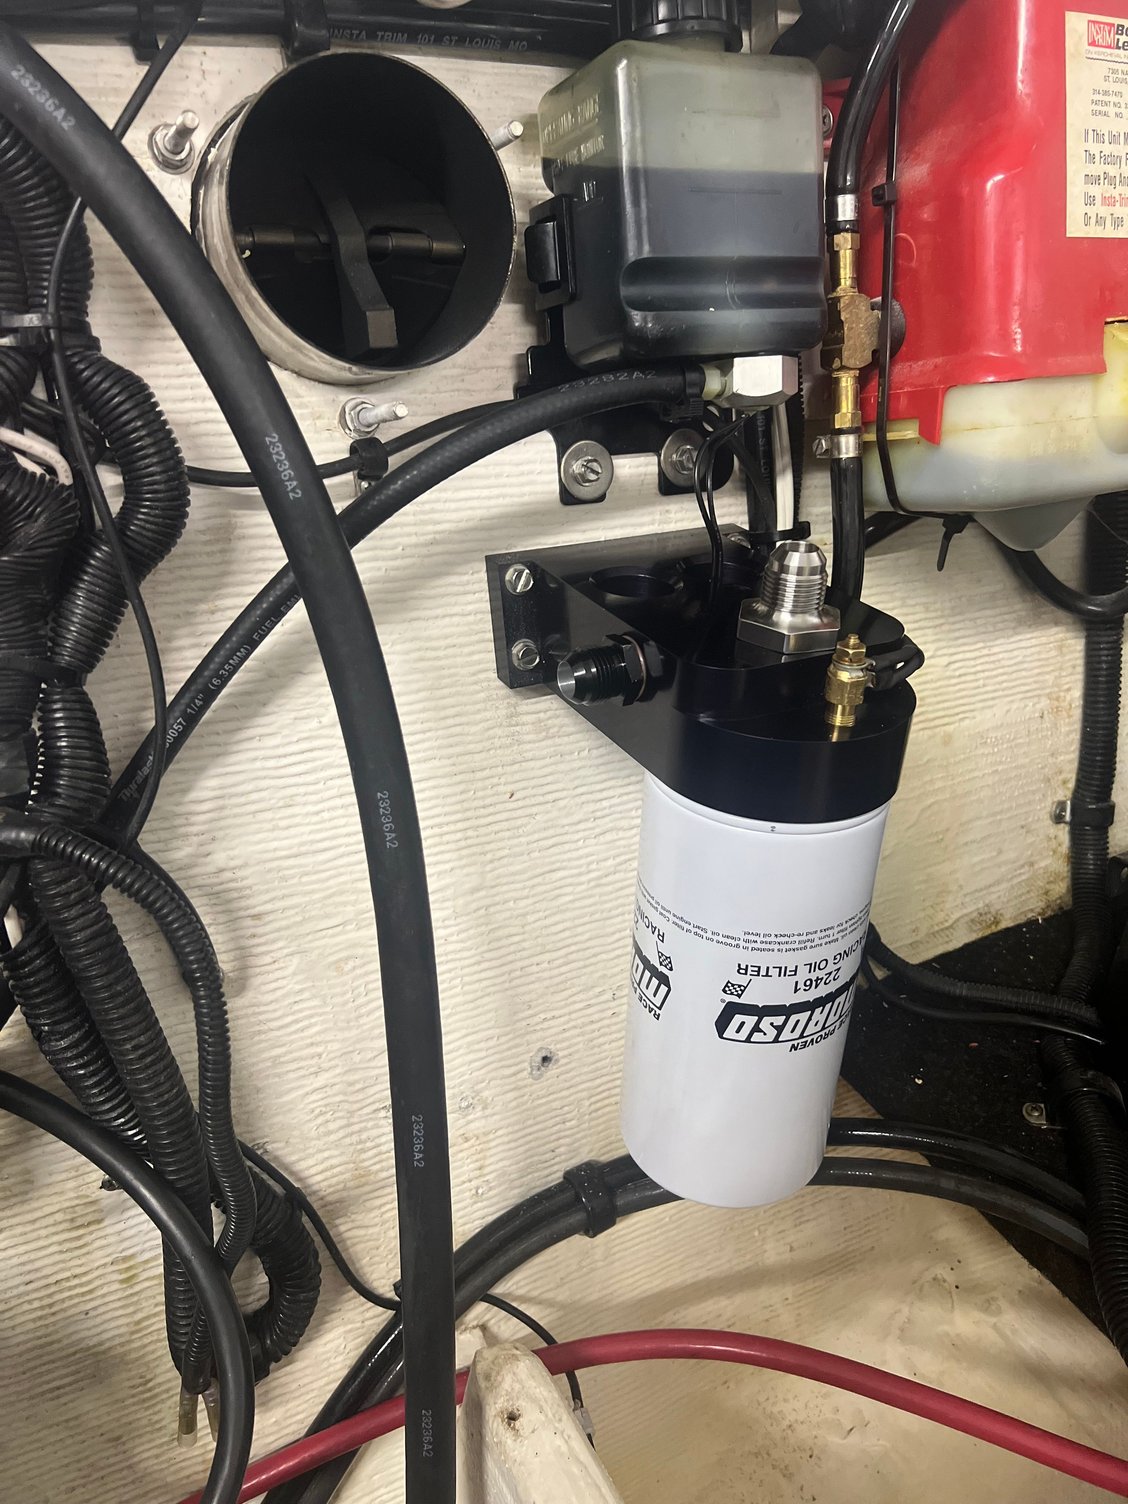
Got the new filter head installed. Hanging the filter, as suggested. For those with a keen eye, yes, the incoming port fitting has since been fully seated and tightened up. This pic was taken right after getting the new holes drilled and it mounted in the new location. As can be seen, the incoming fitting can't go on until the lower left mounting screw is tightened up, and I knew I had to remove the filter head and seal the holes when I get a new tube of 4200.

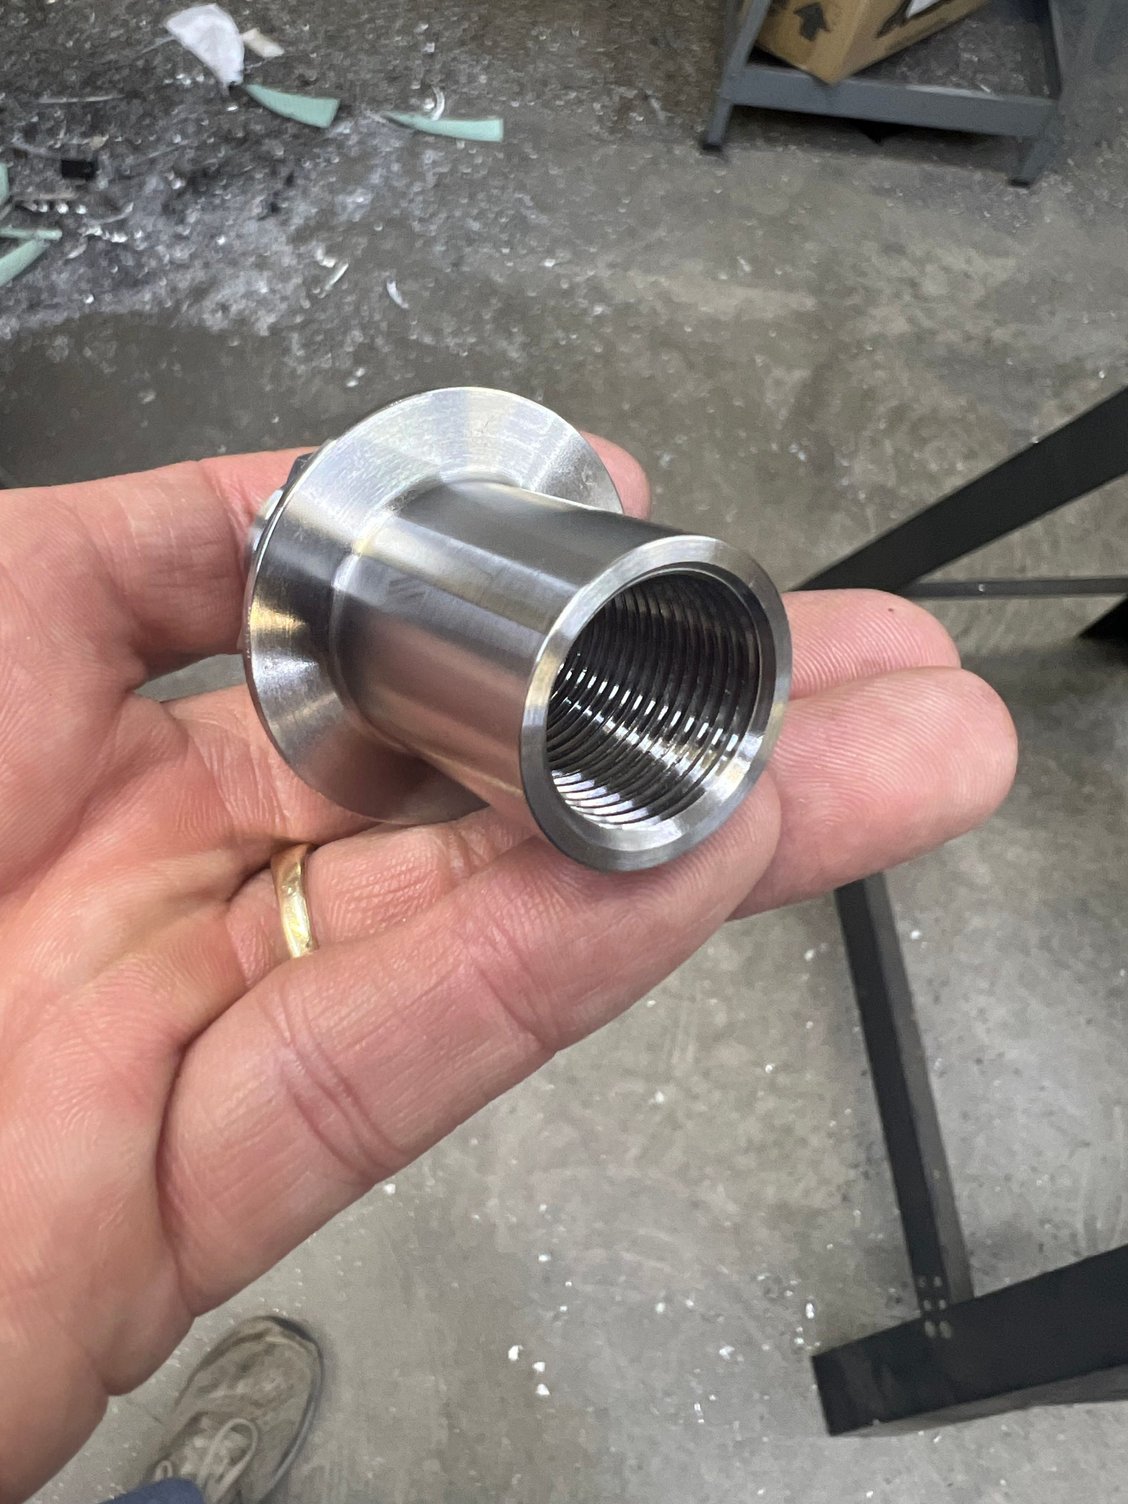


Modified the OEM filter port cap. Opened up the send port for 1/2-14 NPT and made a new through fitting clamp “screw” to be a return port. We now have at least 1/2” passage through the entire oil tract. Builder is going to plug the block ports, however that works.
Thanks. Brad.
Through fitting for the new filter head.
Got the new filter head installed. Hanging the filter, as suggested. For those with a keen eye, yes, the incoming port fitting has since been fully seated and tightened up. This pic was taken right after getting the new holes drilled and it mounted in the new location. As can be seen, the incoming fitting can't go on until the lower left mounting screw is tightened up, and I knew I had to remove the filter head and seal the holes when I get a new tube of 4200.
Modified the OEM filter port cap. Opened up the send port for 1/2-14 NPT and made a new through fitting clamp “screw” to be a return port. We now have at least 1/2” passage through the entire oil tract. Builder is going to plug the block ports, however that works.
Thanks. Brad.
Last edited by Brad Christy; 12-30-2024 at 04:41 PM.

